
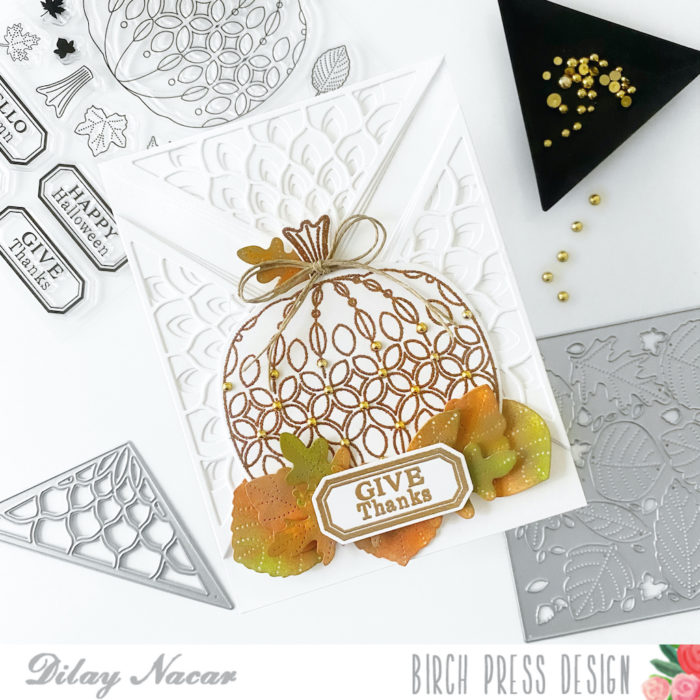
Hi, crafty friends! Dilay Nacar here from JustCallMeDee.com and I am so excited to be sharing my first card as a member of the Birch Press Design Team! It’s truly an honor to be sharing my creations and today, I’ll be going over a fall themed ‘Give Thanks’ card that I created using some of my favorite dies and stamps!
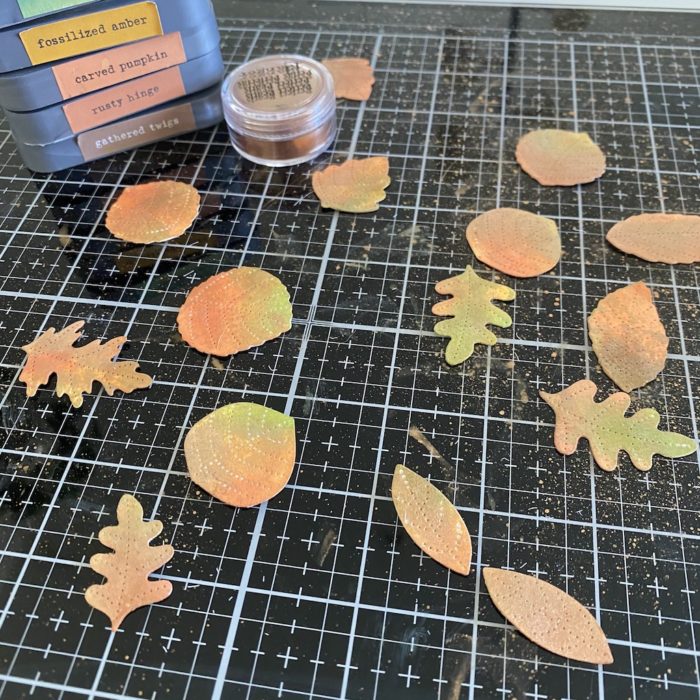
To begin, I made the leaves using Layer B from ‘Autumn Breeze Plate Layer Set’ die and Bristol Smooth cardstock, then colored them various fall colors using the ‘smooshing’ technique with Distress Oxide inks. I set these aside to dry while I worked on the background.
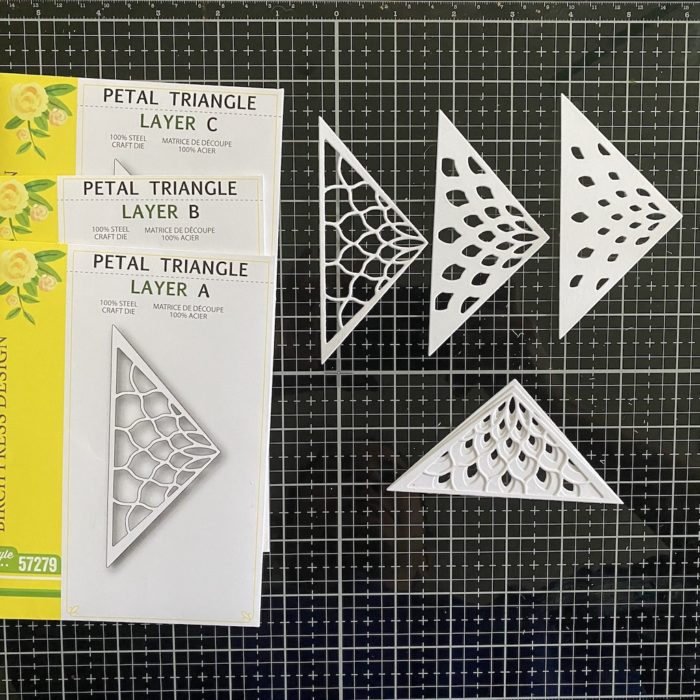
For this layer, I wanted a clean white background with layered detail, so I used the ‘Petal Triangle Layer Set’. I die cut each layer (A, B, and C) in white heavyweight cardstock then adhered them together using liquid adhesive. I prepared 3 sets of these triangles – one for each of the sides and one for the top of the card – then used liquid adhesive to adhere them onto an A2 sized, white 100 lb cardstock base.
Next, I used the ‘Pumpkin Lacework’ stamp and die to make the main image. I heat embossed the pumpkin stamp and stem stamp using a copper embossing powder. I cut out the image using the coordinating die and adhered it onto the background.
Once leaves were dry, I placed them along the bottom of the pumpkin image (and one on the stem) then made a bow using a piece of twine and adhered it onto the stem.
For the sentiment, I used the same ‘Pumpkin Lacework’ stamp and die set and heat embossed it using a fine gold embossing powder. I used foam tape to adhere it along the bottom of the pumpkin.
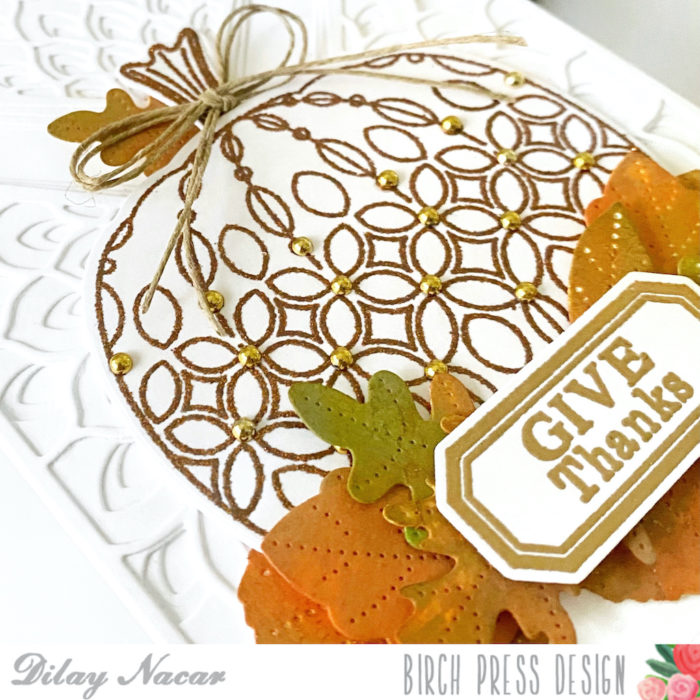
Finally, to complete my card, I used off-brand gold flat back bobbles and placed them throughout the pumpkin pattern.
I hope you enjoyed my card today and found some inspiration for your next creation!


Comments
2 responses to “Pumpkin Lacework | By Dilay Nacar”
Such a beautiful card and so clean 😍 love jt ❤️
Love this card Dee. Perfect fall themed card! Beautiful!!