
Hi there, it’s Tracey here today and I have a card and video to share with you. I remember as a kid that is was very common to receive funny store bought slimline cards for birthdays and other occasions. Slimline cards seem be popping up all over the web lately so today I created a 3 1/2″ x 8 1/2″ card that can be mailed in a standard No. 10 envelope and a video to show you what I did.

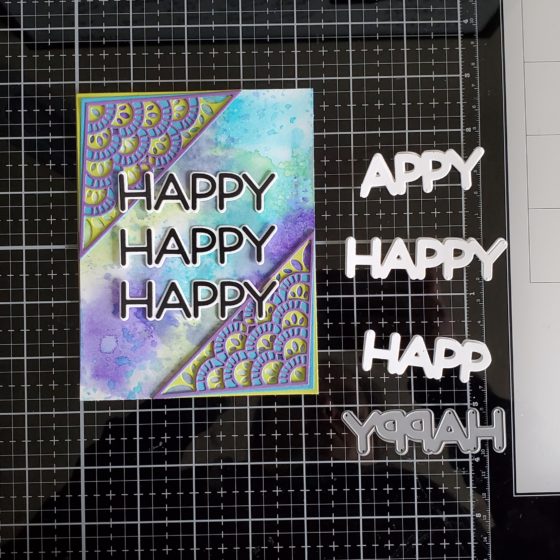
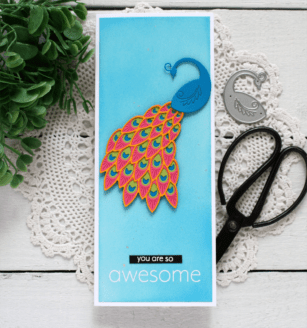
One of the challenges with creating these cards is what to fill all that space in with. The Regal Peacock layer set is a great design to work with this tall, slim card size.

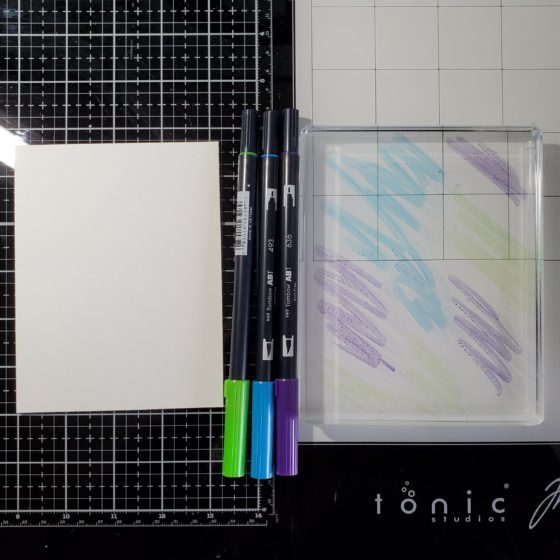
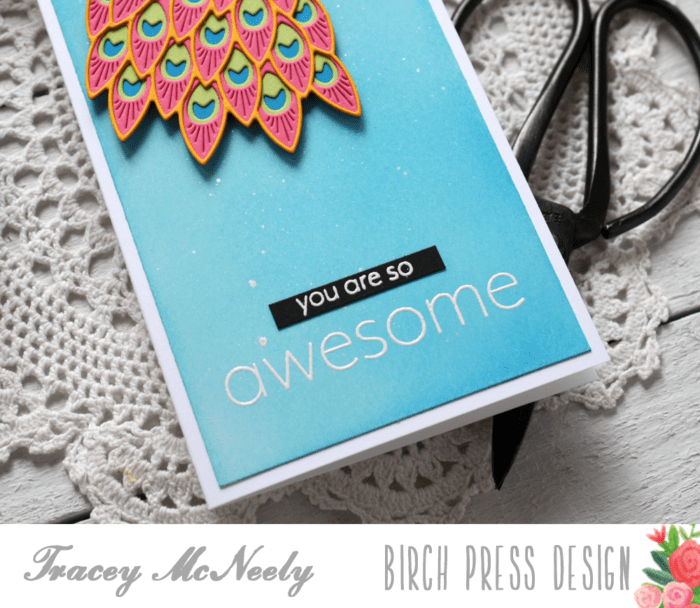
To begin I cut a 7″ X 8 1/2″ piece of white cardstock for my card base and I scored it at 3 1/2″. Then I cut a 3 1/4″ x 8 1/4″ panel from Bristol Smooth cardstock that I blended Distress Oxide inks onto. I used Tumbled Glass and Salty Ocean Distress Oxide inks to create a blue background. Once I had the panel blended out I mixed some Perfect Pearls with water and splattered it on to the panel then set it aside to dry while I prepared the Peacock die cuts.

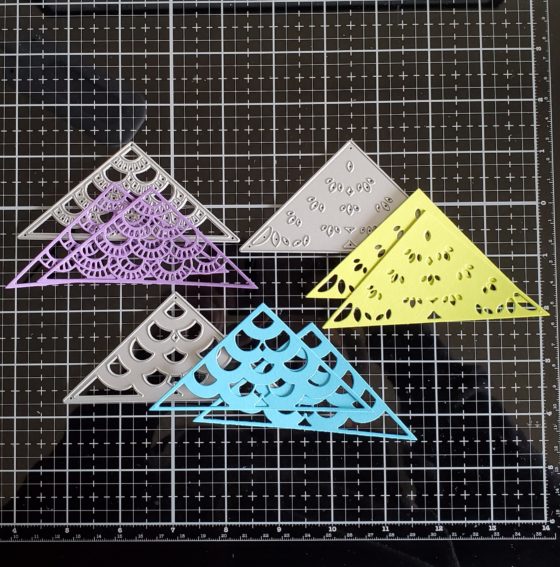
The main die for this set is Regal Peacock Layer A which cuts the peacock body and the solid tail. I created a rainbow tail because we could all use a little colour right about now. I die cut all the layers with cardstock–Layer A with a bright blue, Layer D with green, Layer C from bright pink and Layer B from orange. All the layers were glued together with liquid glue and I set it aside. I folded the card base along the score line and then attached the inner blended panel with tape runner.

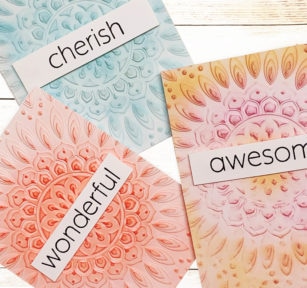
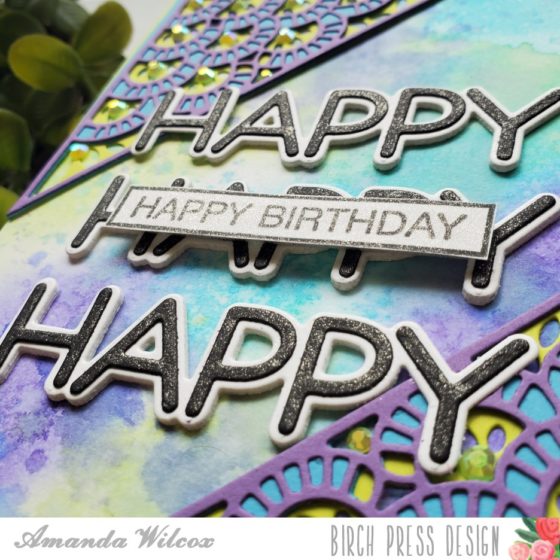
The two line sentiment is from the ‘You Are Awesome‘ clear stamp set. I stamped and white embossed the large word ‘awesome’ near the bottom of my panel and then the line ‘you are so’ was white embossed on a strip of black cardstock and added just above.
The peacock was added to the top of the panel with foam tape. A tiny piece of foam tape was added behind the peacock’s head to give it a bit more support. You want your card to survive the mail and allow your recipient to enjoy it once it comes of out the envelope too!

Thank you so much for joining me today and I hope you are finding time to be crafty while you are staying/sheltering at home. Enjoy the rest of your week! Stay safe.

Supplies