Category: Allison Frazier

  • Winter Berries | By Allison Frazier

    Winter Berries | By Allison Frazier

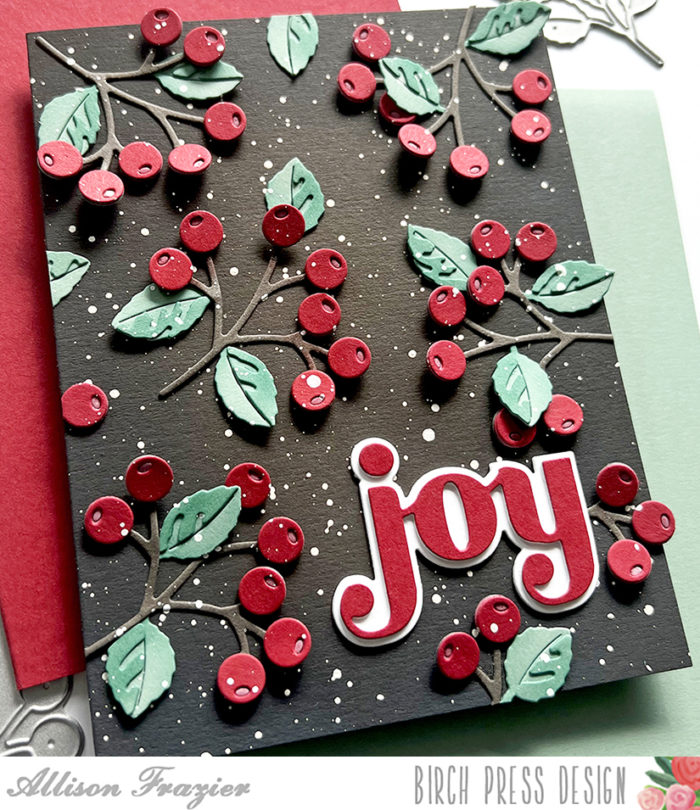
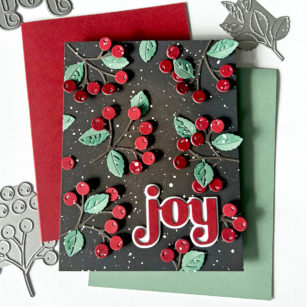
    Hello, Friends! It was a snowy weekend here in Colorado, so I decided to make a wintery card. I love how versatile the new floral contour die sets are – they work for every season and every occasion.
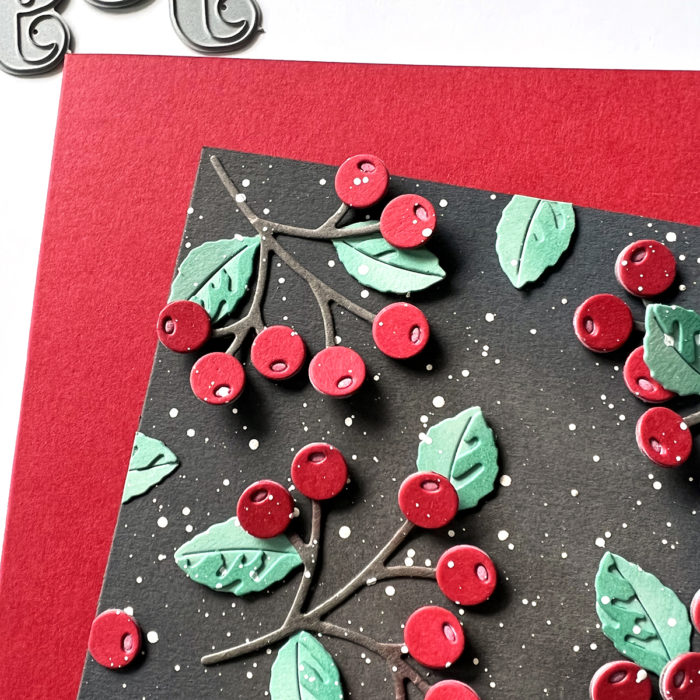
    I started by die cutting the berries from the Eucalyptus Stem and Berries die set from a dark red card stock. I glued those onto the little matching branches that I had cut from brown card stock. I then swiped a bit of white pigment ink over the berries to lighten them up. I cut a second set of berries from the same red card stock and then glued those on top. The lighter color underneath gives a nice highlight. For the leaves, I used the smaller set of leaves from the Dainty Rose and Leaves die set and cut those from mint green card stock. I ink blended the top layers of those leaves with Evergreen Bough Distress Ink to give them more dimension.
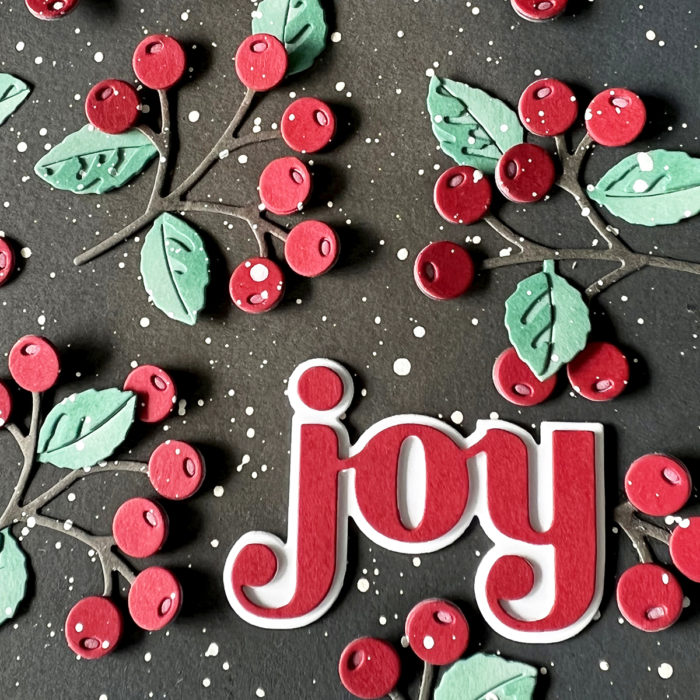
    My card base started as a chocolate brown A2 card base. I tried to ink blend some dark brown ink around the edges to create a bit of highlight in the middle, but I ended up having to go a bit darker and used some Black Soot Distress Oxide. The effect is pretty subtle and much more obvious in person. After glueing the berries and leaves directly to the card base, I then splattered the whole thing with some white acrylic paint. I finished the card with one of my favorite word dies – the Big Joy Sugar Script die.
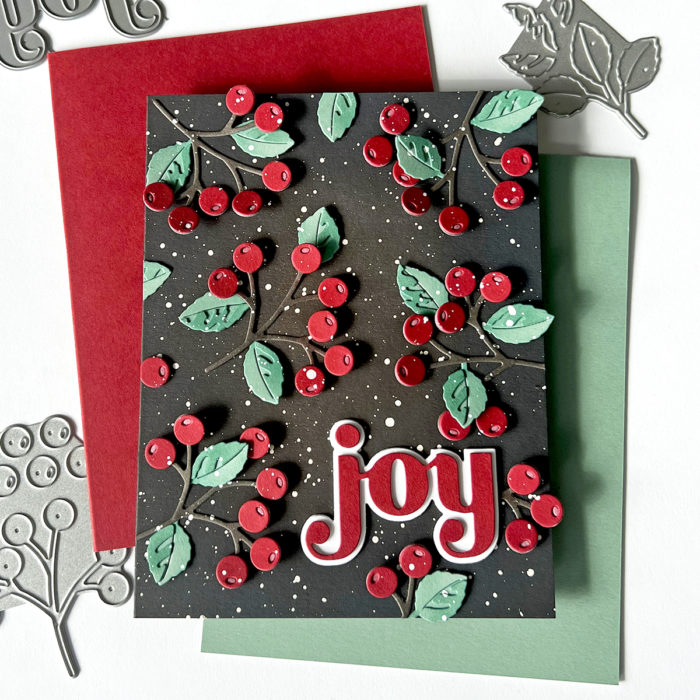
    Thank you so much for joining us today. I really love how this card turned out, especially the paint splatter. I hope it brought a smile to your face.

    Wishing you a crafty day,
    Allison


    Supplies

  • Butterfly Hugs | By Allison Frazier

    Butterfly Hugs | By Allison Frazier

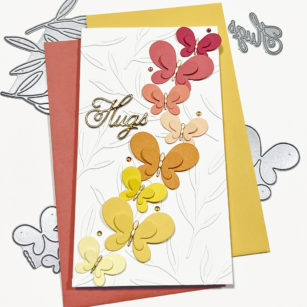
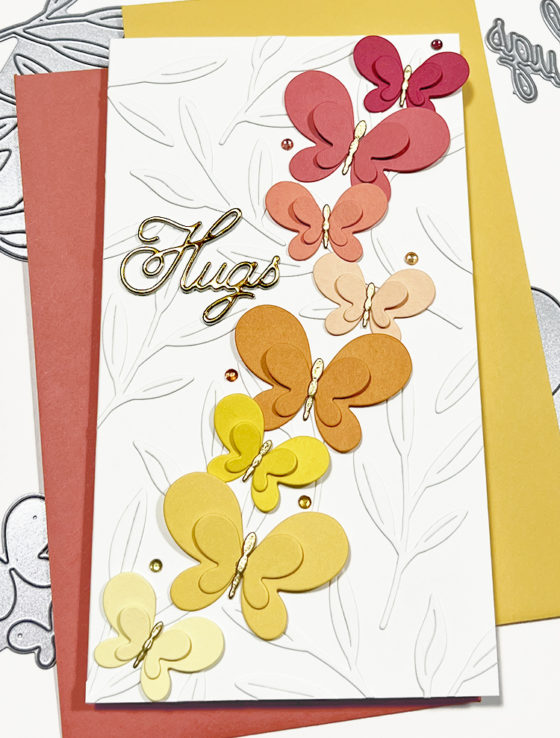
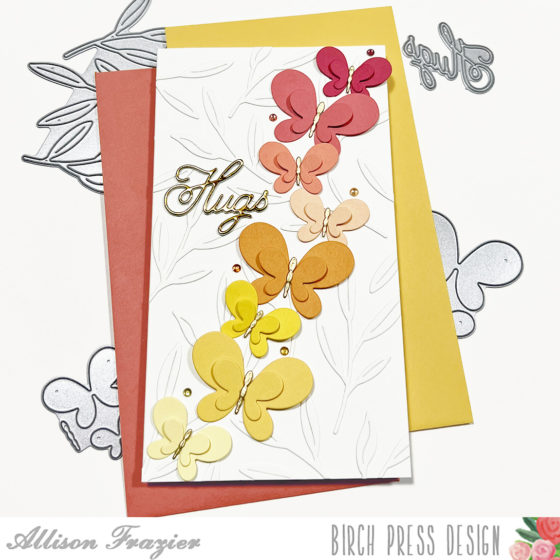
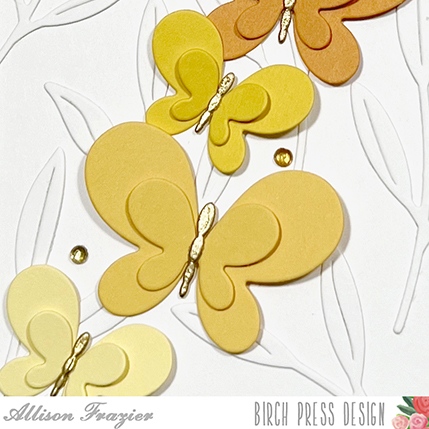
    Hello, Everyone! Today, I am sharing more inspiration from the new Floral Contour Layers release. I made a mini slimline card featuring two of the new die sets – the Simple Butterfly Contour Layers and the Tiny Tuft Flowers and Leaves Contour Layers.

    I started by creating a white card base that measures 3.5″ x 6.25″. I used the leaves die from the Tiny Tuft Flowers and Leaves Contour Layers set to cut a bunch of leaves from the same white card stock. I then arranged these leaves on my card base and adhered them with liquid glue. I love the texture that these leaves give – it’s almost like creating your own background die.

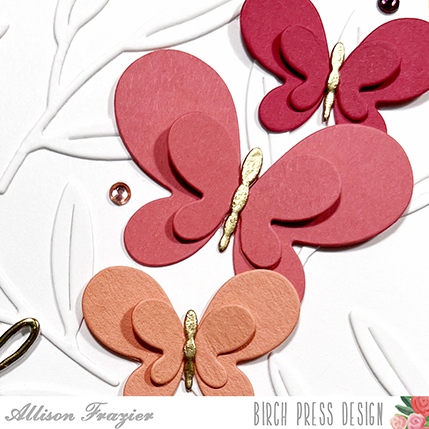
    Next, I started die cutting my butterflies. I chose to stick to a warm palette, so I used different shades of yellow, pink and orange card stock. I adhered the smaller parts of the butterflies to the larger parts, making sure to only put glue in the center, so that the sides could lift up for dimension.

    The small, delicate bodies of each butterfly were the same color as the rest of the butterfly, but I wanted them all to be gold. So, rather than use the dies to cut more bodies out of gold card stock, I just used the bodies that I had. I took a piece of Post-it tape (washi tape would also work) and taped the very ends of it to a piece of paper so that the adhesive side of the tape was facing out. I then put all of the butterfly bodies onto the adhesive, inked them up with VersaMark ink and heat embossed them with gold embossing powder. Once embossed, I was able to just pull the bodies off of the Post-it tape and glue them onto the butterflies. This was the easiest way for me to emboss all of those delicate die cuts.

    I arranged all of my butterflies onto the card base and then glued them down when I was happy with the placement. Again, I only applied glue in the very centers so that the butterfly wings could lift up and look dimensional. For the sentiment, I used the Handwritten Hugs die and some gold foil card stock. To give it dimension, I stacked the gold Hugs onto two more layers that I had cut out of white card stock. After adhering that to my card, I finished by scattering some tiny Fairy Jewels around the butterflies in coordinating colors.

    I love the simplicity and dimension of these butterflies! I hope my card brought a smile to your face today. Thank you so much for joining us.

    Wishing you all a crafty day,
    Allison


    Supplies

  • Time to Bloom | By Allison Frazier

    Time to Bloom | By Allison Frazier

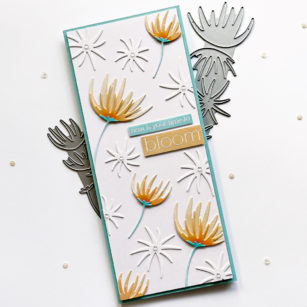
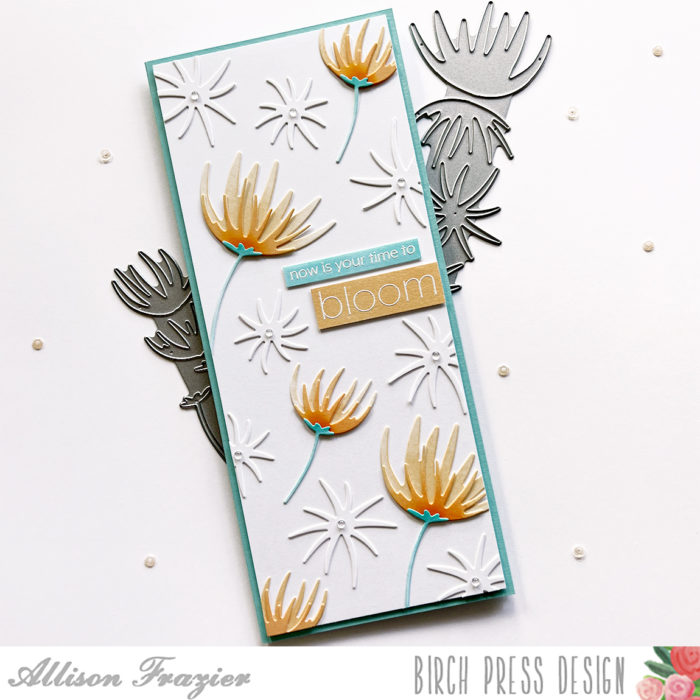
    Hello, Everyone! Have you seen the amazing new floral dies that were just released? They are all gorgeous, and today I am featuring one of those die sets – the Wispy Blooms Contour Layers.

    I started my card by cutting a panel of white card stock to 3.5″ x 8.5″. I thought that a slimline card would really lend to the feeling of movement with these Wispy Blooms. I then used the dies from the set to cut a bunch of blooms and stems out of white card stock.

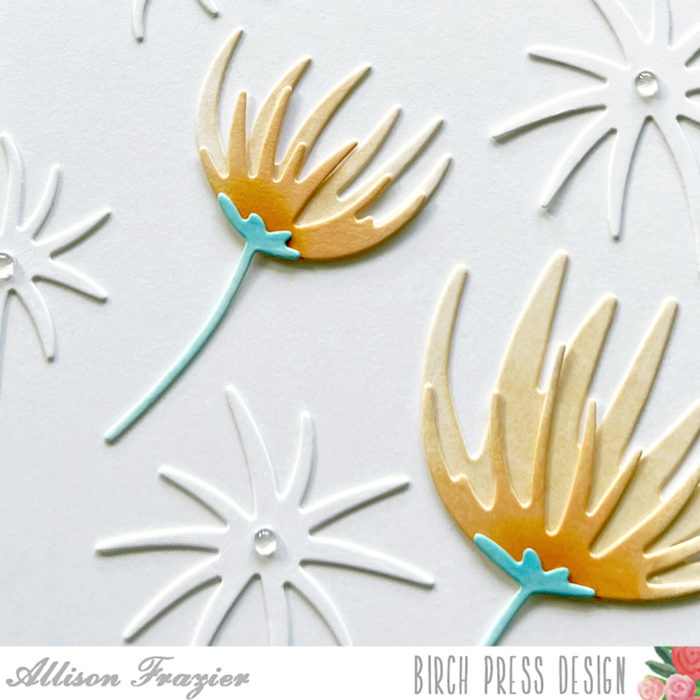
    For the main flowers, I ink blended those with shades of peach and orange, making sure that the color was more intense on the front pieces. I then ink blended the stems with some turquoise ink, again focusing some of the more intense color toward the top where the stems would meet the flowers.

    Once I was finished with my ink blending, I adhered the flowers together with liquid glue and then adhered them onto my panel. For the wispy die cuts that are not part of the flowers, I left those plain white and adhered them around the card panel in order to create some texture.

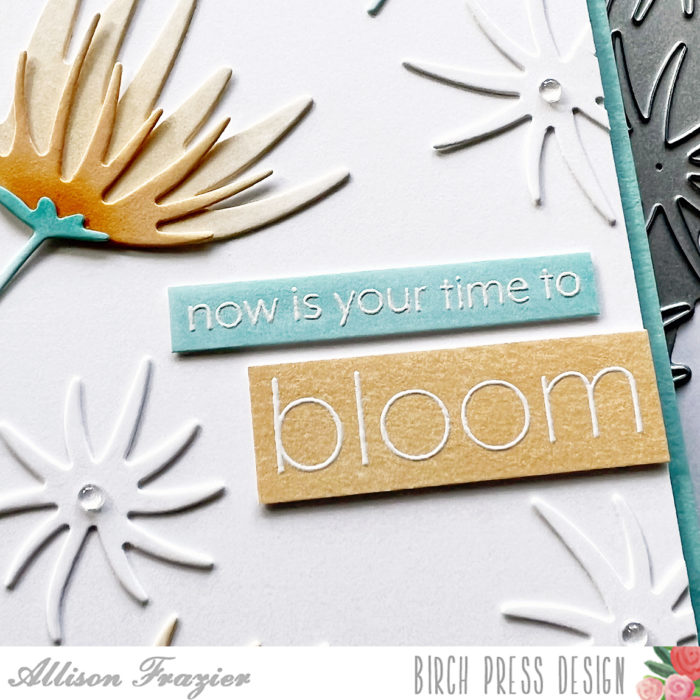
    My sentiments come from the Blooming Spring stamp set. I stamped both sentiments onto white card stock with VersaMark ink and then heat embossed with white embossing powder. I took the same color inks that I had used for the flowers and blended those over my sentiments in order to make the white embossed words pop. I chose the peach color for the larger sentiment and the turquoise for the smaller sentiment. I made sure to rub a cloth over both in order to get any excess ink off of the white embossing. I trimmed both sentiments down and adhered them onto my panel, popping each of them up with some thin foam tape.

    For final assembly, I glued my panel onto a turquoise card base that measures 3.75″ x 8.75″. I also glued a small Clear Fairy Drop into the center of each of the white blooms.

    I really love how this card turned out, and I hope it brought a smile to your face. Thank you so much for joining us today, and don’t forget to check out all of the amazing new products in the shop!

    Wishing you all a crafty day,


    Supplies