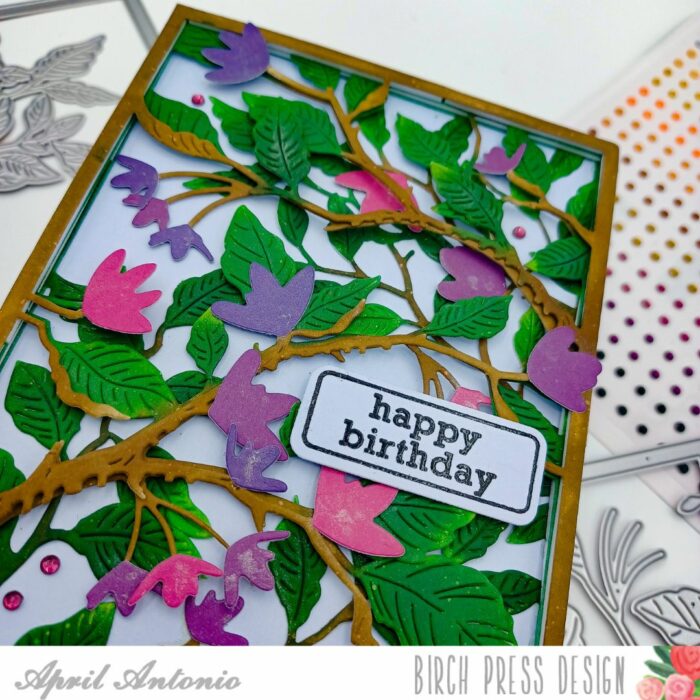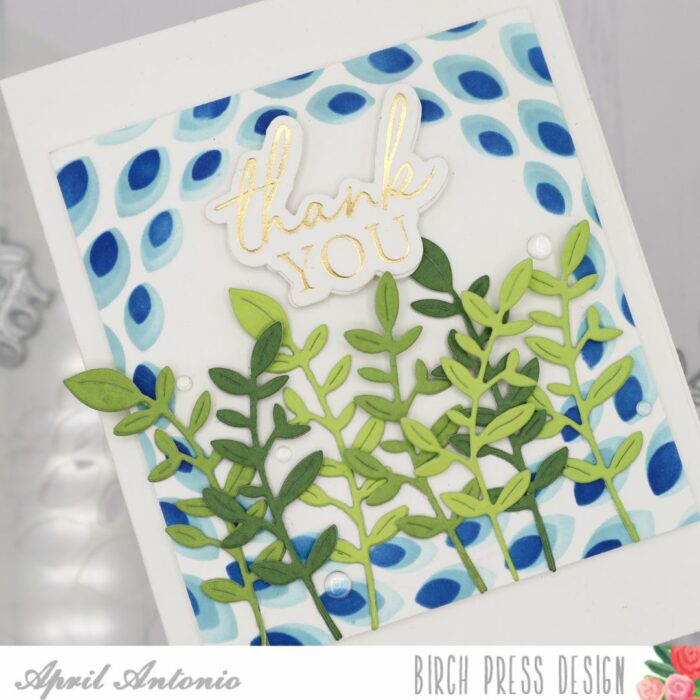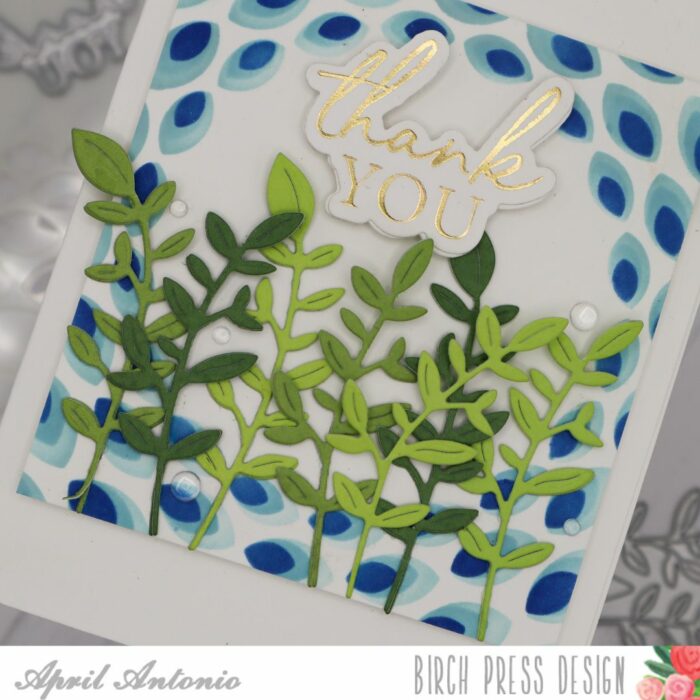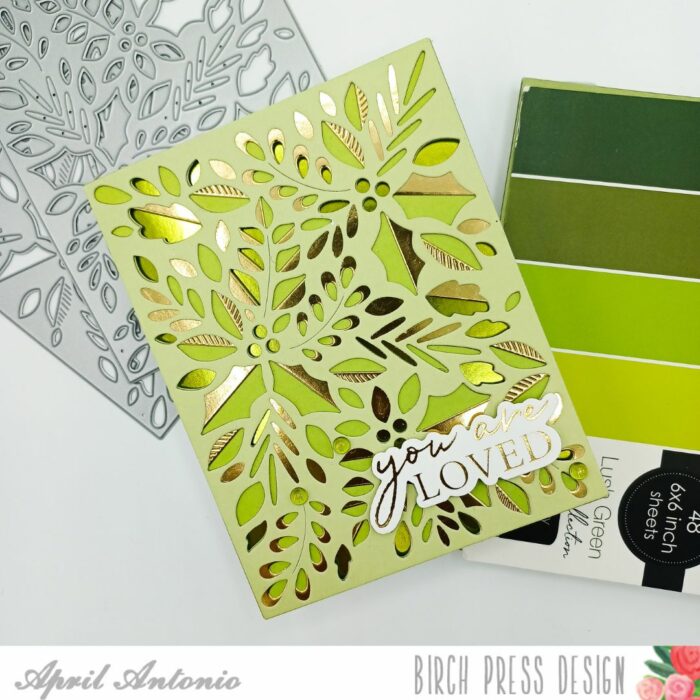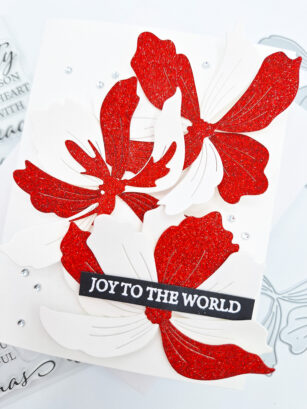
Happy Wednesday, and welcome back to the Birch Press blog! Today, I am excited to share a card using the Large Cosmos Contour Layers die set. These big, bold, petals are great for creating a quick, and beautiful holiday card.
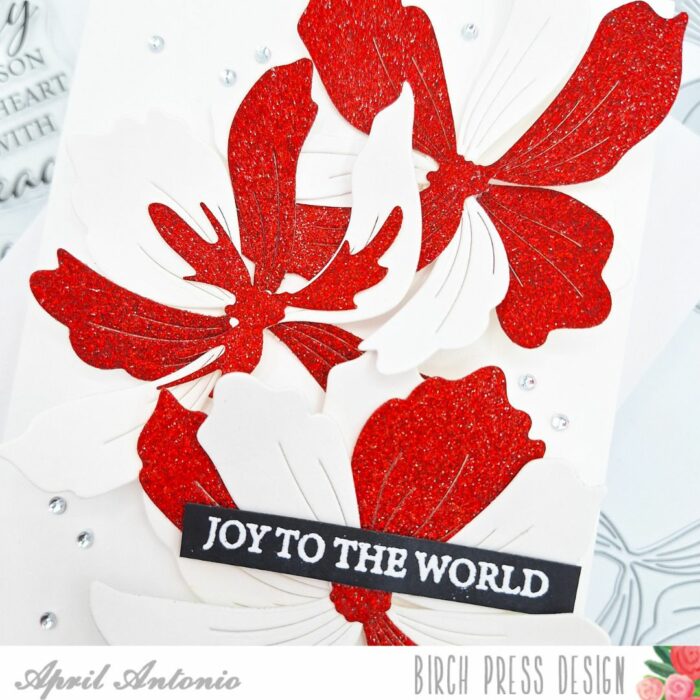
I started this card by cutting the Large Cosmos Contour Layering dies from medium weight white cardstock and red glitter cardstock multiple times. The glitter cardstock was taken from the Glitzy Glitter Pad.
I took all of the cut layers, and used liquid glue to adhere 3 layers together, alternating between white and glitter cardstock until I had three complete flowers.
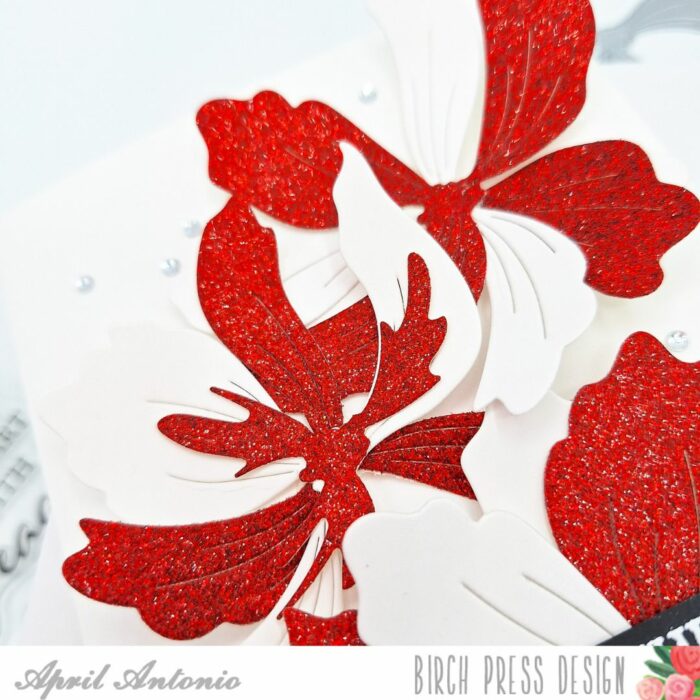
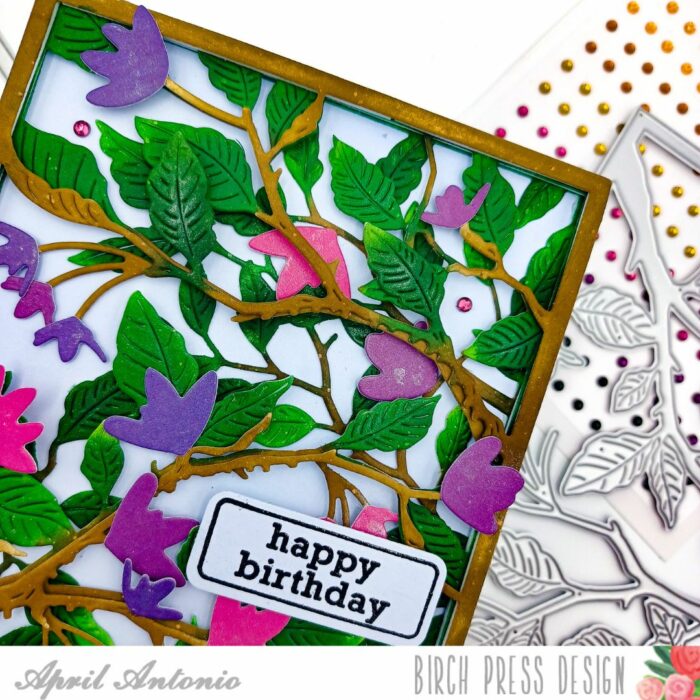
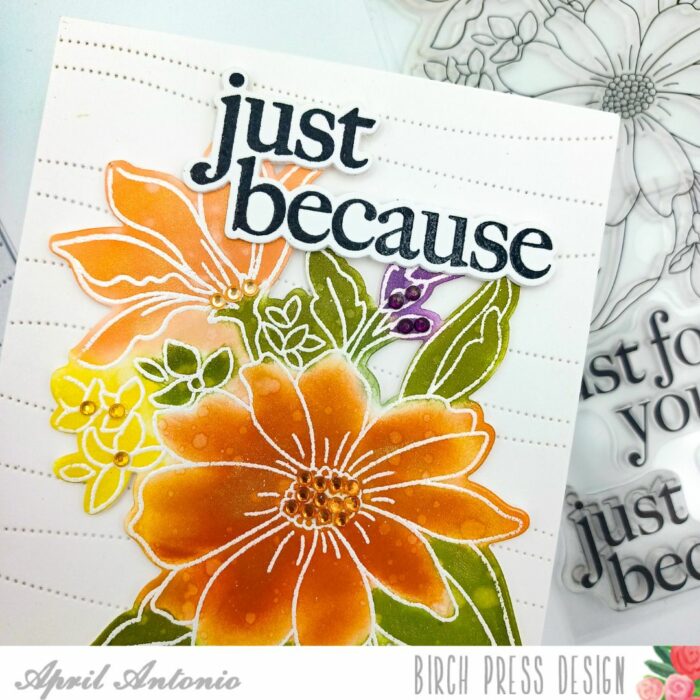
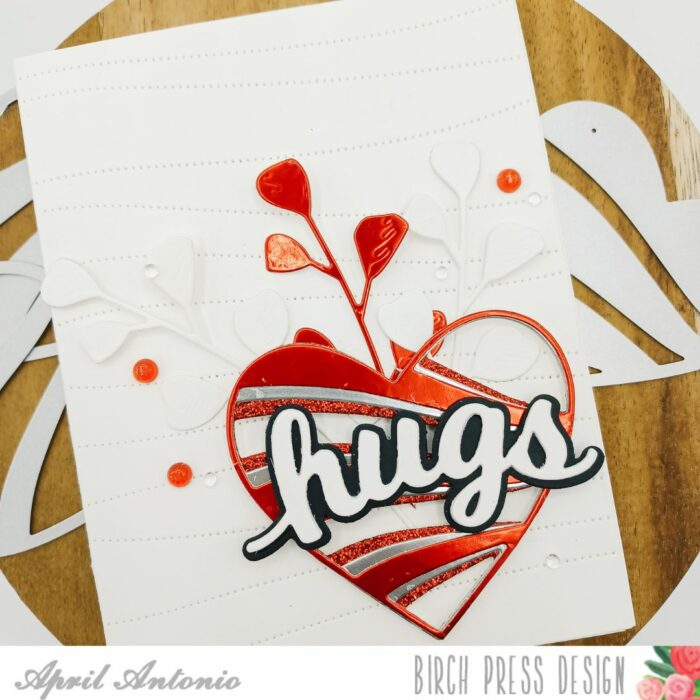
I used foam tape to glue the flowers to an A2 card front, and curled up the flower edges to add some dimension.
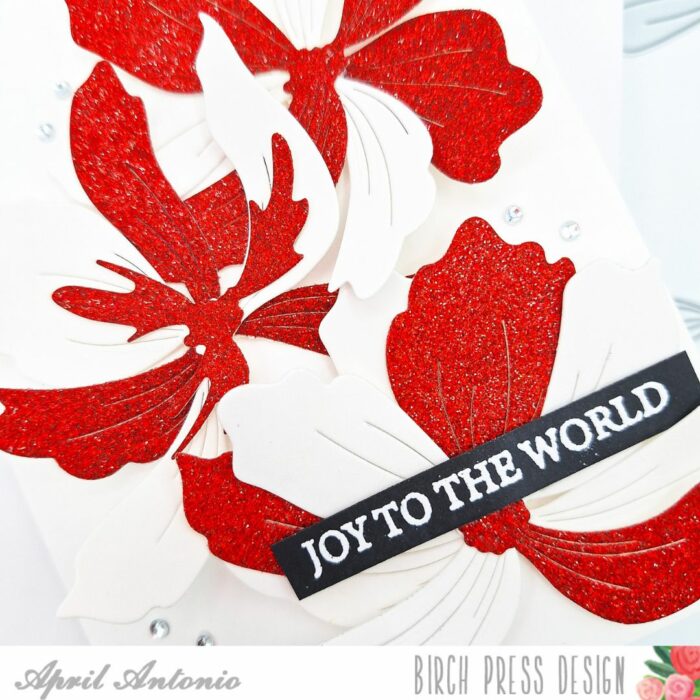
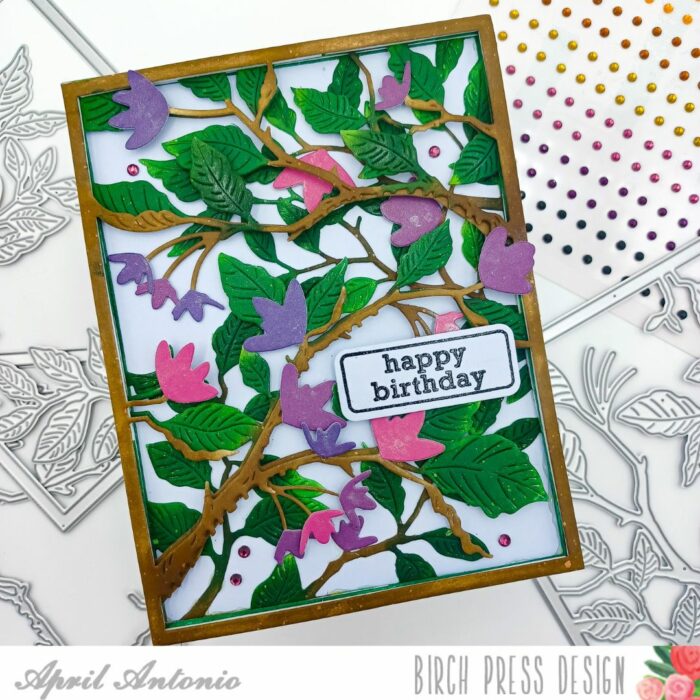
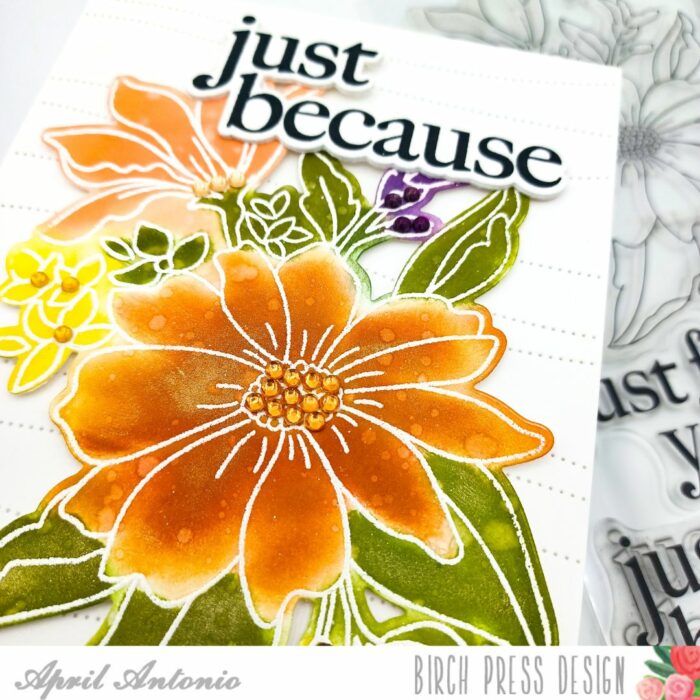
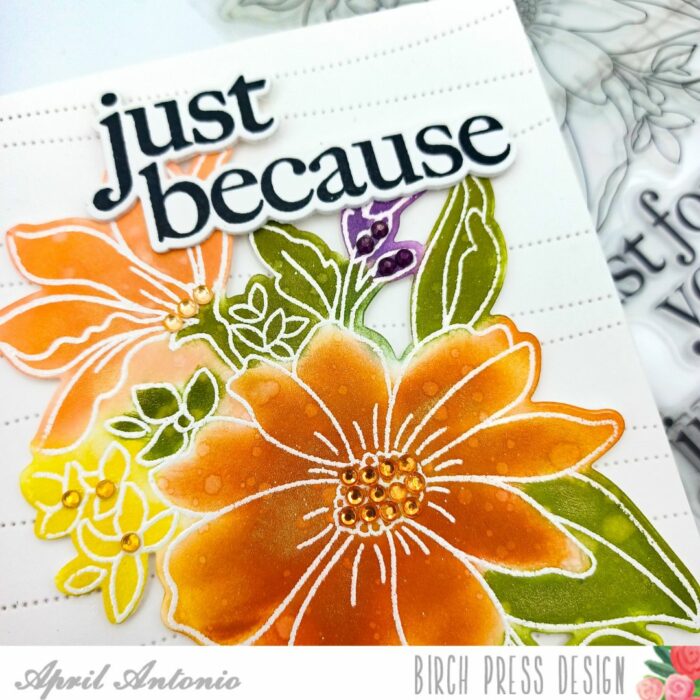
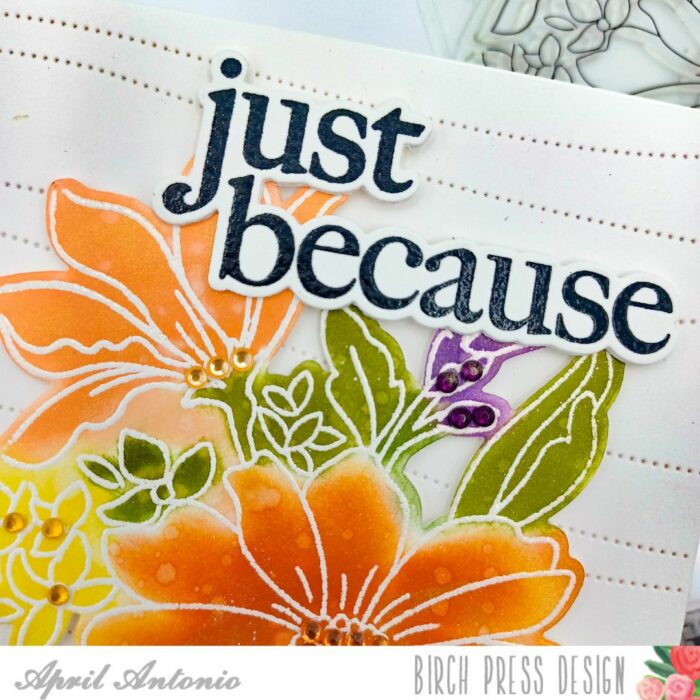
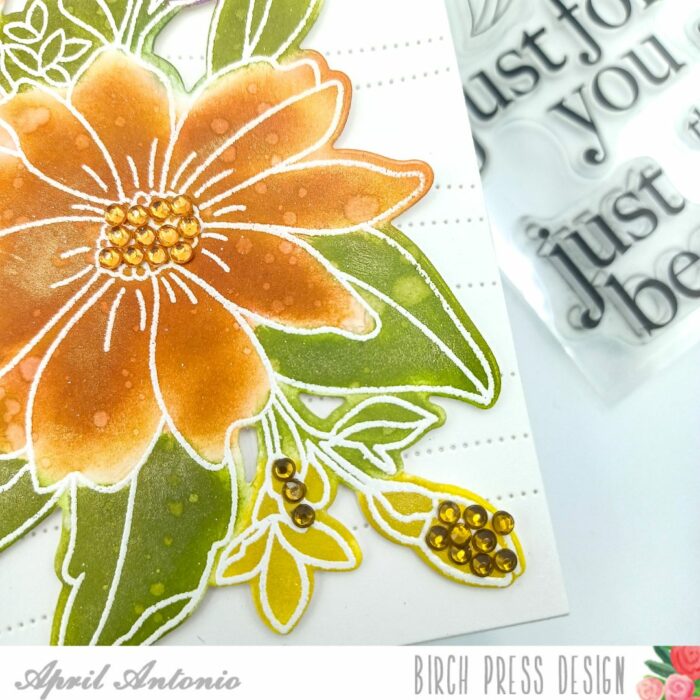
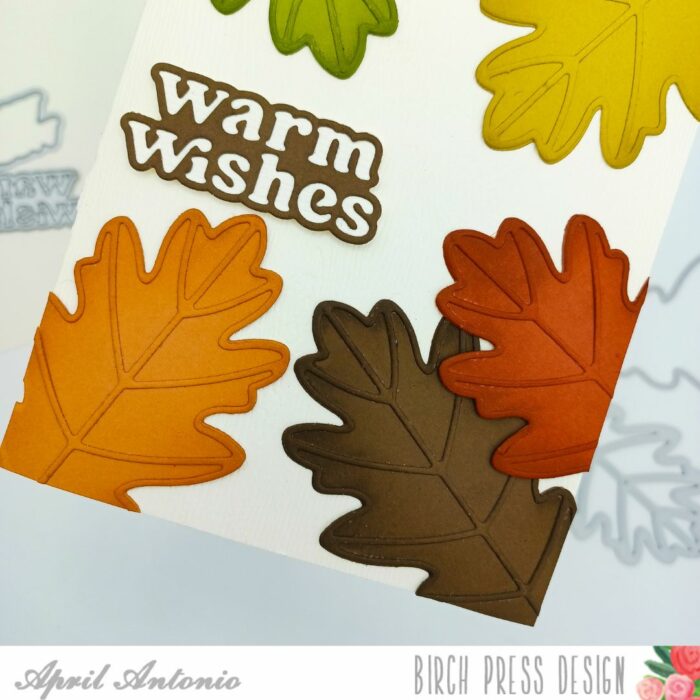
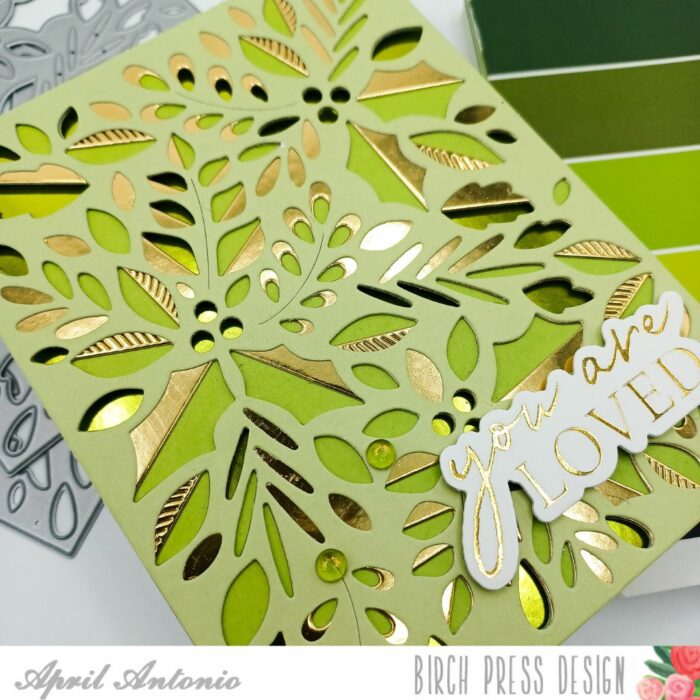
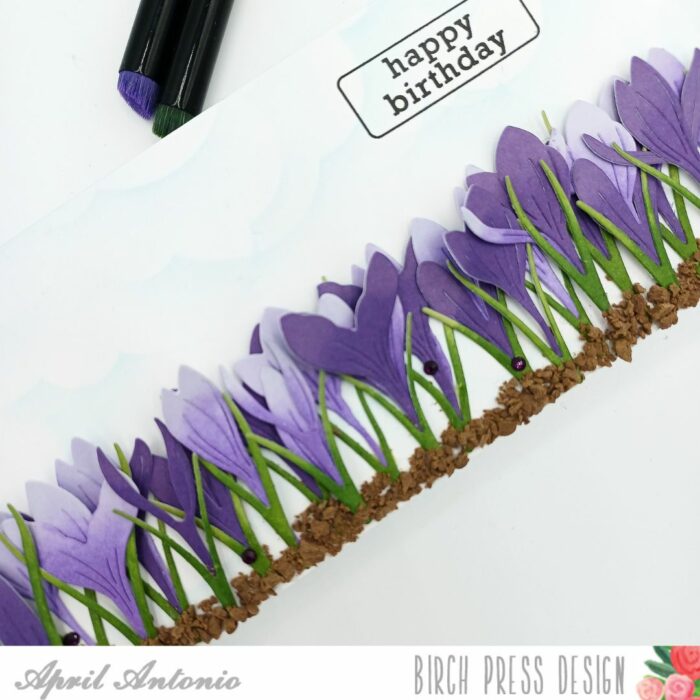
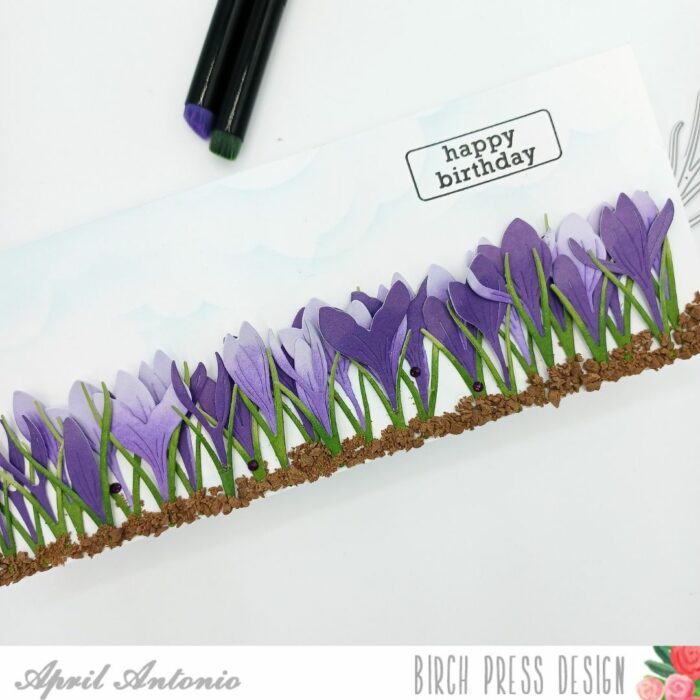
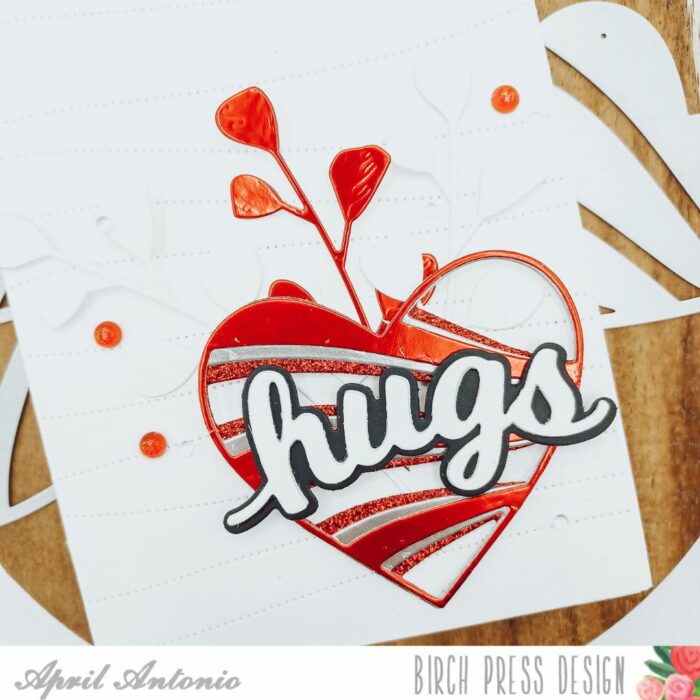
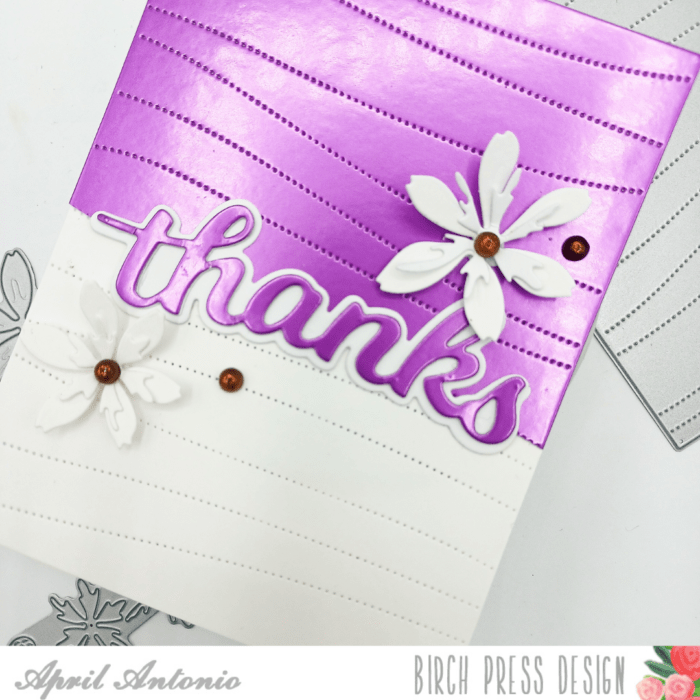
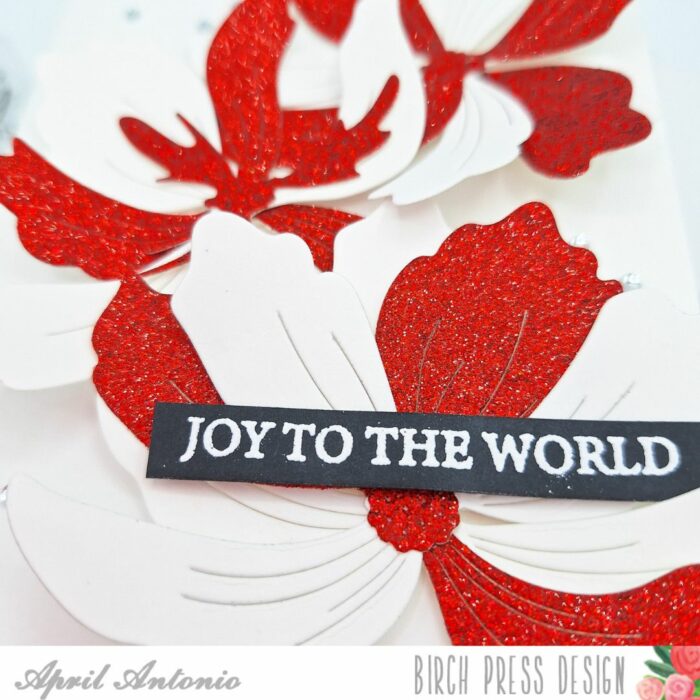
I took a sentiment from the Glad Tidings stamp set, embossed it with white embossing powder onto black cardstock, and adhered the strip to the card front on top of a flower.

Lastly, I added sparkly Clear Jewels around the flowers, and that was it! I hope you enjoyed today’s post, and that you have a very Happy Thanksgiving!

Supplies


Supplies