Hey everyone! I’m so glad you’re here with me. It’s Amanda from Twiddler’s Nook with a pair of beautiful watercolor slimline cards to share.
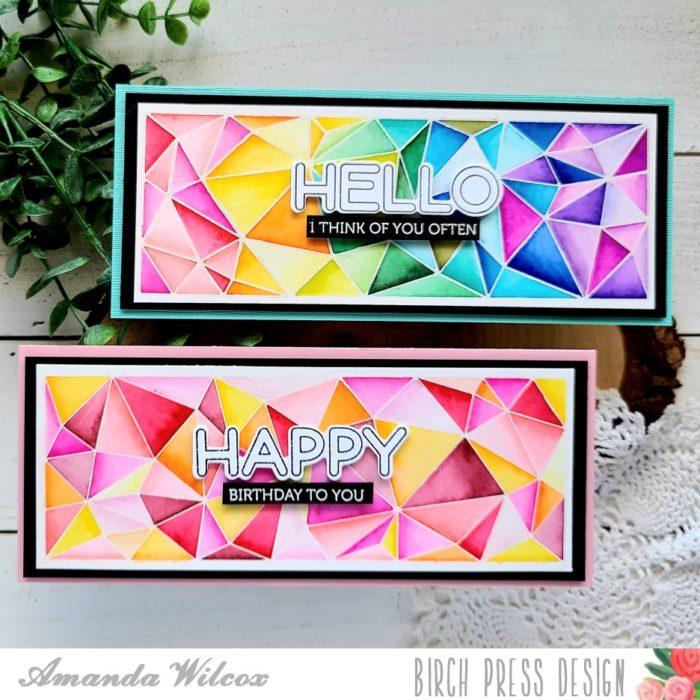
These cards were complete created using just the Crystal Lingo stamps and dies. It was so therapeutic and relaxing to watercolor this beautiful image! Let’s get started on how I created them.
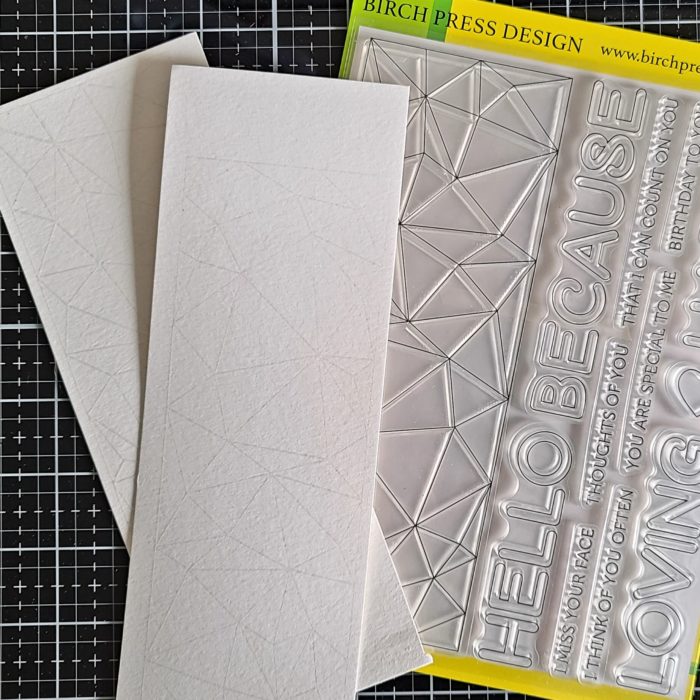
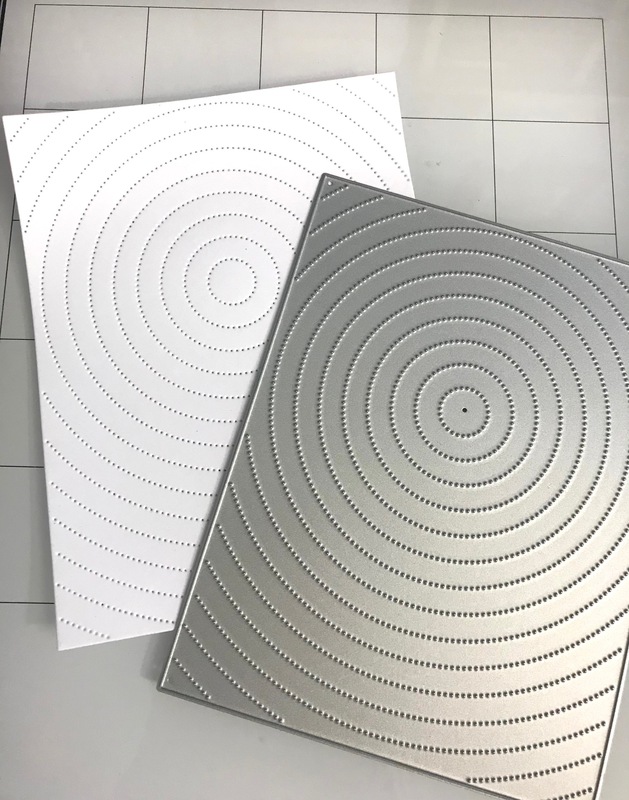
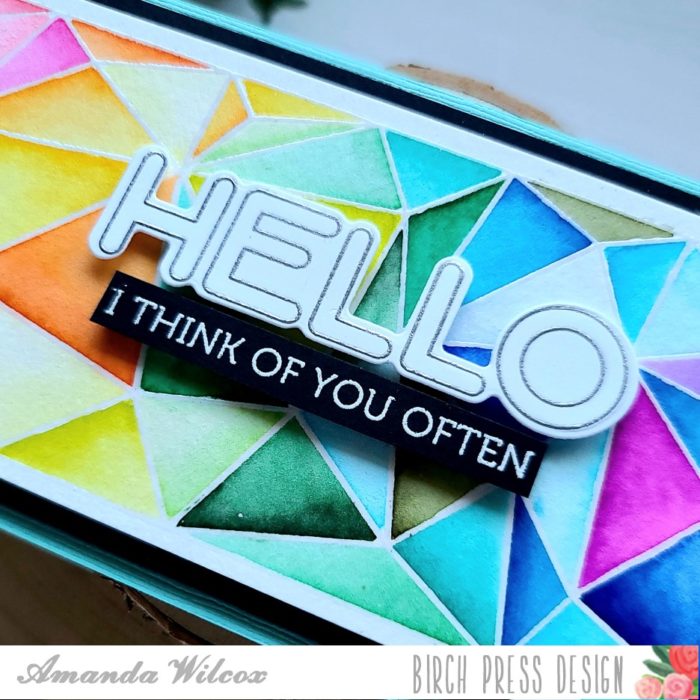
I started by stamping and heat embossing the mosaic image on watercolor paper with clear embossing powder. You could use any color you like here for dramatically different results. The sheet I was using happened to fit the image twice perfectly so I thought, why not!?!
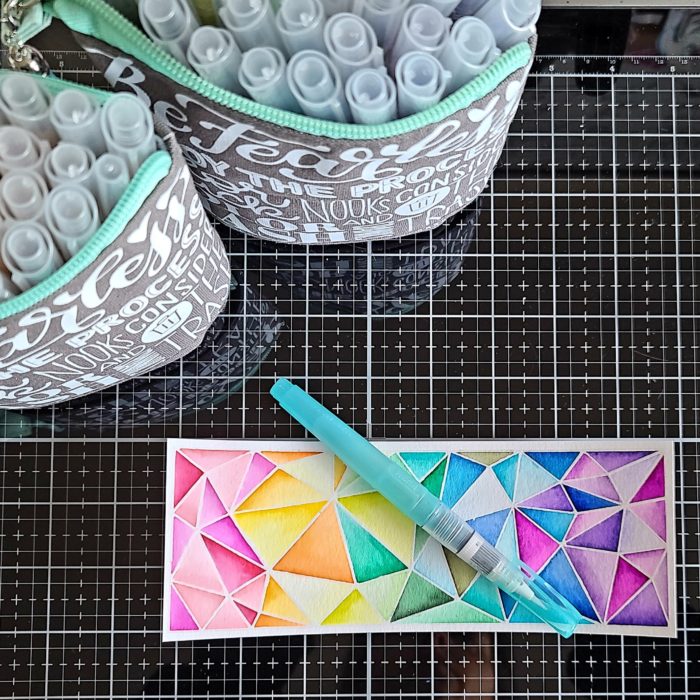
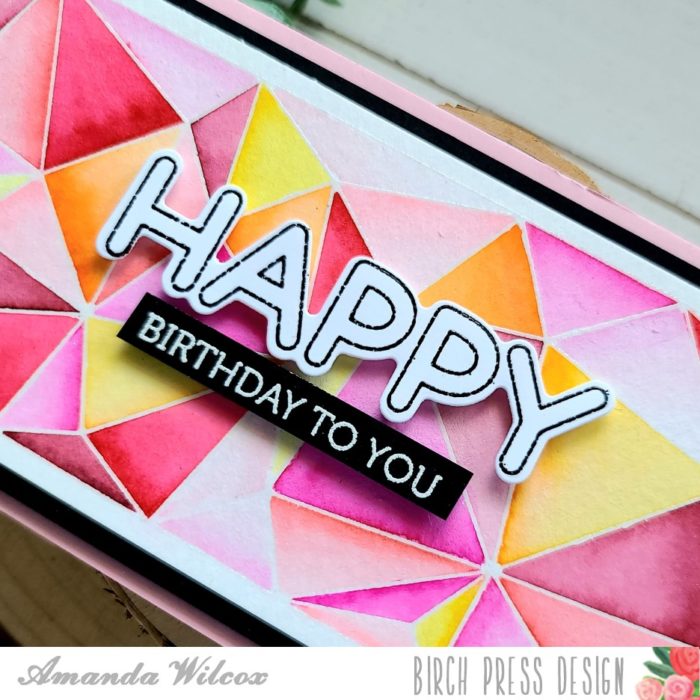
I used my Zig Clean Color Real Brush markers and a waterbrush pen to color the entire panel and trimmed it down to 3×8.

For my supporting panels, I have a black one measuring 3.25×8.25 inches, teal that measures 3.5×8.5 inches and a slimline card base from white that is 7×8.5 inches. Folding it in half at 3.5 inches makes it the same size as the teal panel.
The black is adhered to the watercolor panel with liquid glue, as is the teal panel to the card base. Then the two are adhered together with foam tape.
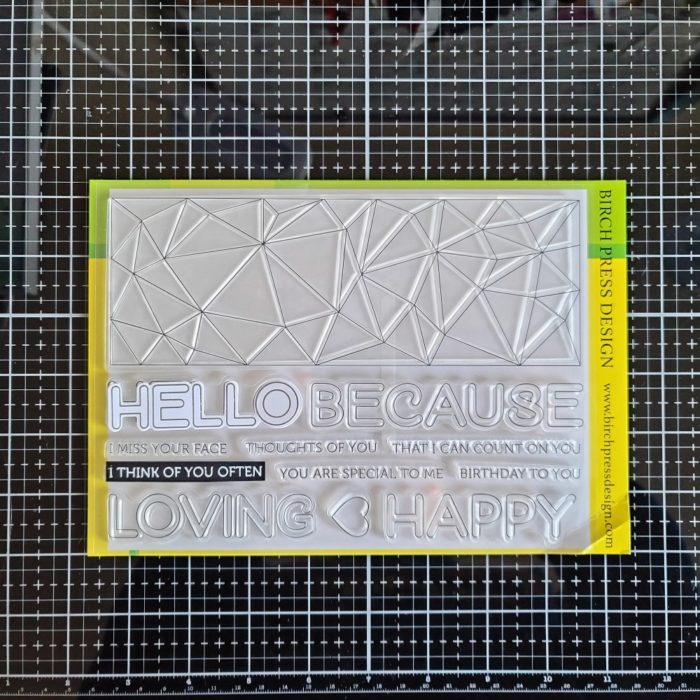
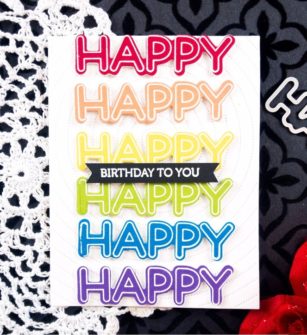
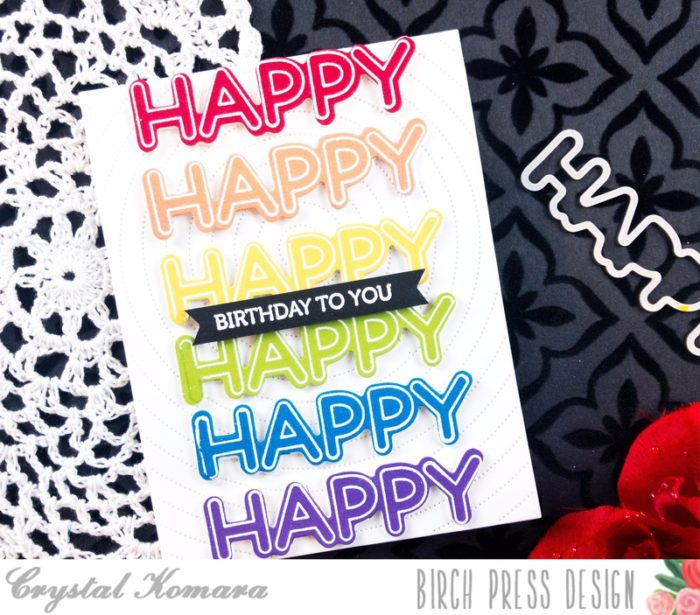
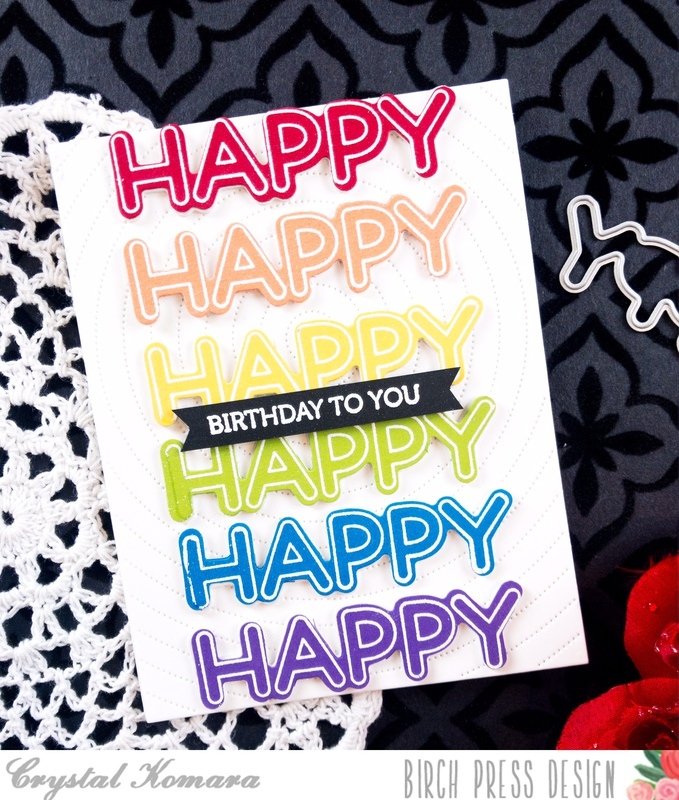
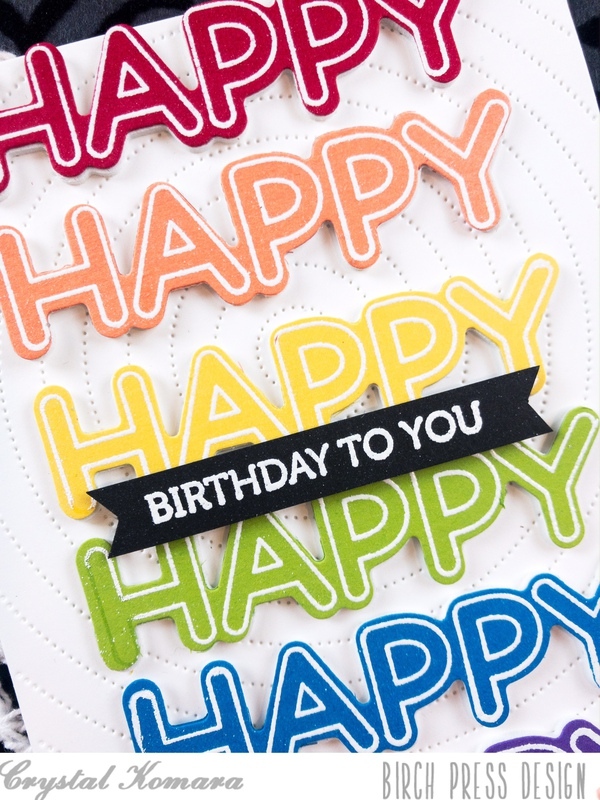
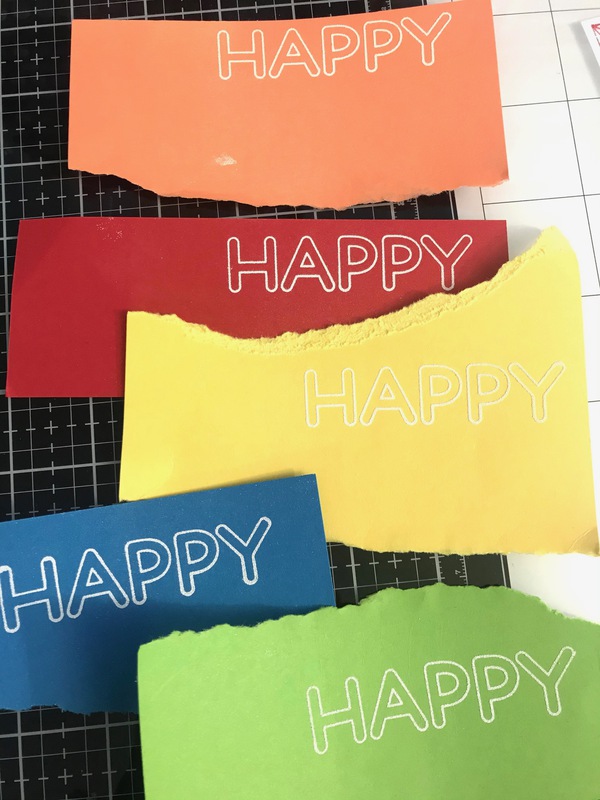
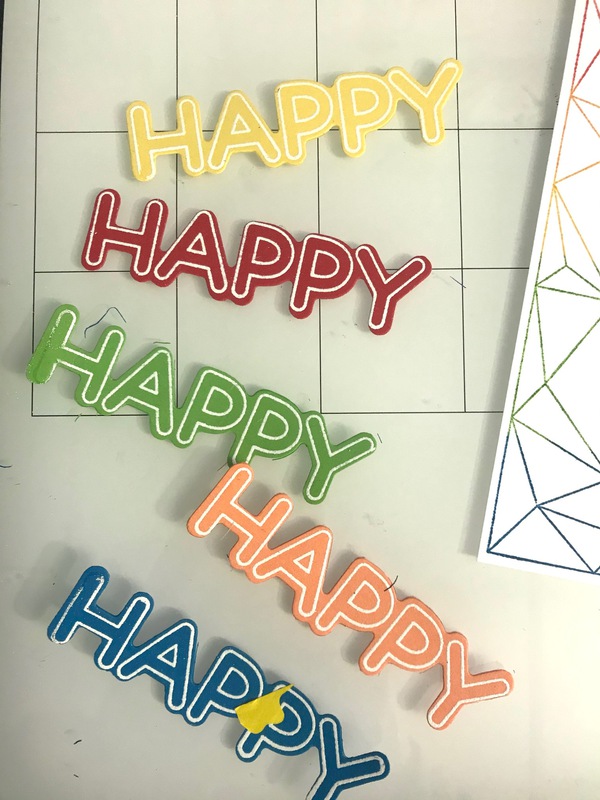
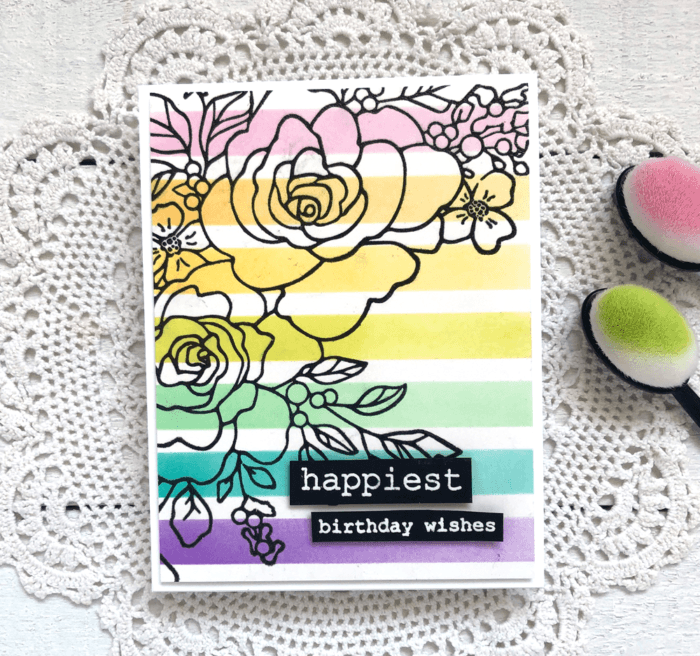
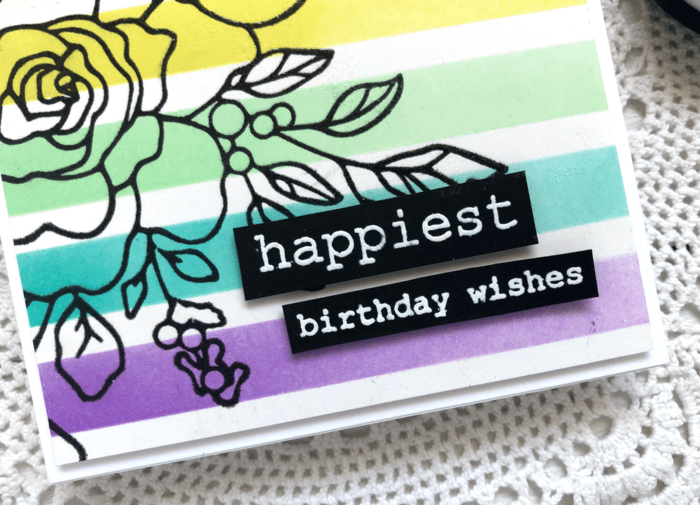
As you can see in the photo, I stamped and heat embossed my sentiments. Hello is silver on white cardstock while the secondary sentiment is white on black cardstock. For the other card, Happy is heat embossed black on white and vice versa for the secondary sentiment there too. I love this contrast!
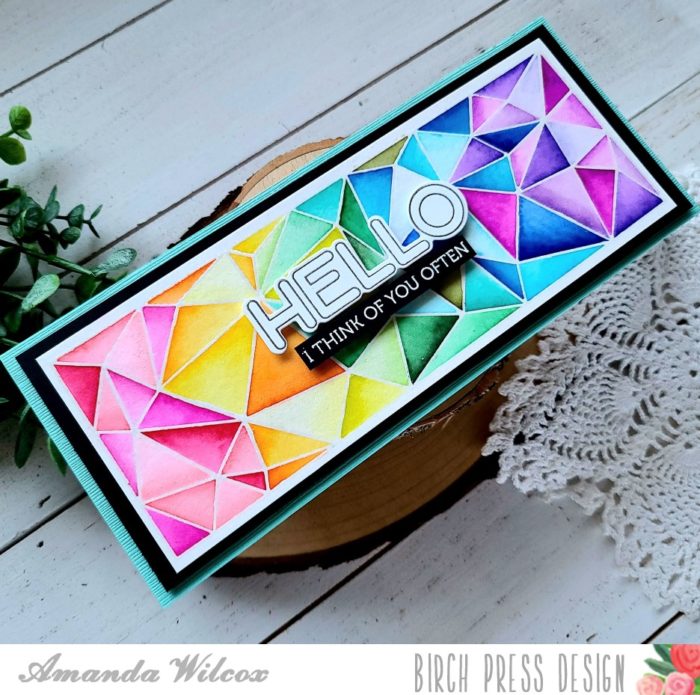
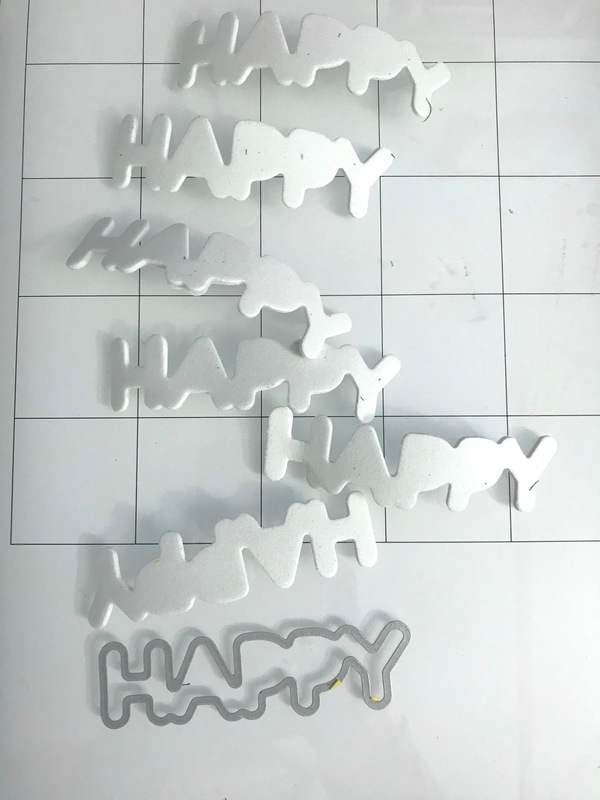
The sentiments are added with a combination of foam squares and strips.
I didn’t want any distraction from the beautiful watercoloring so I didn’t add any baubles or sequins to these cards today.
I just love how they turned out and would be really excited to give it a try again, maybe in an A2 size and totally different color combos too!
Do you have a favorite between the two? I don’t think I can choose one.
I appreciate you sharing your time with me. Have a fabulous day!

Supplies