
Hi there, it’s Tracey back today with a card tutorial and video using a very simple design that uses one stencil and a very lovely stamp set.
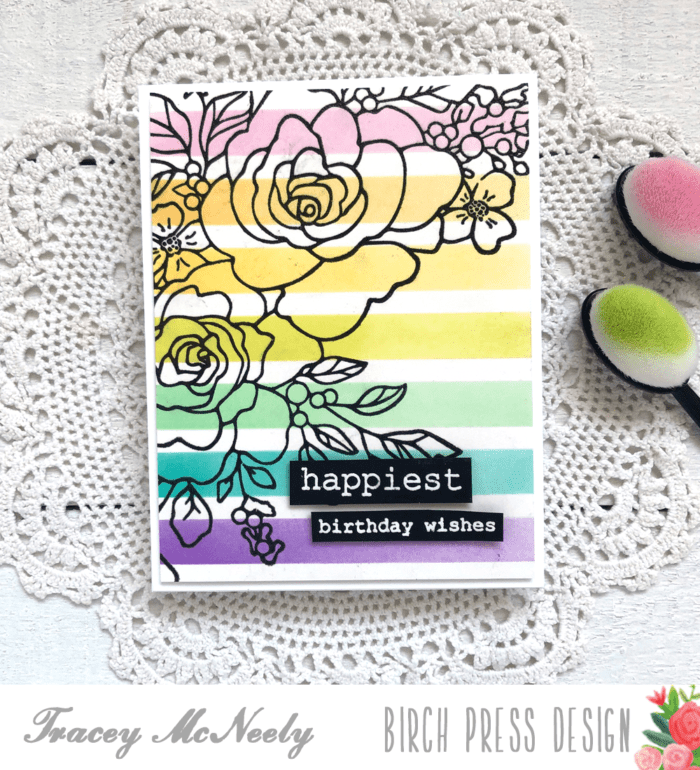
I used the Birch Press Design Bold Stripes Stencil for my background on my A2 sized card. I cut a panel of Bristol Smooth Cardstock to 5 1/2″ x 4 1/4″ to stencil using Distress Oxide inks.
I stuck my panel down to my glass media mat with some purple tape to keep if from shifting. Then I sprayed a generous amount of Pixie Spray on the back of my stencil and placed it over top of my card panel. Using 2″ wide Post-it Tape I selectively masked the stencil so that there was no cross-contamination between colours on the stripes. See how I just simply kept moving my masks for each line of the stencil. Watch the video below to see all the details about how I created today’s card and there might be a few tips along the way.
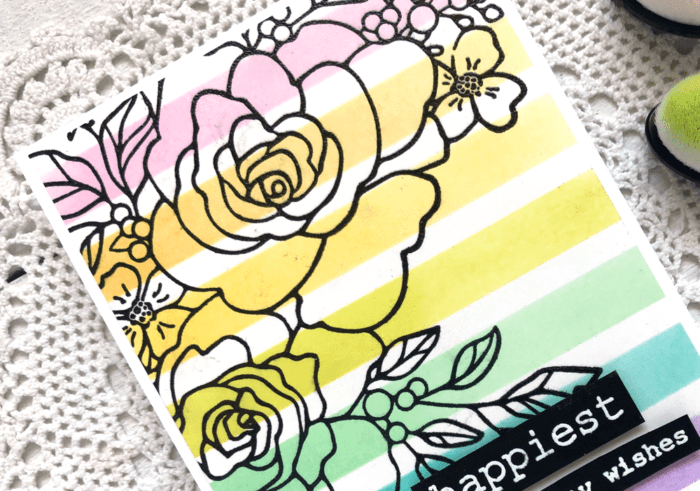
Each stripe of the stencil is ink blended with a different colour of Distress Oxide ink in a soft rainbow palette, starting darker on the right and fading out to the left.
When the stenciling was done I allowed the panel to dry completely. Next the large outline corner rose stamp was clear embossed with VersaMark and Versafine Onyx black ink.
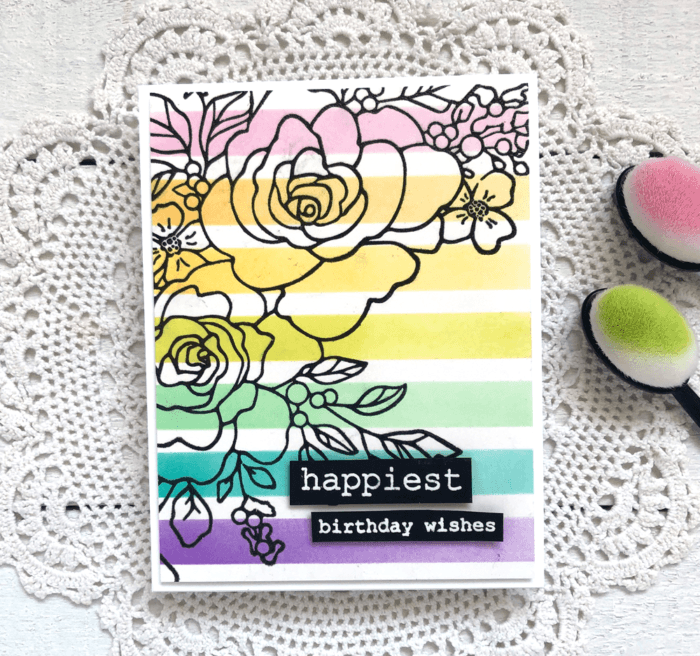
Once I finished the embossing I trimmed the panel down to 5 1/4″ x 4″ and adhered it to my white top folding card base with foam tape. I stamped and white embossed on black cardstock the two line sentiment from the same Birthday Rose Corner stamp set. The two lines were also added with foam tape.

Thank you so much for stopping in to create with me today and I hope that I have given you an idea of a fun design to try. Stop back in tomorrow for another inspiration post here at Birch Press Design.

Supplies


Comments
2 responses to “Simple Outline Stamping over a Stenciled Background | by Tracey McNeely”
This is beautiful Tracey! Your soft stripes make a marvelous background for the outlined images!
Fabulous card, love
the stripes and the
embossing.
Carla from Utah