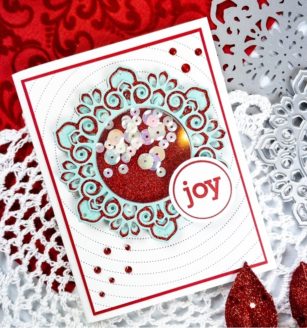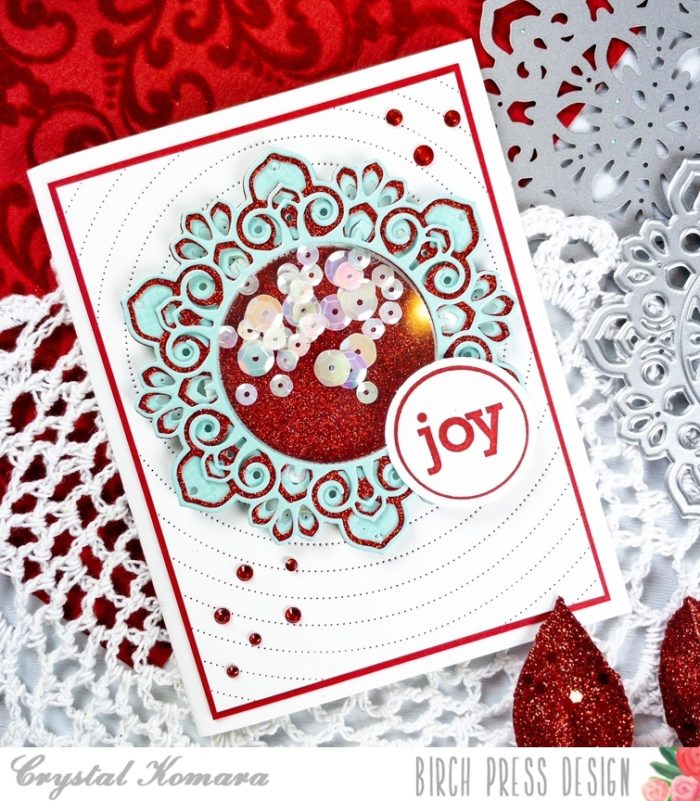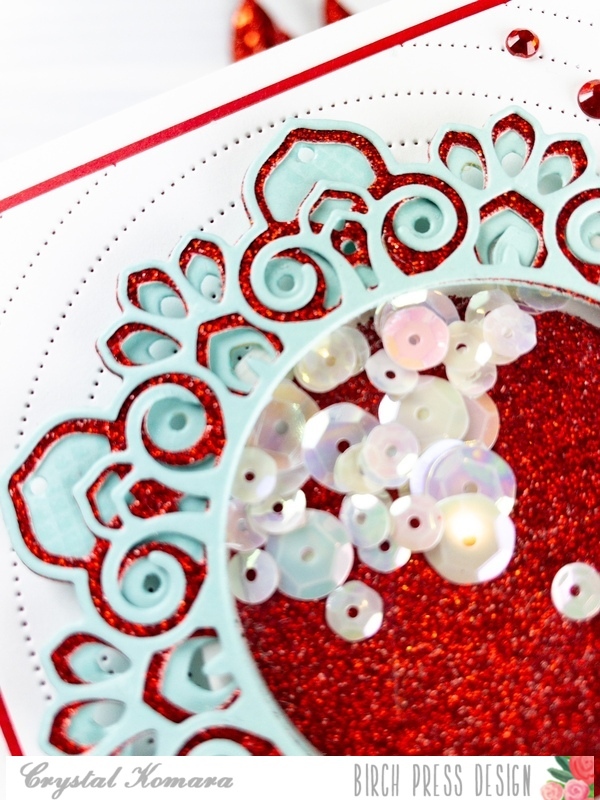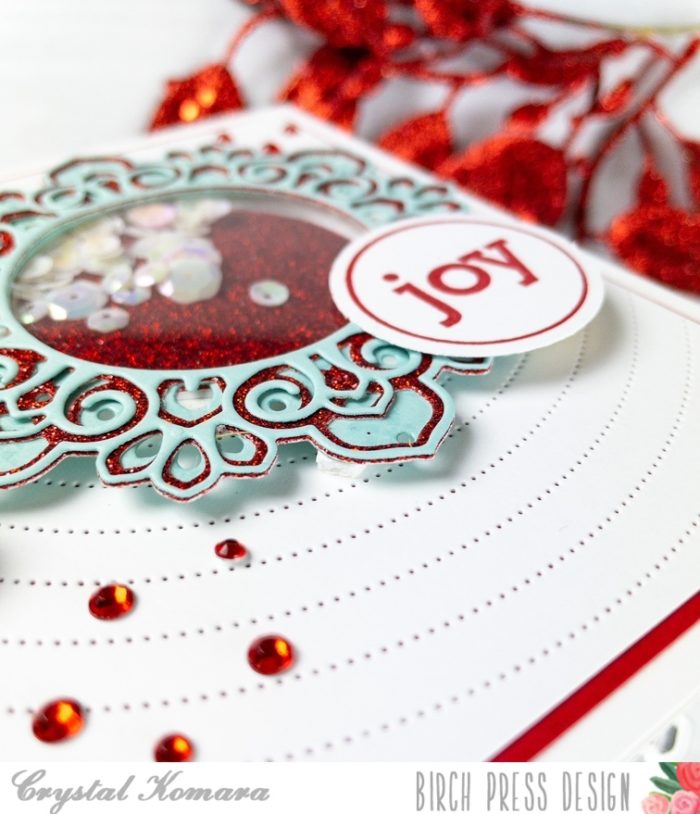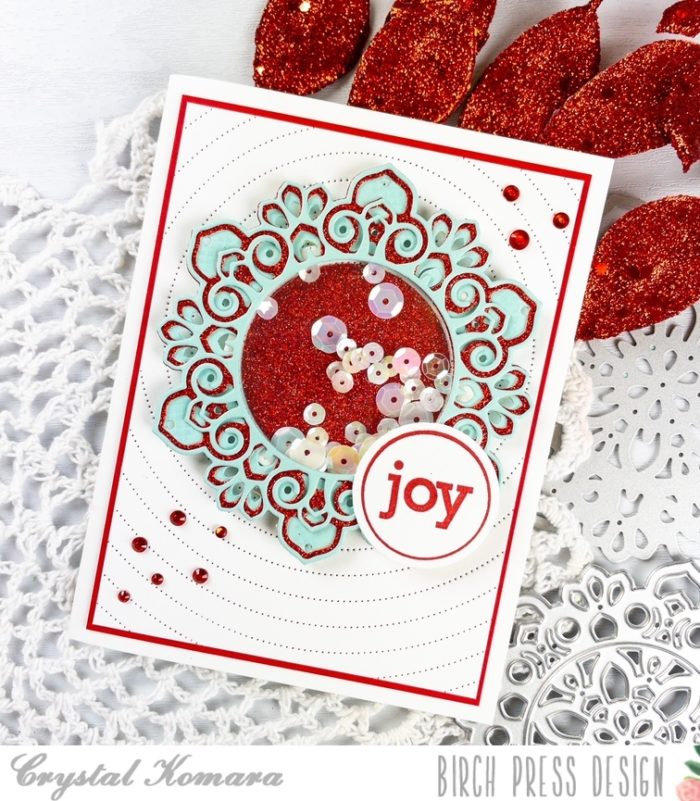
Hello Birch Press Design friends! This is DT member Crystal Komara here with you and it’s a mad dash to the finish line to create those holiday cards and get them out in time! Today I’m sharing a fun and festive way to use a simple holiday shadow word die as the focal point of your card.
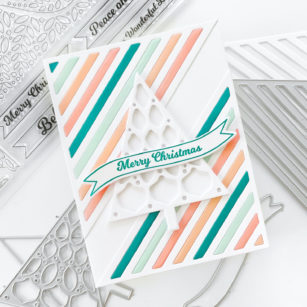
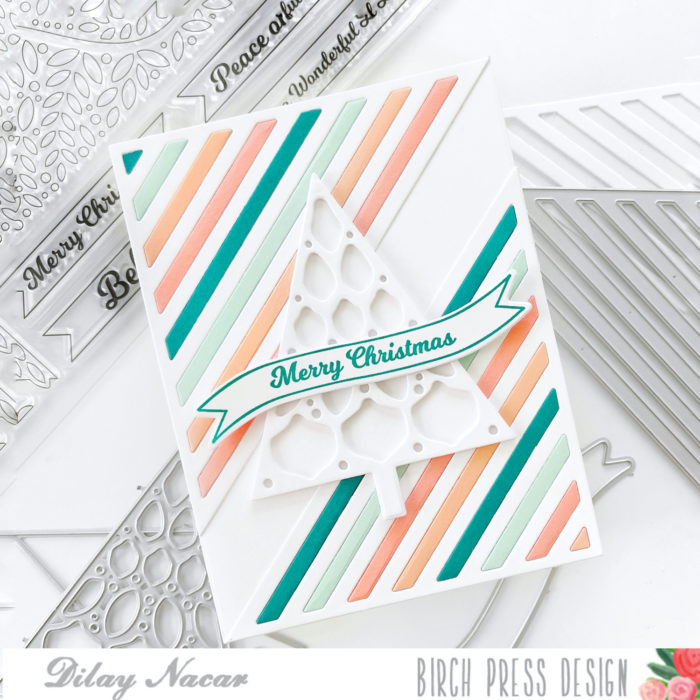
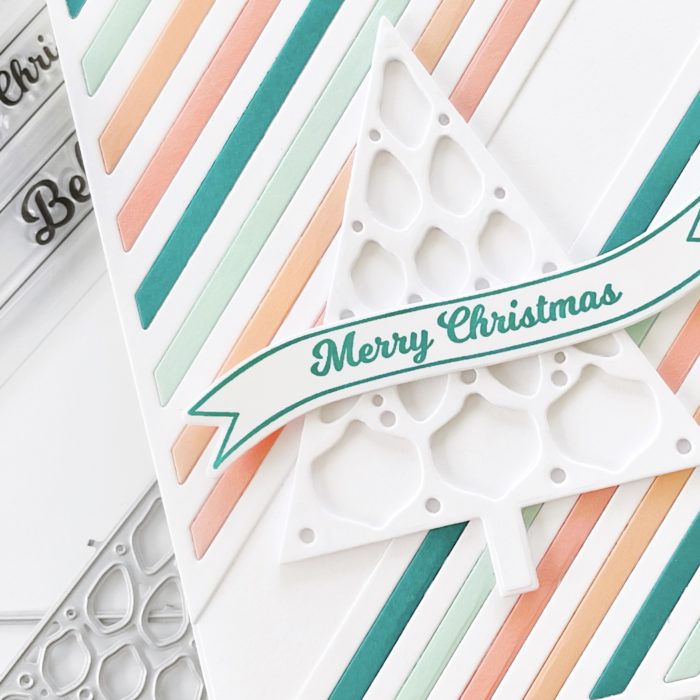
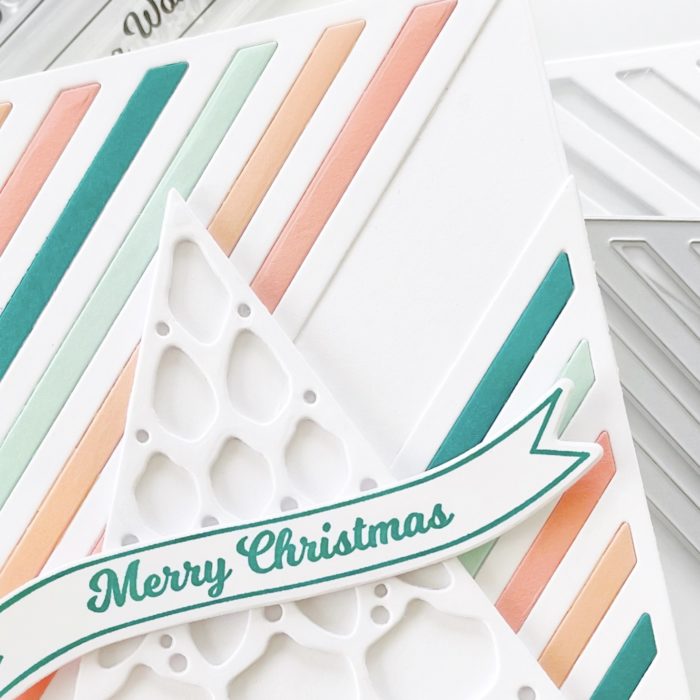
Card details:
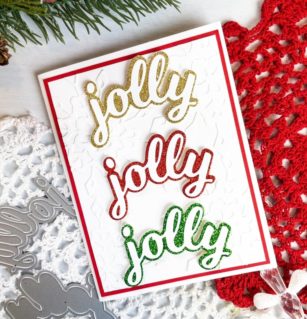
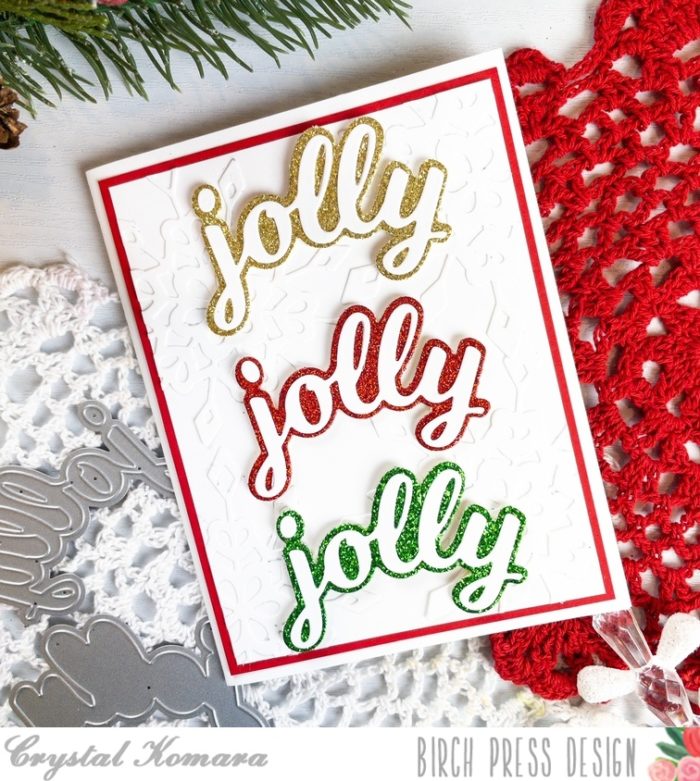
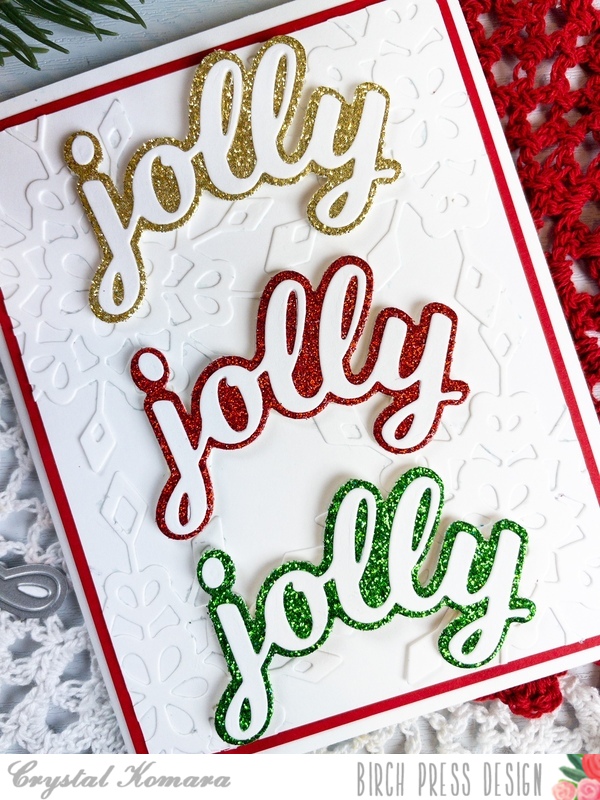
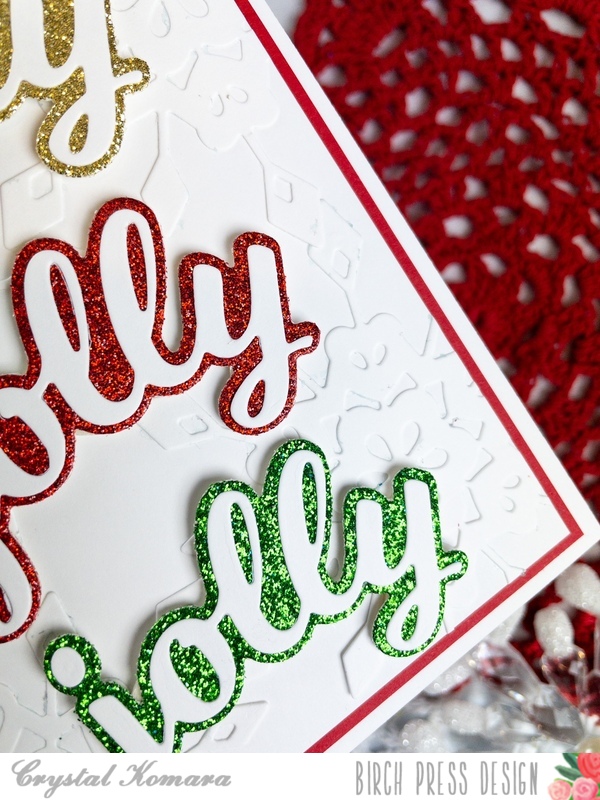
The base of this A2 sized card is made from 80 lb. Neenah Solar White Smooth cardstock. I cut a 5″ x 3 3/4″ piece of white cardstock for the first layer and matted that with a 5 1/4″ x 4″ piece of red cardstock. Using Layer B of the Frosty Flake Layering Set, I cut four snowflakes from white cardstock. I adhered these four snowflakes onto the white cardstock to create my background. It’s a very subtle look to allow the colorful words to POP! I die cut the word “Jolly” three times using the Jolly Honey Script Word Die. I die cut one word from gold glitter cardstock, one from red glitter cardstock and one from green glitter cardstock. All of the glitter cardstock was from the 6″ x 6″ Frosted Glitter pad. I cut the thinner shadow portion of the “jolly” from white cardstock. I layered the two “jolly” layers together with a fine-tip liquid adhesive. I then placed the three “jolly” sentiments going down the middle of the card using 3M foam adhesive for added dimension.
I hope you have joined this fun way to use your shadow word dies to create holiday cards, no stamping required! Thanks for visiting and have a wonderfully creative day!

Supplies