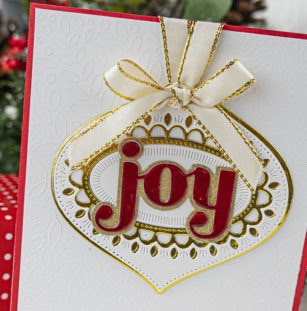
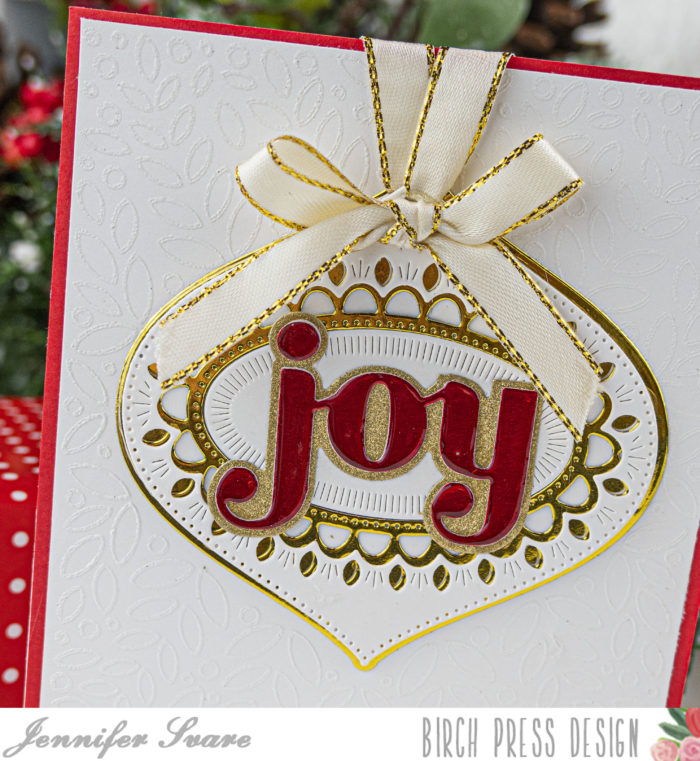
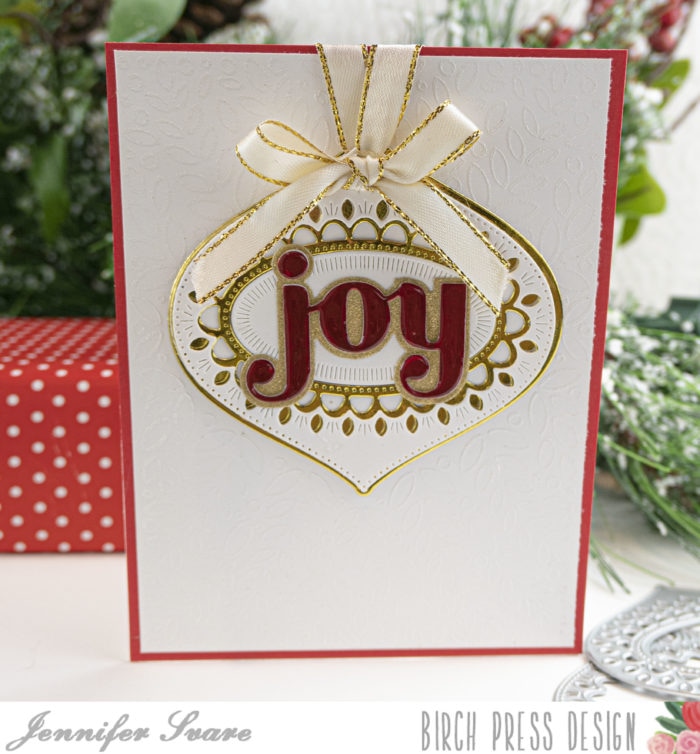
Hello! Today’s card combines coordinating elements from the very versatile Belle Ornament Layer Set, Christmas Ornament and Labels stamp/die set, along with a very festive Big Joy Sugar Script! The ornament die from the stamp set is just slightly larger than the ornament from the Belle layering set, so it created a fun border of gold around the edge of the ornament. So many possibilities when combining everything!
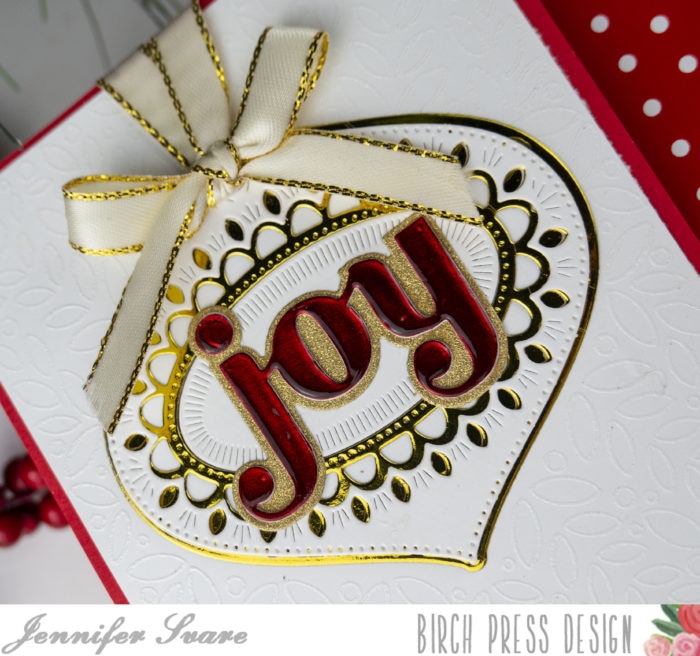
Using glossy accents over foiled card stock (above) gives an amazing depth and also makes the word “Joy” really pop from the card – I love it!
The background stamp was heat embossed white-on-white for the background. The light catches the shiny white design, and it goes together beautifully with the shininess of the Joy.
Gold and white card stock was used for the actual ornament, along with some matching ribbon. This also makes an incredible tag to go along with a festive Christmas wrapping paper. Instead of the word “joy,” a person’s name could be written with a gold or red marker. Check out the video to see this card in action, and how it was made. Super easy!
Have a wonderful day, and thank you for stopping by the blog today.
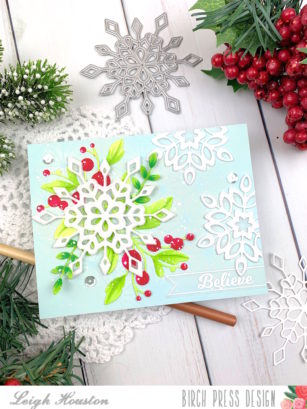
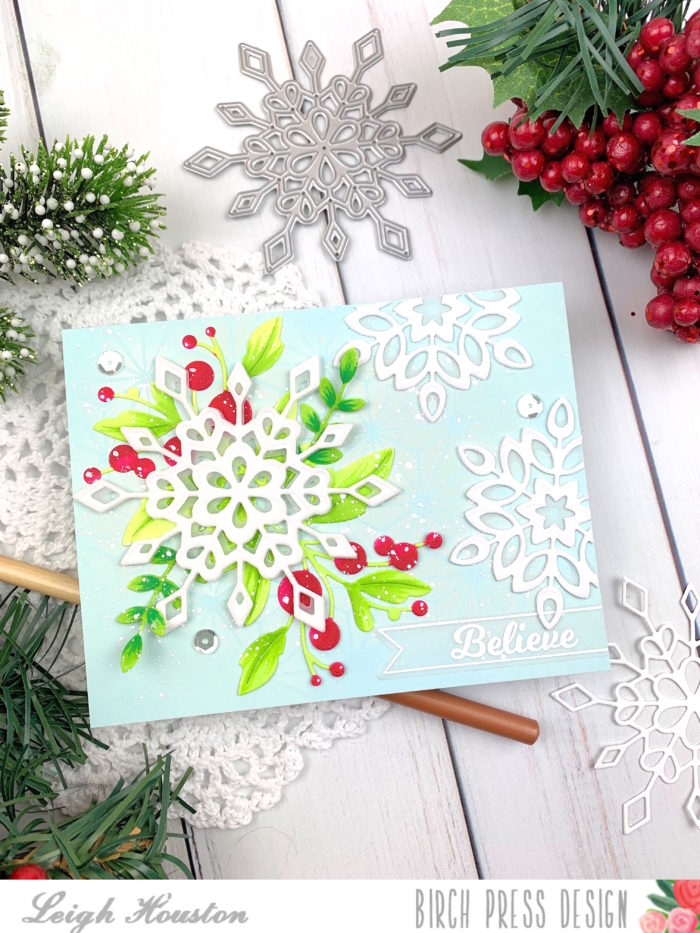
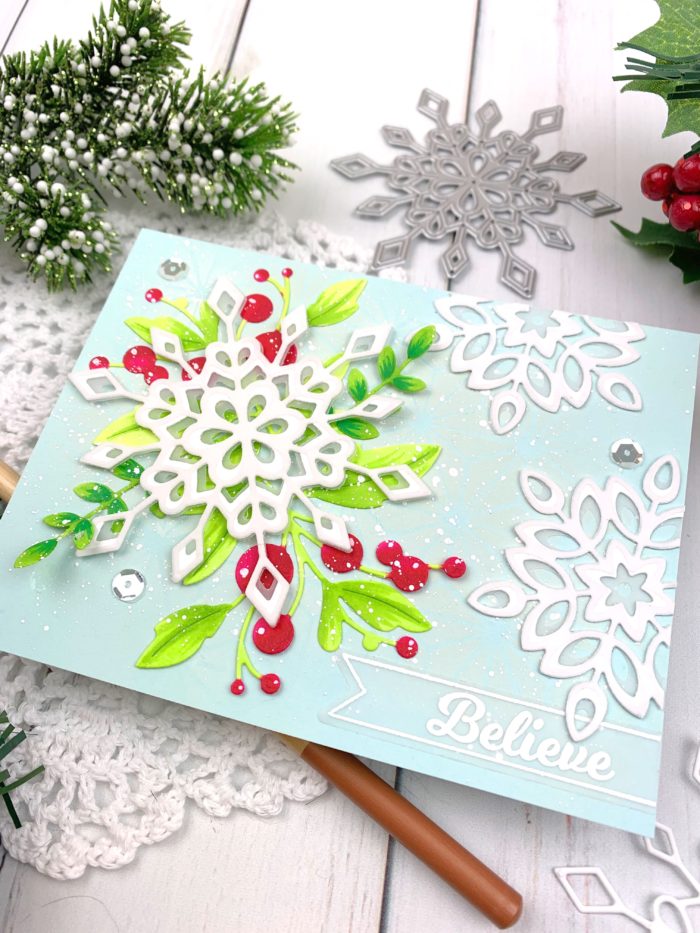
Hello, friends! Have you started your holiday crafting yet? I am just dipping my toes into the holidays, and I was so excited to start the season making a card featuring the gorgeous Frosty Flake Layered Snowflake dies from Birch Press Design!
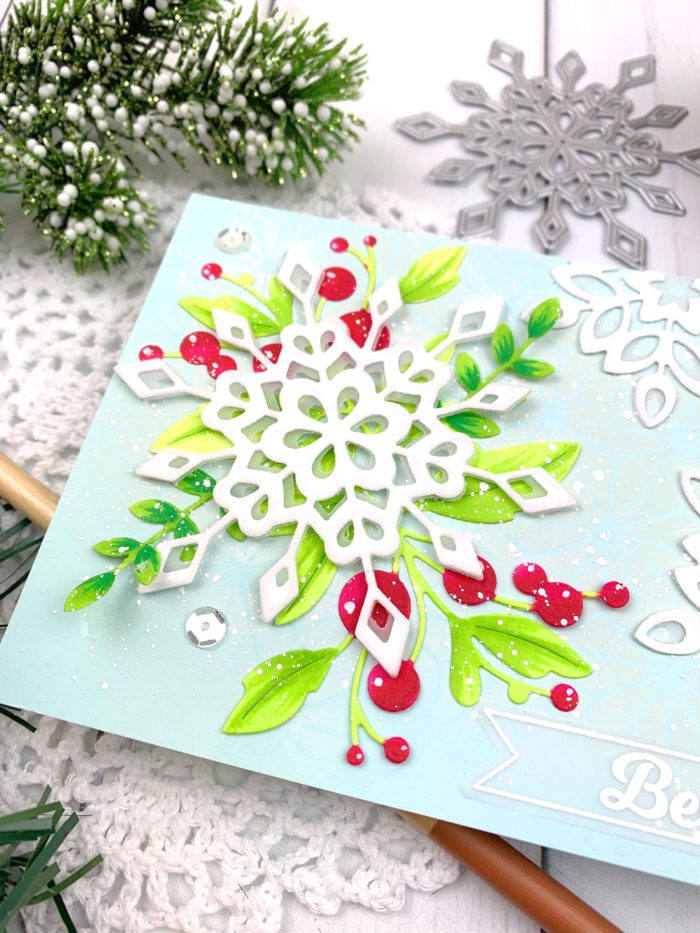
I started this winter-themed card by creating my background. I used white pigment ink and the Memory Box Fractal Diamond stencil to create a subtle background on a piece of light aqua cardstock. I then die cut two foliage pieces with Memory Box’s Silverdale Branch die, which is a gorgeous foliage die. I used Copic markers to color in the die cuts before adhering them to my card. A tip: to create dimension on your cards, don’t adhere the ends of your foliage die cuts. It’s so beautiful and interesting to see the ends of the die cuts floating from the surface of the card!
I then die cut all 3 layers from Birch Press Designs’s Frosty Flake, using vellum for layers A and C and white cardstock for layer B. I adhered this beautiful snowflake over my foliage. I then cut two smaller snowflakes from the Mini Snowflake Frame, using all 3 layers in the same configuration as the first snowflake. I adhered these on the edge of my card.
To finish the card, I heat embossed my sentiment from the Christmas Ornament and Labels stamp set on vellum. After adhering this to my card, I added white splatters over the whole surface and a few sparkly sequins here and there.
I hope you enjoyed this project! Thanks so much for stopping by today, and I’ll see you again soon with another Birch Press Design cardmaking project!
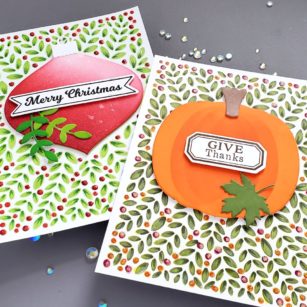
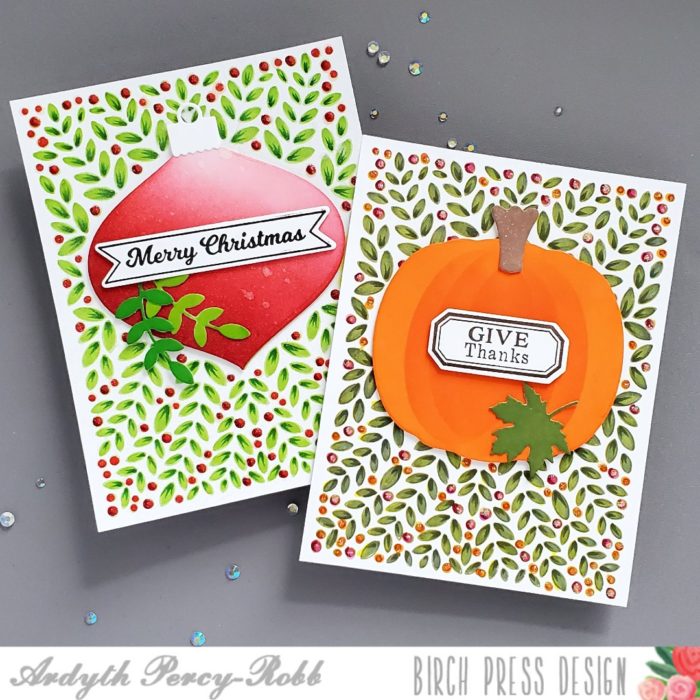
Good morning! Ardyth here with an easy way to get more from the gorgeous leafy background in the Christmas Ornament and Labels stamp set.
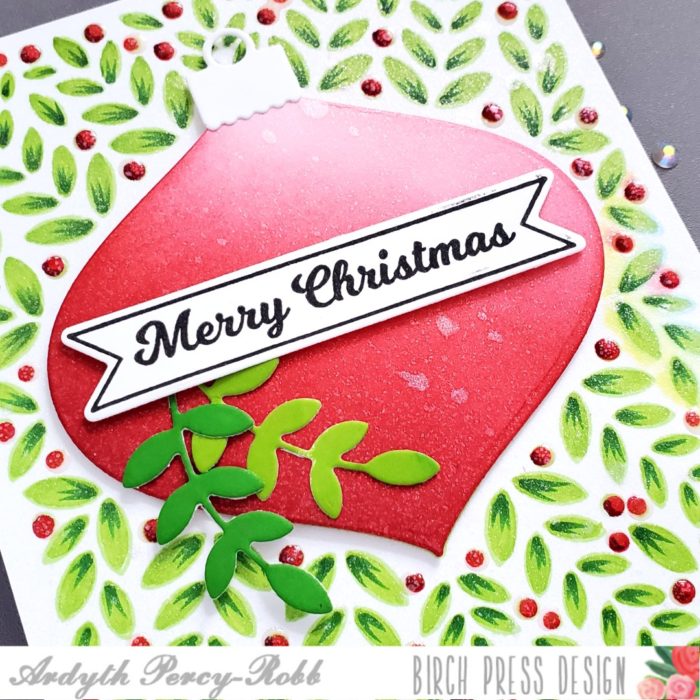
First, I stamped the background with green ink and did some no-line colouring with alcohol markers. I die cut an ornament and blended it with red ink, leaving a lighter area on the top right as a highlight. I popped it up on the card right over the ornament outline that is part of the stamped background.
I stamped one of the banner sentiments and cut it out, and popped it up over two of the branches, cut with the die included with the set. I added Nuvo Clear Crystal Drops to my red berries.
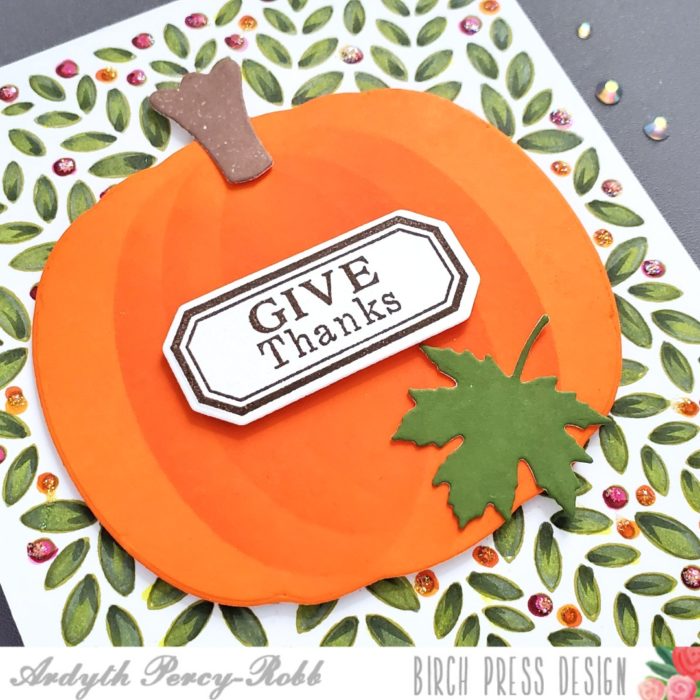
Then, I did it all again! This time, I chose a darker, warmer green colour for my leaves, and orange and pink for my berries.
I covered the stamped ornament outline with a die cut pumpkin from the Pumpkin Lacework stamp set. I blended orange ink over it, using the edge of the negative portion of my die cut, to give some dimension.
I stamped one of the included sentiments, cut it out and popped it up on the pumpkin, along with the stem and a maple leaf.
I hope you’re inspired to look at your stamps and dies to see how you can change them up and get more from them!
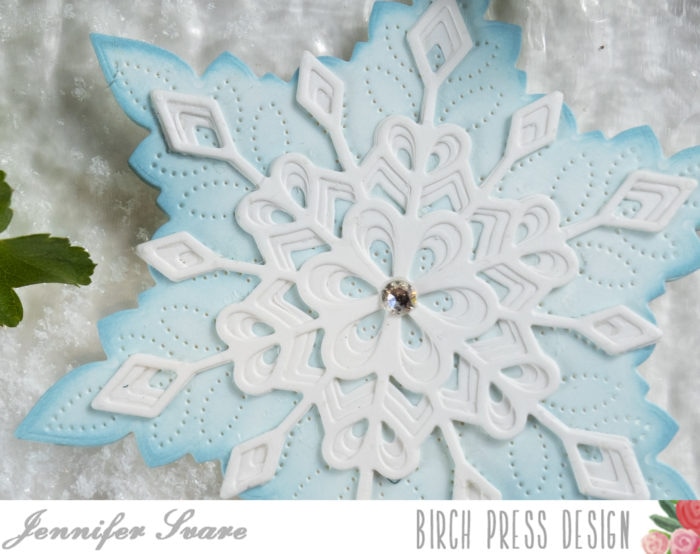
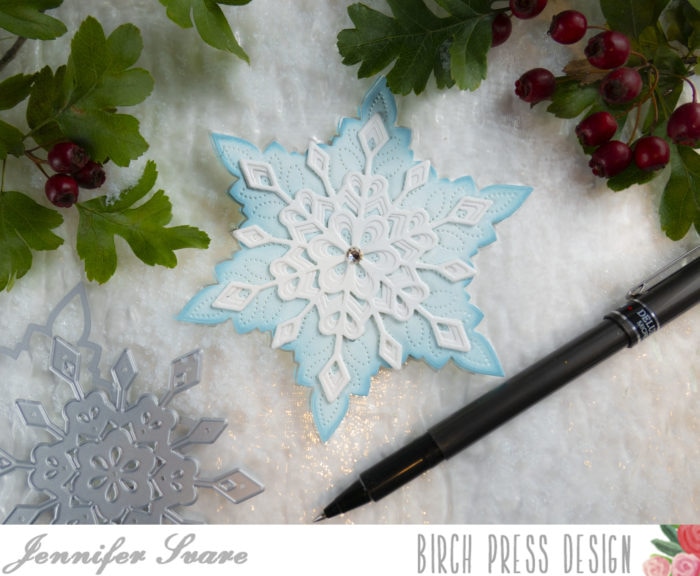
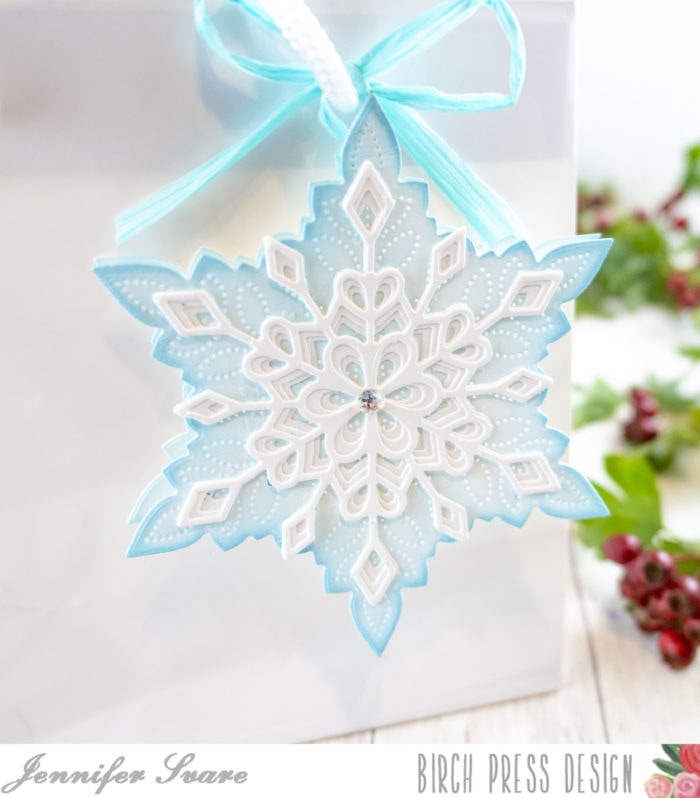
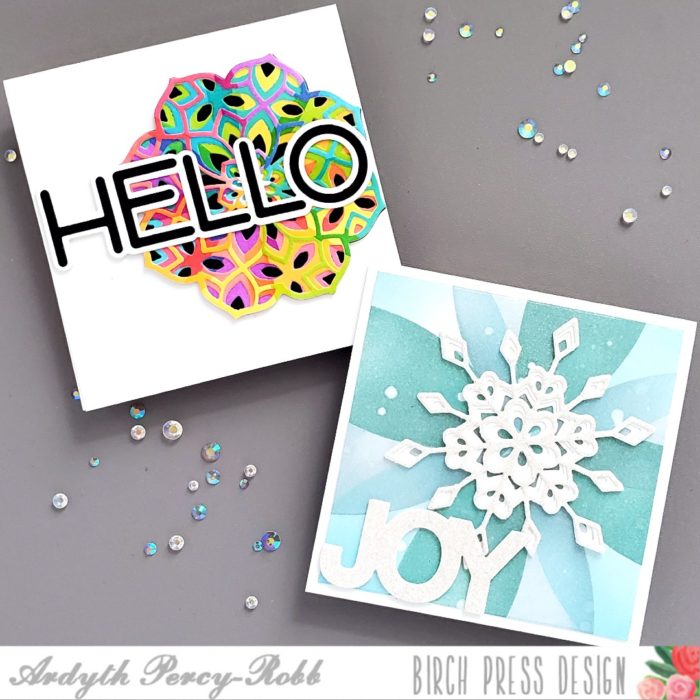
Hello! Today I’ve combined the new Frosty Flake layers along with the Pinpoint Snowflake used as a background to create a mini card or gift tag. The gorgeous layers were white-on-white, with a soft dusting of blue distress oxide gradient on the bottom layer.
I call it a “mini card” because it’s smaller than a standard A2 size, but it’s not tiny. It’s perfect for a small card or tag. See the reference to the pen above. This would still fit nicely in an A2 envelope when used as a card.
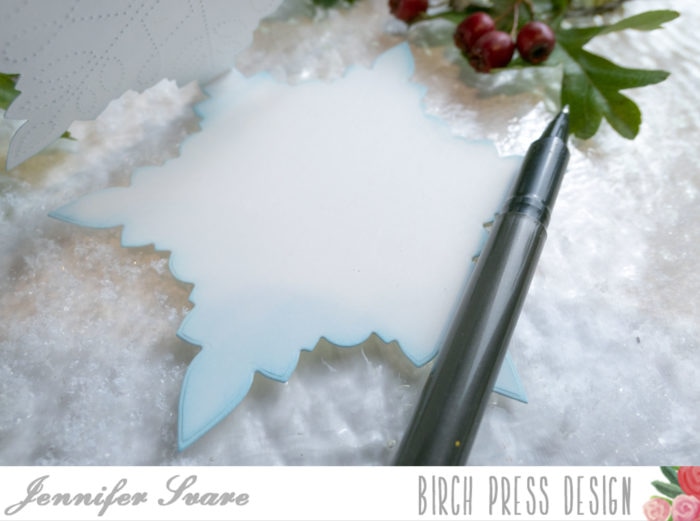
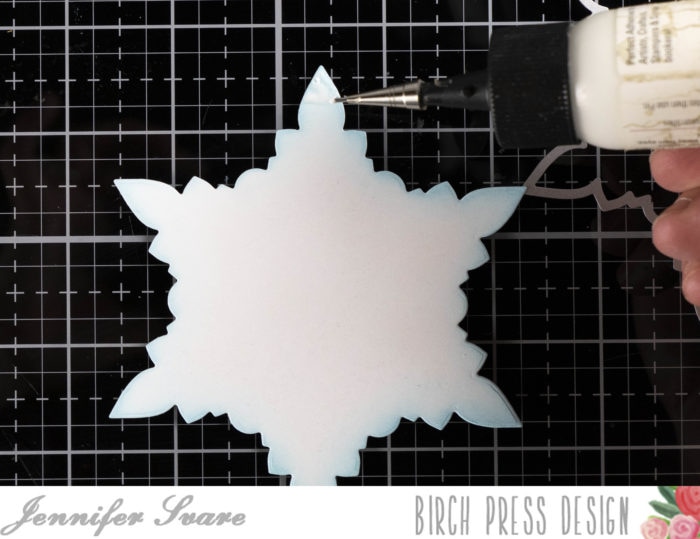
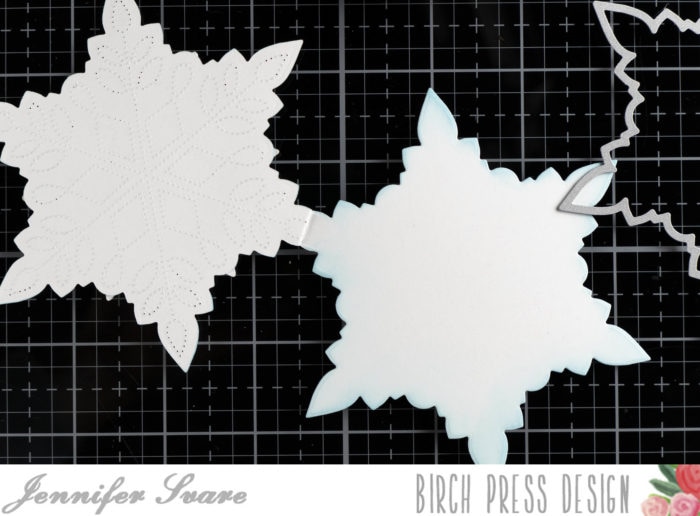
I love how the Pinpoint Snowflake comes with an outer shape die as well as the pinpoint interior plate. This allows a lot of versatility with the design. I die cut two of the basic shapes (above), and glued the very tip of the flakes together. This gives me a shaped card that has no embossed pinpoints on the interior for writing. The outside was embossed with the pinpoint plate for a beautiful background. The interior also has a soft gradient of blue sponged on as well.
The photo above shows it being used as a gift tag on a plain white gift bag. So pretty and I love how the light shines through the pinpoints. The top layers are made from all layers of the Frosty Flake die set. Paired with the pinpoint background, it’s simple, but yet has so much beautiful detail. To use it as a tag, I simply tied ribbon through the inside. No gluing or holes needed and it stays perfectly secure!
These could be done in so many different colors, and given as a gift tag or card set. Snowflakes last all winter, not just the holidays! What about thank you cards in January? Or a Happy New Year greeting written inside?
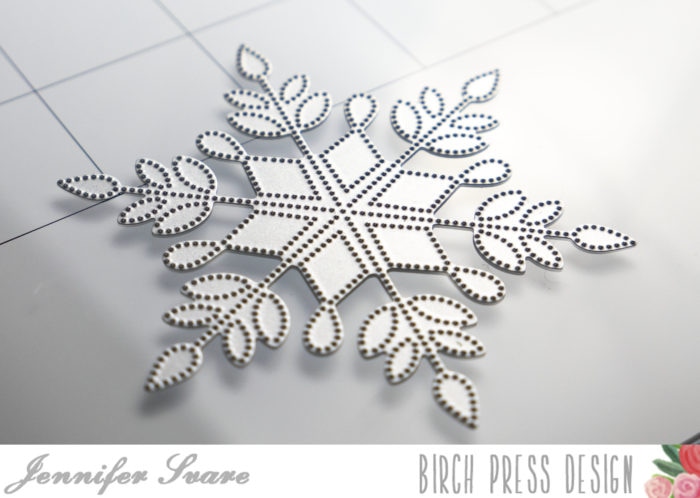
The above photo shows the pinpoint die from the Pinpoint Snowflake set. This can be used alone for many different background effects. I used this for the exterior background of my card.
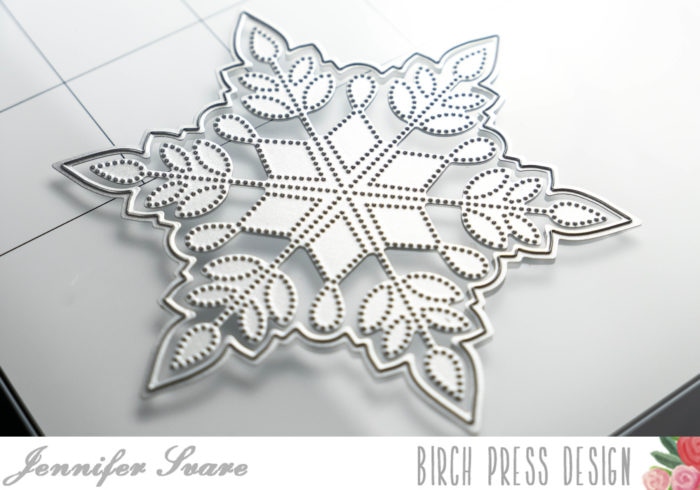
The outline die cuts around the edge, leaving a nice border around the pinpoint design. I die cut one as shown above, and one using just the outline die, as shown below:
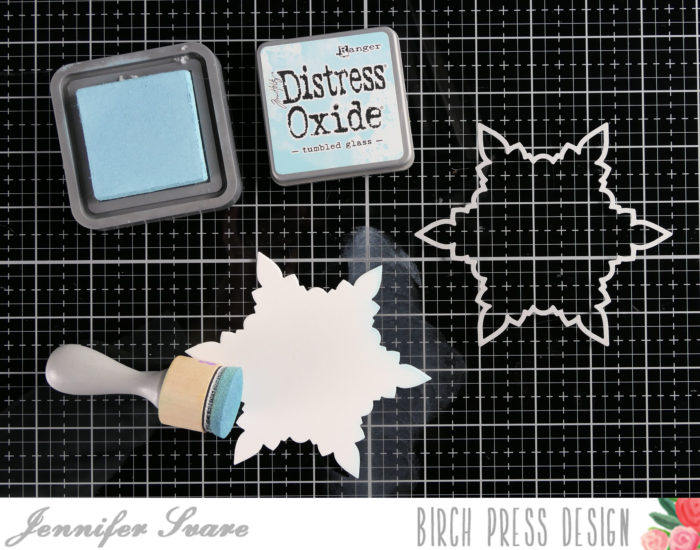
For both the top and bottom, I went around the edges with Tumbled Glass Distress Oxide ink, following through to a soft gradient on the inside of the snowflake.
Once the inside had shading done, I applied glue to the top portion of the snowflake and glued the front and back together to form the card. This creates an area that the card can bend and be opened. Because I glued approximately 1/2″ down, the card is not fragile when opened.
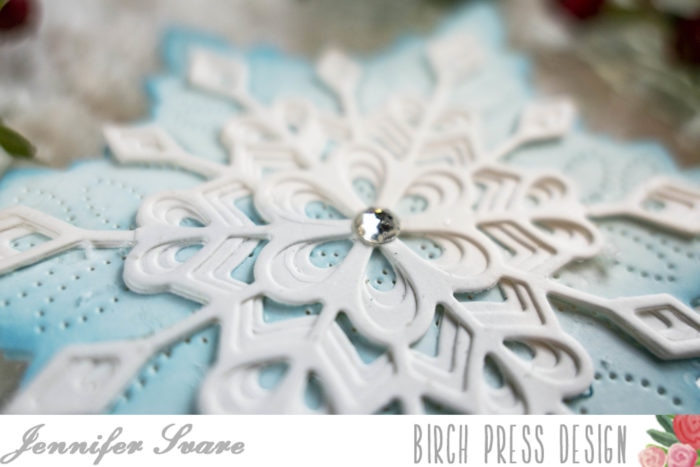
Layers A, B, and C of the Frosted Flake set were glued together, and then glued over top of the pinpoint layer on the front. A crystal was added to the center. This was a fast, easy project with a big “wow” factor! So pretty. I hope you have a great day!
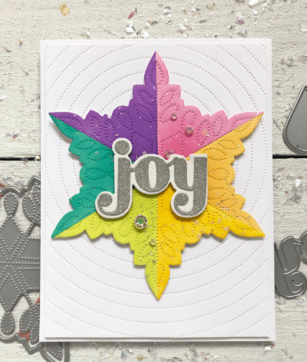
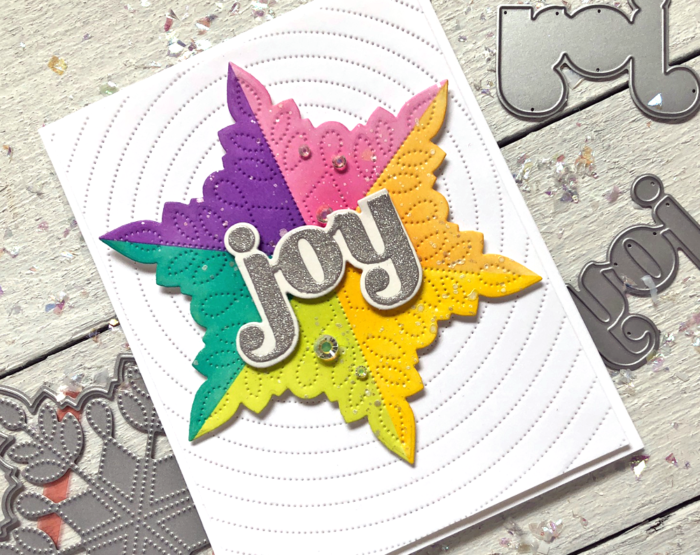
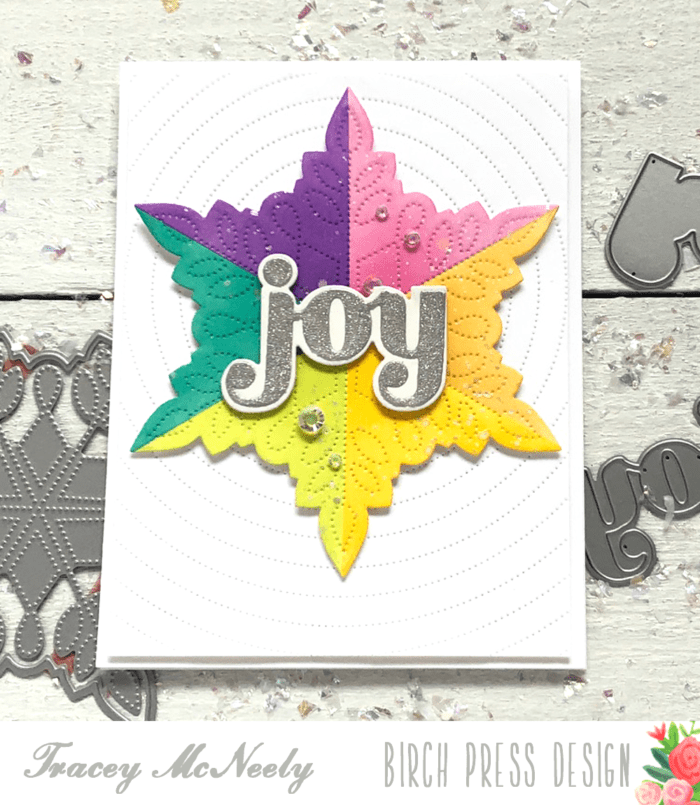
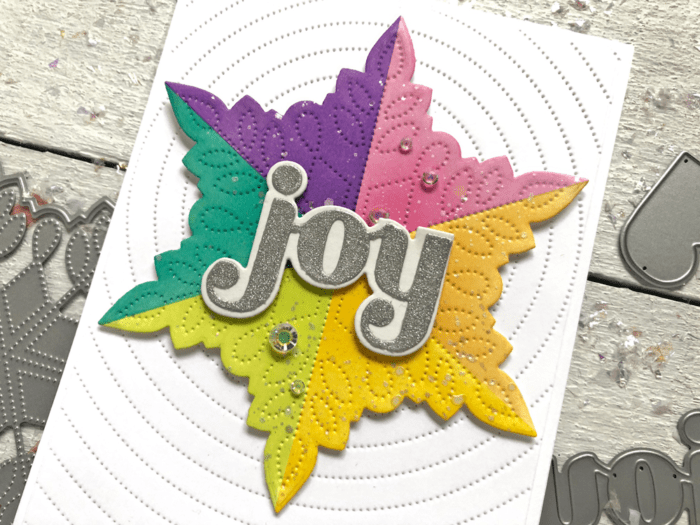
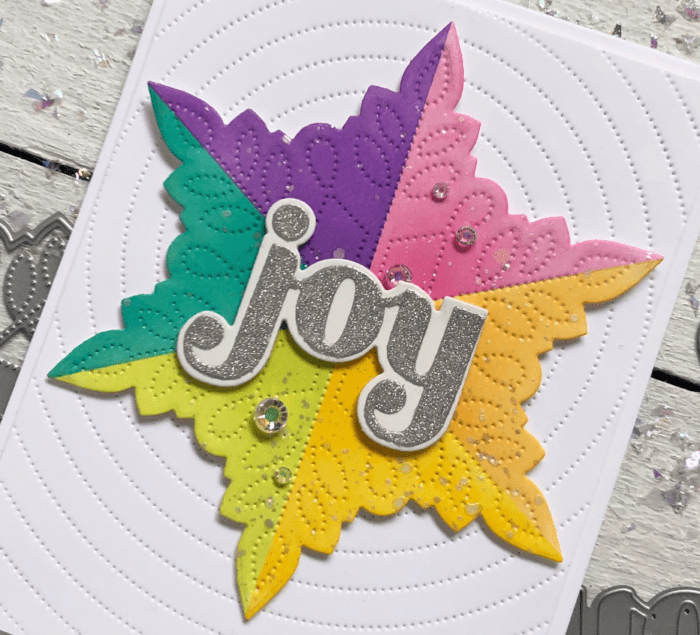
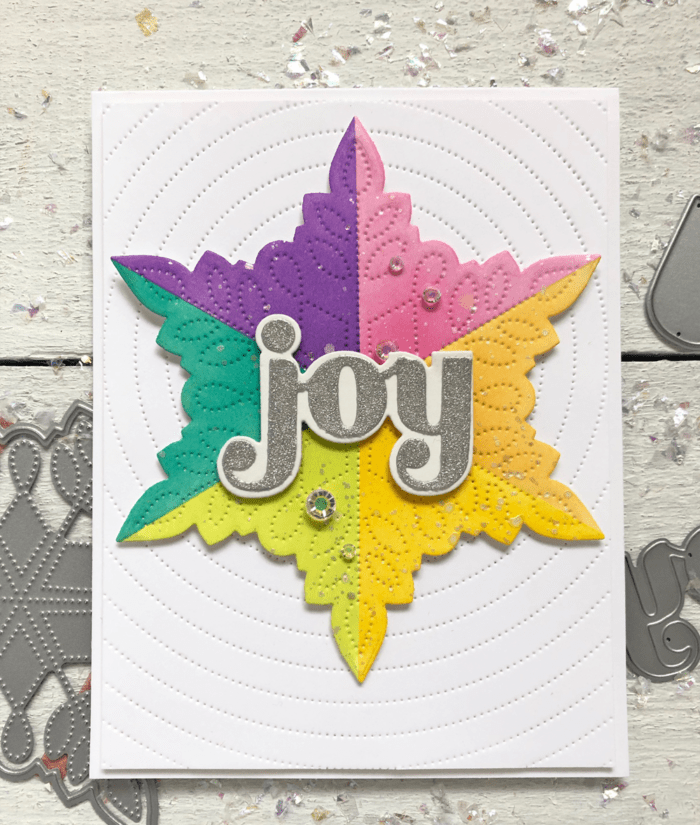
Hi there crafty friends, its Tracey here today with a tutorial on how I created this pretty rainbow snowflake using the newly released Pinpoint Snowflake die.
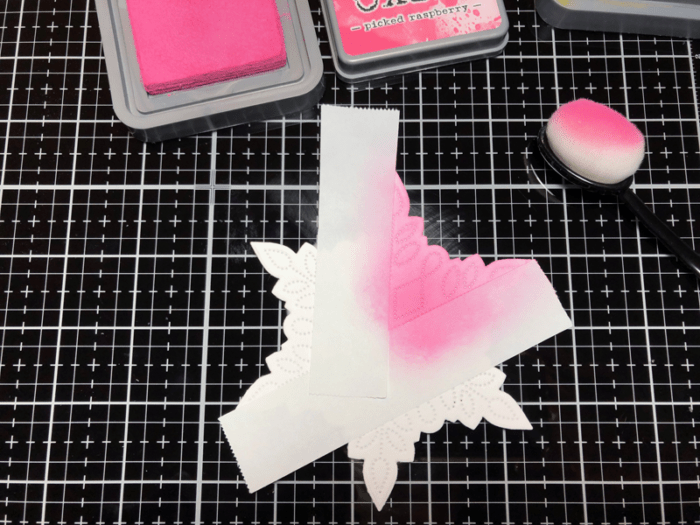
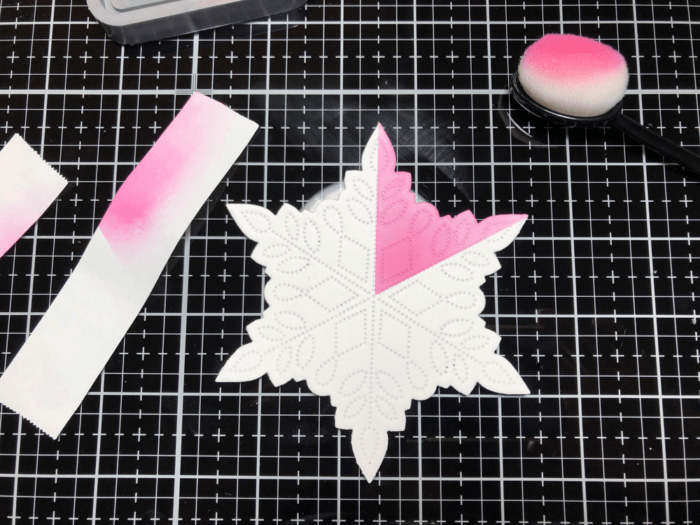
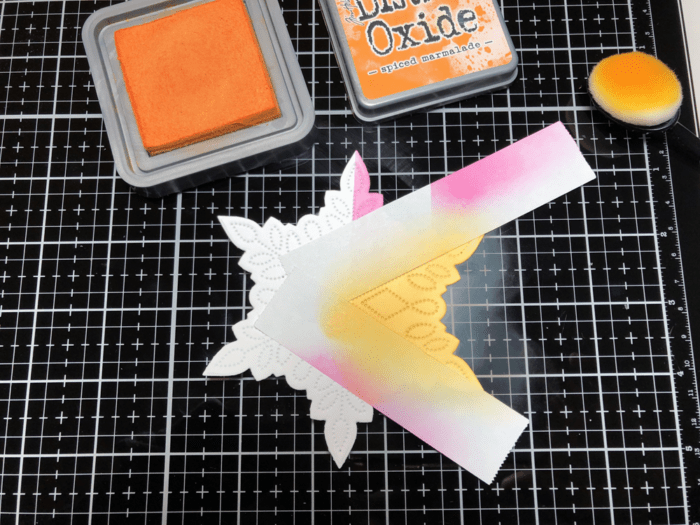
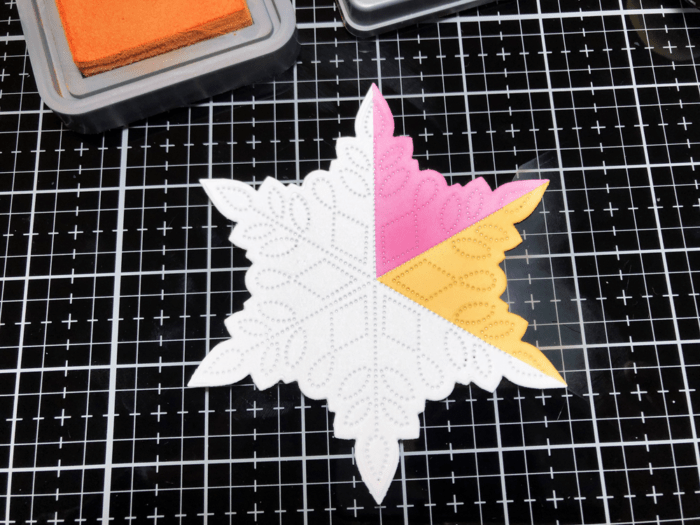
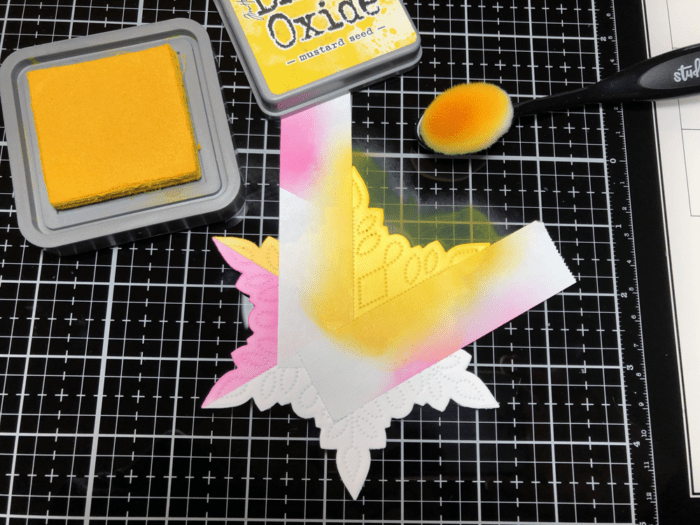
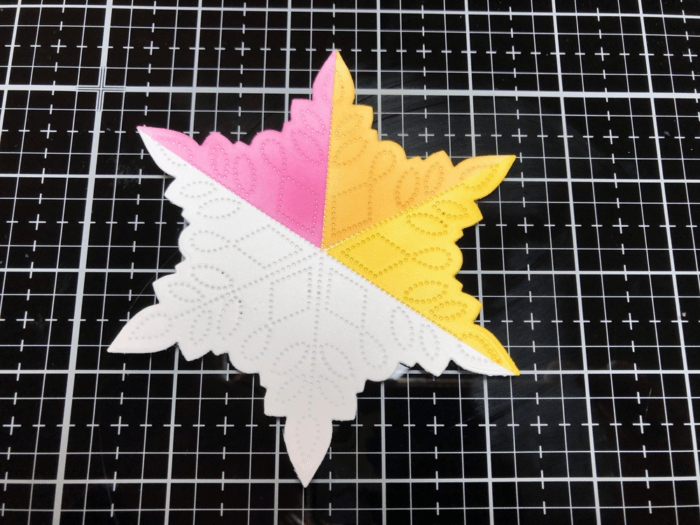
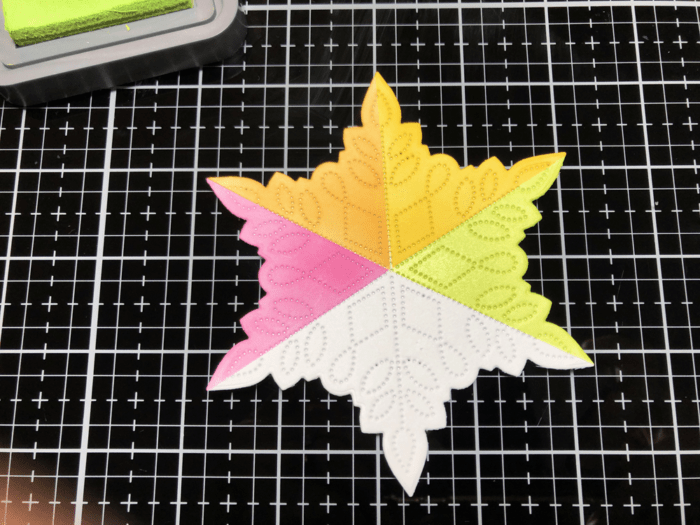
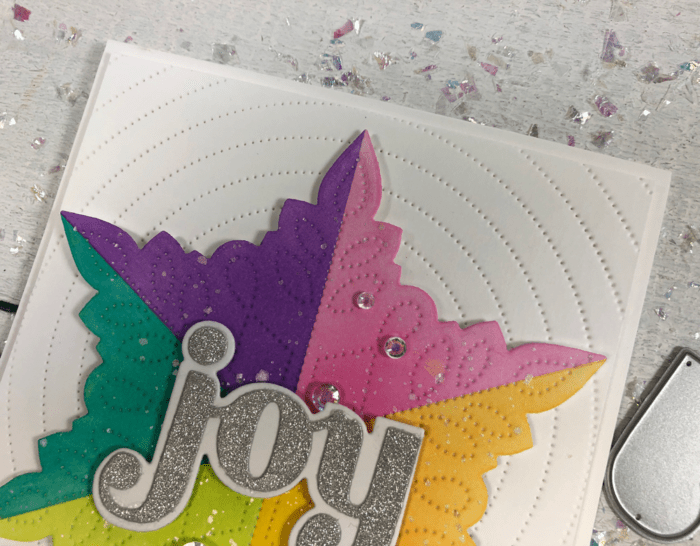
I divided up the snowflake into 6 equal parts. Using Post-it Tape for masking along the straight pierced lines I ink blended each section with a different colour of Distress Oxide ink.
After I ink blended the first section using Pink Raspberry and then I removed the tape to reveal a crisp line.
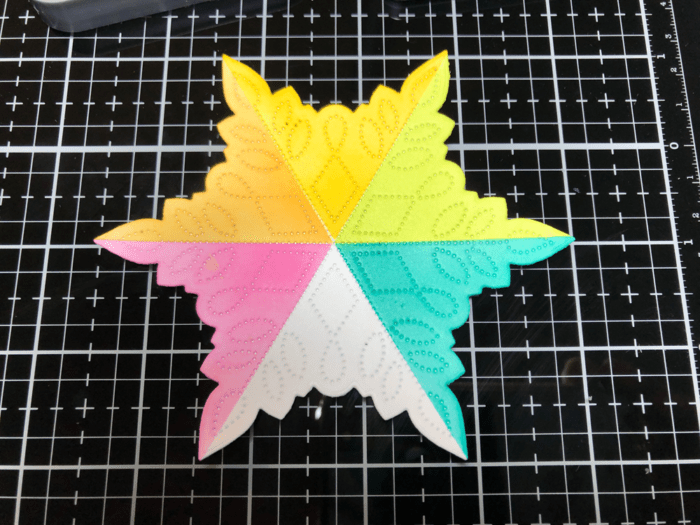
I moved the tape to cover the section I just blended and masked off the second section. I ink blended the next section with Spiced Marmelade using the same Post-it tape. Removed the tape and set up for the next section using the same Post-it tape once again.
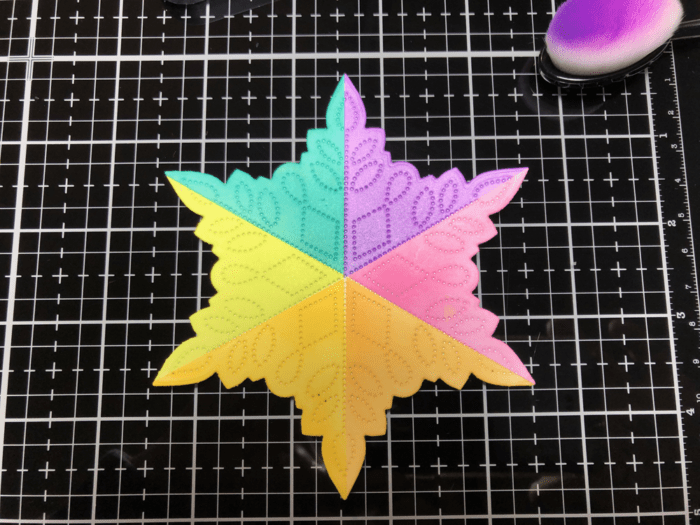
I continued around the snowflake for the remaining three sections–Twisted Citron, Peacock Feathers and Wilted Violet. I used new Post-it tape for the last three sections so there was minimal contamination of colours.
Ooops took this next photo from the wrong angle!
To make this snowflake into a card I die cut the Pinpoint Radial Plate from white cardstock. I trimmed it down to 5 1/4″ x 4″. Taking an 1/8″ of of each side so the centre of the radial is still in the centre. I finished by adhering the snowflake to the radial panel over the card base with foam tape.
For the sentiment I used the Big Joy Sugar Script dies. The word was cut with silver sparkle cardstock and the shadow cut from white. They were glued together and then adhered to the centre of the snowflake with foam tape once again.
To finish it off I tucked a few sparkling crystals around the sentiment.
Thanks so much for stopping in today I hope you give this technique a try. You can mask off and ink blend any shape or cover die that you have. It’s addictive, I promise. See you next time!
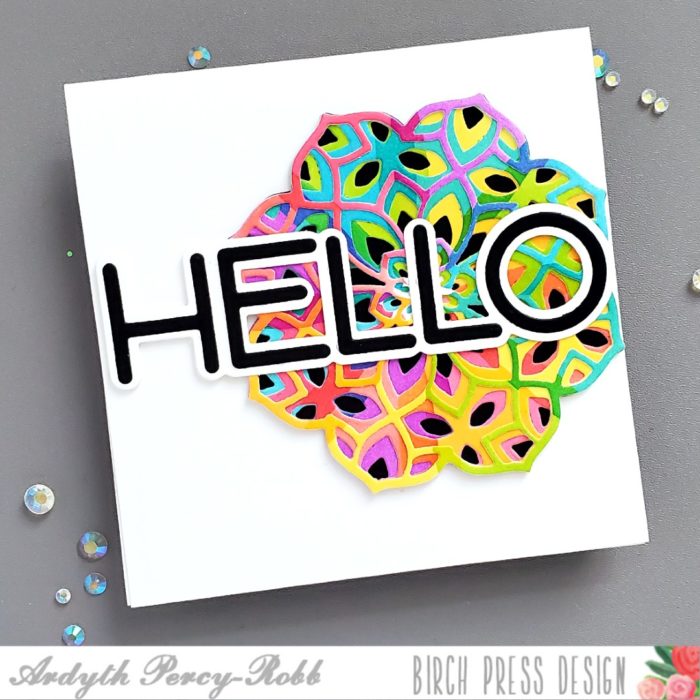
Good morning! At first glance, these two cards don’t look like they have a lot in common, but both were made with the same Petal Burst stencil and an easy turning technique!
I blended 4 colours of ink through the stencil – one colour for each petal, before turning it 45 degrees and blending 4 more colours through it. I did this 3 times and then cut the Kinsley Layering dies from the centre of each ‘flower’. I stacked them up, but turned them to create a bold patchwork of colour. I backed it with one of the Vivid Blooms Stitched layers die cut from black cardstock for drama. I finished the card with the Jumbo Lingo Hello die.
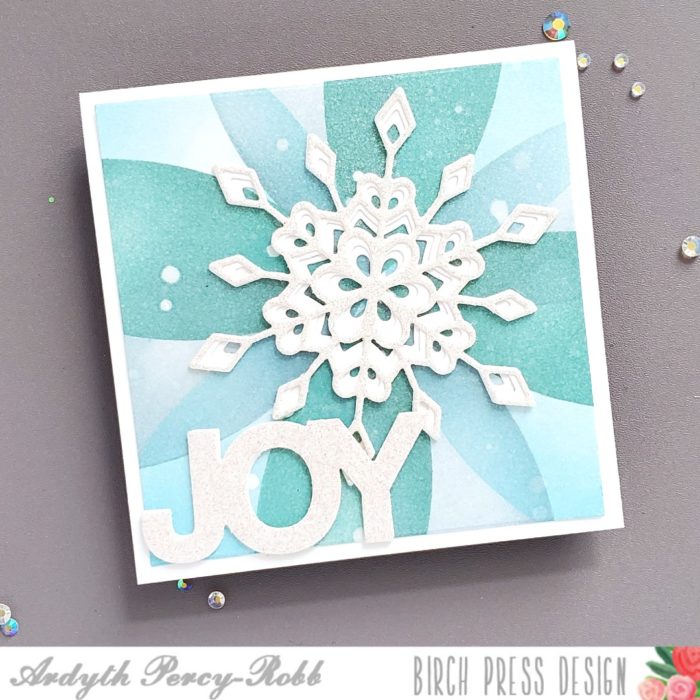
This time I turned the stencil 30 degrees each time, and I used one colour of ink for each turn, to get a more peaceful, monochrome look. I finished this card with the new (coming soon!) Frosty Flake die set along with the shadow layer of the Simple Joy die set.
Here’s a video showing how these cards came together:
Hello crafty friends! Things are starting to look a lot like Christmas in my craftroom now that October is here. Today I am sharing a little peek with you of some new products coming to Birch Press Design soon!
Can you tell what’s new here? I hope I sparked a little excitement. Stay tuned a full tutorial will follow soon!
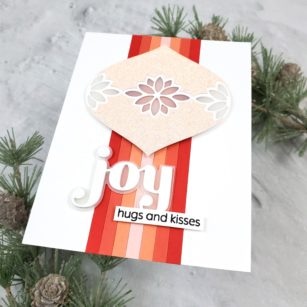
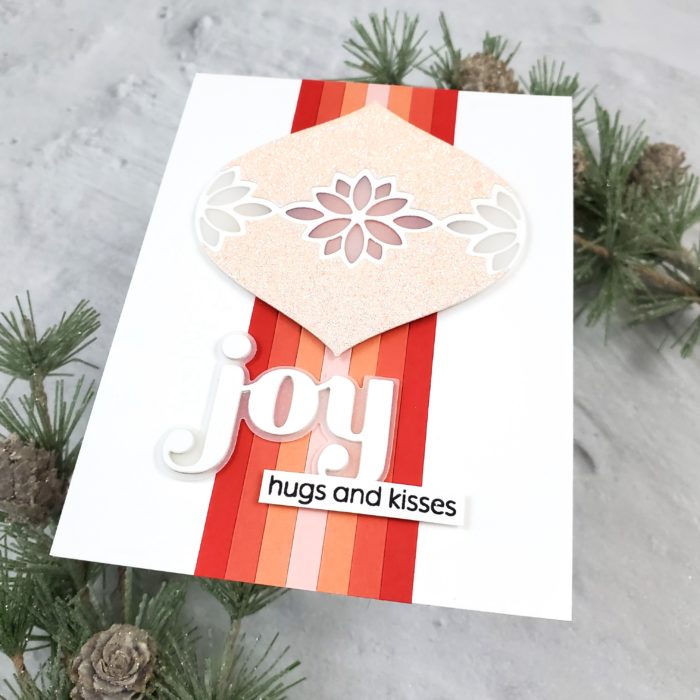
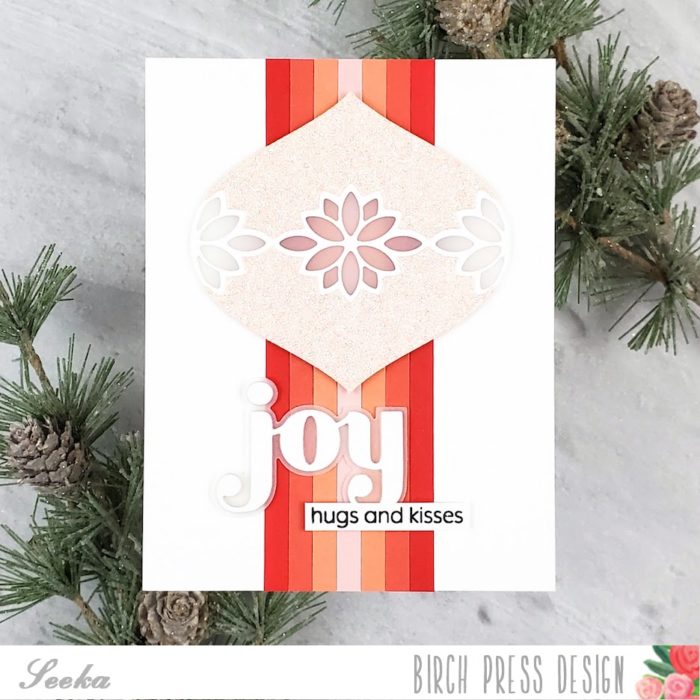
Hi there, Seeka here and today I have a card featuring the Flicker Ornament Layer Die set.
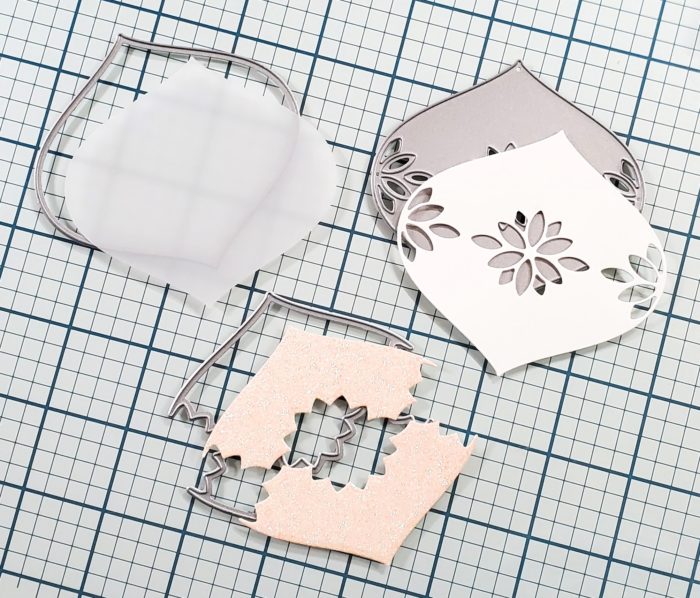
I started off by die-cutting the pieces of my ornament. I cut Layer B out of white cardstock and Layer A out of sparkly pink cardstock from the Memory Box Shimmering Cardstock Delicate Pastel Glitter Pad. I also used the the solid ornament die from the Ornament Basics die set to cut a piece of vellum. I adhered the three layers together and then set the ornament aside.
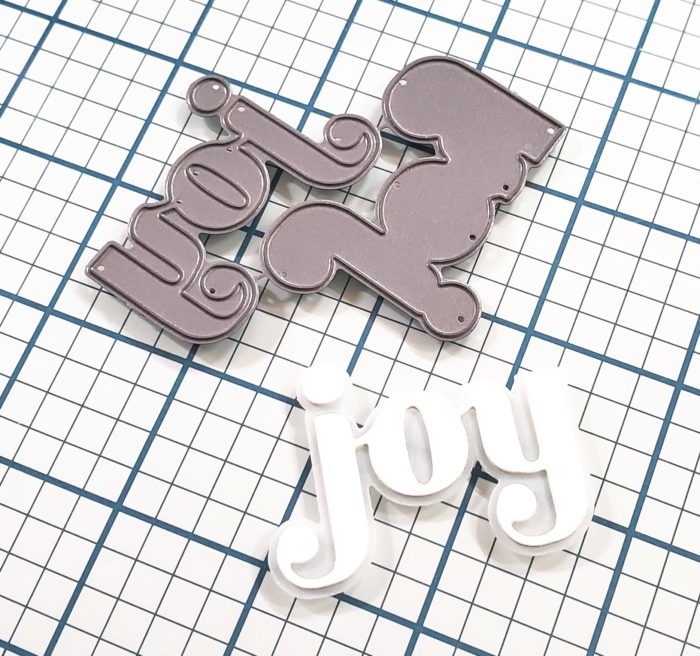
Next, I used the Big Joy Sugar Script die to cut the large sentiment. I used the detail die to cut several pieces of white cardstock, and then I stacked and adhered those layers together. Then I used the shadow die to cut a piece of vellum, onto which I adhered the detail sentiment. I also stamped “hugs and kisses” (from the You Are Awesome stamp set) in black ink onto a strip of white cardstock.
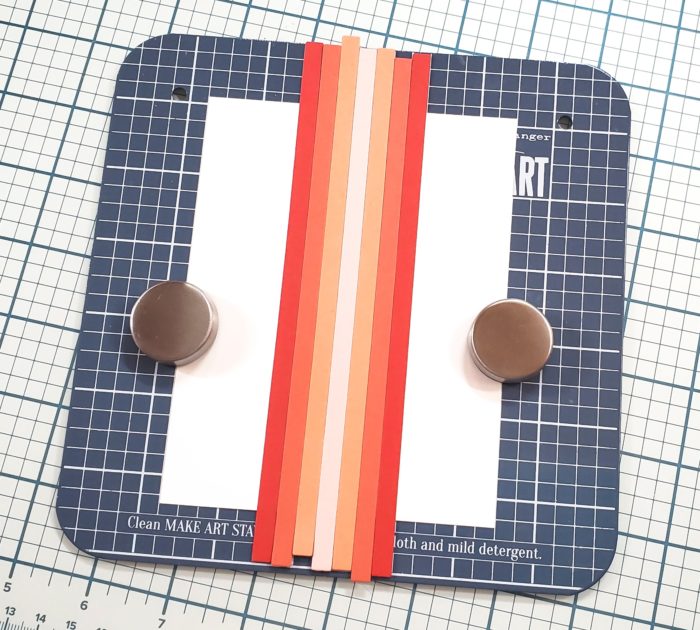
Next, I created the background by running an adhesive tape runner several times down the middle of an A2-sized piece of white cardstock, and then adhering seven strips of red and pink cardstock. Each strip is 1/4″ wide. I used the gridlines on a Make Art Stay-tion tool to help ensure I put down the strips straight.
I trimmed the excess strips with a paper trimmer and then assembled the card by adhering the ornament and the sentiments, all with a bit of foam tape. And to finish, I adhered the card front to an A2-sized card base.
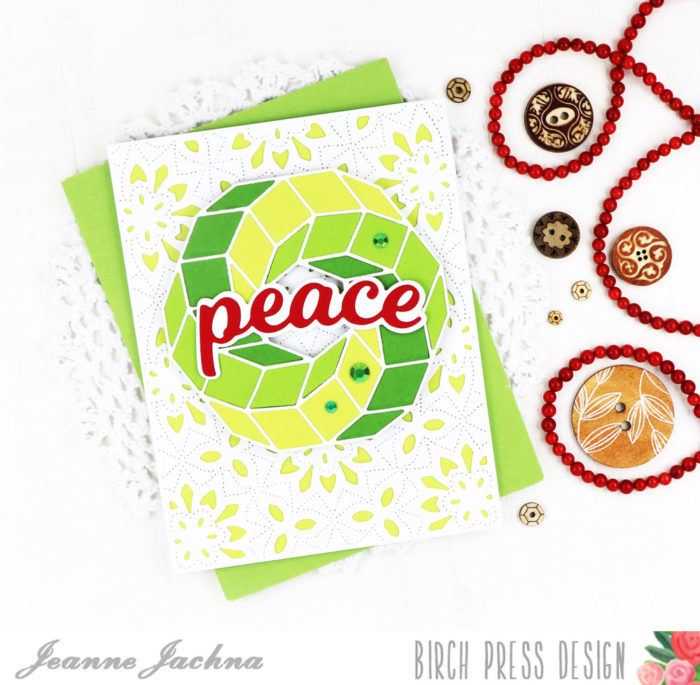
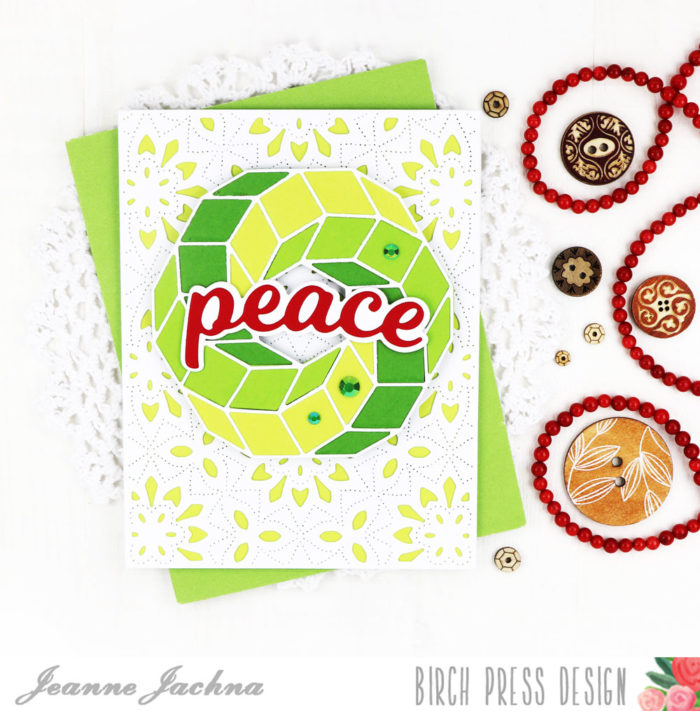
Hi friends! I hope you’re having a great day! I’m sharing a holiday card in traditional red and green today!
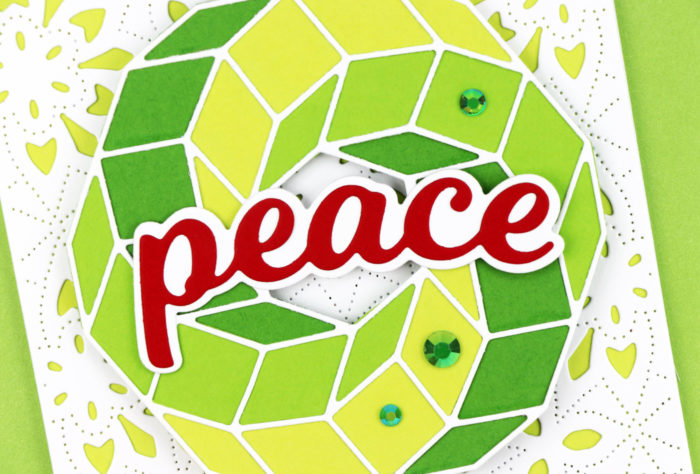
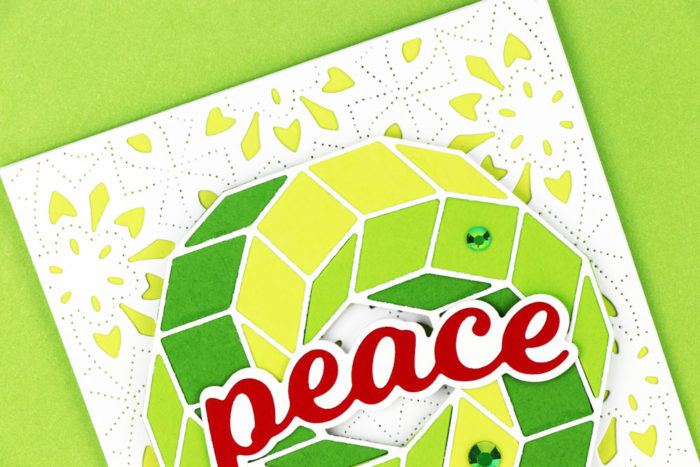
The Torus Ring die cut is a fabulous geometric design with lots of possibilities. I’ve cut it in rainbow colors and thought ombre shades of green would make an amazing wreath.
The Torus Ring is a two die set. One die cut is the outline that I cut from white card stock, and the second die is a solid crescent that you adhere behind the outline die to add color.
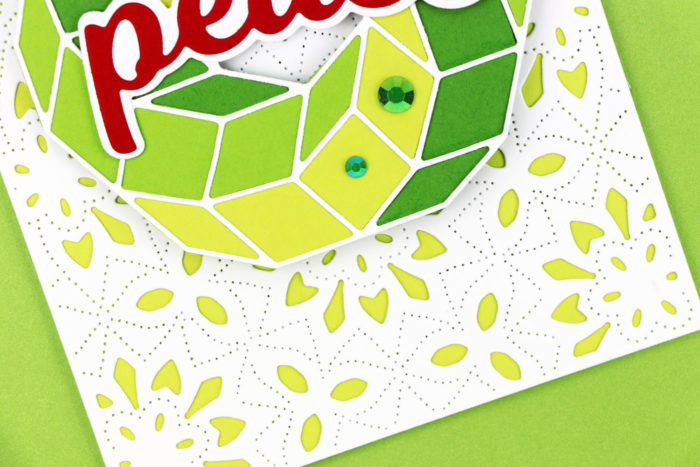
Do you love that background die? That’s the BOTTOM layer of the Viola Plate layer set. I think it’s gorgeous and deserves a little attention of it’s own without being covered with the other layers!
The pop of red from the Peace Honey Script make it feel like Christmas! It will be here before you know it!