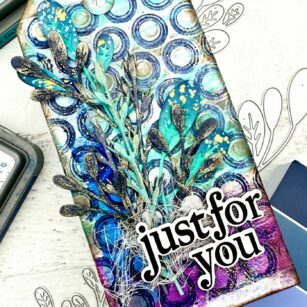
Hello Birch Press friends, it is Natasha here and I am excited to be back with you today! Today I created a fall thank you card using the new Oak Leaf die set. I am a summer girl at heart, however I do love the colors of Fall! So let’s get started!
I started by creating 2 panels using mixed media paper and my Distress Mica Stains. I chose 3 colors to use today to create the panels. The panels will be used to die cut my leaves. I spritzed the colors onto my paper one at a time, heat set them with my heat tool, added water droplets, and picked up the color with a paper towel. I continued this process until I had the colors and texture I was looking for. I set the panels aside to completely dry as I worked on my background.
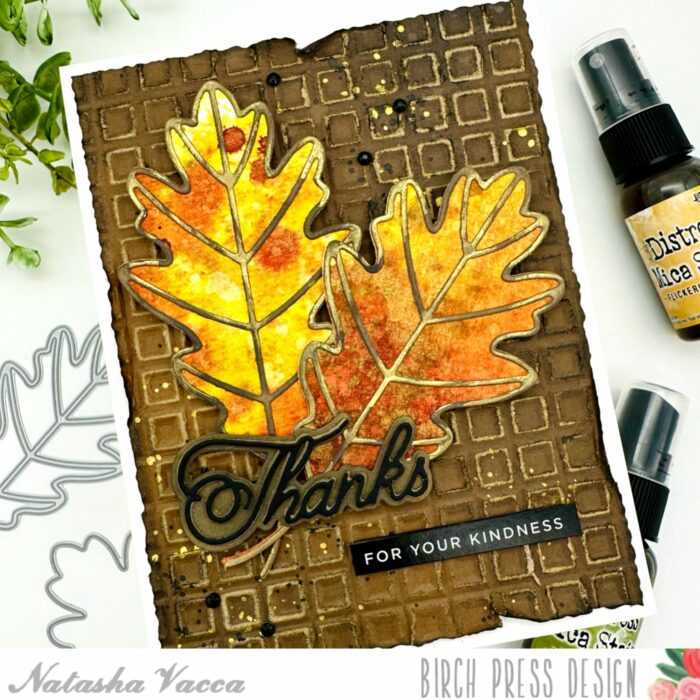
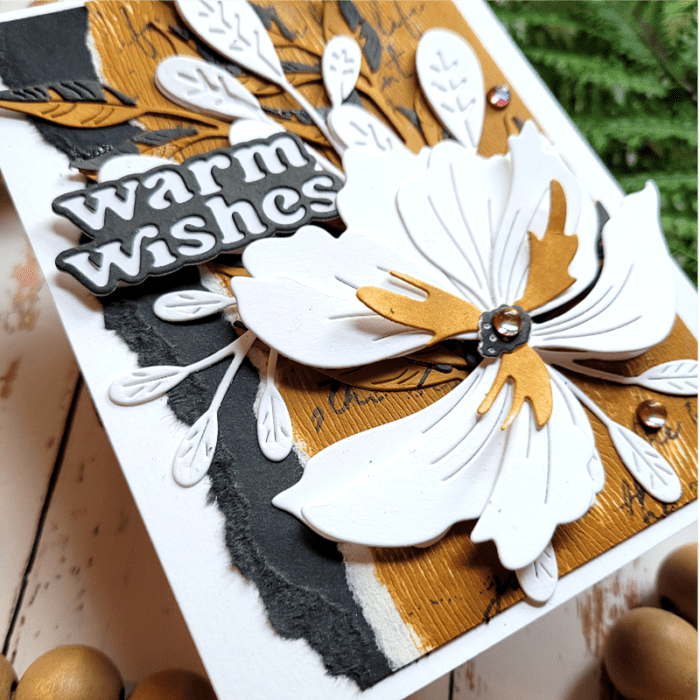
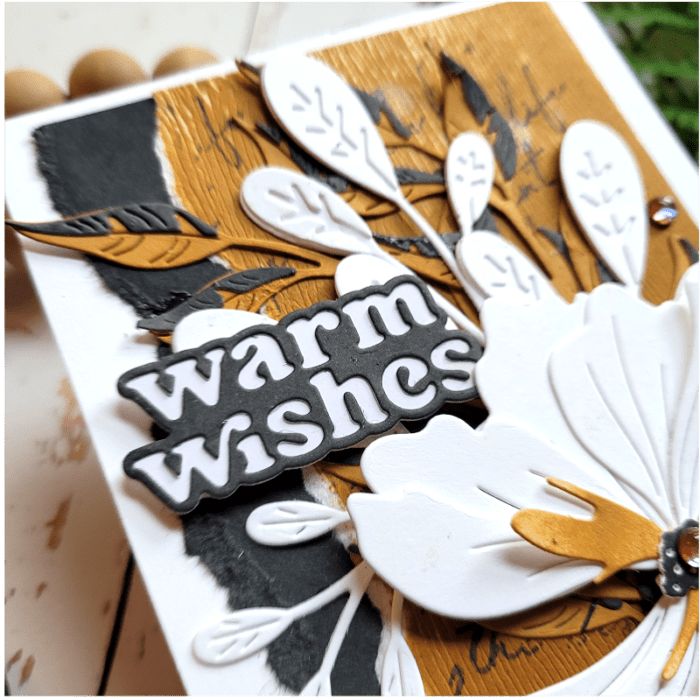
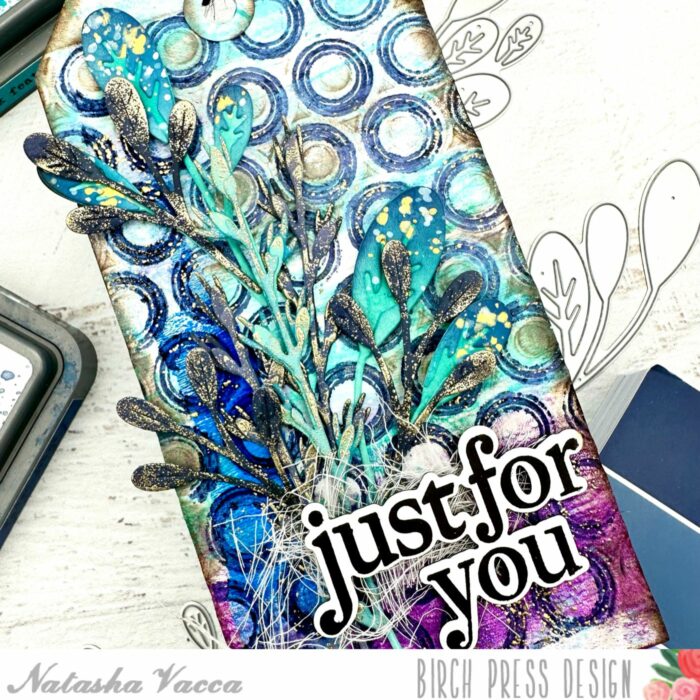
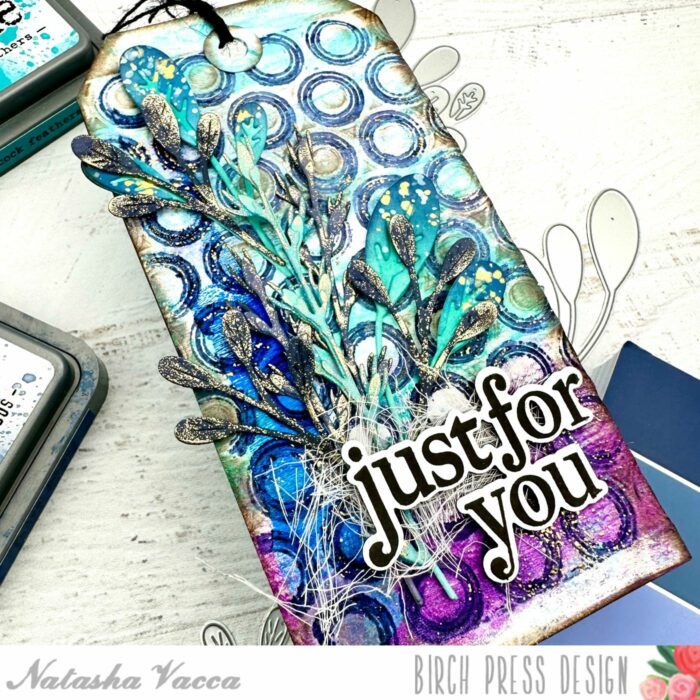
Next I chose a piece of kraft paper from my stash and dry embossed the panel using the Memory Box Geometric Crystals embossing folder. I then used a sanding tool to distress the dry embossed panel in various sections. To add a bit more texture and dimension to the panel I applied Distress Oxide inks to the panel in 3 of the corners.
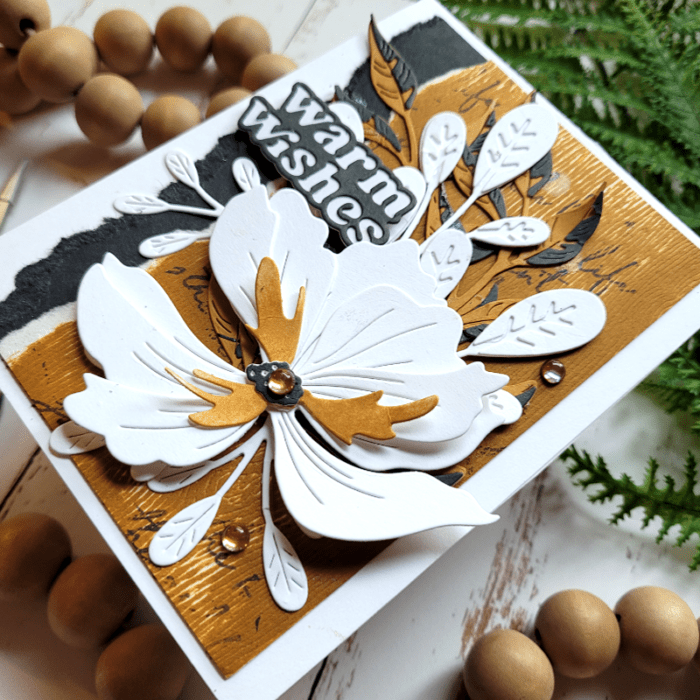
Next I trimmed the panel using my Deckle Trimmer and distressed the edges using Distress Ink. I added splatters to the panel using black and gold splatter. I set the panel aside to completely dry.
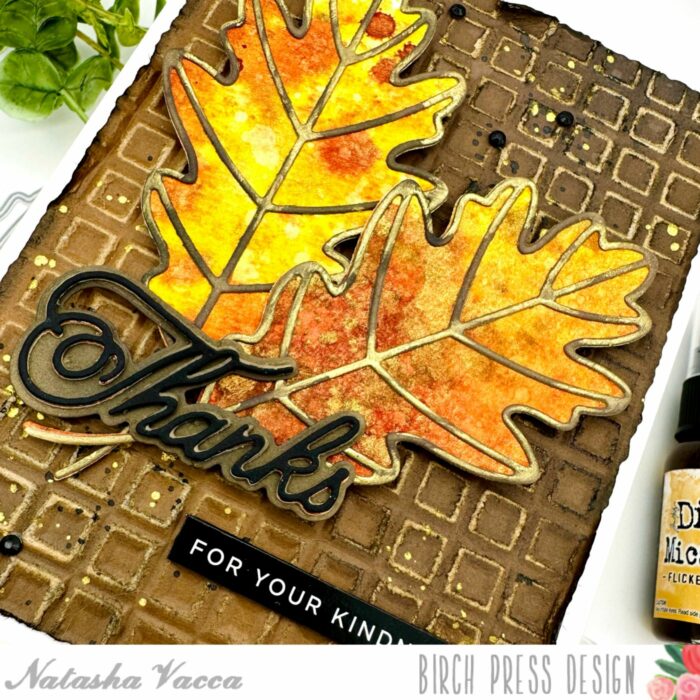
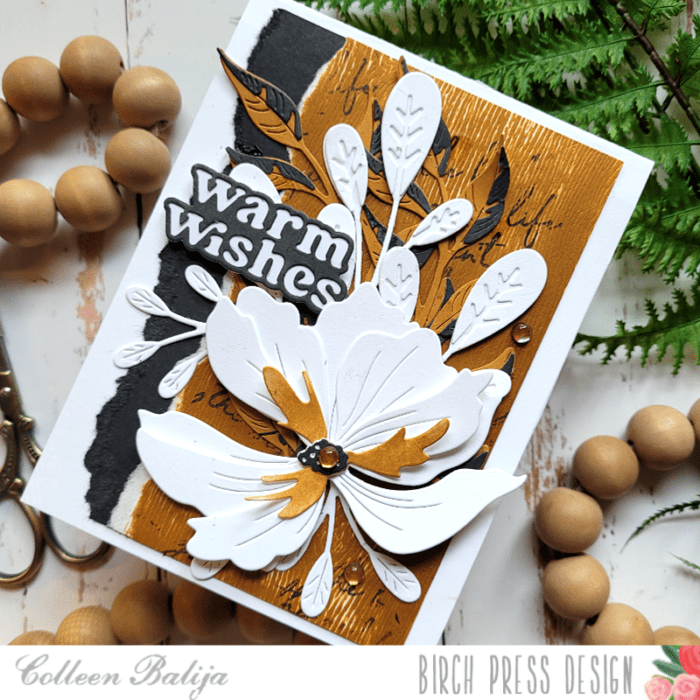
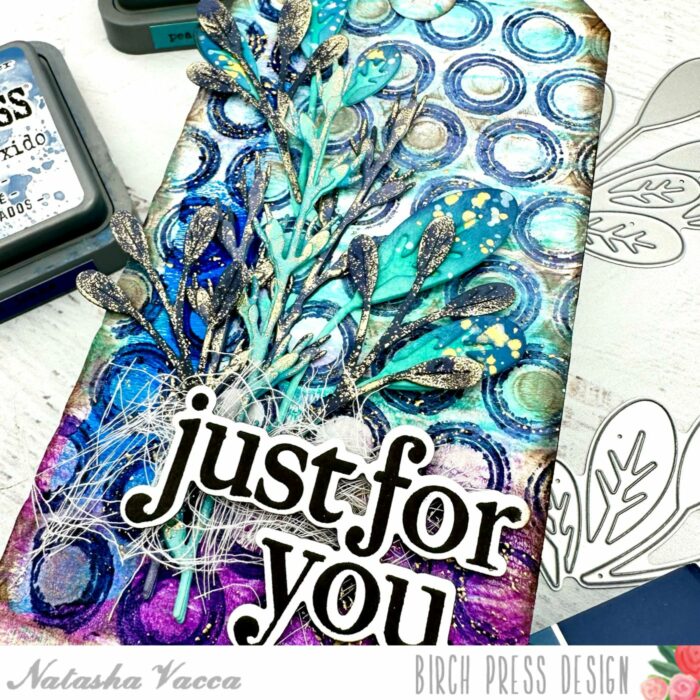
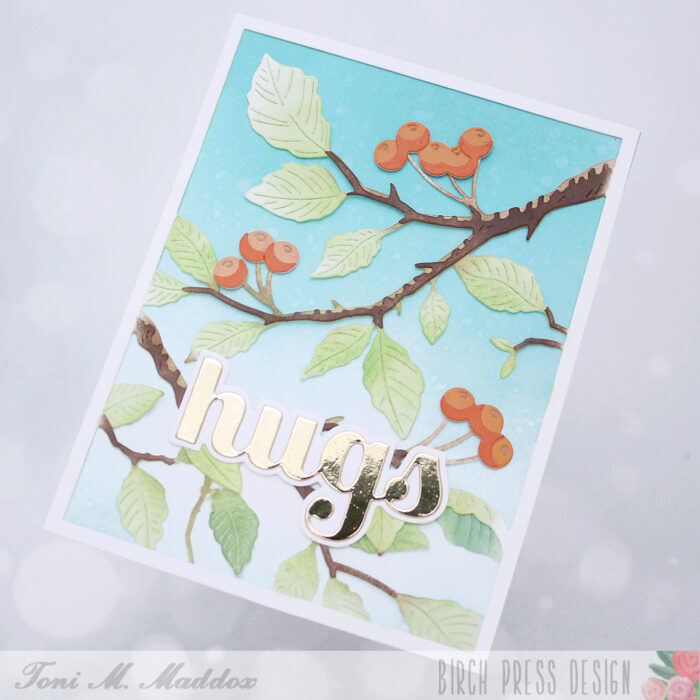
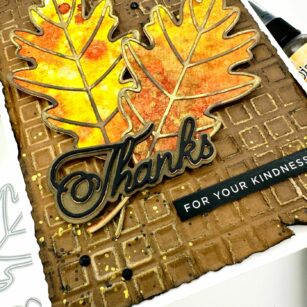
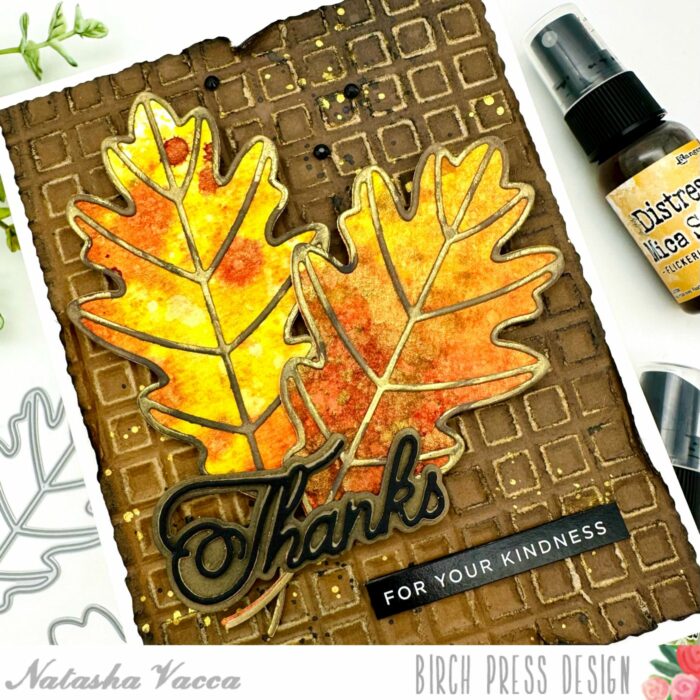
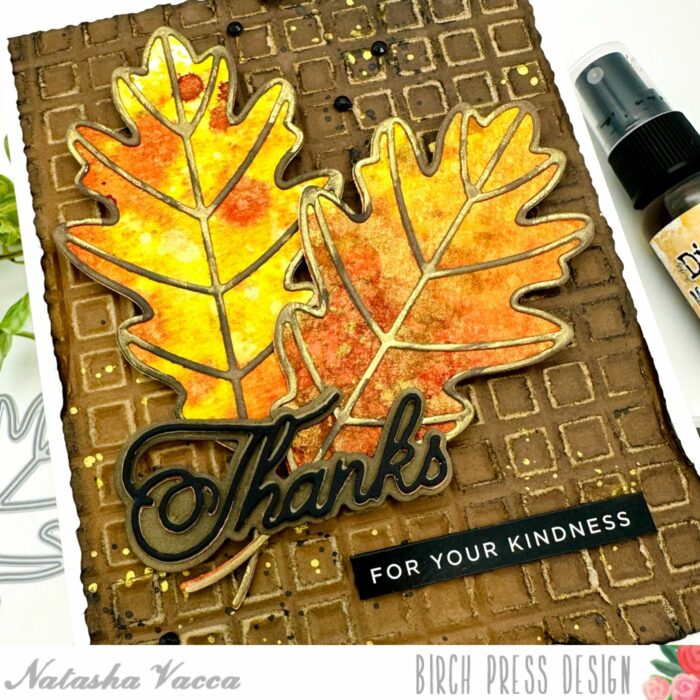
Next I took my 2 panels I created using the Distress Mica Stains and die cut 2 leaves using the new Oak Leaf Die set. I also die cut the top layer using white card stock. I then ink blended the top layer of the leaves using oxides and once dry added Foundry Wax for added shine. I then adhered both layers of the leaves together using liquid adhesive.
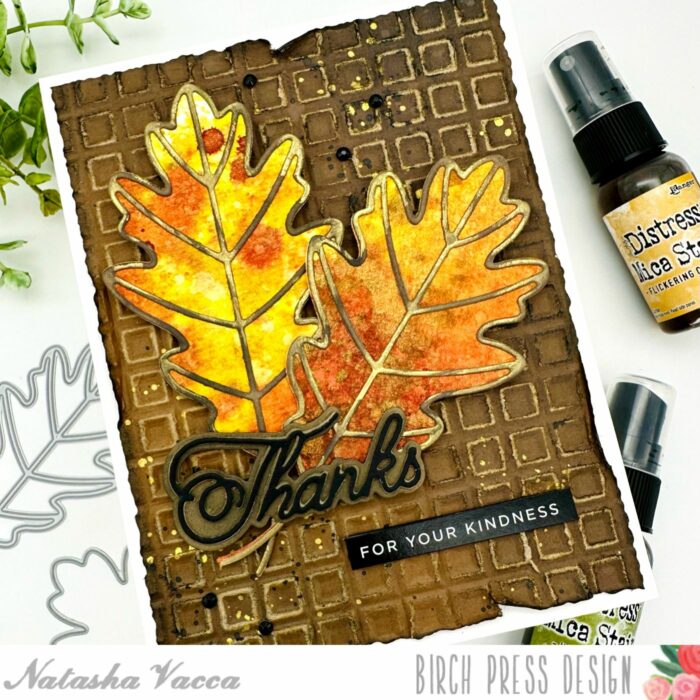
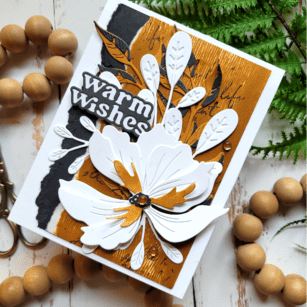
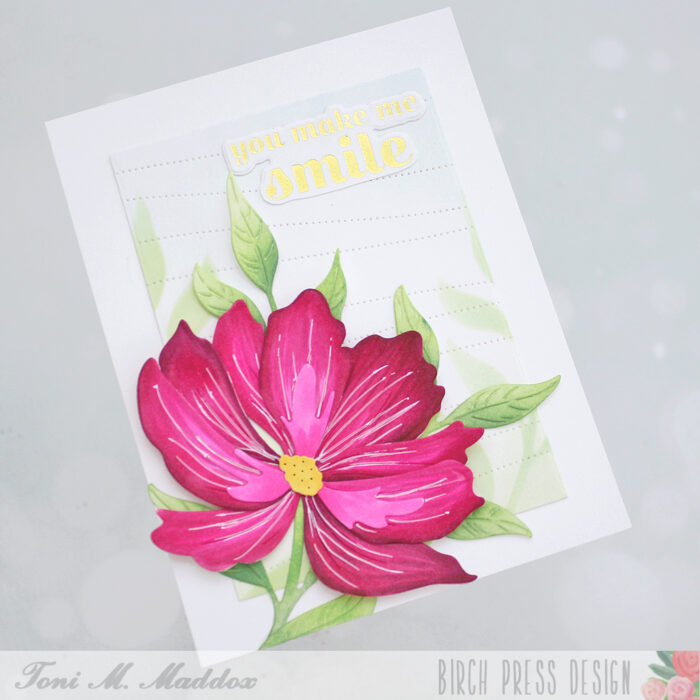
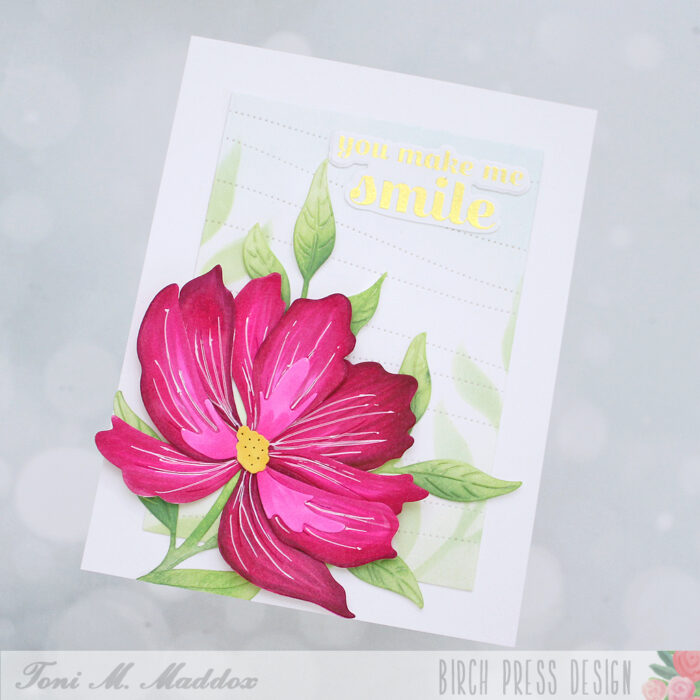
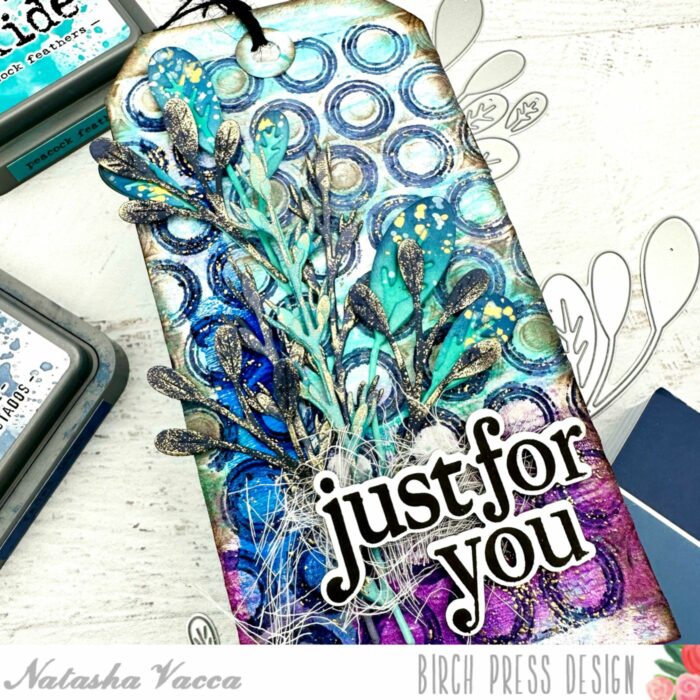
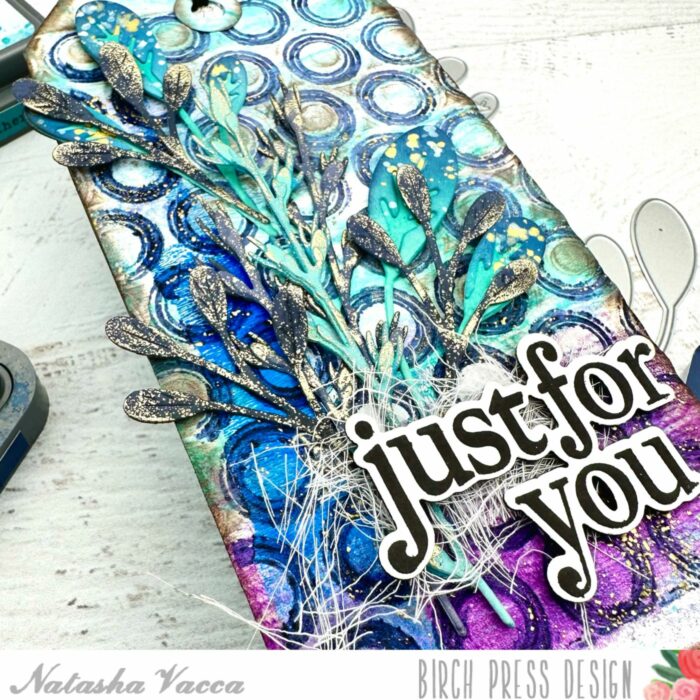
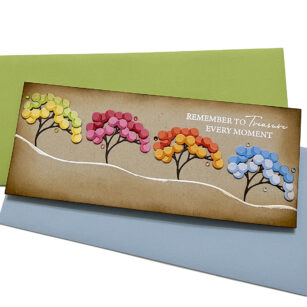
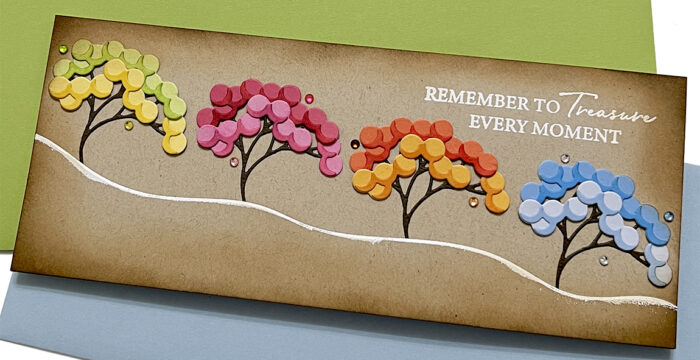
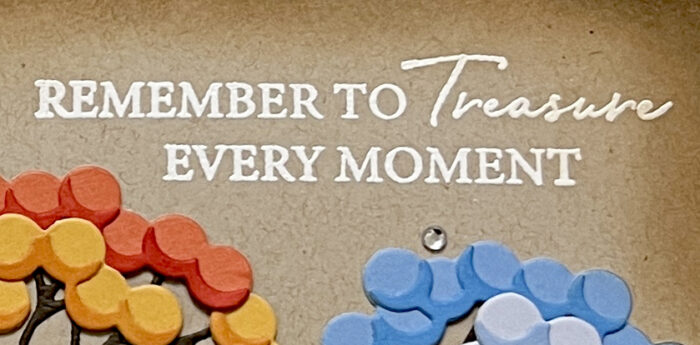
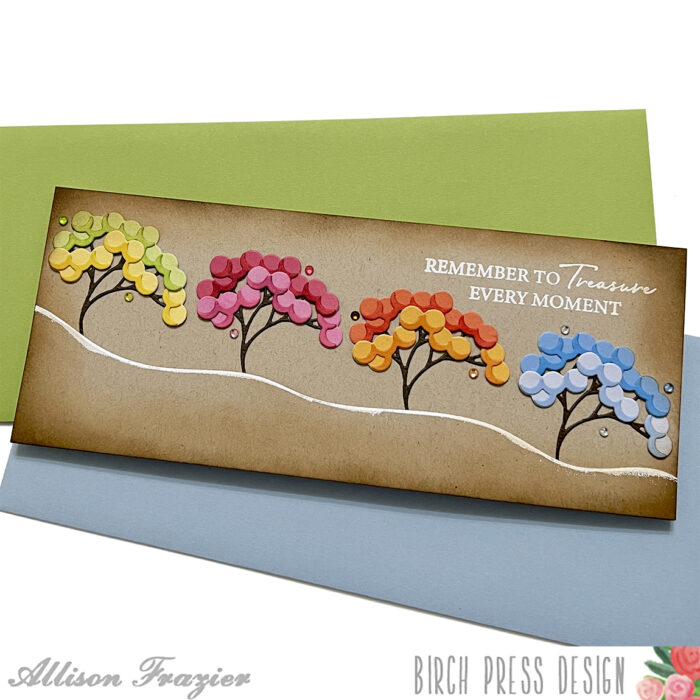
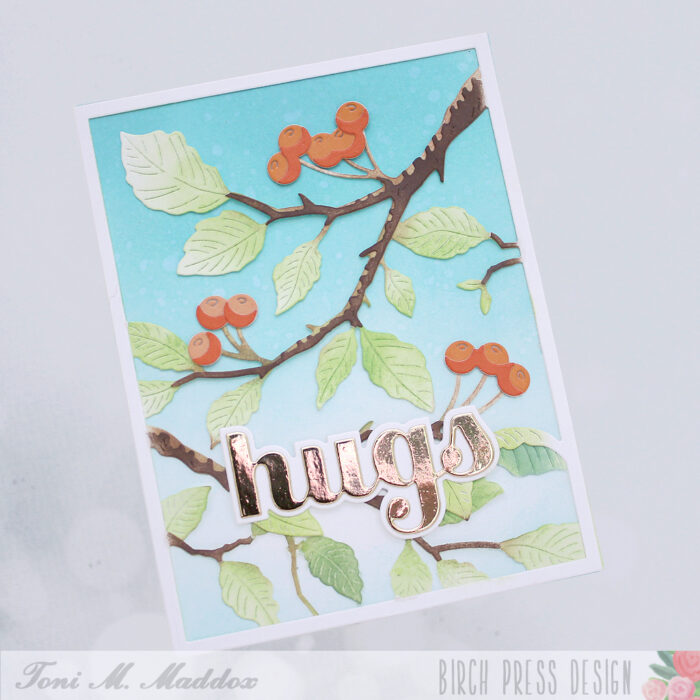
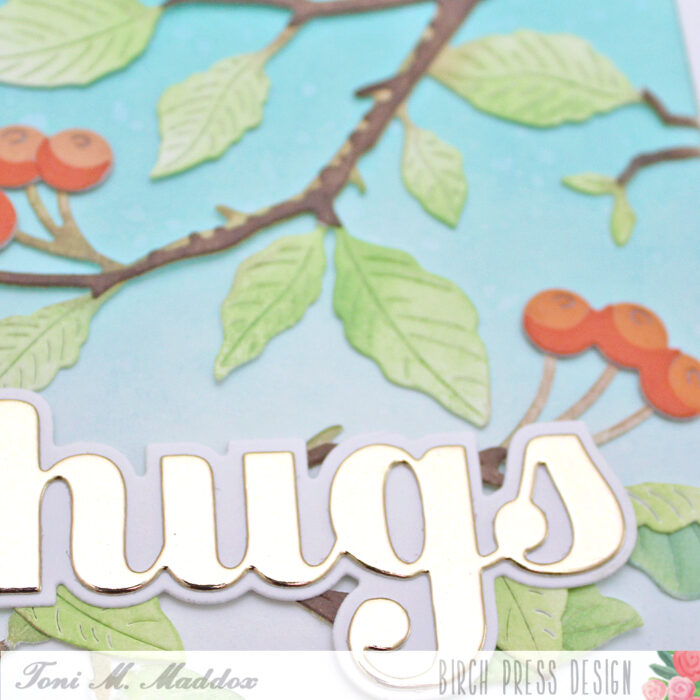
To complete my card, I adhered the dry embossed panel onto an A2 card base using liquid adhesive. I adhered the leaves with foam tape. I chose the sentiment from Handwritten Thanks and Outline die set. I die cut the script Thanks 3 times, using black card stock, as well as from the Rainbow Reflections Mirror Pad. I adhered the layers together using liquid glue and added this to my card front. I chose a sub sentiment from my stash and completed the card with a few gems from Autumn Fairy Jewels. Thanks so much for stopping by today! I will be back soon!

Supplies


Supplies