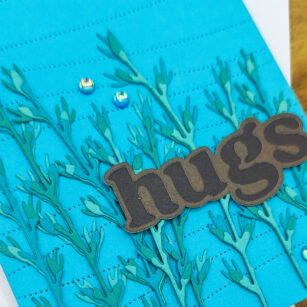
Hello friends! Design Team member April here today sharing a beautiful, bright, blue ocean inspired card using the Budding Twigs Contour Layers die set. I visited the beach last month and was inspired to create something ocean-y.
Here’s how I pulled this card together:
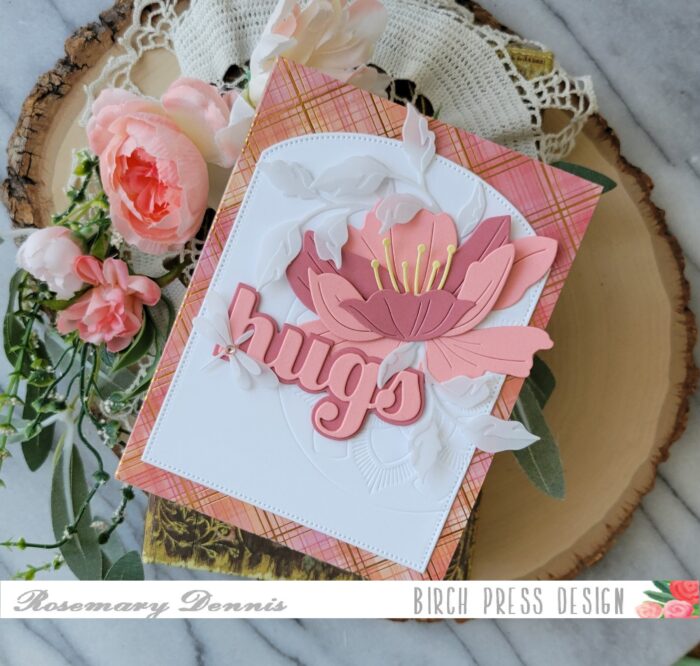
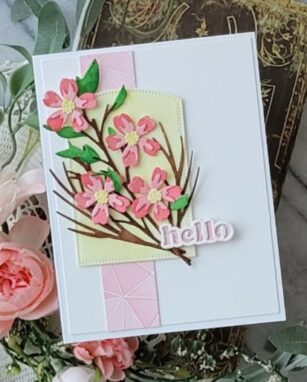
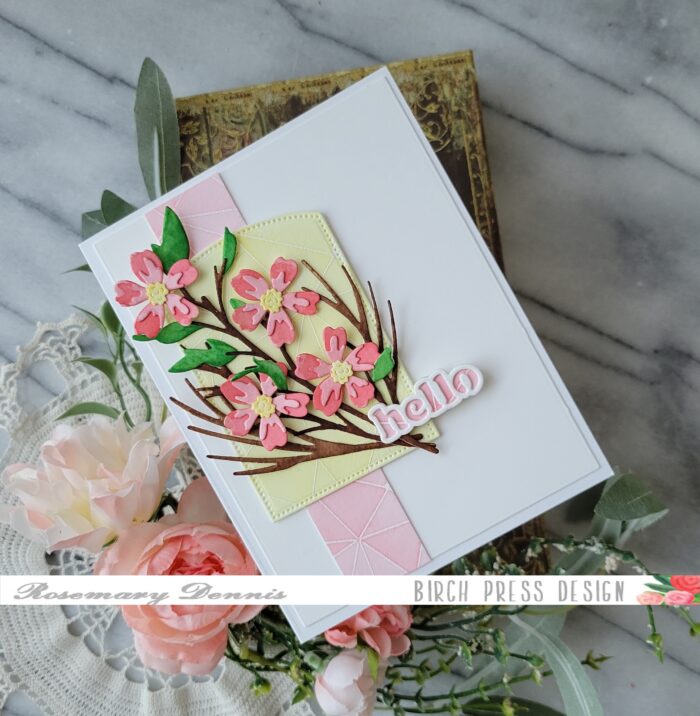
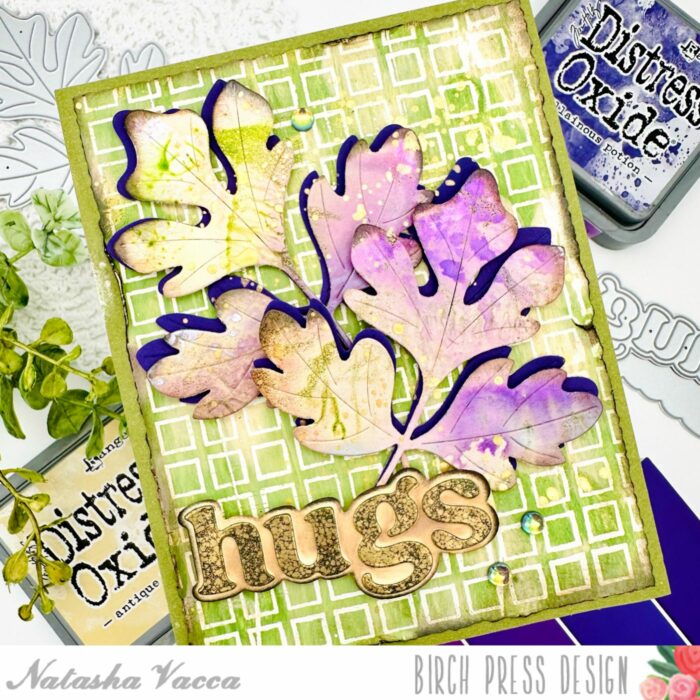
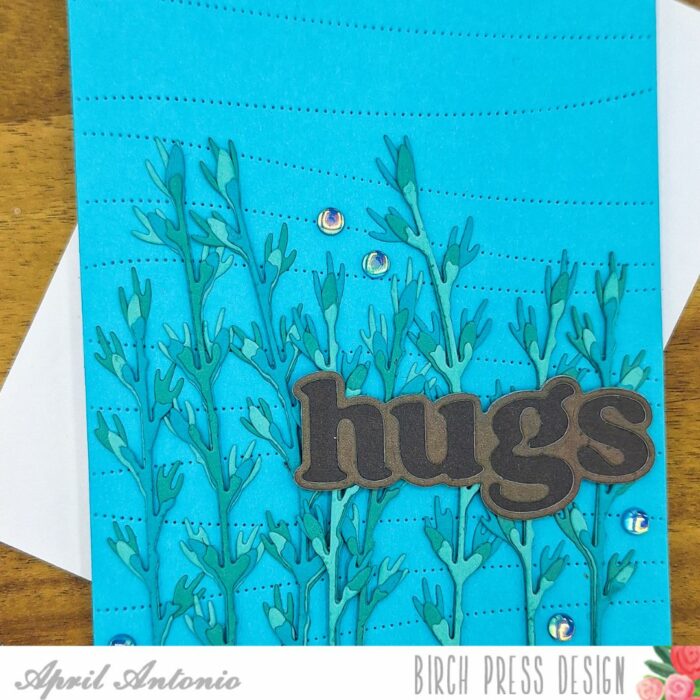
I cut a piece of heavy-weight white cardstock down to A2 card size. is made from 80 lb. I used on of my favorites, the Pinpoint Contour Plate to cut a background from the Memory Box Lagoon 6×6 cardstock pack and layered that onto the card base.
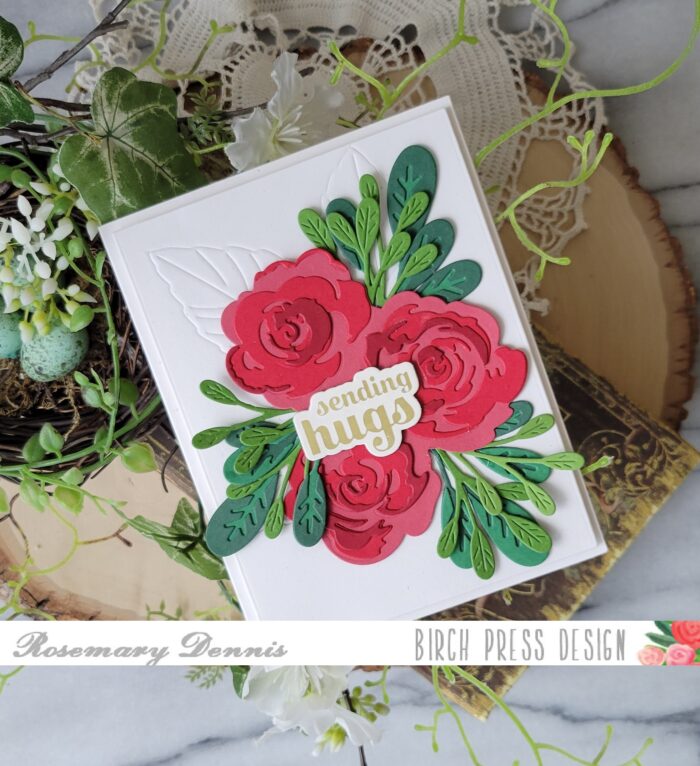
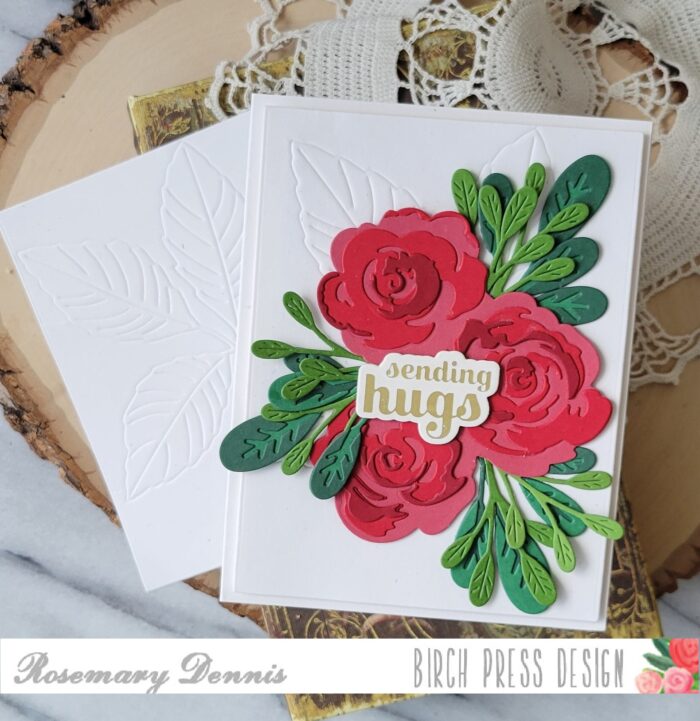
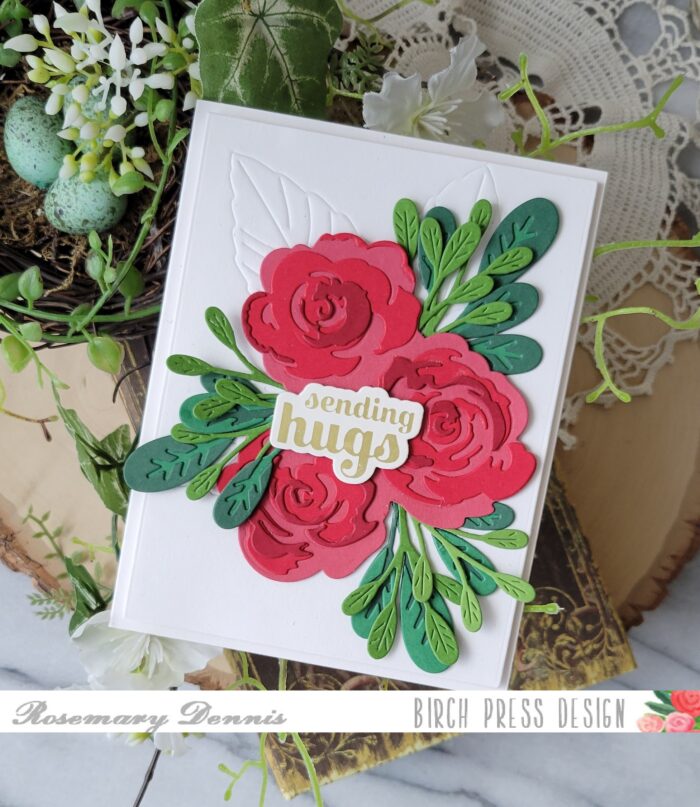
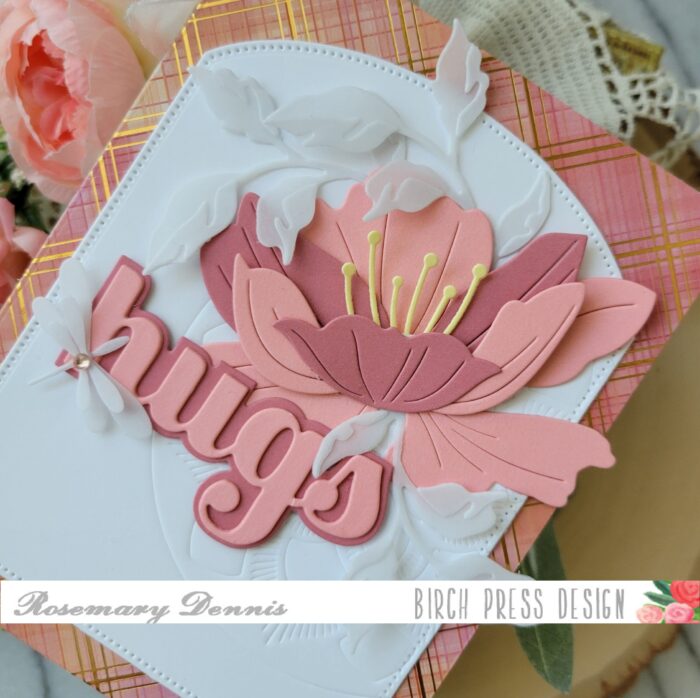
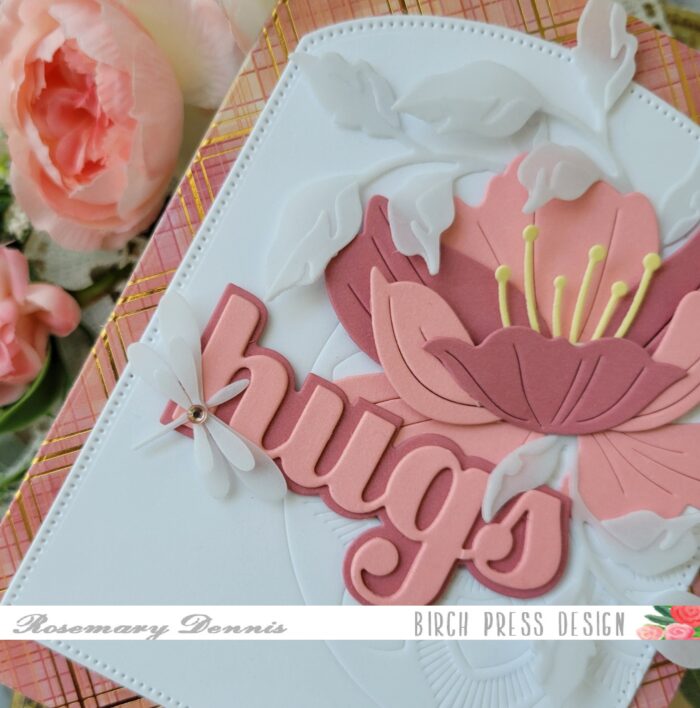
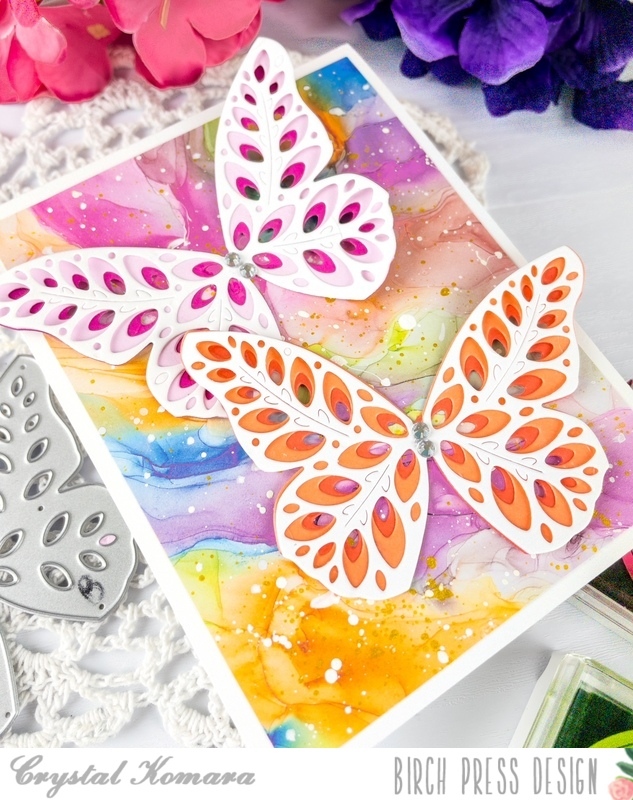
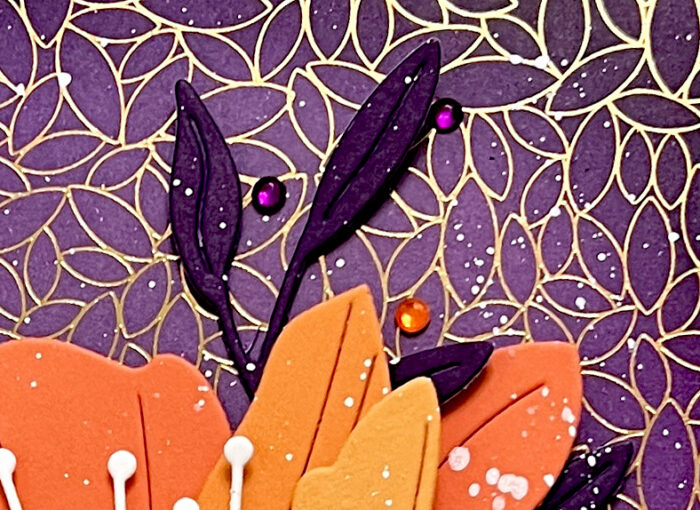
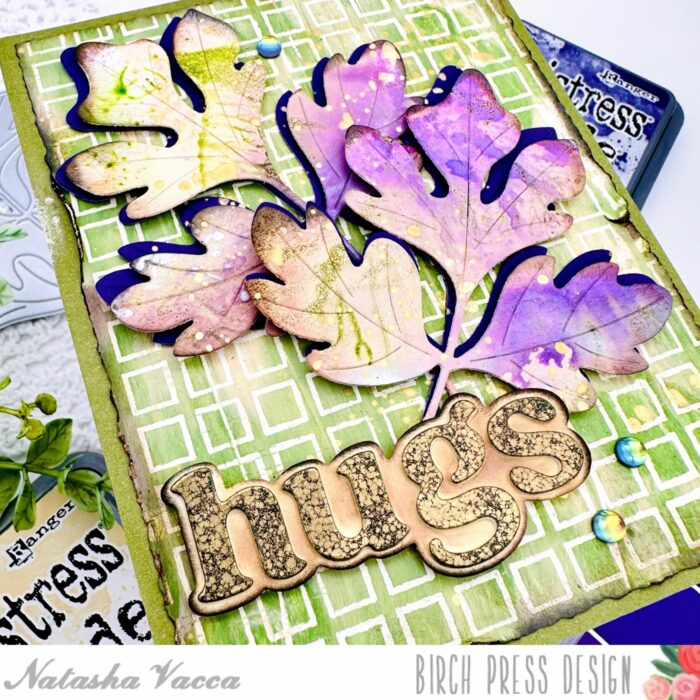
Next I cut the three layers of the Budding Twigs Contour Layers die set from three different colors from the same Lagoon cardstock pack. I glued the layers together following the included guide, making sure to alternate colors, and adhered each finished twig onto the card front. The blue background with the budding twigs reminded me of seeing coral underwater!
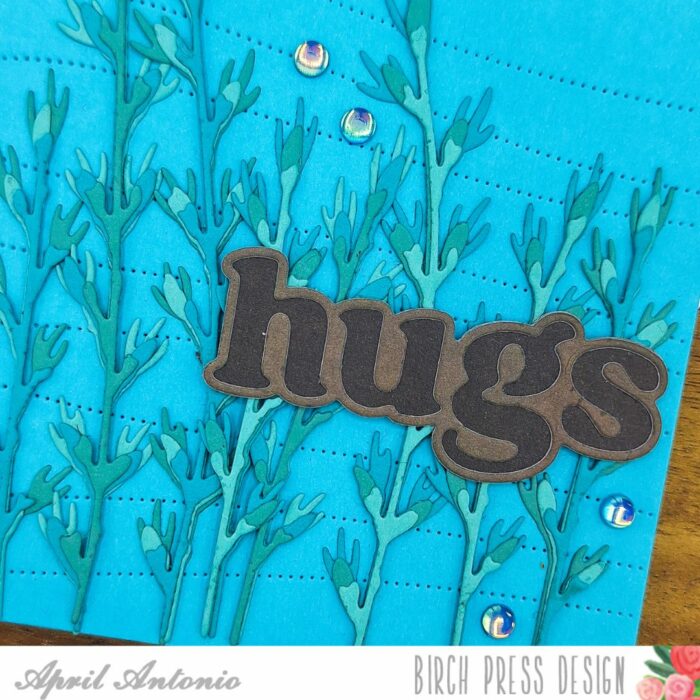
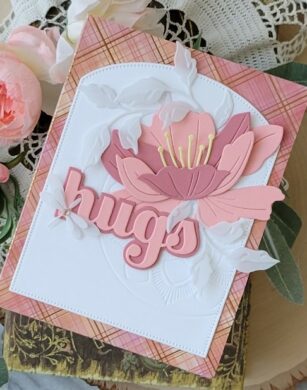
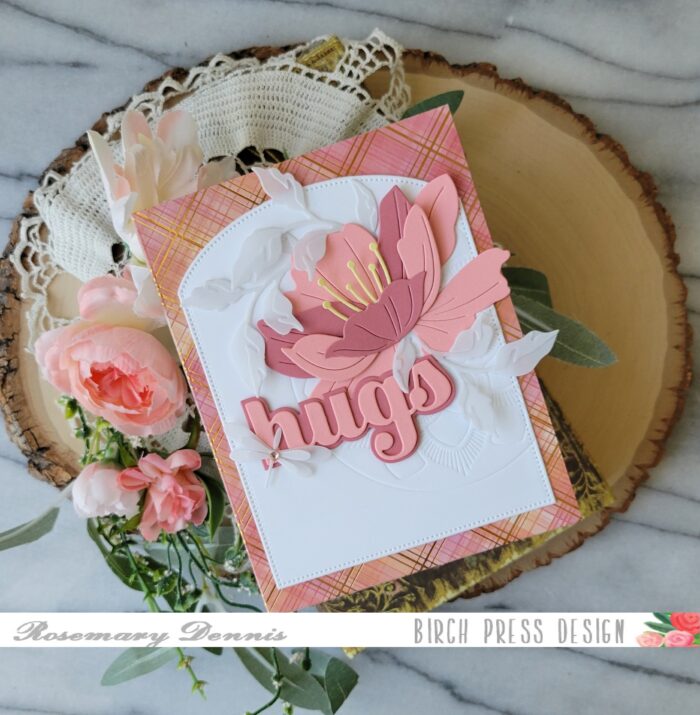
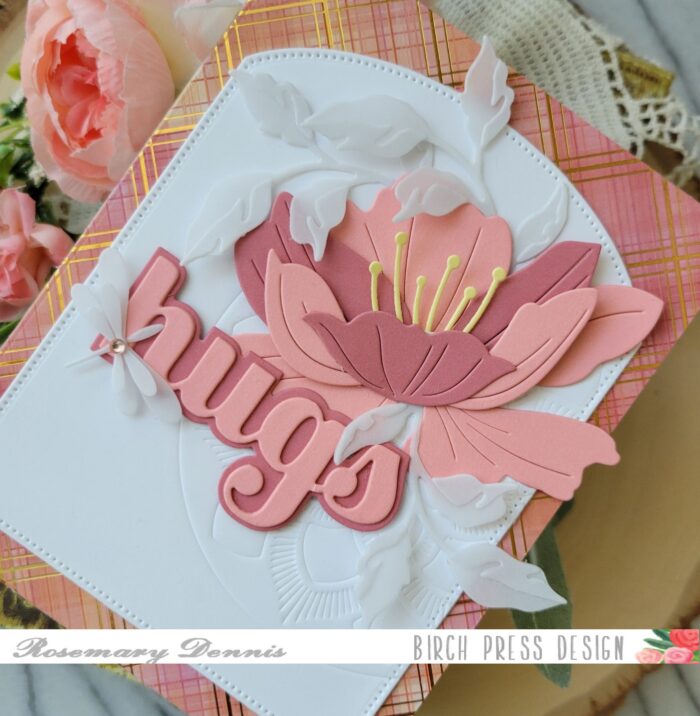
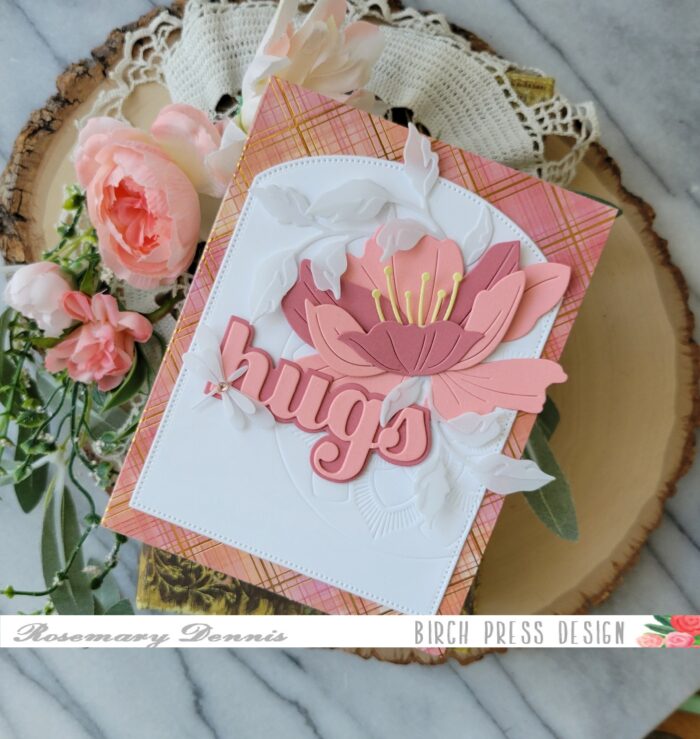
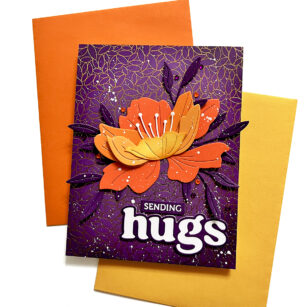
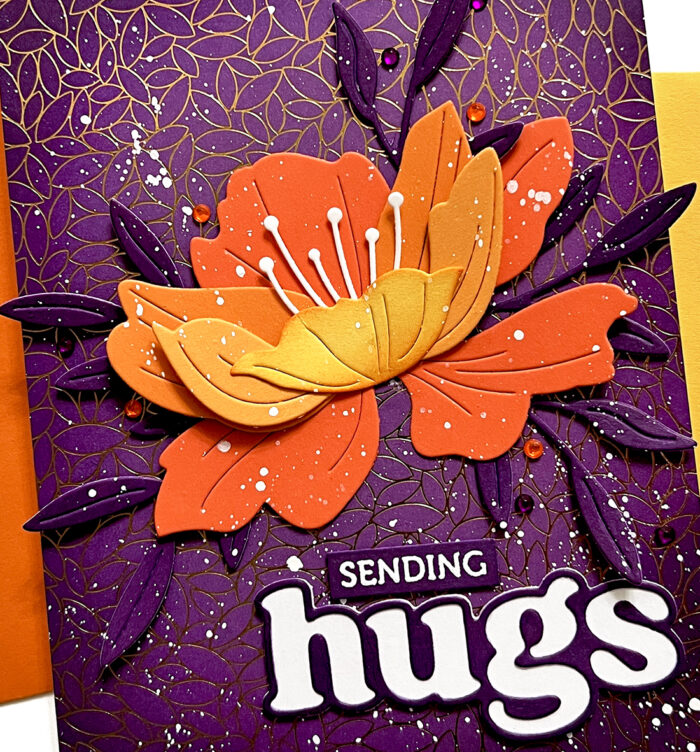
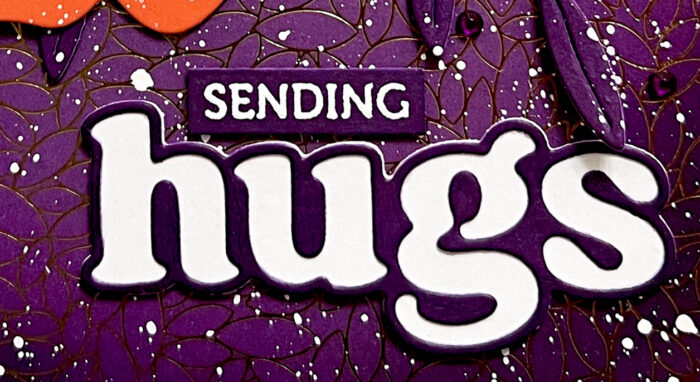
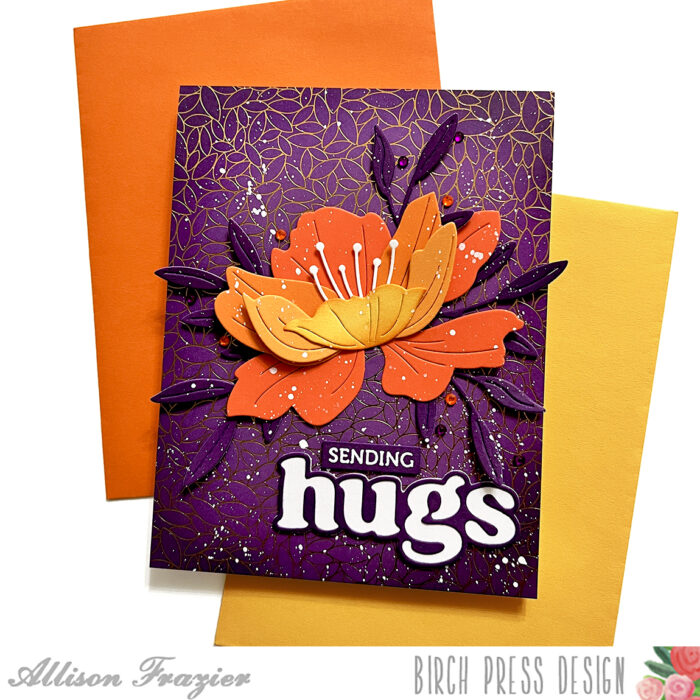
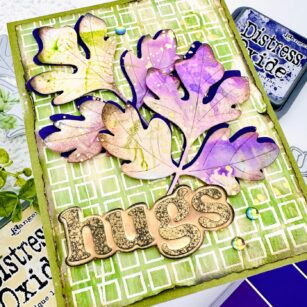
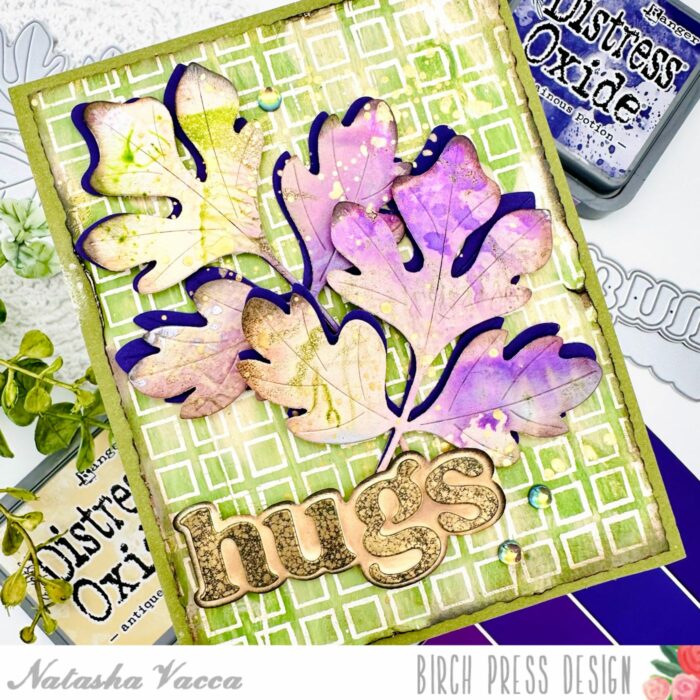
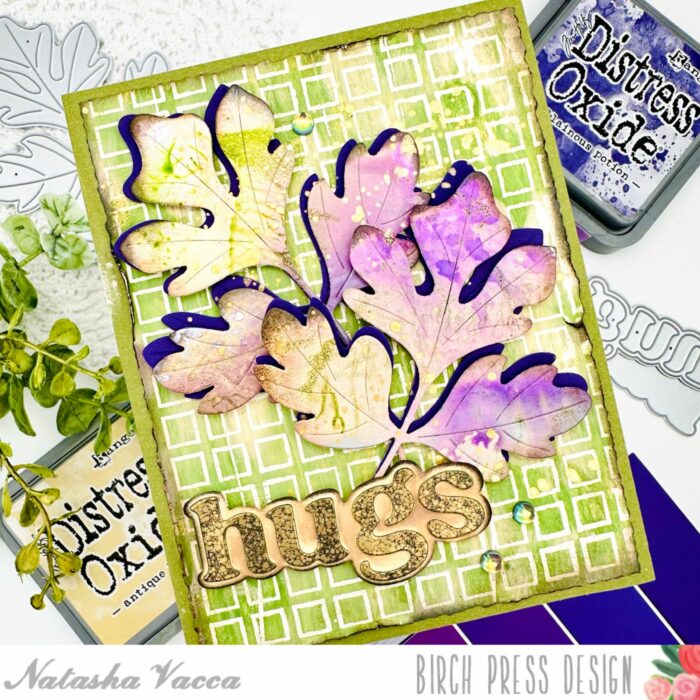
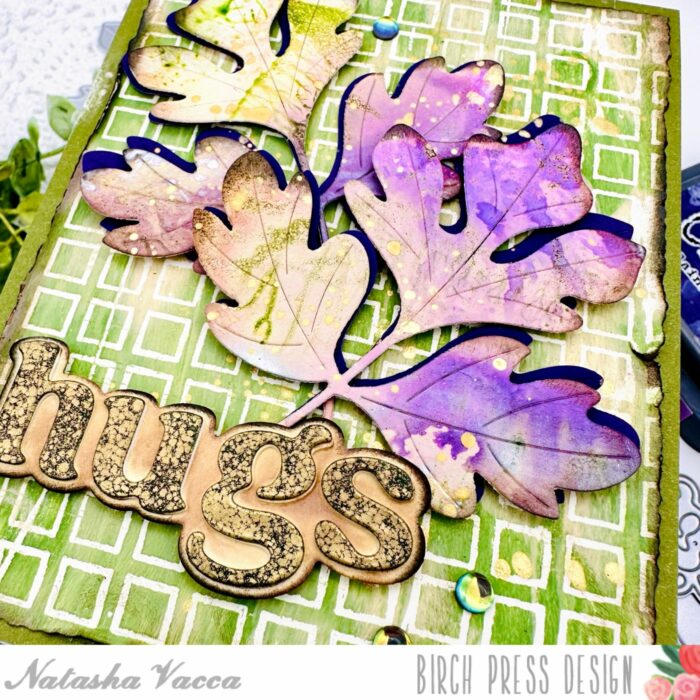
I used the Big Hugs Vintage Sentiment die and shadow die to cut the ‘HUGS’ and adhered it to the front of the card. I used two different shades of brown I found in the Memory Box Earth Neutral 6×6 cardstock pack.
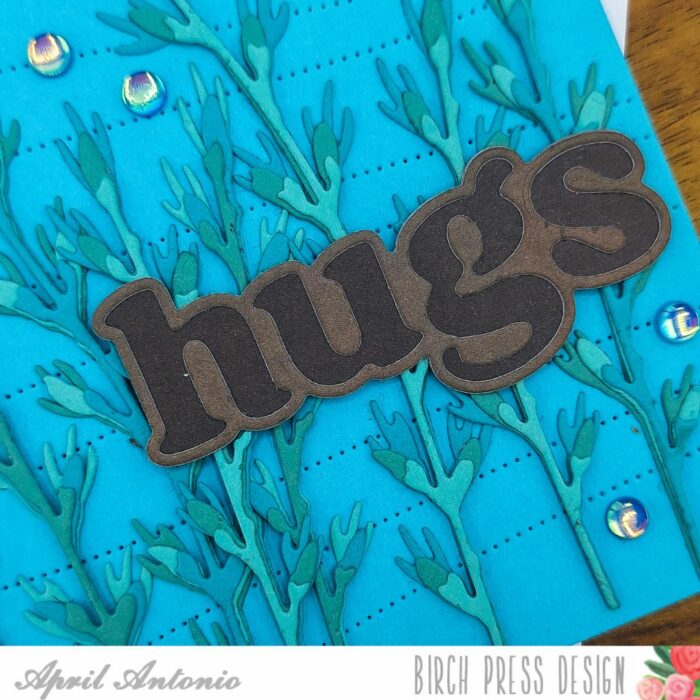
I finished off the card with some fun gemstones from the Winter Fantasy Fairy gemstone set. I really enjoy paper-piecing and this card was fun to pull together! I hope you are able to have fun and do something creative this weekend.

Supplies


Supplies