Hello friends and happy Monday! I hope you all had a wonderful Thanksgiving holiday filled with family, great friends and good food. This is design team member Crystal Komara here today. Now, I kind of a have a personal “No Christmas” policy until December 1 (I know, I know, feel free to snark!) so I have a snow themed card to share with you instead.

Background details:
Now, I’ll be completely honest, I took a gelli plate class recently and I created this background at the gelli plate class, so I can only describe how it was made in non-technical terms since I am no expert on gelli plates. In fact, I’m still terrified of them!
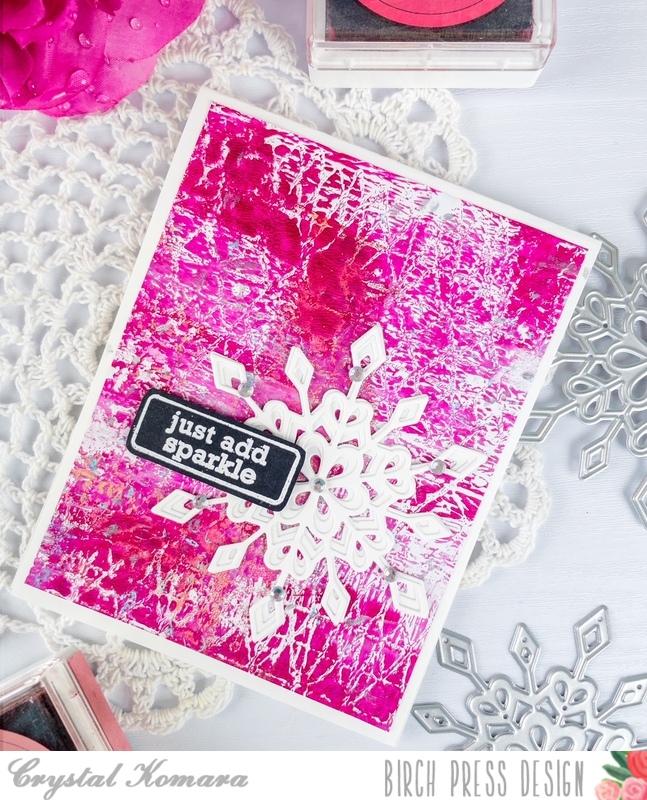
Essentially I spread a magenta paint on the gelli plate and then took a skewer (or toothpick) and dragged it through (creating various lines) and created a bunch of scribble lines. I peeled it off the gelli plate and let it dry. That one was a simple one!
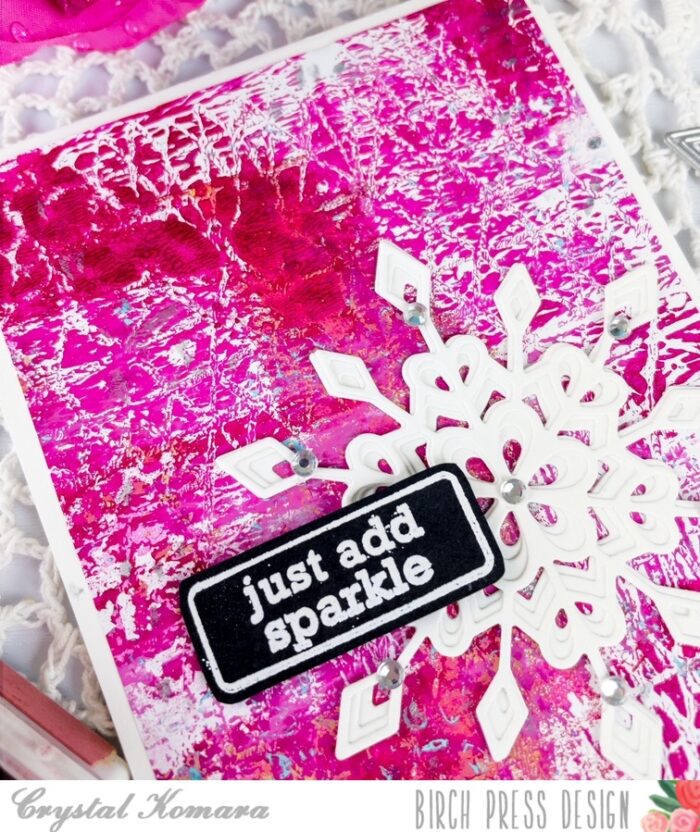
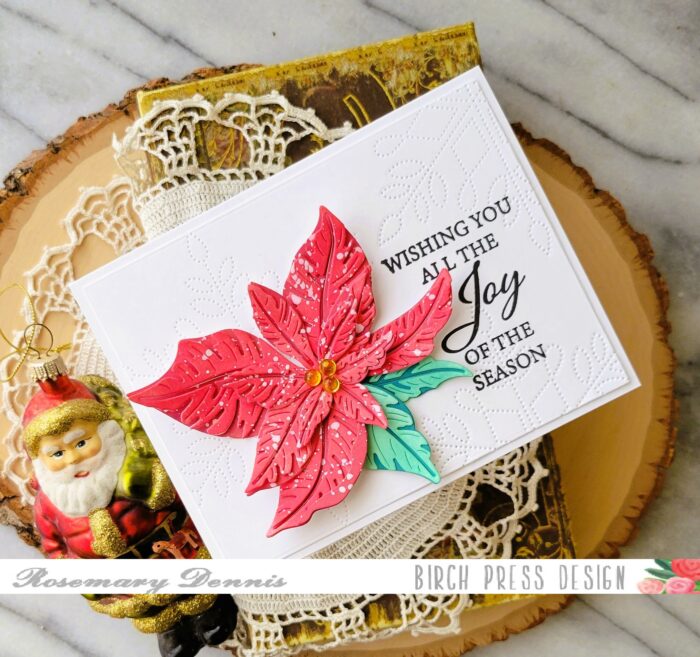
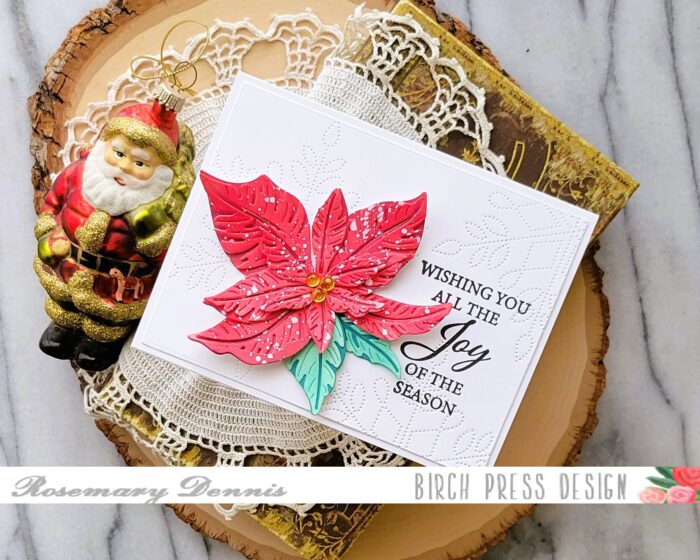
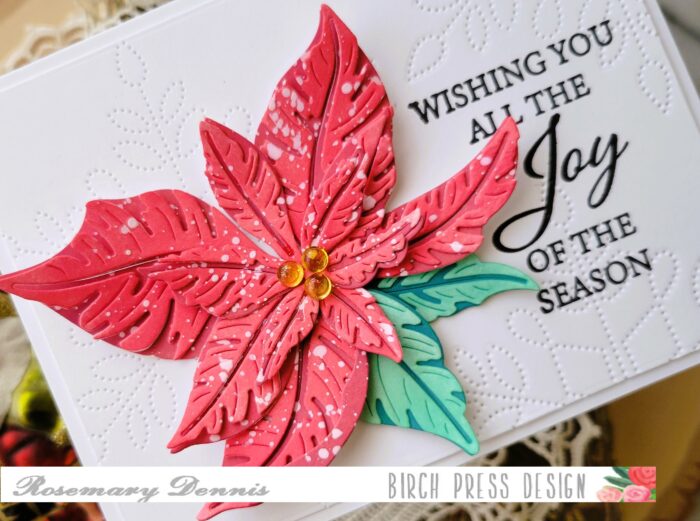
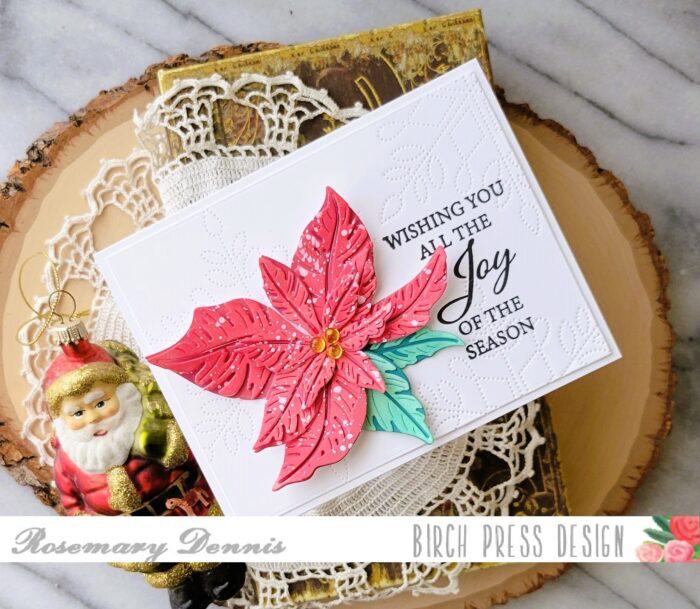
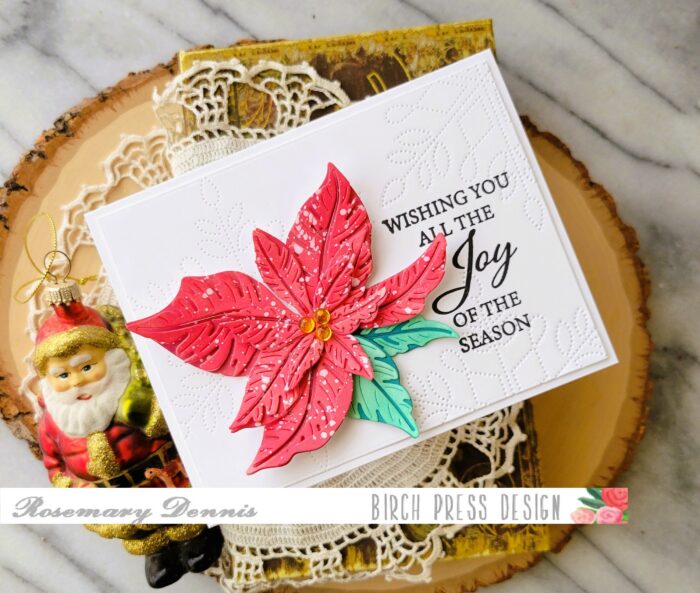
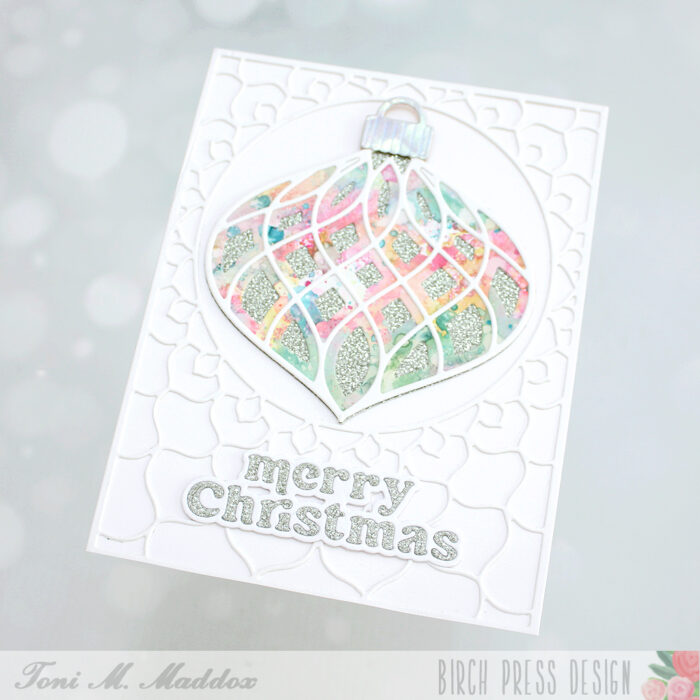
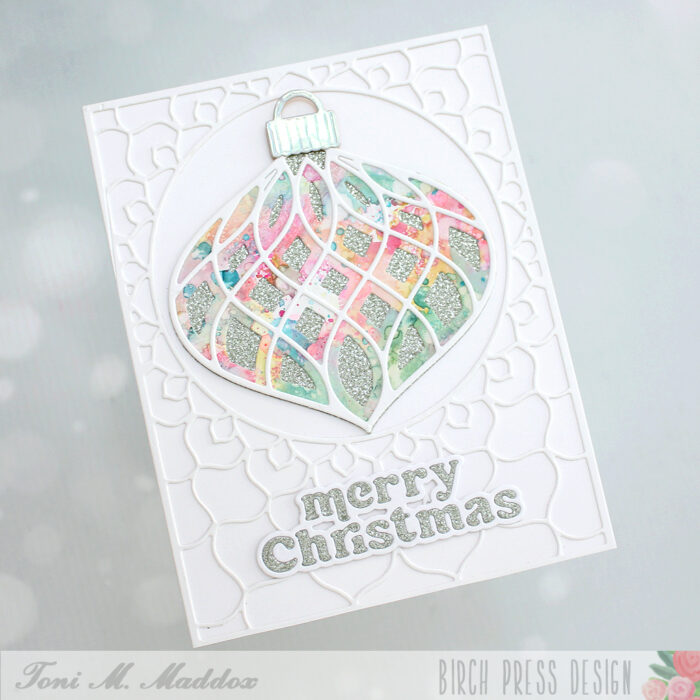
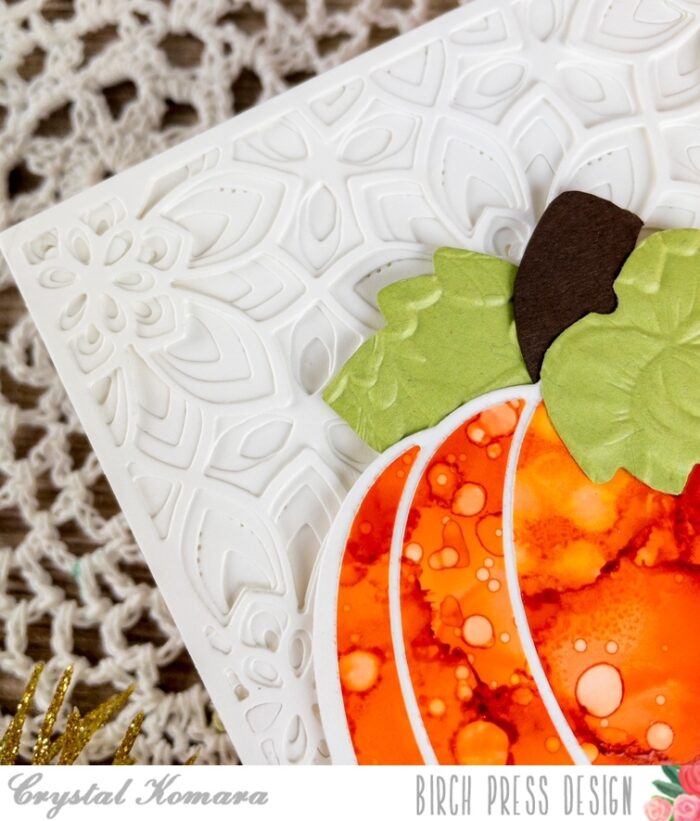
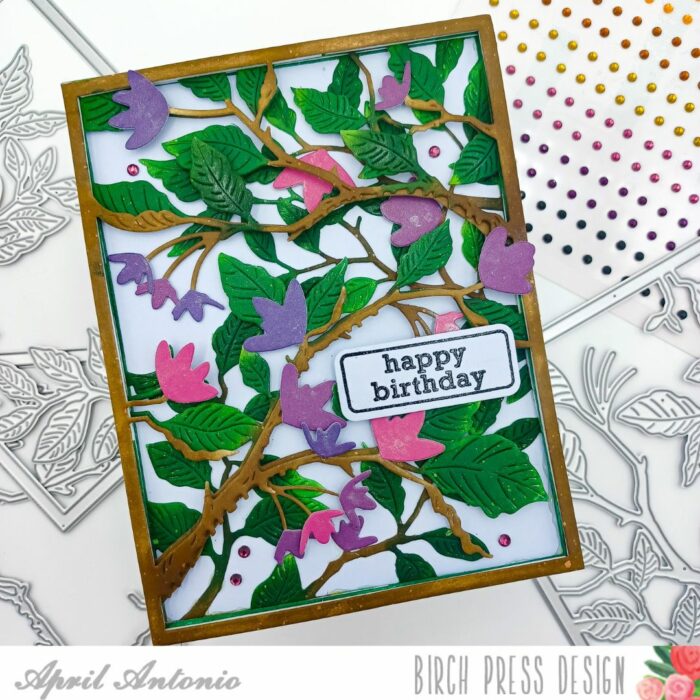
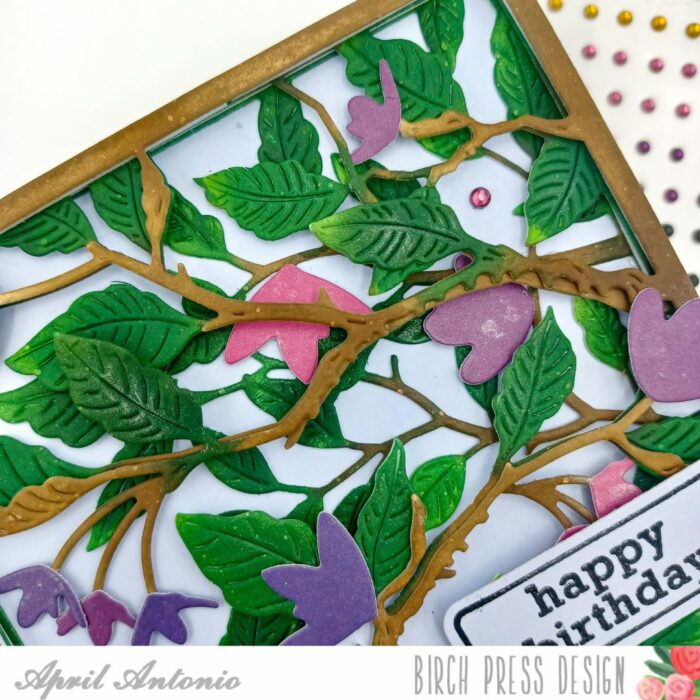
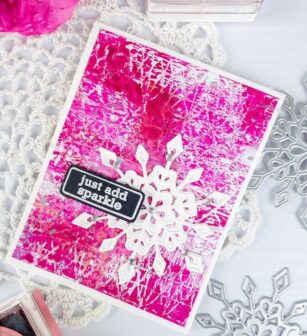
Using the Frosty Flake snowflake dies, I die cut all three layers (A, B and C) from white cardstock. I adhered all three layers together with a fine tip liquid glue. Then I adhered the snowflake directly to the dried gelli plate background.
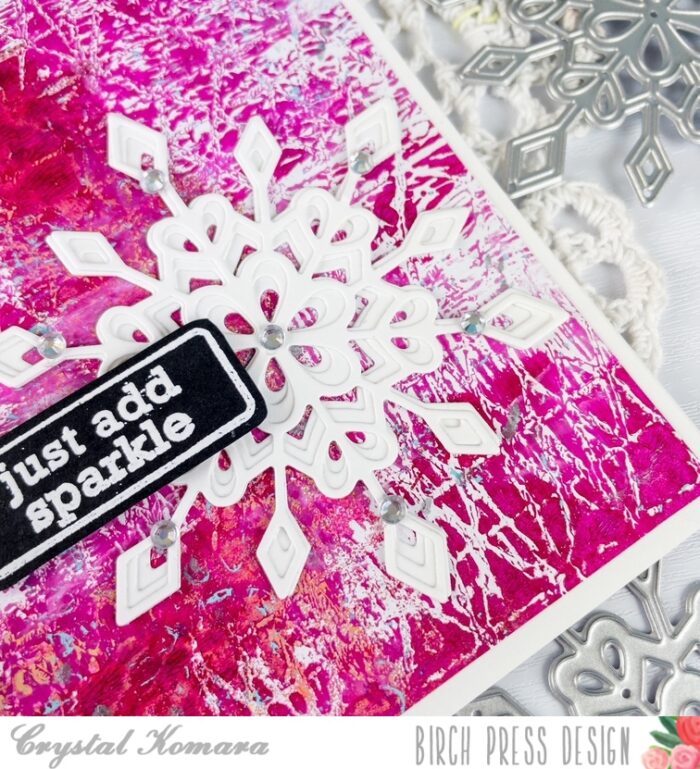
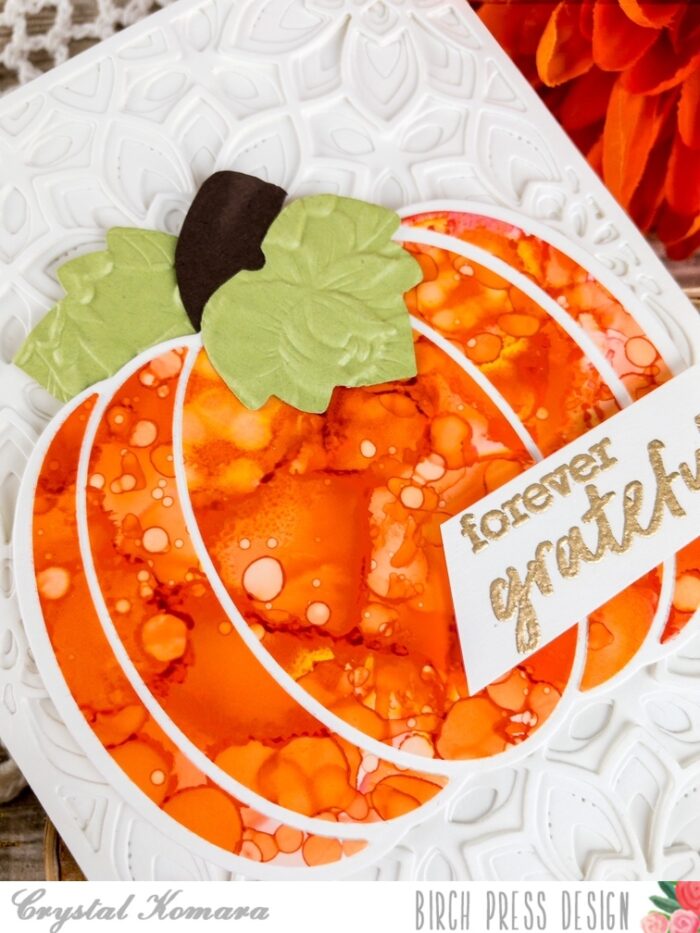
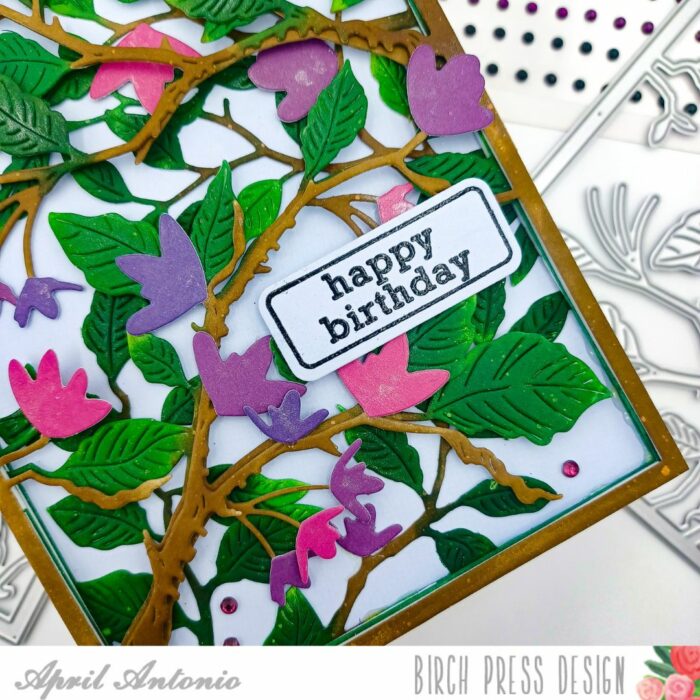
Once the snowflake was adhered to the card I added clear rhinestones to point of the snowflakes for added sparkle. Next, I stamped the sentiment “just add sparkle” from the Contempo Christmas Greetings stamp set in Versamark ink on black cardstock. I heat embossed the sentiment with white embossing powder and then I used the coordinating die to die cut the sentiment out. I adhered the sentiment to the card using 3M foam adhesive for added dimension.
Thanks for visiting and have a wonderfully creative day!

Supplies