Category: Craft Dies

  • You Are Loved | By Allison Frazier

    You Are Loved | By Allison Frazier

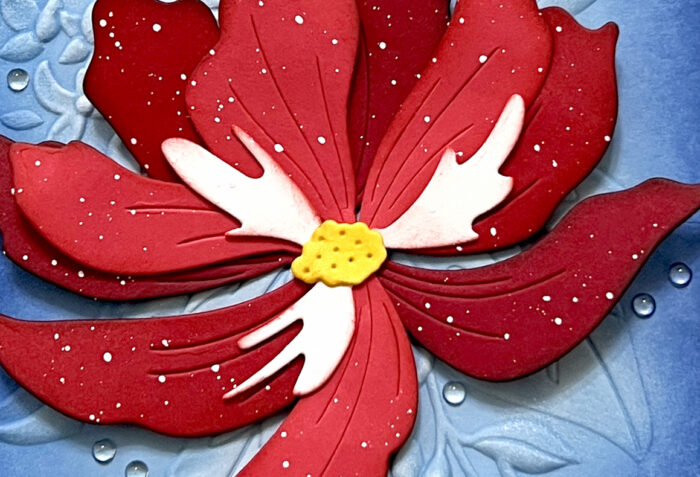
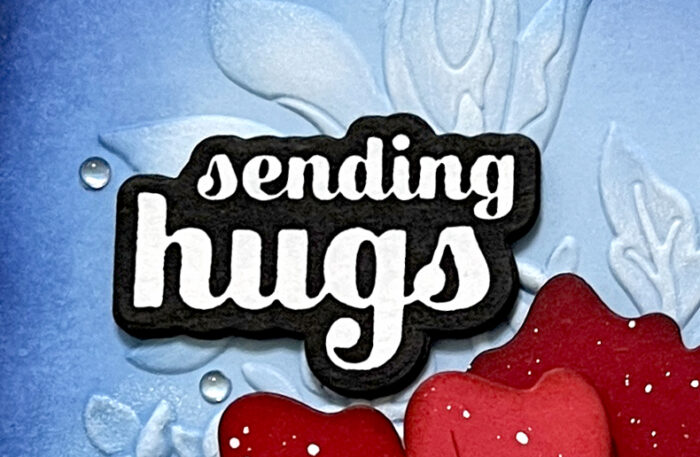
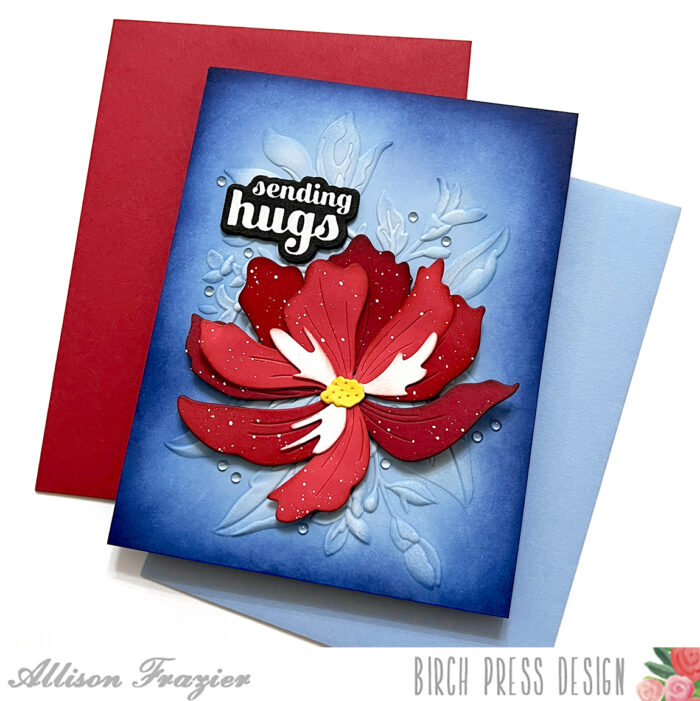
    Hello, Birch Press friends! Have you seen the new products that were recently added to the online shop? I am featuring two of them today – the “Banner Heart” Layer Set and the “You Are Loved Noted Script” Hot Foil Plate/Die.

    This new layering heart set is just gorgeous. And, of course, it will look different every time you change up the colors. My color choices were based on the background that I created. Have you ever tried alcohol ink marbling? It’s really easy and a lot of fun. And the best part is that you never really know what you’re going to end up with. All you do is put some water in a shallow dish, add a few drops of alcohol ink, and then dip your paper in. Once you pull the paper back out, you’ll be amazed, and you’ll also be torn as to which side to use!

    For layers A and C of my Banner Heart, I chose some regular colored card stock. For layer B, I chose a beautiful aqua pearl card stock – it has a matte sheen. I also cut layer C from white card stock and kept the entire piece intact by taping the back side of it. By keeping the negative and positive pieces together, it creates a solid back which you can then adhere all of the other layers on top of.

    For the sentiment, I used Skybright hot foil, which is a pale aqua color. I love how there is a matching die for this hot foil plate. After adhering the heart and the sentiment to my card panel, I finished up by adding some jewels. The Winter Fantasy Fairy Gemstones were the perfect colors for my design.

    Thank you so much for joining us today. I hope this card inspires you and bring a smile to your face! Be sure to check out the other new products in the online store.

    Wishing you a crafty day,
    Allison


    Supplies


    Supplies

  • Rainbow Peace Dove | by Crystal Komara

    Rainbow Peace Dove | by Crystal Komara

    Hello crafty readers! This is Design Team member Crystal Komara here with you today sharing a slightly non-traditional Christmas card made using some ombre colors in reds and greens accented with the beautiful Adornment Dove dies.

    Card details:

    The base of this A2 sized card is made from 80 lb. Neenah Solar White smooth cardstock. This is my go-to cardstock for e-v-e-r-y-t-h-i-n-g! Using the same Neenah white cardstock, I cut the first background from Layer C of the Flora Plate dies. Next, I cut thin strips of cardstock in reds, pinks and greens. These thin strips measured 4 1/4″ x 1/4″. I adhered the strips to the Flora Layer background using Tombow adhesive. I started with the darkest color red to the lightest pink and then from the lightest green to the darkest.

    Using the Adornment Dove dies, I cut both layers from white cardstock. I adhered both layers together with a fine tip glue and adhered the entire assembled dove to the card with 3M foam adhesive for added dimension.

    Lastly, I stamped the sentiment “Peace” in Versamark ink on black cardstock. This sentiment is from the Christmas Mandala stamp set. It also has a coordinating die that I used to die cut the sentiment out. After die cutting the sentiment I adhered it to the card also using 3M foam.

    I love how this card turned out, even though I had a completely different vision from when I started. Thanks for visiting and have a wonderfully creative day!

    Supplies

  • Sending Warm Wishes | by Toni  M Maddox

    Sending Warm Wishes | by Toni M Maddox

    Hello, Birch Press fans! Toni here with you today sharing a kind of card that I like to send when I think my card might be late to reach the recipient for the holidays or just for winter wishes.

    I sponged a panel with Distress Oxide Evergreen Bough and Cracked Pistachio then spattered that with water.

    While that was drying, I cut out the Felicity Snowflakes and Aurora Snowflake Layering Dies out of white then sponged with Distress Oxide Mustard Seed and Picked Raspberry.

    I love the unexpected colors for a winter/holiday card. Just yum. Notice how I didn’t stack the Aurora Snowflake layers atop each other but instead offset them for kicks.

    My final step was to emboss the Christmas Mandala sentiment in white.

    I hope you enjoyed today’s card and have a great rest of your week!

    Supplies

  • Merry Christmas | By Dilay Nacar

    Merry Christmas | By Dilay Nacar

    Hello, crafty friends! Dee here today with this Merry Christmas card showcasing the Herbarium Plate Layers!

    First, I created the background by die cutting each of the Herbarium Plate Layers (A, B, and C) and adhering them together, then onto a top-folding card base. 

    Next, I cut the Felicity Snowflakes and the Eucalyptus Stem and Berries Contour Layers in various red, blue, and silver glitter cardstock and adhered them over the top of the Herbarium Plate Layers. To finish, I added the Handwritten Merry Christmas die cut to the center using foam tape.

    I hope you enjoyed this sparkly layered Christmas card! Thank you so much for stopping by, friends!


    Supplies


  • Rustic Holly Wreath | By Natasha Vacca

    Hi Birch Press Friends, it is Natasha here and I am excited to be back on the blog today. Today I am sharing a rustic inspired holiday card featuring the beautiful Holly Wreath Layering die set.

    I started by die cutting all the layers from the Holly Wreath layering die set. I die cut layer C using a gold glitter card stock from the Festive Glitter Paper pad from Memory Box. I then die cut layer B and A using the Lush Green paper pad collection from Memory Box. I used 2 different shades of green from the paper pad. Next I added a bit of distressing to both layer B and A using my oxide inks. I then adhered all the layers together using liquid glue. I then splattered my wreath using metallic gold watercolor and white acrylic paint. I set the wreath aside.

    Next I worked on my background with a piece of wood grain paper from Wood Grain White paper pack. I added a bit of distressing to the panel using oxide inks. Once this was complete, I used my distress tool to add texture to the panel edges and then added distress ink to darken the edges.

    Next I die cut a few leaves using the Adornment Dove die set. I added distress oxide inks to the leaves and then embossing powder to the leaves for added texture. I cut a few berries using the Eucalyptus Stem and Berries Contour Layers die set. I used the festive Glitter Pad and die cut the berries in red. To create the look of snow on the berries, I added a bit of embossing ink and sprinkled a white glitter powder on each berry, then heat set the powder with my heat tool.

    To complete my card I chose the Find Joy and Outline die. I die cut the sentiment 3 times and adhered it together with liquid glue. I embossed the sentiment using the same white powder as I used on the berries. I added a twine bow around the distress wood panel, tied the bow and adhered this to my card base.

    I adhered the wreath using foam tape and adhered the sentiment, berries, and leaves using liquid glue. I added a button from my stash on the bottom right corner. I had a lot of fun creating today’s rustic holiday card! The Holly Wreath layering set is truly beautiful!

    Thanks so much for stopping by, I will be back soon!


    Supplies


  • All Is Bright

    All Is Bright

    Hello, Birch Press friends! I have a pair of cards to share with you today featuring the gorgeous Crochet Snowflake Layer Set. One of the great things about using a layering die set is that you can easily and quickly make more than one card in one sitting!

    I started by cutting two card stock panels to 4″x5.25″ – one in navy blue and one in lime green. I lined up the Crochet Snowflake Layer C die in the middle of each panel to cut out the snowflake. I adhered each of the resulting panels (with the cutout in the middle) onto a white A2 card base. I then adhered the green snowflake onto the navy card panel and the navy snowflake onto the green panel, lining up each snowflake into the exact position as the cutouts in the panels. In order to enhance the look of dimension on my cards, I only glued the very center of each snowflake onto the card panel. This way, the edges of the snowflakes pop up from the background.

    For Layer B, I made a white glitter snowflake for my green card and a white foil snowflake for my navy card. I adhered only the center of these snowflakes right on top of the center of the Layer C snowflakes.

    For Layer A (the top snowflake), I used a navy glitter card stock for my navy card and a lime green mirror card stock for my green card. Again, I only adhered the center of each of these snowflakes on top of the Layer B snowflakes.

    The Layer C snowflake die creates some fun cutout designs in the card panel. You won’t see these on the actual snowflake – you’ll only see them if you end up using the panel that you cut the snowflake from. I added a mix of jewels and gemstones to the round cutouts of the design, again choosing colors that would complement my cards. I finished the cards with a heat embossed sentiment from the retired stamp set called “Joy and Peace.”

    Thank you so much for joining us today. I hope these cards inspire you and bring a smile to your face!

    Wishing you a crafty day,
    Allison


    Supplies


    Supplies


  • Mistletoe Ornament | by Toni M Maddox

    Mistletoe Ornament | by Toni M Maddox

    Hello, Birch Press fans! Toni here with you today sharing a rather more traditional holiday card than my usual. Sometimes you just need to go classic and elegant!

    I started the card by cutting the Meridian Ornament out of Memory Box Berry Red and Fresh Aqua 6×6 cardstock. I also cut out the Christmas Ornament Pop Up Easel elements from this.

    Next I sponged Distress Oxide Aged Mahogany on the red cardstock and Faded Jeans on the blue to give depth and add a vintage touch. I also covered the bow in Lawn Fawn Glitter Pen (Wink of Stella would have worked well too).

    For the Tiny Tuft Flowers & Leaves and Eucalyptus Stem & Berries Contour Layers, I used Memory Box Vintage Pastel Mirror, Lush Green, and Earth Neutral 6×6 cardstocks.

    I adhered those to the card front which used a cream shimmer paper from my stash then nestled the ornament within.

    I hope you enjoyed today’s card and have a great rest of your week!

    Supplies

  • Winsome Rose and Leaves | By Natasha Vacca

    Hello Birch Press friends, it is Natasha here and I am super excited to be back on the blog today! For today’s card I had a lot of fun creating a mixed media inspired card using the beautiful Winsome Rose and Leaves Contour layers dies! So let’s get started!

    I started by creating 2 water color panels using Canson XL card stock. I added powders to the papers to create my own backgrounds. I created 2 panels, one in purple tones and another in green tones. Once my panels were dry, I die cut the Winsome Rose and Leaves using my watercolor panels. I also die cut a set of roses using the Twilight Purple paper pad from Memory Box. I wanted to create dimension for my roses and once die cut adhered these to my watercolored rose die cuts. I adhered each layer using liquid glue. Once the roses were adhered, I set these aside.

    Next I die cut the leaves using the dies included in this set. Once they were die cut I added more texture to each leaf using dye inks from my stash. I applied the ink with an ink dauber to the edges of the leaves. On the top layer I added embossing powder for added texture. I then adhered the leaves together using liquid glue. I also embossed the center of the roses using a gold embossing powder.

    Next I started to work on my background. I looked through my gelli print stash and chose a print to coordinate with my flowers. I wanted to add a bit of texture to my gelli print using the Flora Plate die set. I chose to use layer C. Following the instructions with my die cutting machine I used the plate to dry emboss the background die onto my gelli print. Next I added a bit of distressing to the panel. I used my distress tool to “rip” the edges, applied distress ink, as well as some embossing powder to various sections of the panel. I added a gelli print strip to the center of the panel following the same distressing pattern. I then adhered the card panel to an A2 card base.

    Next I adhered the leaves and roses to the card front using both liquid glue and foam adhesive. I then chose a sentiment to to complete my card. I chose the Handwritten Thanks and Outline die set. I die cut the shadow layer using a piece of the same gelli print background. I then die cut the script thanks 3 times. For the top layer I added tape to the paper prior to die cutting, as I wanted to use a glitter powder on the top layer of the word die cut. I then adhered all the layers together using liquid glue. I adhered the sentiment using foam tape.

    I had so much fun creating today’s card! I hope it inspires you to create today!


    Supplies

  • Santa Baby | by Toni M Maddox

    Santa Baby | by Toni M Maddox

    Hello, Birch Press fans! Toni here with you today sharing a simple holiday card using the BPD Adornment Santa. Isn’t he super cute?!

    I colored him up with Copic E00 and E11 and used a flocked red cardstock for his hat. Yes, I have flocked cardstock that’s been in my stash for years as I used it primarily at Christmas-time.

    I used the BPD Herbarium Plate A as an impression plate on the card base. You know I love adding texture this way–subtle but adds a lot of interest.

    I finished the card using the BPD Handwritten Merry Christmas & Outline. I was very pleased with how easy it was to line up the outline die with the stamped sentiment.

    I hope you enjoyed today’s card and have a great rest of your week!

    Supplies
  • Felicity Snowflakes | by Crystal Komara

    Felicity Snowflakes | by Crystal Komara

    Hello friends! This is Design Team member Crystal Komara here with you today. If there is one thing I love when it comes to cardmaking, it’s the alcohol. Ink, that is! ; ) Initially I never thought I would have enjoyed working with alcohol inks as much as I have because, well. . . they’re messy. They stain. They are a tad unpredictable in outcome and all that just terrifies me. Yet, somehow I learned to love them and now can’t feature them enough on my cards.
    Card details:

    The base of this A2 sized card is made from 80 lb. Neenah Solar White Smooth cardstock. I cut a 5 1/4″ x 4″ piece of Yupo (polysynthetic paper) and “ink blew” Ranger Adirondack alcohol ink in the color Stream over the Yupo paper. That’s it, just one ink color was all I used! As it moves around and dries, you get puddles of ink that look like other darker and lighter colors, but I assure you, I used just one color. Nice and easy!
    Using the Felicity Snowflakes dies, I cut the outer layer from vellum cardstock and the top thinner layer from white cardstock. I adhered the two layers together with liquid adhesive and then I adhered the snowflakes to the card with a small pop dot (which you can actually see through the vellum, it’s too hard to hide).

    Using the Contempo Christmas Greetings stamp set and coordinating die, I stamped the sentiment in Versamark ink on white cardstock and heat embossed it with turquoise embossing powder. I used the coordinating circle die to cut out the sentiment. I adhered the sentiment to the card with Scotch 3M foam adhesive for added dimension.

    Now that I think about it, you could make this same card in ANY color! Red or green alcohol ink would be very traditional, but I’m also thinking pinks and purples for a pop of pizazz too!

    Thanks for visiting and have a wonderfully creative day!