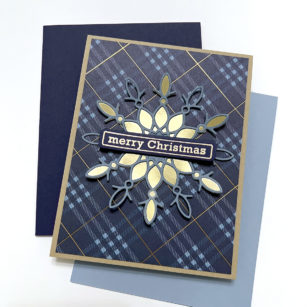
Hello again, Birch Press friends! Allison here, and today I’m sharing a masculine holiday card. It seems like many of us often struggle when it comes to making masculine cards. My solution is usually to find a good plaid, or to pick some darker colors and go with a clean and simple design. In this case, I did both!

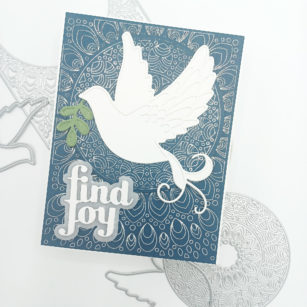
I started with the gorgeous new Adornment Snowflake die. I cut the shadow/solid layer from gold foil card stock. I cut the detailed layer from a grayish-blue color (twice to give it a bit of dimension), and then I offset it when I adhered it to the gold layer so that it gave my snowflake twelve points instead of six. There are so many ways that you could adorn this snowflake, but I chose to keep it simple for this card.
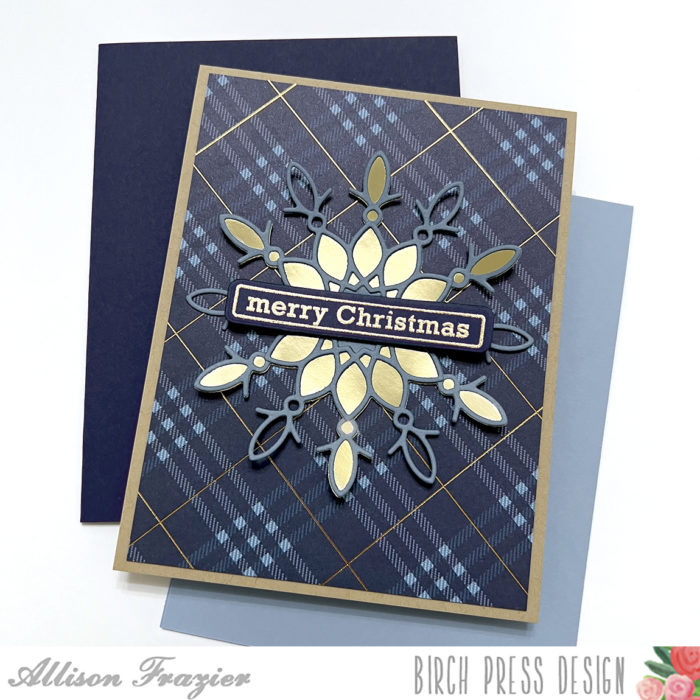
This plaid paper is so gorgeous – it has very thin gold foil stripes in the design. I cut the panel down so that I could leave a little margin of my Kraft card base showing, and then I glued the snowflake to the center. I only glued the center of the snowflake – that way, the points can lift up for dimension. I gold heat embossed the sentiment onto navy card stock and cut it out with the matching die.
Thank you so much for joining us today. I hope this card inspires you and brings a smile to your face!
Wishing you a crafty day,
Allison

Supplies


Supplies