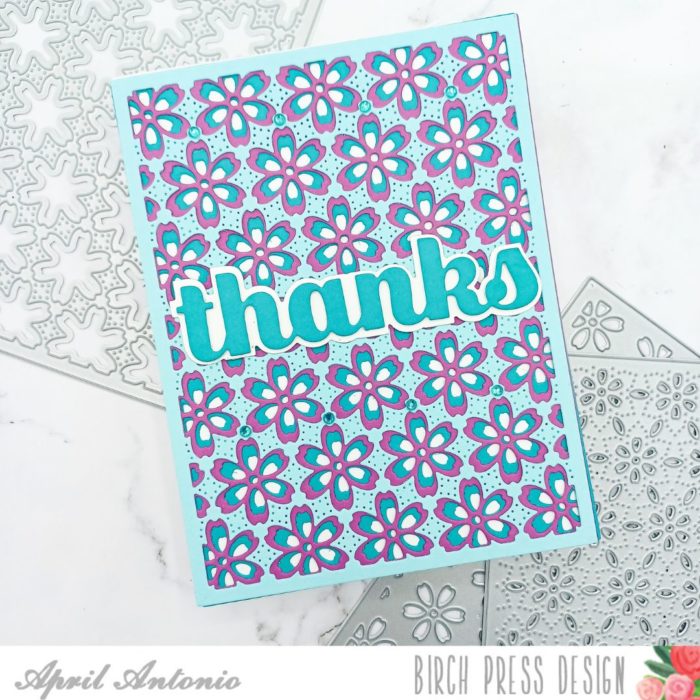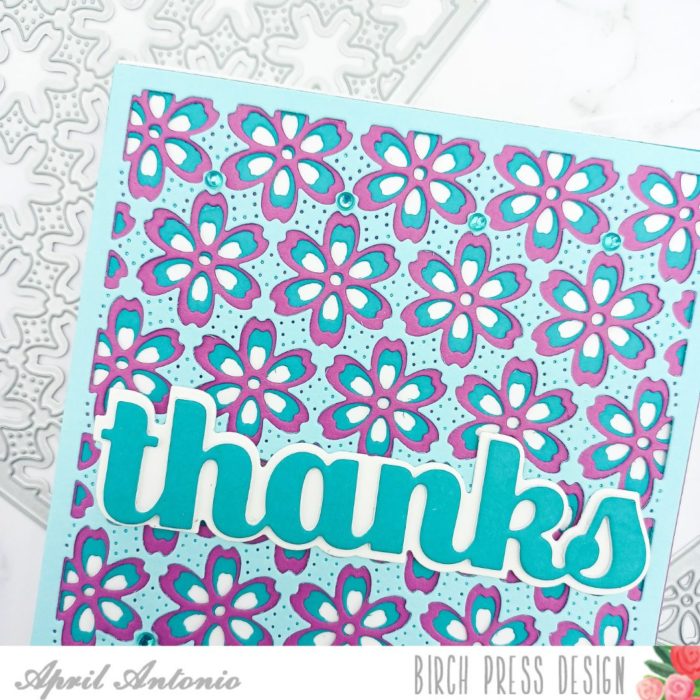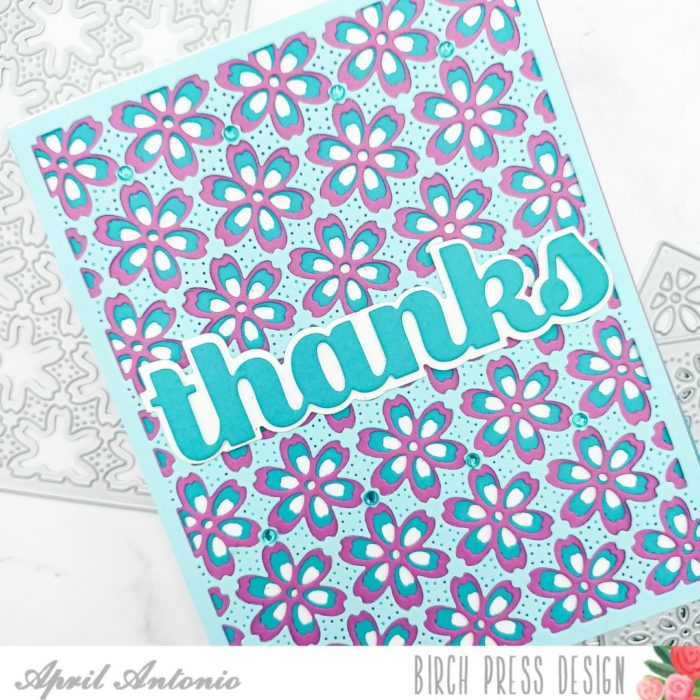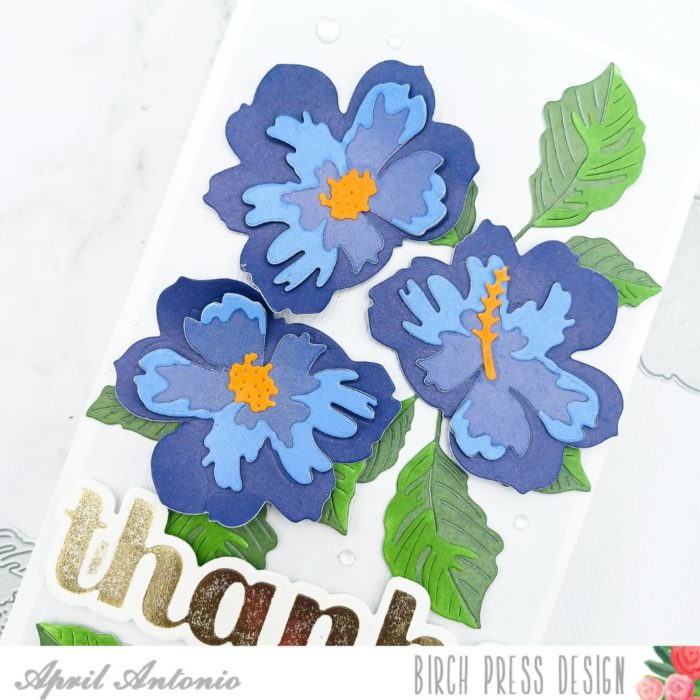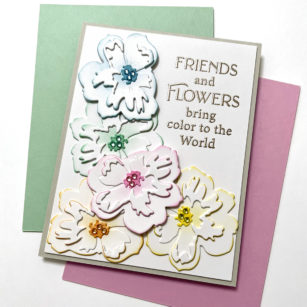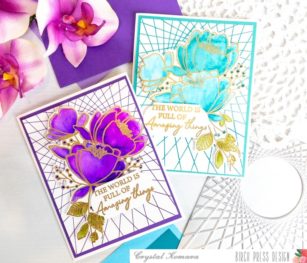
Hello crafty readers! This is Design Team member Crystal Komara here with you today. I’m excited to be sharing the first two cards I created using the new String Art Frame Hot Foil plate. Now, if I’m being completely honest, these are actually the first two cards I have ever made using hot foil!! Heat foiling is very on-trend right now in the craft industry, so I succumbed to the peer pressure and bought the Gemini Foil Press (because it works with my Gemini, Jr. die cutting machine). Heat foiling is a magical process where heat and pressure are applied to a special foil to imprint on paper. Unlike heat embossing where the image is raised when Versamark ink and embossing powder are heated with an embossing gun, in heat foiling, the image is imprinted or pressed into the paper when heat and pressure are applied.
I created two cards that are nearly identical, I simply swapped out the color combination and sentiment to achieve two unique looks. Keep reading for all the details:
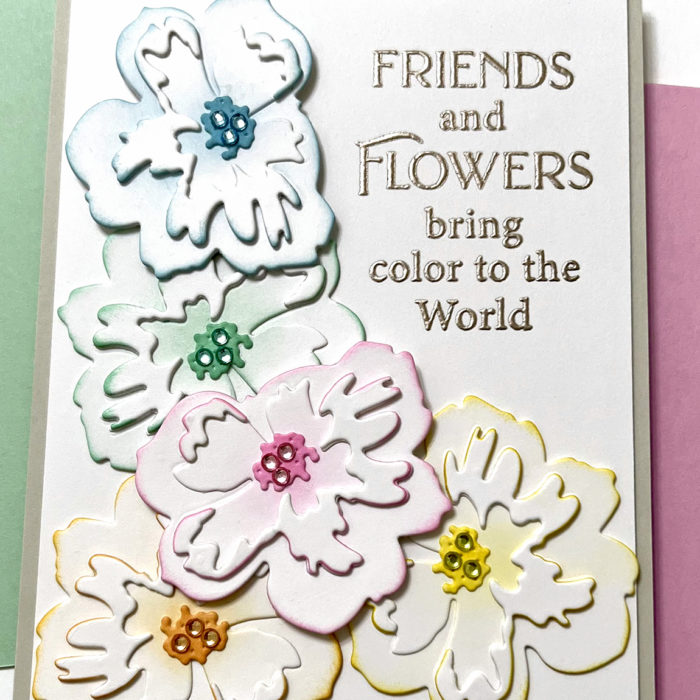
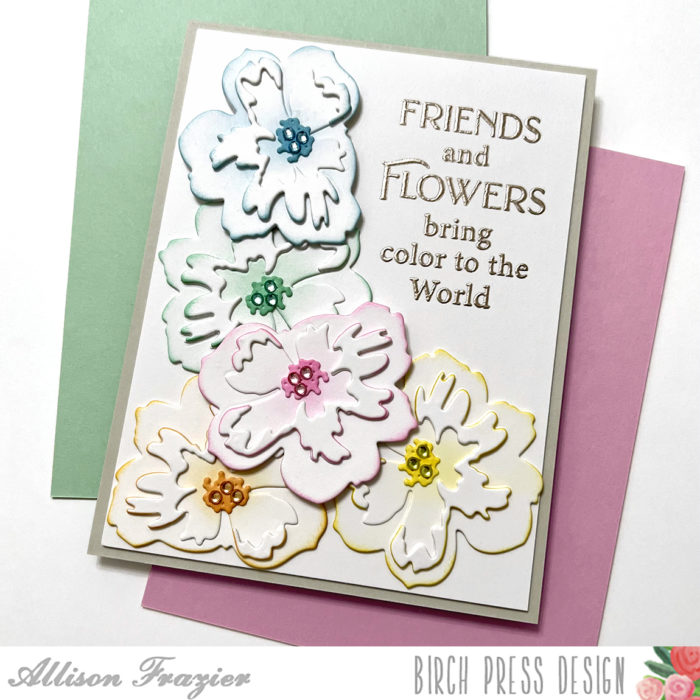
Card details:
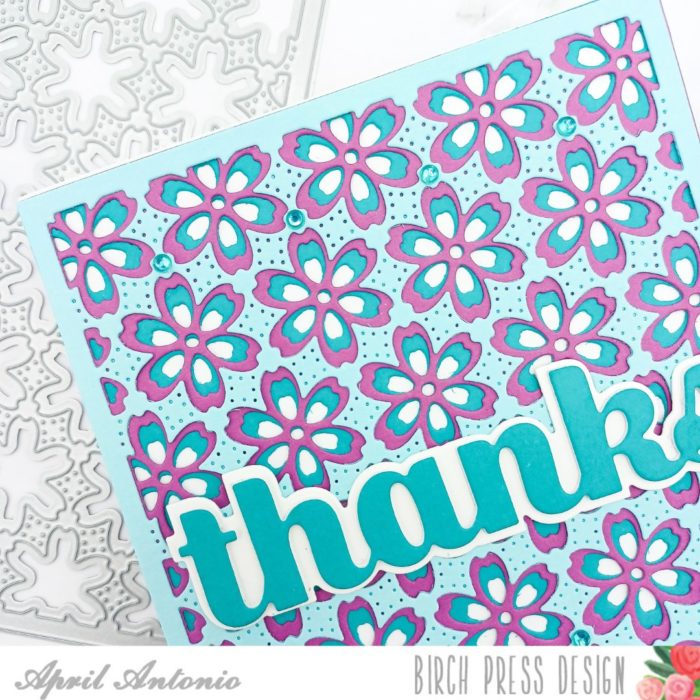
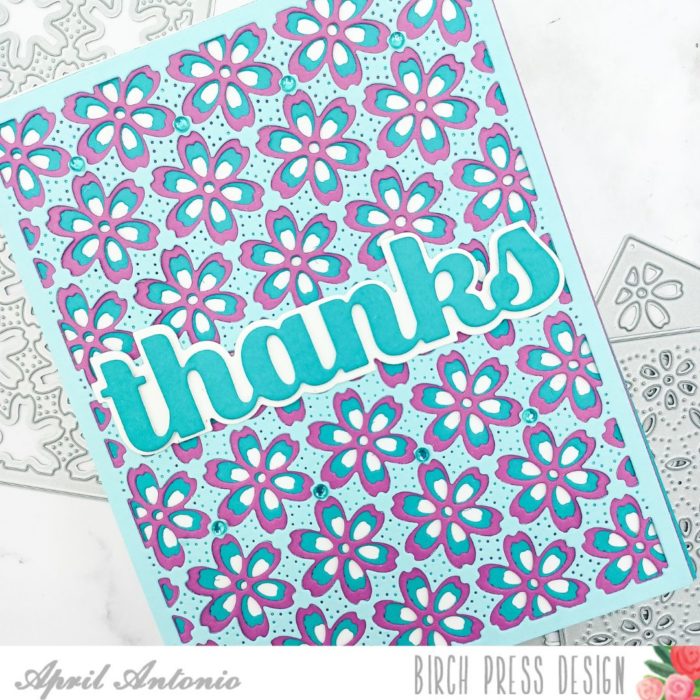
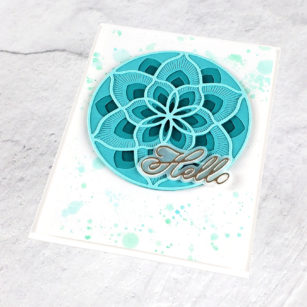
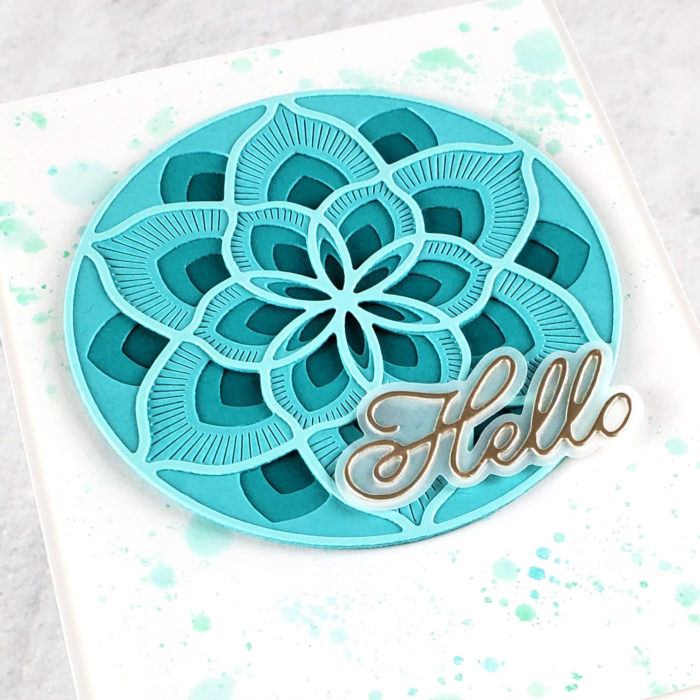
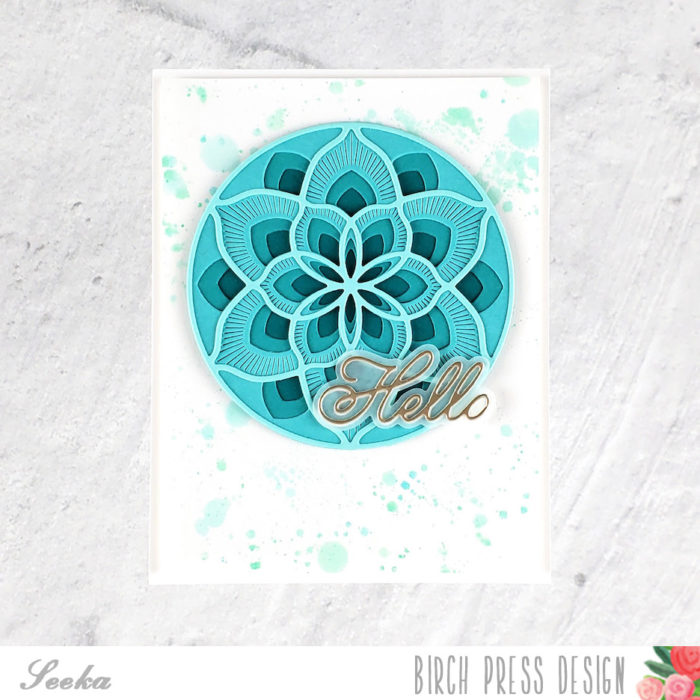
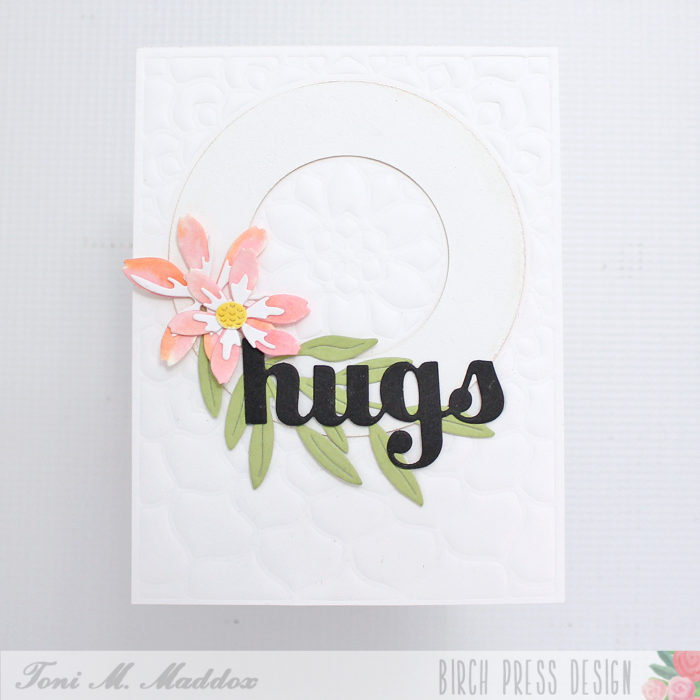
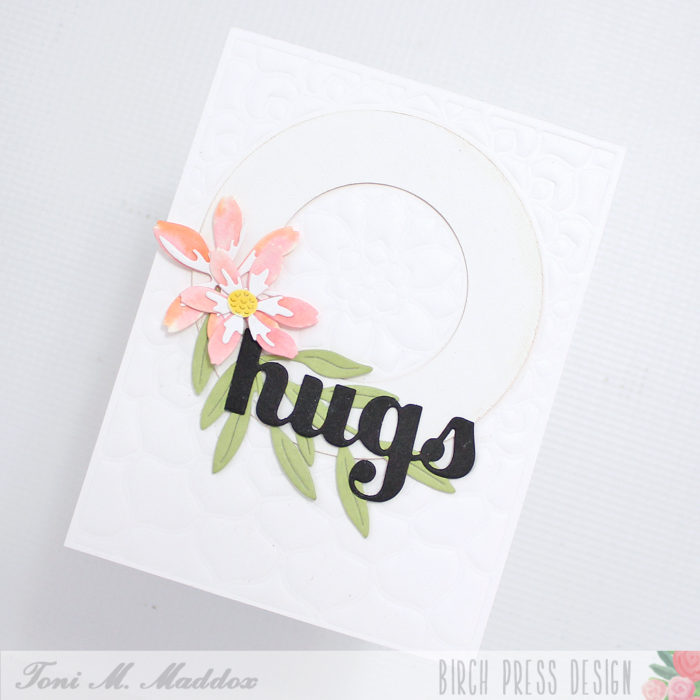
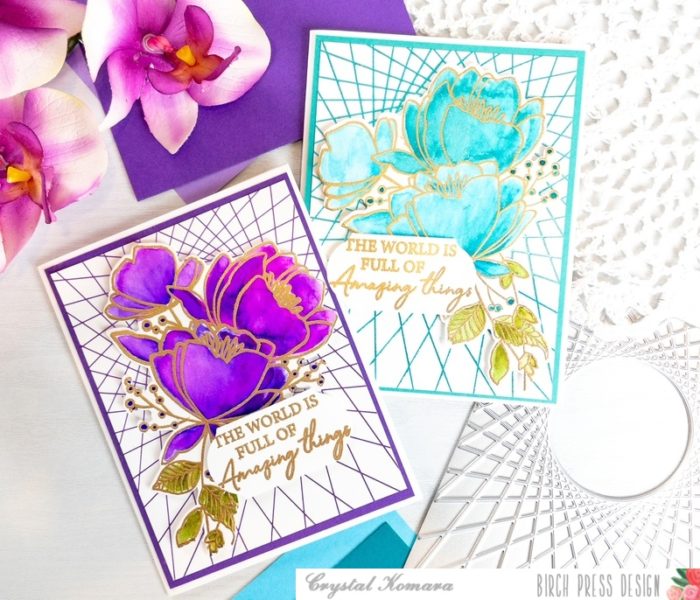
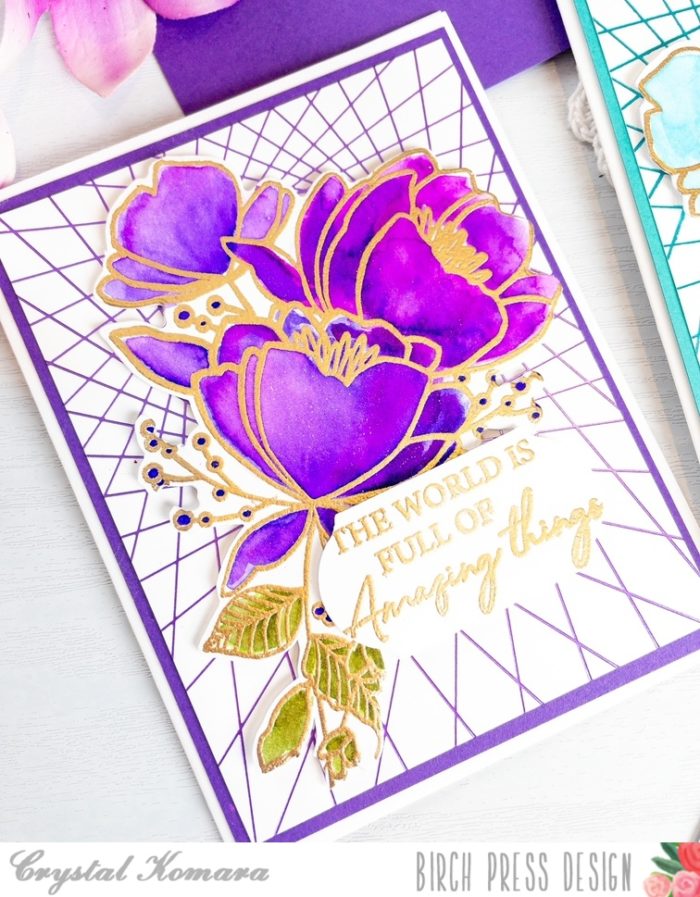
The base of this A2 sized card was made from 80 lb. Neenah Solar White Smooth cardstock. I cut a 5 1/4″ x 4″ piece of purple cardstock from the 6″ x 6″ Twilight cardstock pack. On a 5″ x 3 3/4″ sheet of white cardstock, I heat foiled the String Art Frame hot foil plate on my Gemini Foilpress machine with purple Foilpress foil.
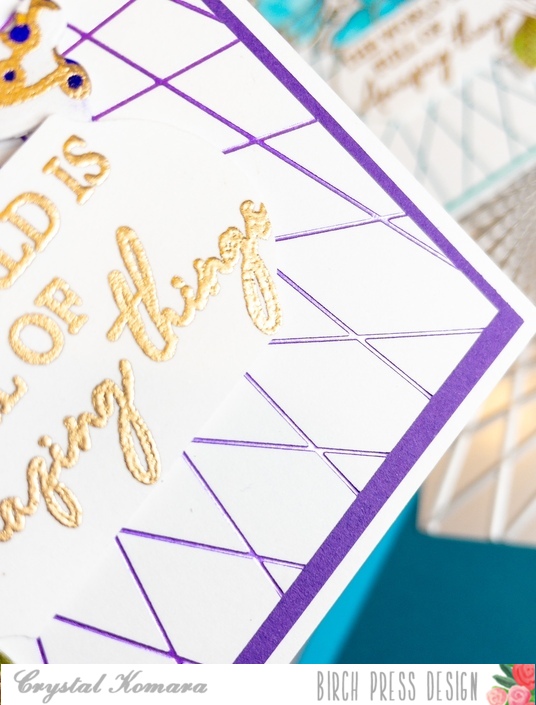
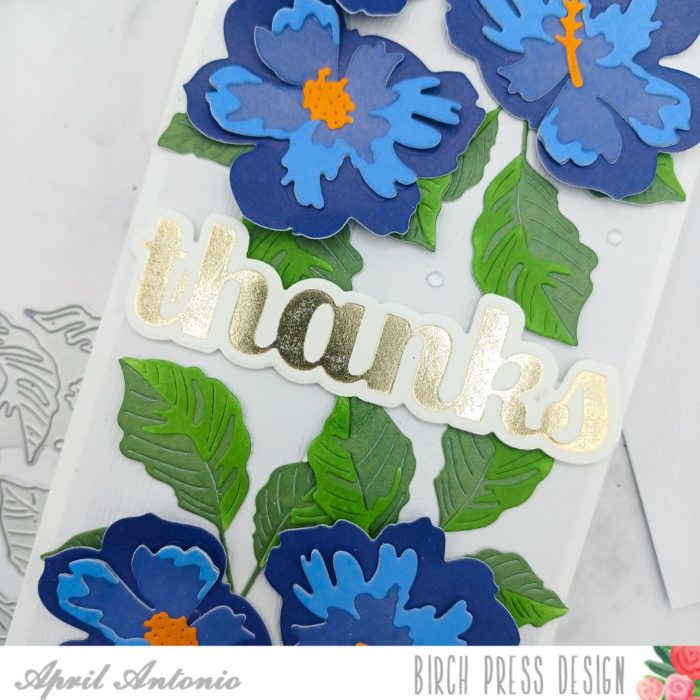
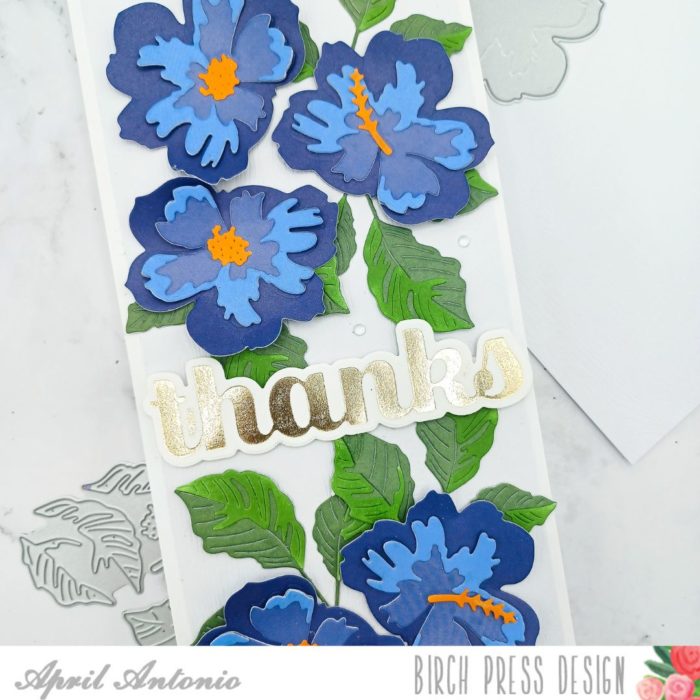
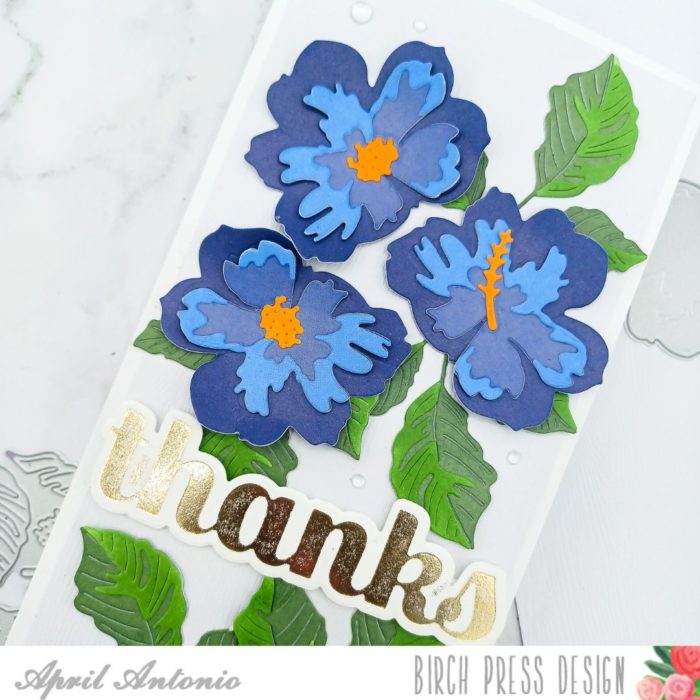
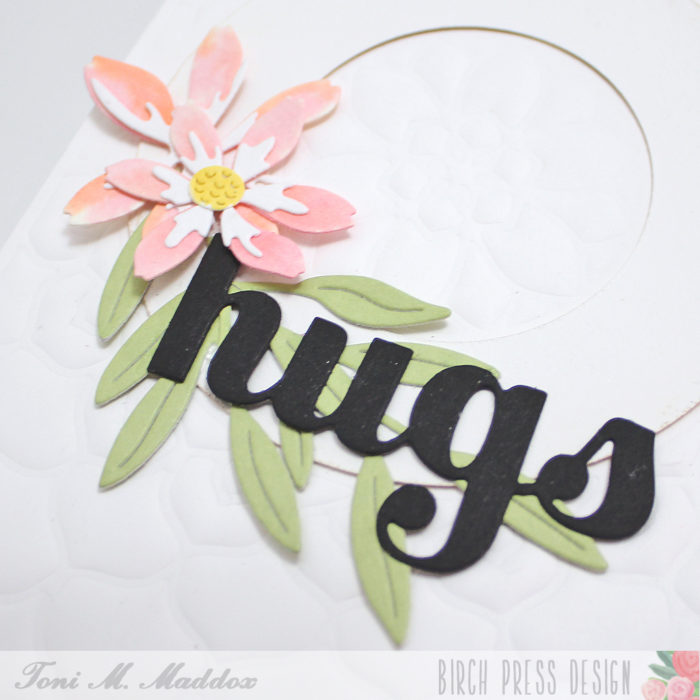
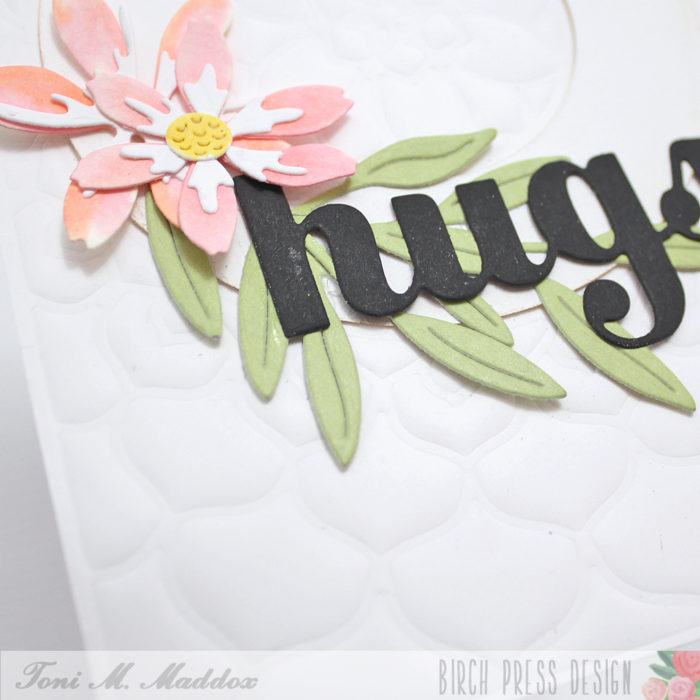
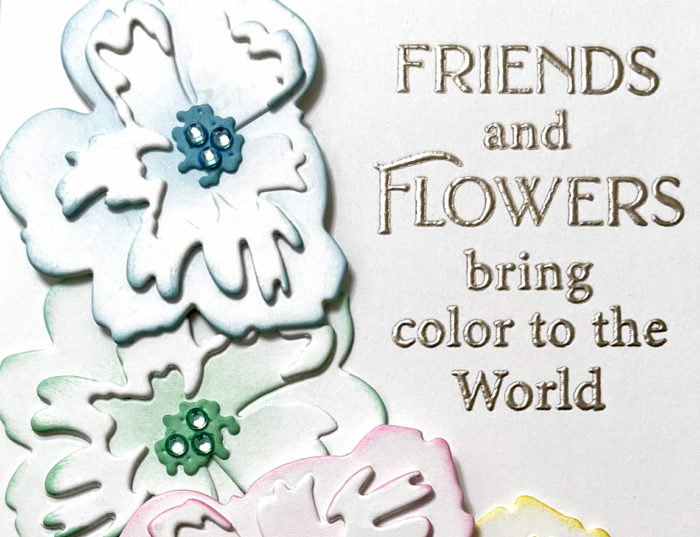
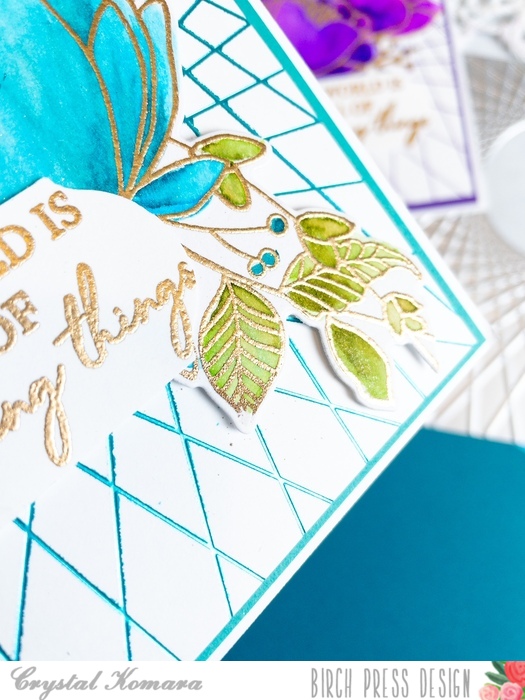
On a separate sheet of watercolor cardstock, I stamped the large floral image from the Memory Box (a sister company to BPD) All the Happiness stamp set in Versamark ink and heat embossed it with gold embossing powder. I colored the image using Zig Real Color Watercolor Brush markers. Once the image dried, I used the coordinating All the Happiness dies to cut the image out. I adhered the flowers to the card using 3M foam adhesive for added dimension. I stamped the sentiment in Versamark ink and heat embossed it with gold embossing powder. This sentiment is from the Kind Hearts clear stamp set. I adhered the sentiment to the card also using 3M foam adhesive tape. Lastly, I added a light coat of clear Wink of Stella to the flowers for added sparkle. *Be careful with Wink of Stella on watercolor though, because it will bleed as it is water-on-water based.
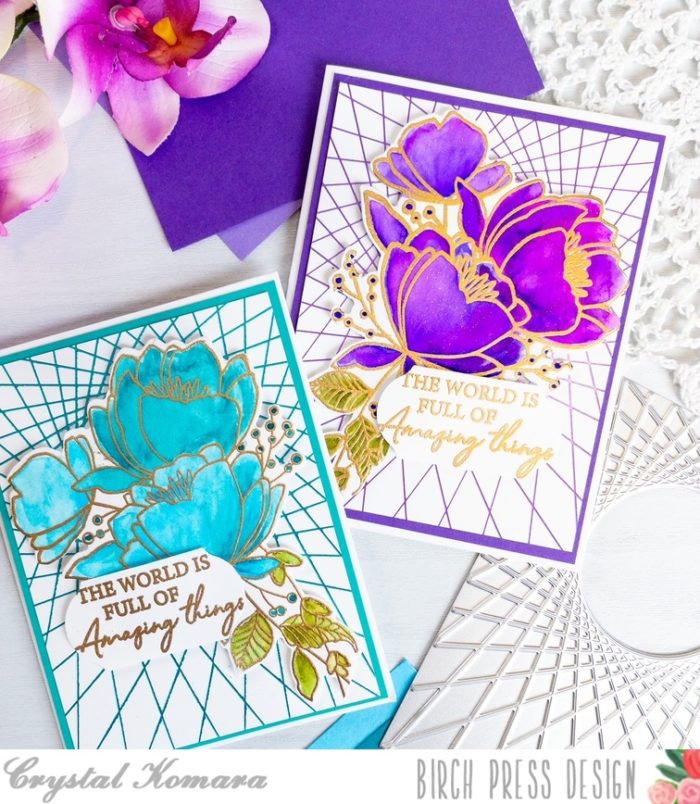
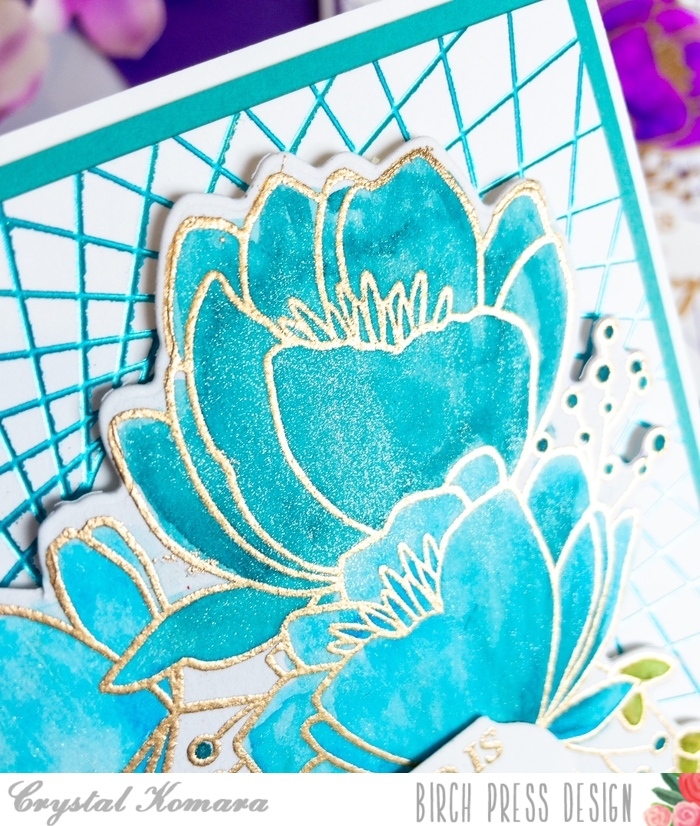
For this second card, I used identical products as the first card, I simply swapped out the purple foil for a teal foil and I colored the flowers with teal or turquoise hued Zig Real Color Brush markers.
Alright, so since I admitted this was my first go-round with hot foiling, I’ll also admit that I did my initial foiling wrong and ended up heat foiling the plate itself and not the paper. Note to self, read the instructions first! They do exist for a reason!! : ) But, all-in-all I was quite pleased with how my first heat foiled cards turned out and I look forward to experimenting more!
Thanks for visiting and have a wonderfully creative day!

Supplies