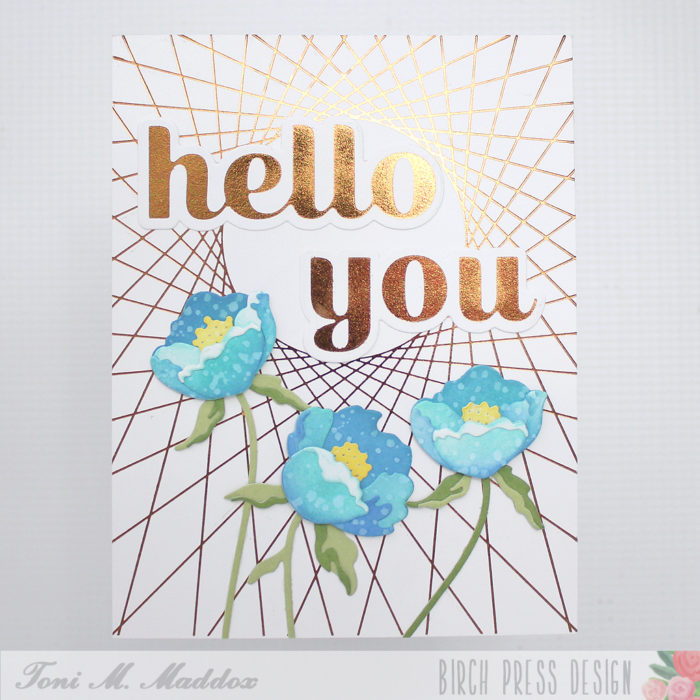
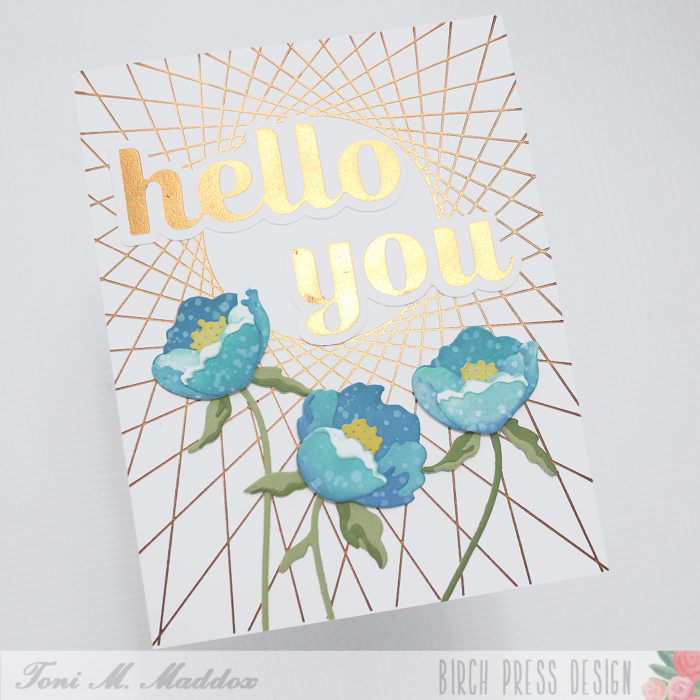
Hi Crafty friends – it is Natasha here and I am excited to be back on the blog today! I had so much fun using the beautiful Adornment Peony die set, paired with the new You Sugar Script Hot Foil Plate and die set! I love all the sugar script dies and the new foil dies are just AMAZING! So let’s get started!

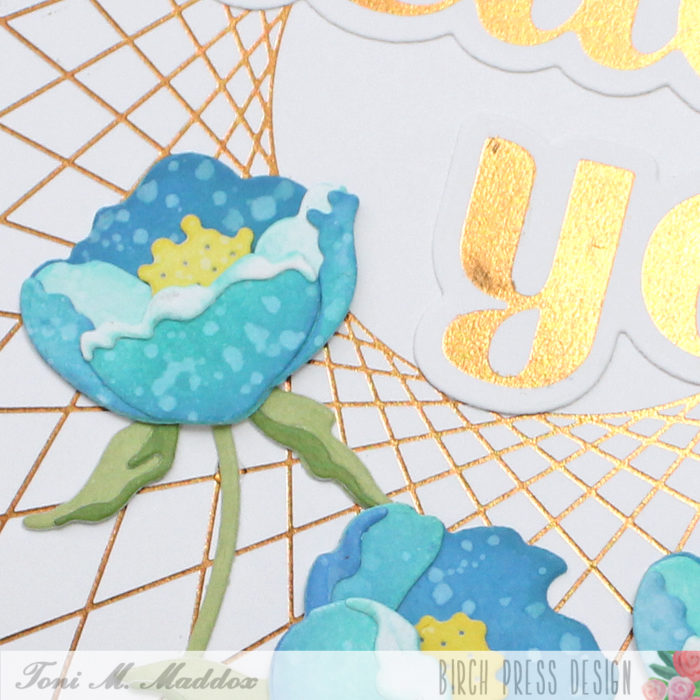
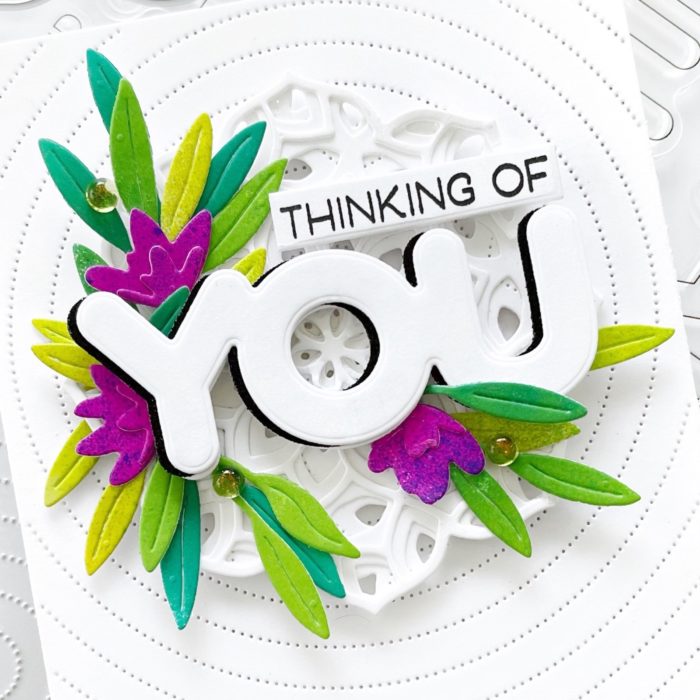
To begin I started by creating a colorful watercolor background using powders. The powders I used today have lots of sparkle and shine! I added these to watercolor card stock and then allowed them to dry. Then I die cut the shadow peony outline layer 2 times (pink and purple) and then die cut the leaves using the outline dies. Next I splattered the peony and the leaves using a combination of white and metallic watercolors. I set these aside to dry.

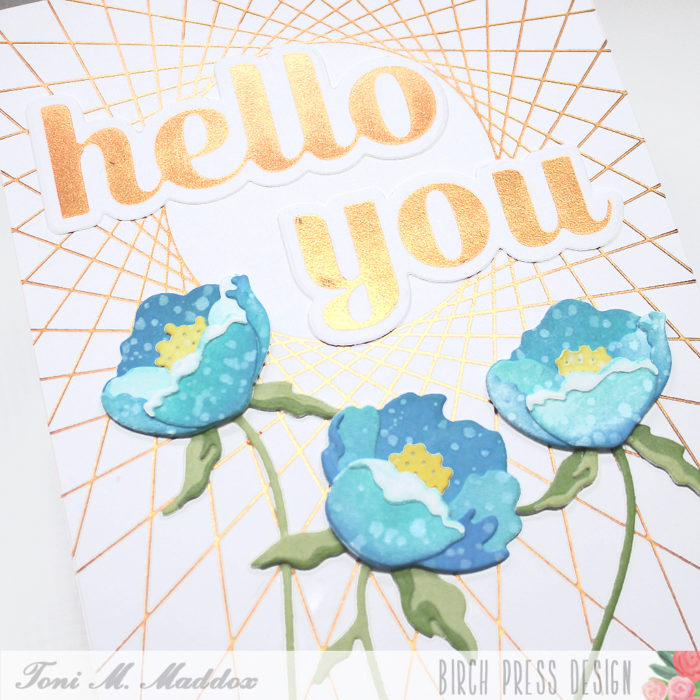
Next I die cut the detailed layer from the Adornment Peony die set using white card stock. I die cut 2 peony layers and 2 sets of leaves using the white card stock. I then ink blended each peony layer and leaf layer using oxide inks. I did quick ink blending to give the layer a textured look. Once they were dry I adhered these to each of the outline die cuts using liquid glue.
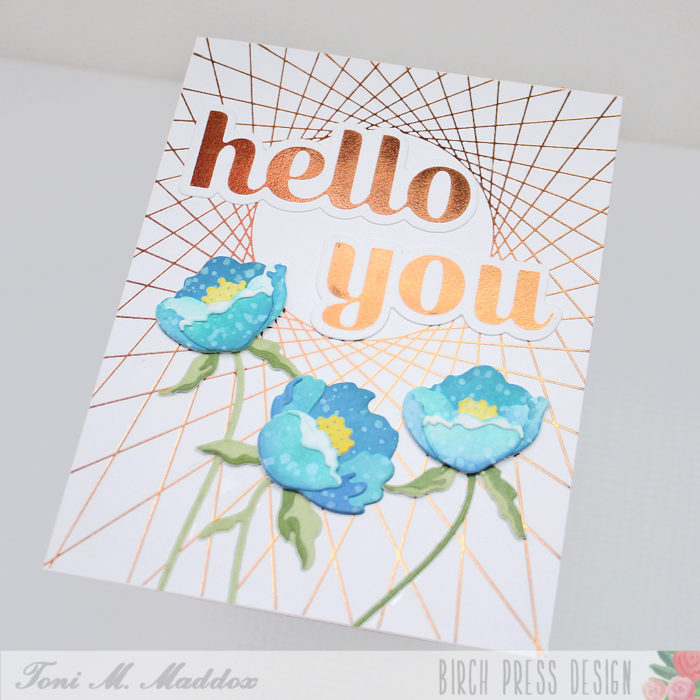
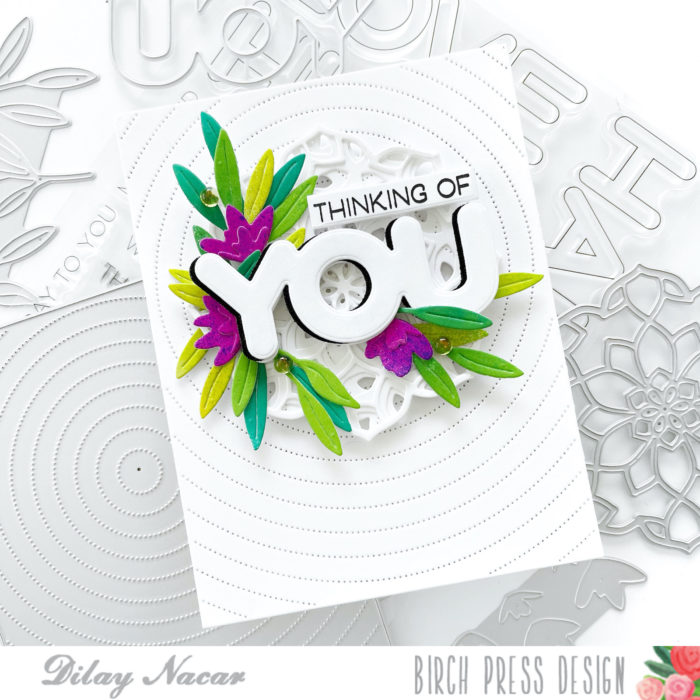
Next I started to work on my background for my blooms. I used several shades of yellow water color and ink smooshed the watercolor onto my panel. Once I was happy with the colors and texture, I added a few splatters to the background. I then trimmed down my panel to fit onto my A2 card base. I adhered my ink smooshed background onto my card base using liquid glue.
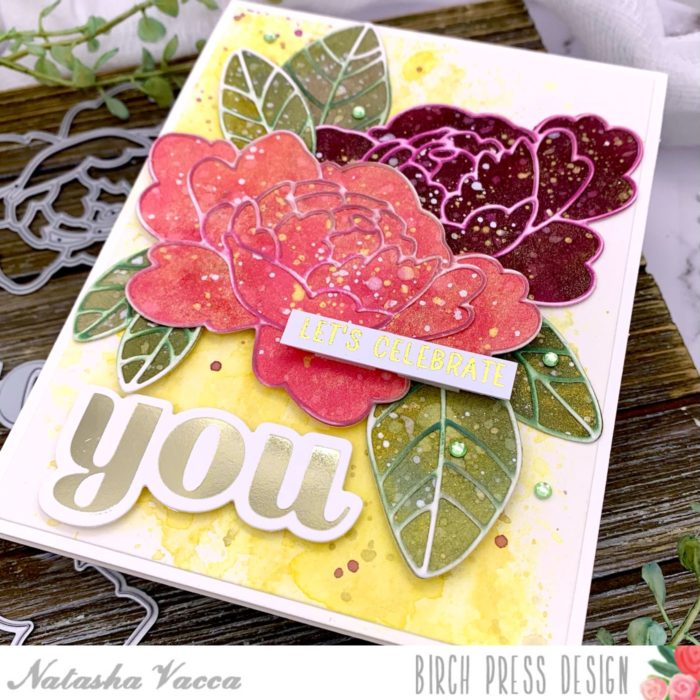
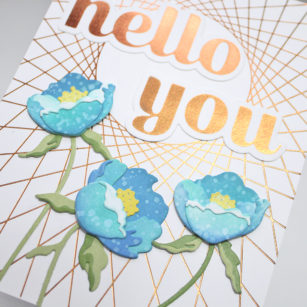
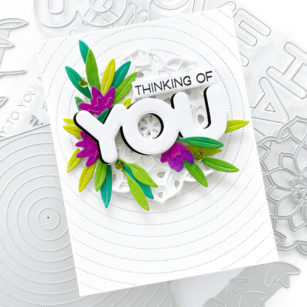
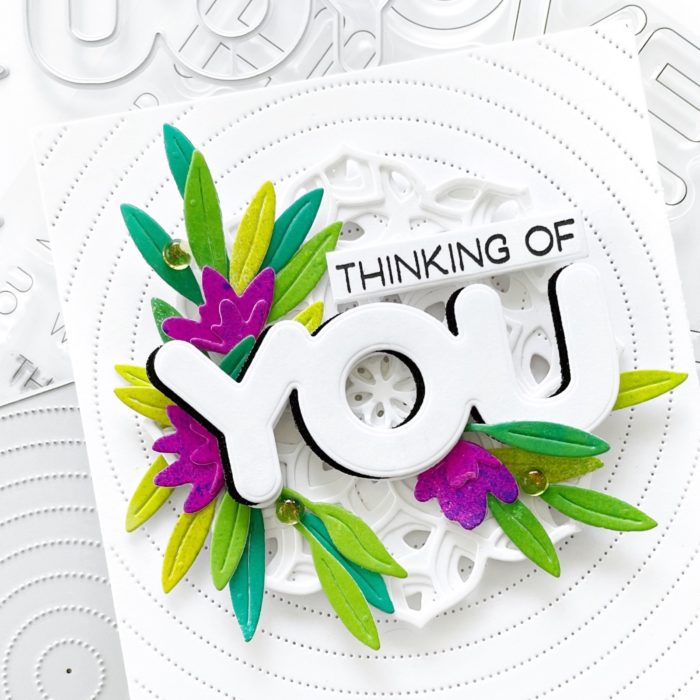
Next I foiled the You Sugar Script hot foil plate using a gold foil. I then die cut the (You) using the coordinating die included in the set. To complete my card I arranged my flowers and leaves, then adhered them with liquid glue and foam tape. I also adhered my sentiment using foam tape. I also added a sub sentiment from my stash to complete my greeting.
I added a few Fairy Jewels from the Pastel Jewels collection to complete my card and add a little more sparkle!
Thank you for stopping by today! I had a lot of fun and I am super excited about the new foil die sets! See you soon!