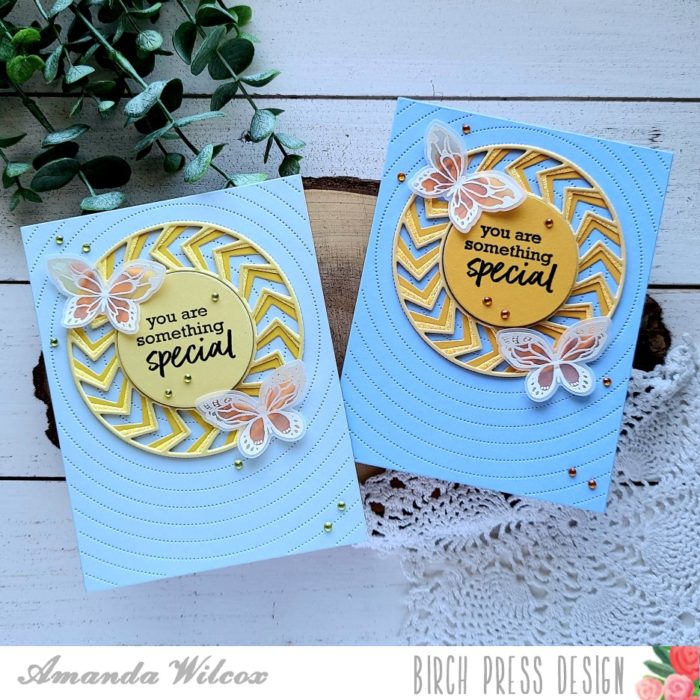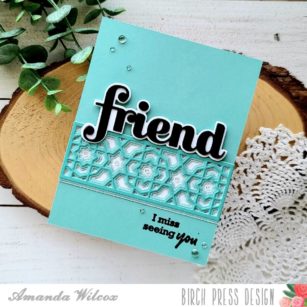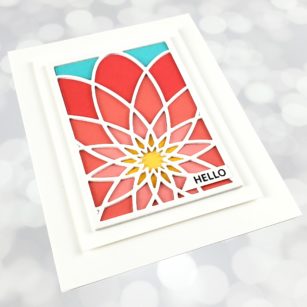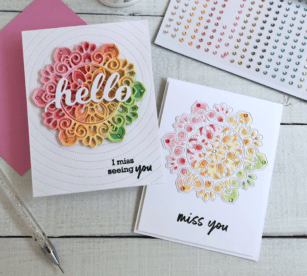
Hi There, it’s Tracey back today with a couple of cards that are perfect to send out to someone that you have been missing throughout the pandemic!
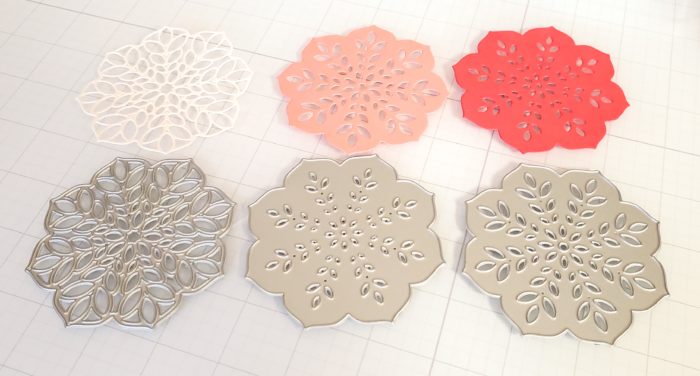
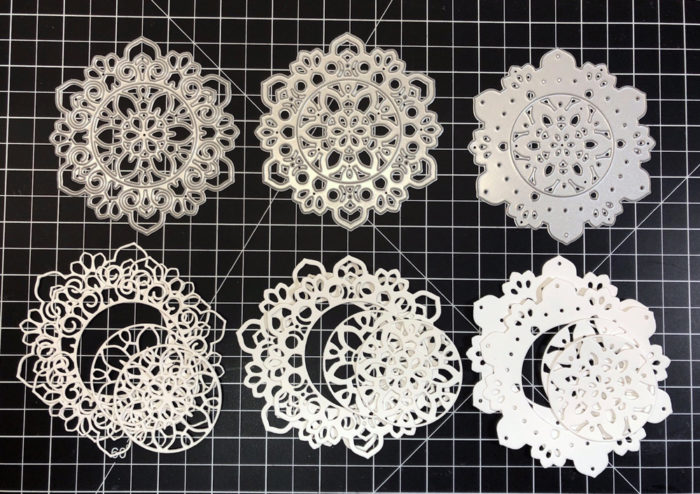
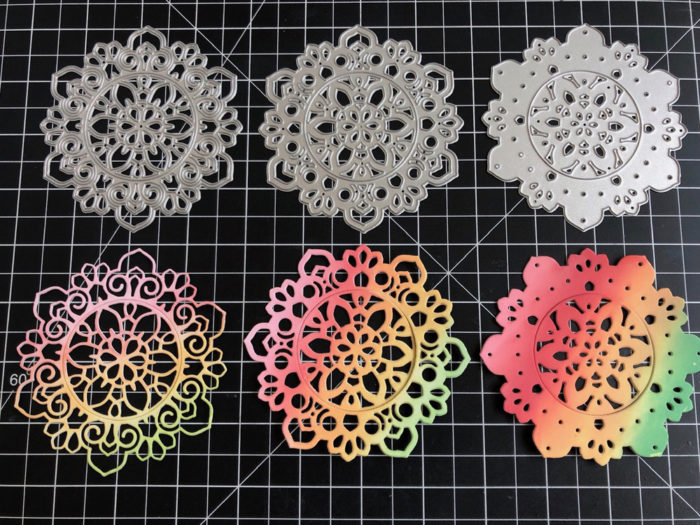
I began by cutting two each of the Tranquility Layers die set using white heavyweight cardstock. I usually save this cardstock for my card bases. However when I want the main die cut image or sentiment to really stand out I do use the heavier weight cardstock.
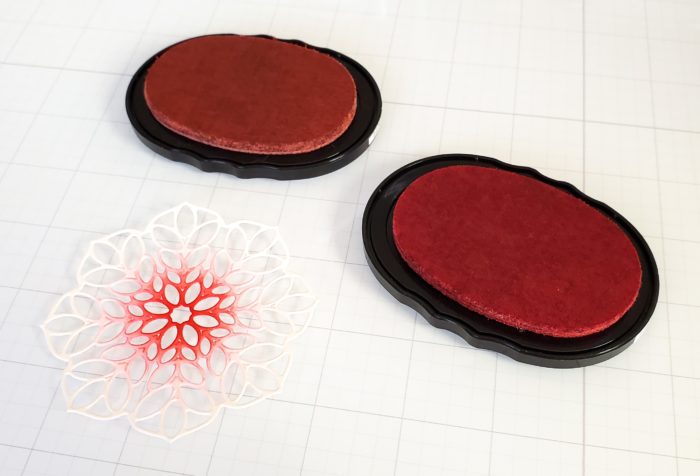
I cut one die from the Tranquility Layers die set through a 5 1/2″ x 4 1/4″ panel of white cardstock. Then I taped the panel to another panel of the same size with low tack tape. This creates a well for the die cuts for blending colour on to them.
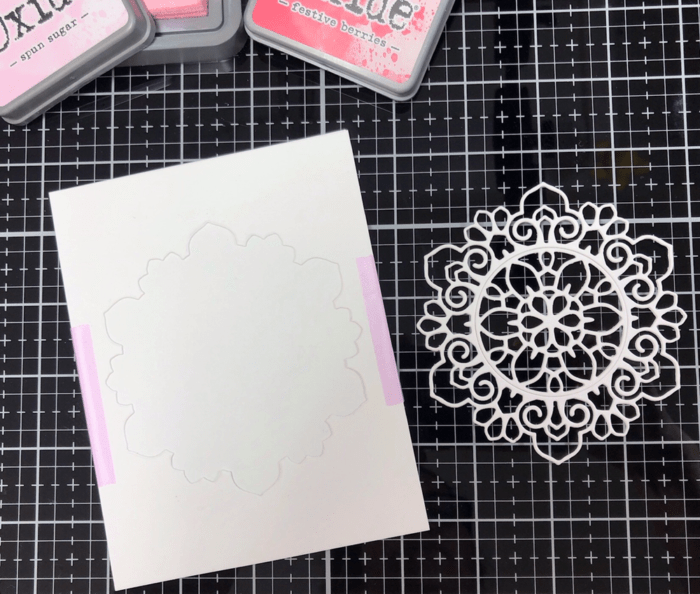
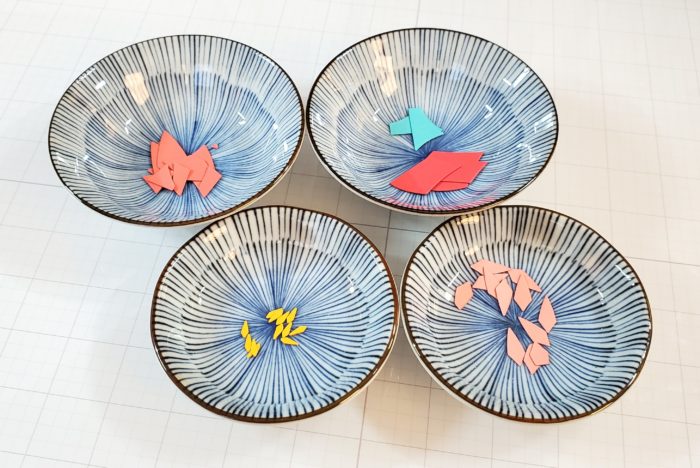
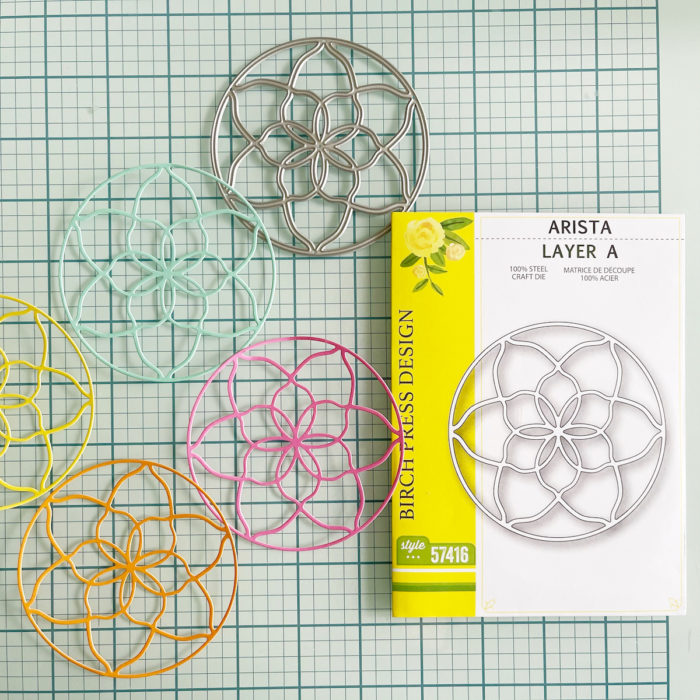
I glued each layer together before I added colour to them, I usually do the gluing after but I am trying something different. Starting with Layer A, the one with the largest openings, I set the die cut into the well so that it doesn’t move around while I blend colour on to it. I kept the centre in place when blending my colours. You could do the centres in a completely different colour but for today I am treating it as a whole. I started with a very light hand blending a rainbow of pink, red, peach, yellow and green on a diagonal. I used Distress Oxide inks.
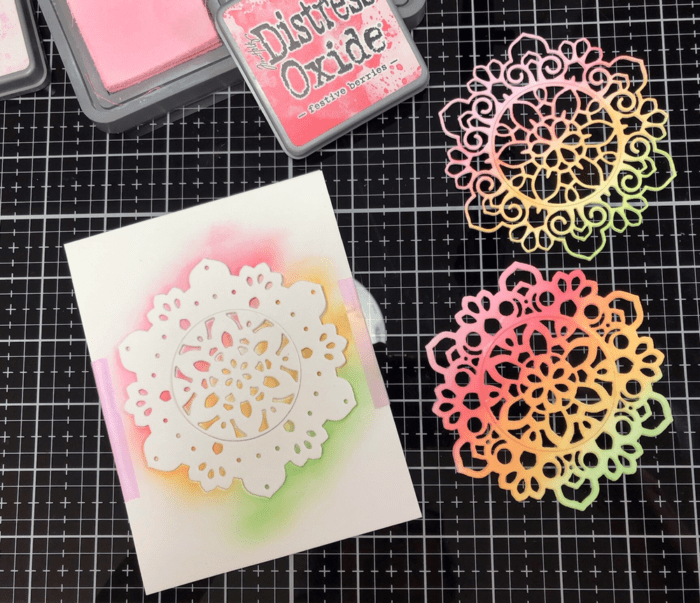
Next I moved Layer B into the well and did the same colours this time putting more colour down but still not heavy handed.
Finally I put Layer C into the well, this is the die cut that has the smallest size of holes. I used the same colours but I put these on with a heavy hand to really show the depth of the colours.
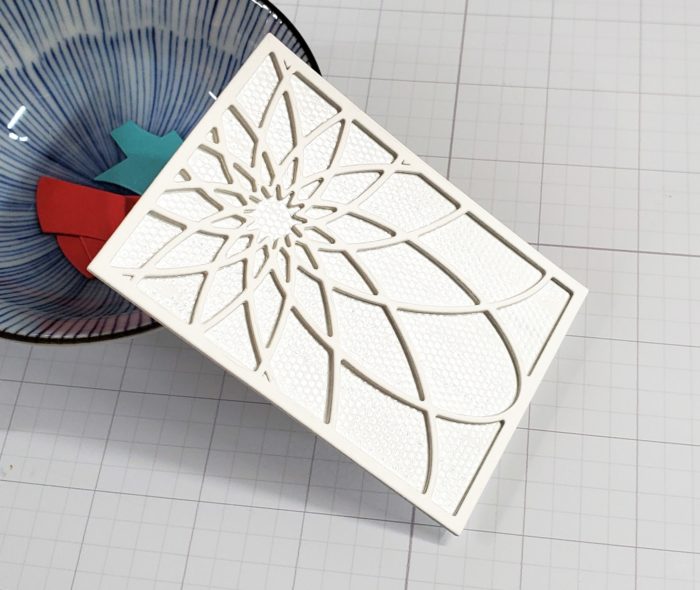
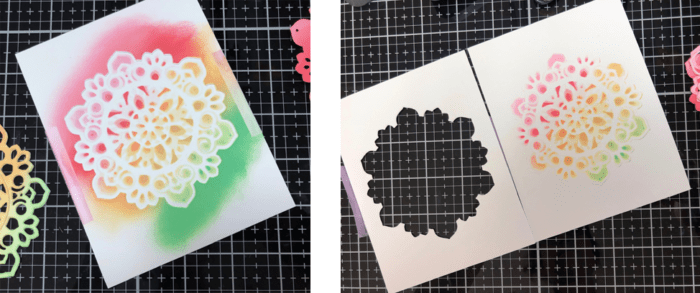
This is what my stencil well looked like after blending. then after I removed the top panel! To pretty to toss away. Can you see that while I was blending over the layers that it created another image on the bottom panel under the well. We will get to that later on. I will set it aside for now.
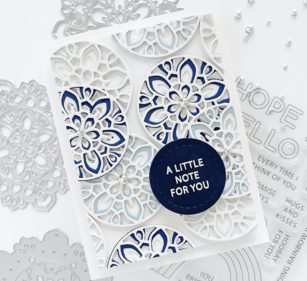
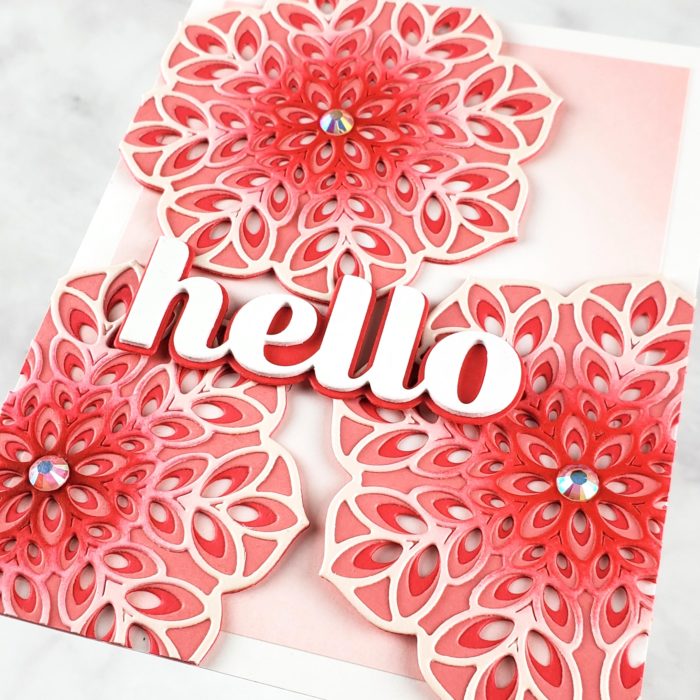
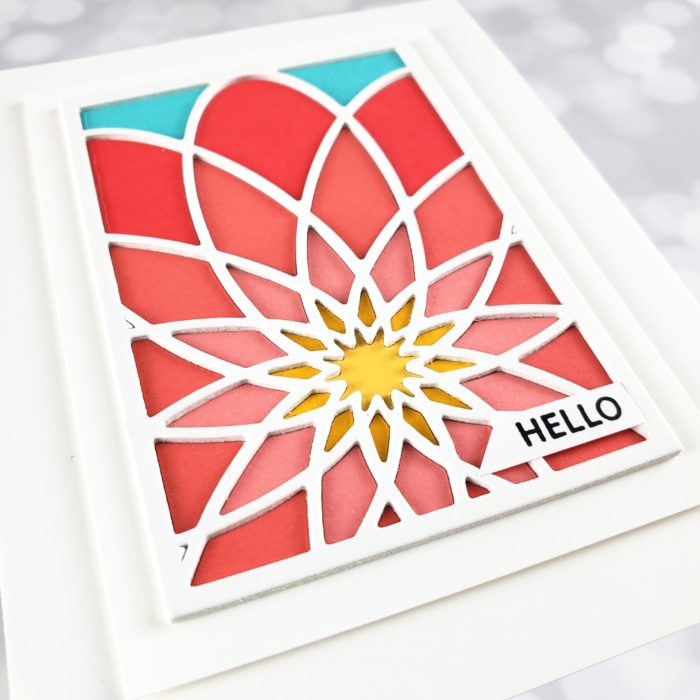
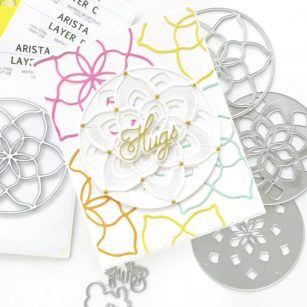
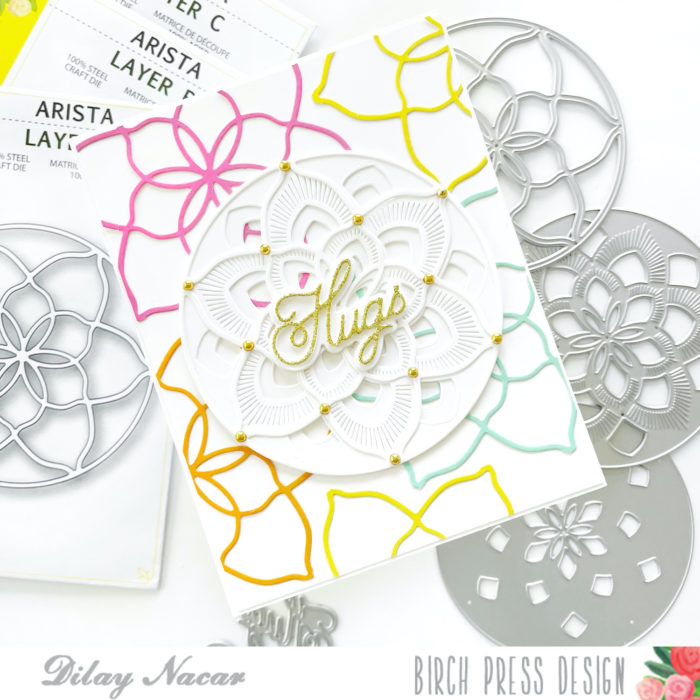
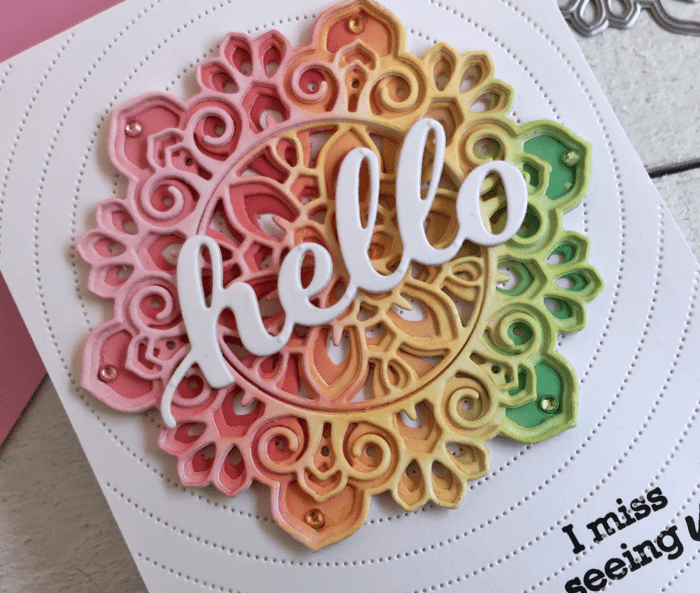
To finish out this card I glued the three thick layers together and the results are gorgeous. The double thick die cuts add so much more dimension. Thanks Jennifer McGuire for the tip!

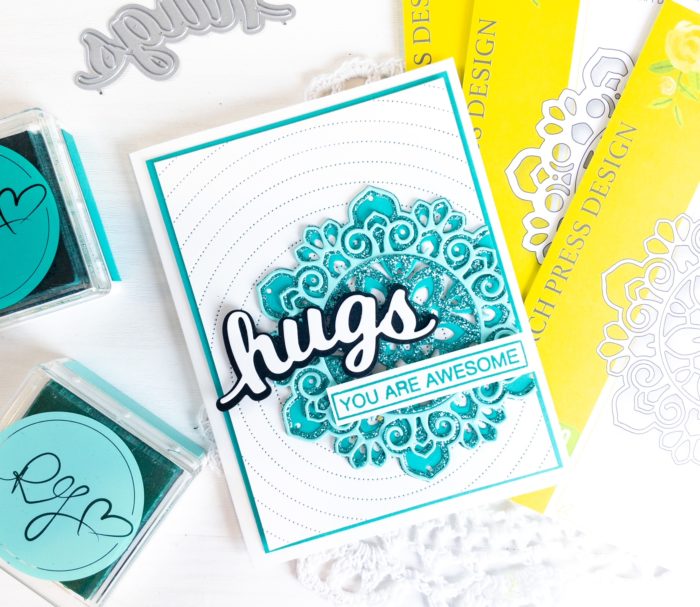
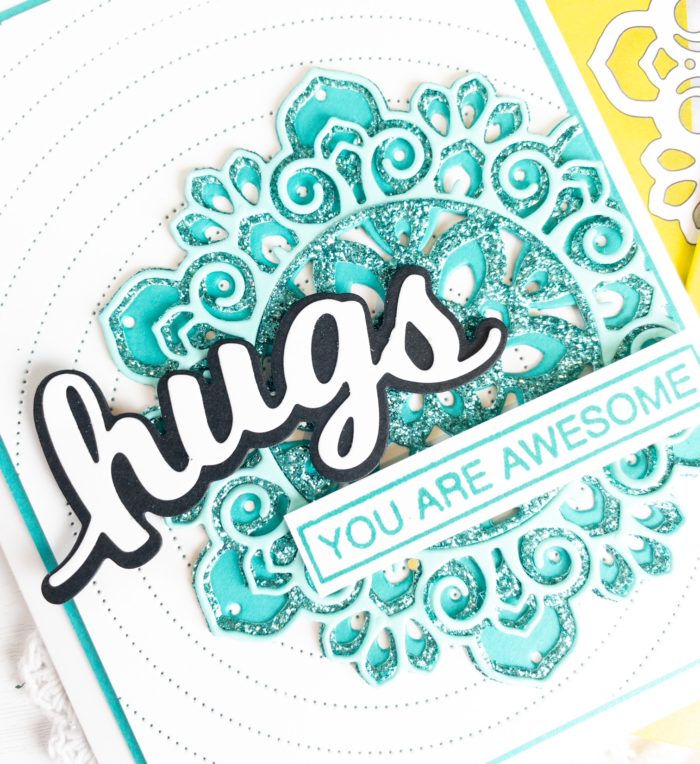
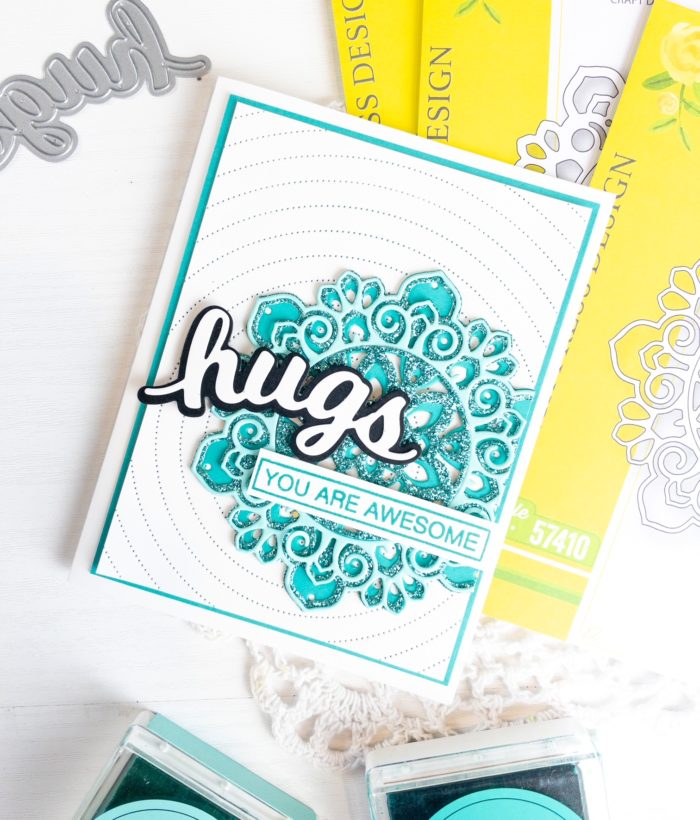
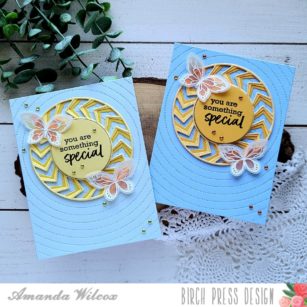
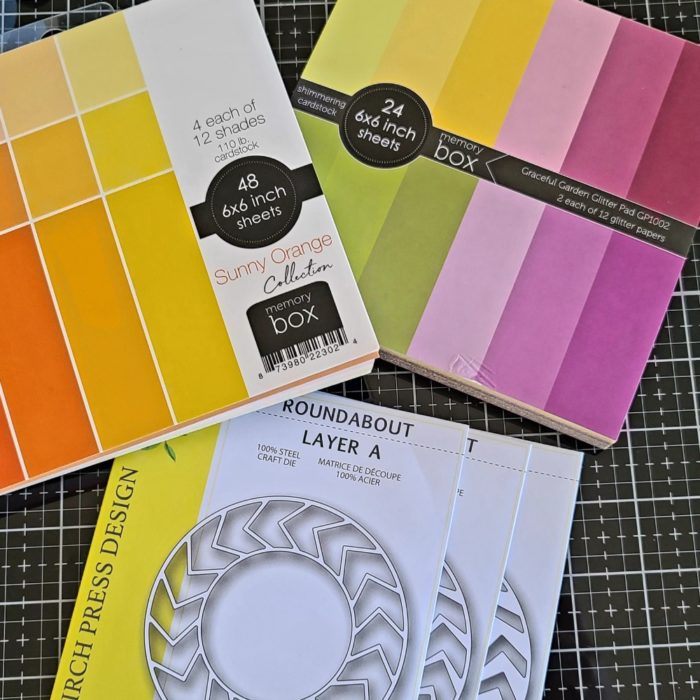
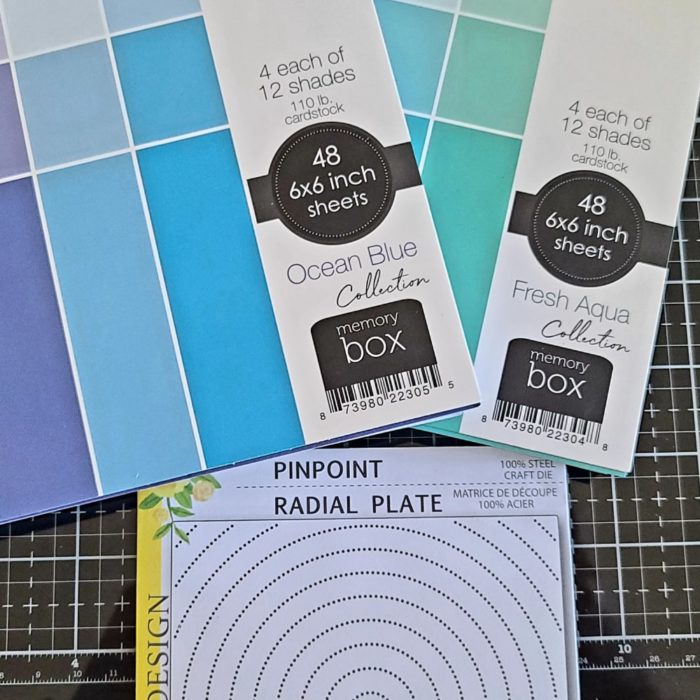
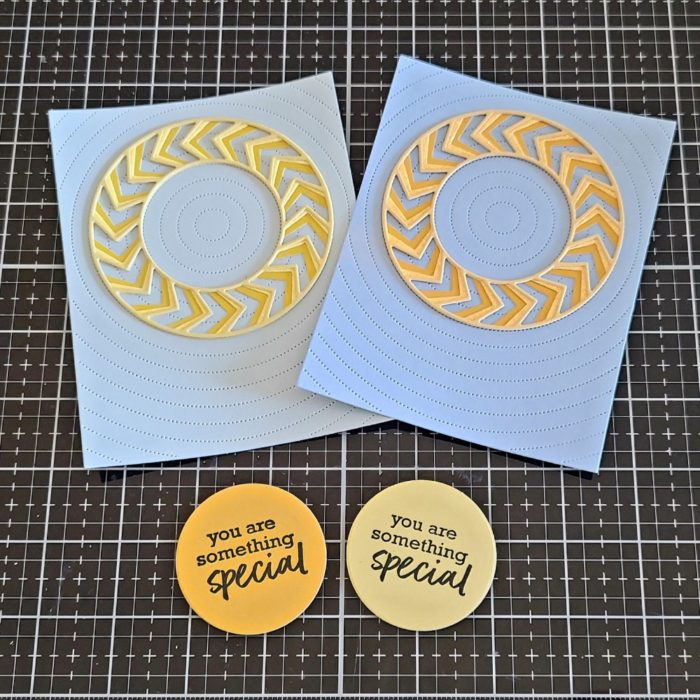
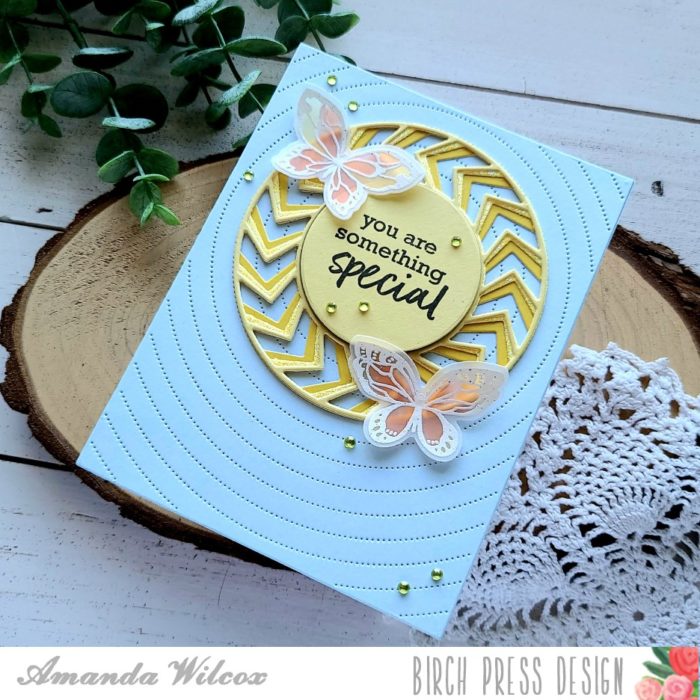
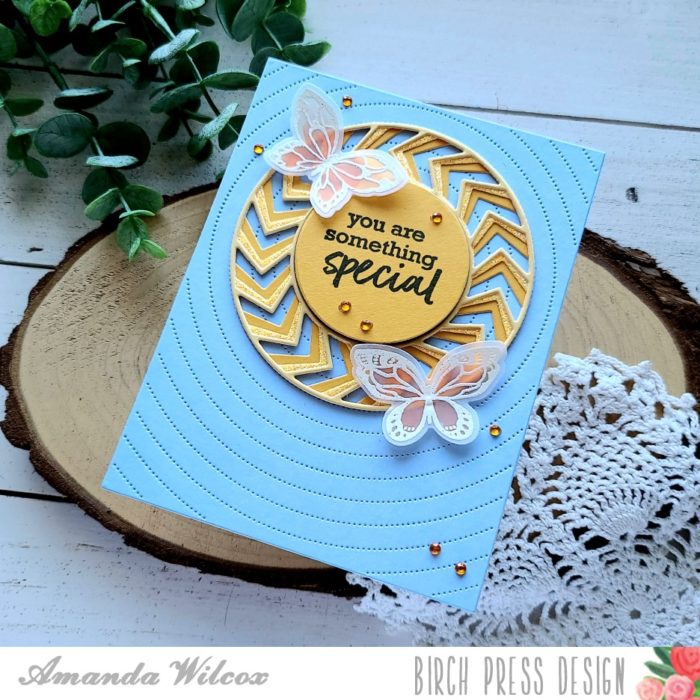
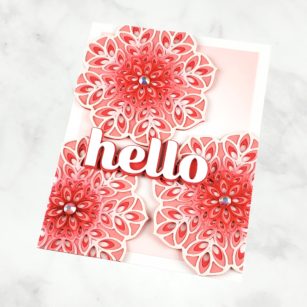
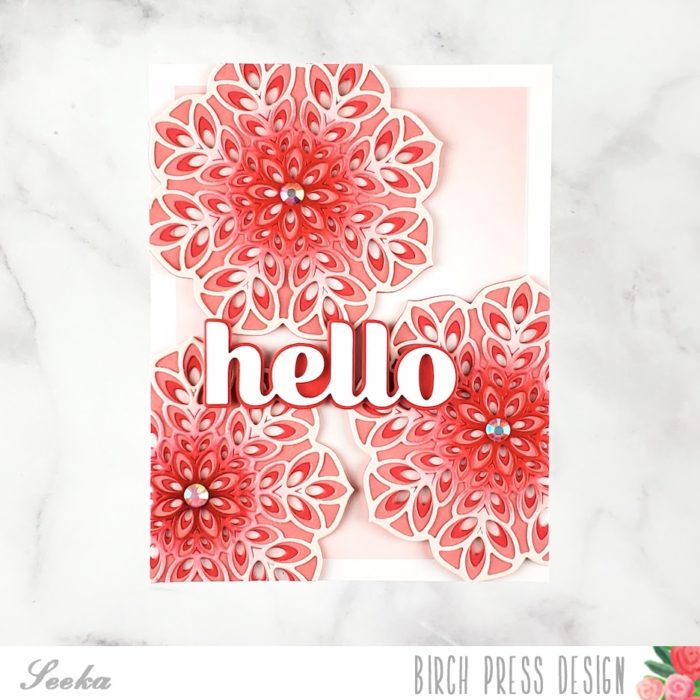
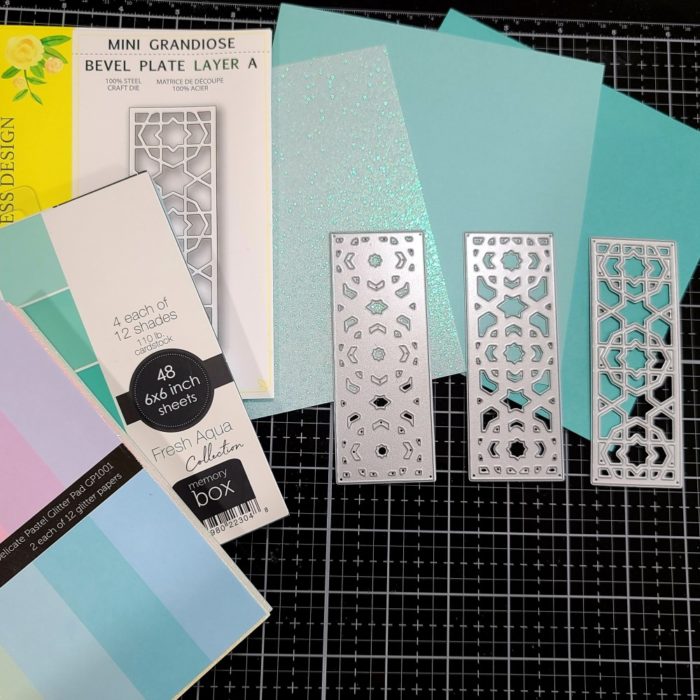
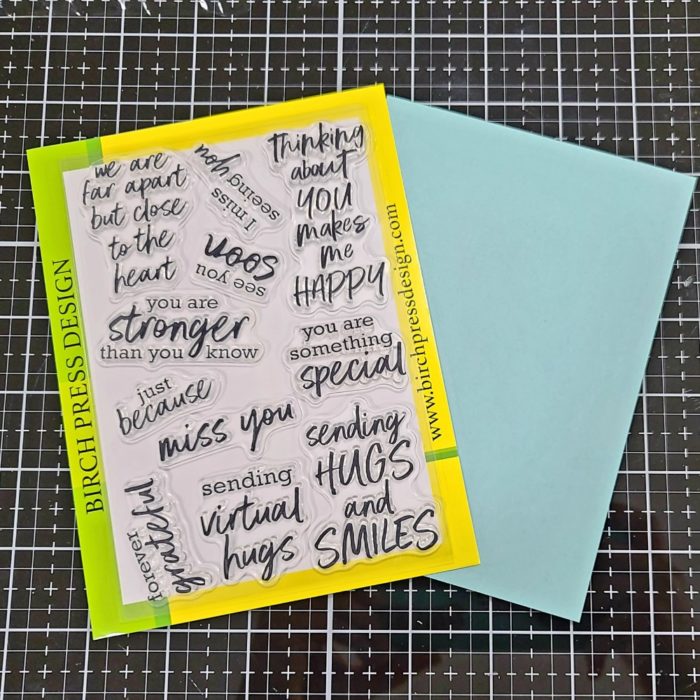
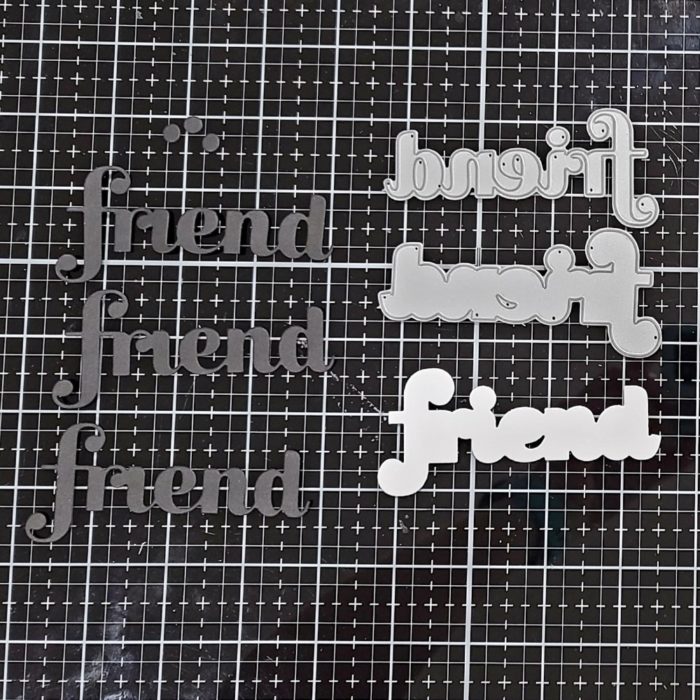
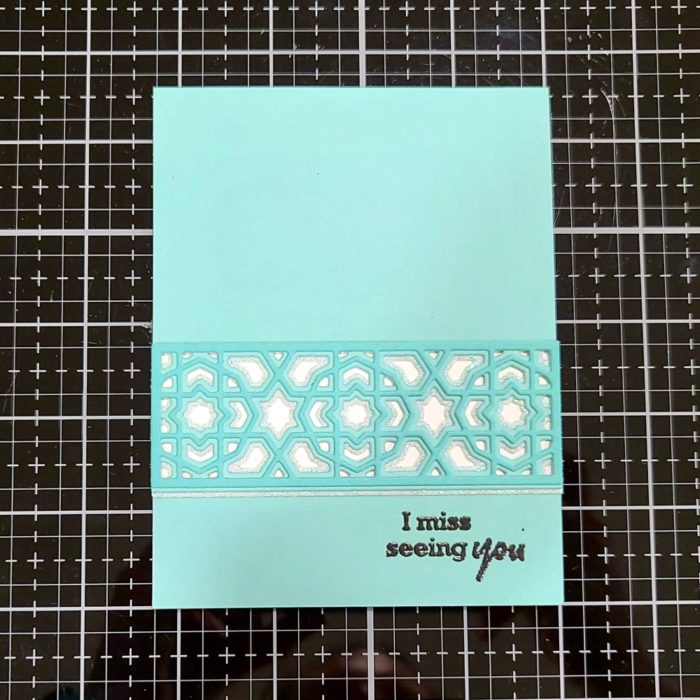
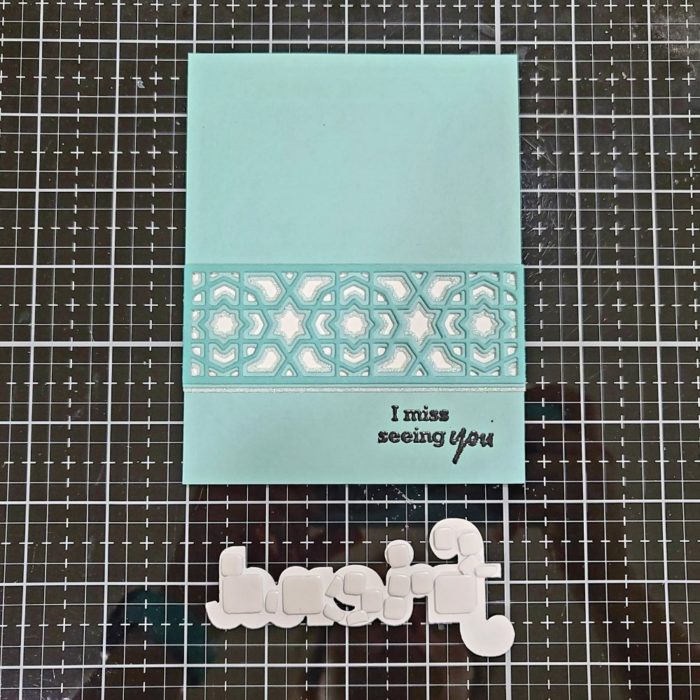
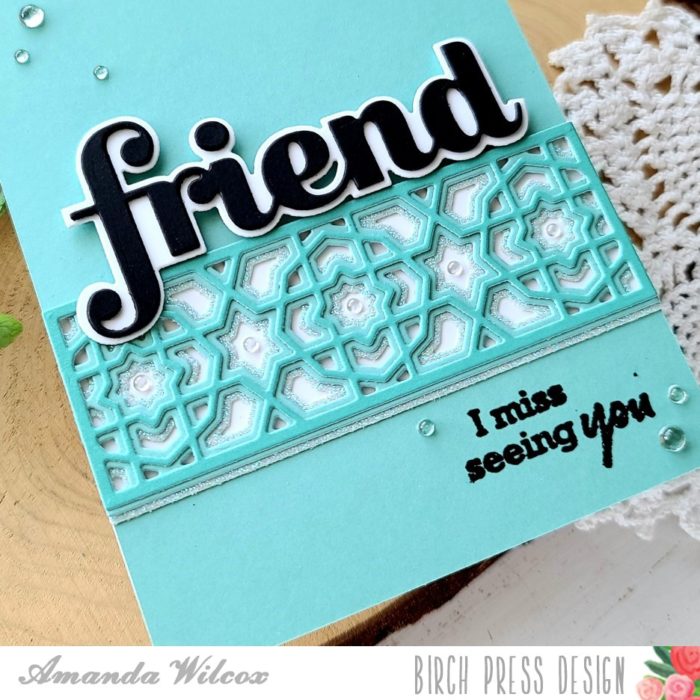
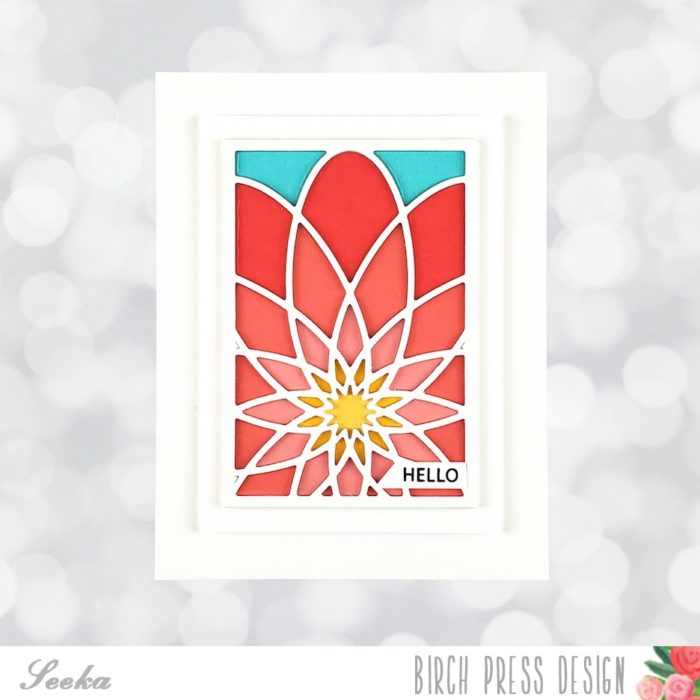
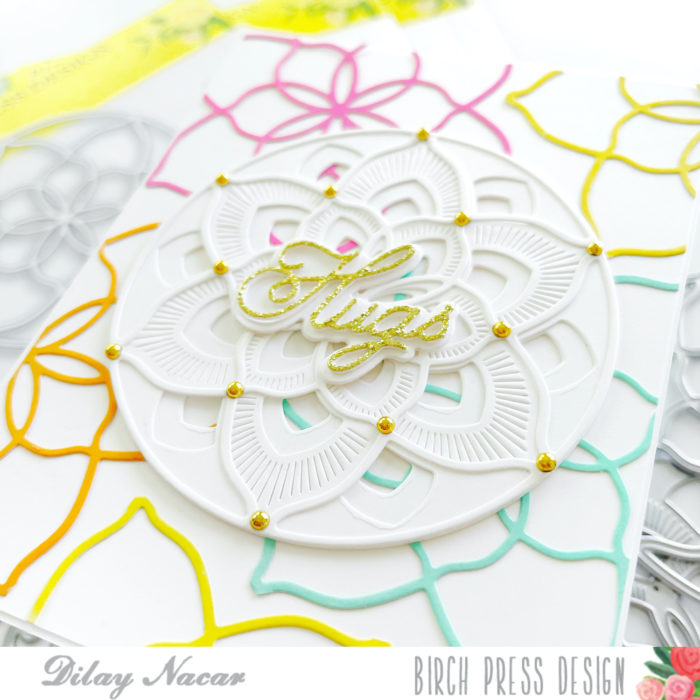
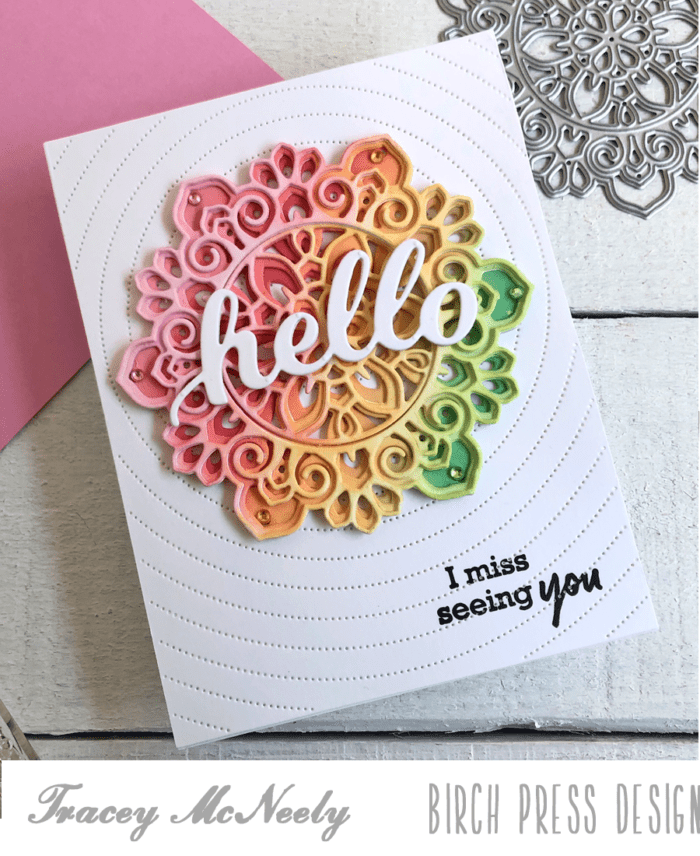
I cut a 5 1/4″ x 4 1/4″ panel using Radial Pinpoint cover die as a background for my mandala. Next I cut the Hello Honey Script die three times with heavyweight while cardstock and glued it together. I did not use the shadow, only the word. This will sit in the centre of the mandala. Before gluing everything down I stamped the sentiment “I miss seeing you’ from the Brush Sentiments clear stamp set on the bottom right corner of the Radial Pinpoint cover die. I added a few Pastel Fairy Jewels to finish it off.
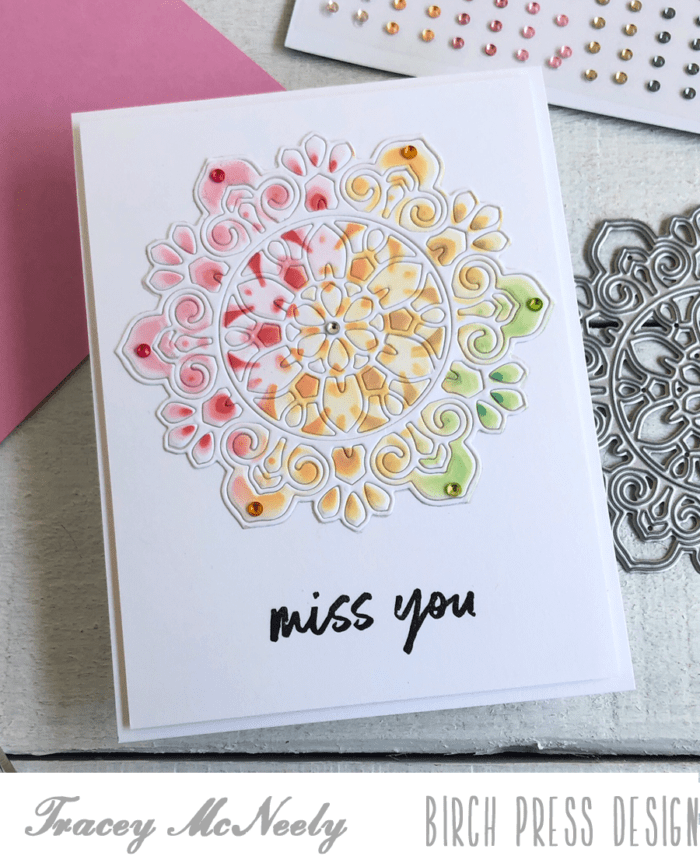
I didn’t think I was going to use the panel that underneath my well, but it was too pretty not to use. what happened next was an embossing mistake I think all of us have made at one time or another. I had my plates mixed up in my sandwich and instead of embossing over the image I cut it with the Layer A die and all the teeny tiny pieces! I was too far into it now to back out, so I put a piece of double sided adhesive paper on to the back of the die cut to pick all the pieces up together. That worked great but now the front of my die cut was surrounded by adhesive. Out came the scissors and I fussy cut around the outside of the die to get rid of it. Then I put the mandala onto a panel of cardstock that was a bit smaller than the card base, added a sentiment also from the Brush Sentiments clear stamp set and added some Bright Fairy Jewels.
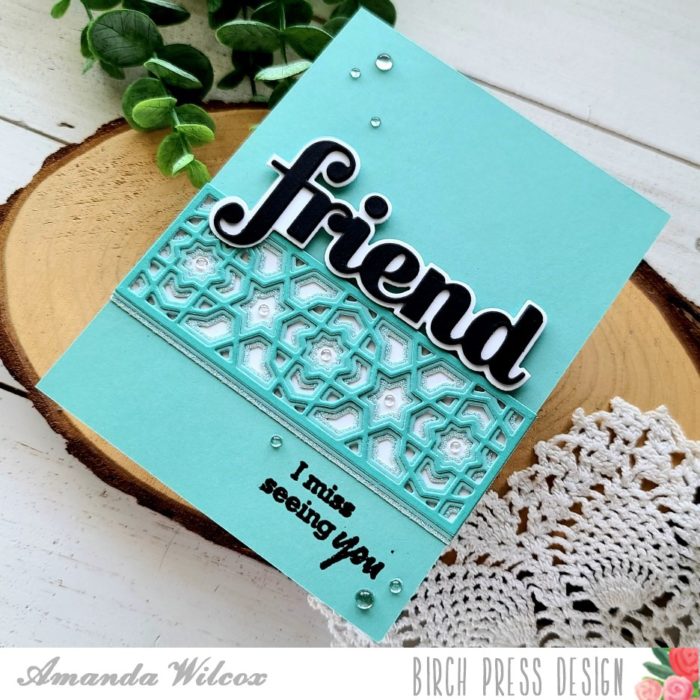
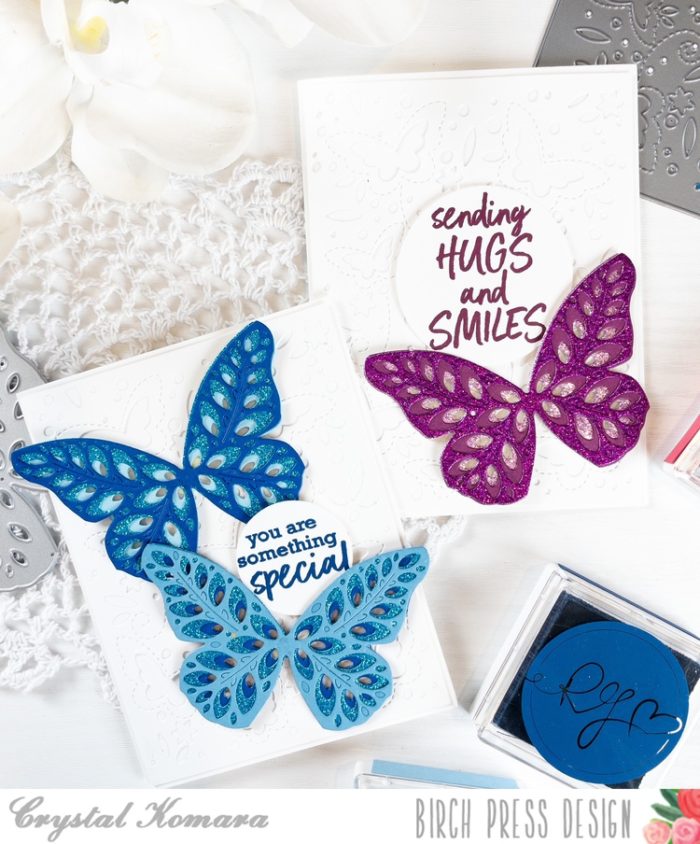
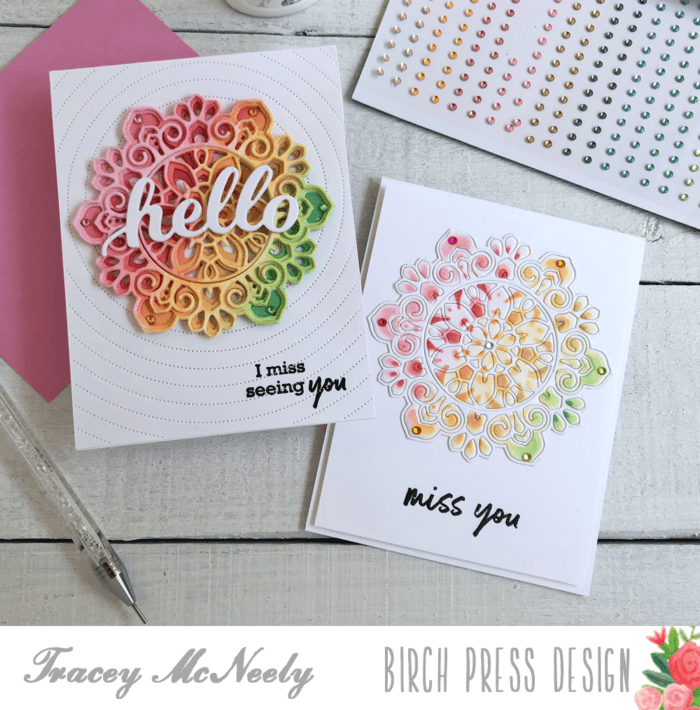
So the process yielded two beautiful and yet similar cards. Thank you so much for joining me today and crafting with me. Have a fabulous day.

Supplies