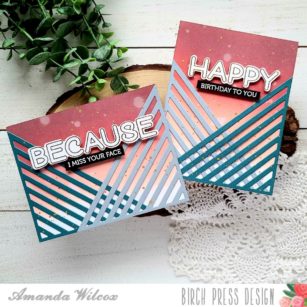
Hello everyone! It’s Amanda from Twiddler’s Nook today with another pair of cards to share. I seem to have a hard time either making choices or letting die cuts go to waste so I rarely make just one card anymore.
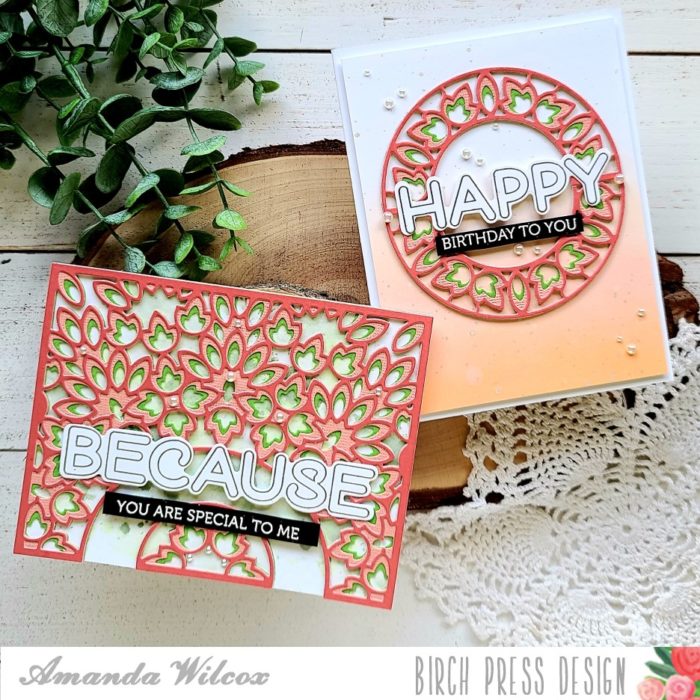
This all started with my wanting to play with the Enchantment layering dies and create the card on the left. But I couldn’t let that ring go to waste so I die cut the middle portion a second time and created the card you see on the right. I made them simultaneously so forgive me if my tutorial today flips back and forth.
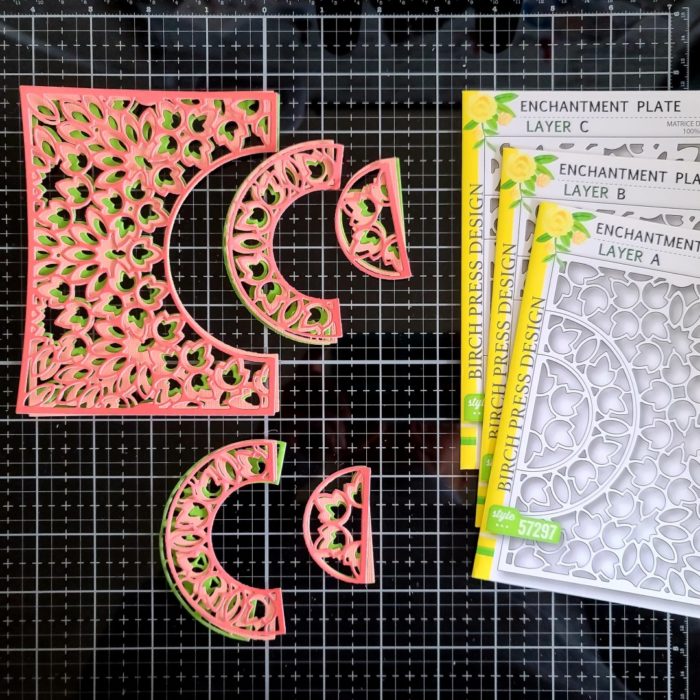
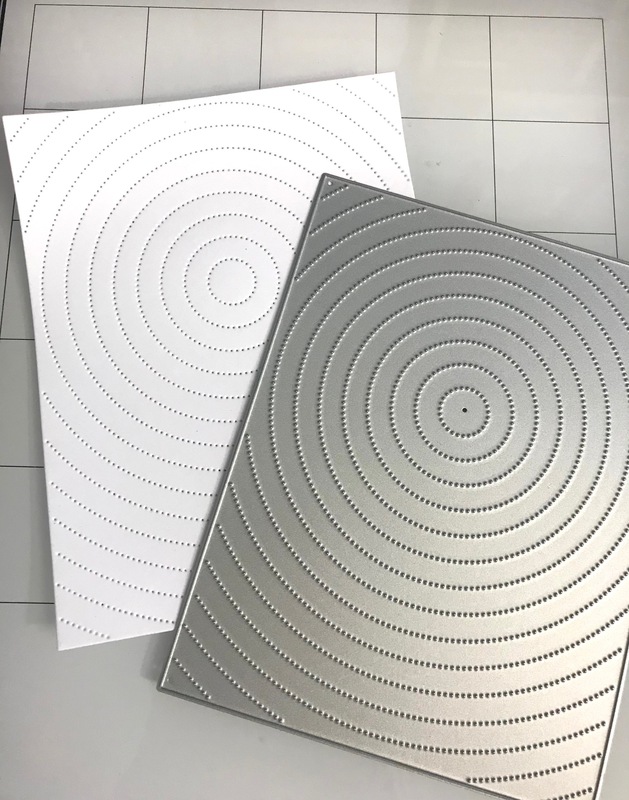
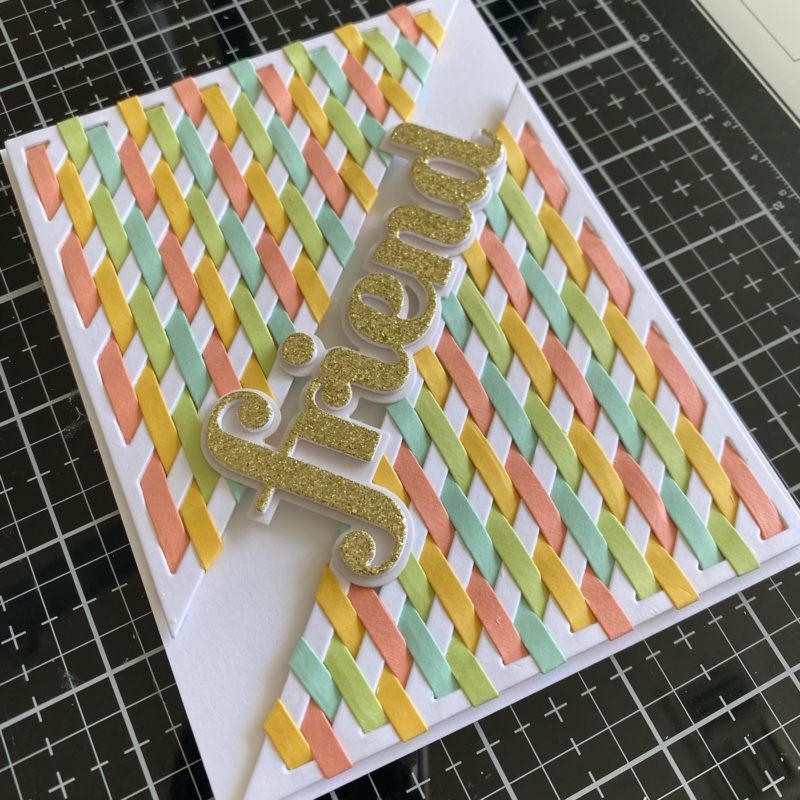
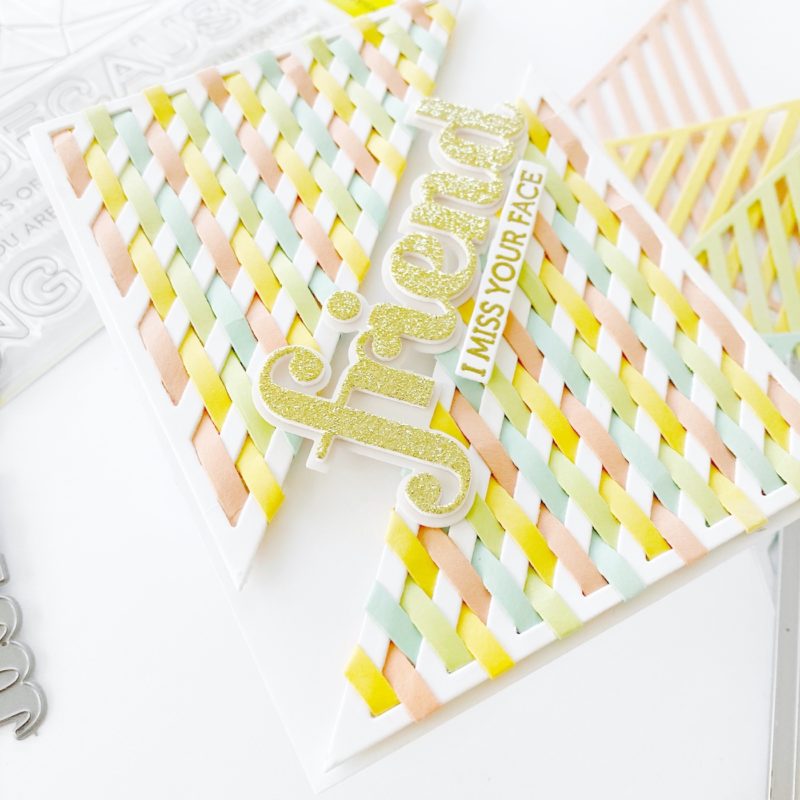
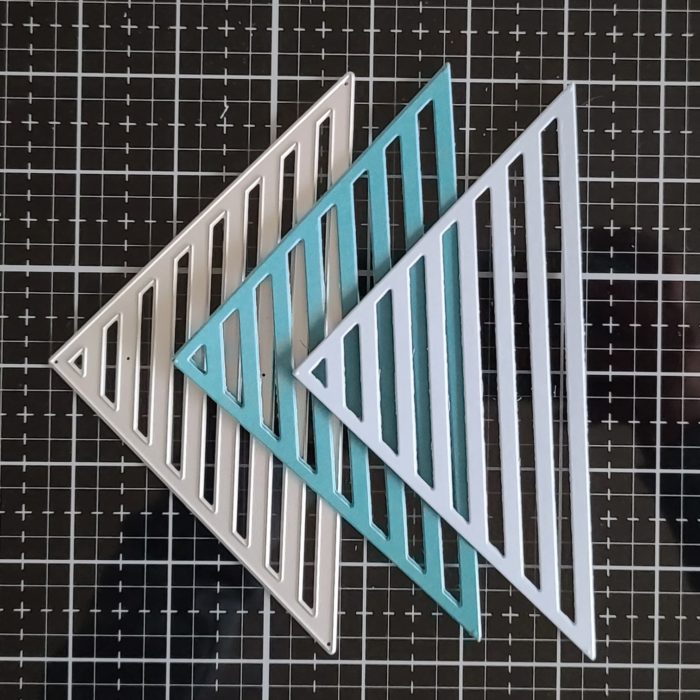
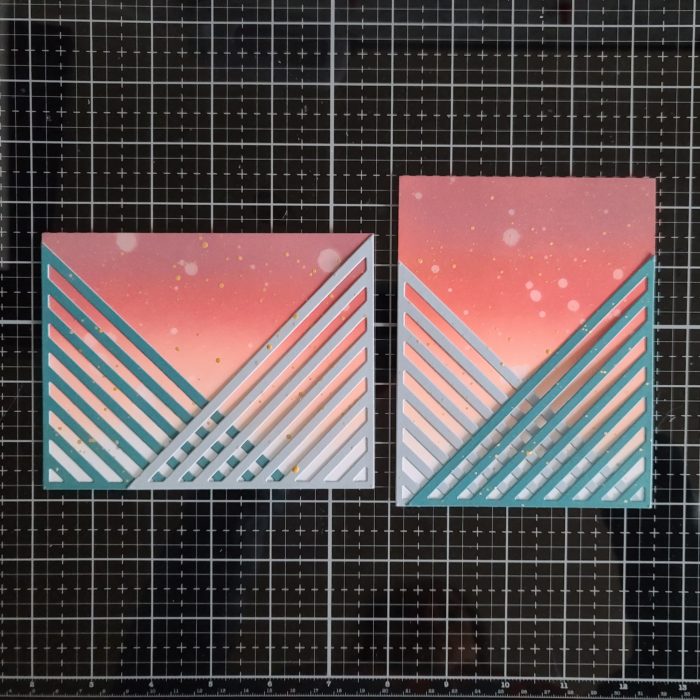
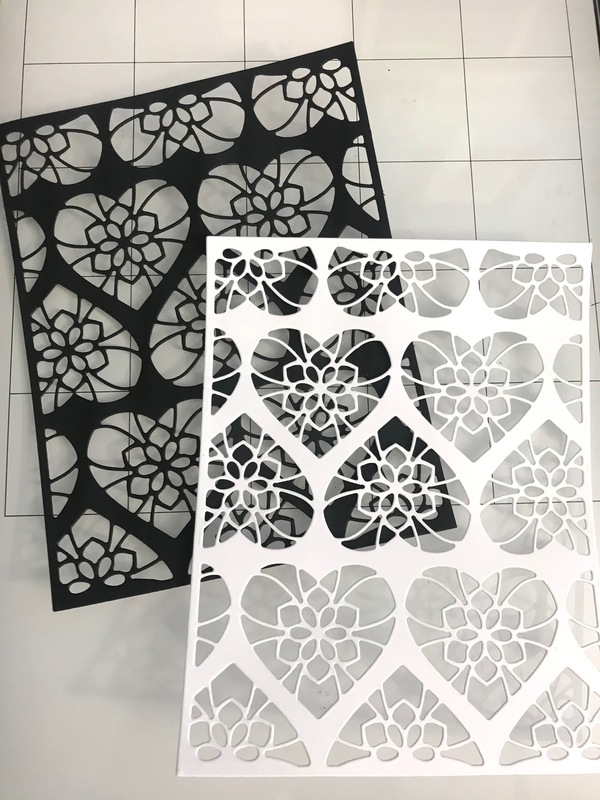
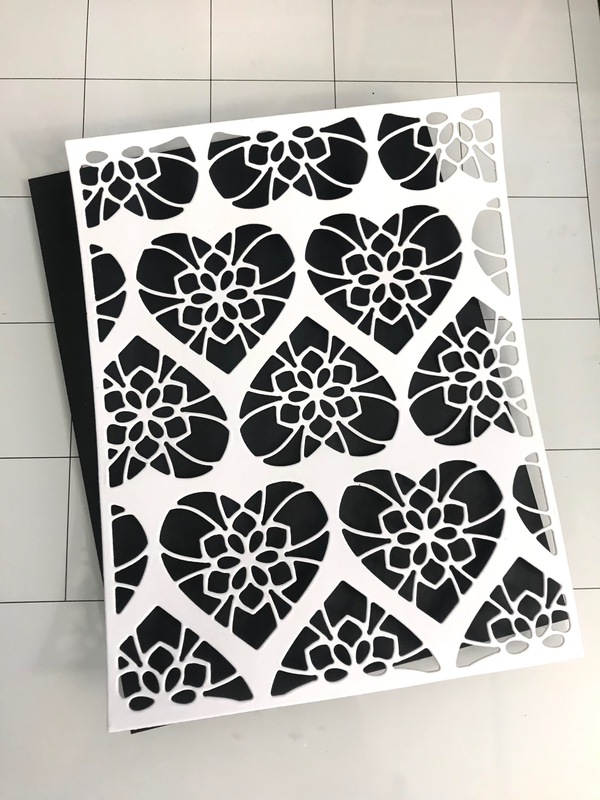
I started by die cutting all the pieces from the three Enchantment layers once and the center portion a second time. My bottom layer is Thermoweb Deco Foil Flock, the middle layer is a textured cardstock and the top is a smooth cardstock. These three together look so cool in person! Definitely worth it!
Once these were cut, I used liquid glue to adhere all the layers together and started playing with backgrounds.
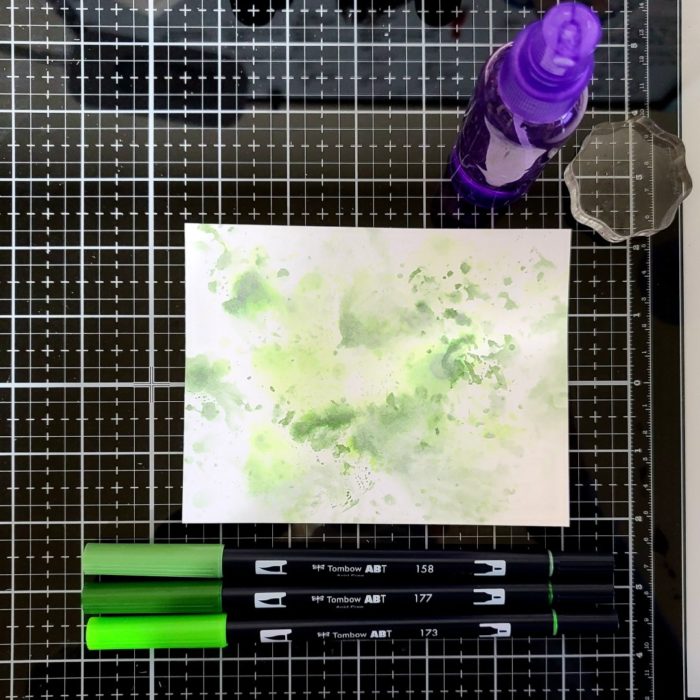
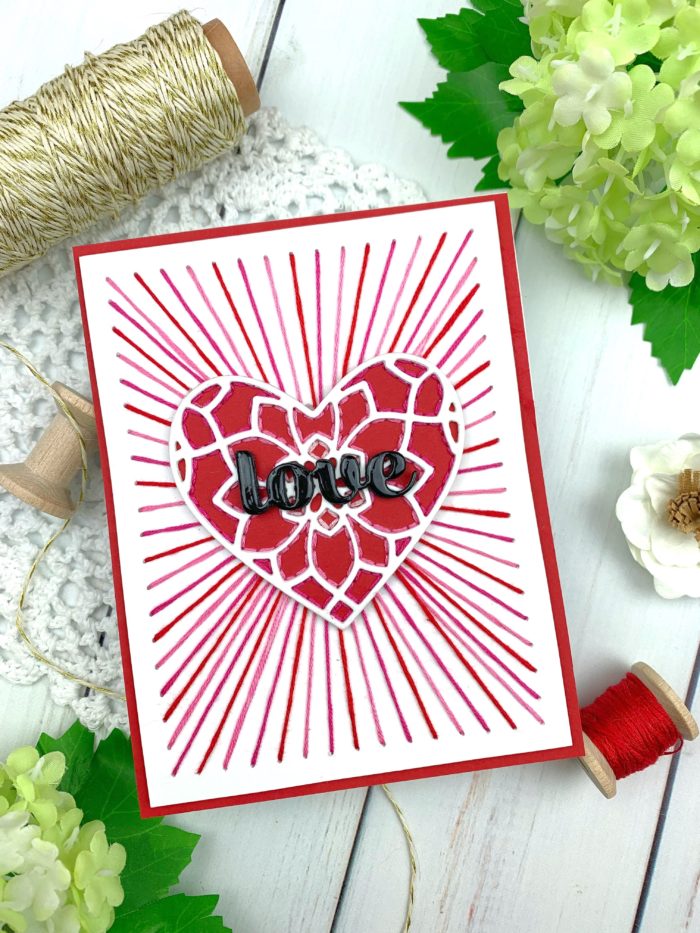
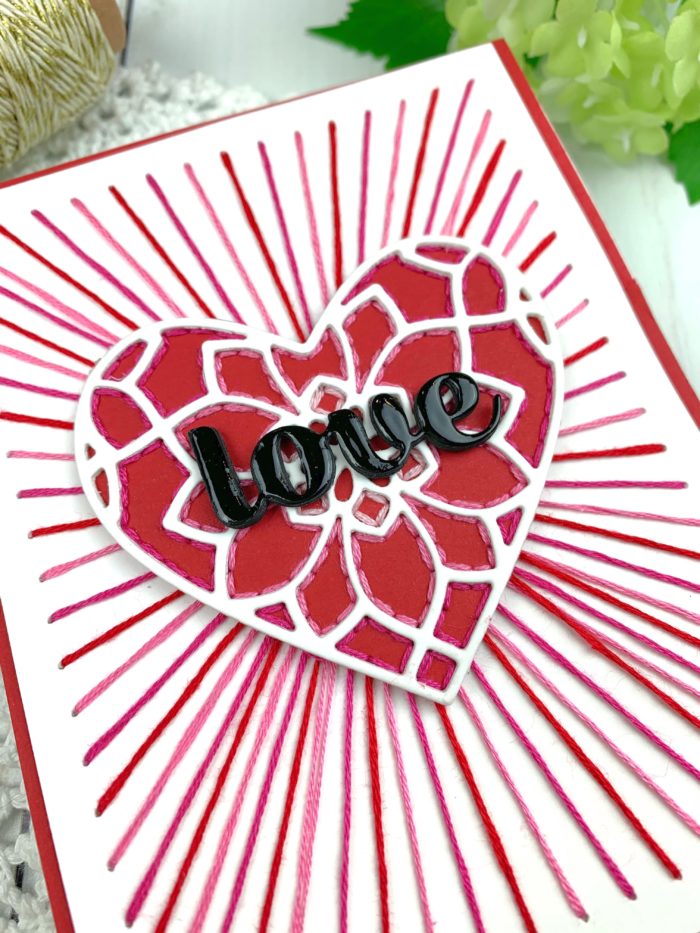
I ended up doing some ink smooshing with my Tombow markers for the first card. I always lay down one layer of ink, dry it with my heat gun and keep layering until I like it. Then I set it aside to dry.
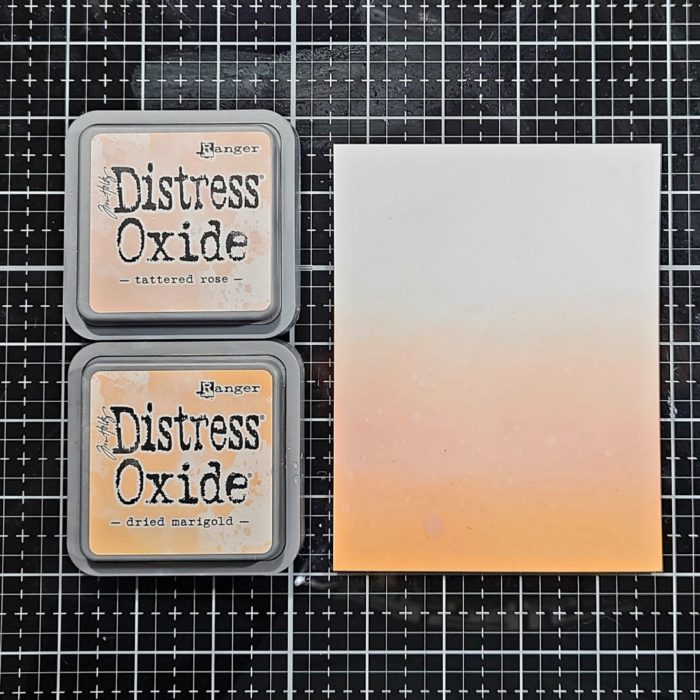
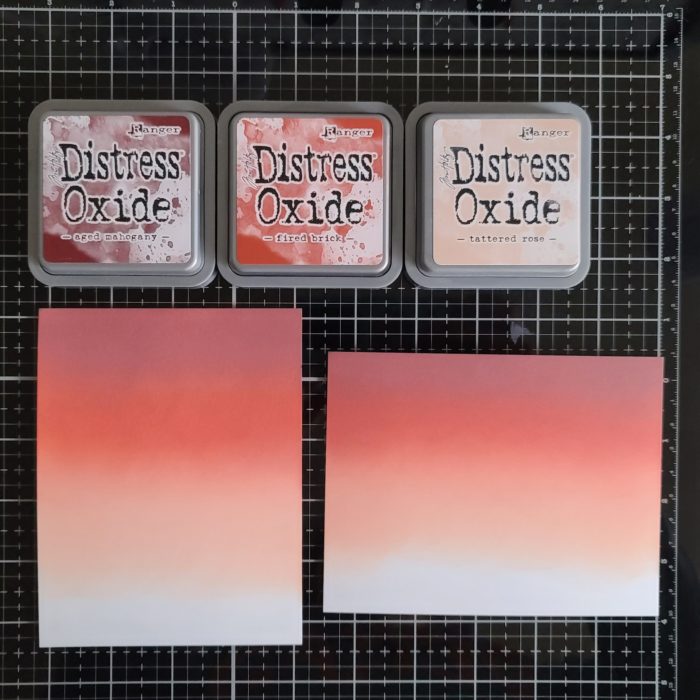
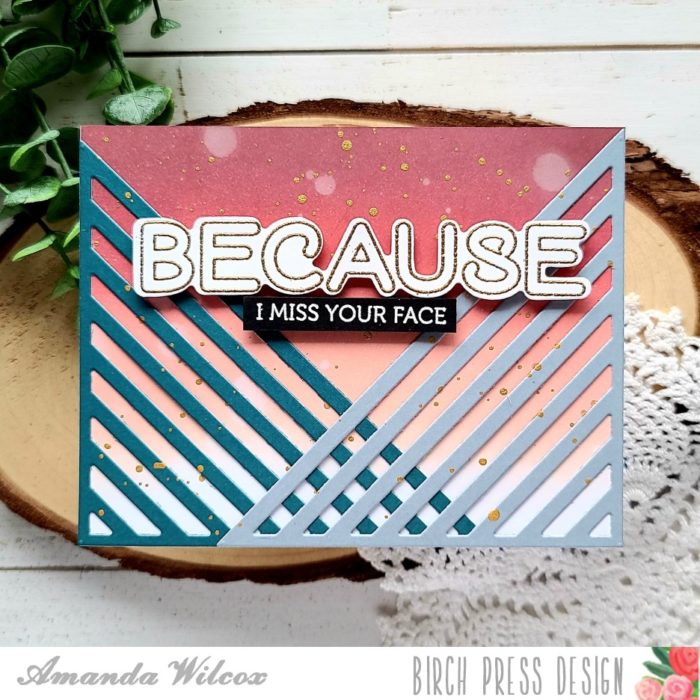
While that was drying I blended tattered rose and dried marigold distress oxide inks on a panel. Then I spritzed it with water and flicked pearl watercolor on it. Once that was dry I trimmed it down to 4×5.25 inches and lined the back with foam tape to adhere to a white card base.
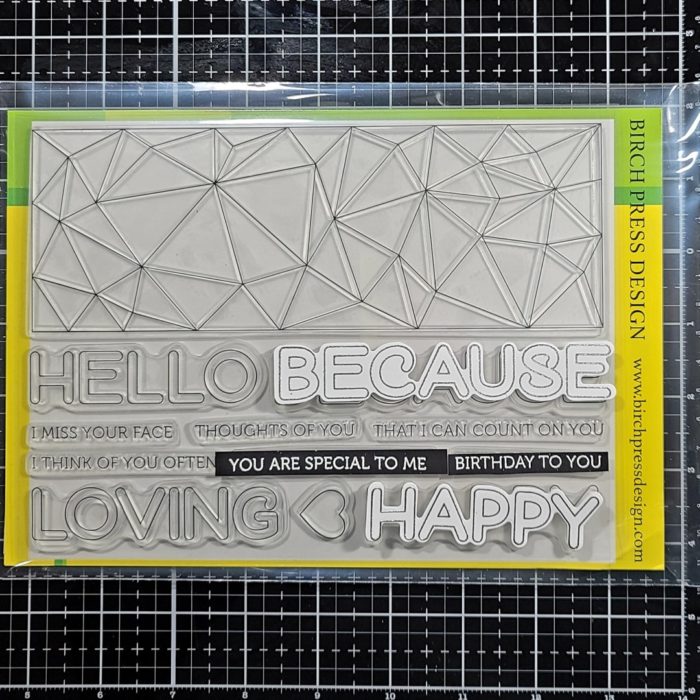
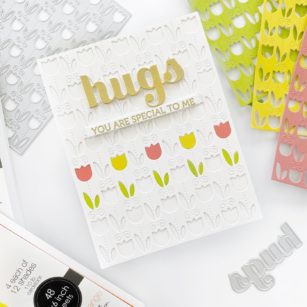
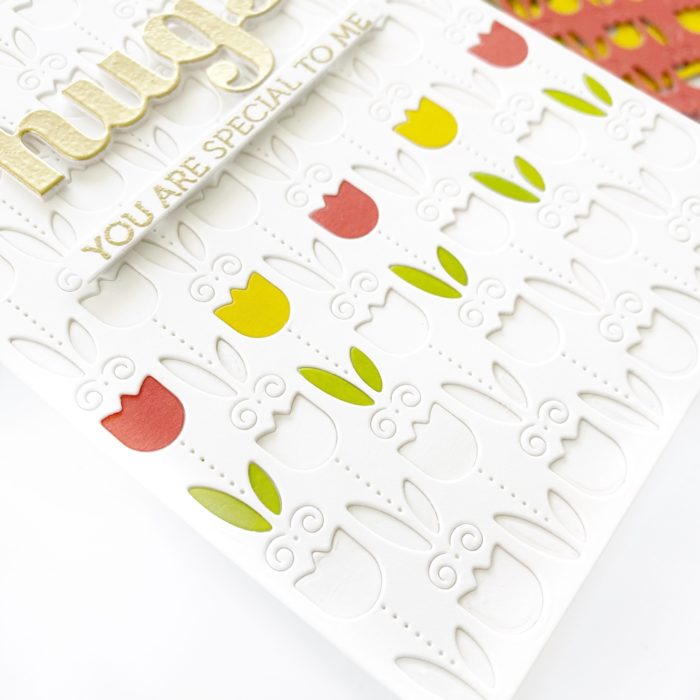
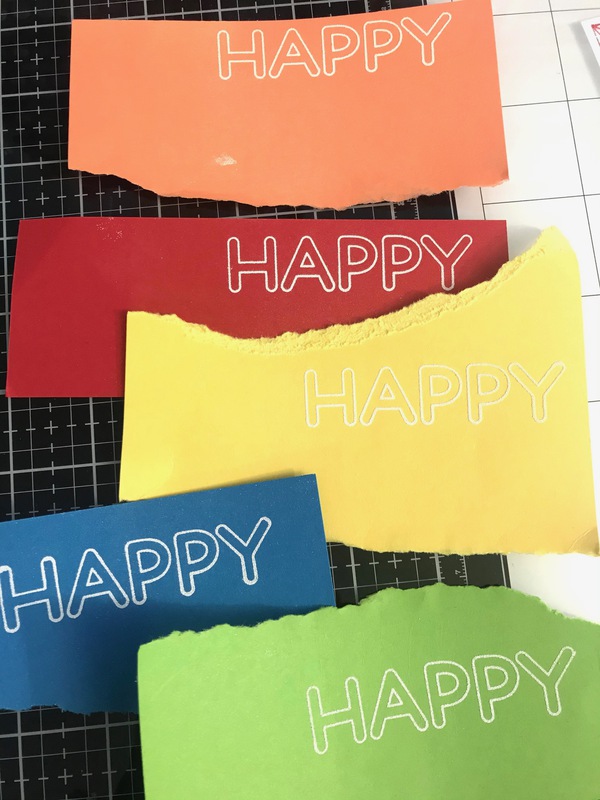
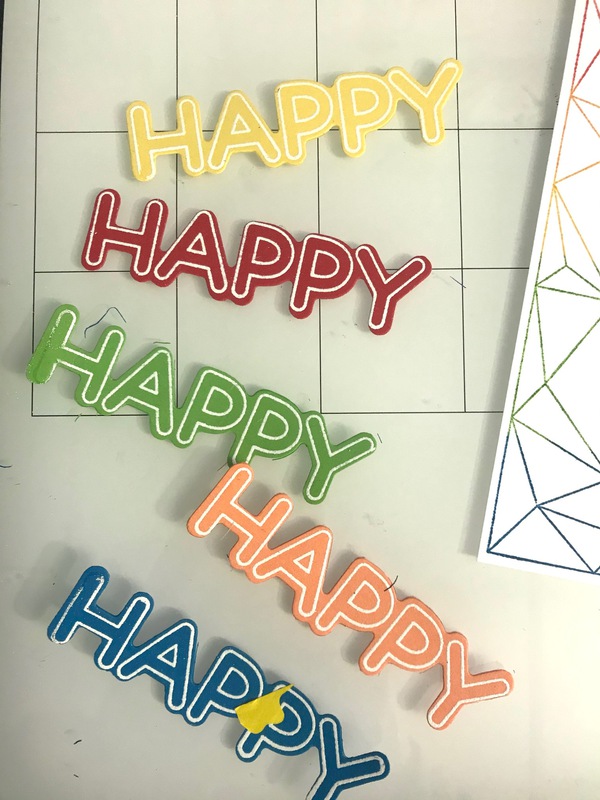
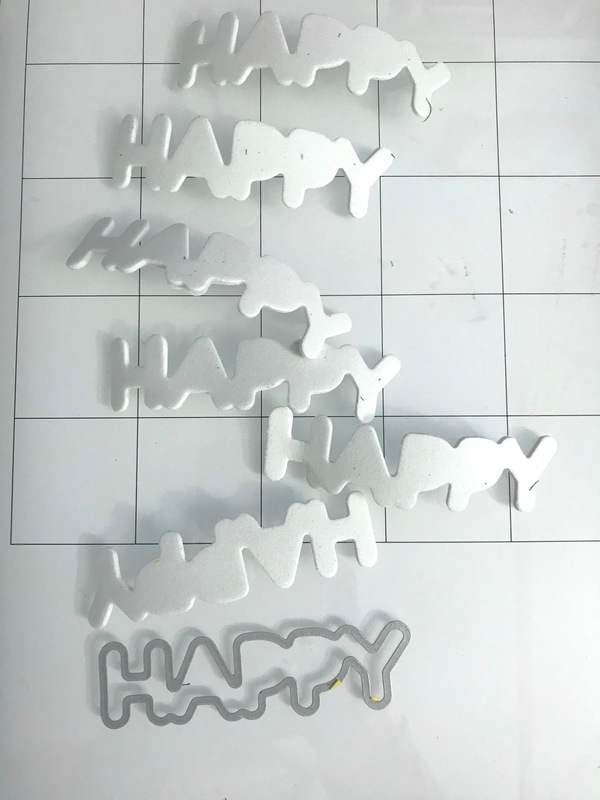
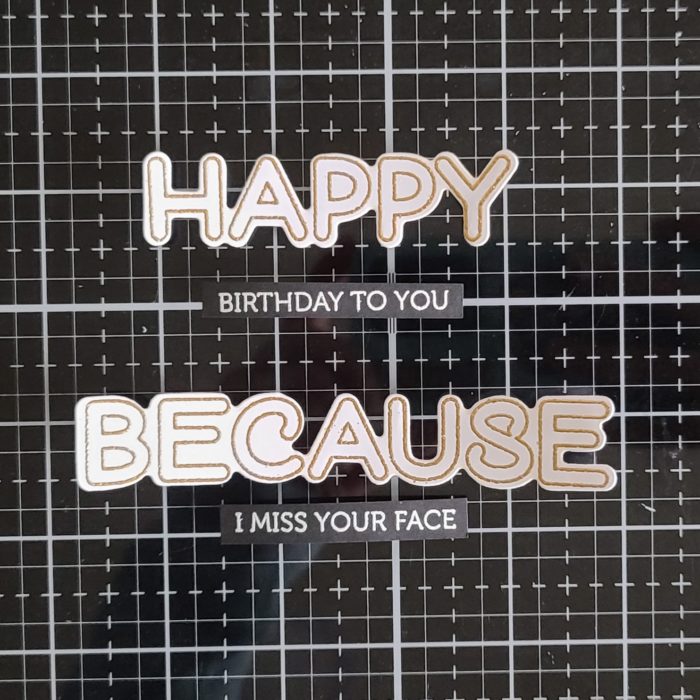
After adhering my backgrounds to card bases, I stamped and heat embossed sentiments from Crystal Lingo and used the coordinating dies to cut them out. Then I trimmed the smaller ones into strips.
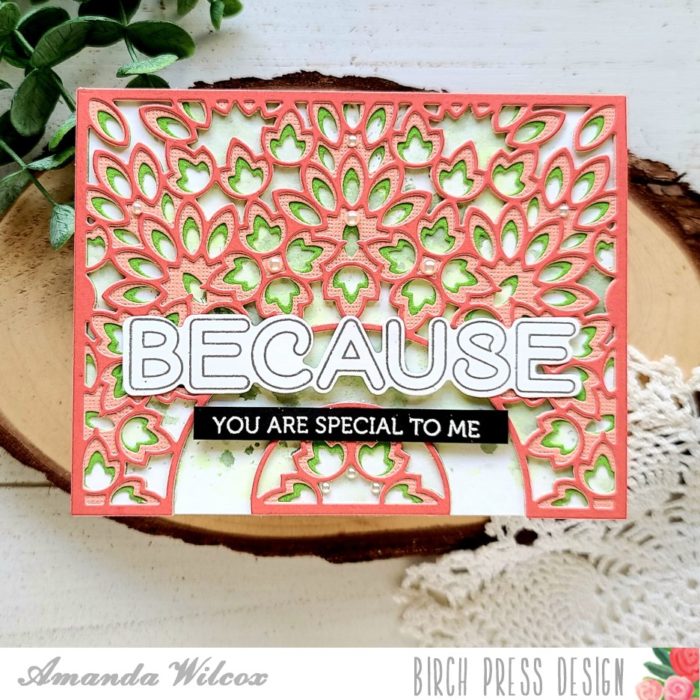
Assembly was simple using liquid glue for the layerd die cuts and a combination of foam squares and liquid glue for the sentiments.

I did the same thing for both cards and then finished them both off with some pearl baubles for a little extra shine and interest.
I hope you found some inspiration to create something wonderful today.
I appreciate you sharing your time with me. Have a fabulous day!

Supplies