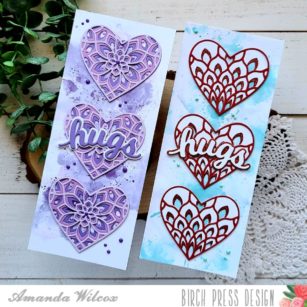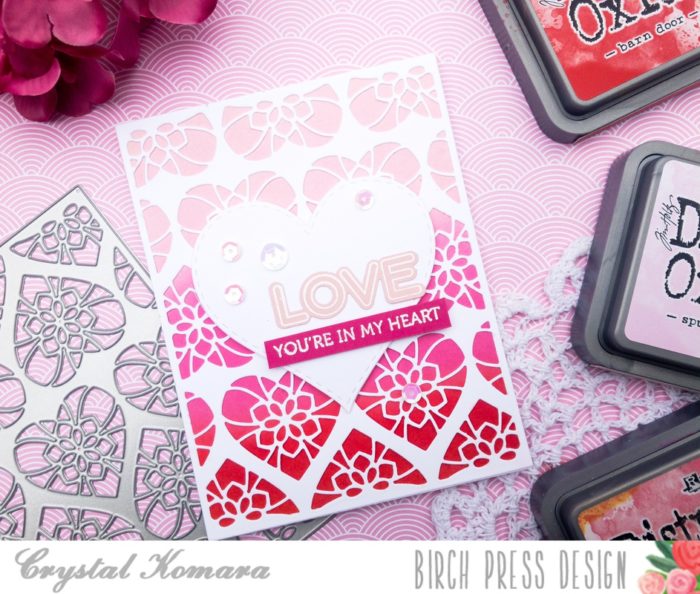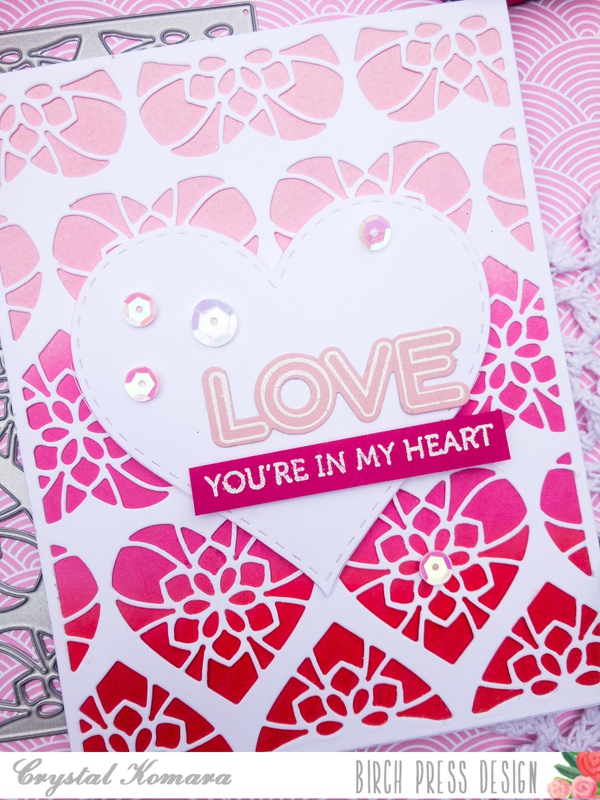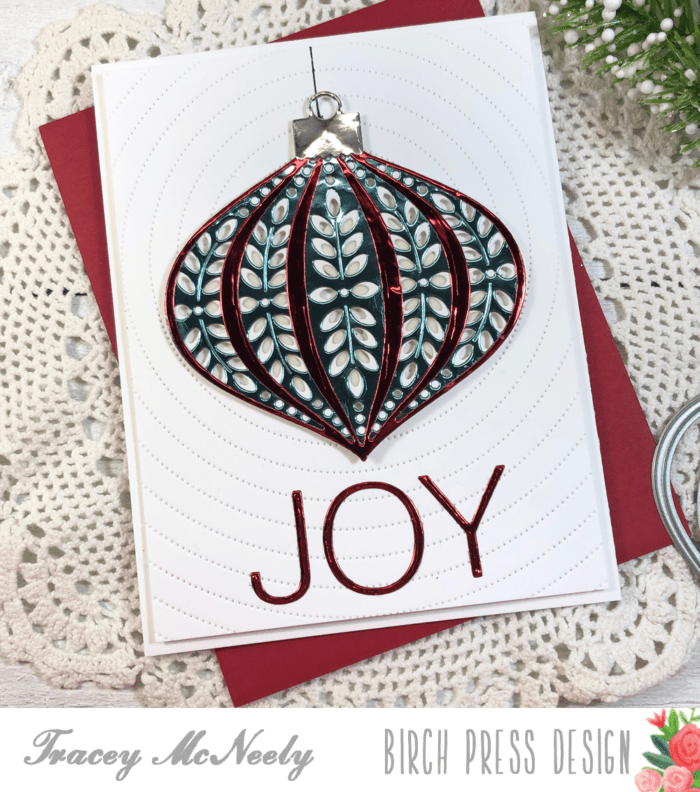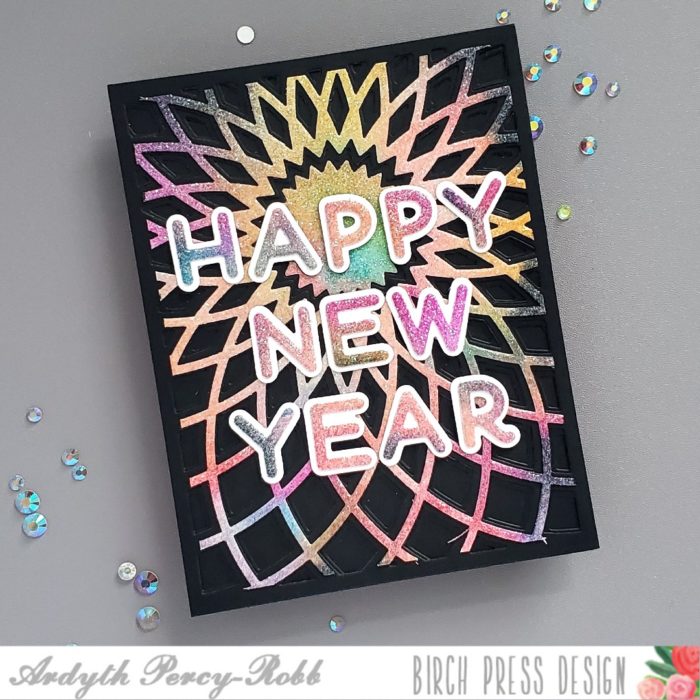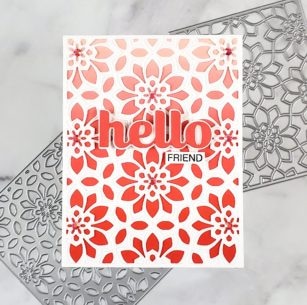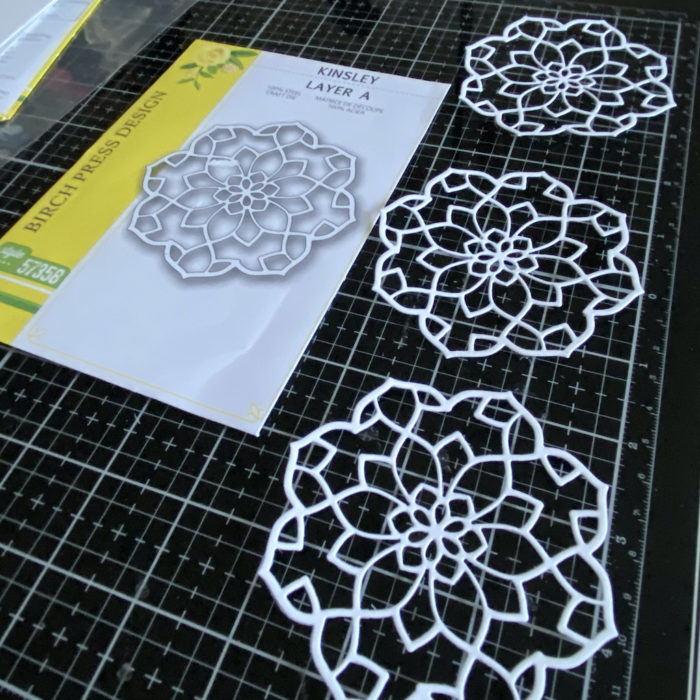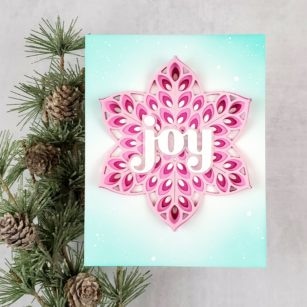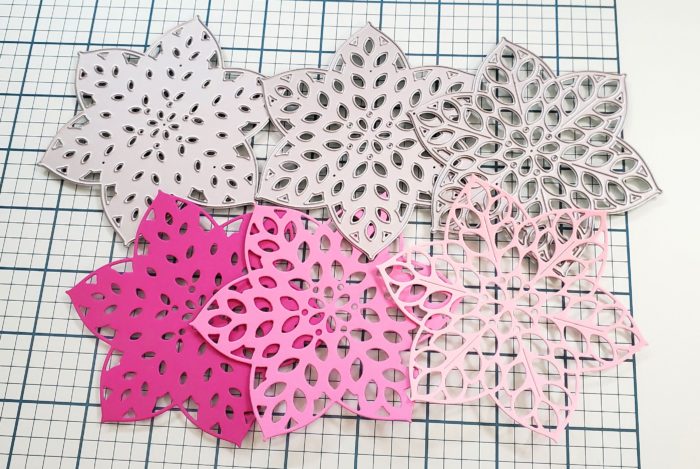
Hello, friends! Dilay here and I’m back to share another simple technique that you can use to stretch your layer dies! Today, I’m featuring the brand new Kinsey Heart Plate Layer Set, but for this card we’re only using one of the dies! Let’s get started!
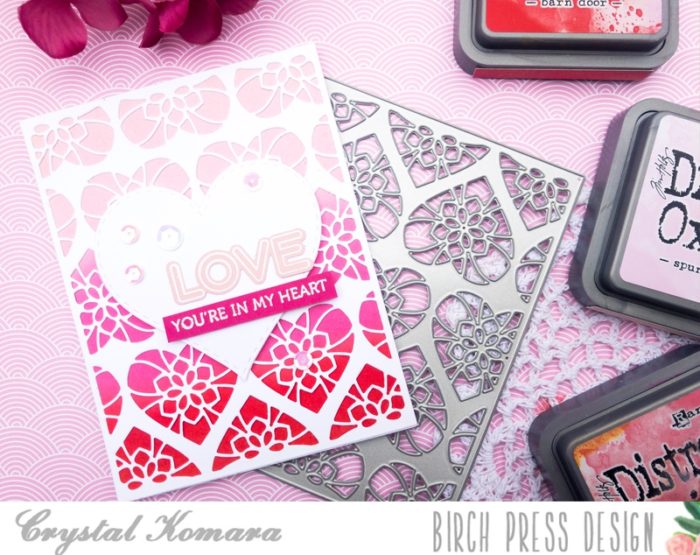
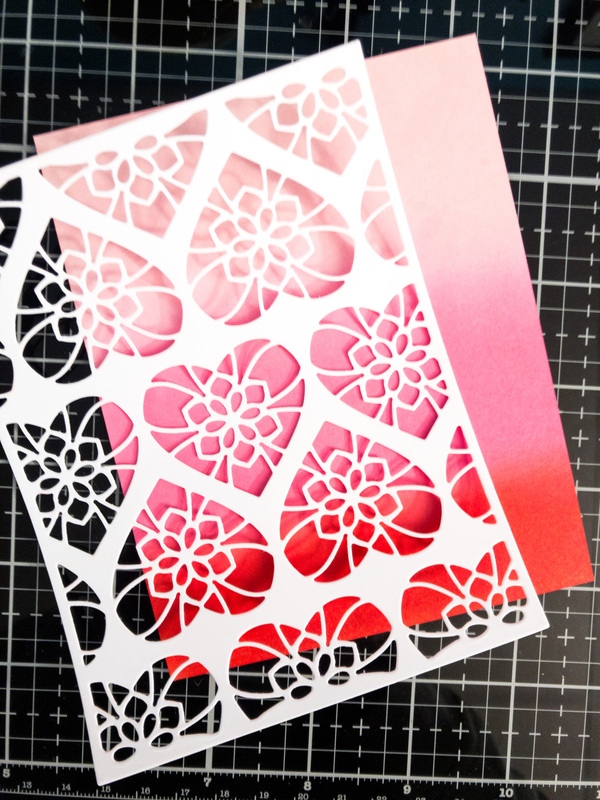
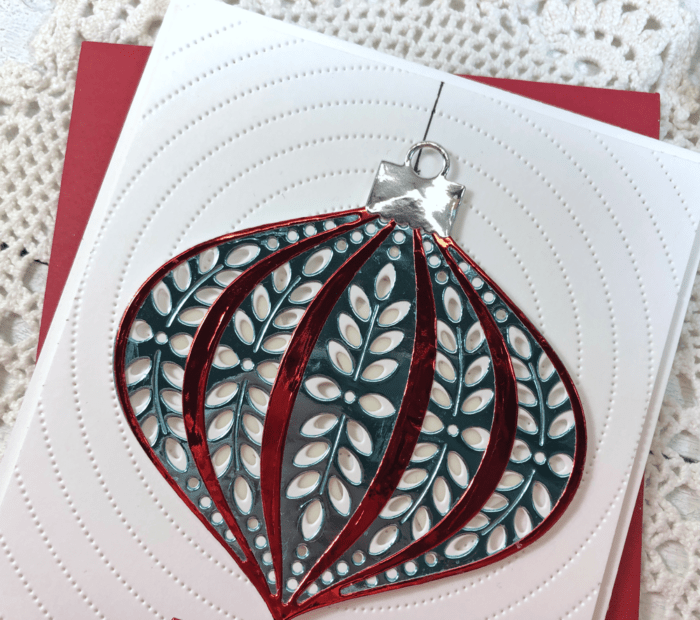
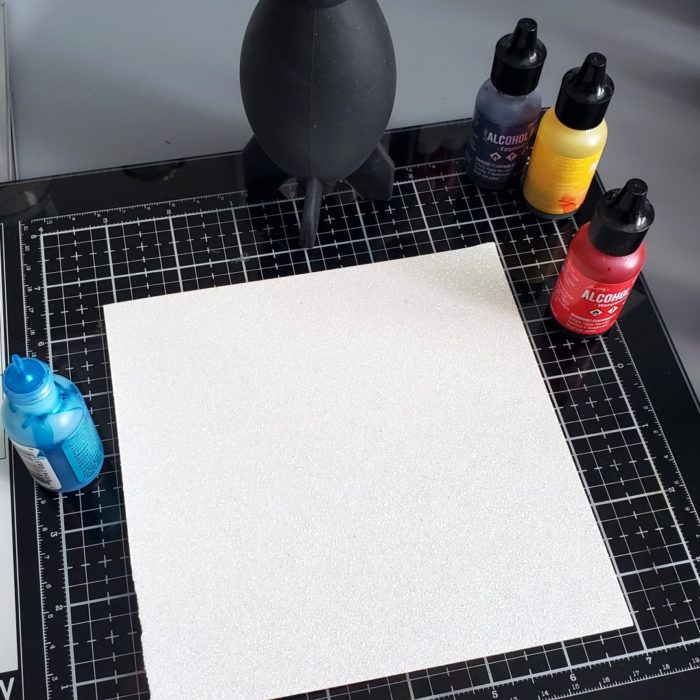
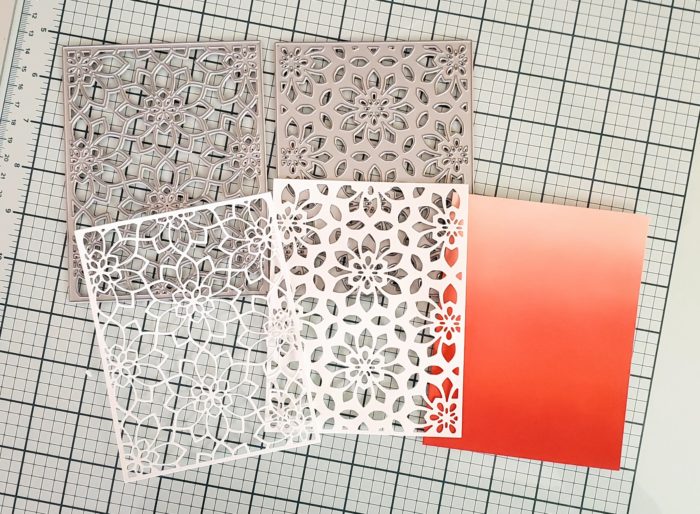
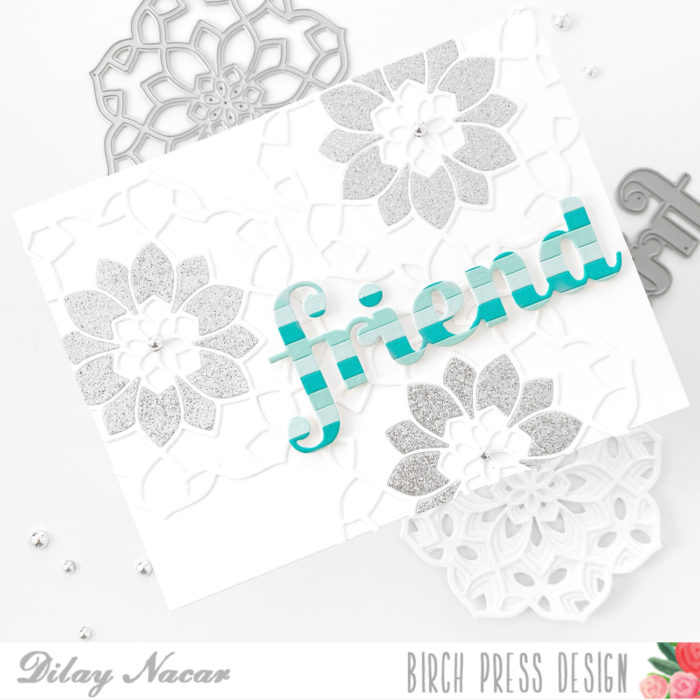
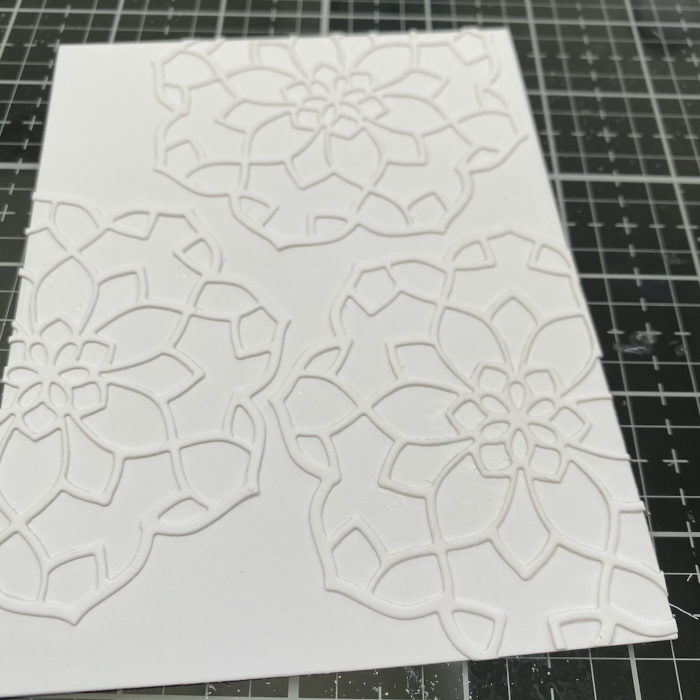
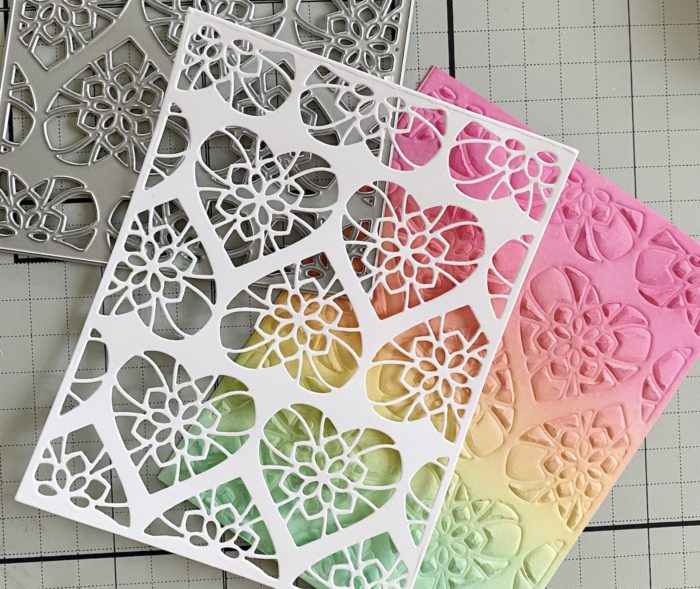
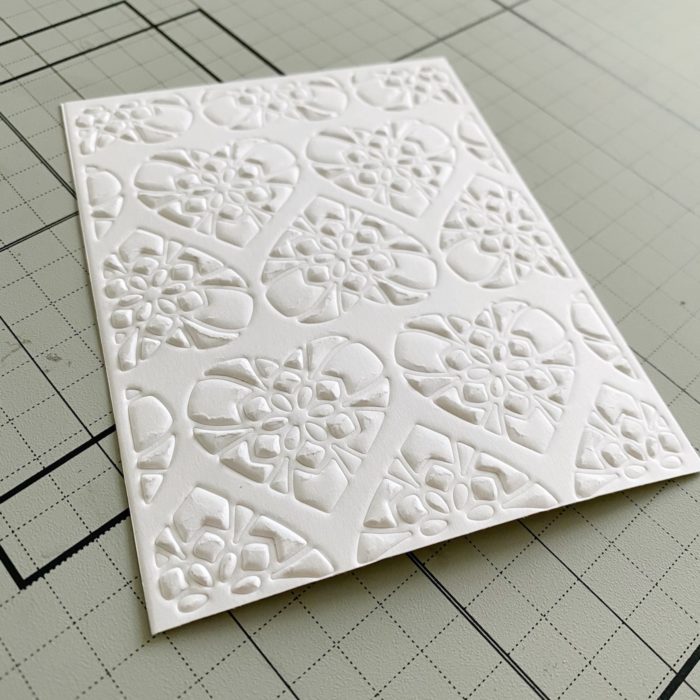
To begin, I cut down a piece of white cardstock to the exact size of the Layer A die plate, 4.25” x 5.5”, then used the die plate to dry emboss the cardstock. The order of the plates for this step will vary depending on your specific die cutter. Using die plates to dry emboss is a great way to stretch your dies and give your creations a new flair!
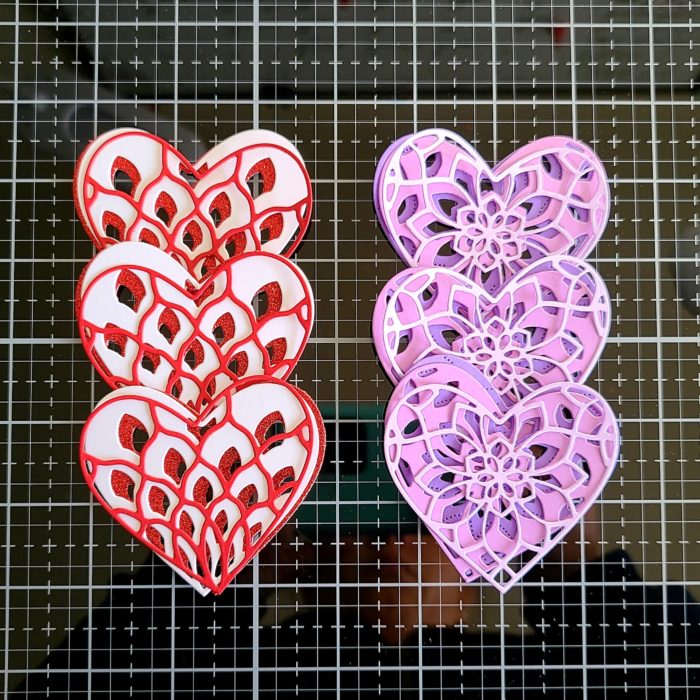
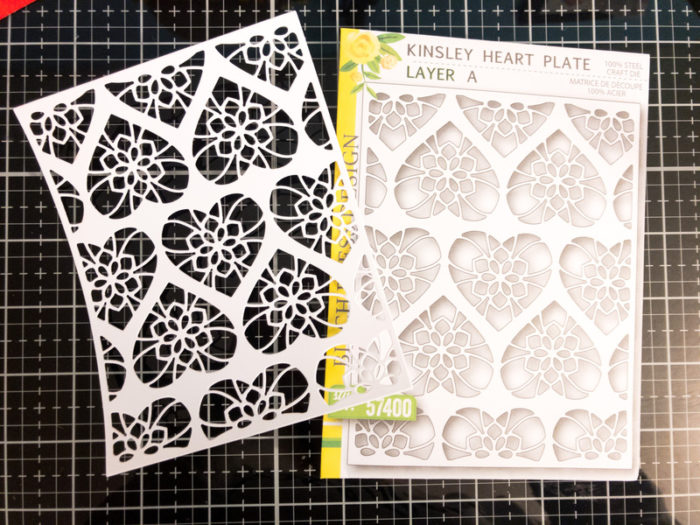
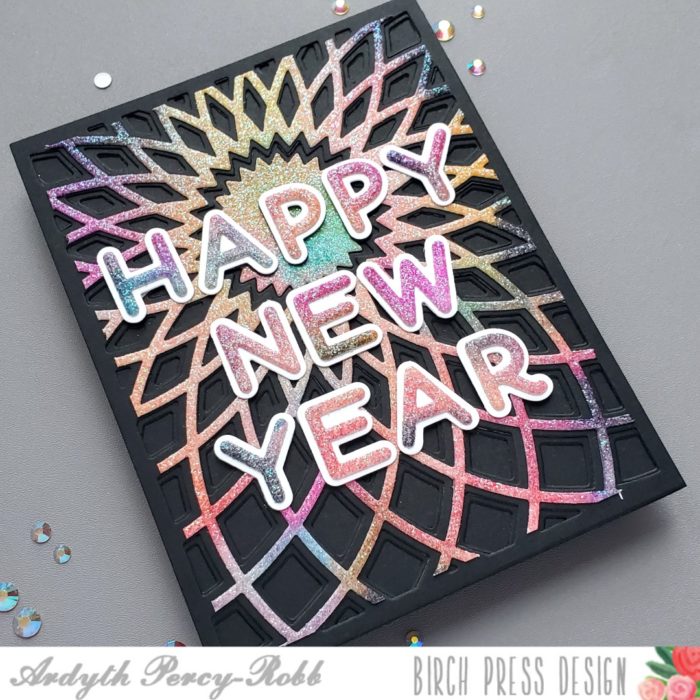
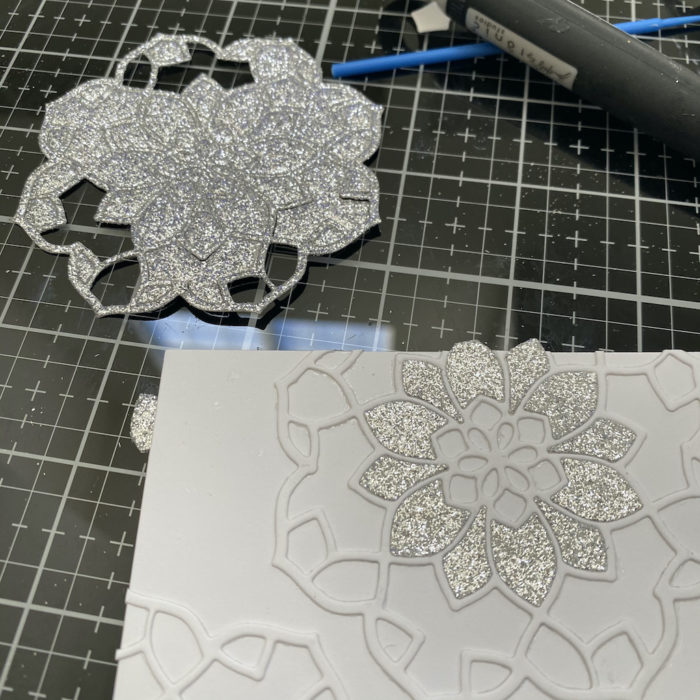
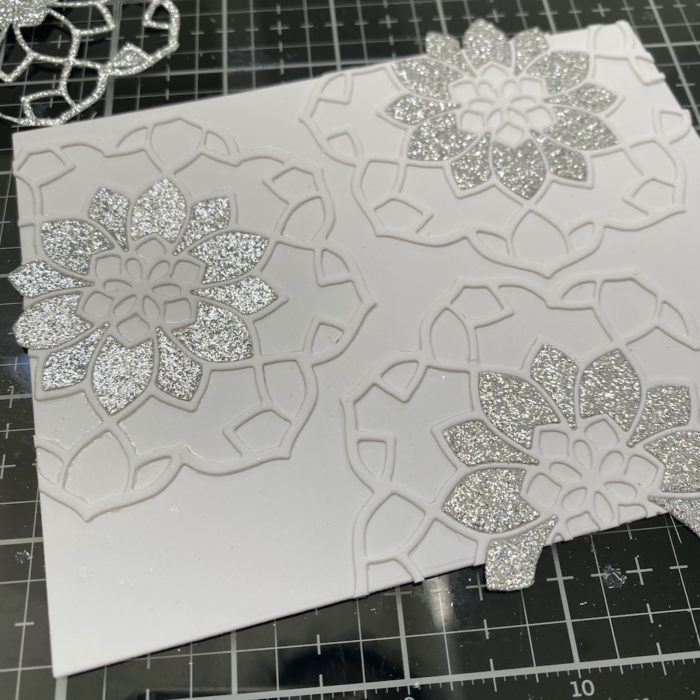
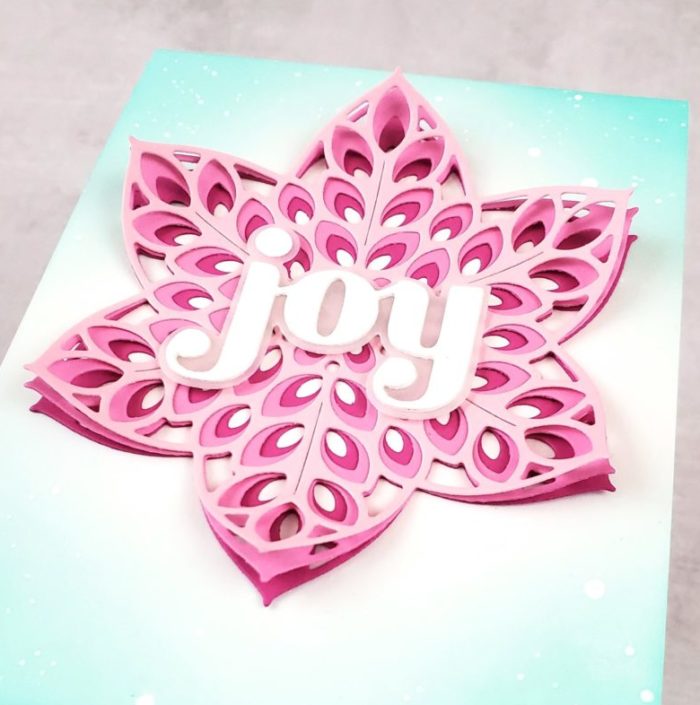
Below is a side-by-side comparison of the embossed panel and the intricate die cut, both made from Layer A.
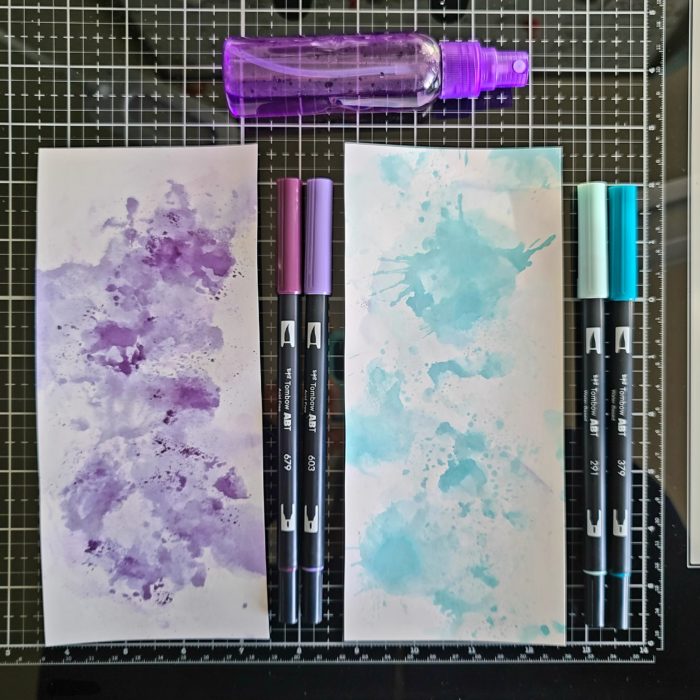
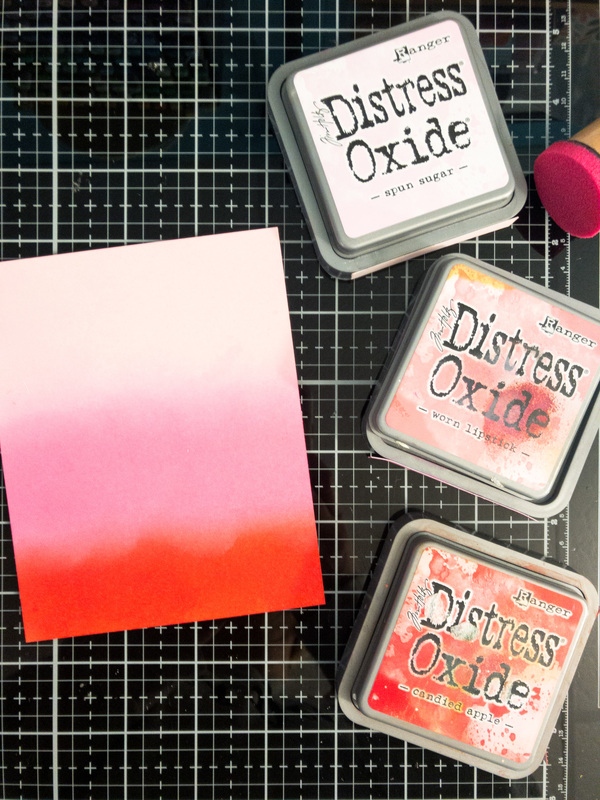
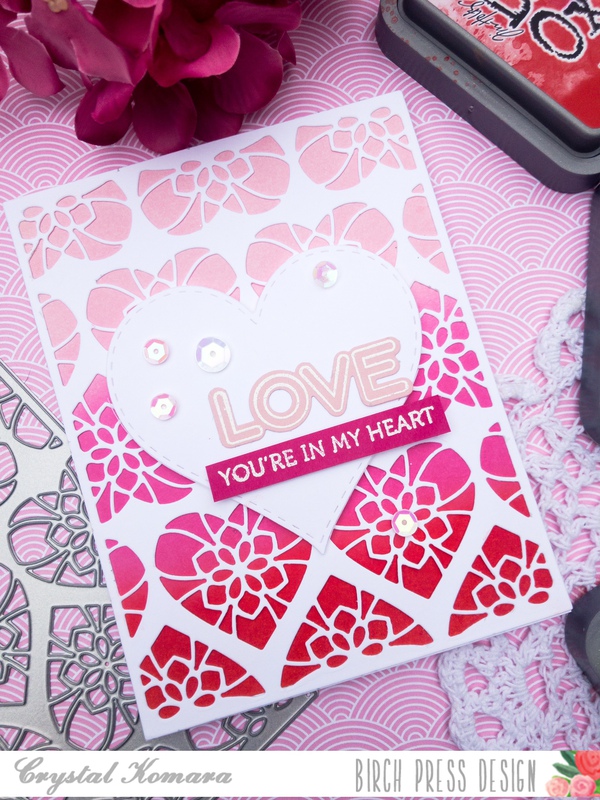
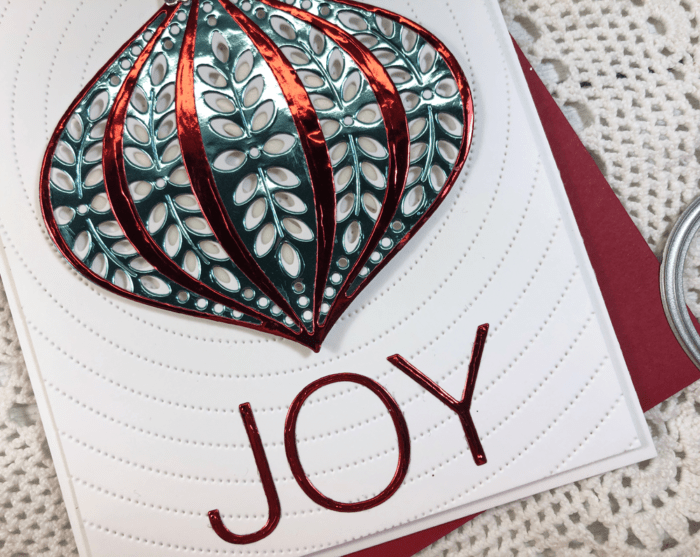
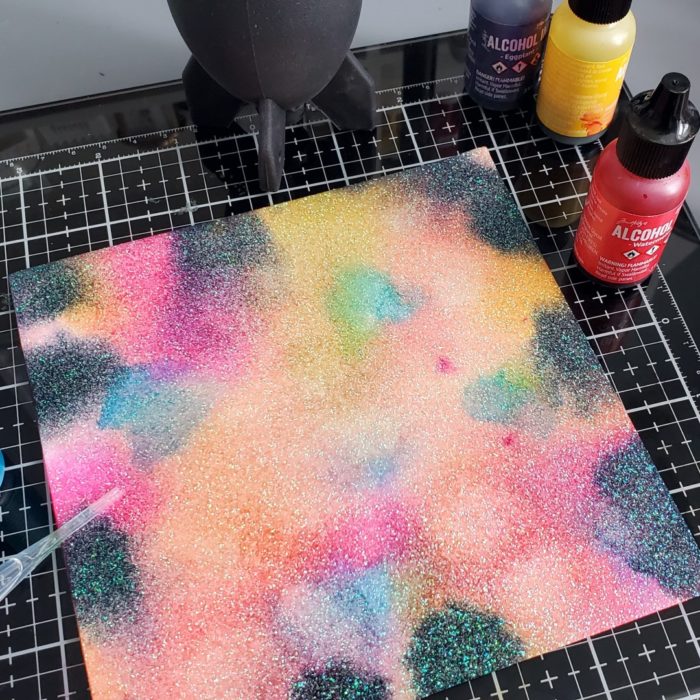
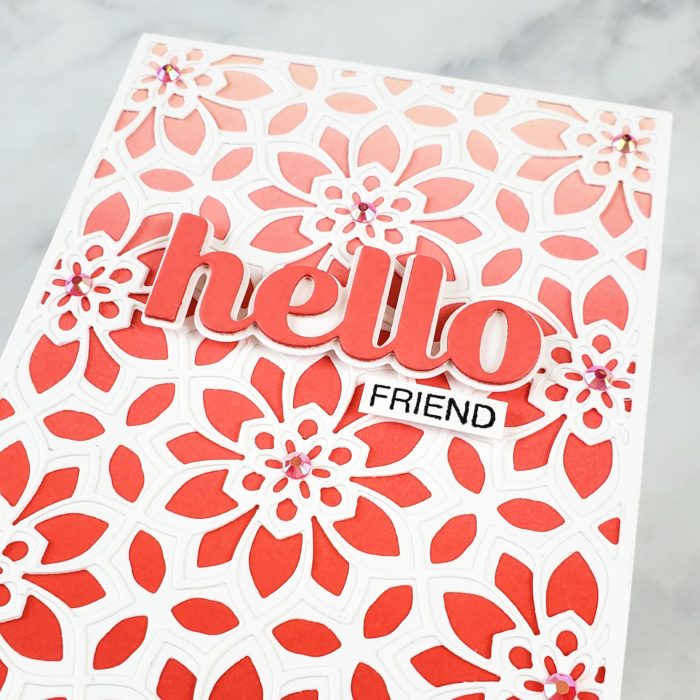
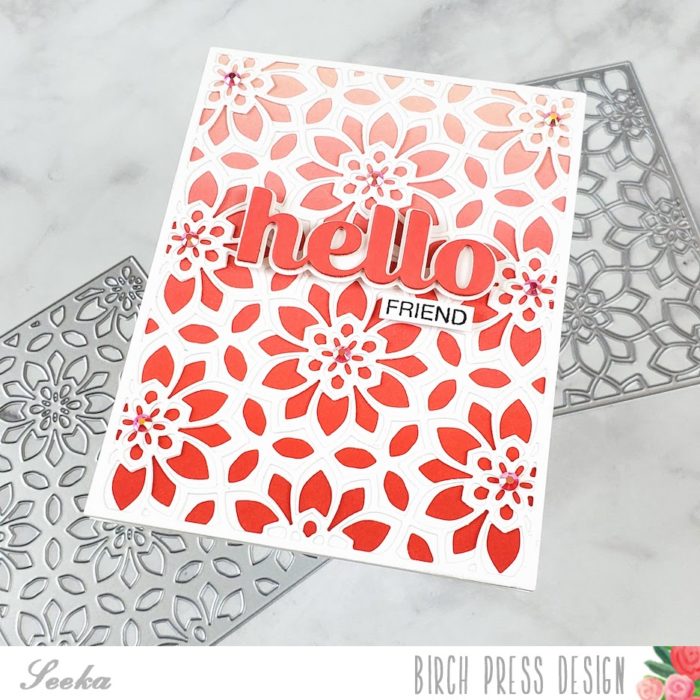
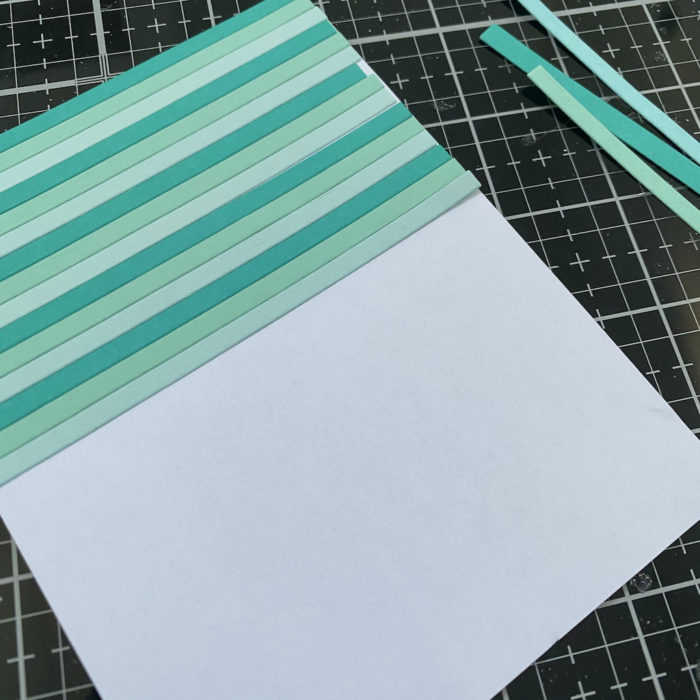
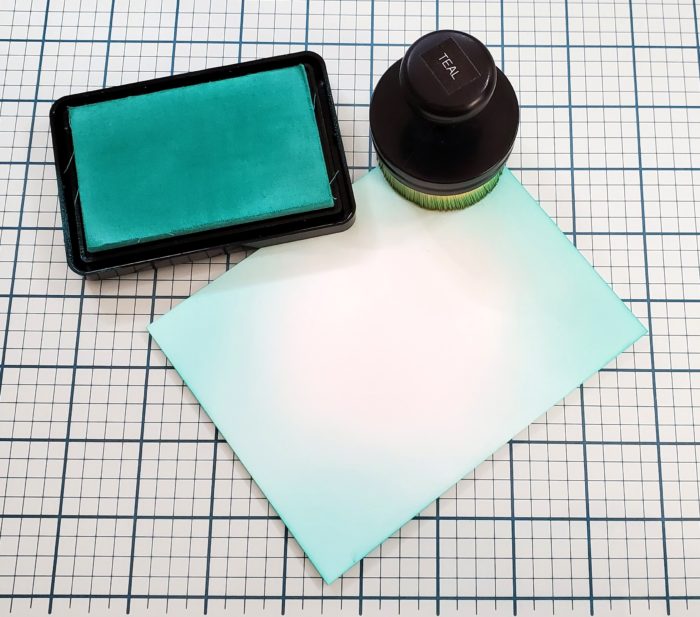
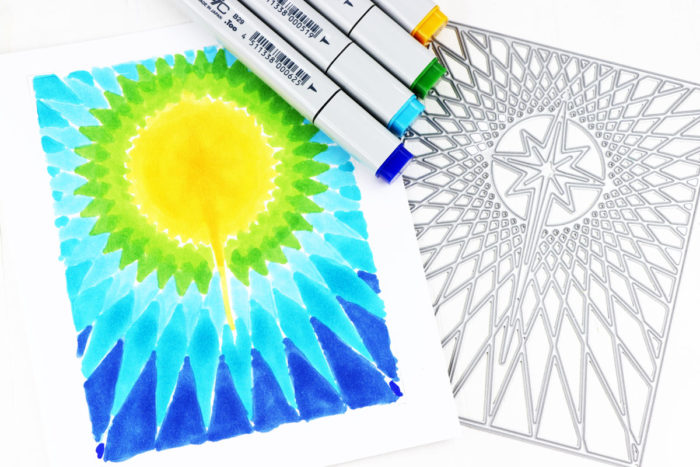
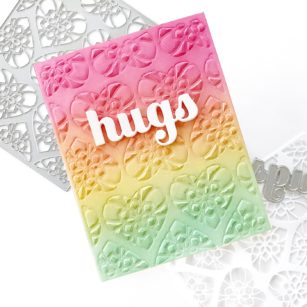
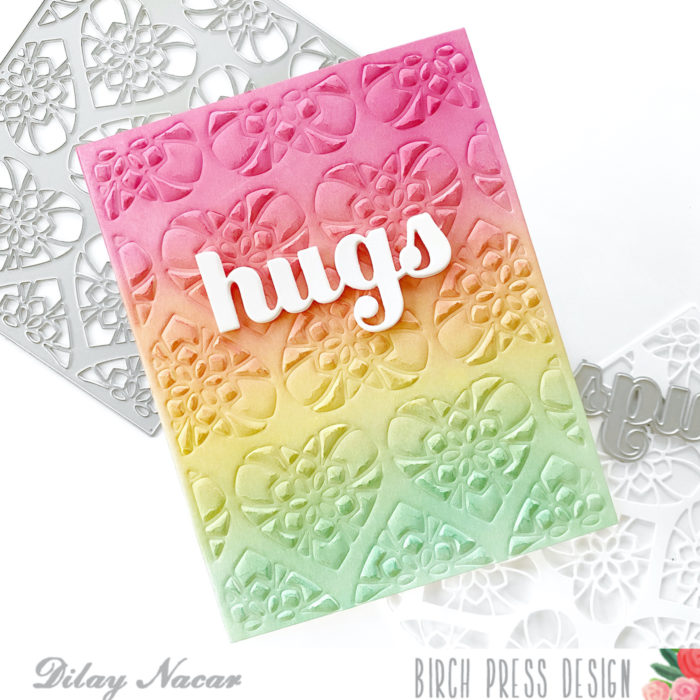
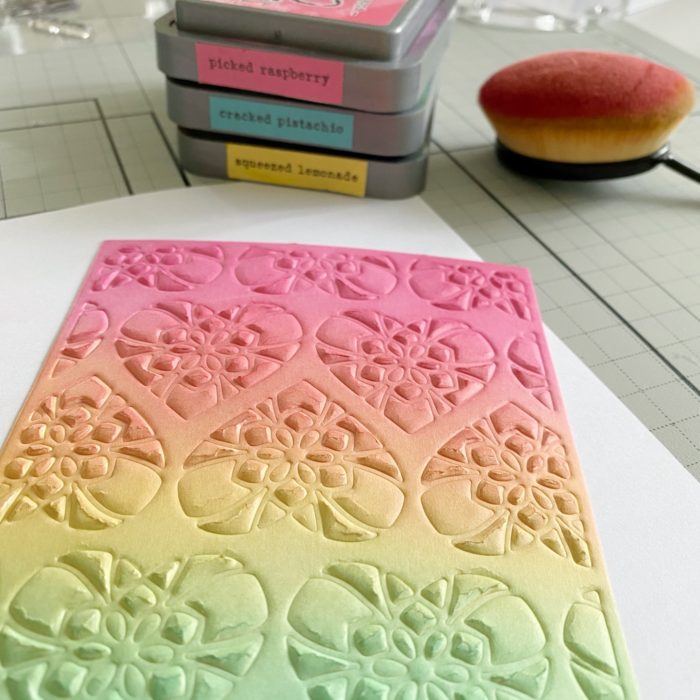
For the ink, I chose to go with Distress Oxide since they are my go-to for blending embossed projects. For this card, I used colors Picked Raspberry, Cracked Pistachio, Squeezed Lemonade and blended them using a large blending brush. I prefer to emboss first, then ink blend, both for the appearance and to avoid any ink transfer onto the die.
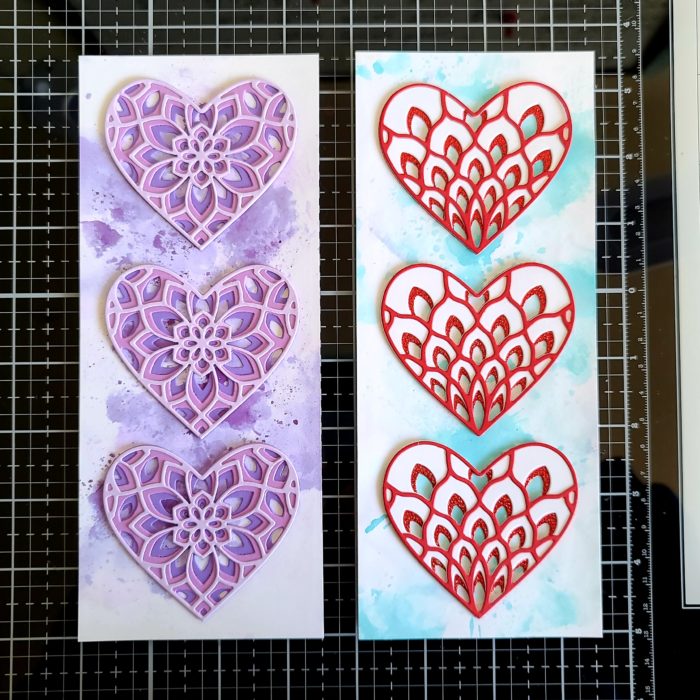
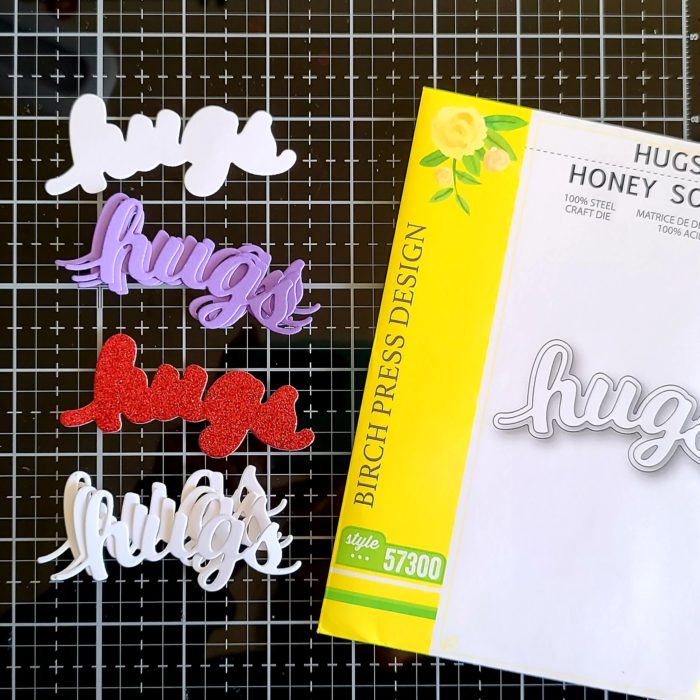
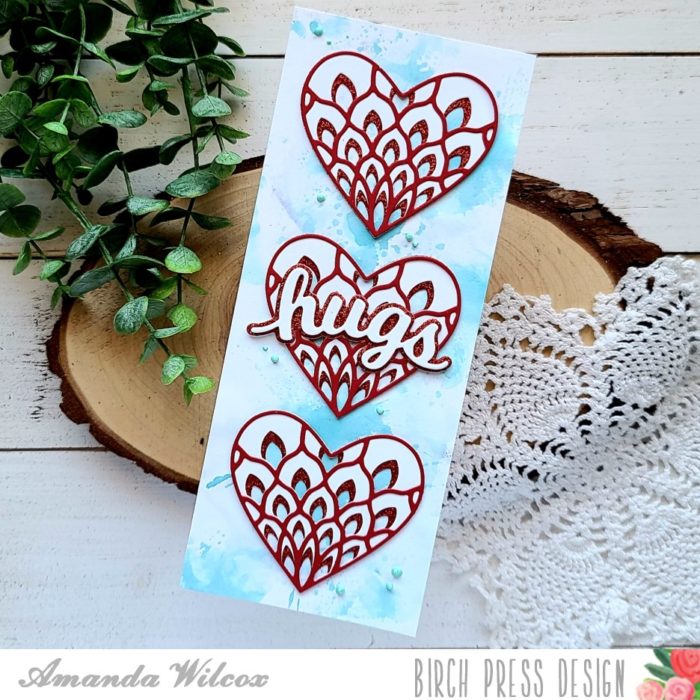
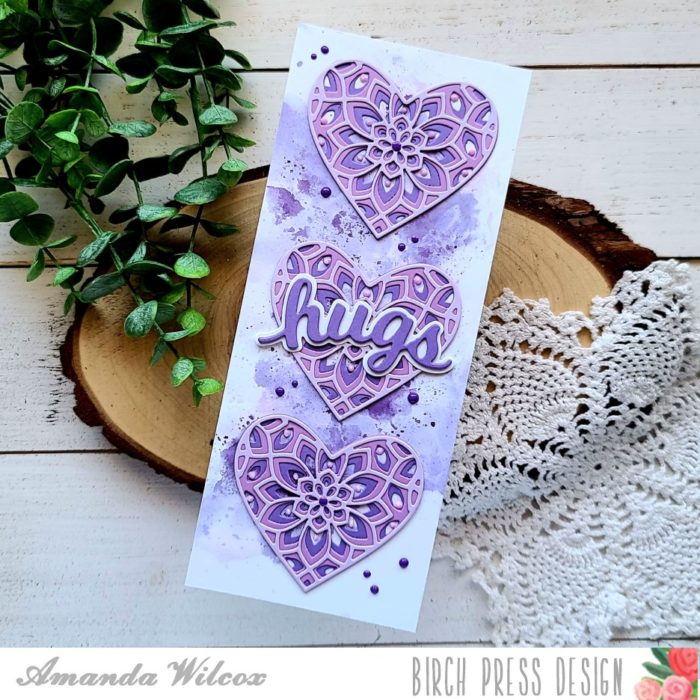
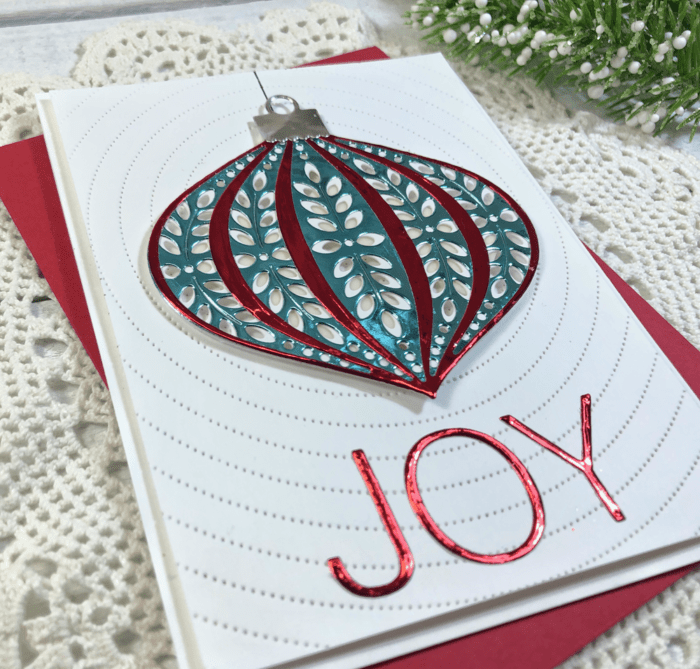
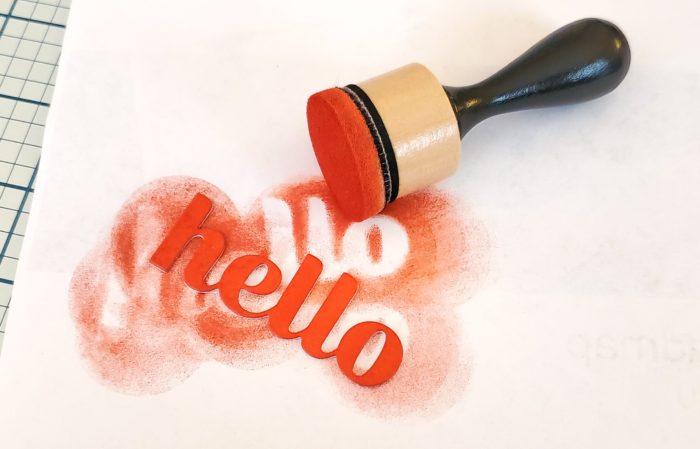
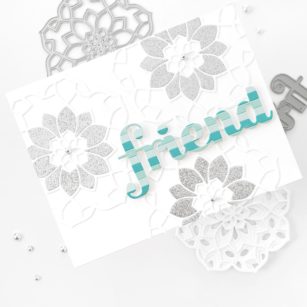
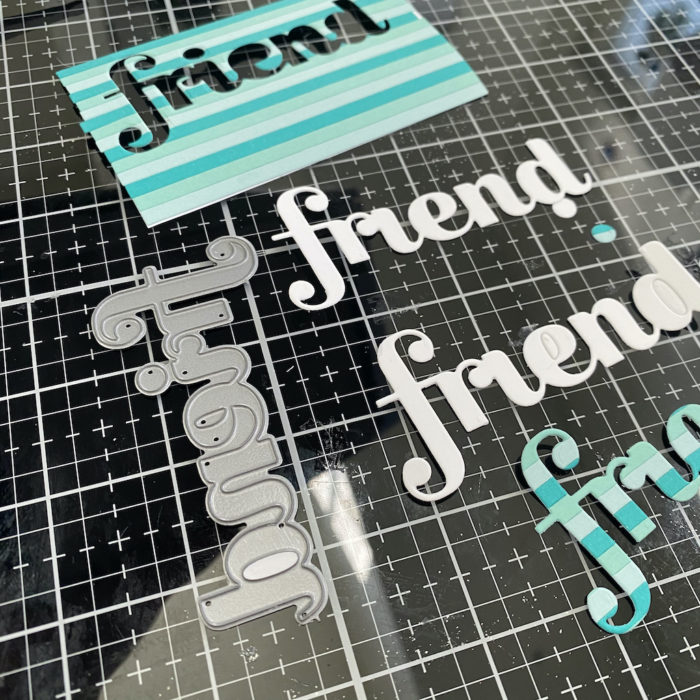
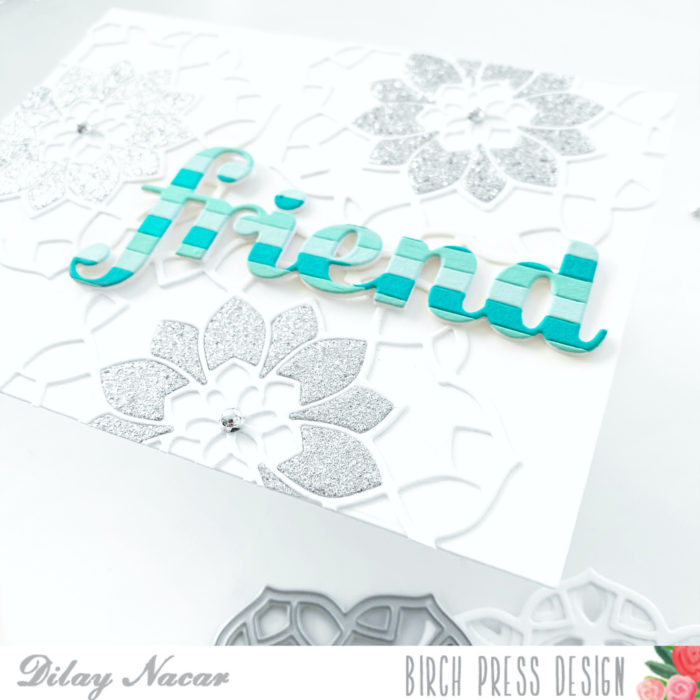
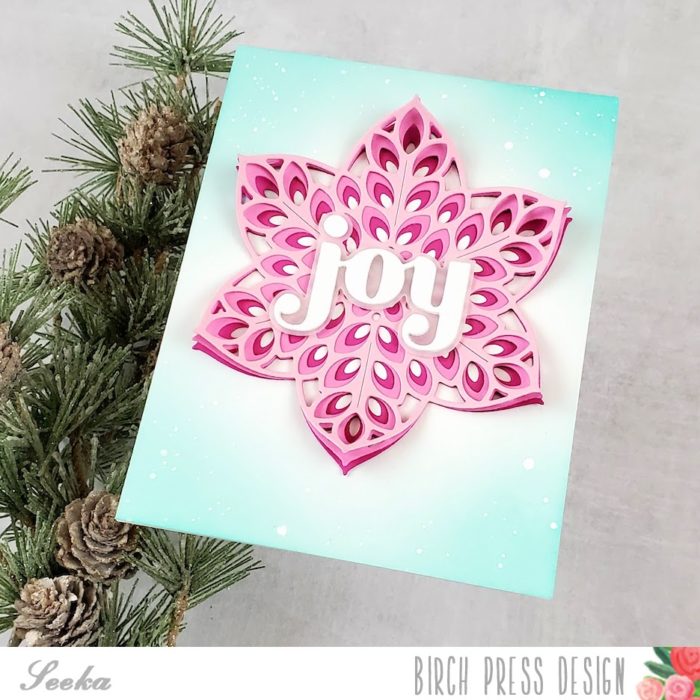
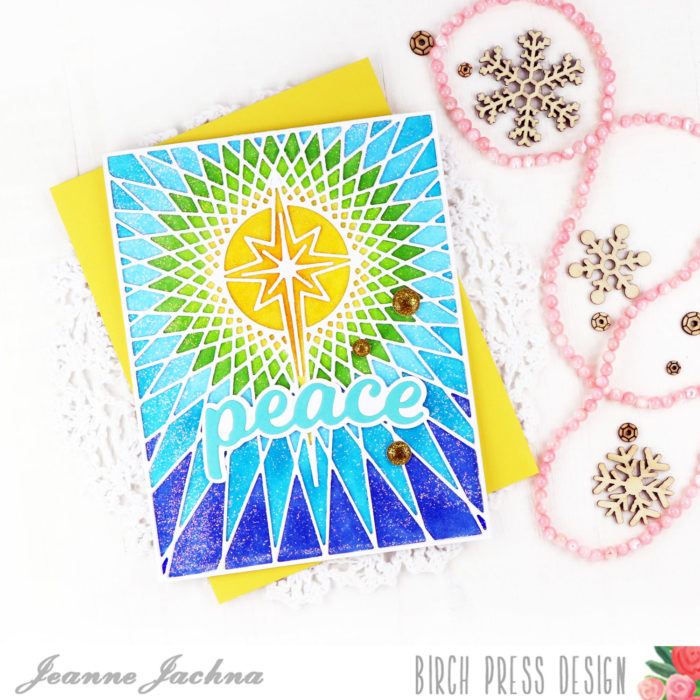
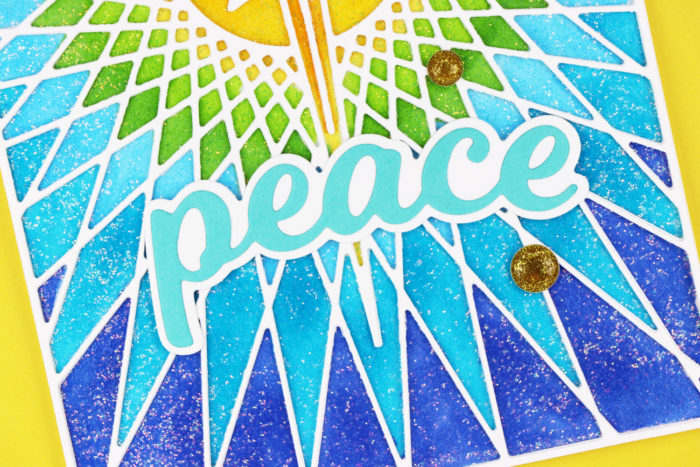
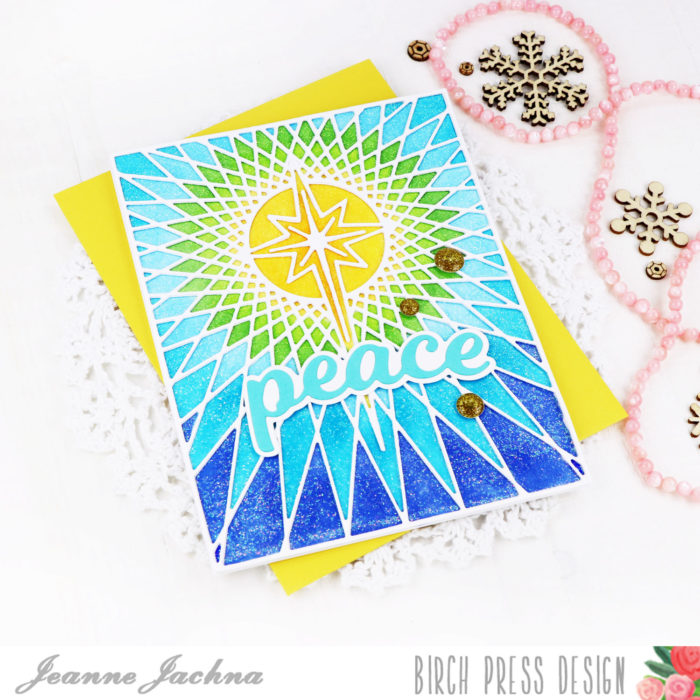
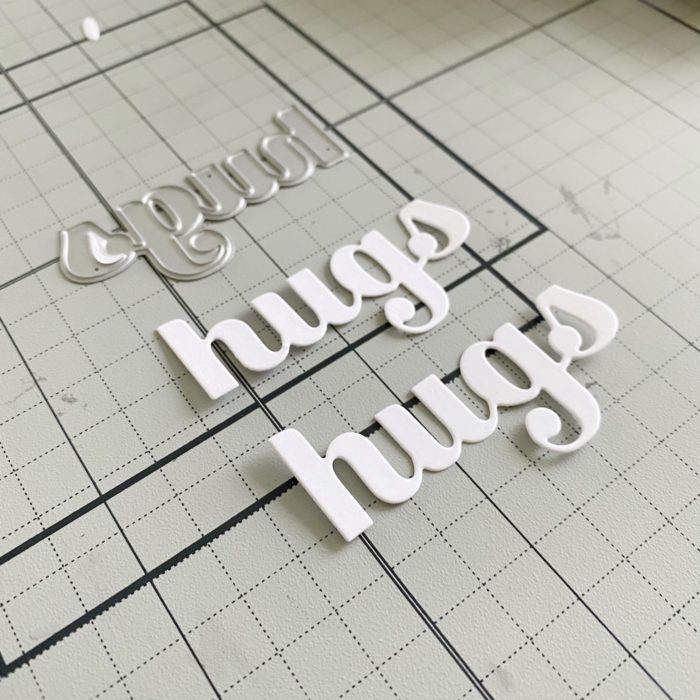
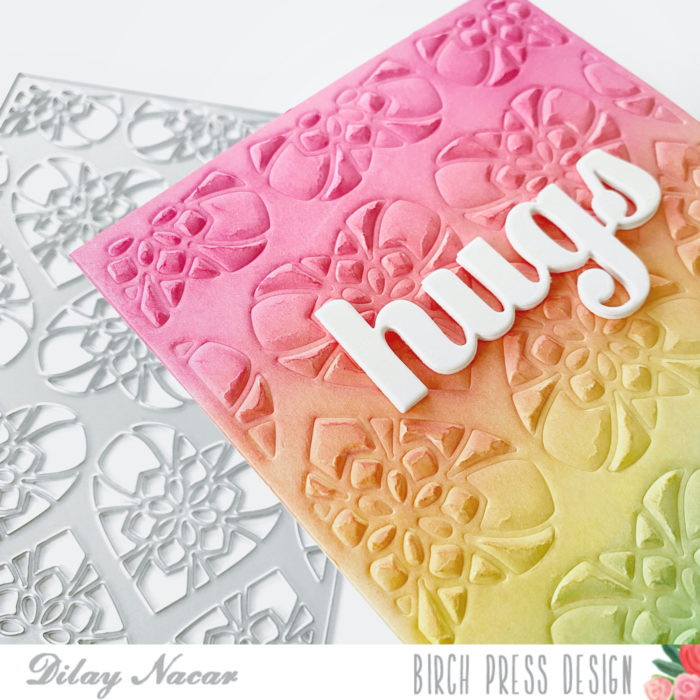
To finish, I die cut the Big Hugs Sugar Script die 3 times in white cardstock, stacked the layers for dimension, and adhered it onto the center the panel. Once the glue was dry, I adhered the finished panel to a top folding card base.
I hope that you found some inspiration today and enjoyed this card! Be sure to follow #birchpressdesign to share your creations!
Thank you so much for stopping by!