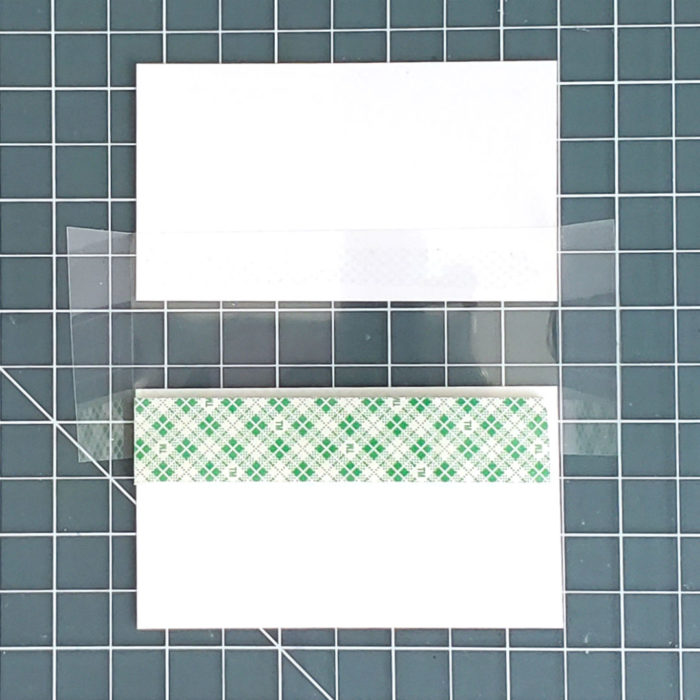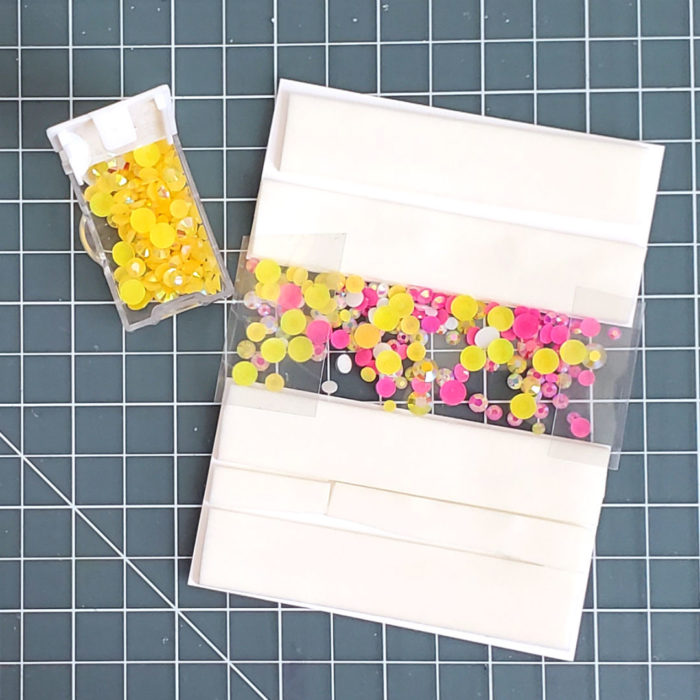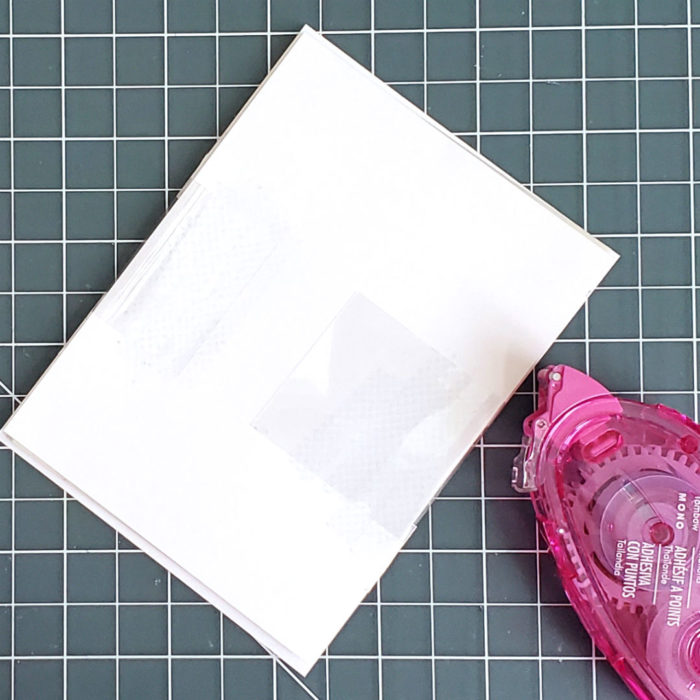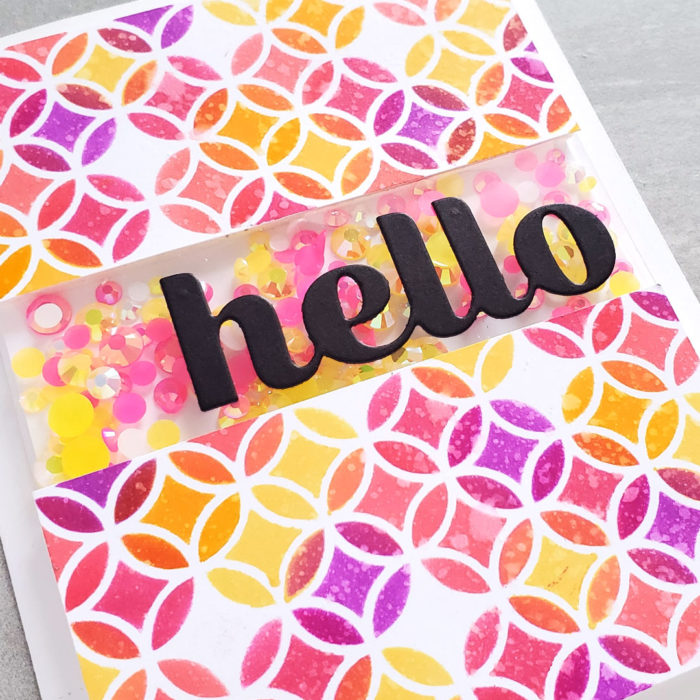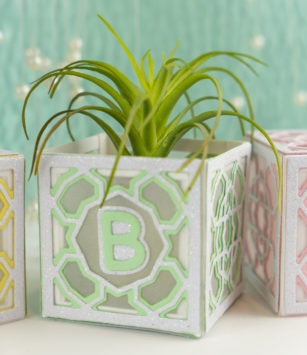

Hello! Today I’ve made two types of votives to share. They are both made the same way, but one is open on the top, and the others are made to cover a flameless candle. I’ve used the beautiful Grandiose Mini Tile layer set for the walls of the votives, and when the center is cut away, the Mod Alphabet dies perfectly fit inside the center! Although this is a custom box, making it was super easy by using the hinge from the Small Square Base set. Sky is the limit with what messages could be conveyed; from holiday greetings to names, it’s a wonderful table decoration or gift!

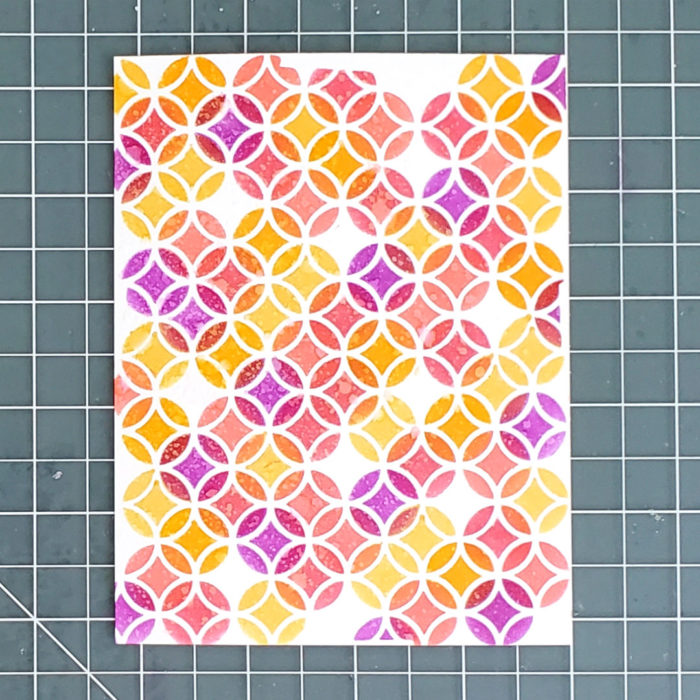
These are 2″ x 2″, and are perfect size for a small plant or small flameless candle. Very simple to make, I’ve made an example for a baby shower, or decoration for a baby’s room. The below photo shows what it looks like when used as a votive.

Check out the video for tips and how this project was created!

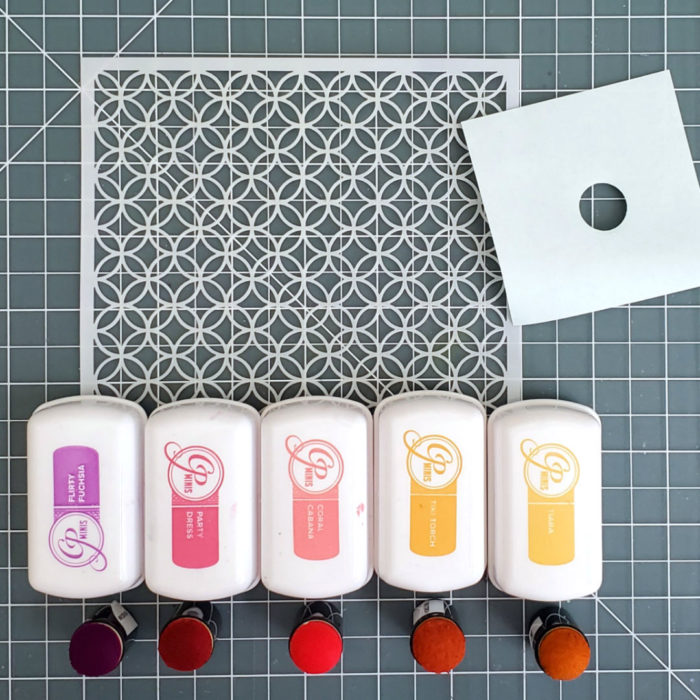
Supplies