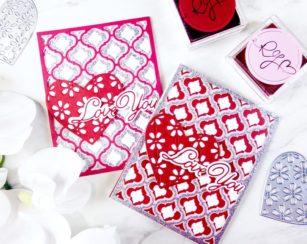

Hello my crafty friends! I hope you’re having a great day. There’s more new in the store and I’m excited to share a card made with the new String Art Frame.

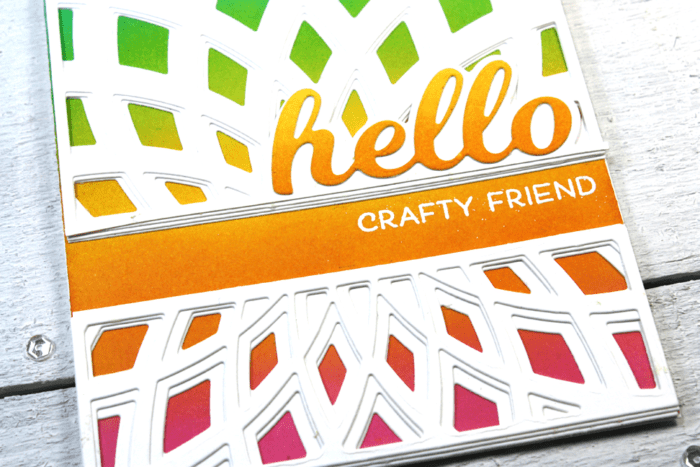
I wish you could see this one in person! It’s a rainbow of sparkly color!

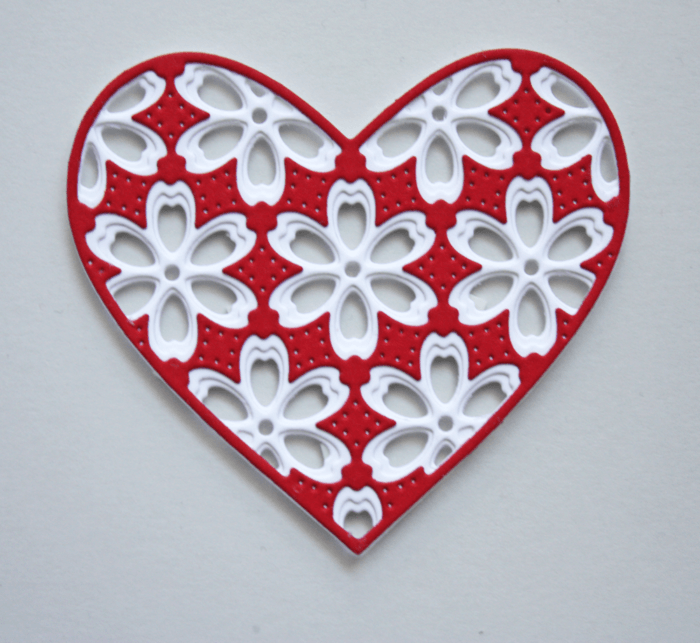
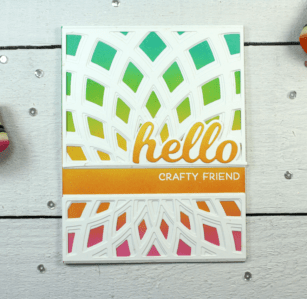
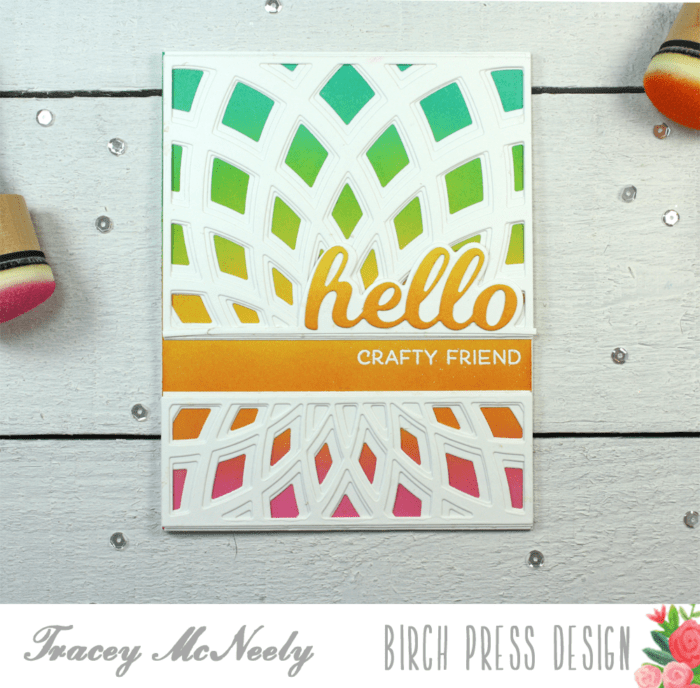
I started by adding double sided adhesive to a white card stock panel the same size as my card base. Then I removed the protective sheet and adhered the String Art Frame to the sticky panel.

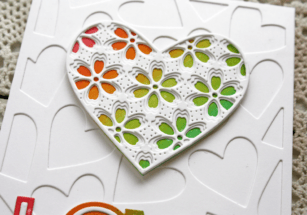
Next I sprinkled colorful glitter over the open areas of the die cut where the double sided adhesive is exposed. I pressed the glitter into the panel with my finger tips, but you could burnish with a roller or a bone folder.

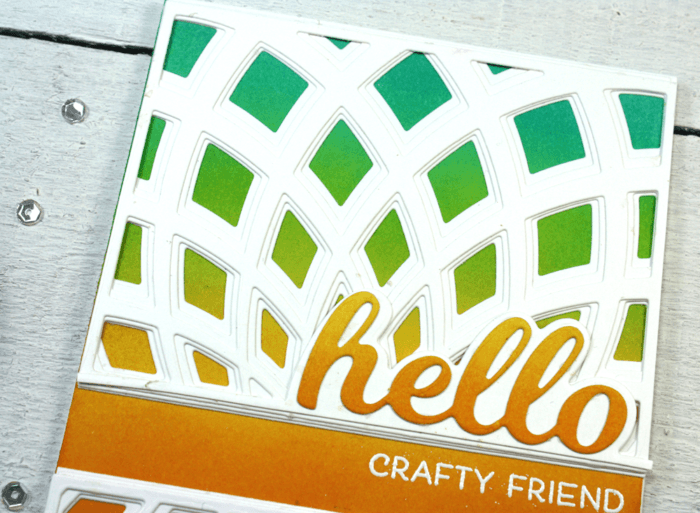
The colorful sparkly background is a feast for the eyes!

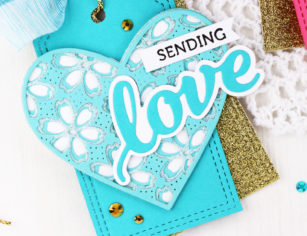
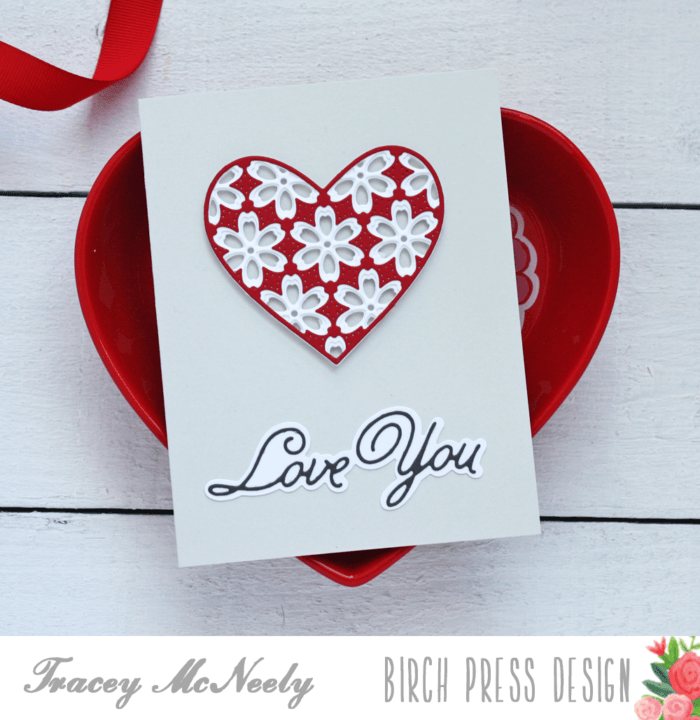
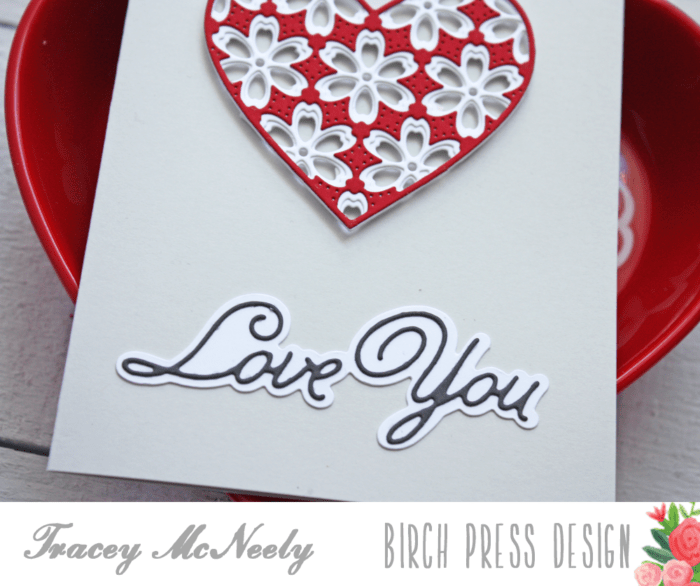
I added a simple sentiment using the Thanks Honey Script word die (that comes with a detailed and background die) and a stamped sentiment from the new You Are Awesome stamp set.

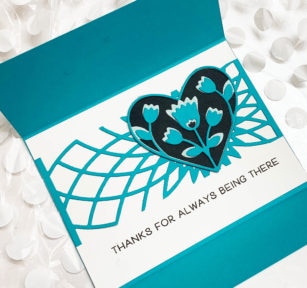
This sparkly technique will work well with lots of your die cuts. I sure hope you’ll give it a try!

Finished Size 4.25 x 5.5″
Supplies