Hello Everyone!
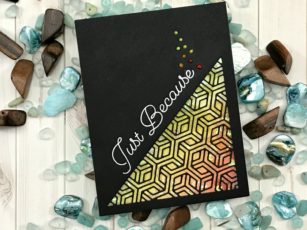
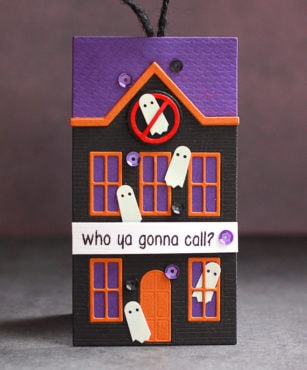
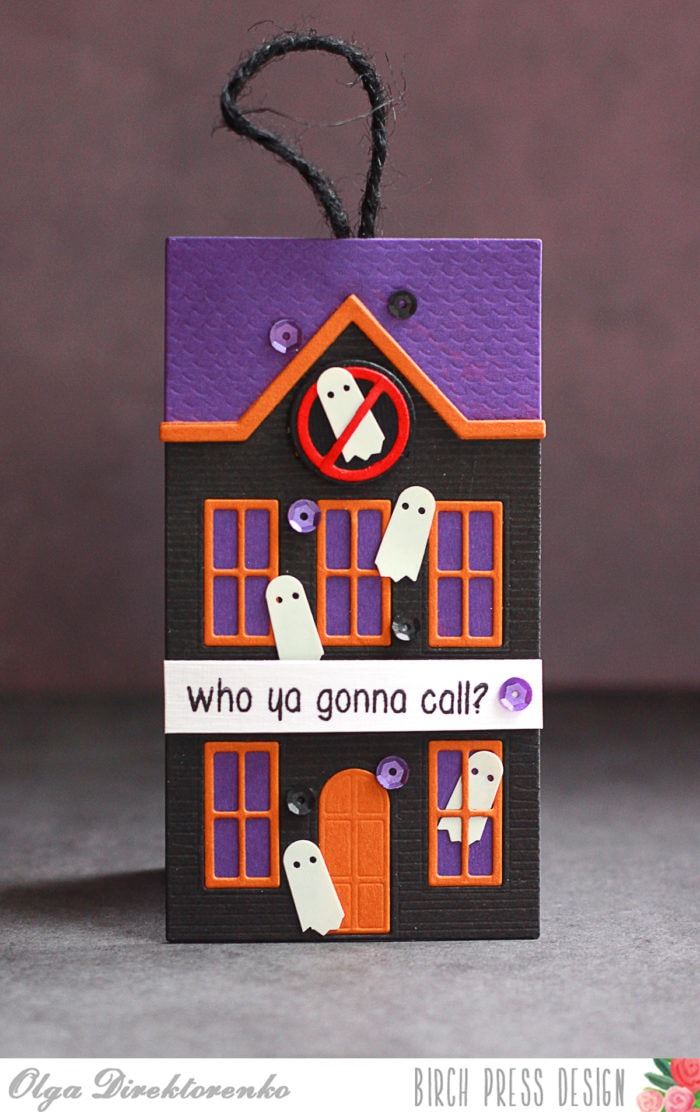
Making a complex looking card is now easier than ever with the Metro Triangle Collage Die and you will not even break a sweat or waste your day! LOL
So let’s give it a try! I first gathered a piece of black card stock from my stash and trimmed it to 4 1/4 in x 5 1/2 in to cover my card base and made my die cut. Removing those tiny pieces was a snap with this die but a pokey tool helped at times. I set my panel aside and started my background panel to sit behind the die cut. I pulled my distress oxides (candied apple, carved pumpkin, squeezed lemonade and twisted citron) and my mini blending tools and started blending at the bottom right of my panel. I did not need to cover the entire background, just focus on the area showing through my die cut. I also trimmed this to the same size as my black card stock.

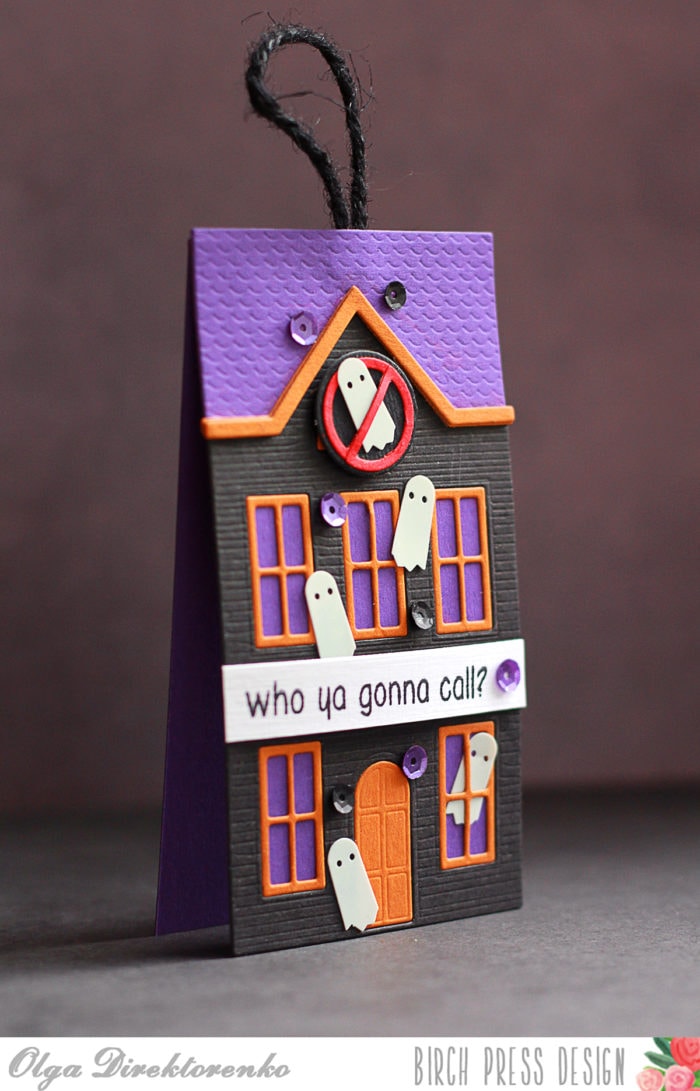
I set this aside so it could dry and I went back to my original panel so I could add the acetate panel and LOTS of double sided foam tape, yup we are going to make a shaker card! I filled the cavity in with some iridescent sequins just to add a little bit of shimmer and shine. I did not fill this like I normally would, just wanted a hint of them shaking around in there.
Once filled I removed the release paper from the foam tape and adhered my blended background, you want to make sure your blended area is sitting in the same corner as your opening. Now ask me how I know to do this, LOL… I used my tape runner to adhere my shaker panel to my standard A2 size top folding card base.
Now let’s work on our sentiment… The sentiment I used for the front of my card comes from the ‘Just Because” Clear Stamp Set and it is Just Because. I think it is always just the right thing to say to someone… I prepped my card stock with my anti-static tool and stamped this using my vesamark ink and heat set with white embossing powder. I think black makes everything pop…

I also stamped a sentiment on the inside of my card from the same stamp set. I chose ‘you are so special to me’… I think it is the perfect pick me up who is having a trying day.
For some final accents I pulled out my NuVo drops in similar colors as my Oxides I used for my blended panel! You have now made a shaker card with a bit of pop!
If you want to see more details just click on the video below and see our project come together step by step! https://youtu.be/-wS_UjhpQgw
I hope you enjoyed today’s project… Make sure you stay tuned for more wonderful projects coming soon! Have a great day and always remember… Be Creative!

Supplies


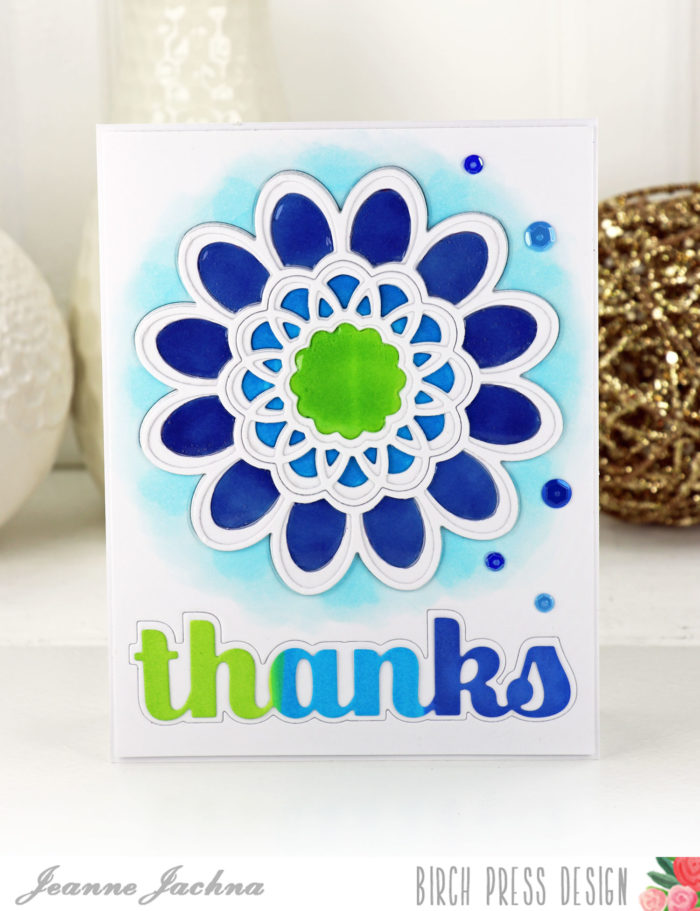
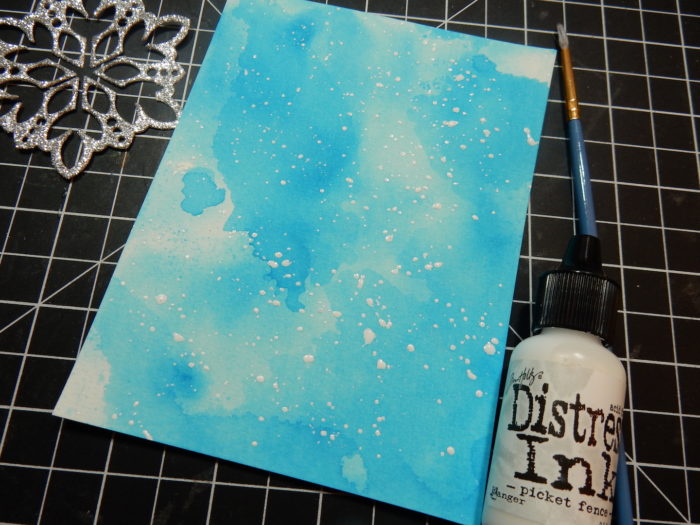
 I started by cutting the Aurora B die from a panel of card stock. I didn’t want it to cut all the way through. I wanted to create an outline of the die on the card panel that I could color. I added some clear packing tape to the back of my card stock panel before cutting the die on the front of the panel. The packing tape helps keep the die together so no pieces fall out.
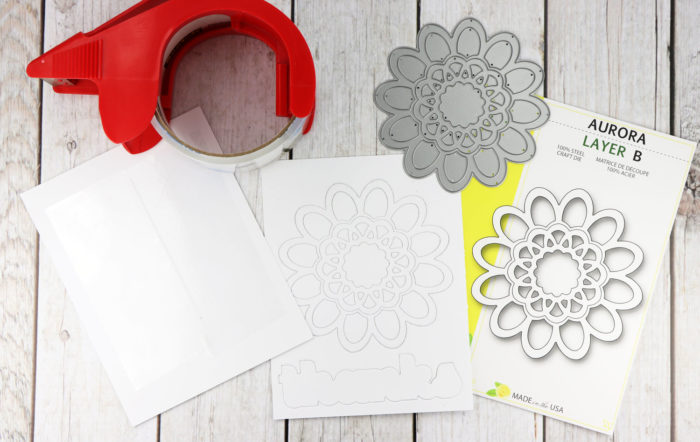
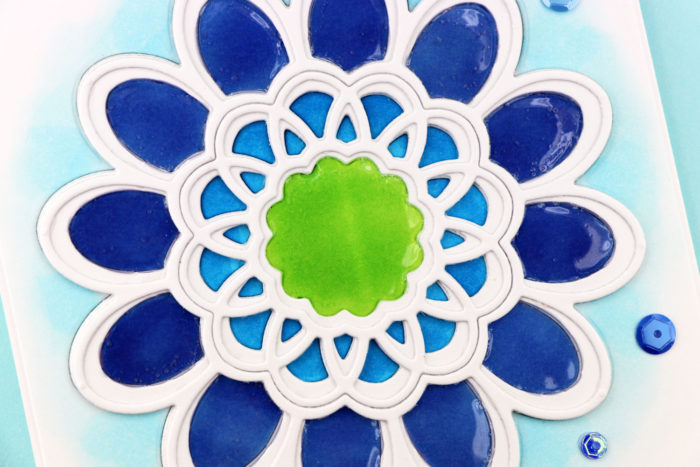
 Fill in the die cut openings with Glossy Accents. I used a needle to move it around and get into all the corners. It’s also convenient for breaking any bubbles you might see. This is a time consuming technique but the shine is worth it. TIP: Use a die cut with large openings to make this process easier. I chose the Aurora die for this reason.
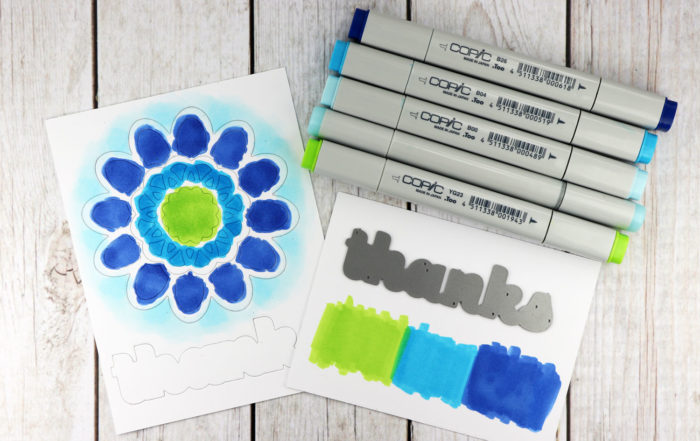
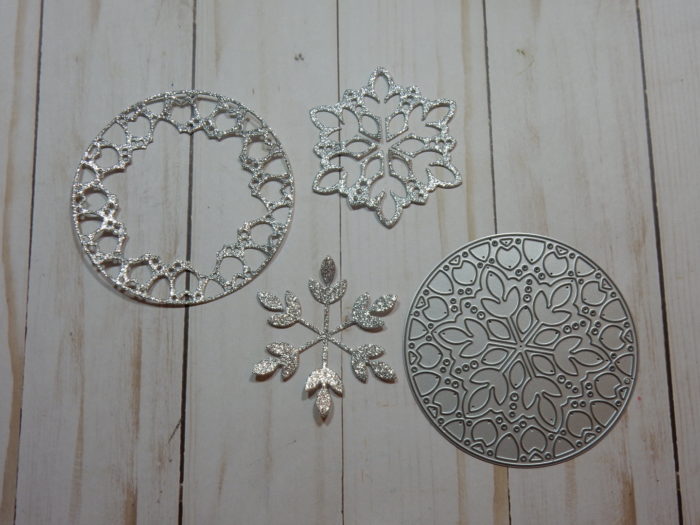
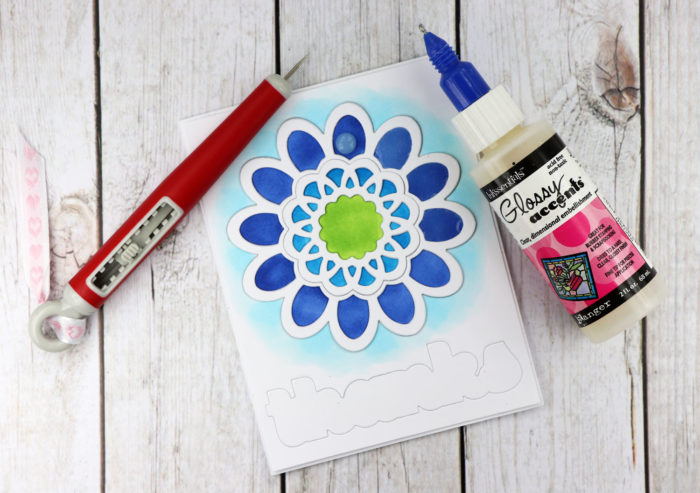 I only applied glossy accents to the outer rings and the center circle. When the glossy accents is dry add a die cut Aurora Layer A die cut to the design.
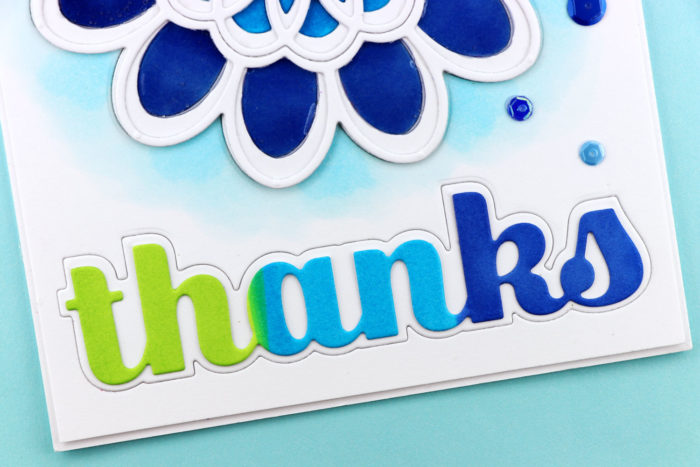
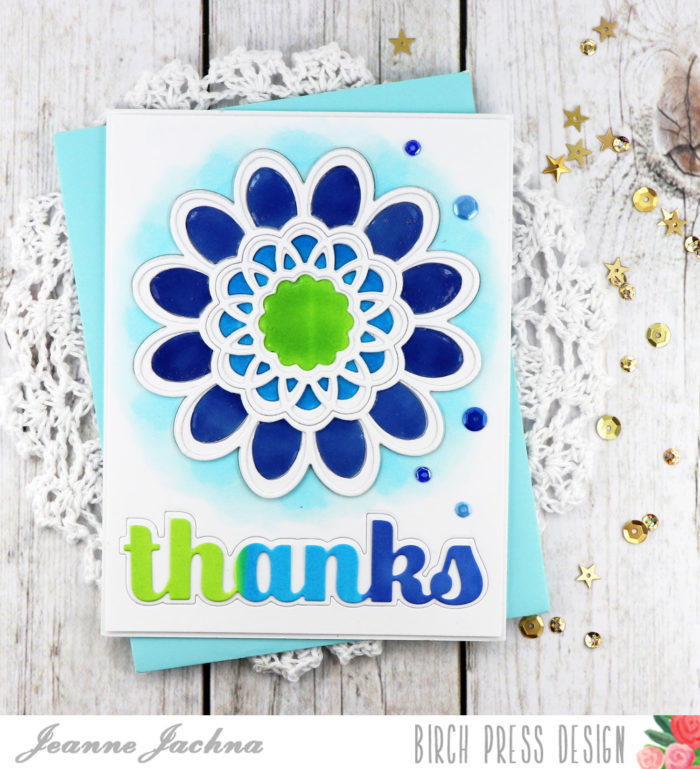
 Finished Size 4.25 x 5.5″


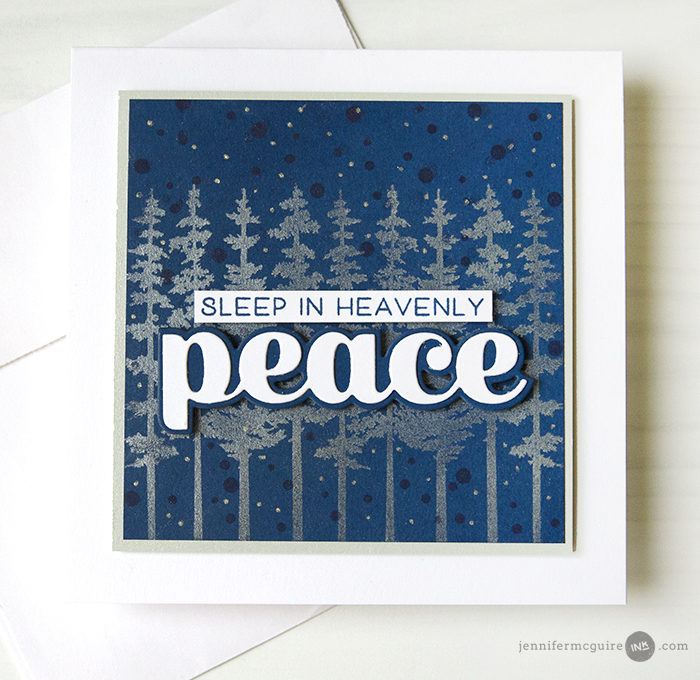
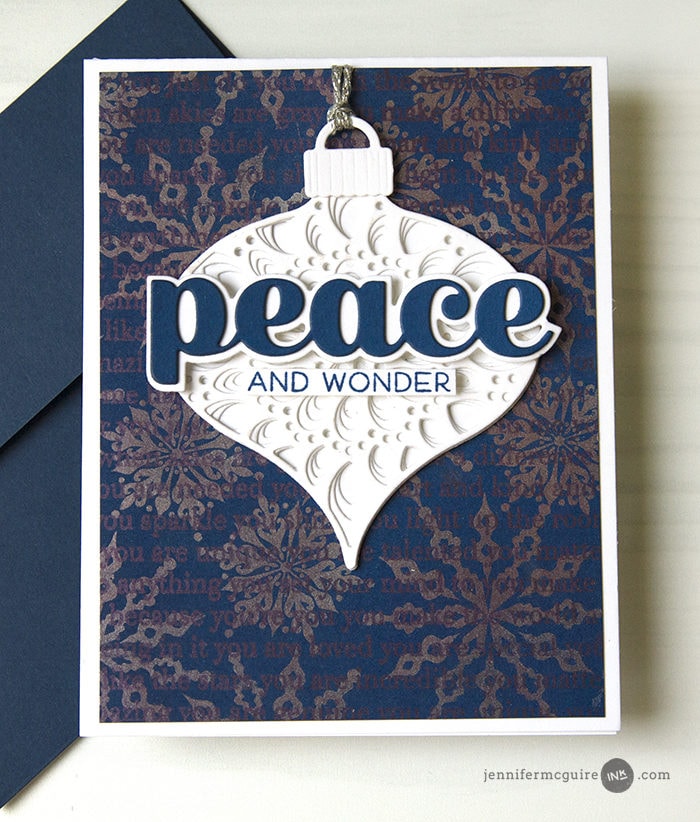


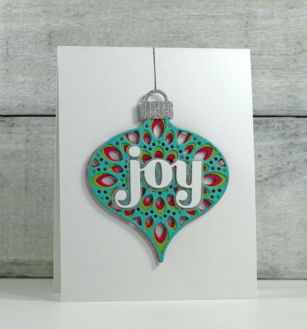
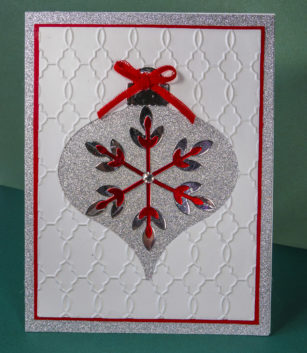
 Hi there are welcome back to another inspiration post at Birch Press Design. I hope you enjoyed the Blog Blitz last week where you were able to have a closer look at the new holiday release! Today I have a quick video tutorial for you to share how I made this pretty ornament card using the newly released
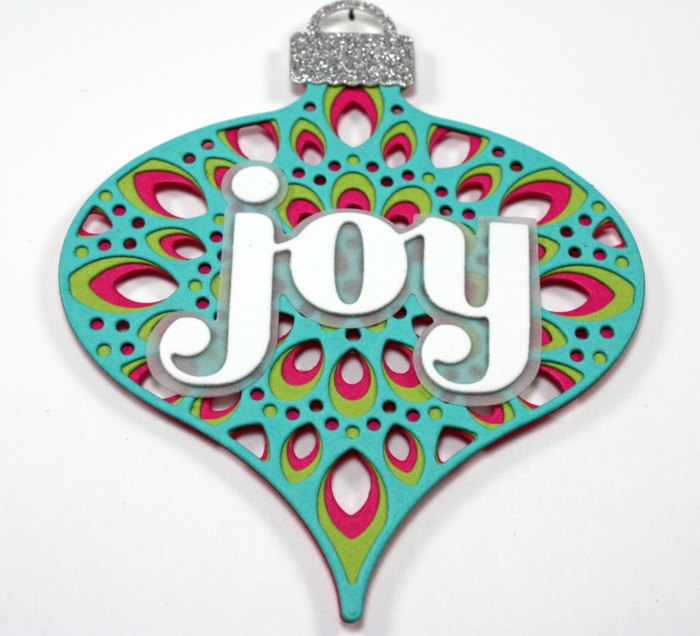
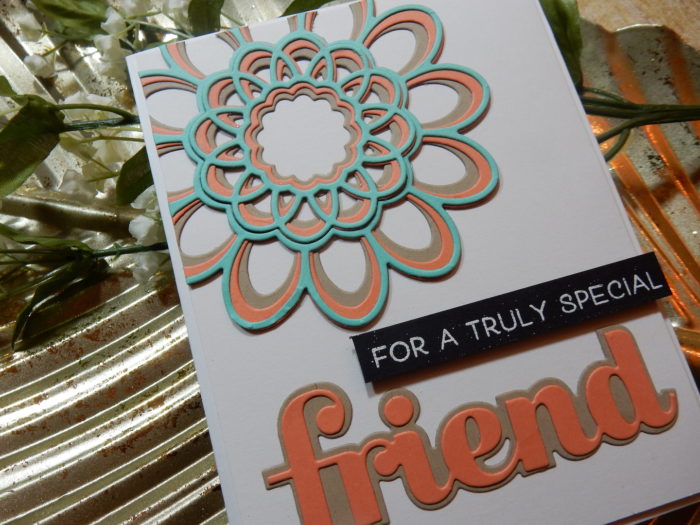
  I used non traditional Christmas colours for my ornament mainly because these colours look so good together but also because it is still summer and I am not quite ready to break out the reds and greens just yet.
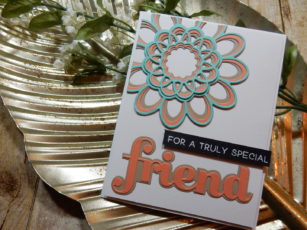
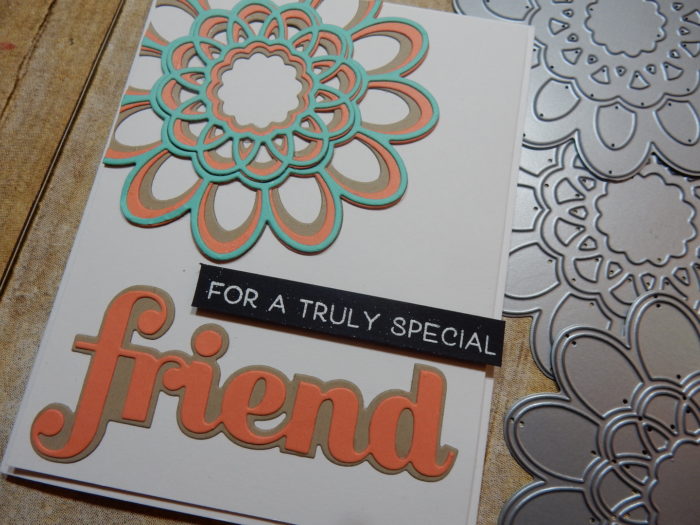
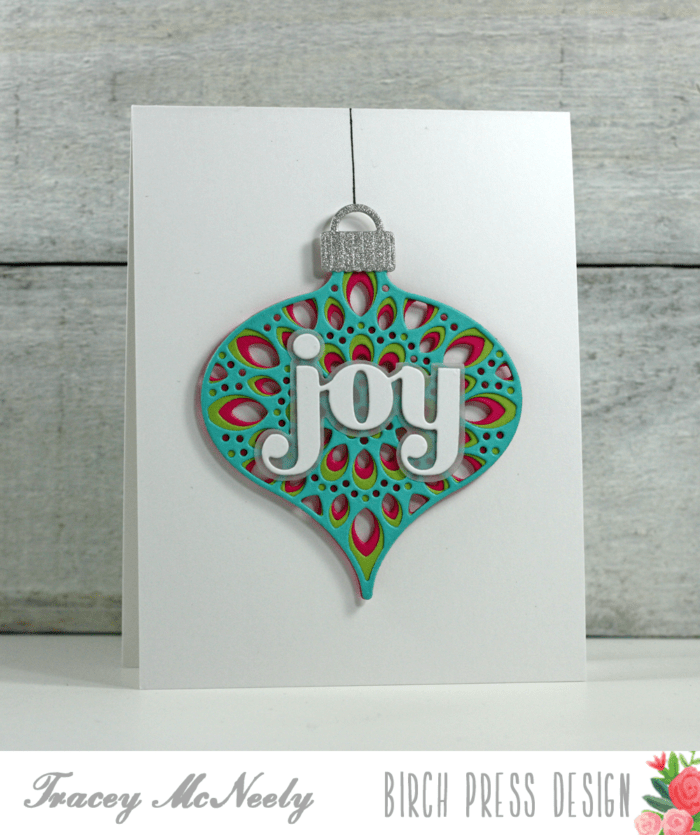 I started off by cutting one of each of the layers in pink, green and blue, then I cut the ornament hook in silver sparkle paper and the Big Joy Sugar Script in white and backgrounds in grey and vellum (more on that later).
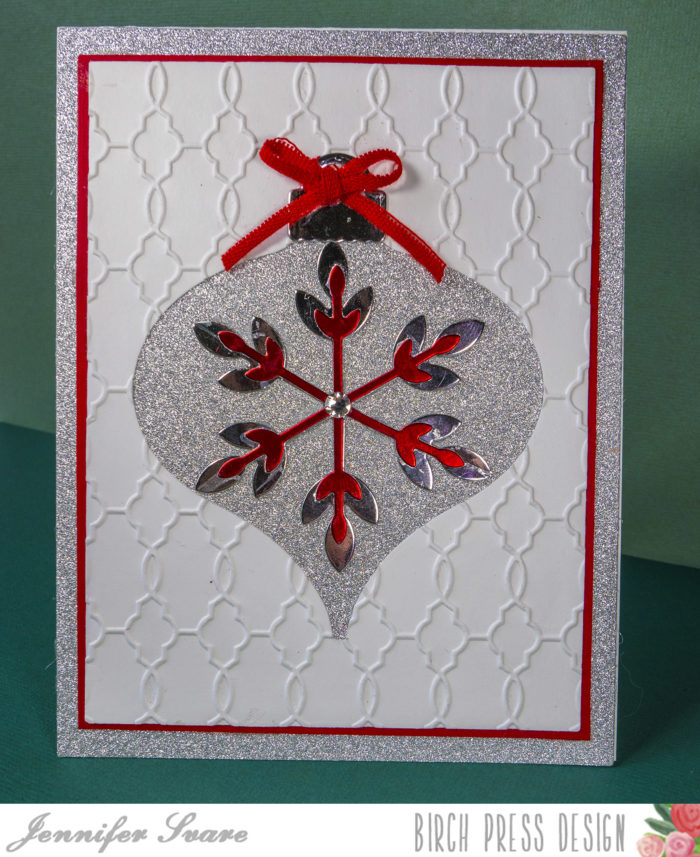
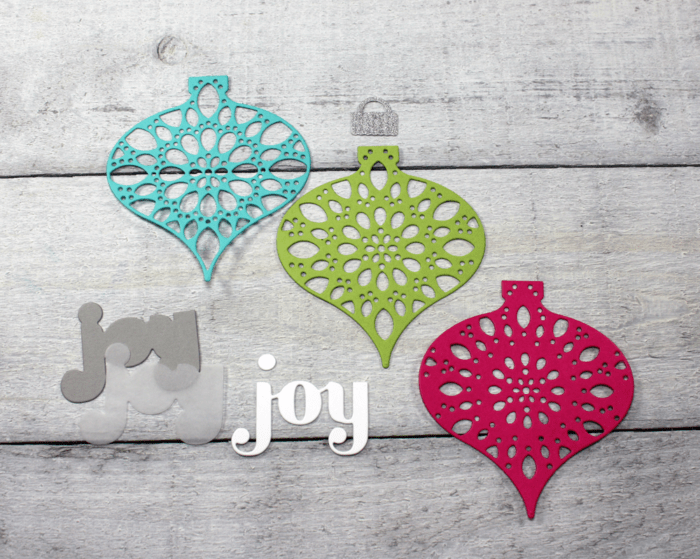 In the following video I will show you how I put my ornament together and hung it on the card base!
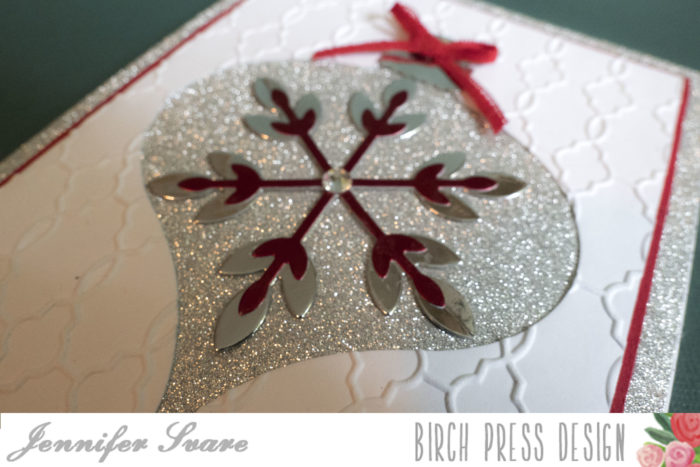
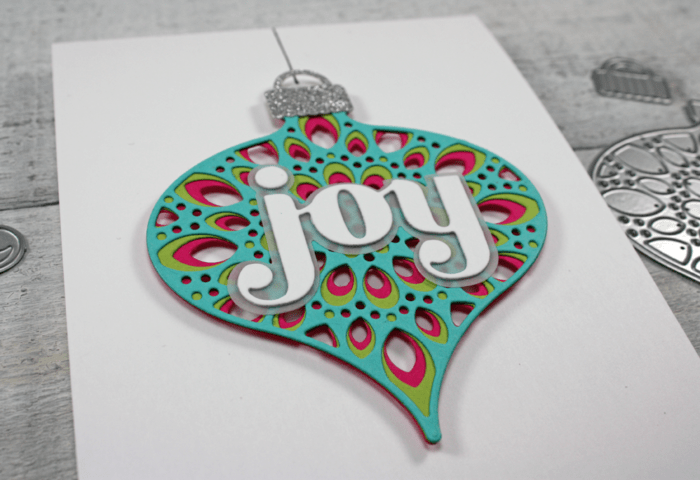 The addition of the tiny foam pieces behind the ornament gave the card some added dimension and makes the details of the die stand out more.
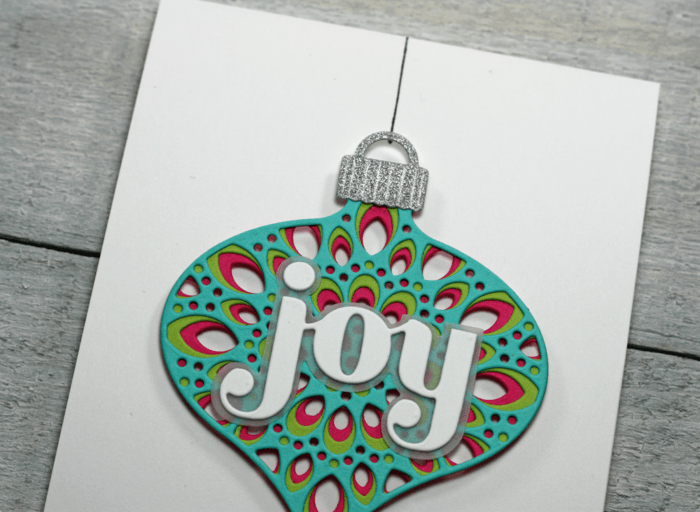 Thank you for joining me and I hope that you enjoyed today’s post showing you how you can quickly and easily create a clean and simple card using any of the mandala dies. Have a fabulous weekend.

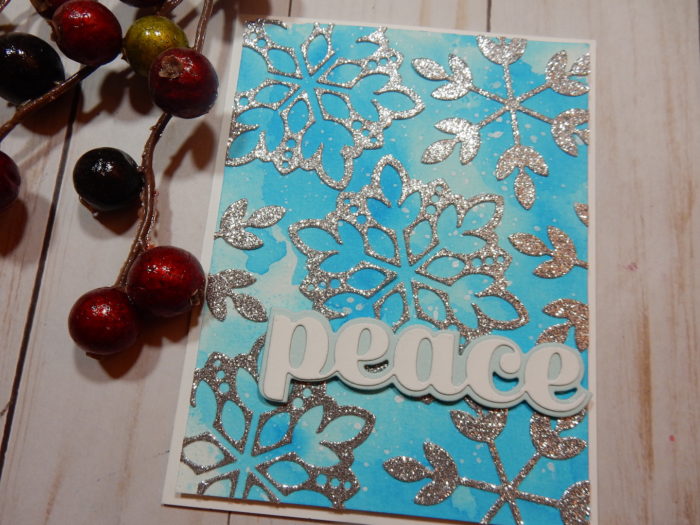
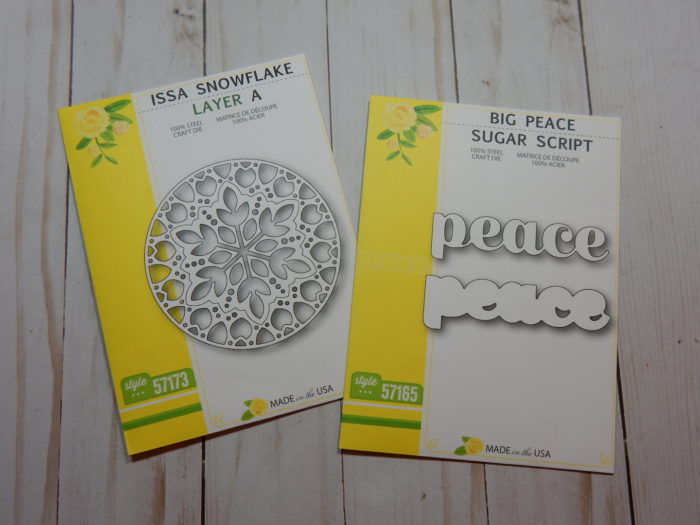


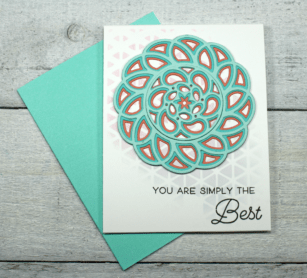
 Welcome back to another day of the Birch Press Design Holiday Release Blog Blitz! Today I am introducing the new Splash mandala layer dies.
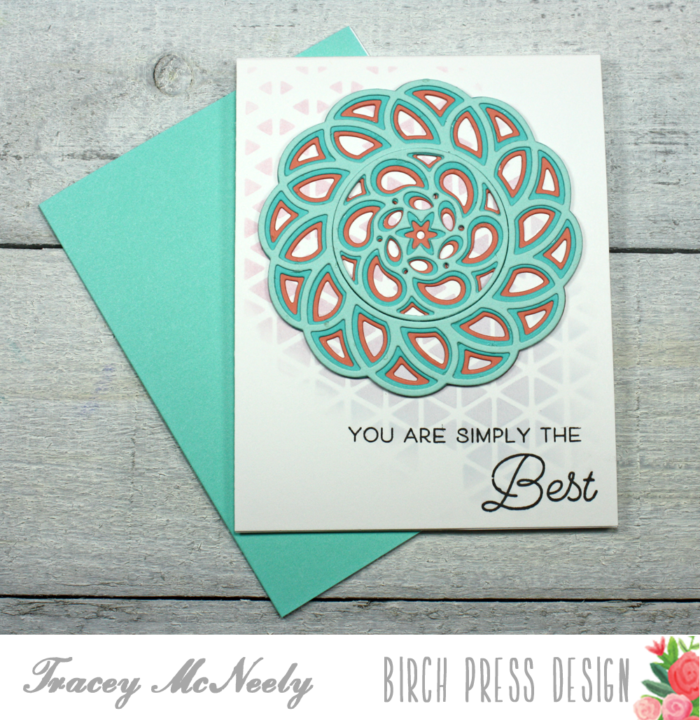 I will be using
 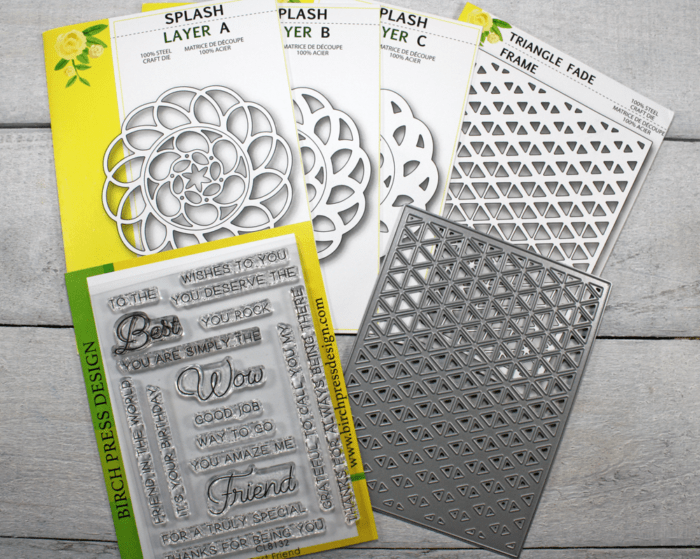 If you remember back last week when I creted a stencil using the new Triangle Fade craft die
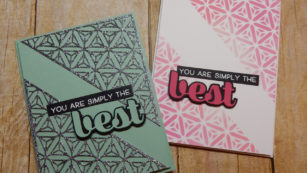
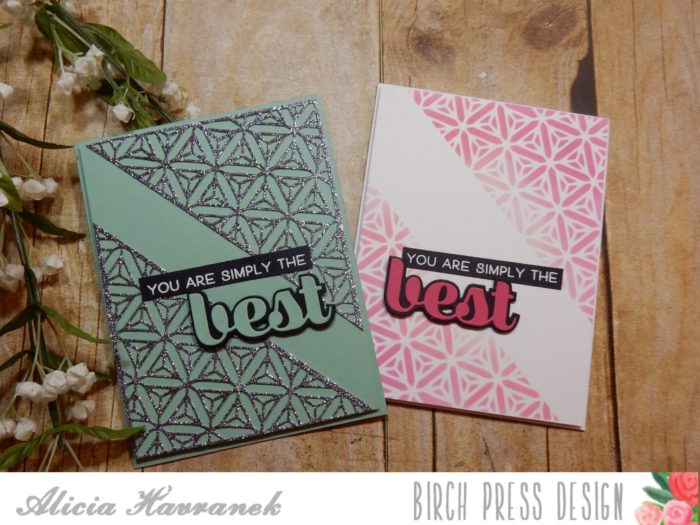
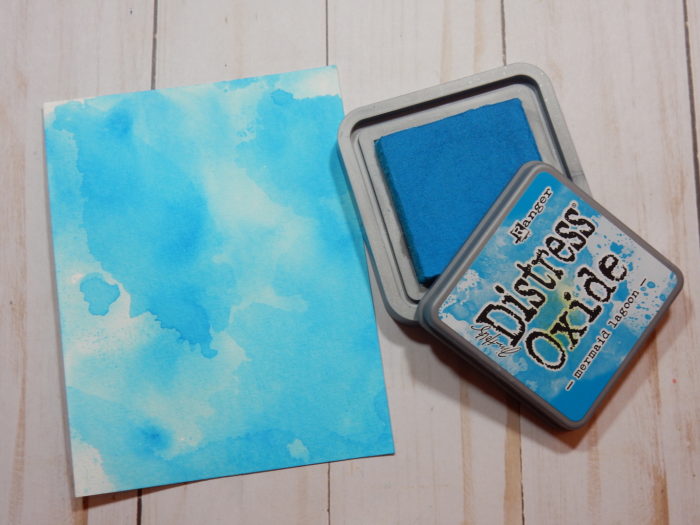
 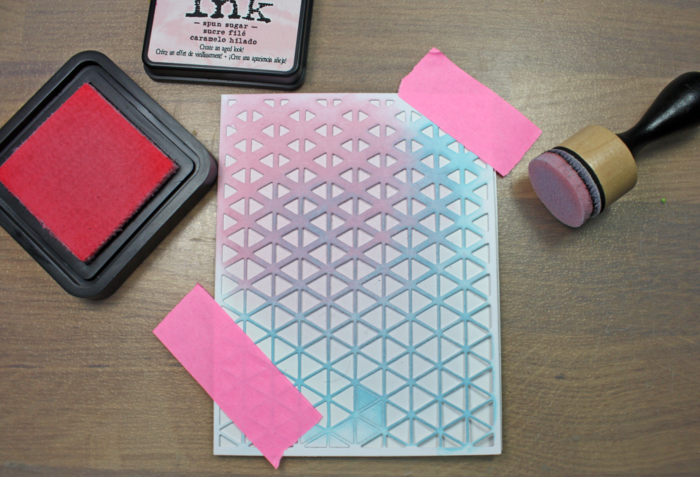 The last time I used the stencil I had used Tumbled Glass Distress Oxide ink, because Distress Oxide doesn’t completely dry without heat setting, when I sponged the pink over the stencil it actually blended the inks together creating a beautiful pinky/blue colour. I love it when happy accident’s like this happen!
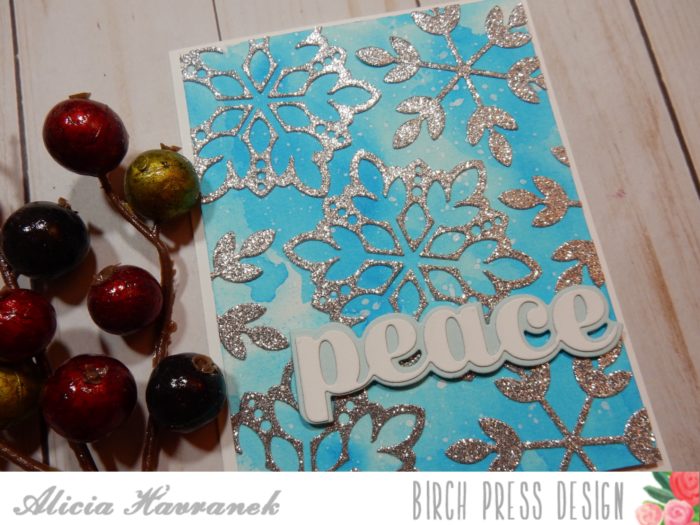
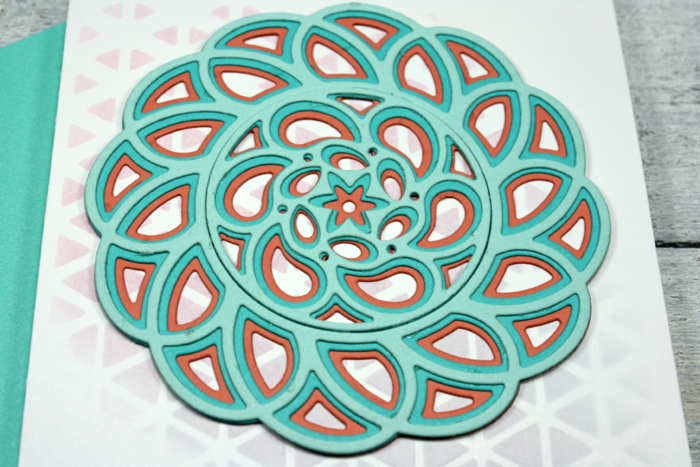
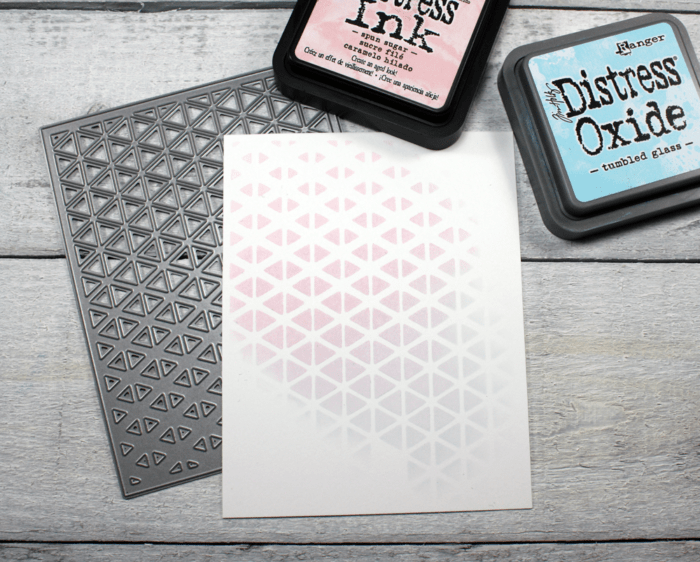 The Splash layers were cut with pink, aqua and light aqua cardstock and then adhered together to create a beautiful mandala. The mandala was adhered to the centre of the card over top of the soft stenciling. The hints of stenciled design through the opening of the mandala are such a lovely design element.
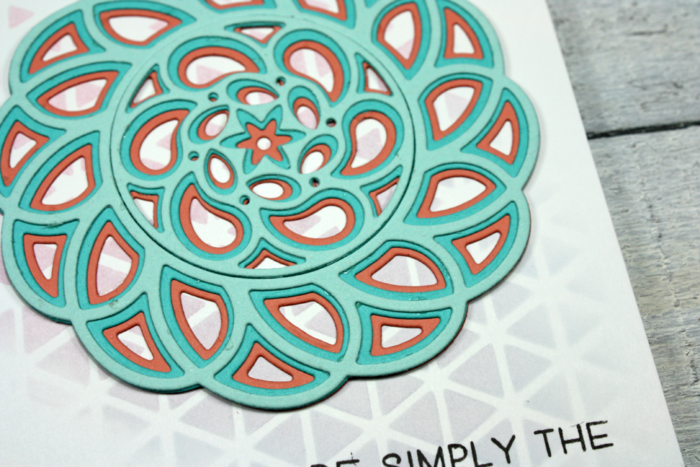 The sentiment “You Are Simply the Best” is from the
 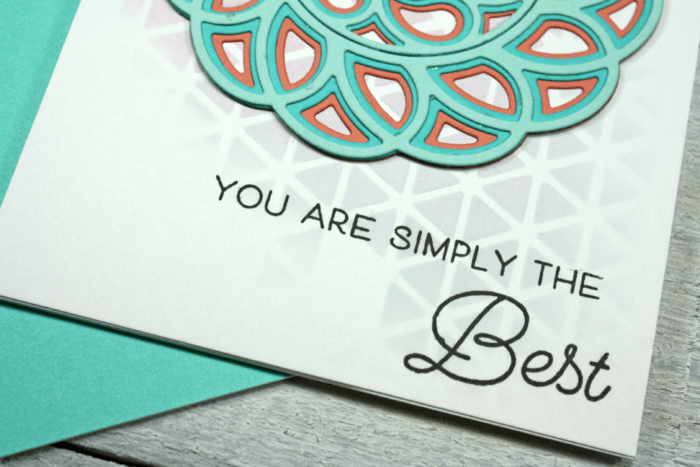 Now onto the giveaway details. The prize today is the
 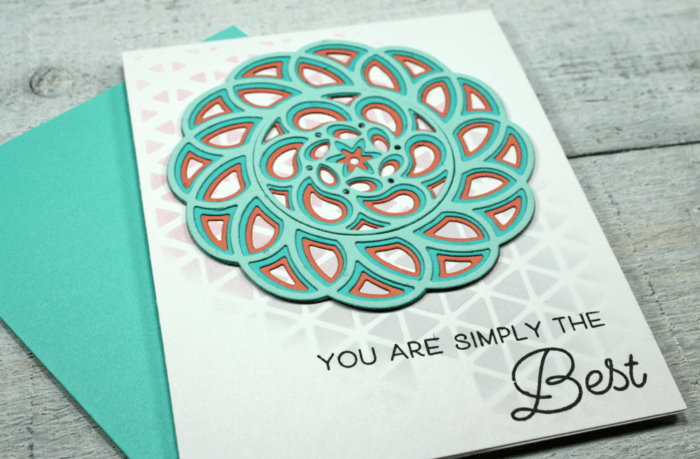 Thank you so much for stopping in today and don’t forget to pop back in tomorrow for another Blog Blitz post. Have a wonderful day!