Hello Everyone!
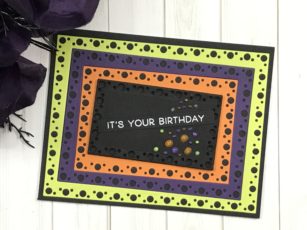
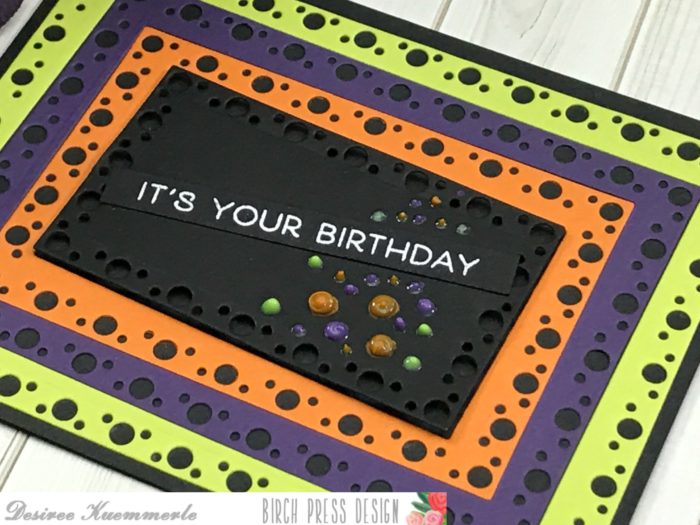
HAPPY HALLOWEEN! Now let’s make a Birthday Card and have a double celebration!
So, gather up all your favorite colors for Halloween. Mine are always purple, lime green, orange and black. Once you have your card stock together grab your dies and let’s cut some paper!
So, I first arranged my colors in the order I thought looked best and set a frame die onto each card stock and ran them through my die cutting machine. Now you can put your card together two different ways. First you can keep each of your card stock just as it is cut and layer them on top of each other. This will give you some dimension with out adding all the double-sided foam tape! I chose to use the die one size down for each of my panels and cut out the inside of each. This way I was able to create a die-inlay effect but using a frame die!

After all my card stock was cut I started layering them together, and the final piece I popped up using some double-sided tape. This was all done directly onto my Standard A2 size card base.
I then grabbed a scrap piece of black card stock and stamp my sentiment using the Best Friends Clear Stamp Set with my clear embossing ink and white embossing powder and heat set until it was all melted. I placed this on an angle onto my black panel.
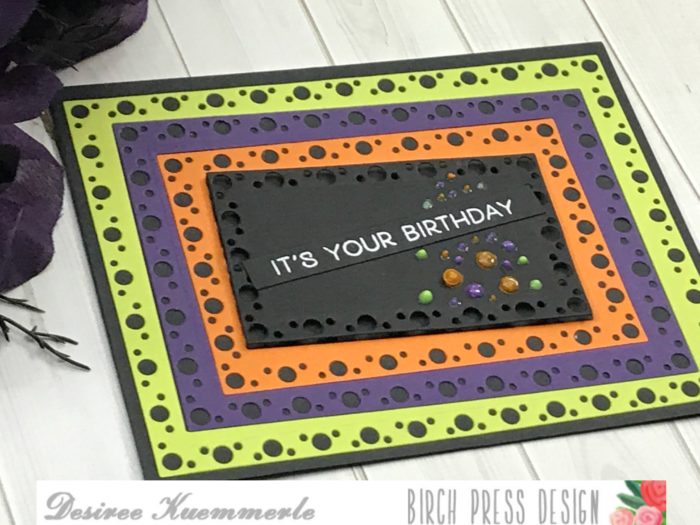
To embellish my card, I chose to use my gloss drops in purple lime green and orange. I think it just added to the cauldron effect I was going for with this card.
If you want to see more details just click on the video below and see our project come together step by step!
I hope you enjoyed today’s project… Make sure you stay tuned for more wonderful projects coming soon! Have a great day and always remember… Be Creative!

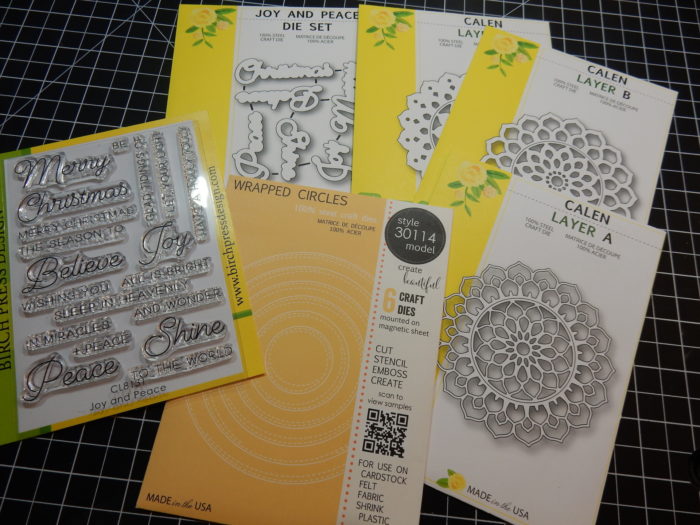
Supplies


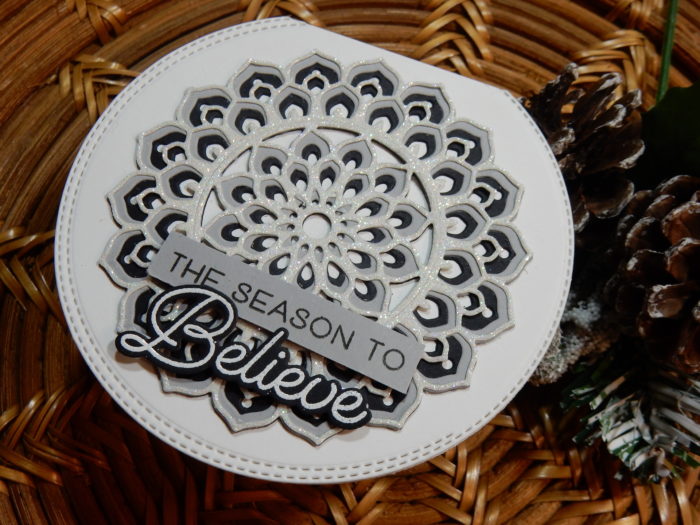
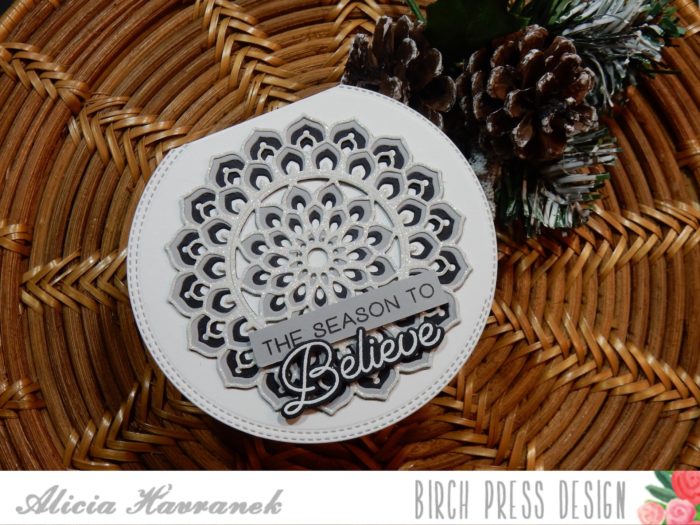


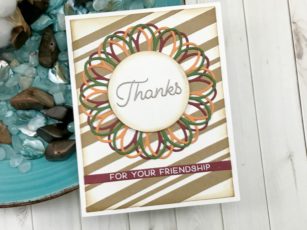
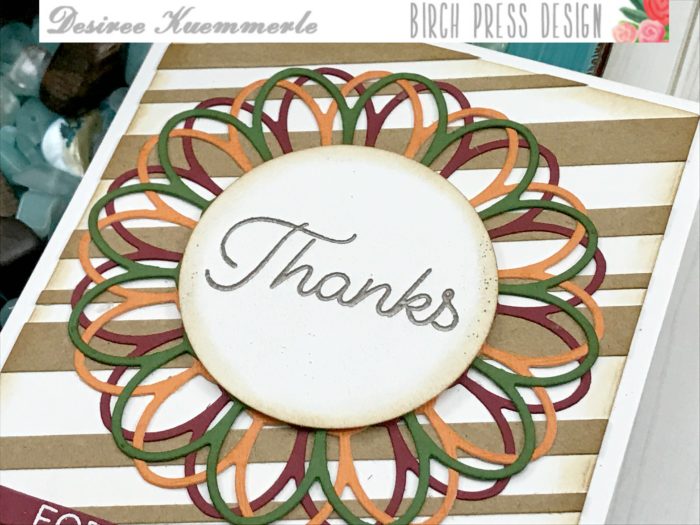
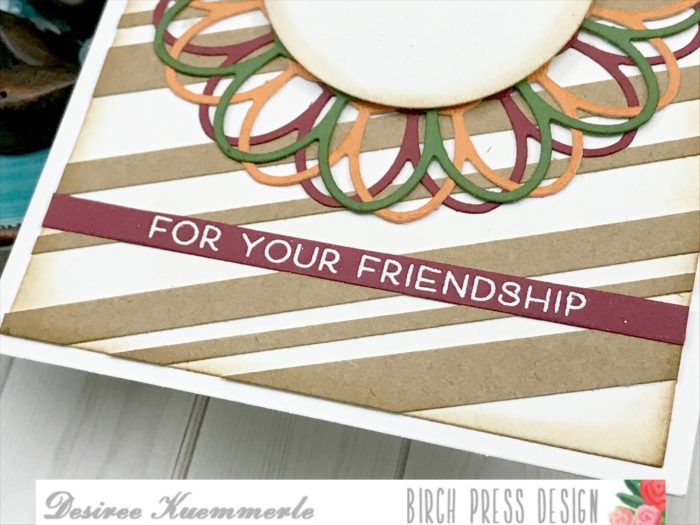
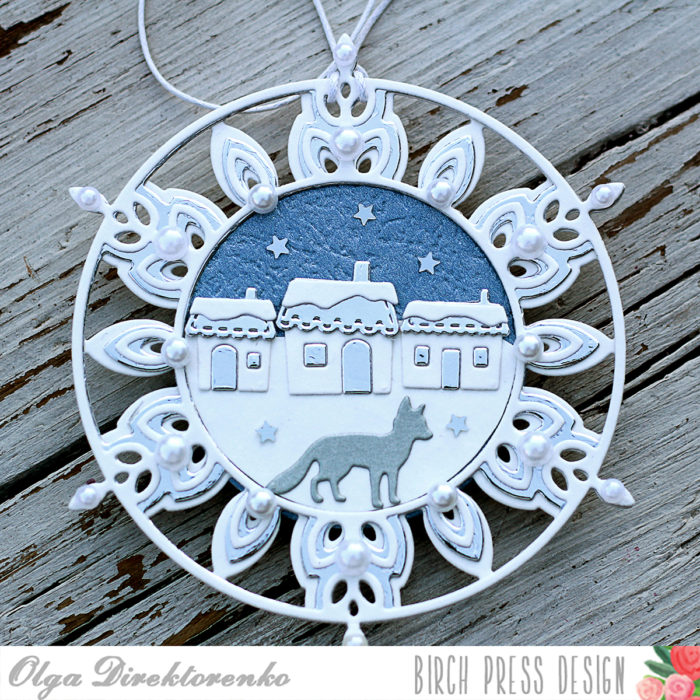
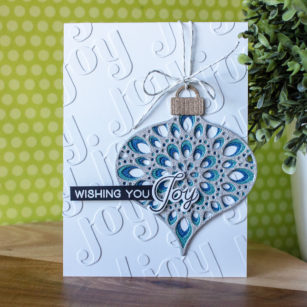
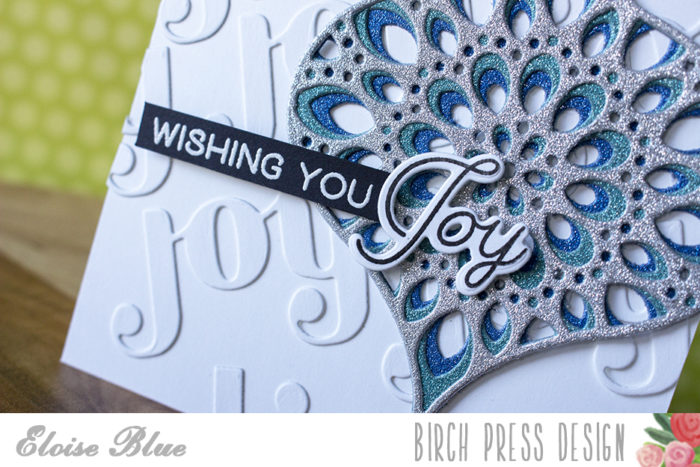
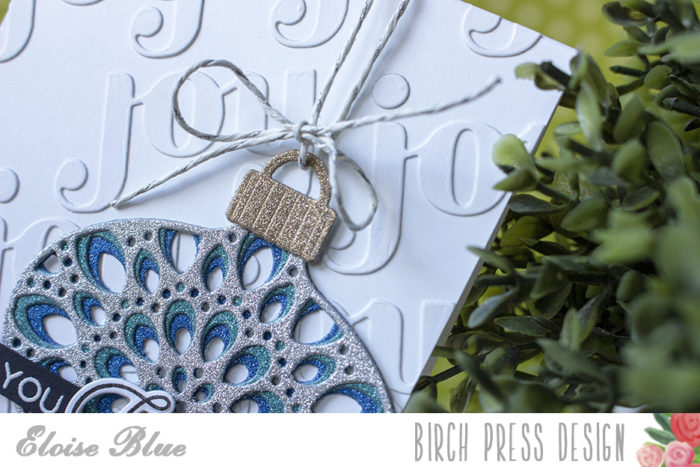
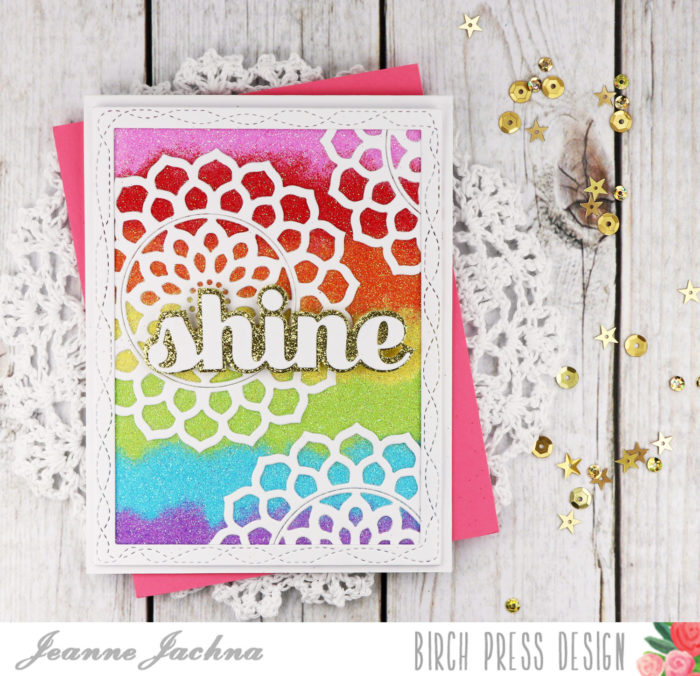 I wish you could see this beauty in person! It looks fussy but was really easy to make!
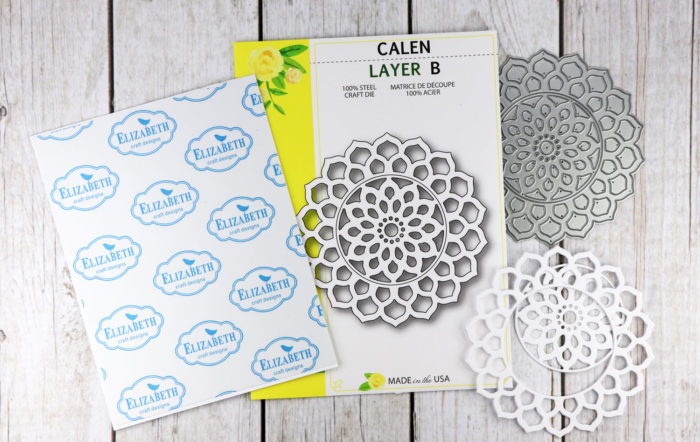 I started by covering a white card stock panel that was slightly smaller than my card base with double sided adhesive from Elizabeth Craft. Next I cut the Calen Layer B die several times and adhered them to the sticky card front.
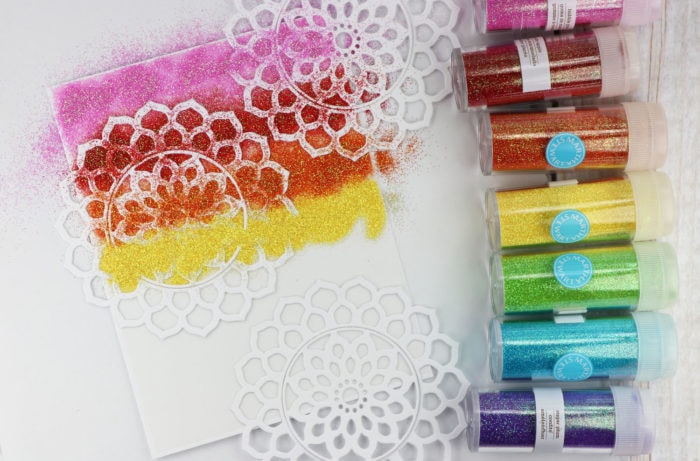
 Next I trimmed off the Calen mandala die cuts that were hanging off the edges of the card stock panel and added a Wrapped Stitch Frame die to give the edges a clean finished look.
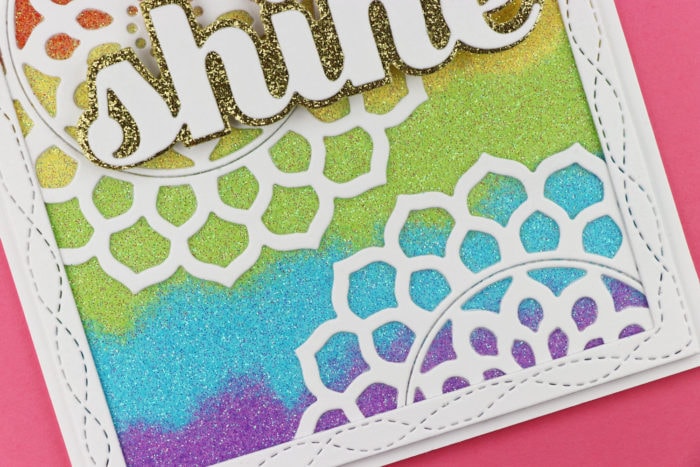 The blended glitter has a funky look that is so fun!
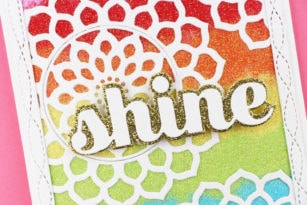
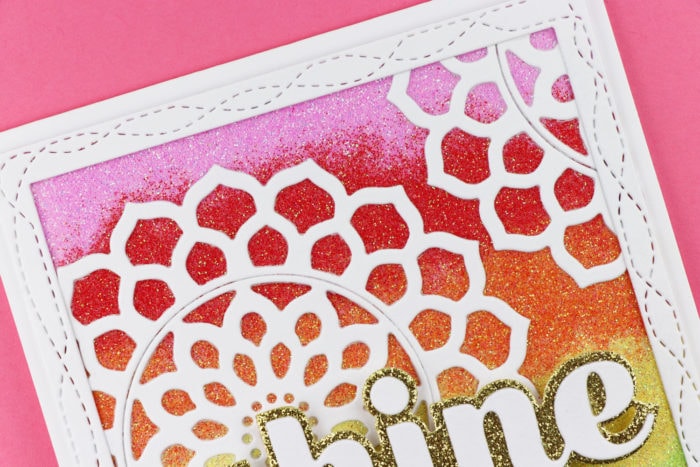 The finishing touch was the Shine Sugar Script sentiment. I cut the base from gold glitter paper and the detailed letters from white card stock.
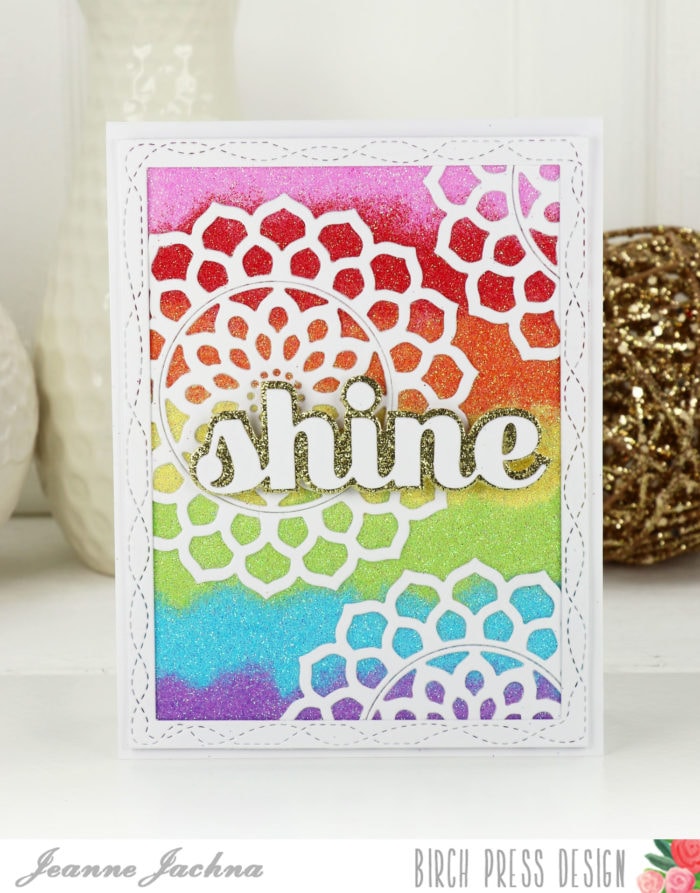 I’m sending this card to my daughter to remind her that she’s always a star to me! And what do stars do? They shine of course!


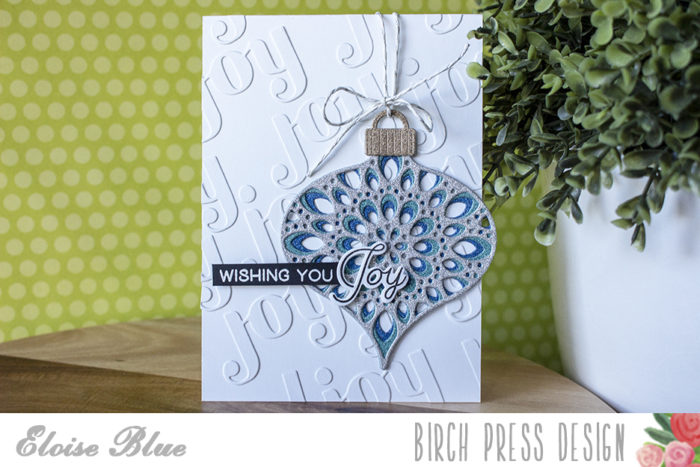


 Hi I have a fun video for you today using the
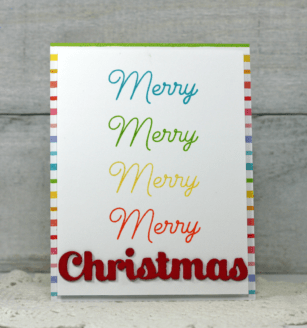
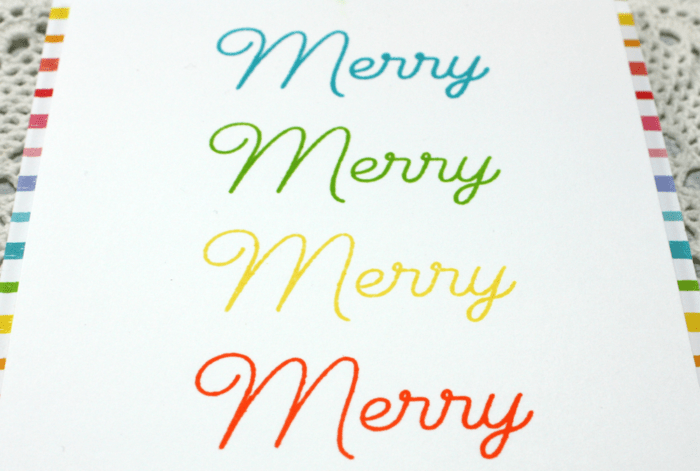
 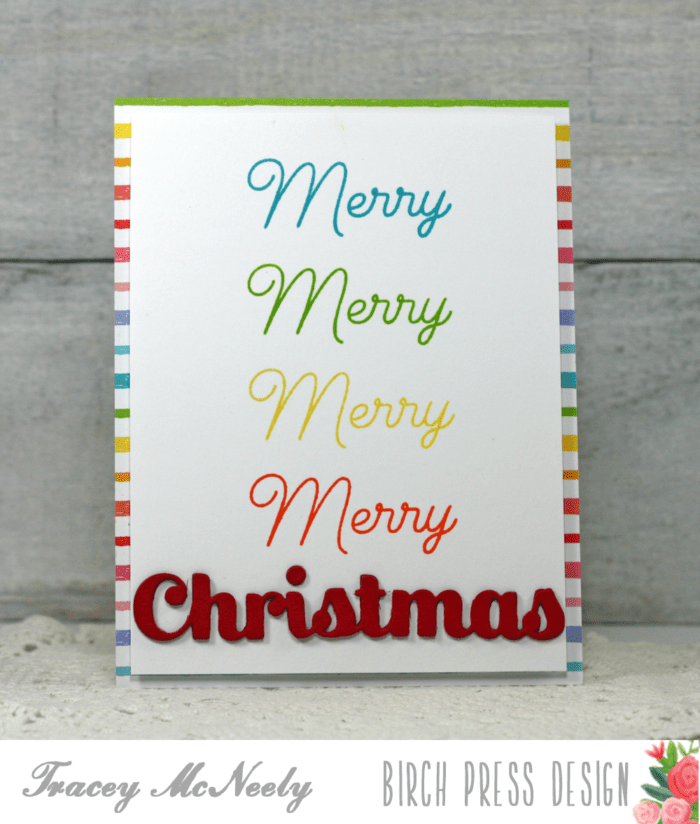 Here are the products that I used for my card, you can use any inks that you have as well as any patterned paper you have in your collection.
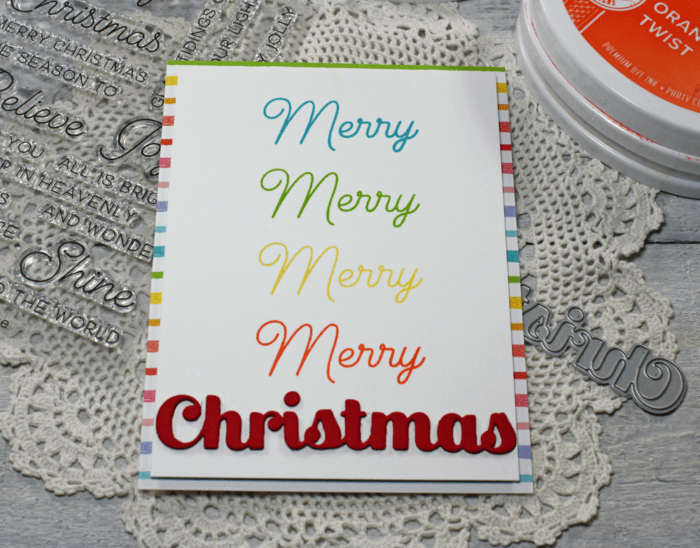 The stamp platform tools that are available today make stamping almost foolproof. For my design I used one sentiment from the set and stamped it in a rainbow of colors to fit on the front of the card. I started with a 5 1/4″ x 4″ piece of white cardstock that I place in the top left of my MISTI stamping platform. I did this so that once I decided where my sentiment stamp was going to go I just needed to keep moving my paper down by an inch and then stamping in the next colour in the exact alignment to the left of the card front. The following video shows you the process I used, enjoy!
 Tthe rainbow patterned paper is the perfect base to make the rainbow of Merry’s pop!
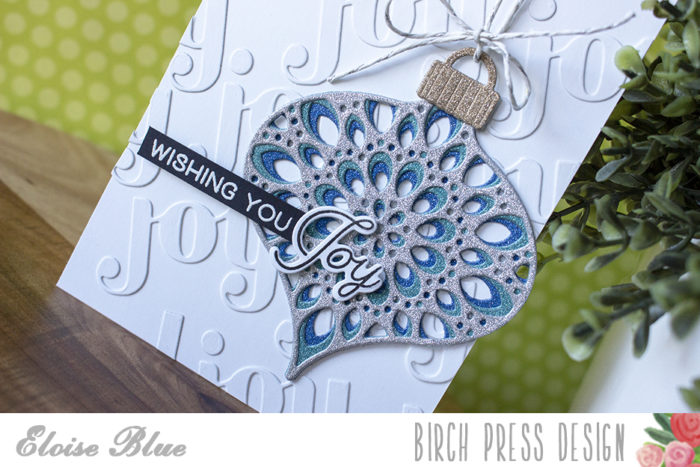
 One more look at the card.
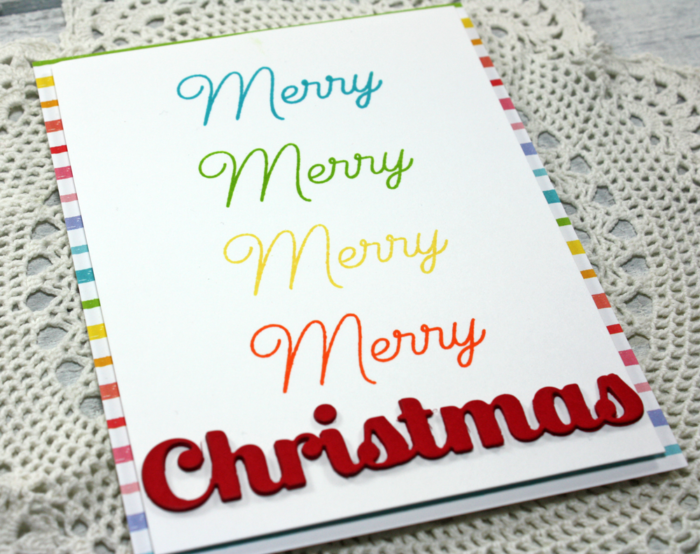 Thanks so much for popping in today and I hope that maybe I have inspired you to get going on those Christmas cards and use this technique for mass producing. Have a great day and we will see you next time!