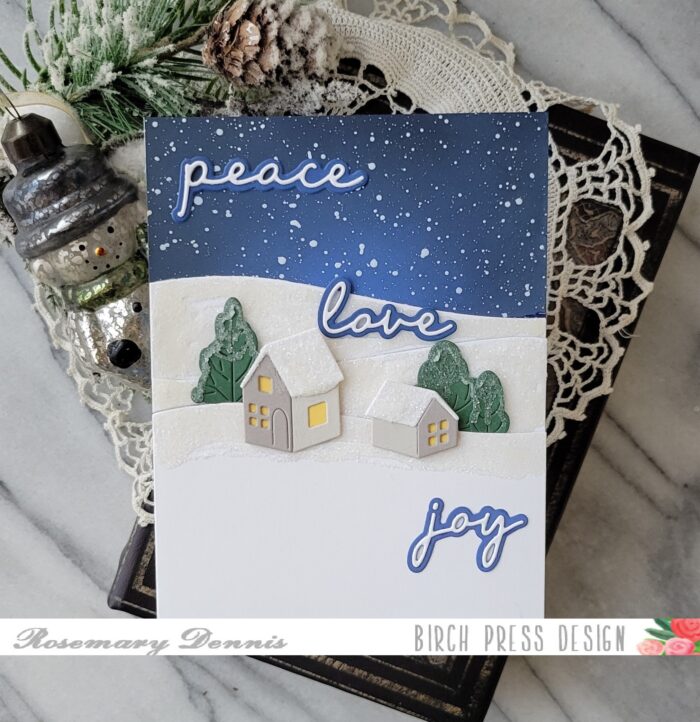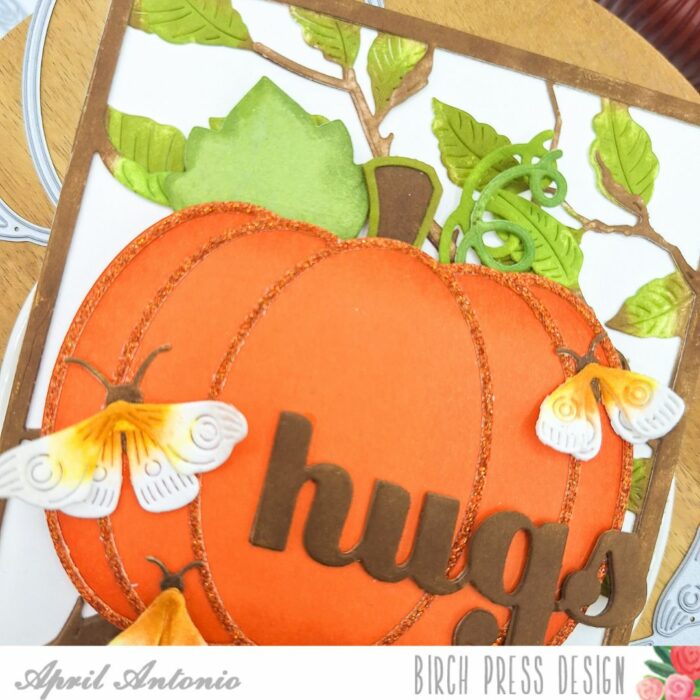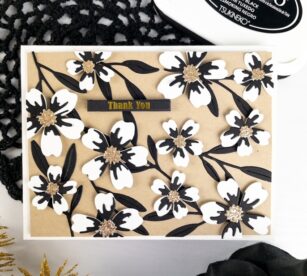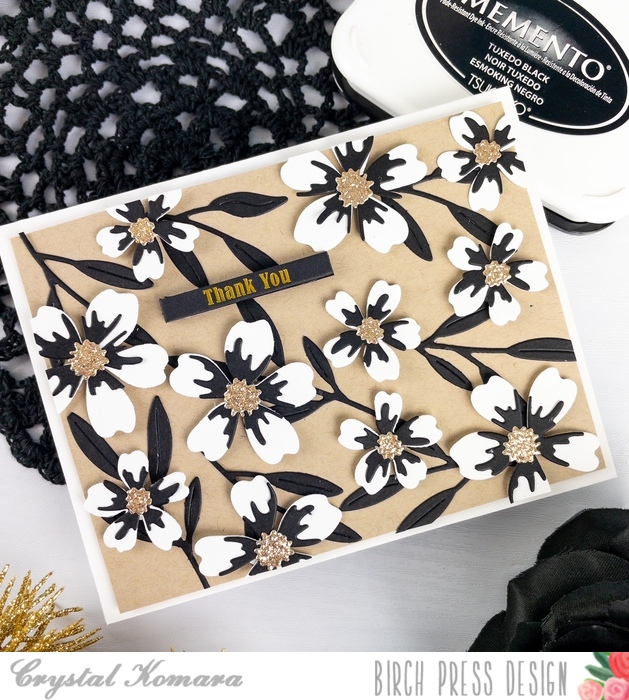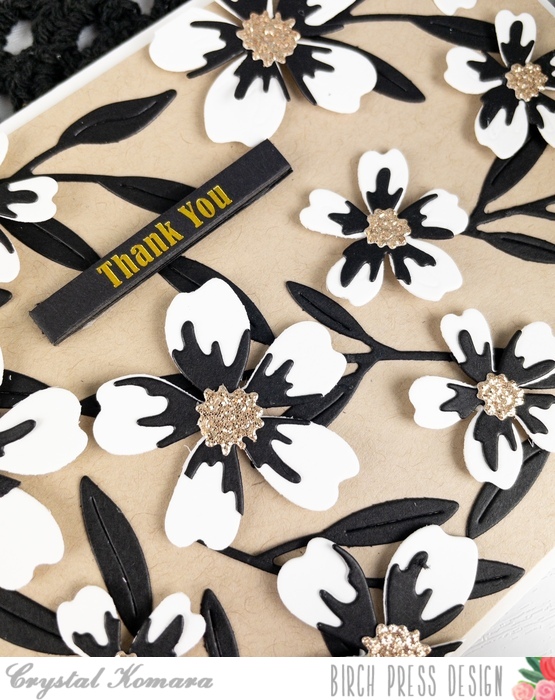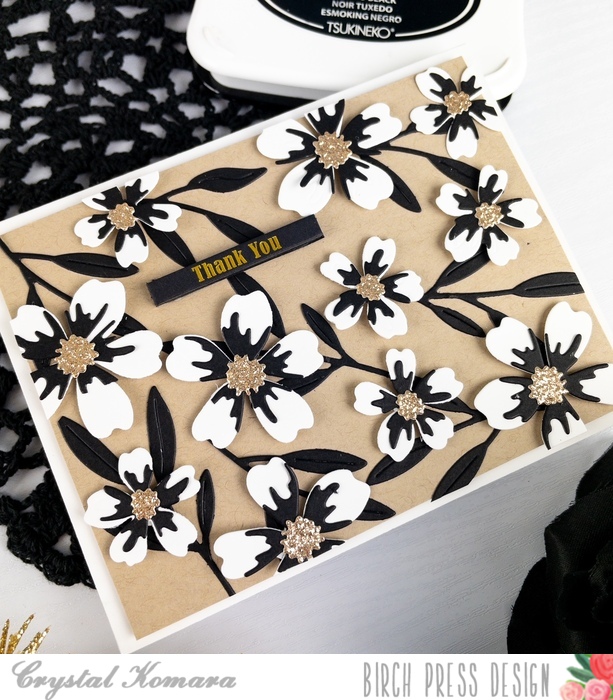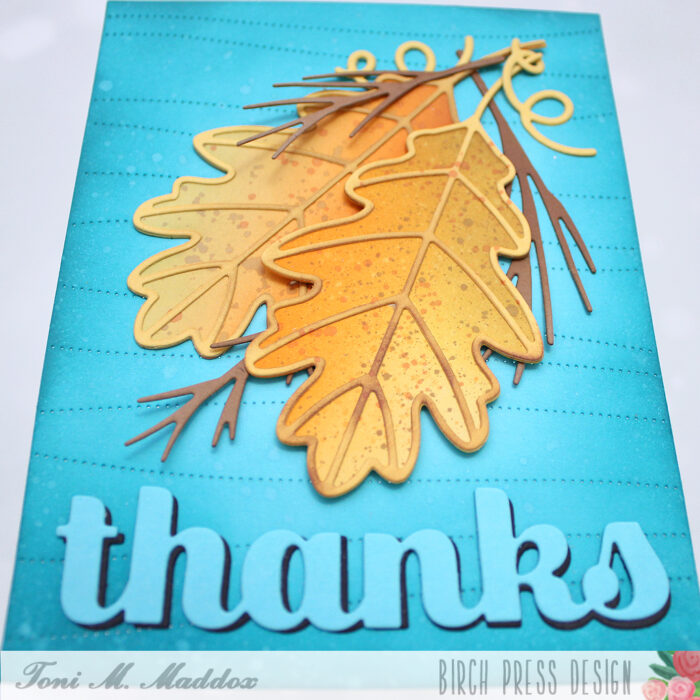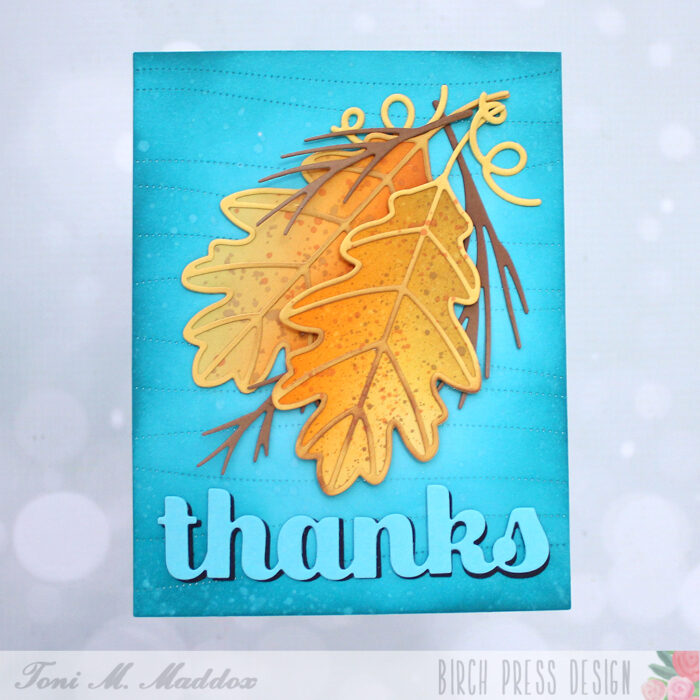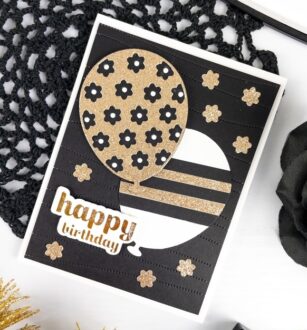
Hello friends and welcome to October! Wow, how the seasons fly, but things sure are getting pretty with the fall foliage here in New England. This is Design Team member Crystal Komara here today sharing an elegant black and gold birthday card today using the Floral Balloon Layer Set.
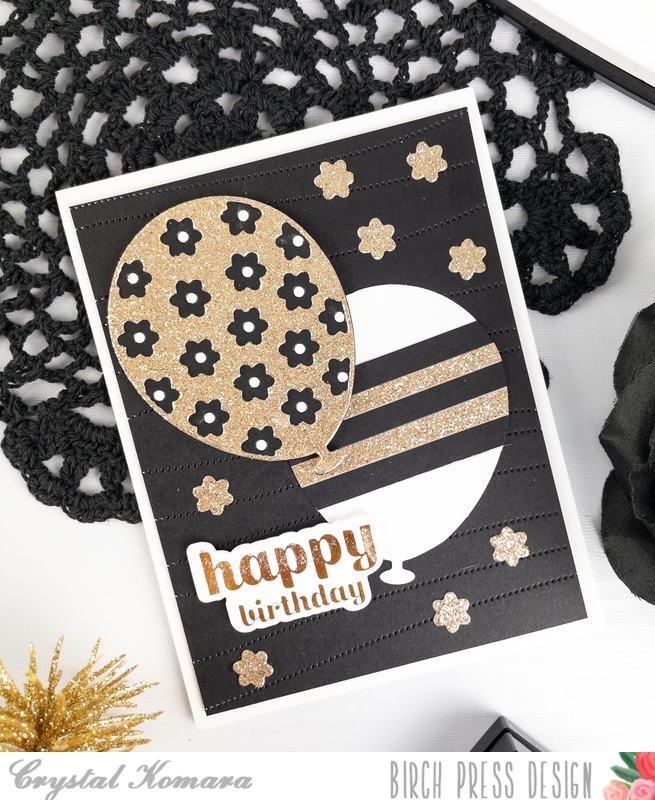
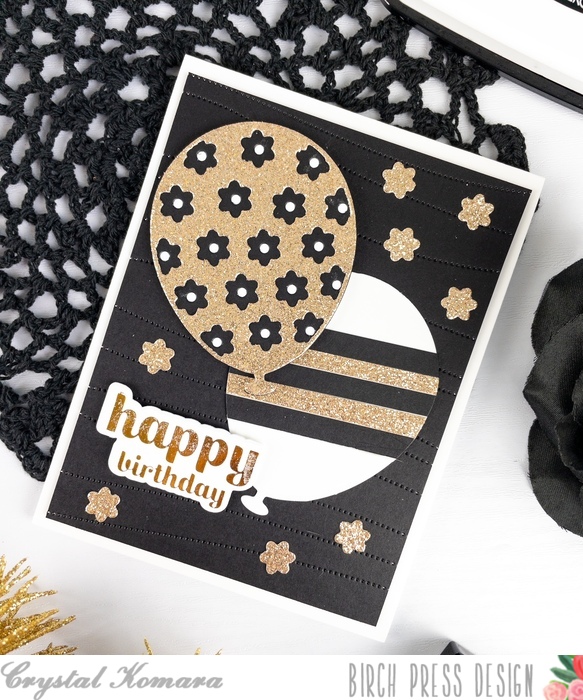
I love the large size of these balloons, they really make a statement. By layering the balloons with black, gold and white, it really makes the card seem more elevated and elegant.

Card details:
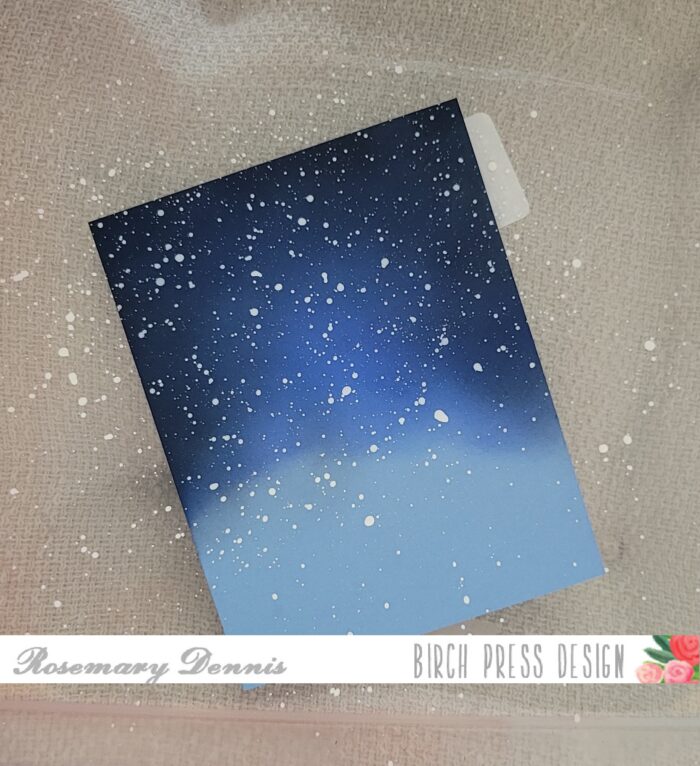
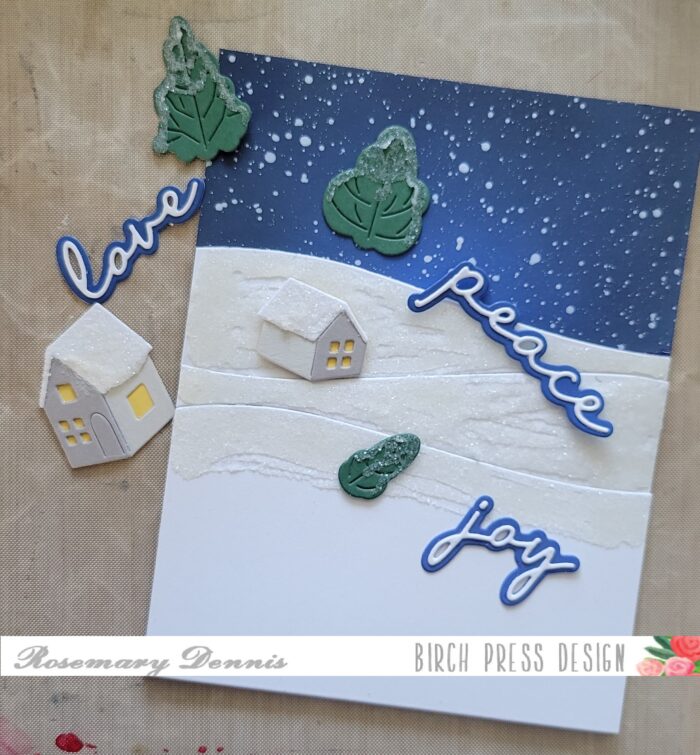
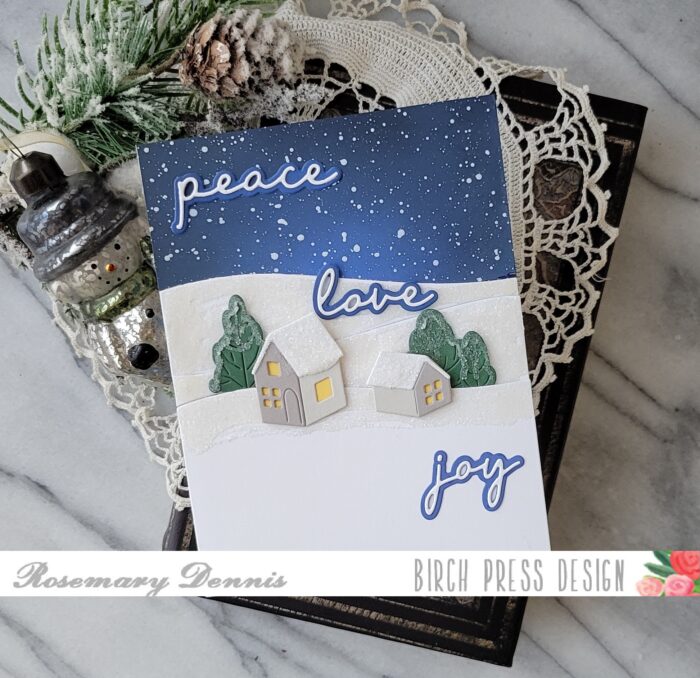
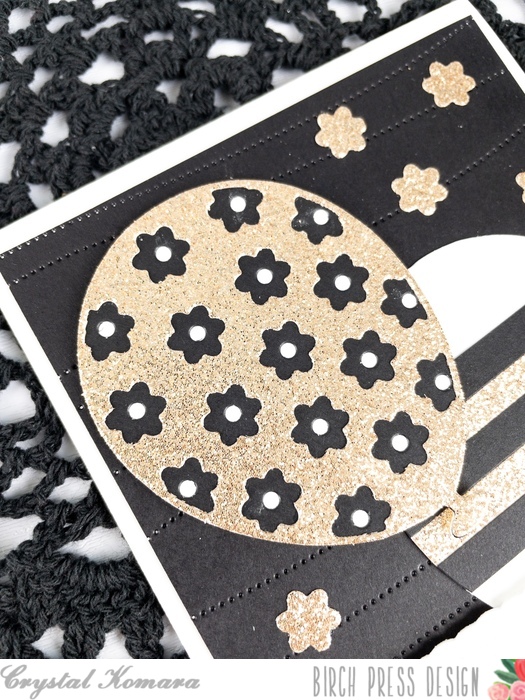
The base of this A2 sized card is made from 80 lb. Neenah Solar White Smooth cardstock. Using the Pinpoint Contour Plate, I die cut the background from black cardstock. Next I die cut the balloons using the Floral Balloon Layer Set. I cut one white ballon and then added strips of gold and black cardstock. For the second balloon, I die cut Layer A (the top layer) from gold glitter cardstock, Layer B (the middle layer) from black cardstock and Layer C (the bottom layer) from white cardstock. I adhered all three layers together with a fine-tip liquid glue. I adhere the top gold balloon to the card using 3M foam adhesive for added dimension. The white balloon is adhered directly to the card base, without foam.
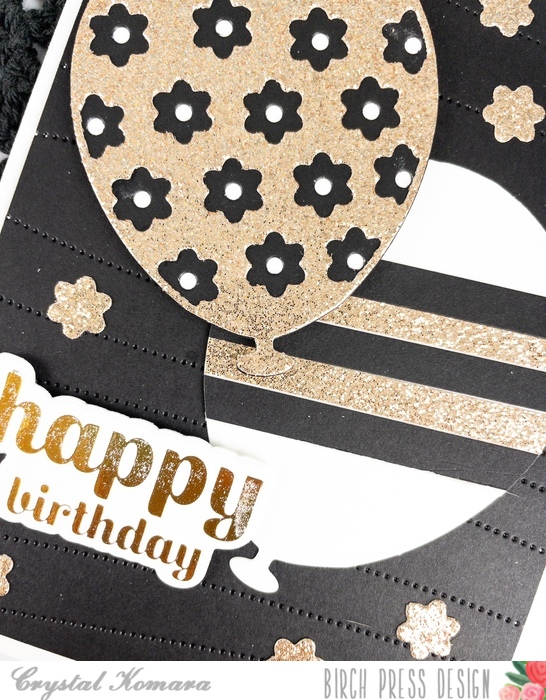
For the sentiment, I heat foiled the “happy birthday” in gold foil on white cardstock. This sentiment is from the Sugar Script Sentiments 2 foil plate and coordinating die. I used the coordinating die to cut the sentiment out and adhered it to the card using 3M foam.
Thanks for being here and spending time exploring all that Birch Press Design has to offer for your creative paper craft hobby! Have a wonderfully creative day!

Supplies