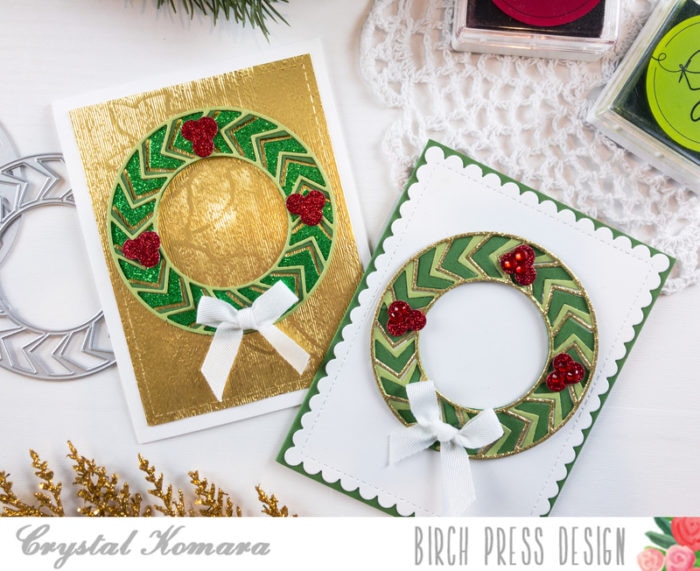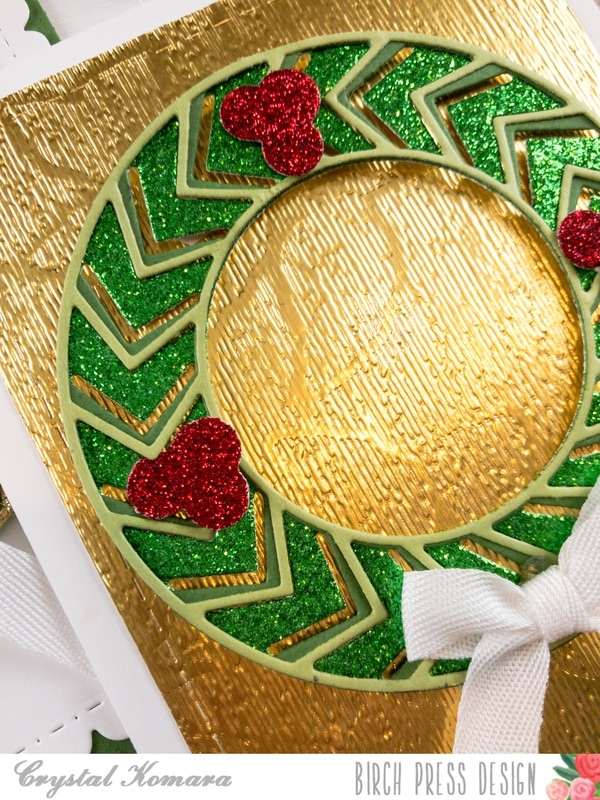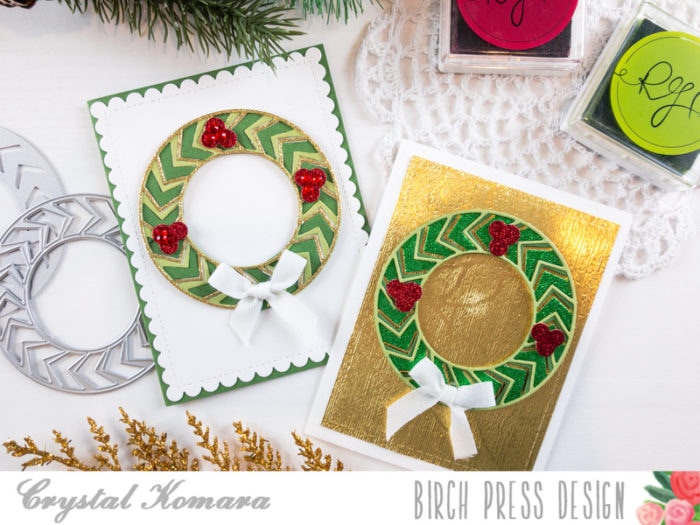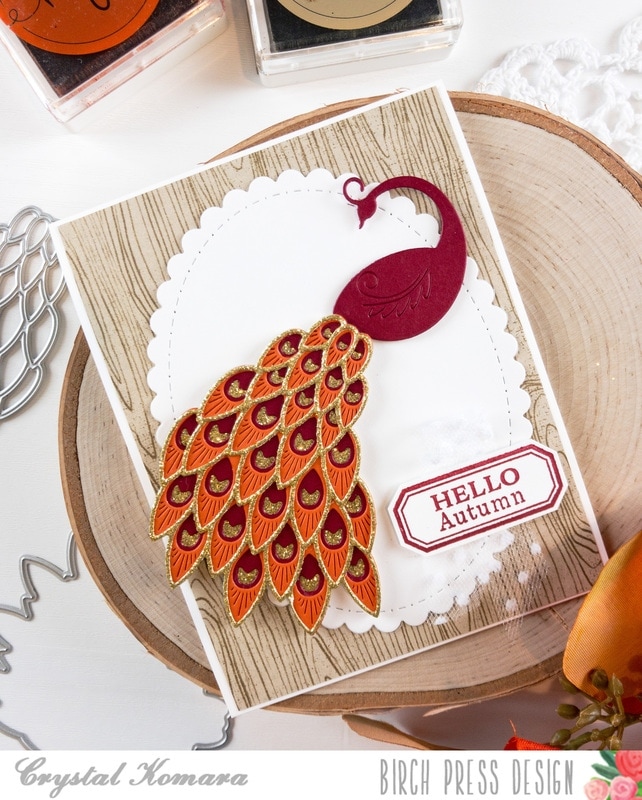
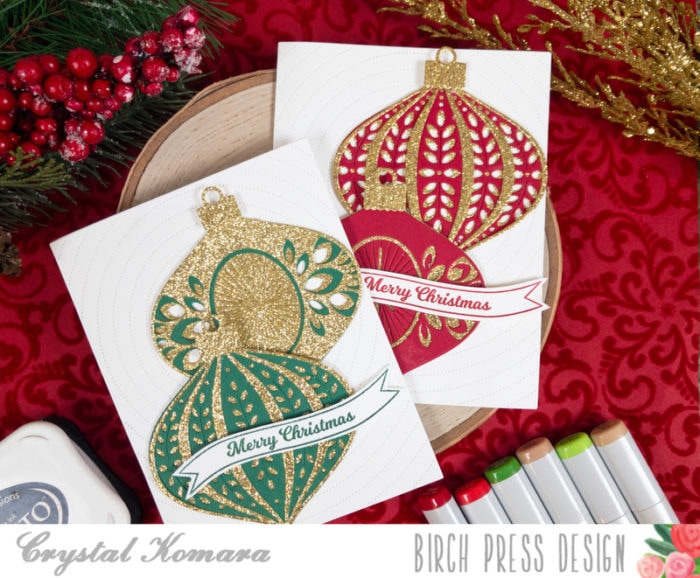
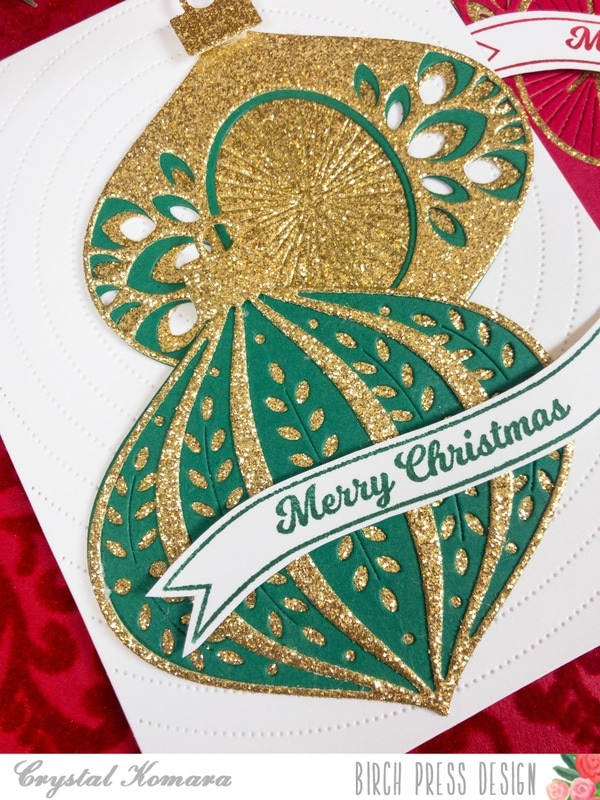
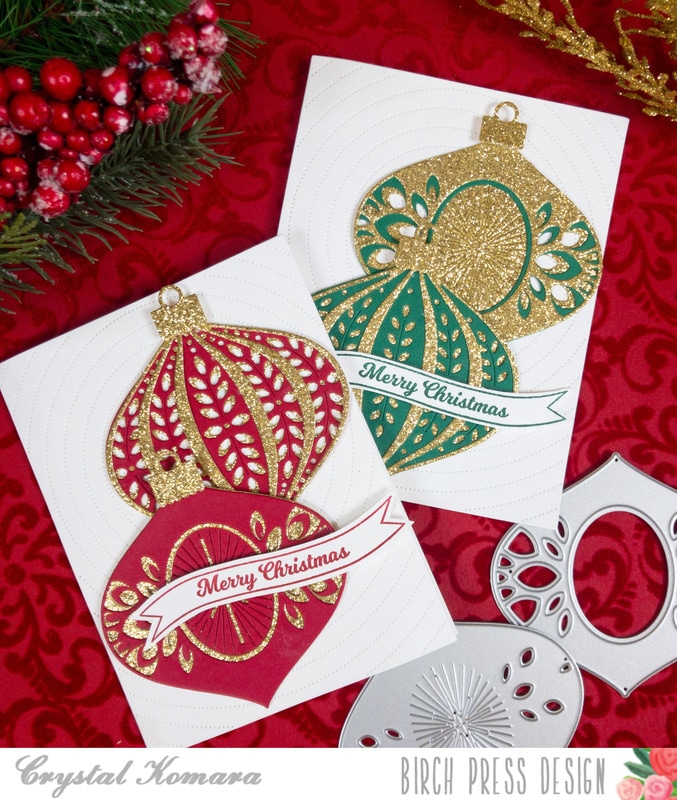
Hello readers and happy Tuesday! This is Crystal here with you today sharing two very traditional Christmas cards using the Marisol Ornament Layering dies and the Twinkle Ornament Layering dies. I couldn’t be more excited with how elegant and sparkly these cards turned out using Evergreen and Cherry cardstock colors with lots of gold glitter paper. If you like a traditional holiday look, then these cards are sure to tickle your fancy!
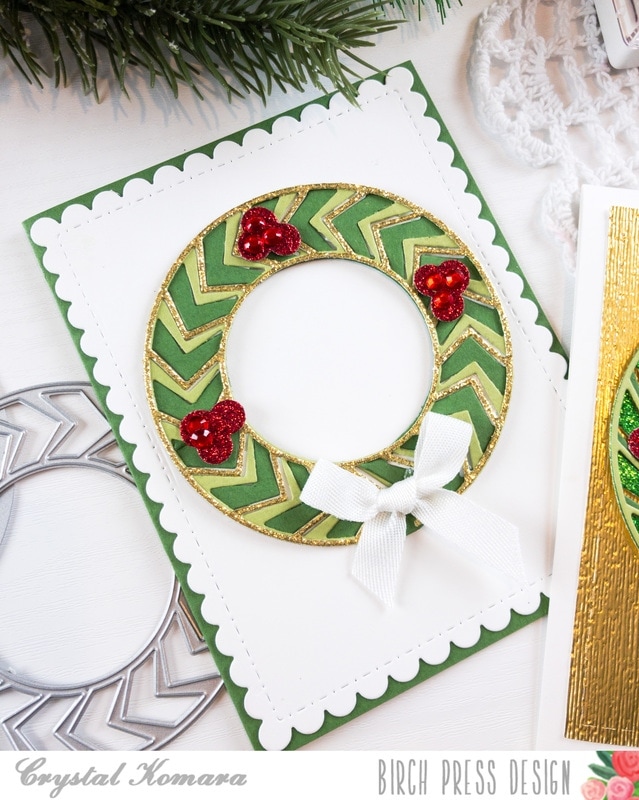
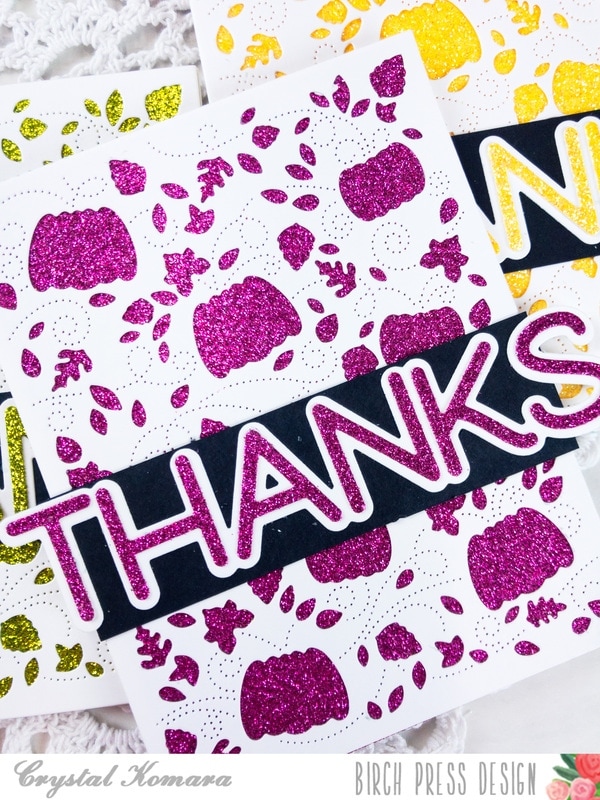
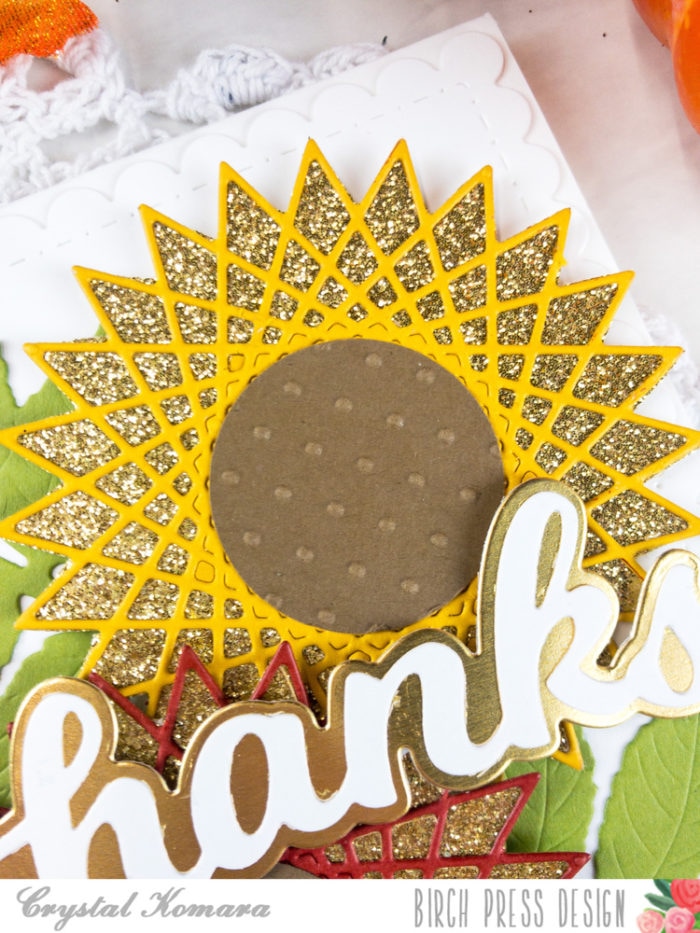
The base of each A2 sized card is made from 80 lb. Neenah Solar White Smooth cardstock. Using the Pinpoint Radial Layering plate, I die cut the first layer from white cardstock. This paper pierced die provided a subtle background to allow the ornaments to “pop!”
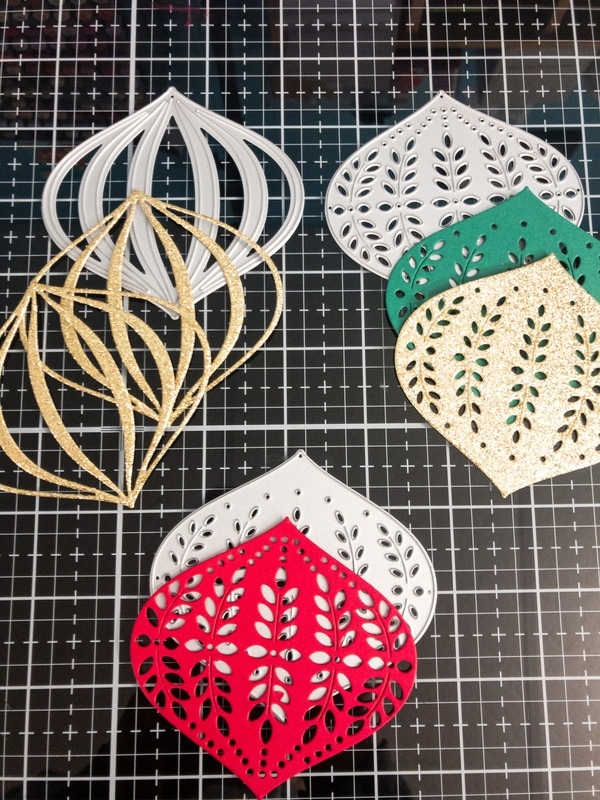
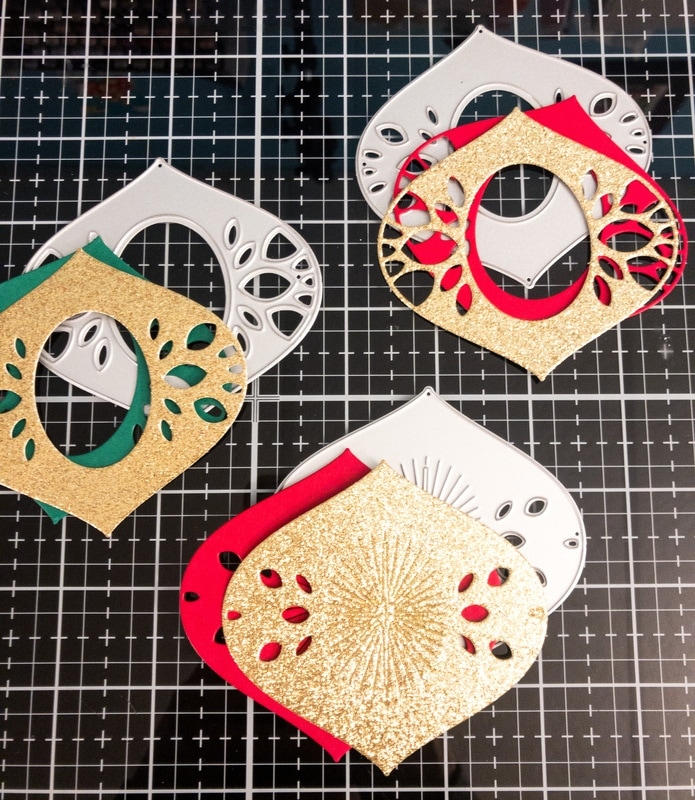
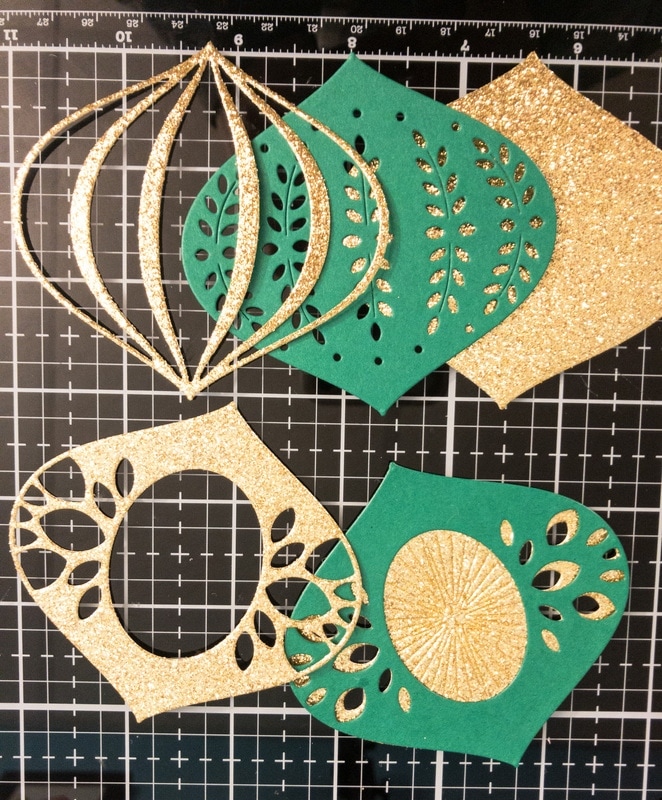
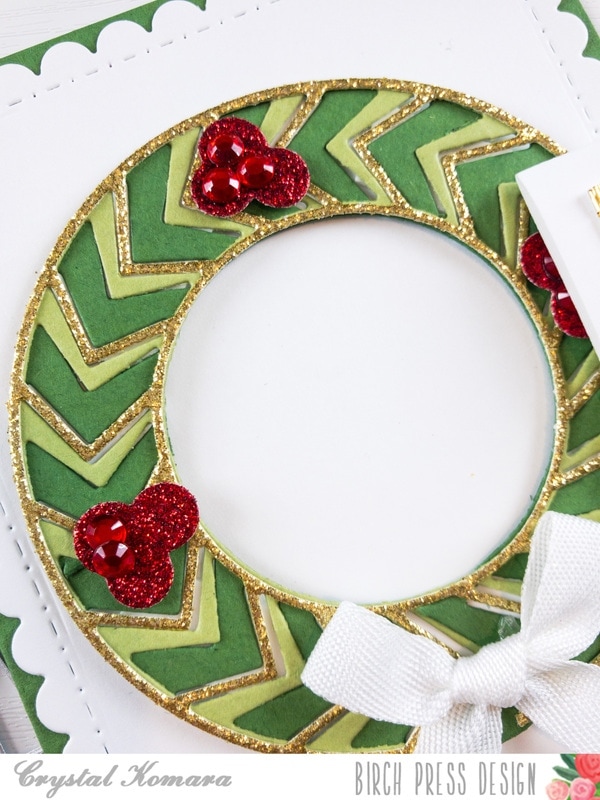
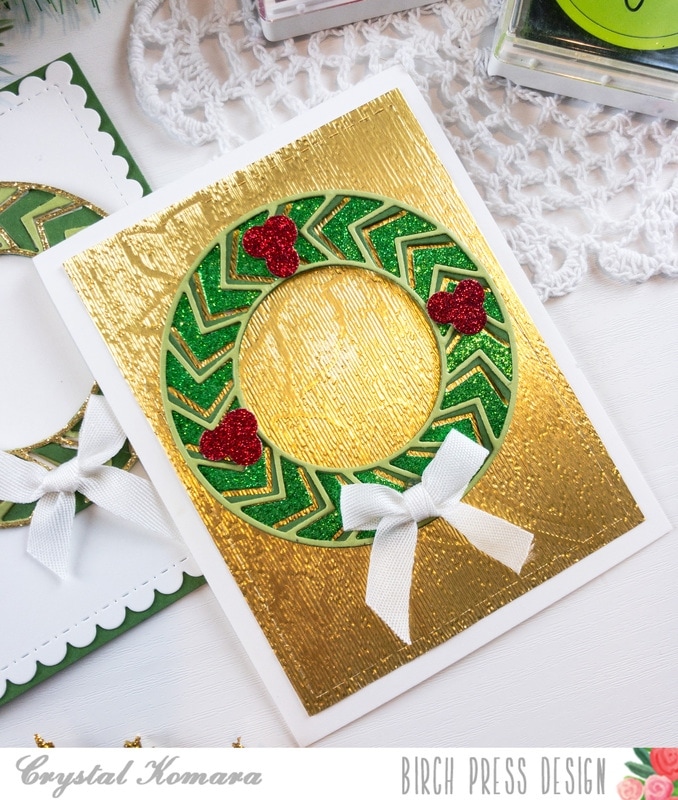
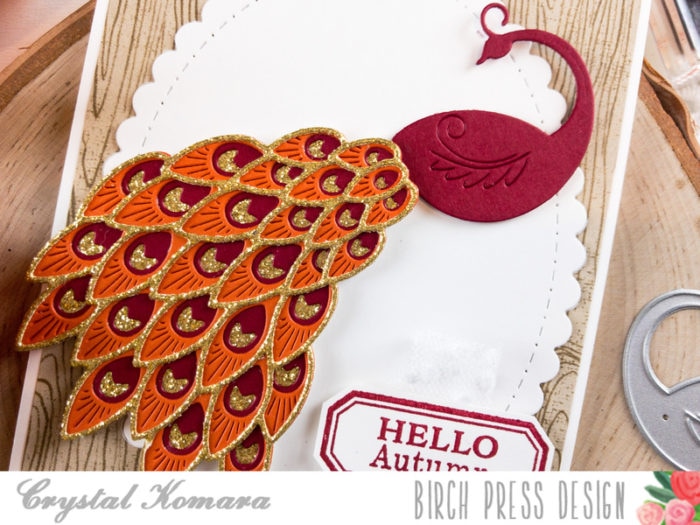
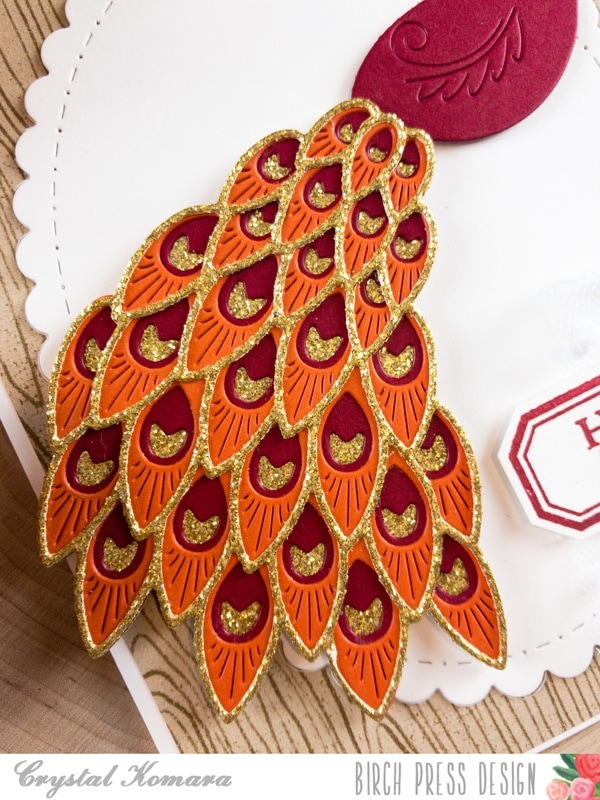
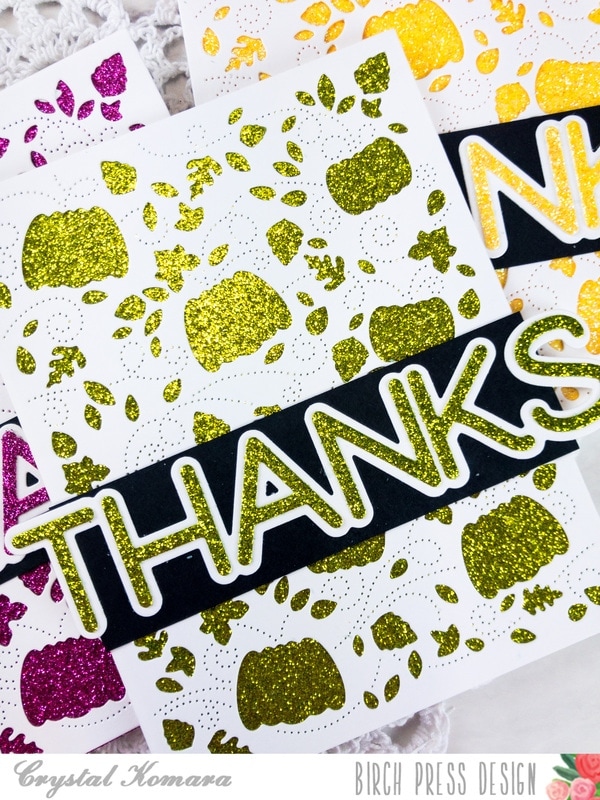
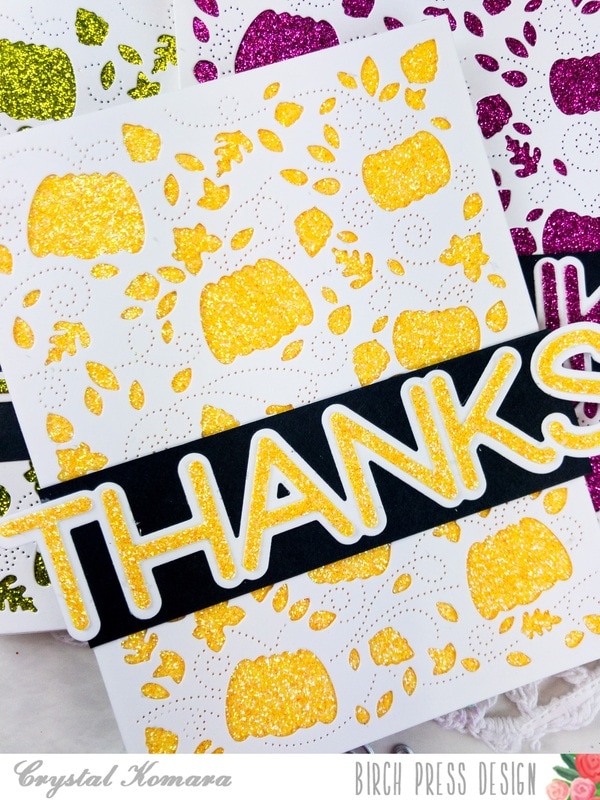
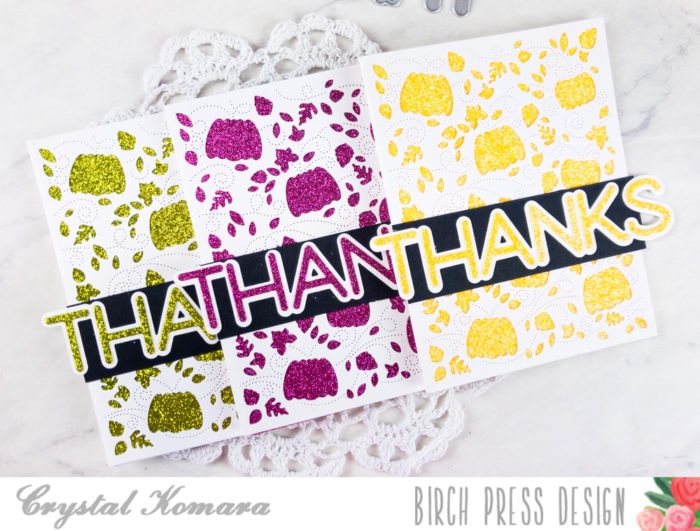
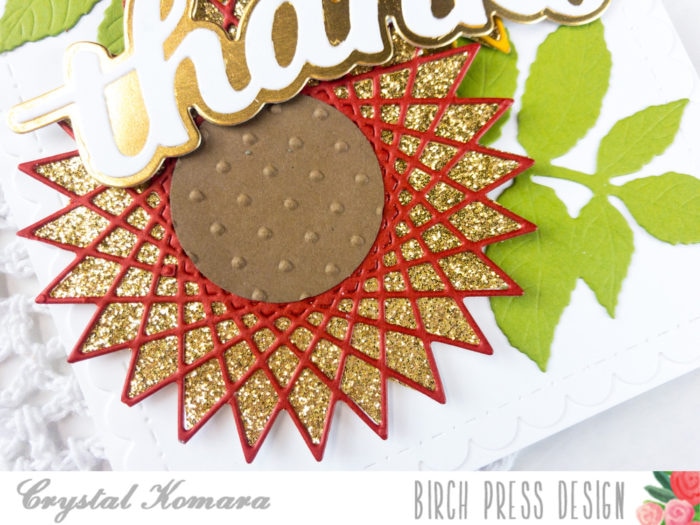
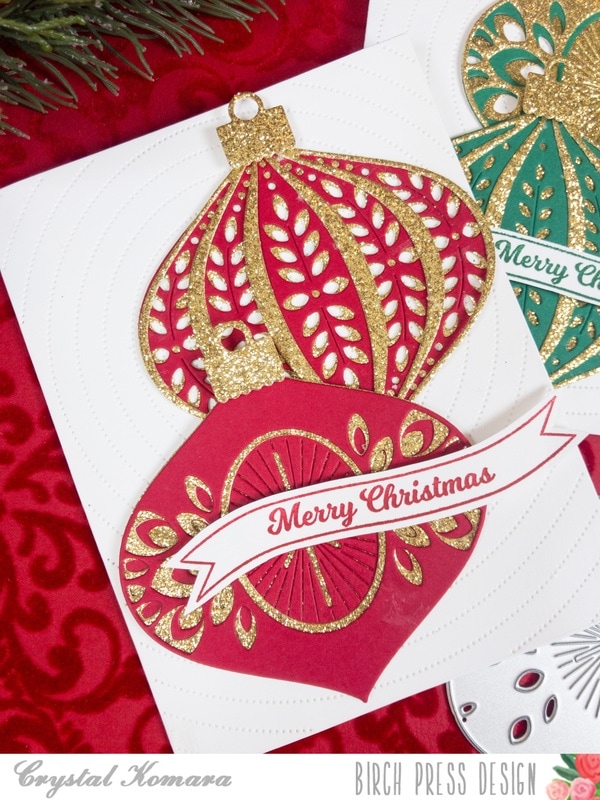
There was no rhyme or reason to my die cutting madness. I simply die cut each layer of the ornaments (Twinkle A, B and C and Marisol A, B and C) from Cherry, Evergreen and gold glitter cardstock and then I began adhering the layers together. When I was all done, I had four completed ornaments, or enough for two cards.
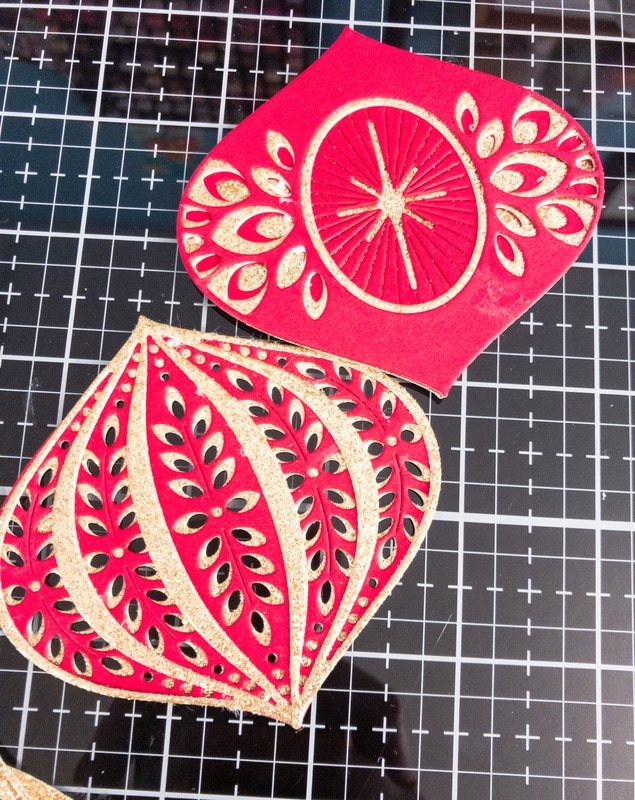
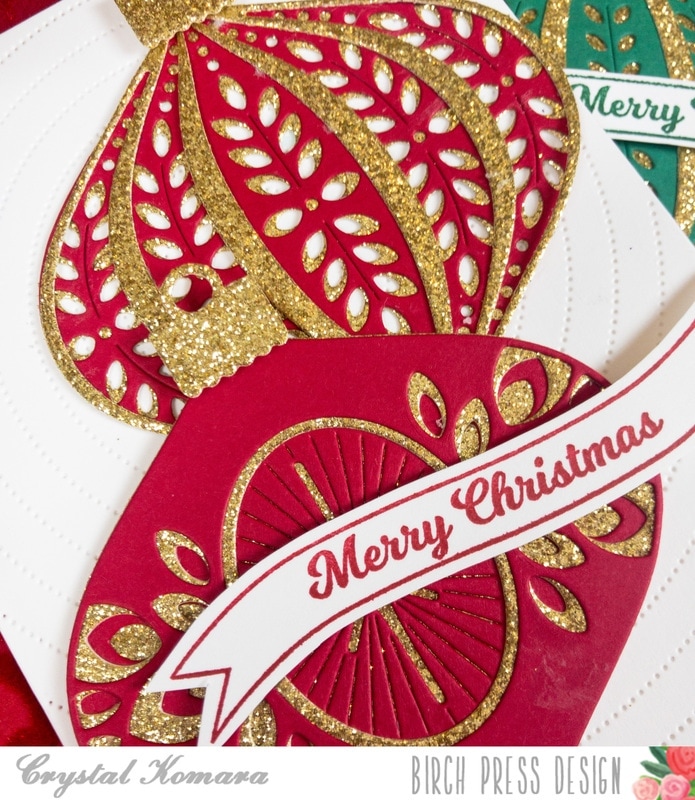
Once all the pieces are die cut, I use LineCo ph Neutral bookbinding glue to adhere the three (or sometimes four layers) together. You will find that a regular Tombow adhesive runner does not work well at adhering glitter cardstock, so try a liquid glue instead.
On a side note, these ornaments would look just as lovely if I had tied a gold ribbon to the top of each one and used them as paper Christmas tree ornaments!
I hope you have enjoyed these beautiful Christmas cards and are well on your way to creating all of yours!

Supplies