Category: Crystal Komara

  • Pink Adornment Pumpkin | by Crystal Komara

    Pink Adornment Pumpkin | by Crystal Komara

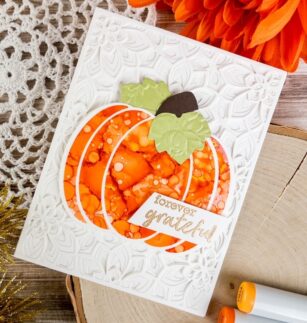
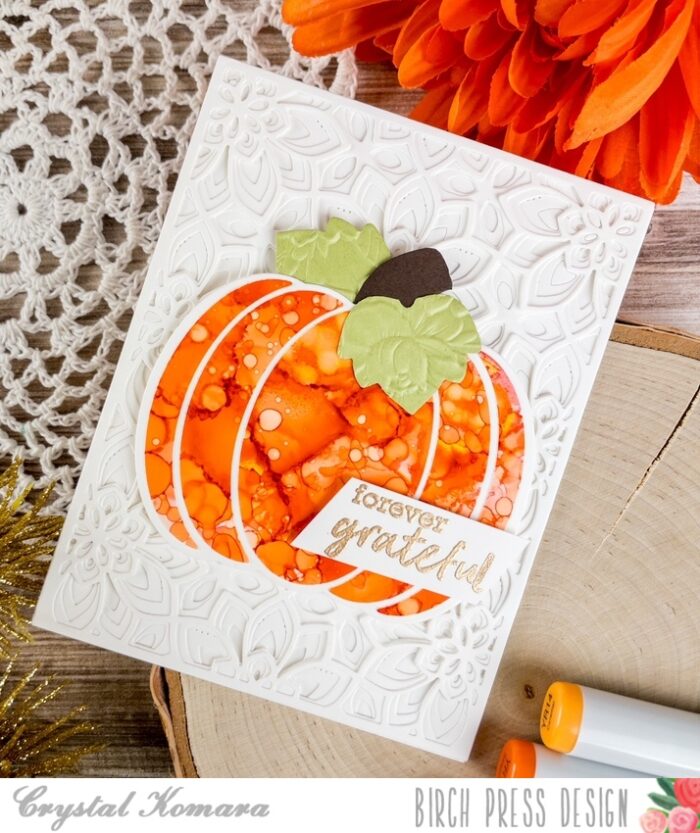
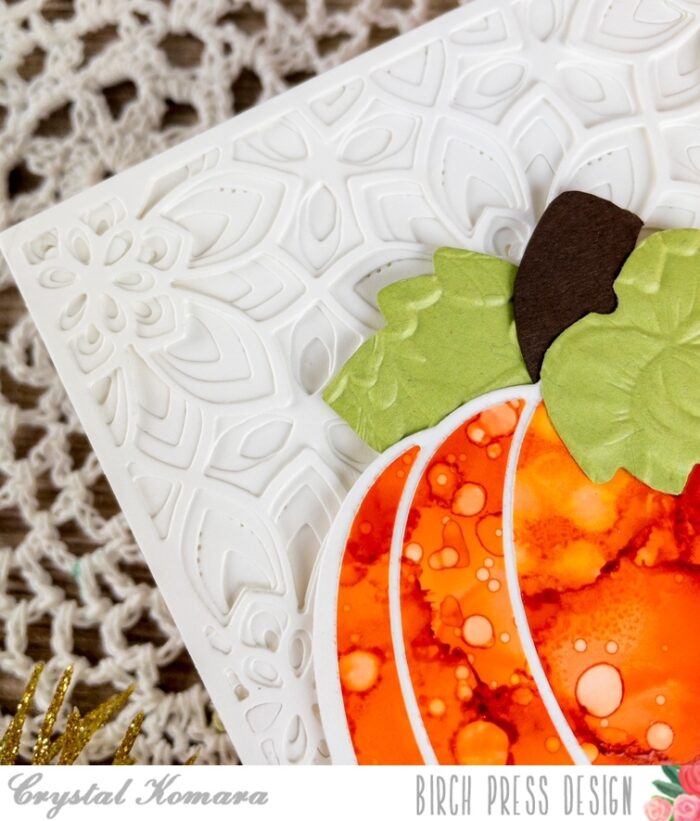
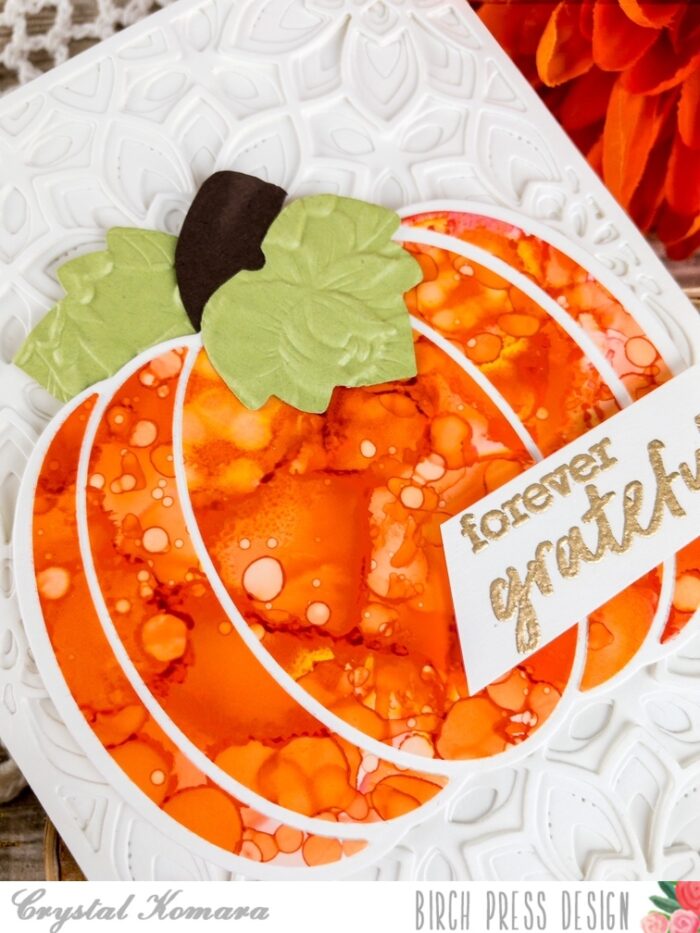
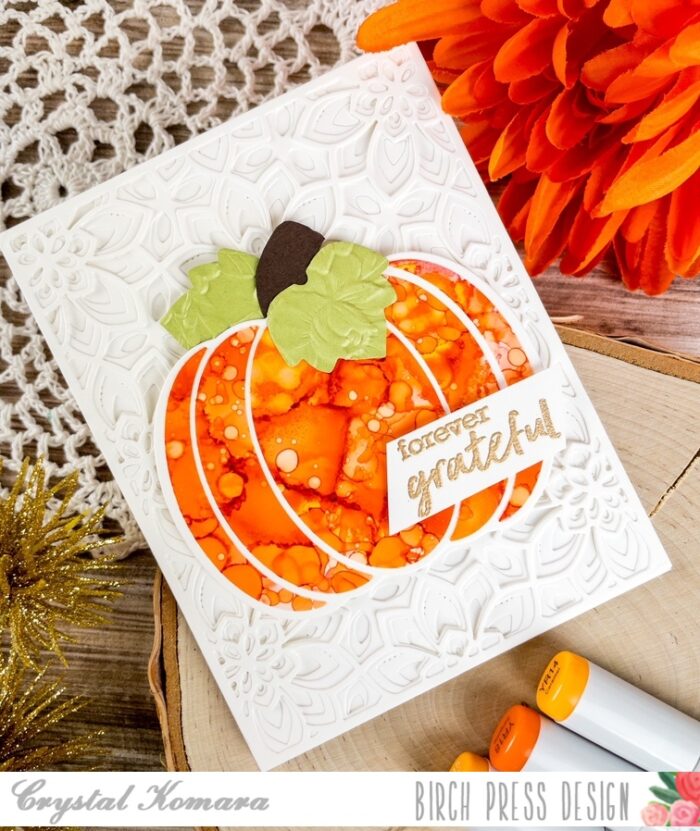
    Hello friends and happy Friday! I hope you have fun things planned for the weekend ahead! This is Design Team member Crystal Komara here with you today sharing a card made using the new Adornment Pumpkin dies.

    I looooooove how this card came out, if I do say so myself! While the pink alcohol ink pumpkin is a little more vibrant than I had initially intended, it works. That’s the thing with alcohol ink, you never quite know what you’re going to get and they can be a bit unpredictable in how they move and dry as you blow them around.

    Card details:

    *Please note, a full list of supplies is located at the end of this post.

    The base of this A2 sized card was made from 80 lb. Neenah Solar White Smooth alcohol ink. Using Layer Plate A (the top layer) of the Herbarium Plate Layering Set, I die cut this from white cardstock and then mounted a sheet of magneta cardstock behind it before adhering it directly to the card base. I die cut the solid pumpkin from a scrap piece of an alcohol ink background I had in my craft bin and then die cut the frame using pink glitter cardstock from the 6″ x 6″ Glitzy Glitter paper pack. I adhered the two layers together with a fine tip liquid glue.

    I created a pumpkin stem from espresso brown cardstock and leaves from both green cardstock and green glitter cardstock. There was a lot of piece work here using these smaller contour dies. Next, using the new Oval Leaf Branches Contour Layers, I die cut leaves from pink glitter cardstock, espresso brown carsdstock and the same green and green glitter cardstock used on the leaves. Then I pieces all the layers of the leaves together (again, a little bit time consuming here to do all these small details, but SO worth it in the end). Then it was just a matter of adhering all the small branches and leaves into a pattern that was pleasing to the eye.

    I stamped the sentiment “forever grateful” in magenta ink on white cardstock and used oval punch to punch it over before adhering it to the pumpkin with 3M foam adhesive. This sentiment is from the Brush Sentiments clear stamp set.

    I love using non-traditional colors to create holiday or seasonal cards. Pink is perfect in lieu of traditional orange pumpkins.

    Thanks for visiting and have a wonderfully creative day!

    Supplies

  • Peacock Hello | by Crystal Komara

    Peacock Hello | by Crystal Komara

    Hello readers! This is Design Team member Crystal Komara here today sharing one of my “oldie but goodie” favorite dies. As much as I despise birds (shhhhh!), I do admire the peacock simply for the gorgeous plumage of its quills. I mean who wouldn’t want to shake their booty and BOOM! Instant wow factor! : )

    Just look at the details in those tail feathers!

    The base of this A2 sized card was made from 80 lb. Neenah Solar White Smooth cardstock. On a 5 1/4″ x 4″ piece of the same white cardstock, I heat foiled the Gilded Grace Hot Foil plate with gold foil. I only used the large background piece (and not the center cut outs) for this card. Then I created the layers of the peacock using a variety of teal and purple cardstock from the Ocean Blue 6 x 6″ paper pack and Vibrant Violet 6″ x 6″ paper pack. For the top layer (Layer A) and the main body of the peacock I used a teal glitter paper from the Glitzy Glitter 6″ x 6″ paper pack.

    I then adhered the peacock to the card using 3M foam adhesive for added dimension.
    For the sentiment I heat foiled the Hello Sugar Script with purple foil on white cardstock. I used the coordinating die to cut it out and adhered it to the card with foam adhesive.

    Ahhhh, she’s so pretty! I hope you have enjoyed today’s card! Be sure to come back tomorrow for more inspiration from my fellow design team members!

    Supplies

  • Lots of Large Cosmos | by Crystal Komara

    Lots of Large Cosmos | by Crystal Komara

    Hello Birch Press readers, this is Design Team member Crystal Komara here with you today showing your a whole variety of ways to use the beautiful new Large Cosmos Contour Layering dies! Initially, I had only one slimline card in mind, but I ended up die cutting soooooo many cosmo flowers that I made four cards to show you a variety of ways to use them. So, sit back and enjoy the inspiration!

    The easiest way to begin making all of these cards, is to first create the large cosmos. For the flowers, I used a combination of purple colored cardstock. Then I just began assembling the flowers following the guided image. I ended up with almost 20 flowers by the time I was done. This truly was the hardest part of the entire process. Then I just took the flowers and designed multiple layouts.

    The first card is an 8 1/2 x 3 1/2″ slimline card. It is designed to fit inside a regular #10 business sized envelope. The white base is made from 80 lb. Neenah Smooth white cardstock. I adhered four of the large cosmo flowers down the center of the card. Behind a couple of the flowers, I tucked a few leaves, die cut from the Curved Leaf die from lush green cardstock.

    I heat foiled the sentiment in purple foil on white cardstock. The sentiment is from the Sugar Script Sentiments Hot Foil plates. I added the sentiment to the card using 3M foam adhesive for added dimension.
    My next card is an A2 sized card made from the same 80 lb. Neenah Solar White Smooth cardstock. I matted the base with a piece of plaid foiled cardstock from sister company Memory Box. This plaid foiled paper is 5 1/4″ x 4″. Next, I die cut a large scalloped oval from white cardstock. I adhered this to the center of the card. I adhered one of the large cosmos to the lower right side of the oval. I also added a few leaves behind the flower. I heat foiled the sentiment in purple foil on white cardstock. Again, this sentiment is from the Sugar Script Sentiments hot foil plates.

    My third card for today is also an A2 sized card made from a base of 80 lb. Neenah Solar White Smooth cardstock. I heat foiled a piece of white cardstock with the String Art Frame Hot Foil Plate. Once this hot foiled background cooled, I adhered it directly to the card base as my first layer. I adhered one large cosmo to the lower right side of the card and tucked one leaf under the flower. Using the Find Joy and Outline die, I die cut the sentiment from purple and white cardstock, adhering the two layers together before adhering both to the card with 3M foam adhesive.

    I hope you have enjoyed seeing a variety of cards all made in monochromatic purple and white with the new Large Cosmos die!

    Thank you for visiting and have a wonderfully creative day!

    Supplies
  • Patriotic Balloons | by Crystal Komara

    Patriotic Balloons | by Crystal Komara

    Happy 4th of July friends! This is Design Team member Crystal Komara sharing in the red, white and blue celebration with you today with this patriotic themed balloon easel card.

    Card details:

    The base of this A2 sized card was made with 80 lb. Neenah Solar White Smooth cardstock.

    Using all three layers (A, B, and C) of the Floral Balloon Layer Set, I die cut four of every balloon in red, light blue, dark blue, white and silver glitter cardstock. (I really didn’t know how many balloon pieces I would need, so this gave me plenty to mix and match!) I really could have made two cards with all the pieces I had leftover.

    I then began playing around with the balloons to see which colors I liked layered over each other, until I found an arrangement that was pleasing to my eye. I saved two balloons for the base of the card, to act as the “stopper” so the easel fold won’t collapse once it is standing.

    *To make the easel fold, simply look up a tutorial on YouTube, there are a wide range of ideas, but all you need is the basic cutting instructions which are super easy!

    I die cut the Let’s Party sentiment from both navy blue and white cardstock. I layered the two together with a fine-tip liquid glue and then adhered the sentiment to the card with 3M foam adhesive for added dimension.

    Have a wonderful, safe and happy 4th of July celebration friends! Thanks for visiting!

    Supplies

  • Blue Balloons | by Crystal Komara

    Blue Balloons | by Crystal Komara

    Hello crafty readers! This is Design Team member Crystal Komara here to inspire you today with a birthday card using a lot of texture from glitter paper to alcohol inks. It’s also in my favorite color – blue! And. . . it sparkles!

    The base of this A2 size card is made from 80 lb. Neenah Solar White Smooth cardstock. Using Plate A only from the Viola Layering Plates, I cut this background from white cardstock and adhered it directly to the card base. ( I actually cut two of these backgrounds, so that I could fussy cut some of the flowers to add to the balloons). Using Layer Plate C of the Floral Balloons I cut two balloons. The first was from silver glitter paper and the second was from a little scrap piece of an alcohol ink background that just happened to coordinate!

    I fussy cut two of the flowers from the Viola Layering Plate A and adhered them to each balloon. I adhered each balloon to the card using 3M foam adhesive for added dimension.

    I die cut the sentiment using the Make a Wish Sugar Script die. I die cut the bottom layer from blue glitter cardstock and the top layer from white cardstock. I adhered the two layers together with a fine-tip liquid adhesive. Lastly, I adhered the entire sentiment to the card using 3M foam adhesive for added dimension.

    I hope you like today’s card! Thanks for visiting and have a wonderfully creative day!

    Supplies

  • Forest Canopy Frames | by Crystal Komara

    Forest Canopy Frames | by Crystal Komara

    Hello crafty people! This is Design Team member Crystal Komara here with you today and I have made my first set of cards using the new Forest Canopy Layering dies. I am sooooo in love. These new dies are just beautiful and I think they will quickly become my new favorite.

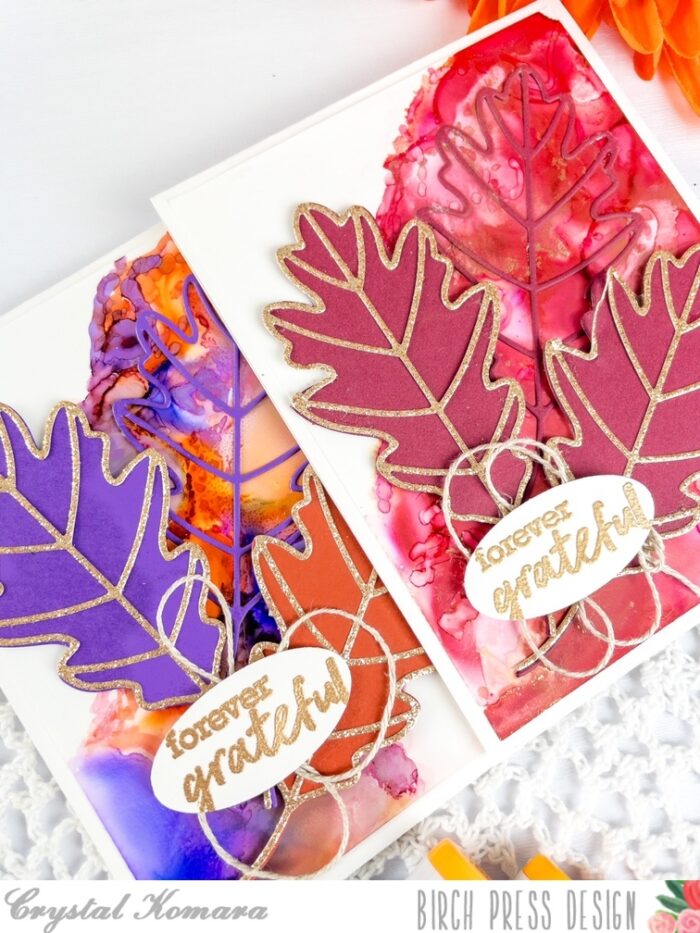
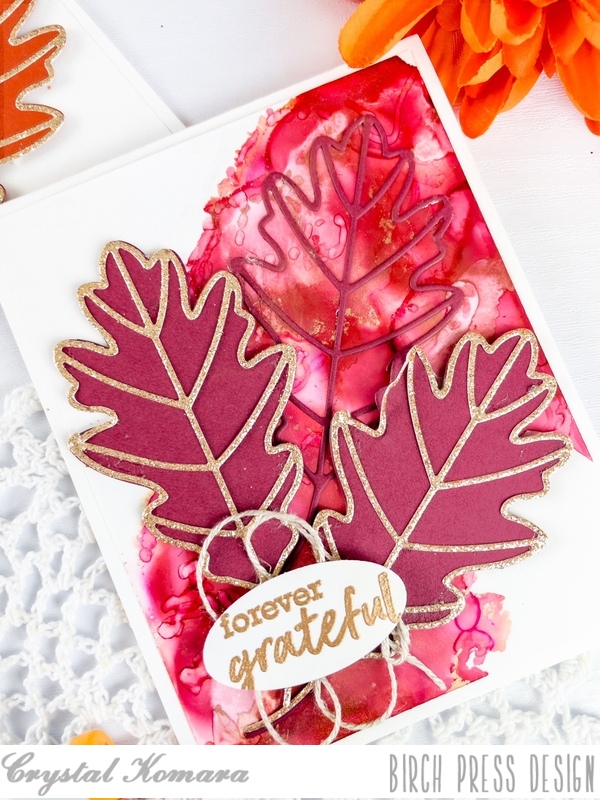
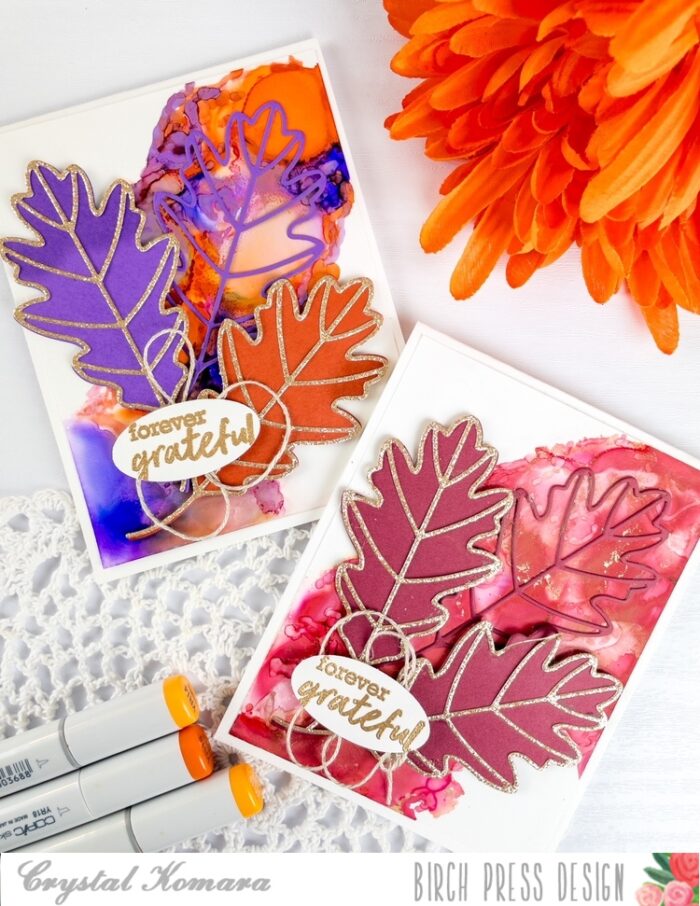
    Now all three of today’s cards were made using Layer C of the Forest Canopy Layering dies. What makes them most stunning are the alcohol ink backgrounds. Those vibrant colors are really what makes the white leaves pop! Add a sentiment of your choice and voila, easy peasy, but oh-so-pretty cards!

    Card details:

    All three of these A2 size cards were made from 80 lb. Neenah Solar White Smooth cardstock. Using Layer C of the Forest Canopy dies I cut three white leafy frame backgrounds. I have my alcohol ink backgrounds already pre-made, so I just pulled three from my stash and layered the leafy frames over. With alcohol inks, your color options are endless, so no matter what kind of background you add, your card will always look unique and different. Add a simple sentiment of your choosing and that’s it, you’re done!

    I hope you will enjoy this new layering die set as much I do! Thanks for visiting and have a wonderfully creative day!

  • Make a Wish | by Crystal Komara

    Make a Wish | by Crystal Komara

    Hello crafty readers! This is Design Team member Crystal Komara here with you today and I’m really excited to share my card with you because it’s one of my favorite color palettes! First, let’s take a look at the inspiration for today’s birthday card:

    Yes! My color inspiration came from a Pinterest photo from an architectural website. Kind of wild, right? What I liked about this photo was that these are colors I would not normally have considered ever putting together, and yet they work beautifully! Now, while I don’t want these colors in MY house (hello, neutrals girl here!) I found they worked well for a card.

    Card details:

    The base of this A2 sized card is made from 80 lb. Neenah Solar White Smooth. I also cut a 5 1/4″ x 4″ piece of the same white cardstock to be used as the first base layer. Using all three layers (A, B, and C) of the Floral Balloon Layer Set, I die cut four of every balloon in teal green, min green, light pink, gold glitter and magenta pink cardstock. (I really didn’t know how many balloon pieces I would need, so this gave me plenty to mix and match!) I really could have made two cards with all the pieces I had leftover.

    I then began to play around and see what colors I liked layered over each other. I also toyed around with the balloon placement on the card. There was no real method to my madness, I simply kept rearranging until I found a layout that was pleasing to my eye.

    Using the Make a Wish Sugar Script word die, I cut the thicker shadow portion from darker pink cardstock and the thinner top portion from white cardstock. I layered the two together with a fine tip liquid glue and then used 3M foam adhesive behind to sentiment to adhere it to the card with added dimension.

    I hope today’s post inspires YOU to find inspiration from the world around you! Thanks for visiting and have a wonderfully creative day!

    Supplies

  • Masculine CAS | by Crystal Komara

    Masculine CAS | by Crystal Komara

    Hello crafty readers! This is Design Team member Crystal Komara here with you today sharing an idea for some CAS (Clean And Simple) quick and easy masculine cards. I don’t make masculine themed cards often, but it is always nice to have them on hand. By using a beautiful pack of paper and some shadow word dies, these five cards came together all in about half an hour!

    Card details:

    The base of these A2 cards is made from 80 lb. Neenah Solar White Smooth cardstock. I cut 5 1’4″ x 4″ pieces of foil plaid paper and then cut 1/2 from the center of each card. I adhered the plaid paper to the top and bottom halves of each card leaving some white space in between for the sentiment. (*Side note – unfortunately this exact pack of paper I used from Memory Box Co. is no longer available, but you can view other beautiful packs of paper from the same company here). Memory Box Co. is a sister company of Birch Press Design.

    I used a variety of sentiments to make these cards work from all occasions like hello and thanks. This card is so simple and basic that you could use any style of patterned paper and any sentiments. Plus, they’re so quick and easy you’ll have a batch of cards in no time.

    Thanks for following along and have a wonderfully creative day!

    Supplies

  • Best Wishes On Your Journey Together  | by Crystal Komara

    Best Wishes On Your Journey Together | by Crystal Komara

    Hello friends and happy May! I feel like May is the unofficial start to summer, which also means that wedding season is upon us. This is Design Team member Crystal Komara here today to inspire you with a wedding/love themed card using a variety of product from Birch Press Design.

    Card details:

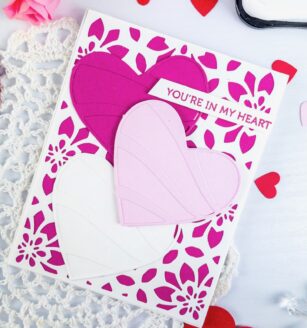
    The base of this A2 sized card is made from 80 lb. Neenah Solar White smooth cardstock. This is my go-to white cardstock for e-v-e-r-y-t-h-i-n-g! To create the background of this card I used Layer Plate C of the Flora Plate Layer set, and I die cut it from white cardstock. I mounted that die cut piece onto a piece of white cardstock for a white-on-white look and then mounted both pieces onto black cardstock before adhering it to the card base.

    For the largest heart I used the Flora Heart Layer C. I die cut Layer A and Layer B from red cardstock. I adhered the two layers together with a fine-tip liquid glue. Then I adhered those of a piece of white cardstock and fussy cut a heart shape background. I adhered this heart to the card using 3M foam adhesive for added dimension.

    To create the two smaller hearts, I die cut Layer A of the Kinsley Heart Layer Set from white cardstock. I adhered this over a sheet of red cardstock and then fussy cut the individual hearts out.

    For the sentiment, I stamped the font in black ink on white cardstock. This sentiment is from the Kind Hearts clear stamp set. I then used a heart punch to punch the sentiment out. I adhered the sentiment too the card using 3M foam adhesive.

    I hope you have enjoyed today’s card. Thank you for visiting and have a wonderfully creative day!

    Supplies
  • Prime Peony Hello | by Crystal Komara

    Prime Peony Hello | by Crystal Komara

    Hello readers! Now that spring is officially here (oh but wait, is it??) Oh well, I declare spring IS here! Let’s celebrate with all things floral. This is Design Team member Crystal Komara here with you today sharing this hello card made using the Prime Peony Duo Contour Layers.

    Card details:

    The base of this A2 sized card is made from 80 lb. Neenah Solar White Smooth cardstock. I cut a 5 1/4″ x 4″ piece of the same Neenah White cardstock and ran it through my Big Shot using the Blooming 3D embossing folder from Memory Box Co. (a sister company of Birch Press Design). I adhered this embossed background directly to the card base. Next, I die cut a large oval from white cardstock.

    To create all the peonies, I die cut the various layers of the Prime Peony from different colored pink cardstocks and then using the image provided, I was able to assemble them (with only limited curse words!) Trust me, I’m not proud of my less-than patience.

    After adhering all the peony pieces together I adhered them to the card using 3M foam adhesive for added dimension. Lastly, for the sentiment, I used the Big Hello Sugar Script die. I die cut just the top layer (not the shadow layer) from white cardstock. I cut this layer three times and them on top of each other before adding them to the card.
    I hope you have enjoyed this card! Thanks for visiting and have a wonderfully creative day!

    Supplies