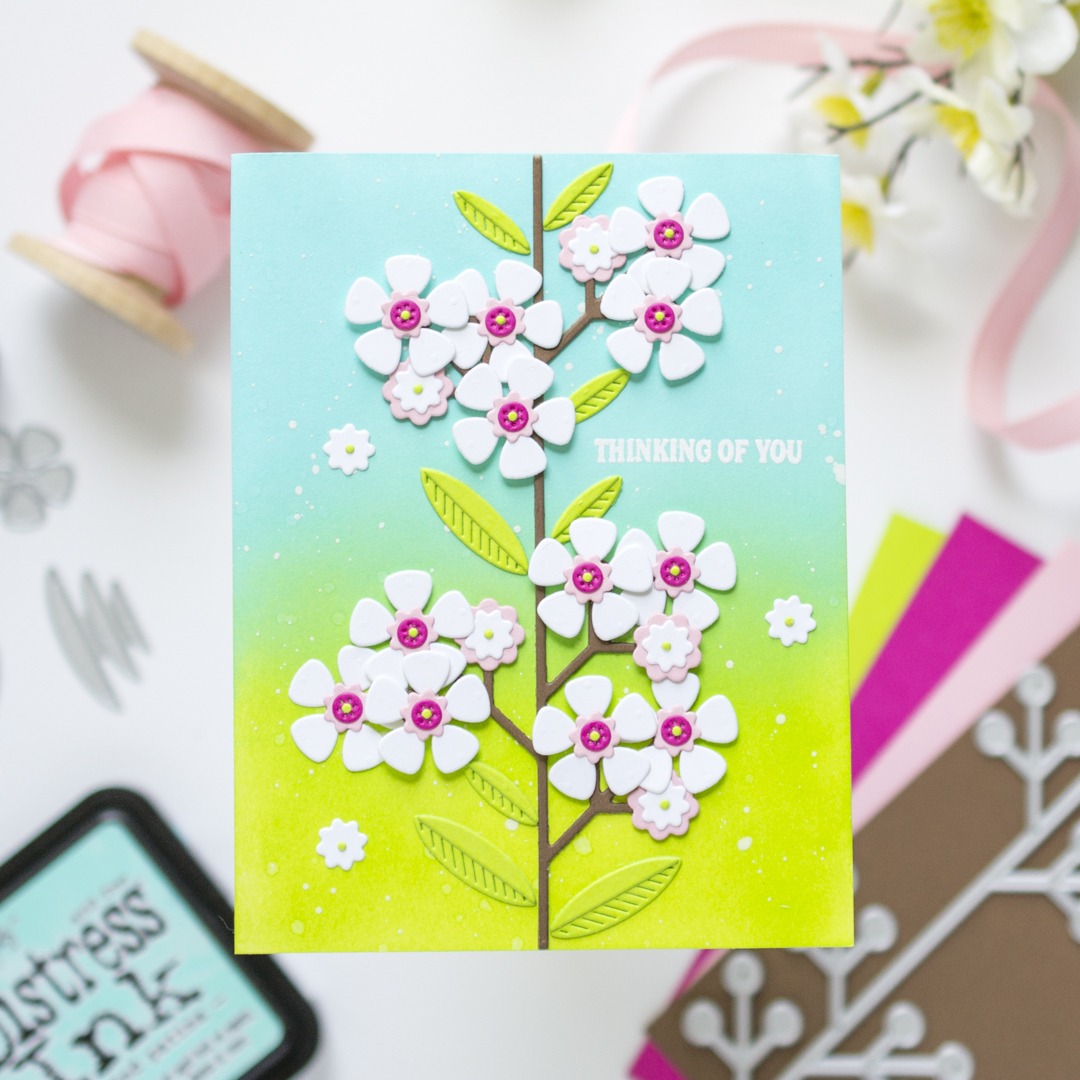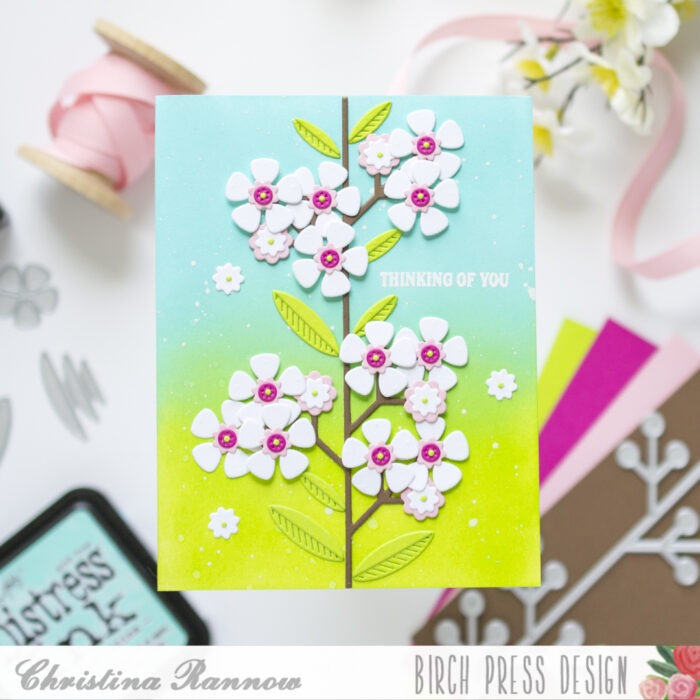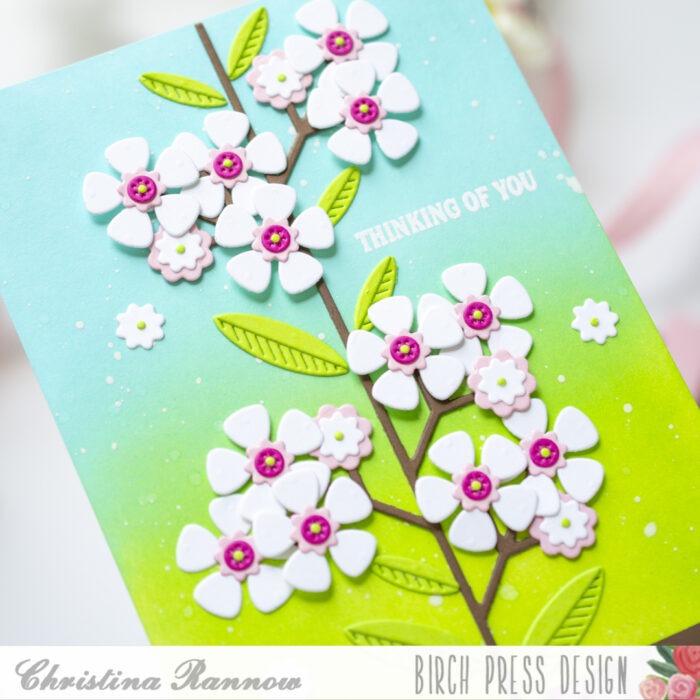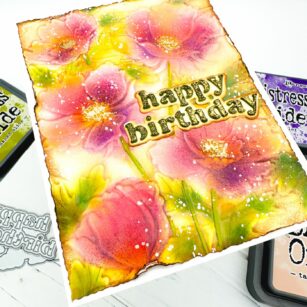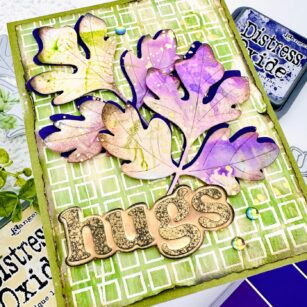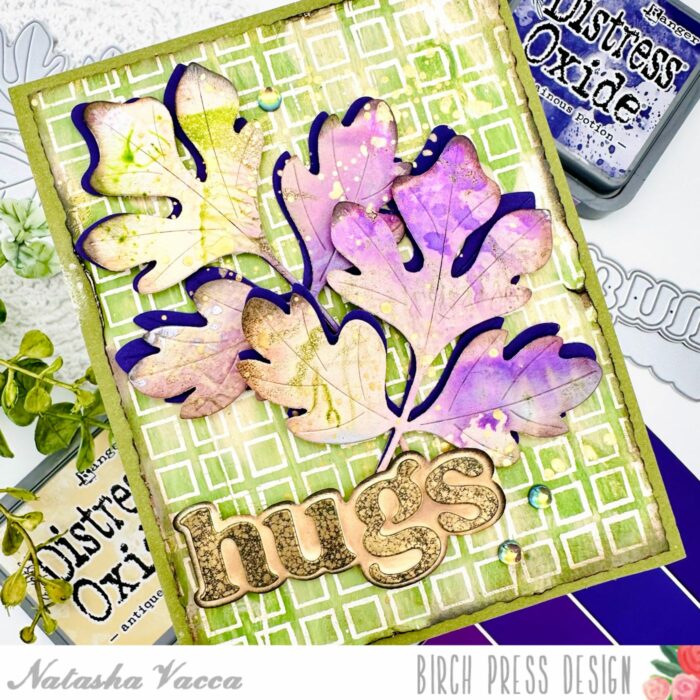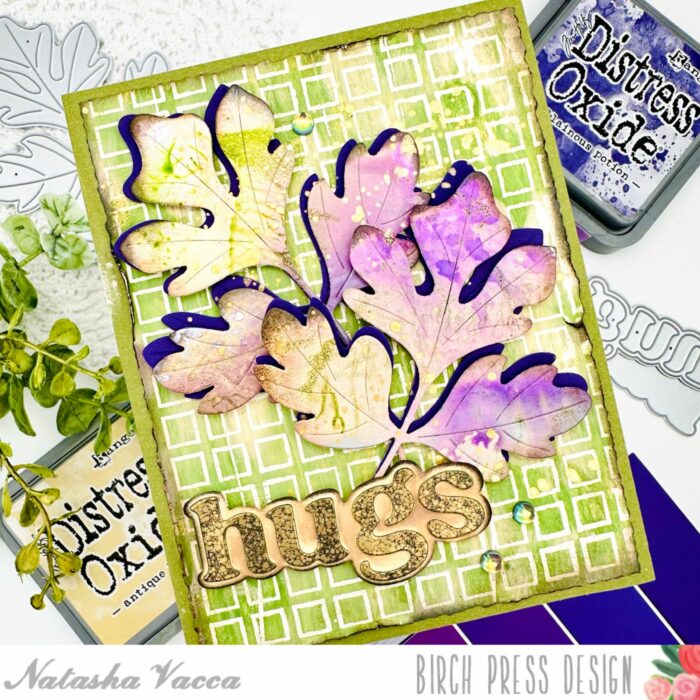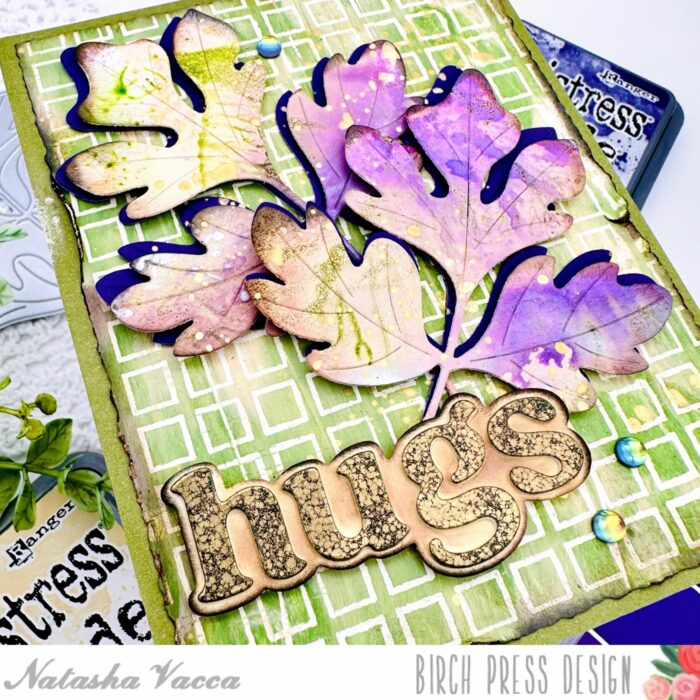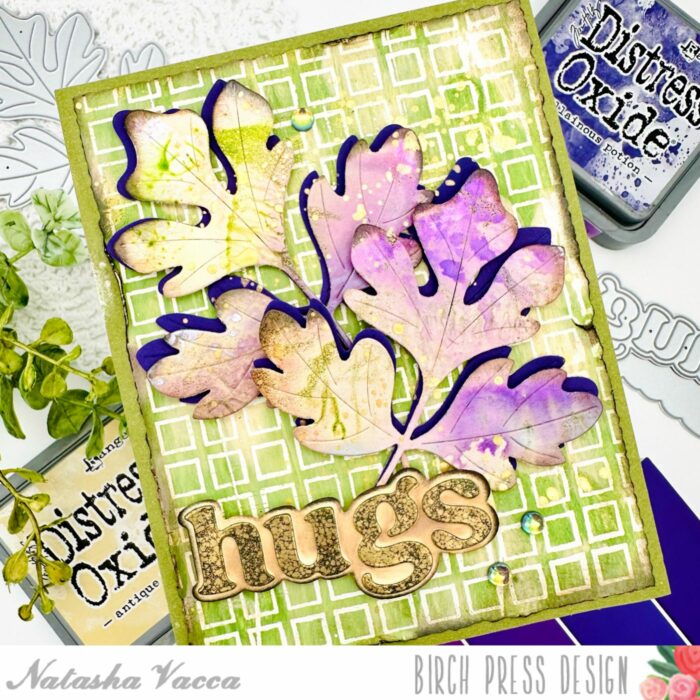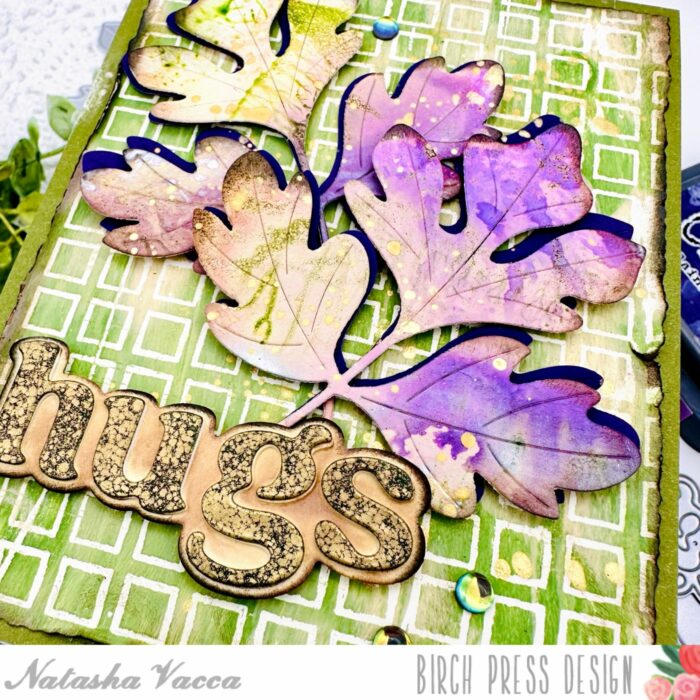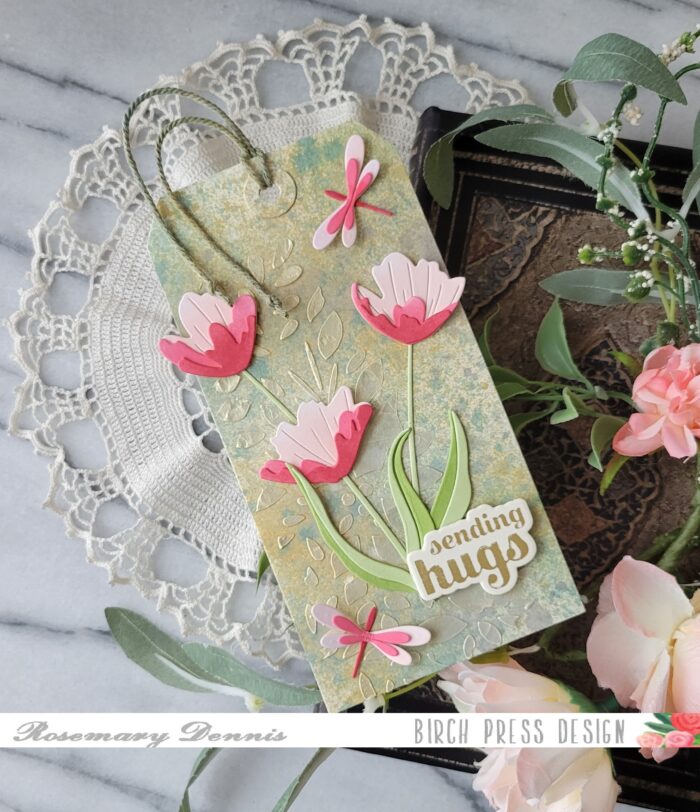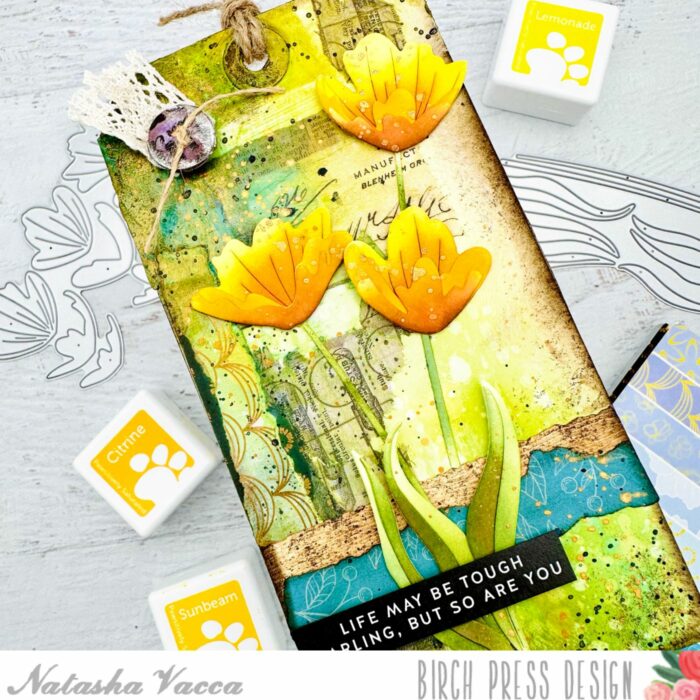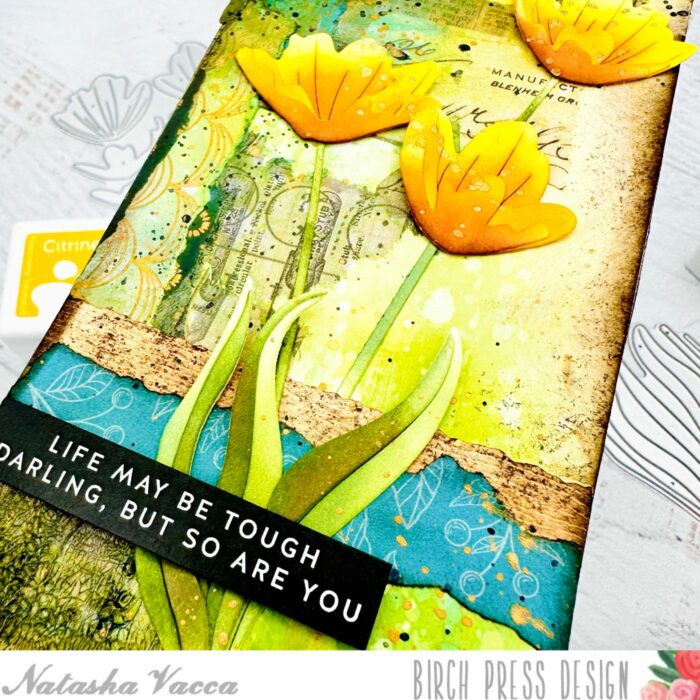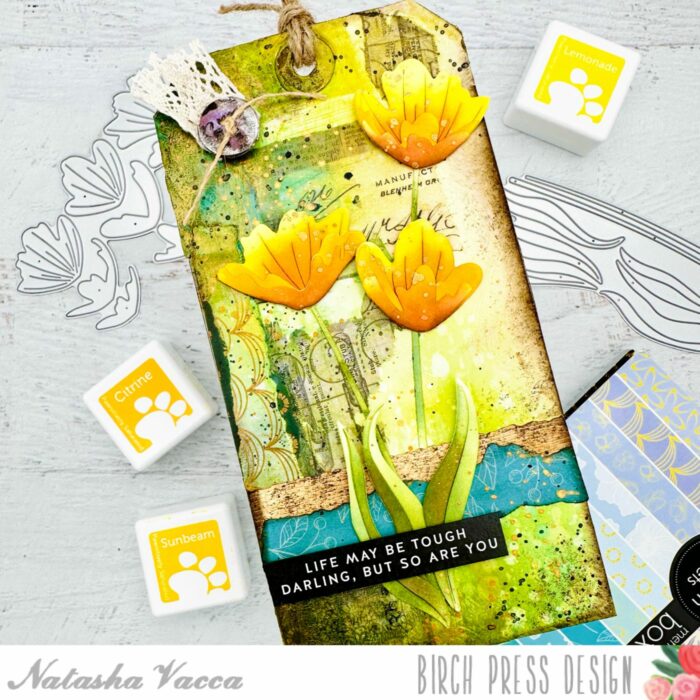
Hello friends! Have you been amazed by the projects the design team has created with the most current release? Well, I have! I have been buzzing with excitement to get something made and today is the day! Let’s have a look at what I made.
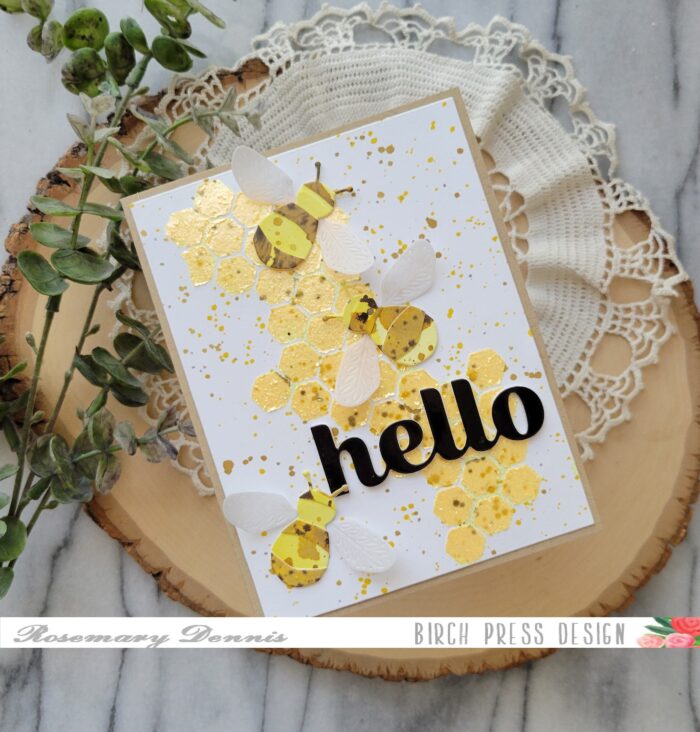
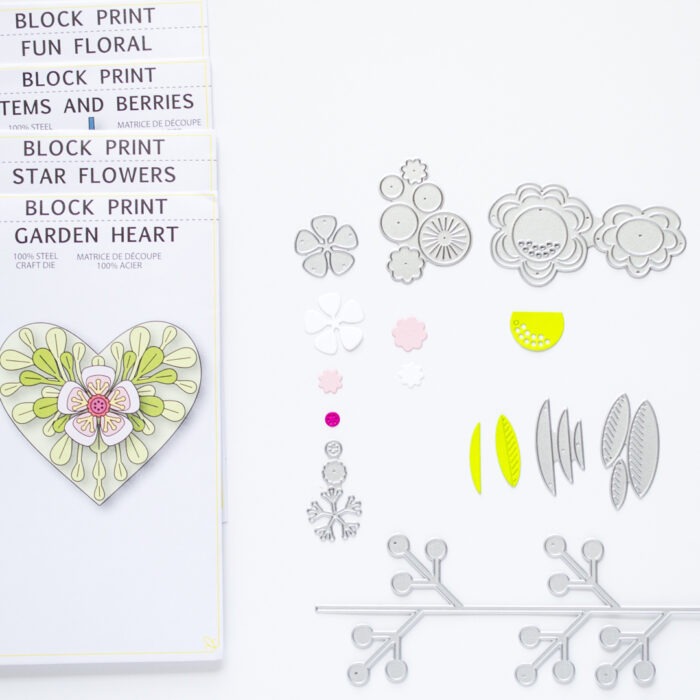
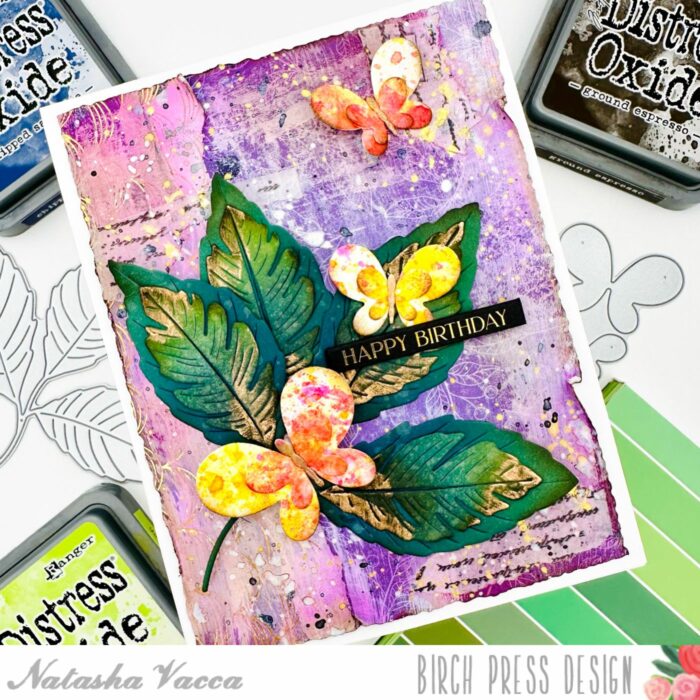
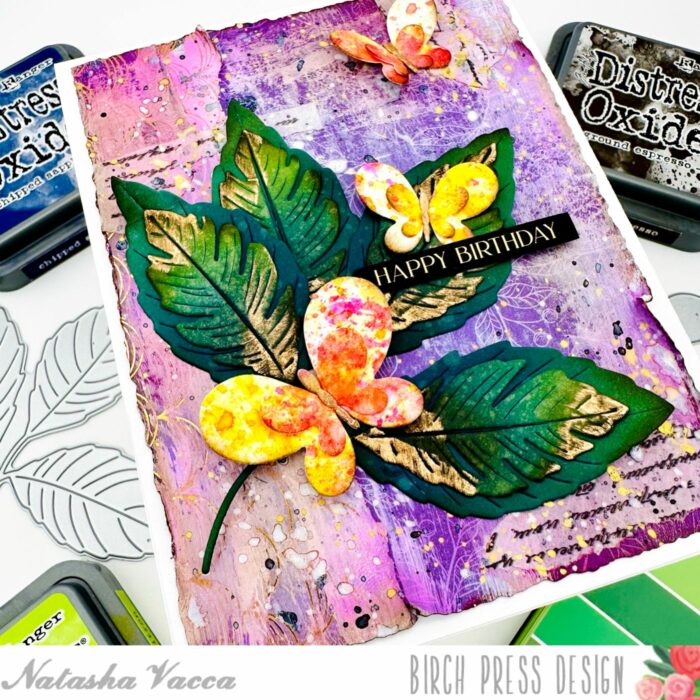
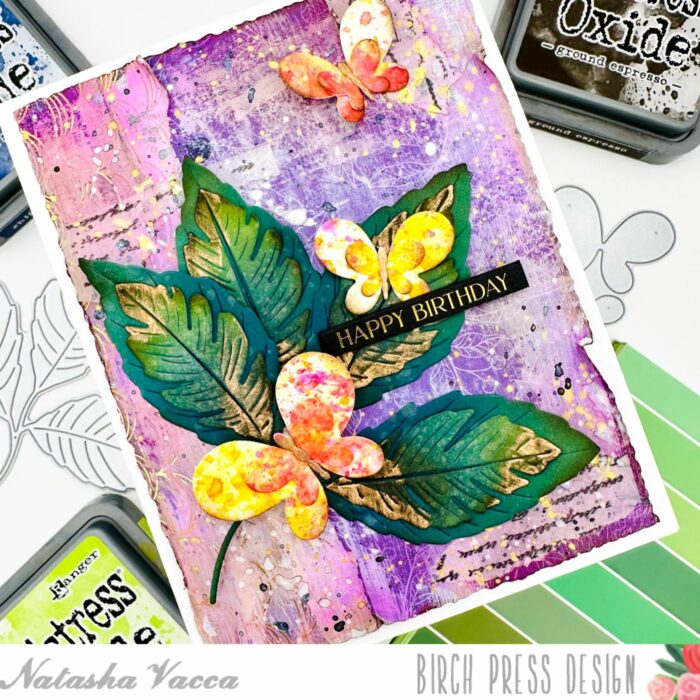
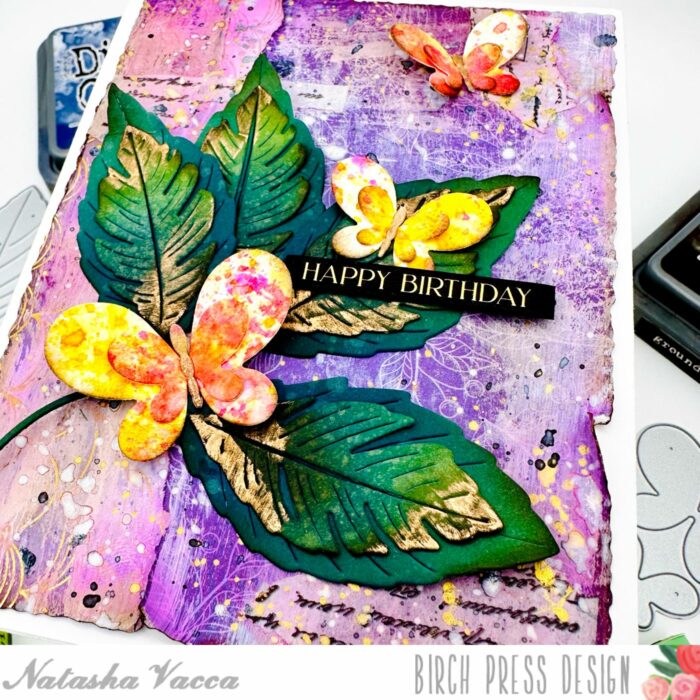
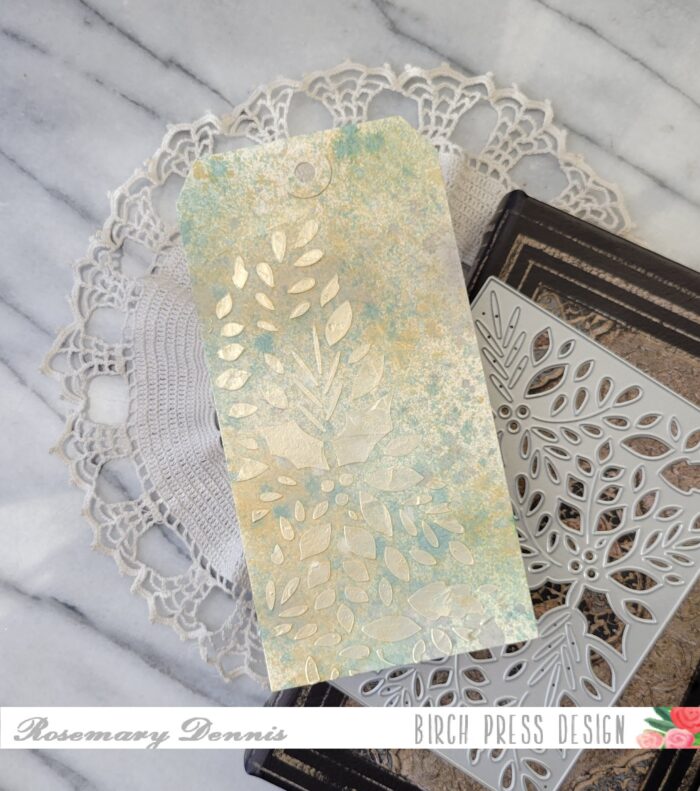
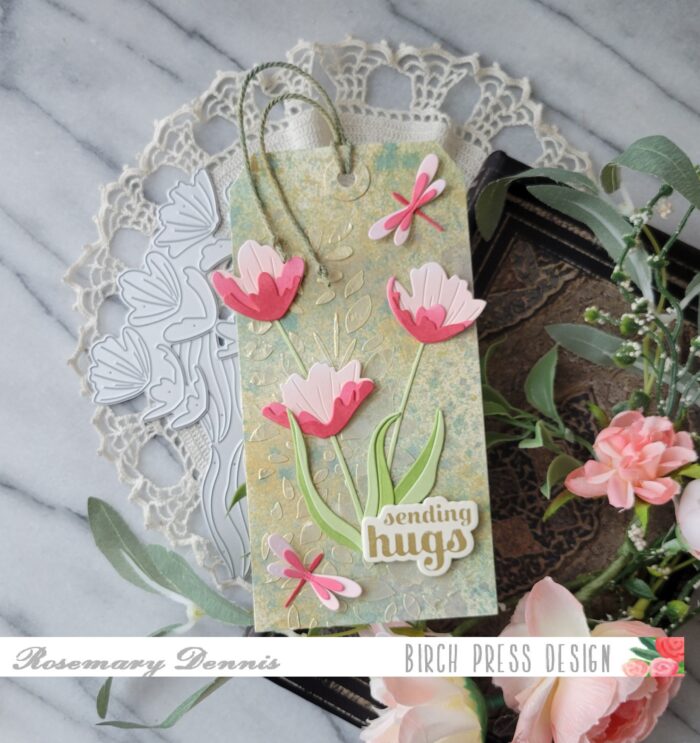
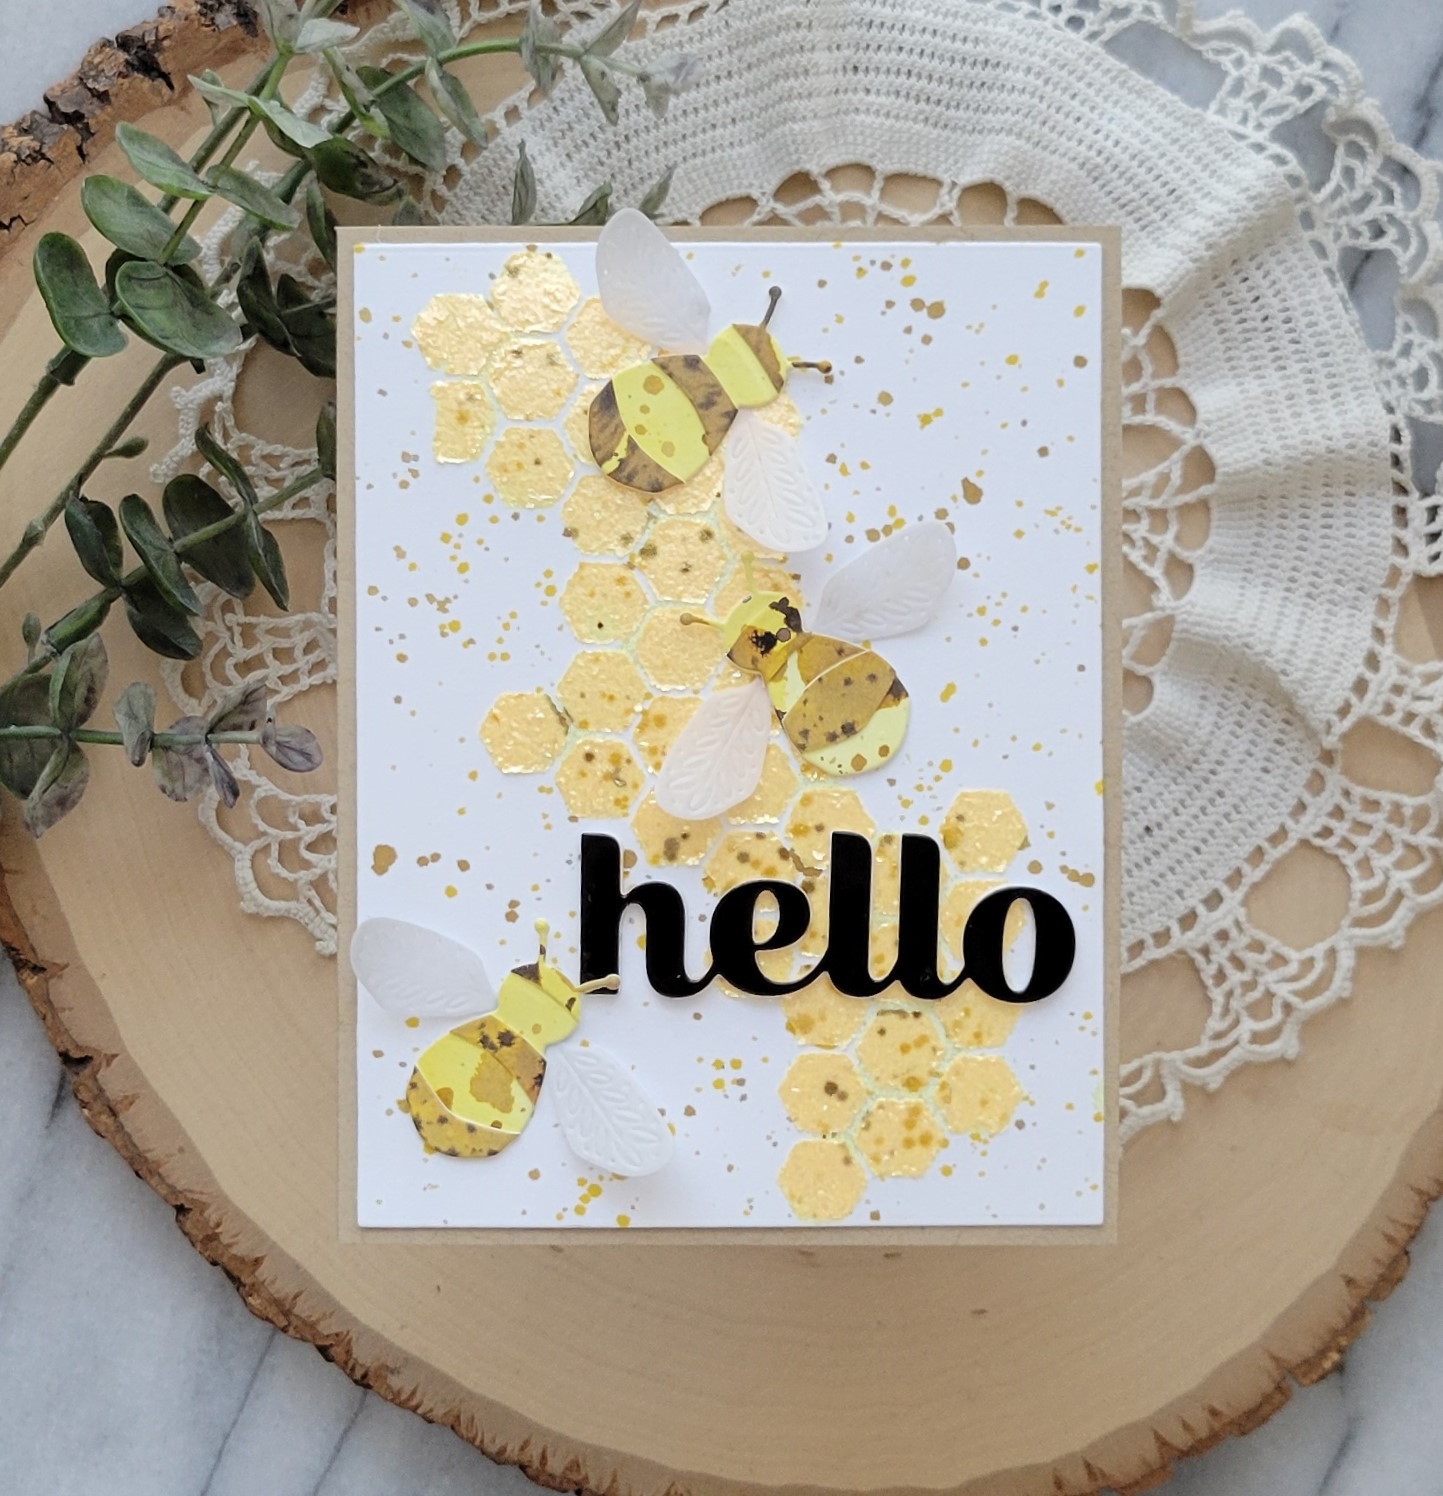
I had several ideas in mind and tried at least one of them, but wasn’t super happy with how it was turning out. I decided to shift gears and use up some yellow glitter paste I had out on my desk. I really wanted to use the Honeycomb Cut Out die and so I used it to create a stencil to use with the glitter paste.
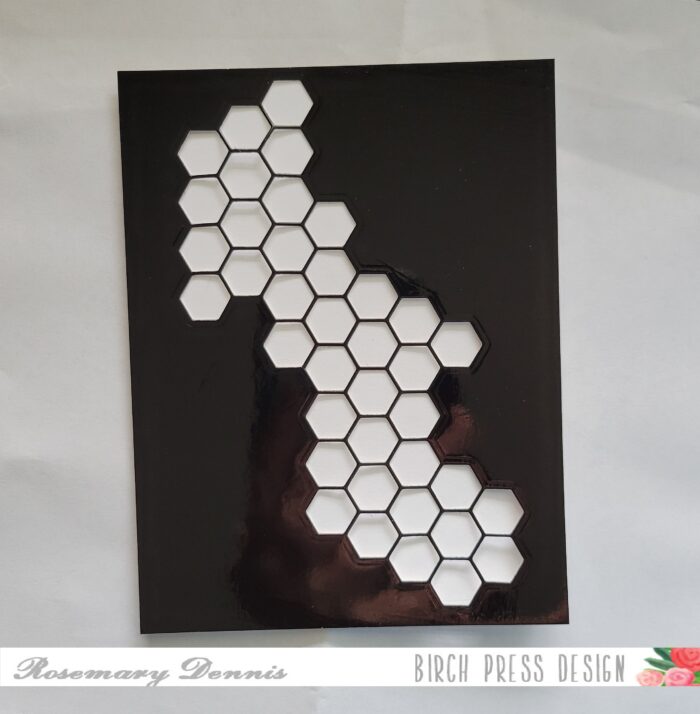
After doing a quick test to see how my DIY stencil would turn out I decided to diecut it from some sturdier cardstock. For this I chose (and sacrificed) a piece of Memory Box glossy black cardstock. As you can see it would have also made a pretty neat background, too. I die cut a piece of heavy white cardstock with a rectangle die and then taped that to the back of my DIY stencil. The stencil worked pretty well with only a small amount of the paste seeping under. I peeled off my stencil and let my panel dry.
While my panel was drying I die cut my bees using the Block Print Buzzing Bumblebee from a piece of watercolor cardstock that I had initially planned to use for my background panel, but it was a bit of a fail. I think the bees I die cut from it are kind of fun and funky!
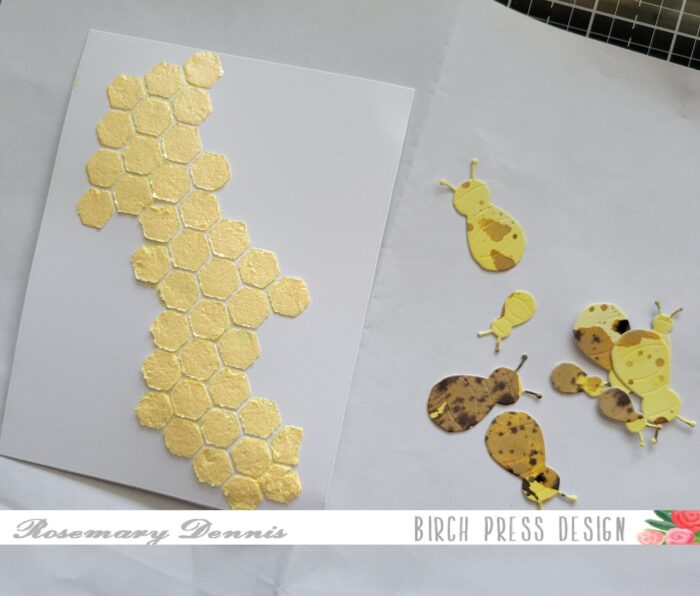
Once the glitter paste was dry and full disclosure that did take a long time because of the amount of paste that was applied using the stencil. I let the panel dry overnight to make sure it was fully dry before assembling my card. I even at one point placed something heavy on top so that it would dry flat.
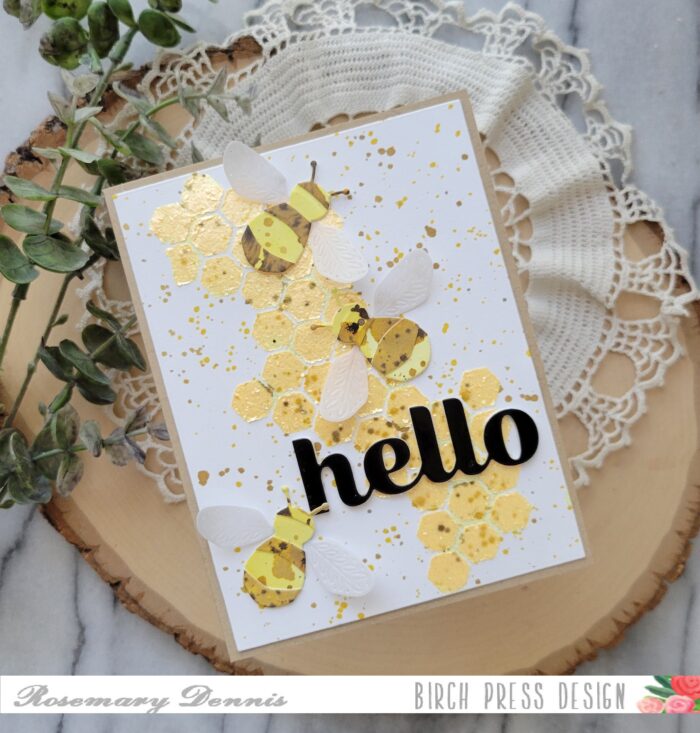
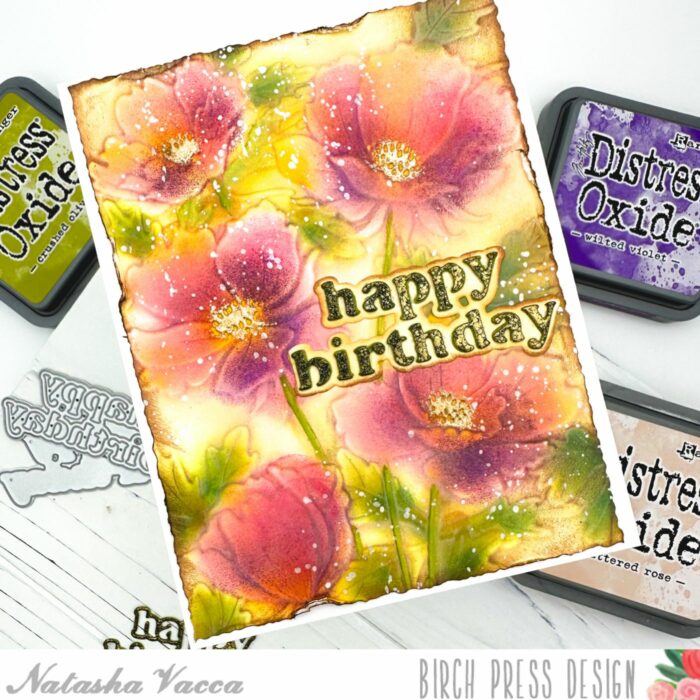
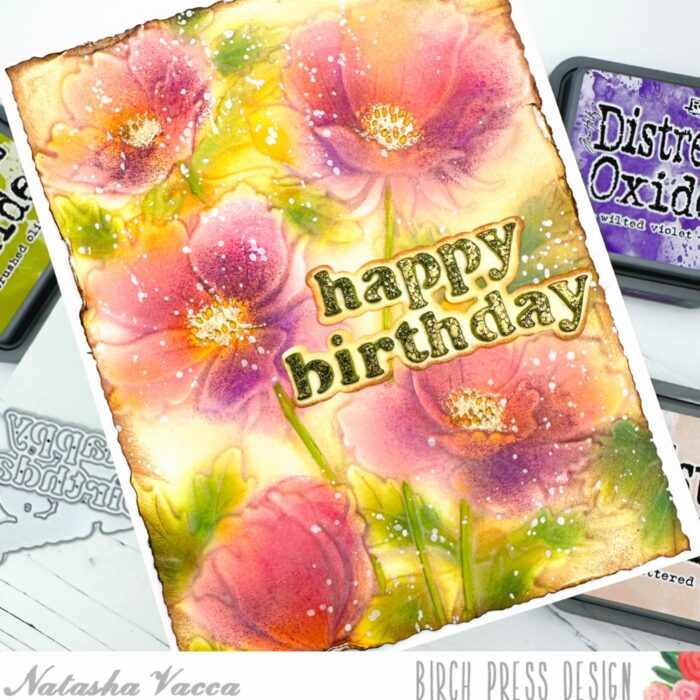
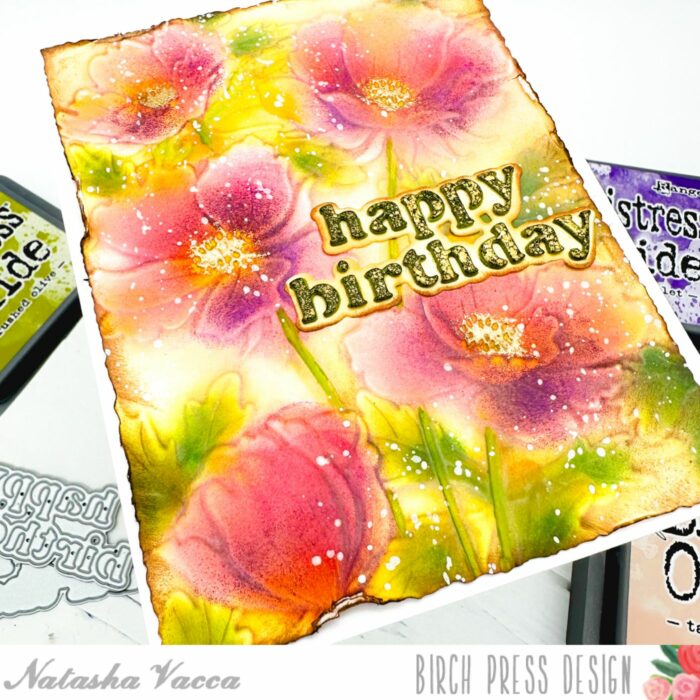
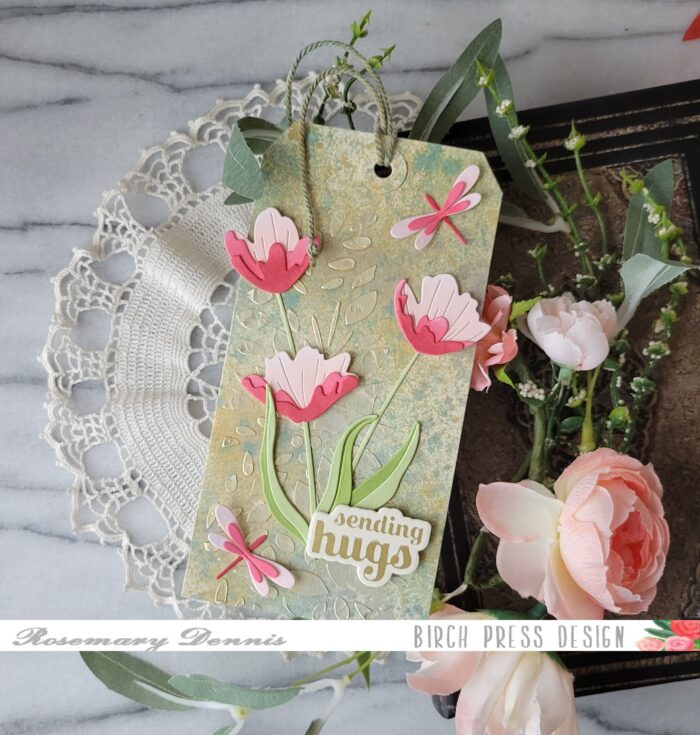
Since I was going for a mixed media vibe. I splattered the fully dry panel with distress ink in Gathered Twigs and appropriately Wild Honey. For the bees I die cut enough so that I could cut some apart to build the bees for my card. The wings were die cut from heavy weight vellum. I assembled my bees and then what kind of sentiment I would use. I settled on the Big Hello Sugar Script. Initially I die cut the hello from heavy weight cardstock and then splattered it, but there was too much splatter. So I used another piece of glossy black cardstock and stacked it on top of the splattered sentiment. Everything was adhered with liquid adhesive and then I added my panel to a kraft cardstock base.
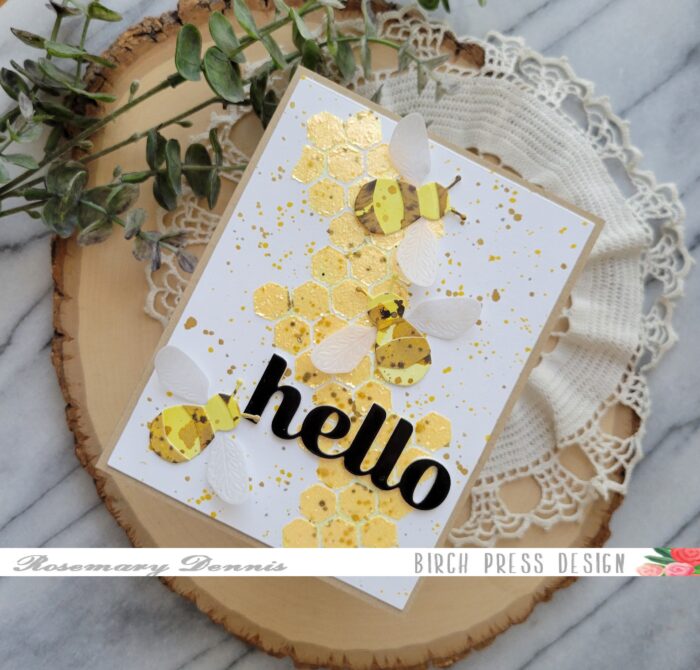
Well, that’s it for me. I hope you enjoyed today’s card. Thanks for stopping by and have a truly lovely day.

Supplies