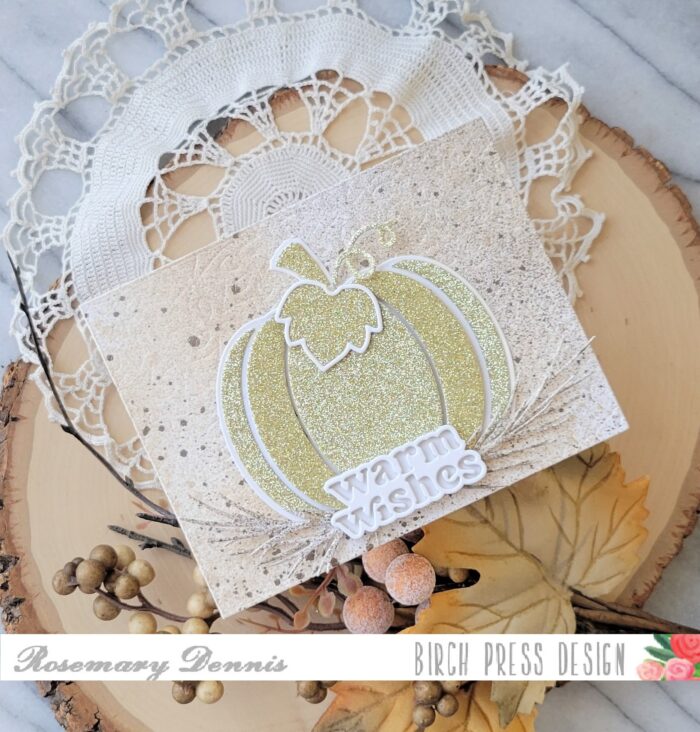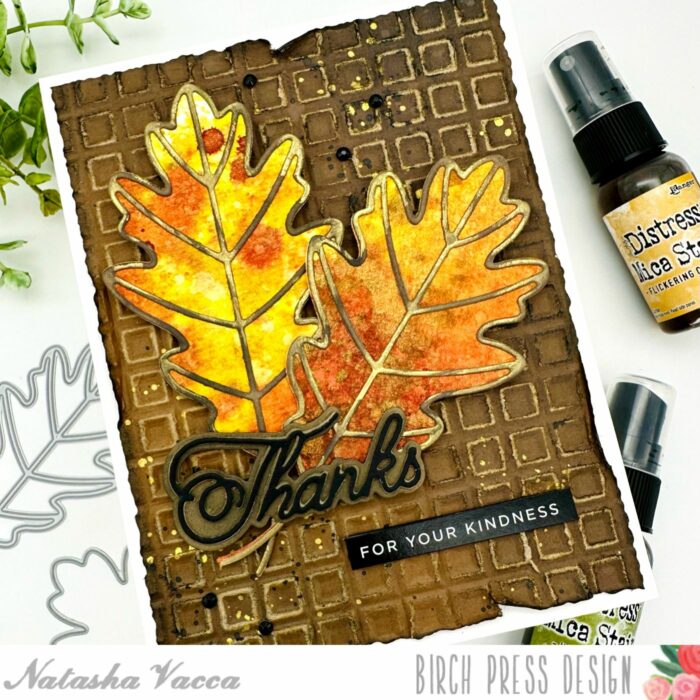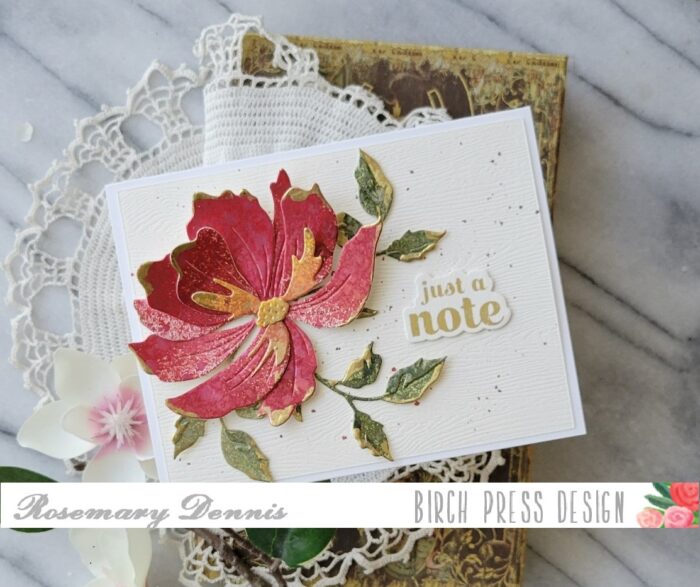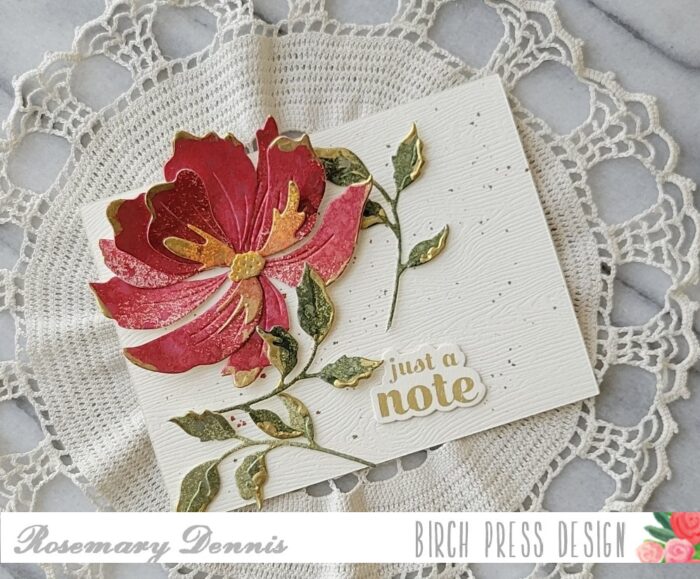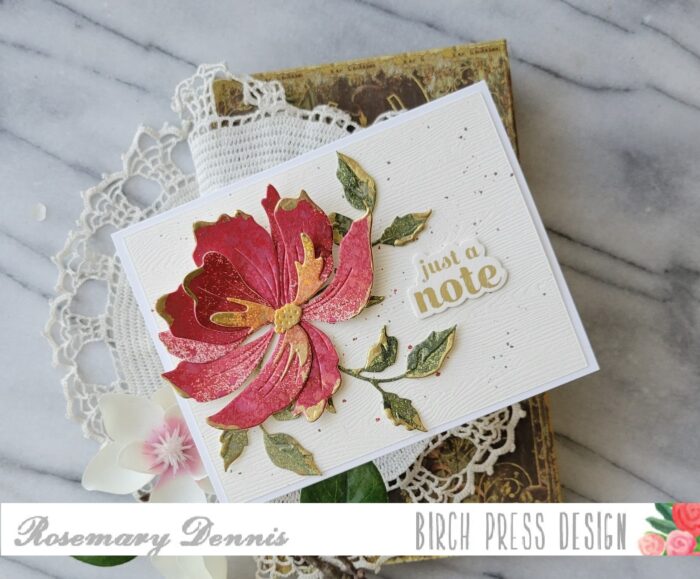
Hello everyone! Rosemary here on the blog today. Can’t believe it is the end of September! But the weather here in the Pacific Northwest is telling me that yes, fall has arrived! Today I have a fall inspired project to share that I made using the new Budding Twigs Contour Layers dies.

I had created a different card for today’s post, but decided to save that for a later date because I have had this idea for the Budding Twigs dies in the back of my mind for a few weeks now. Had to get it out, lol! The design is super simple, but I think very impactful.

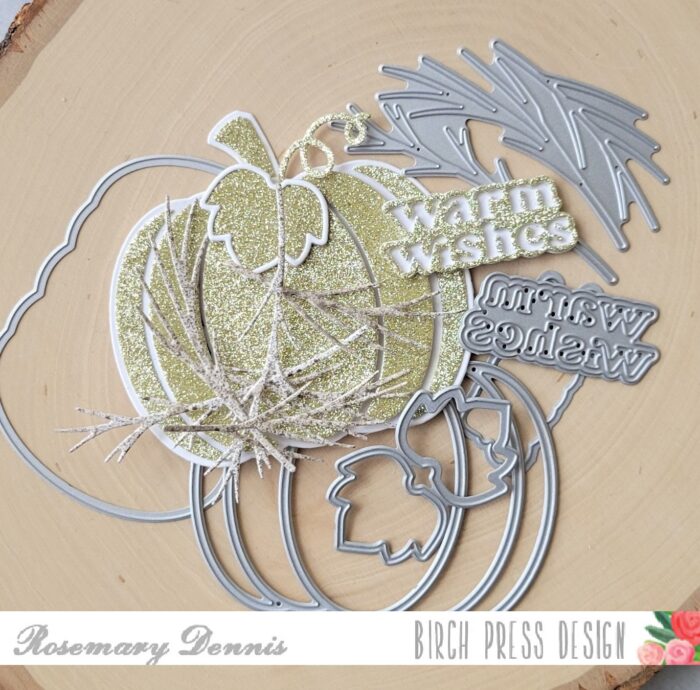
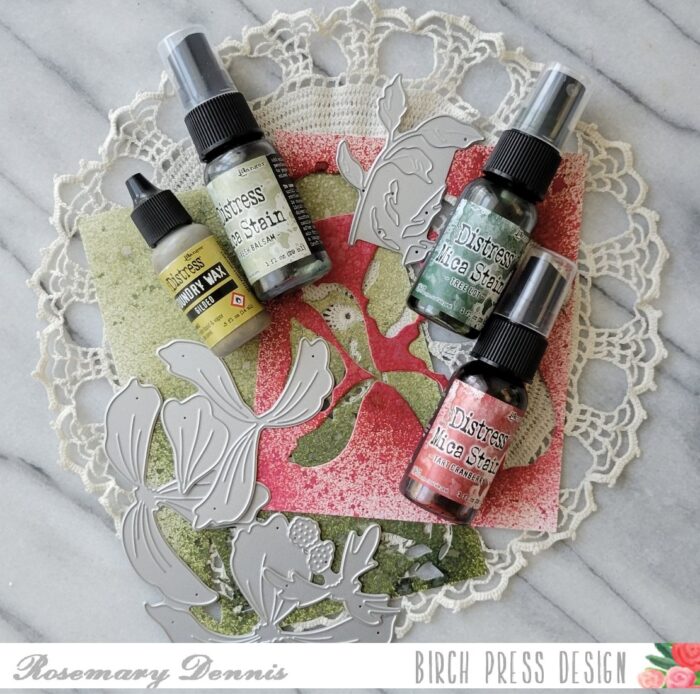
The die is one piece and so I only had to die cut the die twice to get all the pieces I needed to complete my little twig frame. I die cut the pieces from smooth bristol cardstock and then used some Tonic Studios Aqua Flow pens to color them in red, orange and brown. Aqua Flow pens are similar to ZIG Clean Color Real Brush markers in that they have concentrated watercolor in them. You apply the color and then blend it out with with water. The die cuts are very delicate and it was a bit of a task to color them, but I think it was worth the challenge!

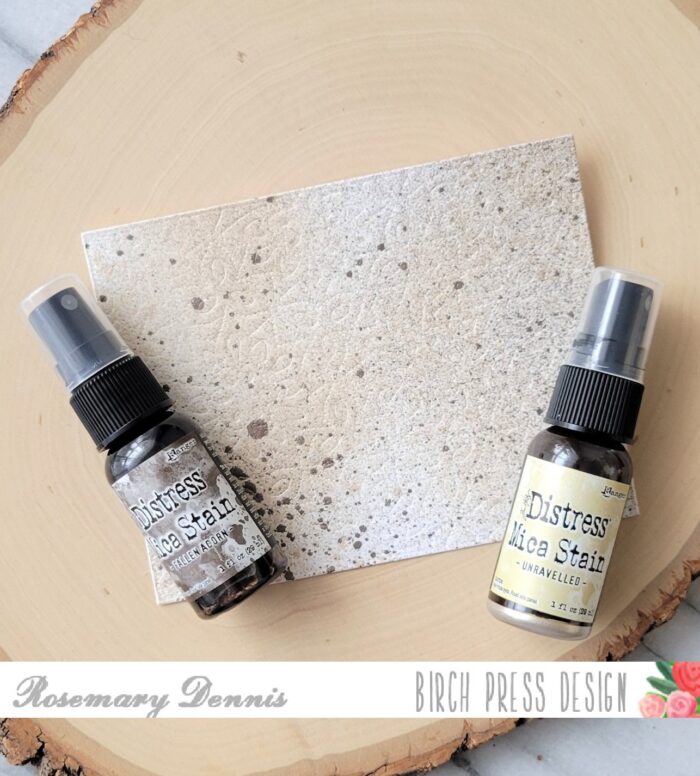
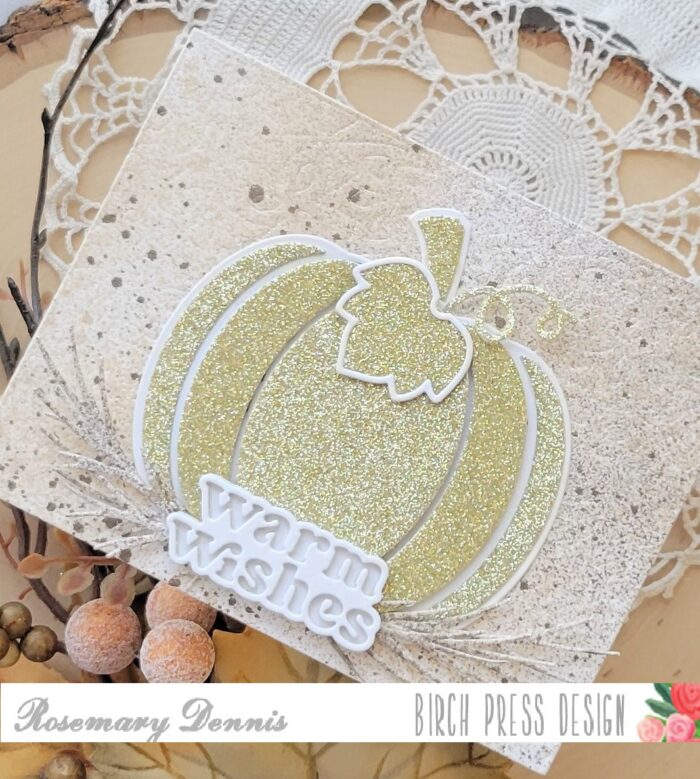
Once I had the pieces colored I let them dry and then adhered them together with liquid adhesive. While the pieces were drying I used a Memory Box Rectangle Frames die to die cut a piece of white cardstock that I had stamped with the sentiment from the Kind Hearts stamp set using VersaFine CLAIR Acorn ink. I then inked up the edge of the rectangle with Old Paper distress ink. The twigs were then adhered to the rectangle using liquid adhesive. I die cut a panel of kraft cardstock with the Pinpoint Contour plate and adhered that to my card base with tape runner. I then attached the rectangle to the center of the panel with foam tape. I finished with a few Open Studio autumn Fairy Jewels.

I love the sweet little frame the Budding Twigs created and think it would be fun to create one for spring. Thanks for stopping by and have a wonderful day!

Supplies