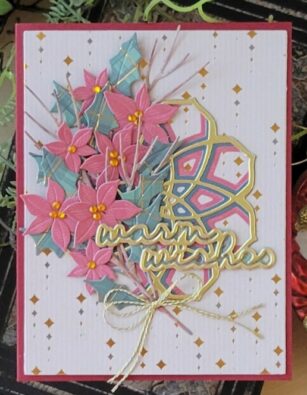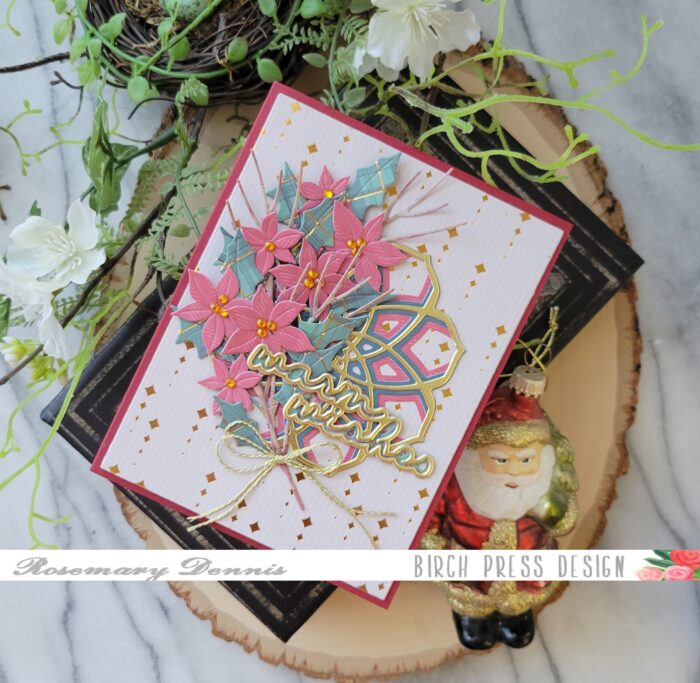
Hello everyone! Rosemary here on the blog today. Can you believe it is already September? I can’t. Today I have a Christmas card to share with you that I made with several new Birch Press Design products. Let’s have a look at what I made.
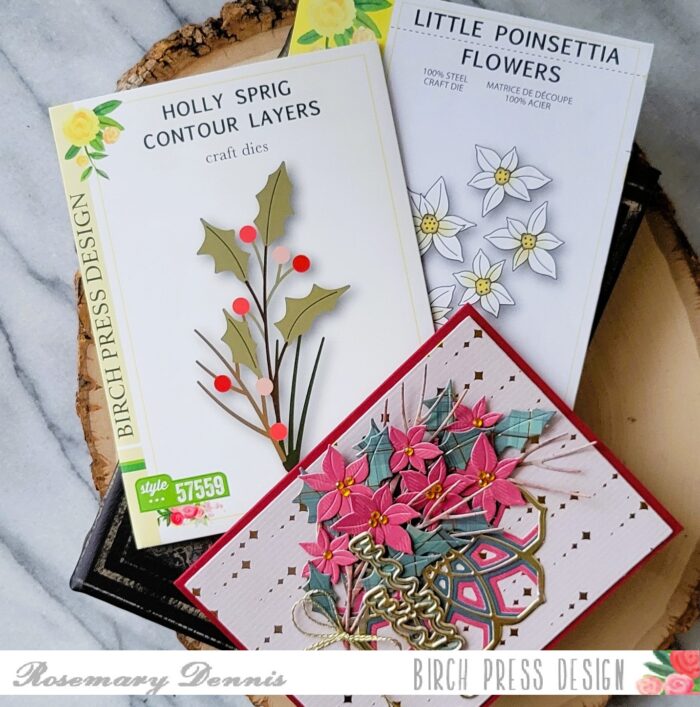
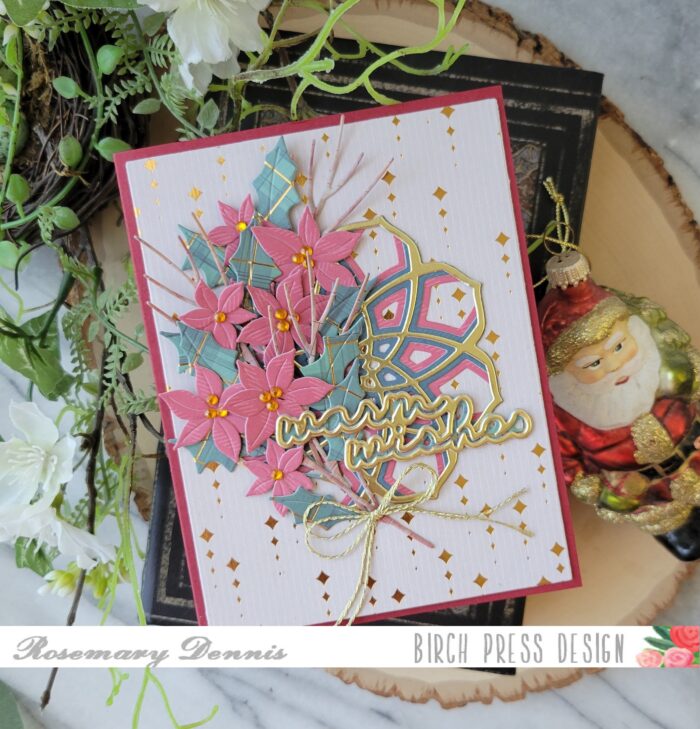
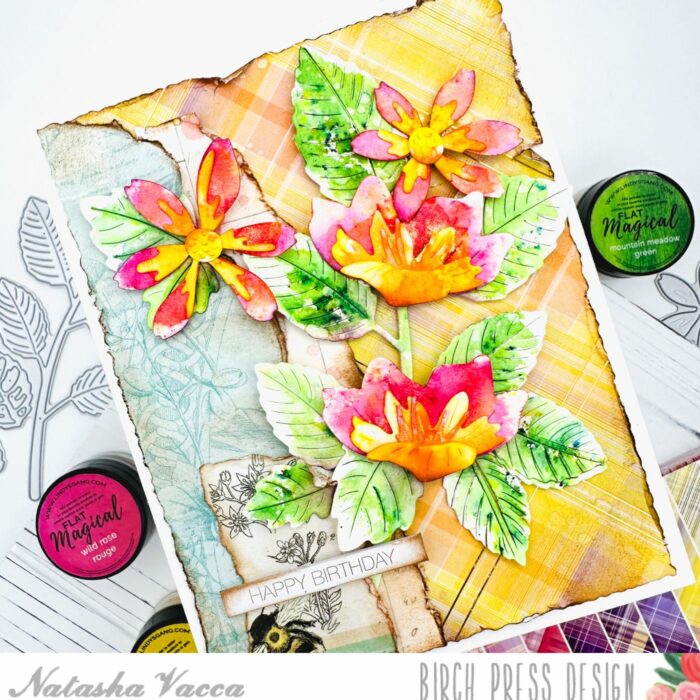
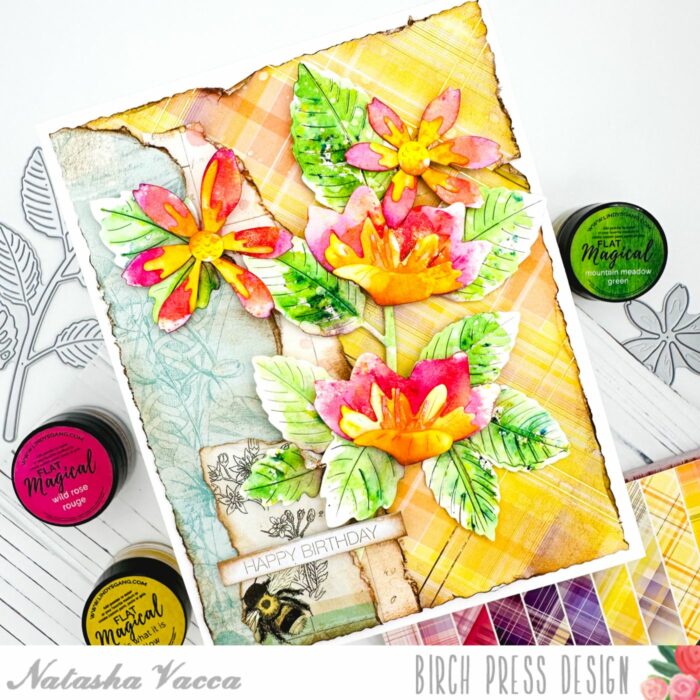
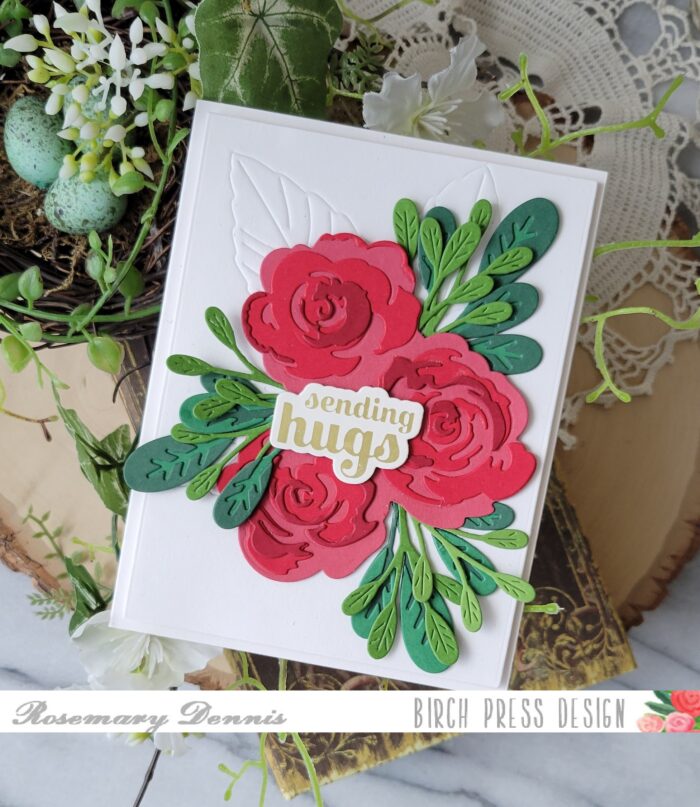
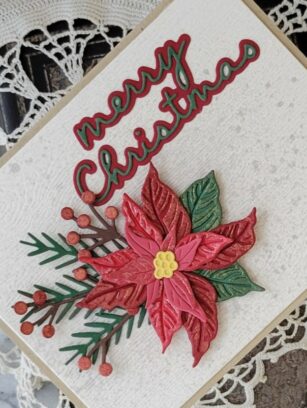
I love the Birch Press Design Poinsettia Contour Layer dies and the new Classic Poinsettia Contour Layers die set is no exception. It is so beautiful! I started by die cutting the layers from three shades of red Memory Box cardstock and one shade of green Memory Box cardstock. I then took the the top layer of each layer of the poinsettia and sprayed them with either Tart Cranberry or Peppermint Stick distress mica sprays. The top layer of the leaf was sprayed with Tree Lot distress mica spray.
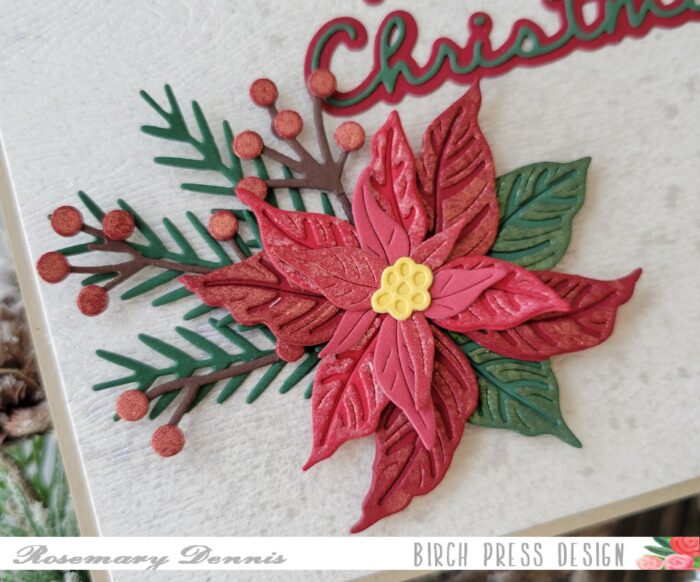
Once the layers were dry I adhered them together with liquid adhesive. The center of the flower was die cut from yellow Memory Box cardstock and layered together with liquid adhesive. I did the same with the leaves. All the layers of the flower were then adhered together with liquid adhesive, as well as the leaves.
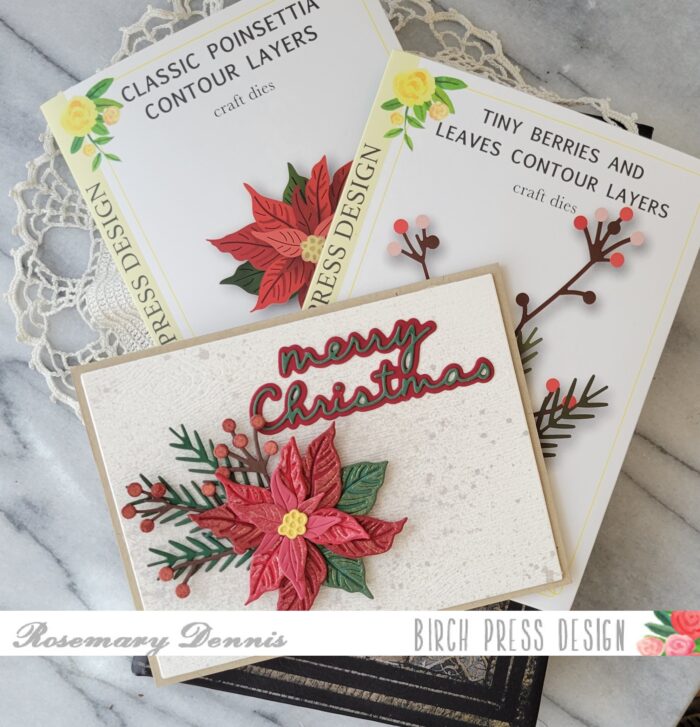
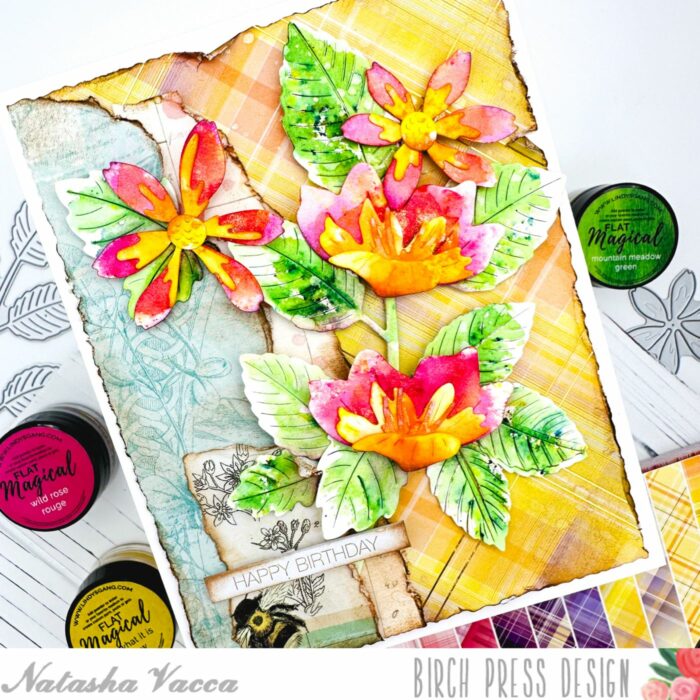
I die cut the pieces from the Tiny Berries and Leaves Contour Layers die from dark green and brown cardstock. The berries were die cut from dark red Memory Box cardstock and sprayed with Tart Cranberry mica spray. I cut down the berry stems to fit my design and then adhered the little berries to the stems with liquid adhesive.
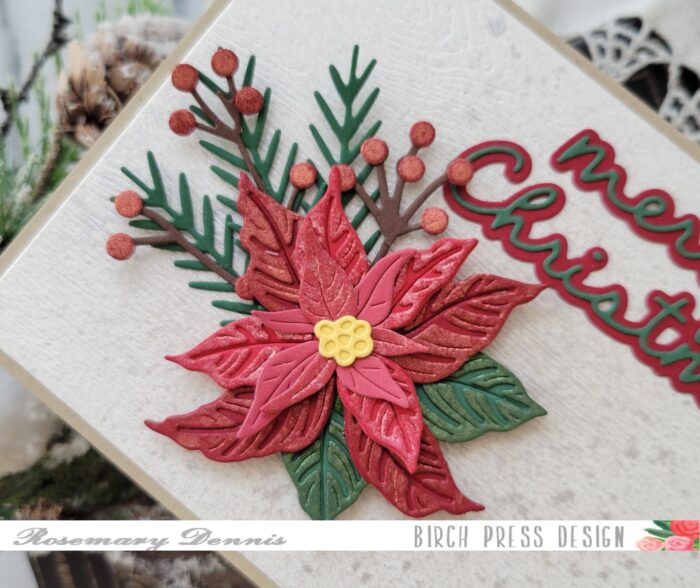
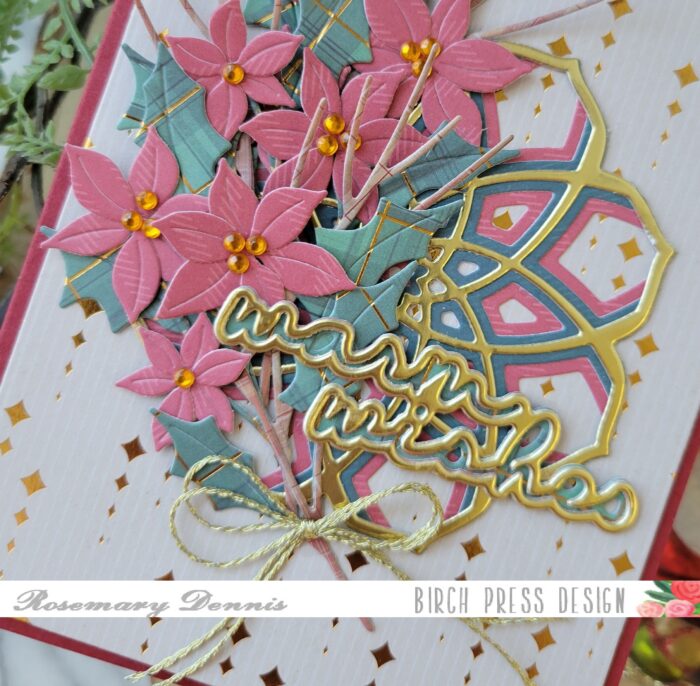
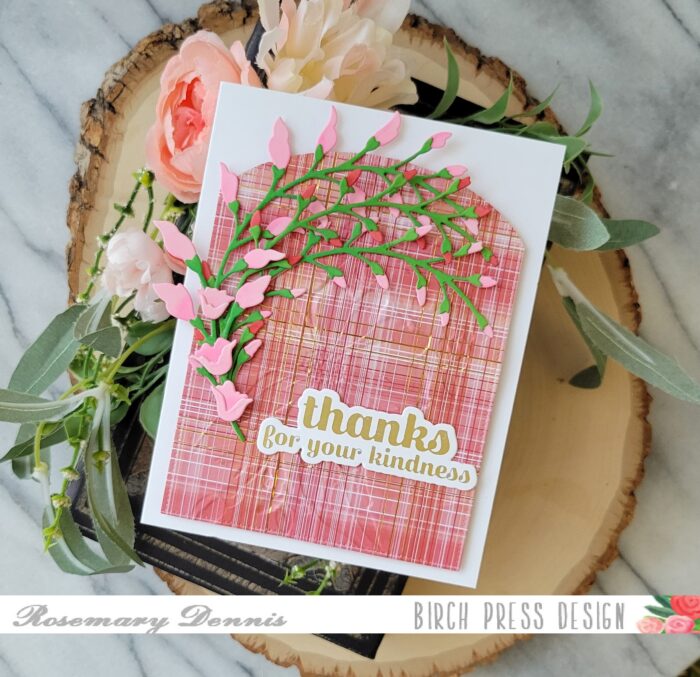
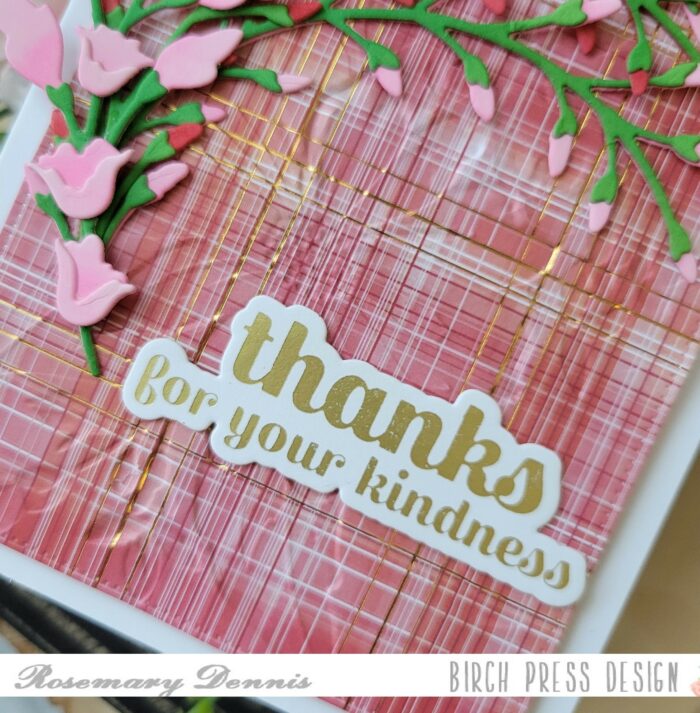
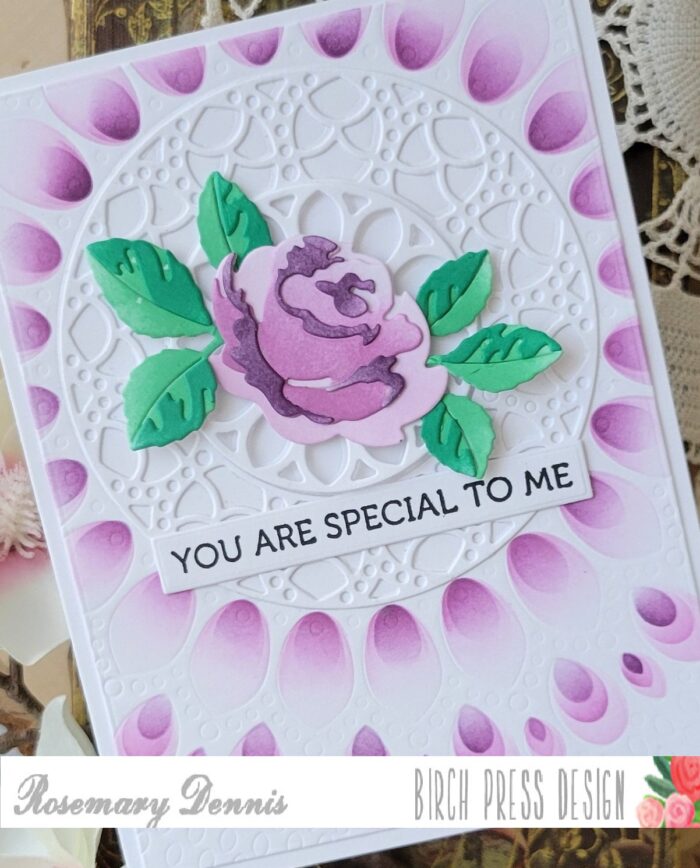
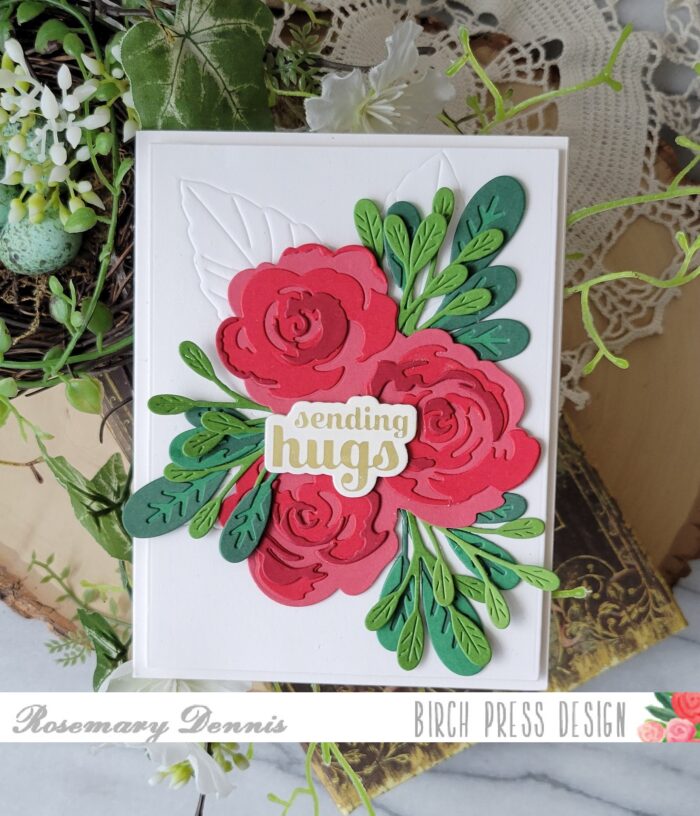
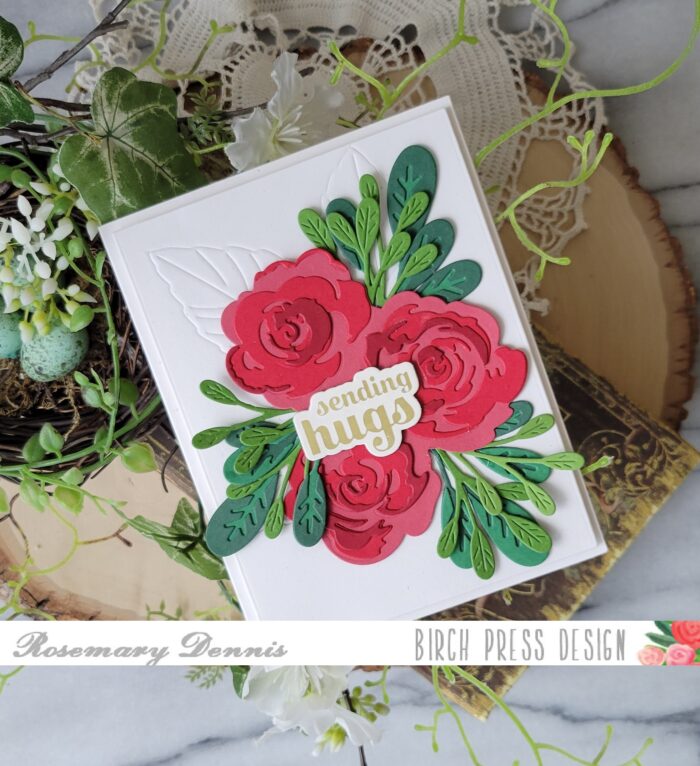
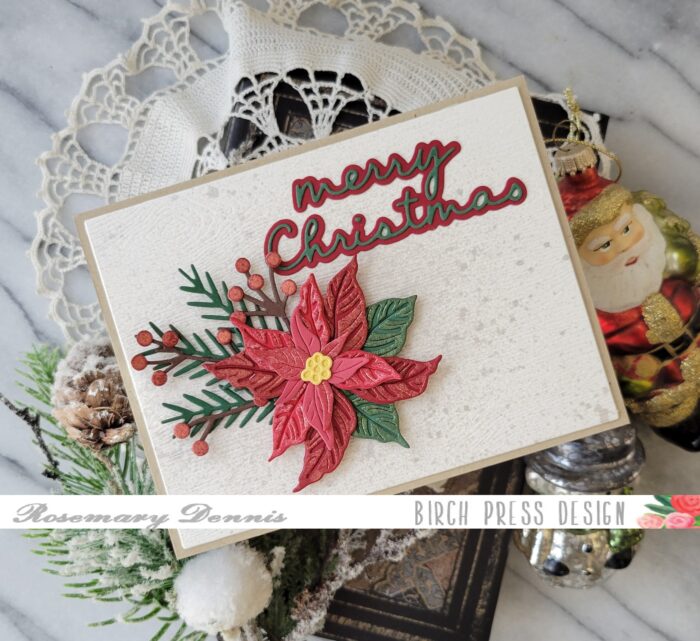
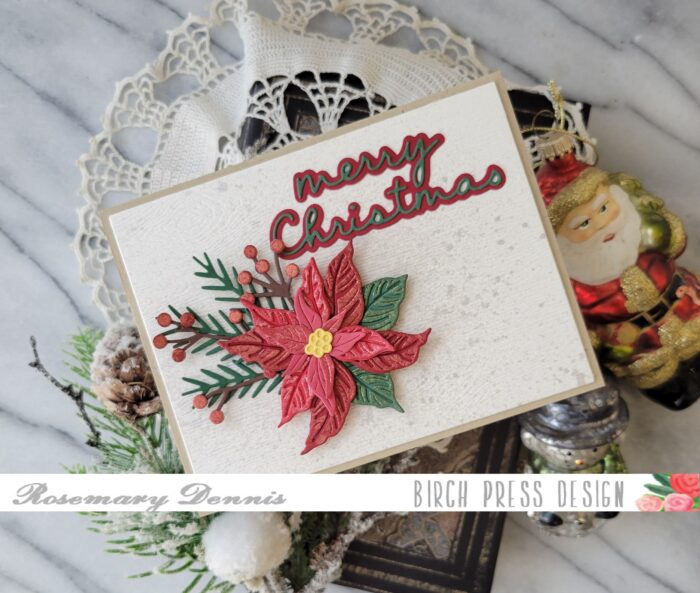
In the close up photos you can see some of the pretty shimmer from the mica sprays. I arranged the leafy stems and the berry stems and then glued them together with liquid adhesive. I did have to trim off a bit of the bottom before apply liquid adhesive to the piece and adding the flower on top as you see in the photos. The sentiment is the new Merry Christmas Confection Script die set and it was die cut from the same cardstock used for the poinsettia and leaves. I adhered the two pieces with liquid glue and let it dry.
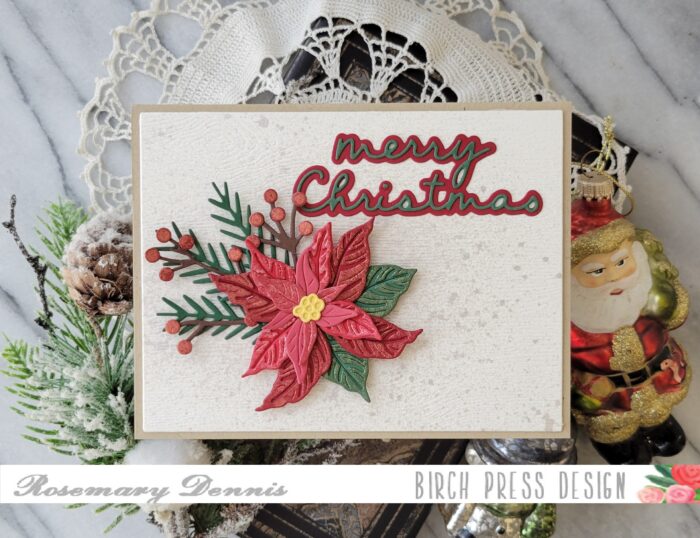
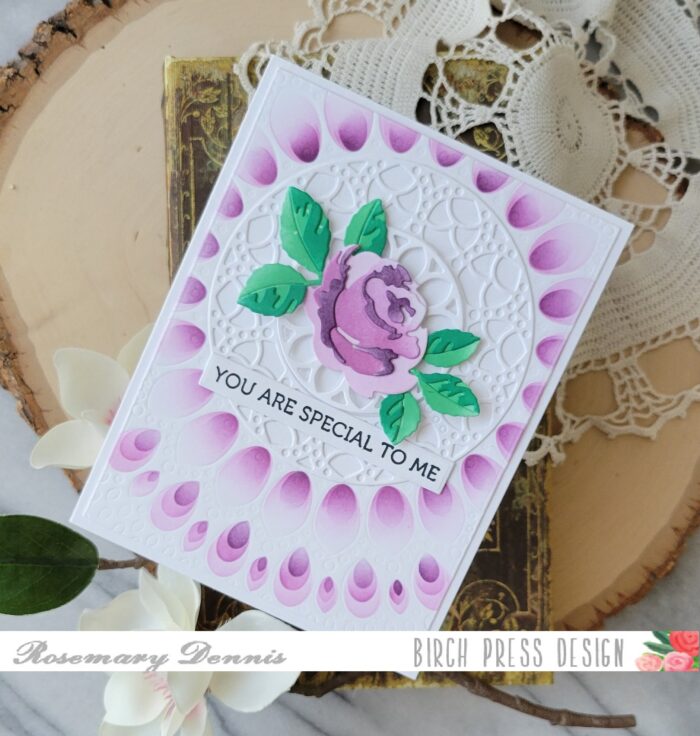
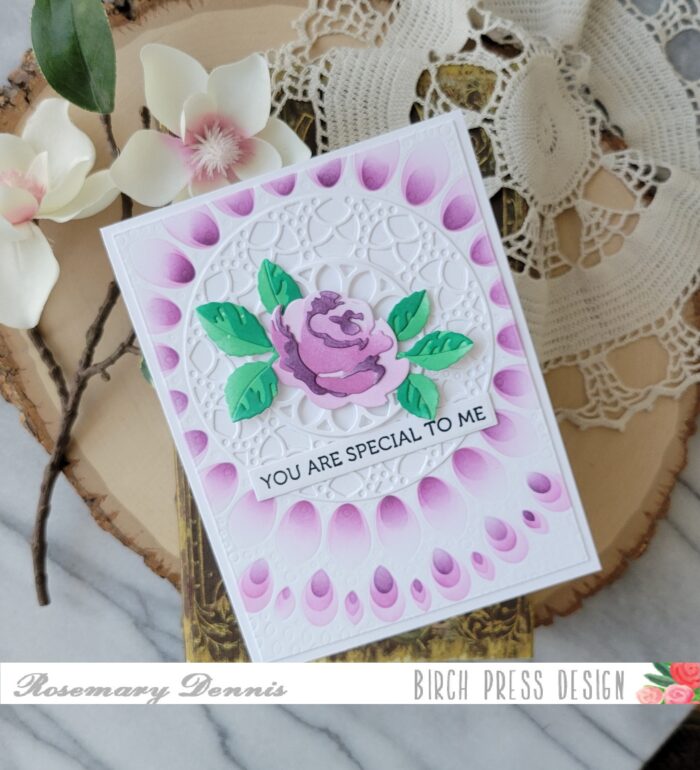
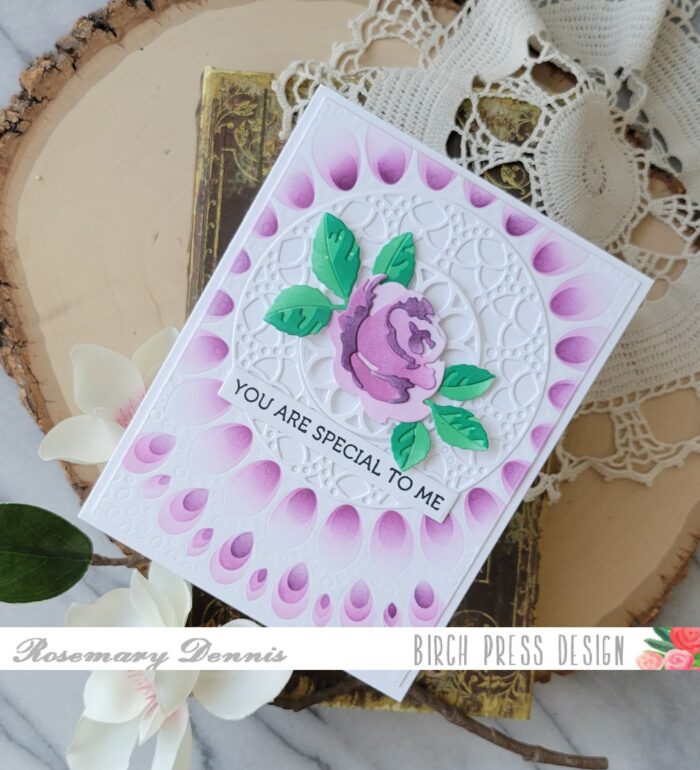
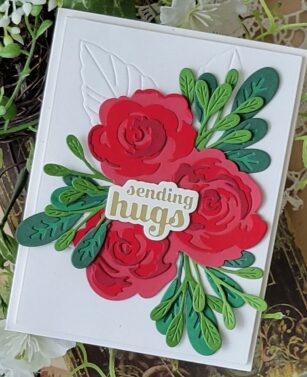
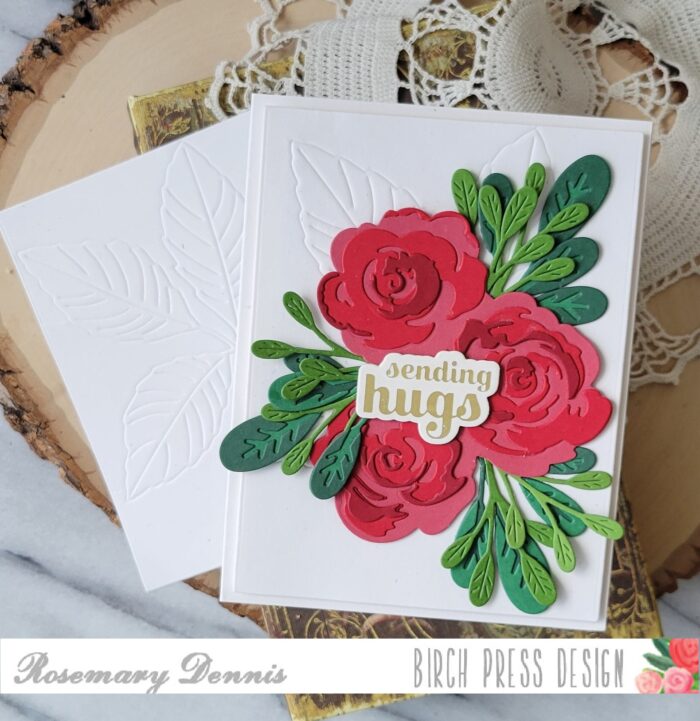
For the background I die cut some cream woodgrain Memory Box cardstock with a rectangle die and then sprayed the piece with Frozen Fog distress mica spray. Once the panel was dry I adhered two additional die cut rectangles behind it for a bit of dimension and then adhered it to my kraft cardstock base with double sided tape. The flower cluster and the sentiment were added to finish the card. Now I have another Christmas card to add to my stash!
I hope you enjoyed today’s card. Thanks for stopping by and have a wonderful day!

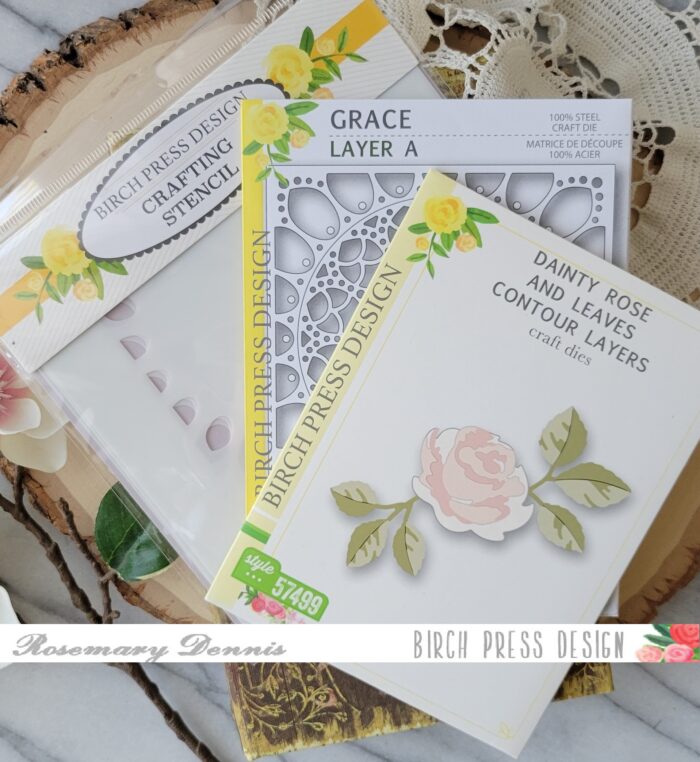
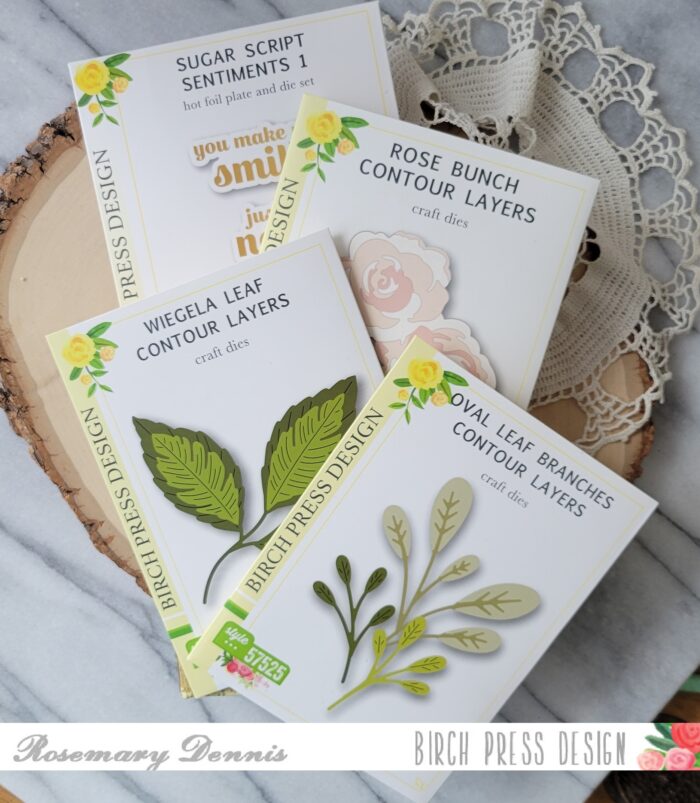
Supplies