Category: Foil Papers

  • Christmas In July | Marisol Ornament | By Renee Moran

    Christmas In July | Marisol Ornament | By Renee Moran

    Hi Everyone, It’s Renee’ from Delaney Jane Cards here with a Christmas in July card! Yes, Christmas in July. I also used an unexpected background die to create the “tree”! Sometimes it is about stretching your dies to make them really worth owning.
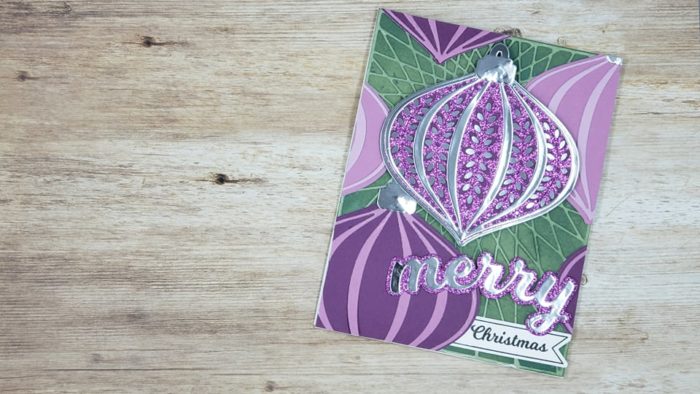
    I really wanted to use the Marisol Ornament layering dies because, let’s face it, they are so beautiful!!! I decided on purple, silver and green for my color scheme.

    I picked out some glitter cardstock, polished cardstock and some purple and green from the cardstock 6×6 stacks.
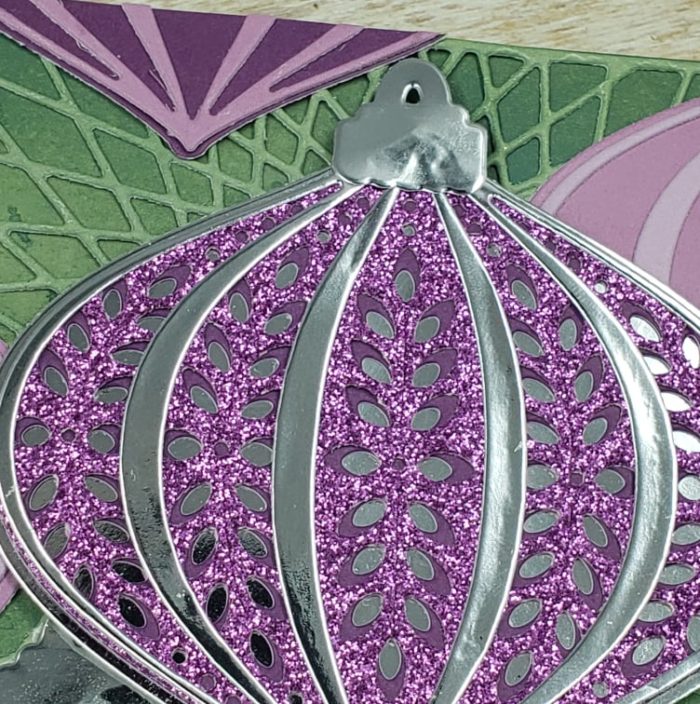
    I created one entire Marisol Layering Die set and used the top layer (a) to create two other ornaments. The Christmas Ornaments and Labels Stamp and Die set has this solid die that works so well with the Marisol Ornament Layering Dies and the topper for the ornament. I used that solid die to back all three ornaments.
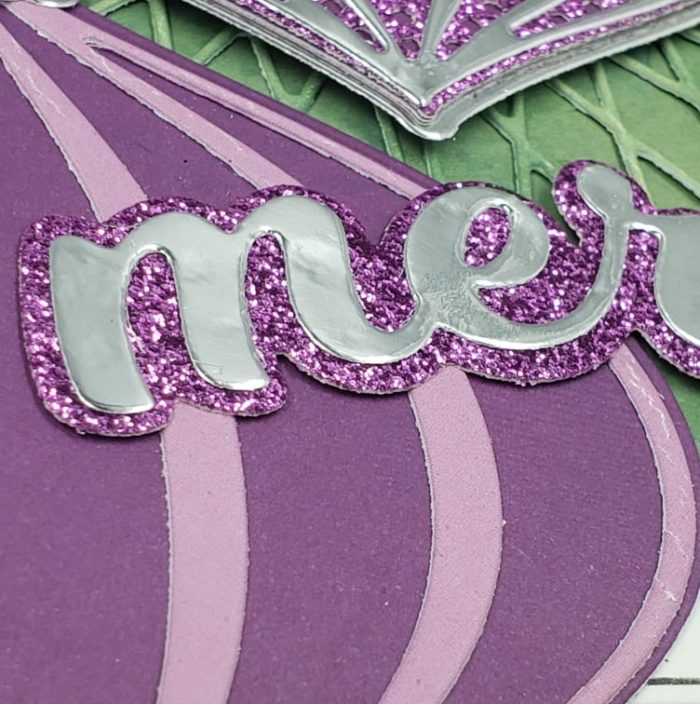
    I added foam tape to the main image and adhered the other two down using liquid adhesive. Then snipped the excess off and adhered them to to other areas on the card. No need to create multiple ornaments when you can use just a few and place the bits and pieces in the blank spaces.

    By being creative with how I layered them atop of the String Art Nativity Star background die I was able to “hide” the star and create the look of the branches of a pine tree. What a cool way to stretch that die, am I right?

    I even stretched the Christmas Ornament and Label Stamp and Die Set and to selectively stamp the sentiment. I wanted to use the Merry Die so I only stamped the word Christmas.
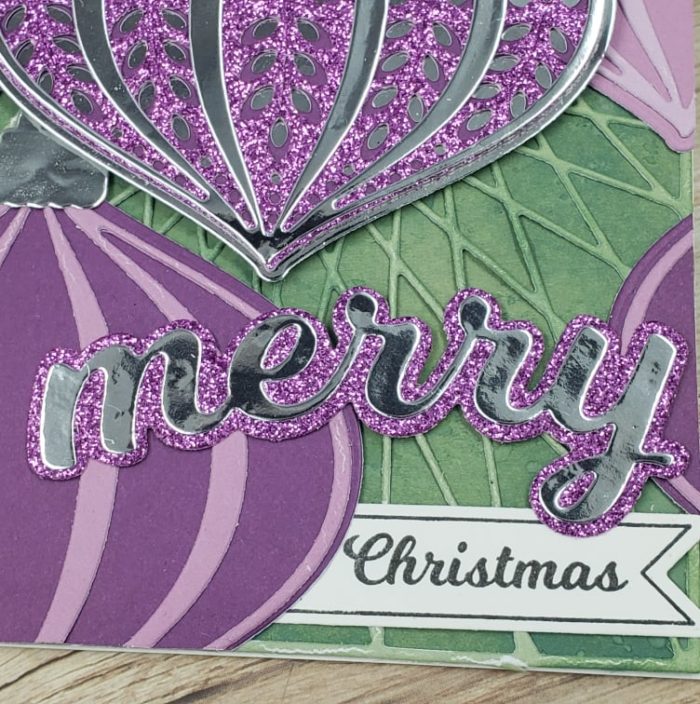
    You’ll have to let me know if you think this “feels” like a closeup of a Christmas tree because I think it does. Also, if you’d like to see how my card came together, you can click on the video below.

    Thank you so much for checking out my card today.

    As I always say,

    Give Cards Generously

    -Renee’

    Supplies
  • Stretch Your Stamp Sets! | By Renee Moran

    Stretch Your Stamp Sets! | By Renee Moran

    Do you get stuck in a rut? You know, flowers, flowers, hearts, rainbows, flowers, more flowers and maybe a cute critter or two? Yep, me too! I’m often searching for ways to create masculine cards with what I have on hand, or looking to find ways to stretch my stamp sets to do more for me than I originally thought.

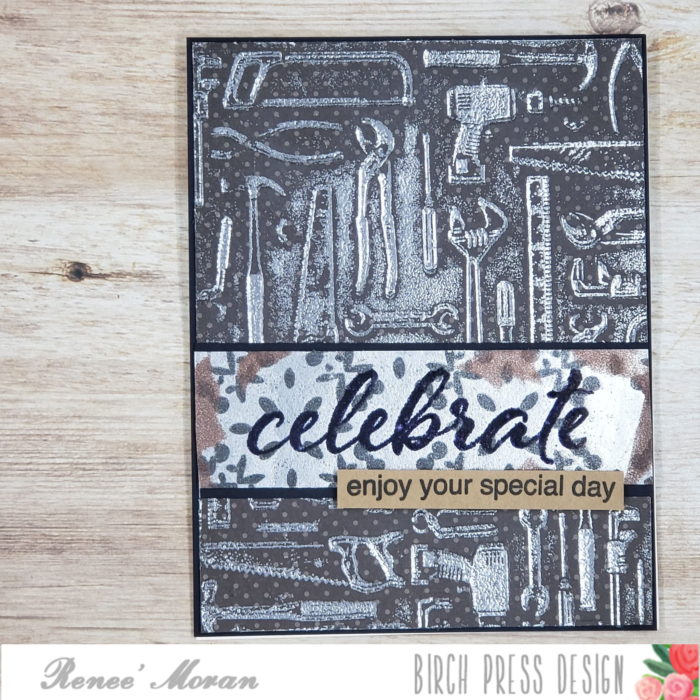
    I created a super masculine card using a super feminine stamp set. It was a super fun challenge and I adore the outcome!

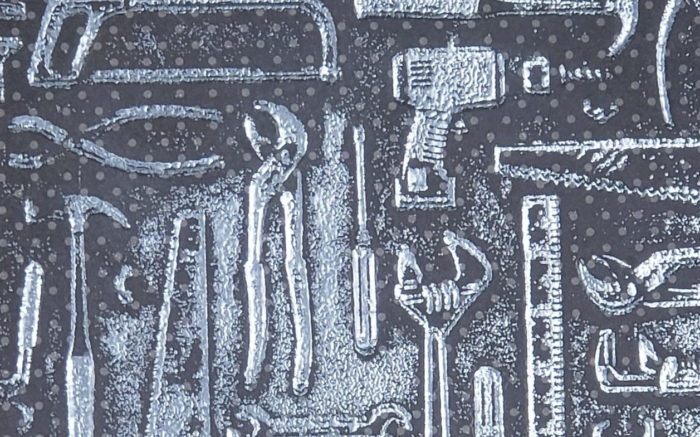
    I dry embossed the Toolshed Embossing folder onto this dots paper from the Garland Stripes and Dots 6×6 but instead of using the embossed side, I used the debossed side. (the side that is pushed in instead of raised)

    By using a watermark ink on the embossing folder I was able to apply ink to the debossed areas and then heat emboss this with silver embossing powder.

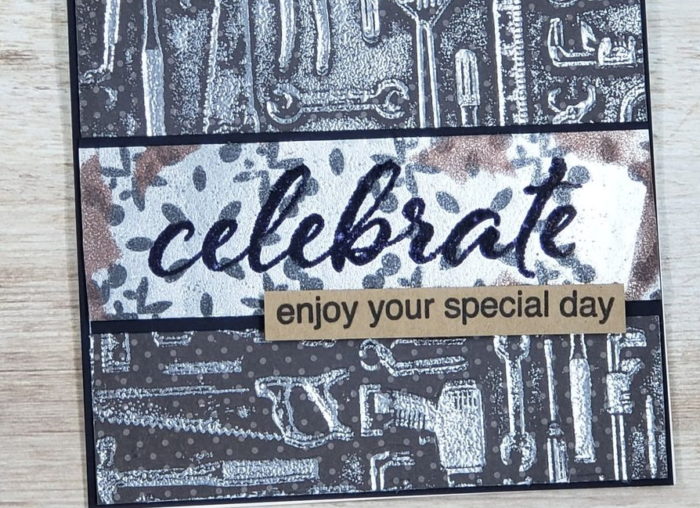
    For my sentiment I wanted to create a “piece of metal” and I started by cutting a piece of the polished foil cardstock. That stuff is so shiny and I left a silly little clip in my video showcasing this card. You’ll have to check that out.

    I started by heat embossing the background from the Celebrate Tile stamp set onto a strip of the polished foil cardstock using some gunmetal embossing powder. After that I heat embossed the sentiment over-top with black embossing powder. I kept adding layers of embossing powder to create “rust” and used a copper embossing powder to add “rust” spots. I finished the entire sentiment strip off with some Matte embossing powder. Over the shiny finish from the polished foil cardstock it created a hammered metal type finish with the depth. It really looks like metal!

    I added a tiny sentiment strip with a coordinating sentiment. I stamped the sentiment on some kraft cardstock to keep with the more masculine feel of this card.

    I’d love to know what you think of my design and of this super fun attempt at creating a masculine card from a feminine stamp set. And if you have any ideas on creative ways to use Celebrate Tile Stamp set. Please let me know in the comments below.

    Also, if you’d like to see how my card came together, you can click on the video below.

    Thank you so much for checking out my card today.

    As I always say,

    Give Cards Generously

    -Renee’

    Supplies

  • Steam Punk Meets Butterfly | By Renee Moran

    Steam Punk Meets Butterfly | By Renee Moran

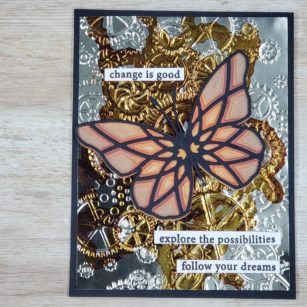
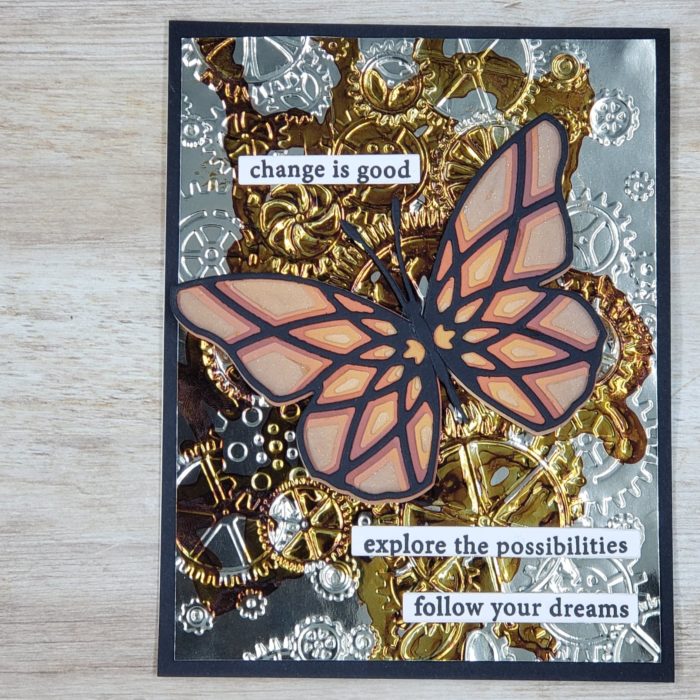
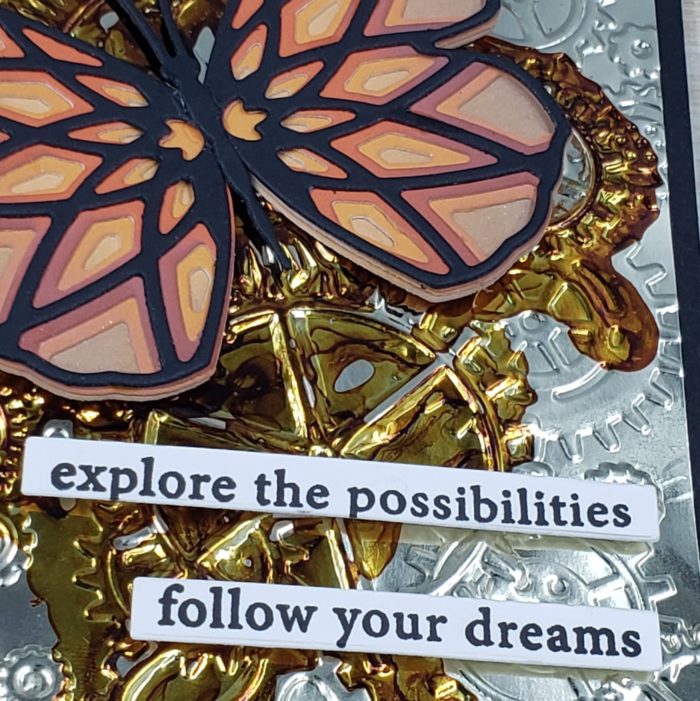
    Hi Everyone, It’s Renee’ from Delaney Jane Cards here with a fantastic challenge. Can A Butterfly Be Steam Punk? The answer: YES!

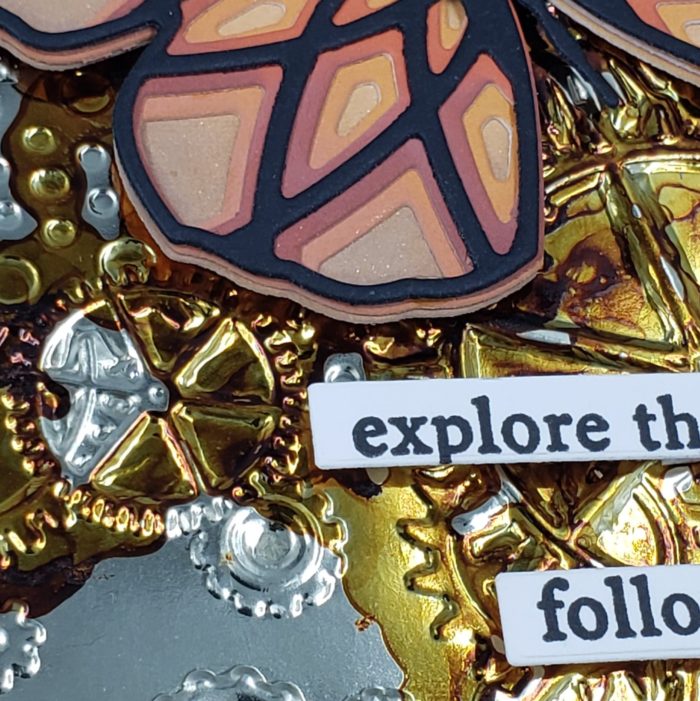
    I used the amazing Starlight Butterfly layering set, the Butterfly Basics, Lovely Butterflies Stamps, The Sunny Orange 6×6 cardstock, Polished Foil paper, Alcohol inks and an embossing folder Put It In Gear by Memory Box.

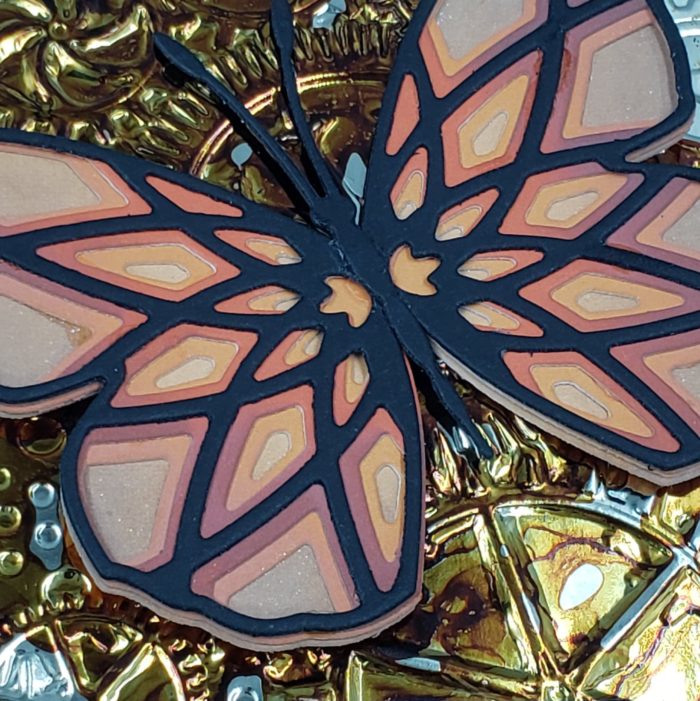
    I layered the butterfly layering dies from the Starlight Butterfly die over the Solid butterfly from the butterfly basics set. I also die cut the butterfly body to finish off my butterfly. All done with the 6×6 paper pads. I love the weight of that cardstock. It cuts like BUTTAH!

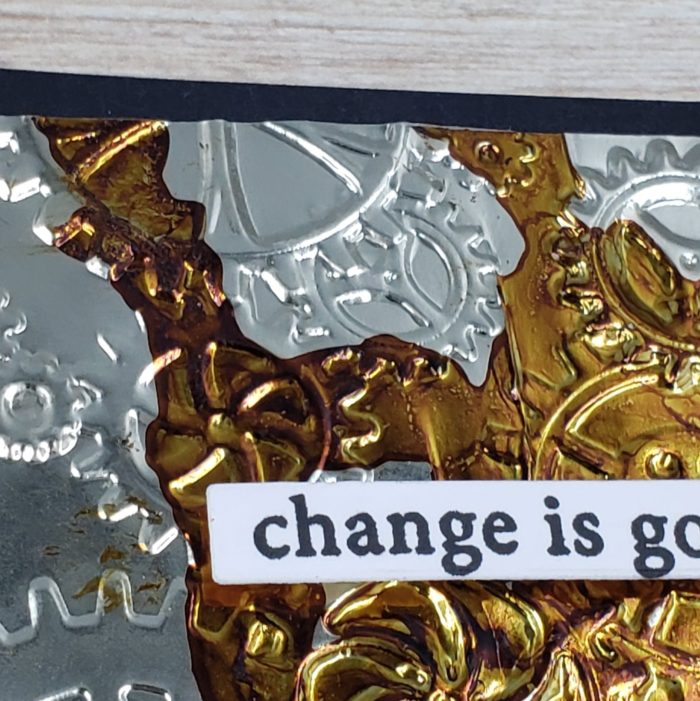
    I wanted to highlight this super cool texture but also tone down this amazing polished foil cardstock. I loved the metallic feel but it needed a bit of grunge. I added a little bit of alcohol ink over this. This polished foil cardstock works so well with alcohol inks, if you are looking for a fun new technique.

    And a single sentiment wasn’t enough, clearly! So I added 3!!! I think they all work well with this card design. These sentiments are in the Lovely Butterfly Stamp Set.

    Oh my creative heart! This card has everything, this photo showcases it so well. Shine, depth, clean lines, graphic sentiments. I’d love to know if this card does the same for your creative heart as it does mine.

    Also, if you’d like to see how my card came together, you can click on the video below.

    Thank you so much for checking out my card today.

    As I always say,

    Give Cards Generously

    -Renee’

    Supplies

  • Quick & Easy Watercolor Rainbow Card | By Renee Moran

    Quick & Easy Watercolor Rainbow Card | By Renee Moran

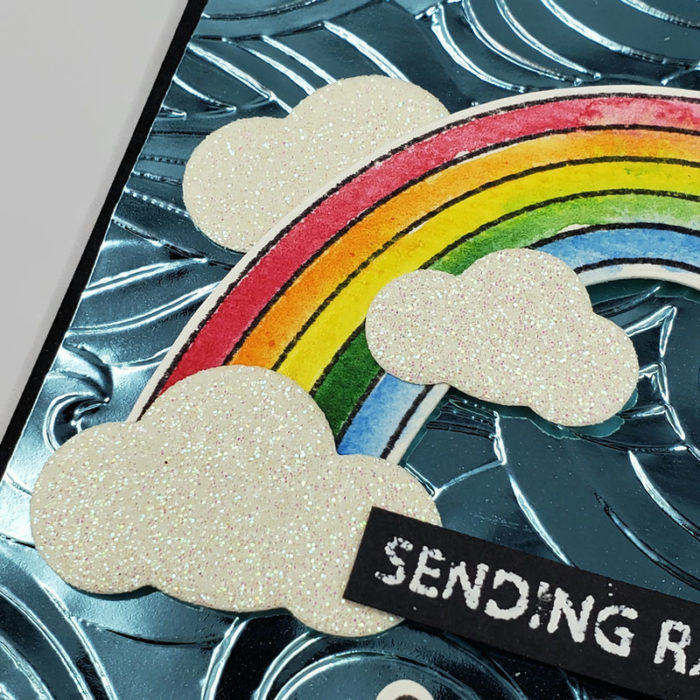
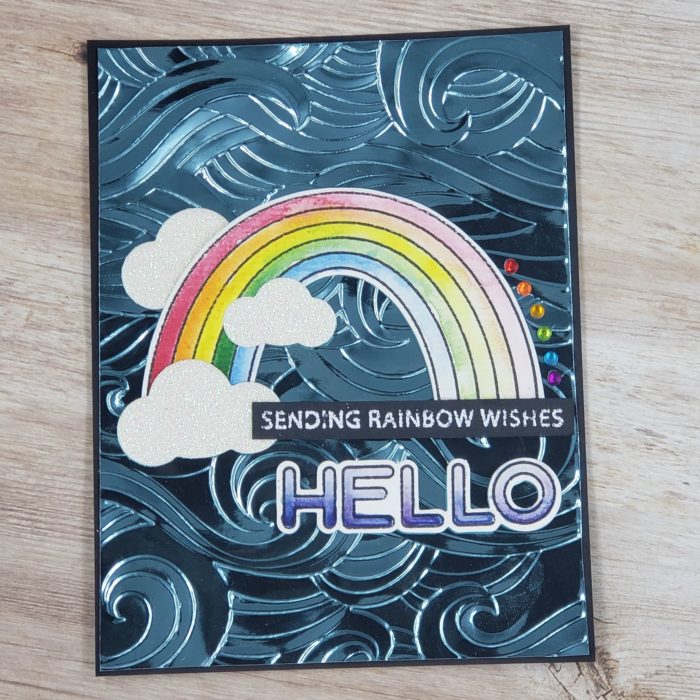
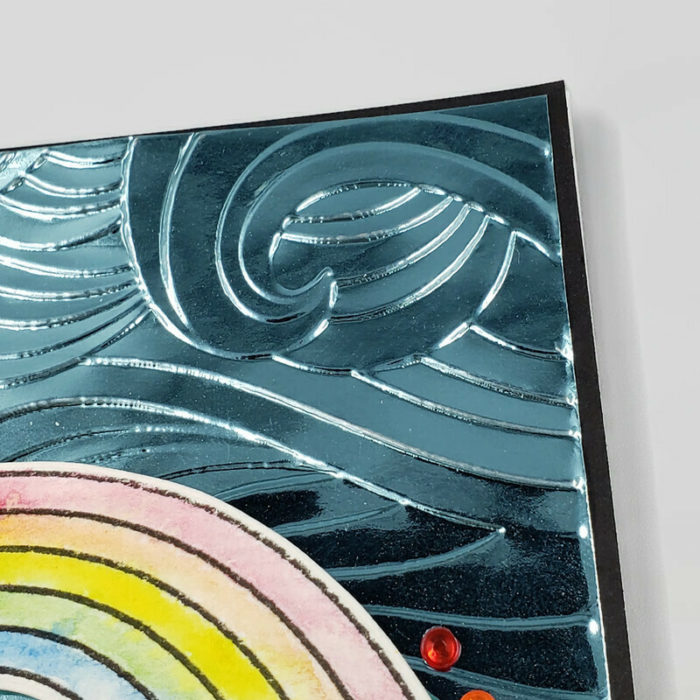
    Hi Everyone! Renee from Delaney Jane Cards here today with a quick and easy project using the Rainbow Days Lingo Notes Stamp Set, Coordinating Dies, Open Studio Watercolor Paper, A fantastic Embossing folder called Waves, Polished Foil Paper and some watercolor fun.

    I thought this embossing folder was reminiscent of blowing wind so I thought it was a good backdrop for this fun watercolored rainbow, especially on this polished foil paper.

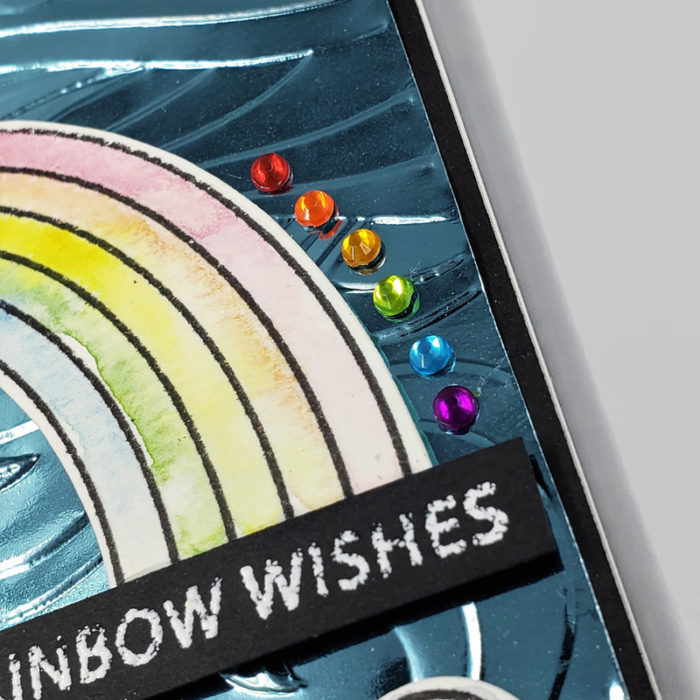
    I used the coordinating dies to cut out the rainbow as well as the hello and even the clouds. A very versatile set for sure! Can you imagine adding a cloud or two to a sweet little scene with these? I cut them from glitter cardstock, from the frosted glitter pad but imagine the possibilities!!!

    I’d love to know what you think of my design and of this gorgeous stamp set. And if you have any ideas on creative ways to use Rainbow Days Lingo Notes Stamp or Stamp and Die set. Please let me know in the comments below.

    Oh, before I forget, I finished the rainbow with these beautiful gems called Fairy Jewels in the Brights collection. These were absolutely perfect for some shine and I was able to follow the curve of the rainbow.

    Also, if you’d like to see how my card came together, you can click on the video below.

    Thank you so much for checking out my card today.

    As I always say,

    Give Cards Generously

    -Renee’

    Supplies

  • Birch Press Design & Memory Box | by Crystal Komara

    Birch Press Design & Memory Box | by Crystal Komara

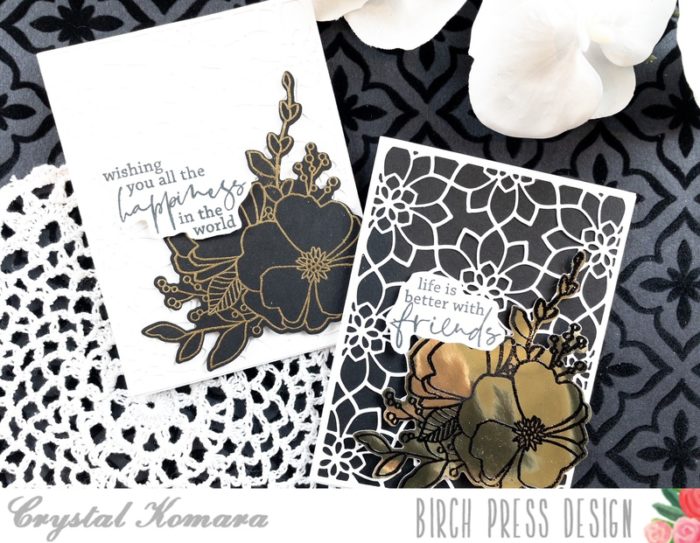
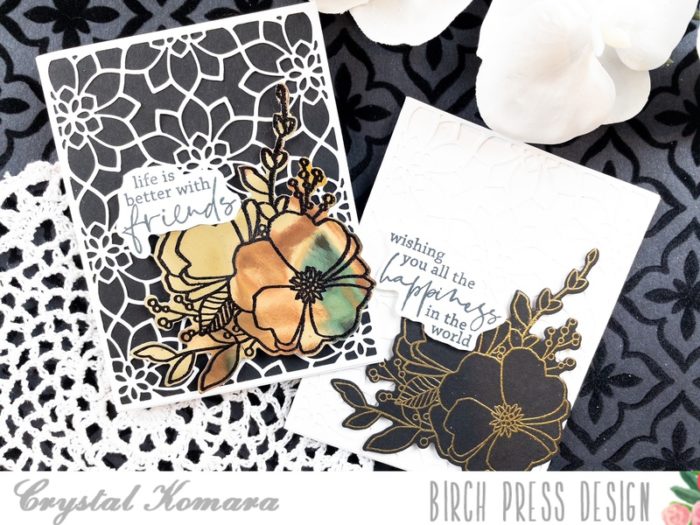
    Hello crafty readers! This is Crystal Komara here with you today sharing two elegant cards created by mixing products from sister companies Birch Press Design and Memory Box. As Design Team members for Birch Press Design, we are fortunate to receive some products from both companies and today I’m showing you how beautifully they compliment each together. Do YOU mix products when you create? I love to mix stamp sets, papers and dies because it allows for an infinite amount of ideas and is a great way to use more of what you own.

    Card details:

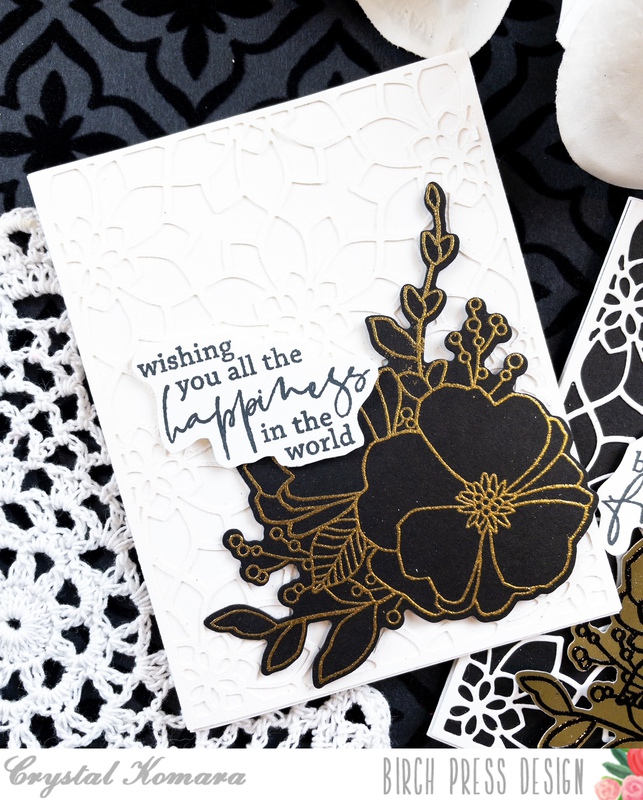
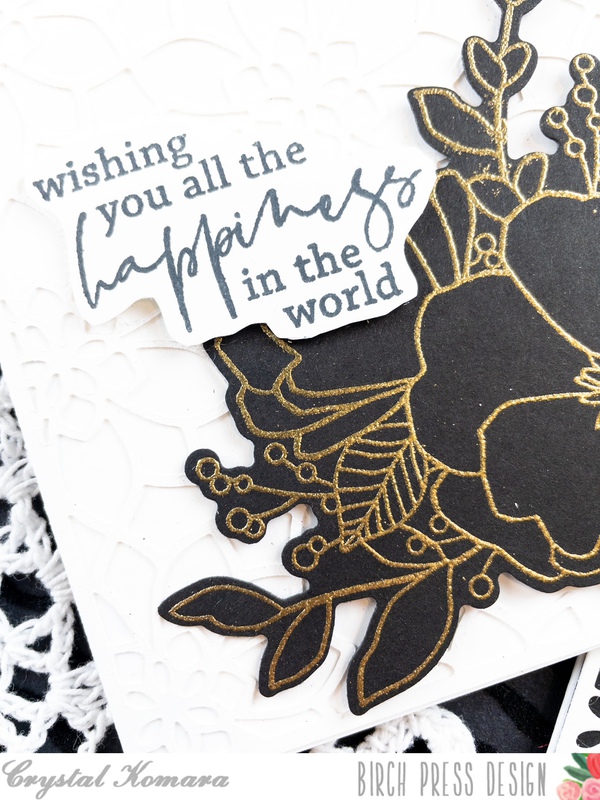
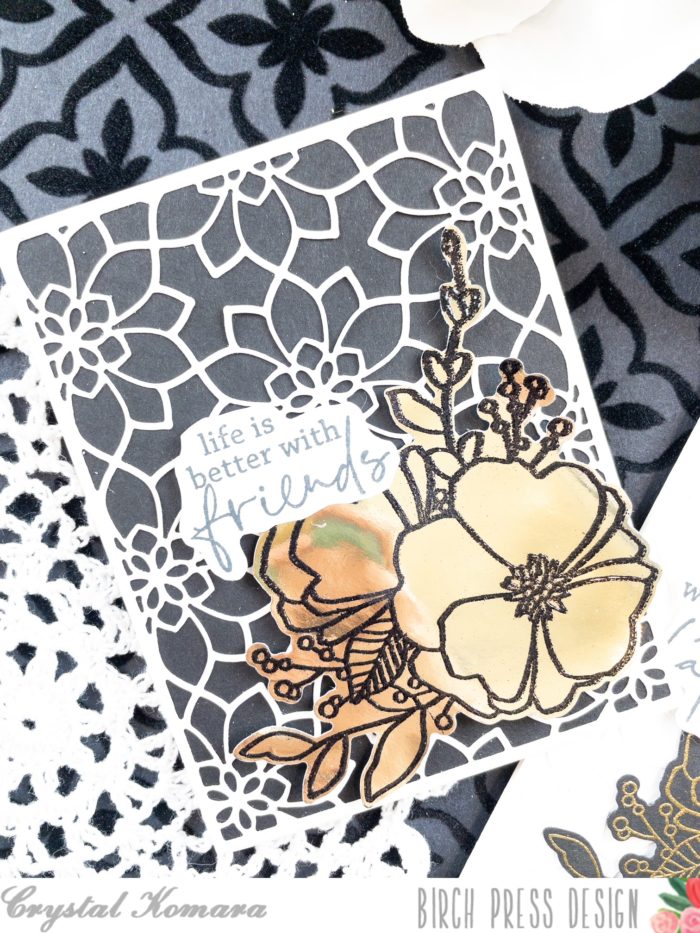
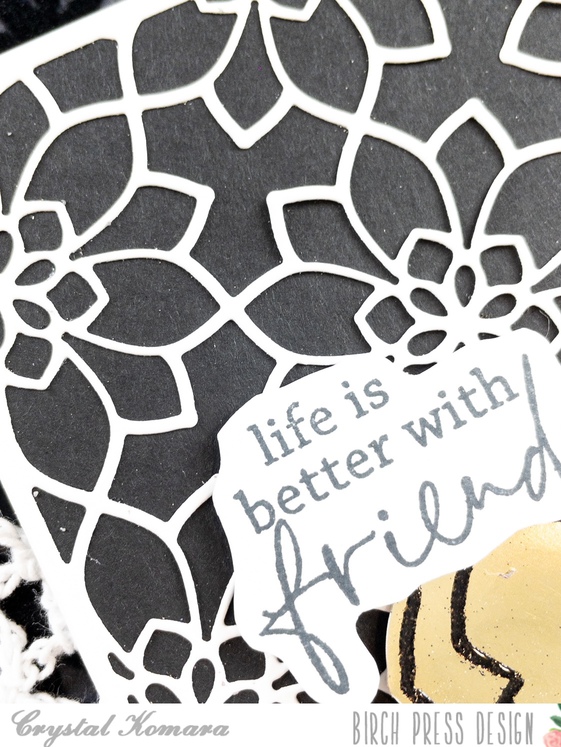
    The base of this A2 sized card was made using 80 lb. Neenah Solar White smooth cardstock. I die cut the first layer from white cardstock using Layer Plate A of the Viola Layering Plate dies. I adhered this intricate layer directly to the card base. Using the All the Happiness stamp set from Memory Box, I stamped the flowers in Versamark ink on black cardstock and heat embossed the image with gold embossing powder. I die cut the flowers using the coordinating All the Happiness dies and adhered it to the lower right side of the card using 3M foam adhesive for added dimension. I stamped the sentiment in Memento Tuxedo black ink on white cardstock and fussy cut the sentiment. I adhered the sentiment to the top left of the flowers.

    Here is the second card that I made using the same products, but a slightly different color combination:

    Card details:

    The base of this A2 sized card is made from 80 lb. Neenah Solar White smooth cardstock. I cut a 5 1/2″ x 4 1/2″ piece of black cardstock and adhered it directly to the card base. Using Layer Plate A of the Viola Layering Plates, I die cut this layer from white cardstock. I adhered this intricate layer directly over the black cardstock. Using the All the Happiness stamp set, I stamped the flowers in Versamark ink on gold foil paper. I heat embossed the image with black embossing powder and used the coordinating All the Happiness dies to die cut the flowers out. I adhered the flowers to the lower right side of the card using 3M foam adhesive for added dimension. I stamped the sentiment in Memento Tuxedo black ink on white cardstock and fussy cut the sentiment. I adhered the sentiment to the top left of the flowers.

    I hope you have enjoyed today’s elegant black and white cards and that you can see the magic you can create when you combine products. Thank you for visiting and have a wonderfully creative day!

    Supplies
  • A Few More Foil Christmas Cards | Tracey McNeely

    A Few More Foil Christmas Cards | Tracey McNeely

    Hi crafty friends, it’s Tracey here today and Happy New Year! Before putting Christmas stamps and dies away for next year, make a few cards while you still feel the holiday spirit. Life in quarantine doesn’t always mean that your ahead of the game and then Christmas shows up. So it’s always good to have a bit of a head start.

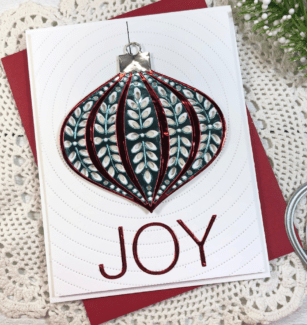
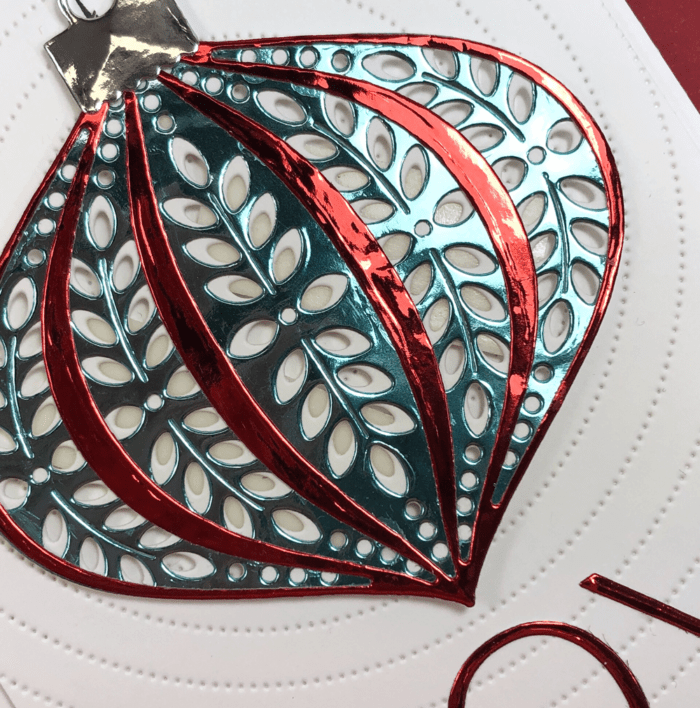
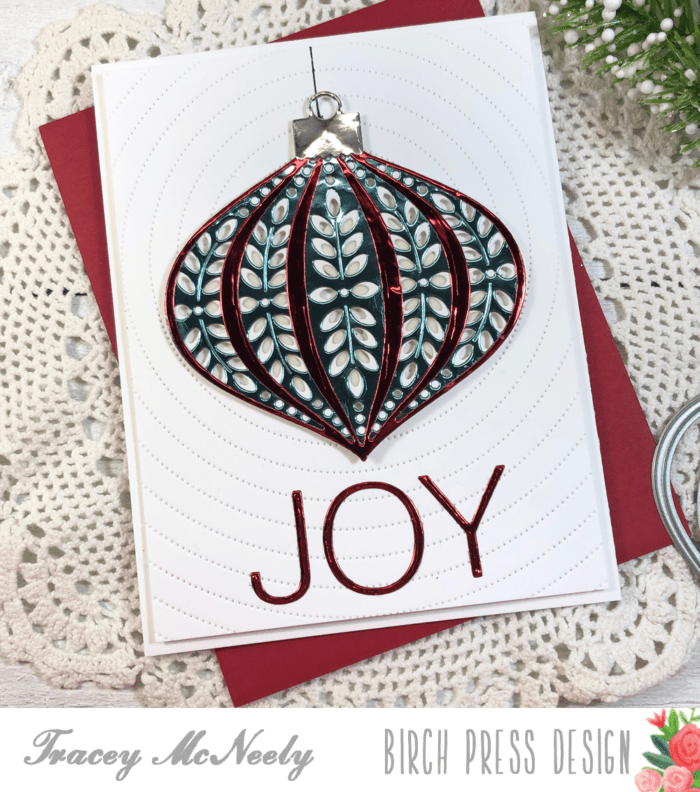
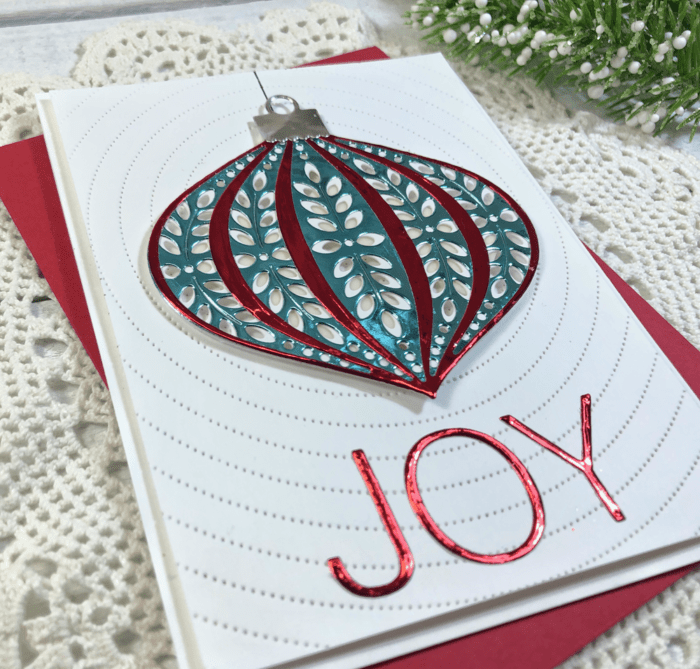
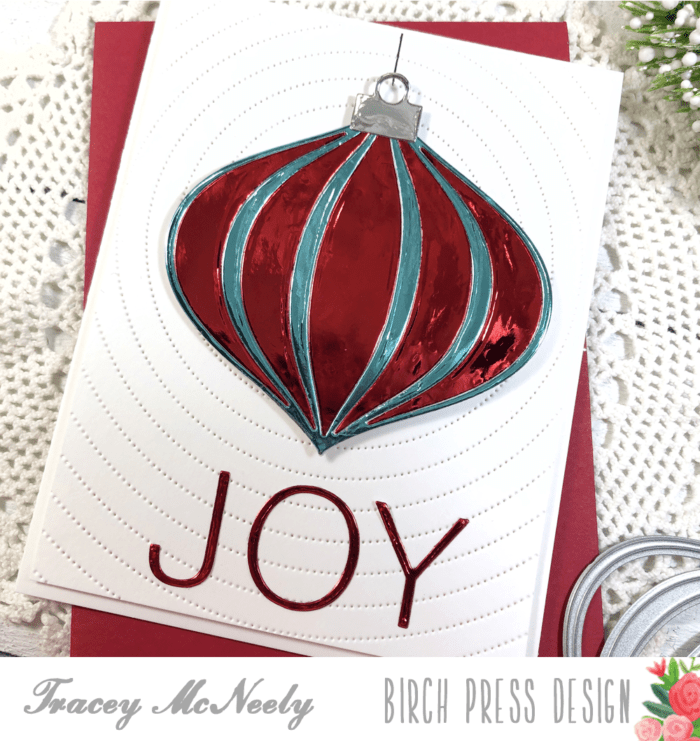
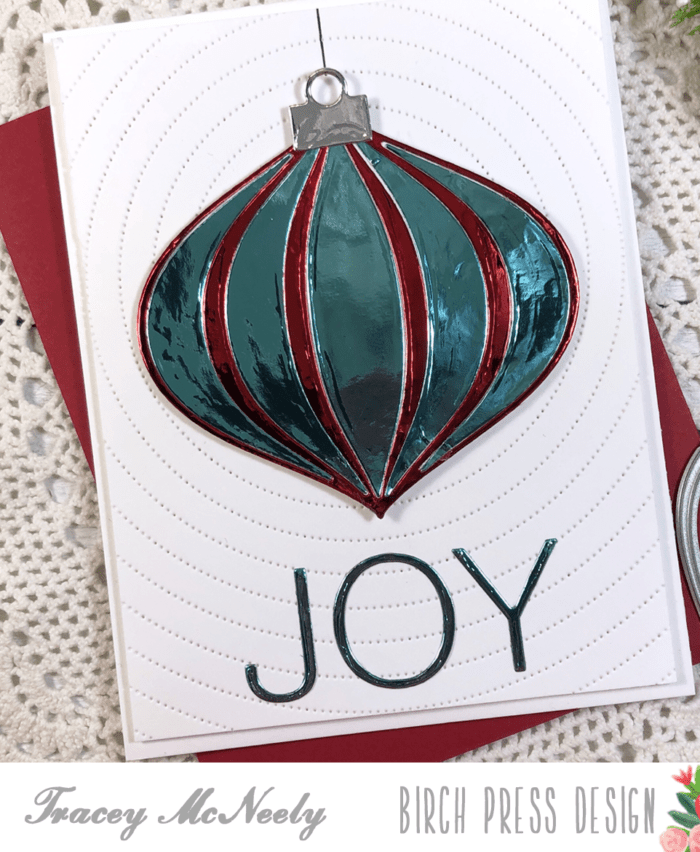
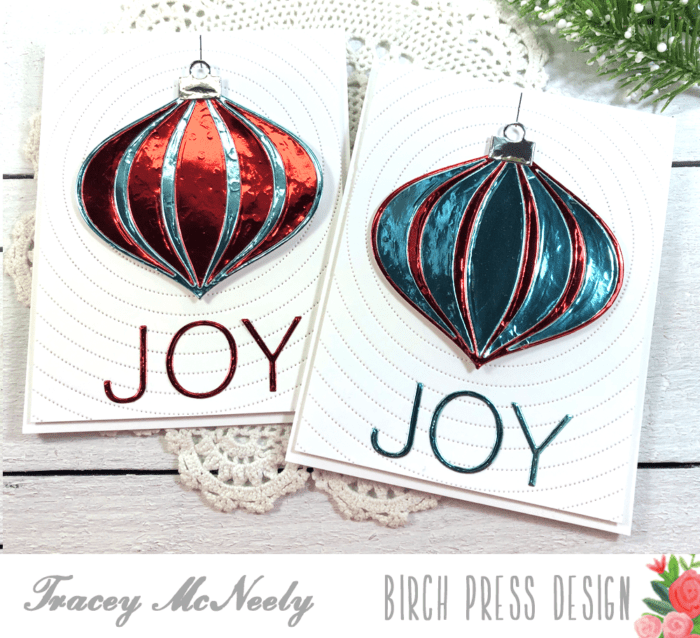
    I wanted to make some of the Birch Press Design Ornaments using foil paper. I chose to make all of my ornaments primarily using the Marisol Ornament Layer Set. I chose red, light aqua and silver foil from the Memory Box Polished Foil Pad and made three cards all using the same three colours each with a different outcome.

    To start off I prepared three top folding card bases. I die cut the Pinpoint Radial Plate from white cardstock then trimmed them down to 5 1/4″ x 4″. I adhered the panels to card bases using foam tape and set them aside.

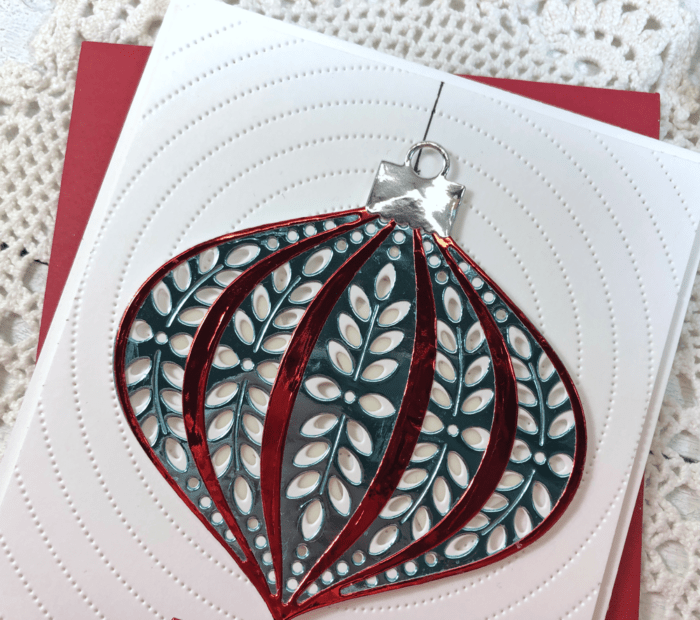
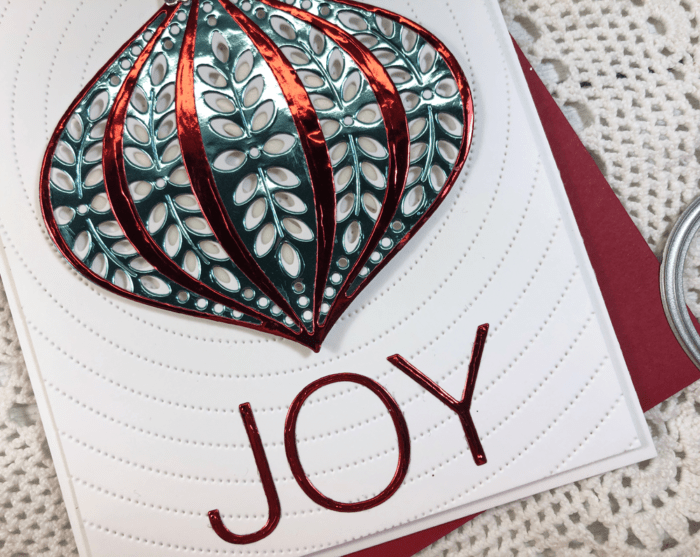
    For the first card I die cut Layer C of the Marisol Ornament Layer Set from white cardstock. Using the polished foil paper I cut the Marisol Ornament Layer B from the light aqua and Marisol Ornament Layer A from red. The ornament cap was die cut in silver foil using the Ornament Basics die set. I carefully assembled the ornament using liquid adhesive.

    TIP: If you get any glue onto your foil die cuts while assembling, set it aside to allow the glue to dry slightly. Then gently use a microfibre cloth to wipe the marks away.

    I drew a string for the ornament onto the Pinpoint Radial panel with a Copic Mutiliner and adhered the ornament with foam tape. The word ‘Joy’ was die cut in red foil using the Simple Joy die set.

    The foil papers work just beautifully with the layered ornaments.

    For the next two cards I cut the ornament shape from the Ornament Basics die set in white carstock. I cut the Marisol Ornament Layer A in both light aqua and red saving the interior pieces so I could inlay the red pieces into the light aqua bauble and the light aqua pieces into the red bauble.

    The ornament caps were die cut in silver foil using the Ornament Basics die set. I drew the ornament strings with a Copic Mutiliner and adhered the ornaments with foam tape. The word ‘Joy’ was die cut in red foil using the Simple Joy die set for the red inlay card and the light aqua for the light aqua inlay card.

    These cards turned out even more elegant than I thought they would. There is something so beautiful about cardmaking with foil.

    Thank you for stopping in today to craft with me. I hope I have inspired you to make a few more cards before for close the door on Christmas for 2020. Come back again for more inspiration here on the Birch Press Design blog!

    Supplies
  • Using Foil Paper with Embossing Folders | by Ardyth

    Using Foil Paper with Embossing Folders | by Ardyth

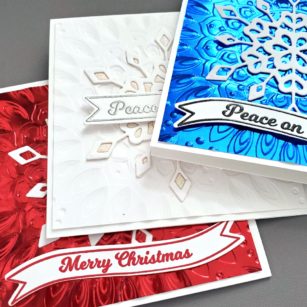
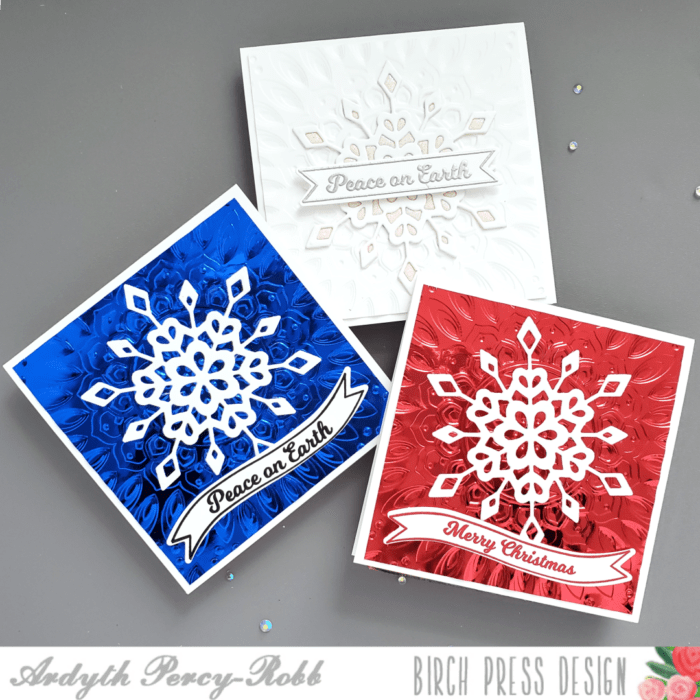
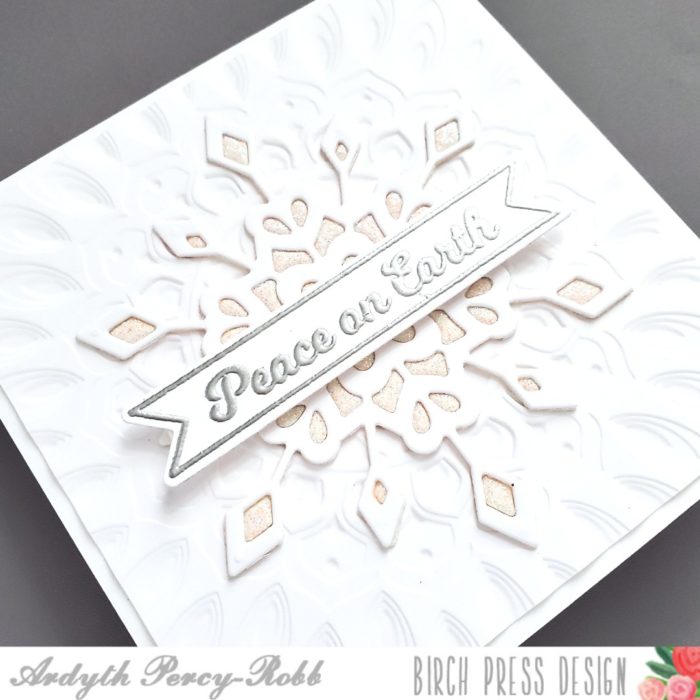
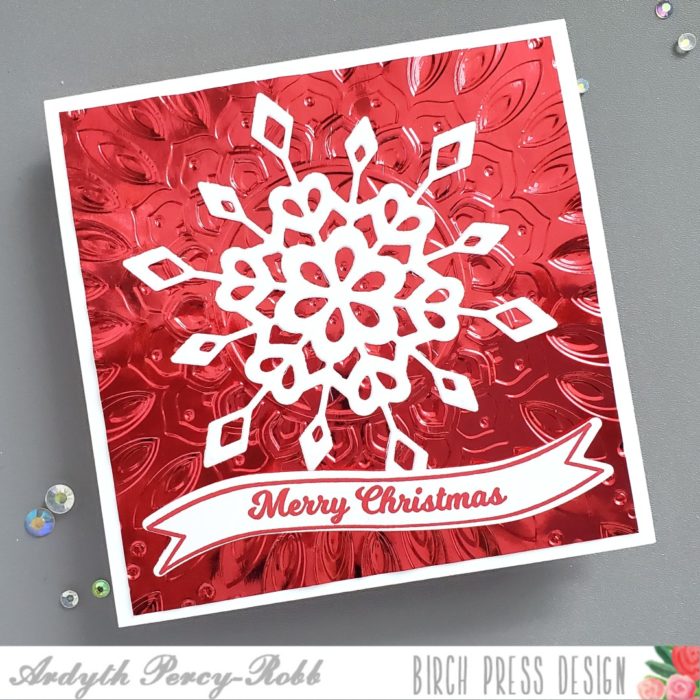
    I love the look of embossed backgrounds – the subtle texture adds so much interest to a solid background! I used the Serene Mandala embossing folder to add dimension to my white background on this card:

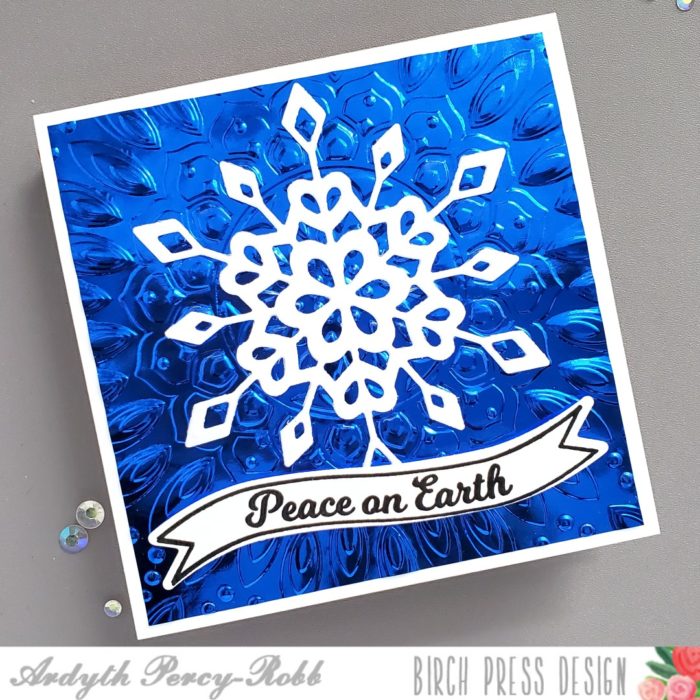
    But you can use embossing folders with specialty cardstock, too! The Polished Foil paper pack is a perfect place to start – this paper is thinner than cardstock, so it embosses beautifully!

    And you can ‘reverse’ the pattern by putting the pretty side of the foil paper on the opposite side of the embossing folder when you run it through your die cutting machine! If you look closely, you can see that the recessed portions are the opposite in my red card than the blue card.

    I finished all 3 of my cards with the B layer of the Frosty Flake set – this die-cut has the perfect proportions to stand on its own, but also looks gorgeous when stacked with the A and C layers!

    My sentiments are banners from the Christmas Ornament and Labels stamp and die set.

    The reflections from the different patterns make these 2 cards sparkle in the light with a retro feel! I hope you’ll be inspired to give this a try!


    Supplies

  • Just One Layer | by Tracey McNeely

    Just One Layer | by Tracey McNeely

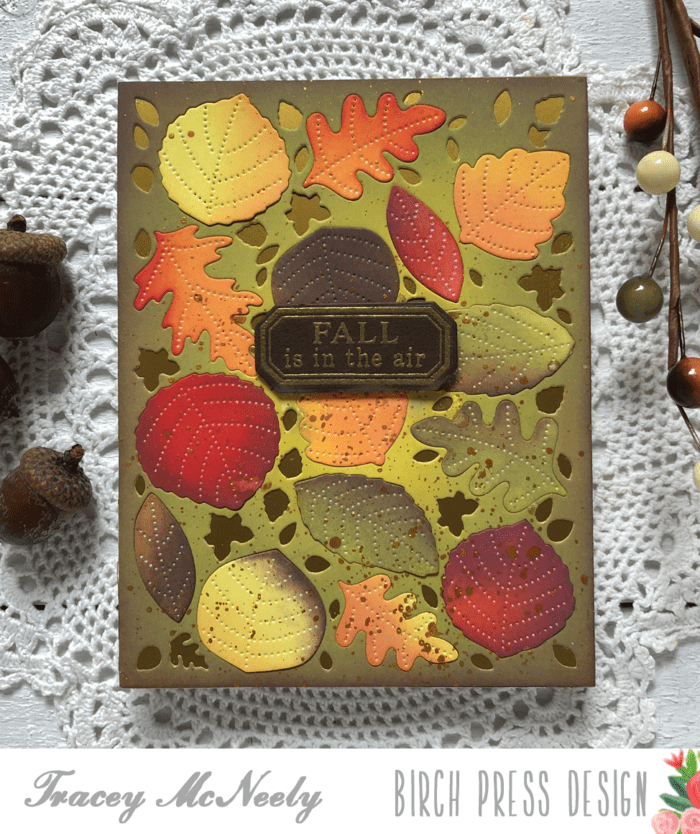
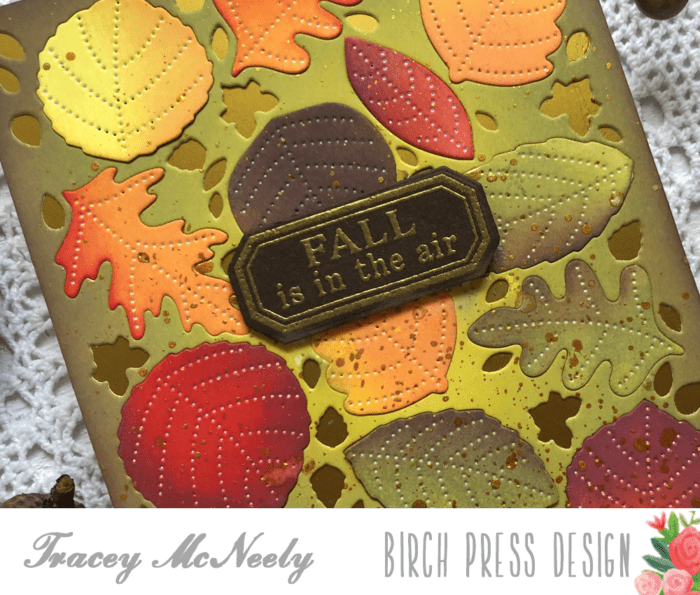
    Hi there and Happy Fall! It’s Tracey here today and as I was blending my leaves for today’s post the leaves outside my window are almost blending just as fast. Just like a light switch summer turned off and autumn has arrived.

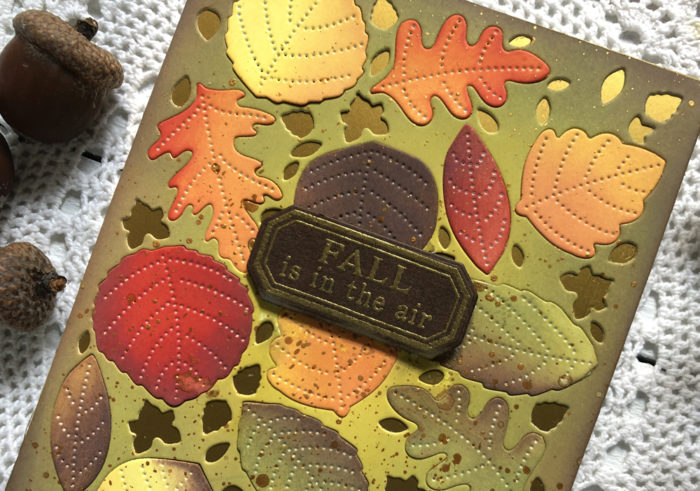
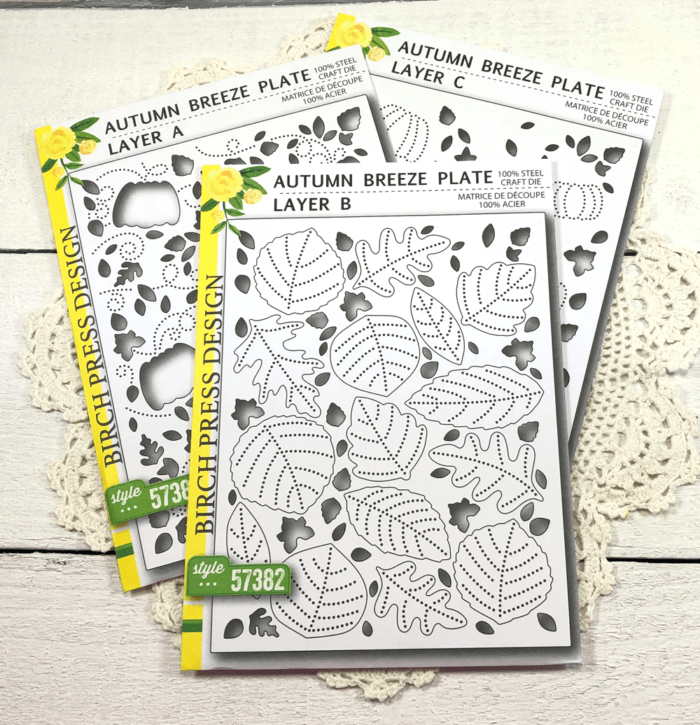
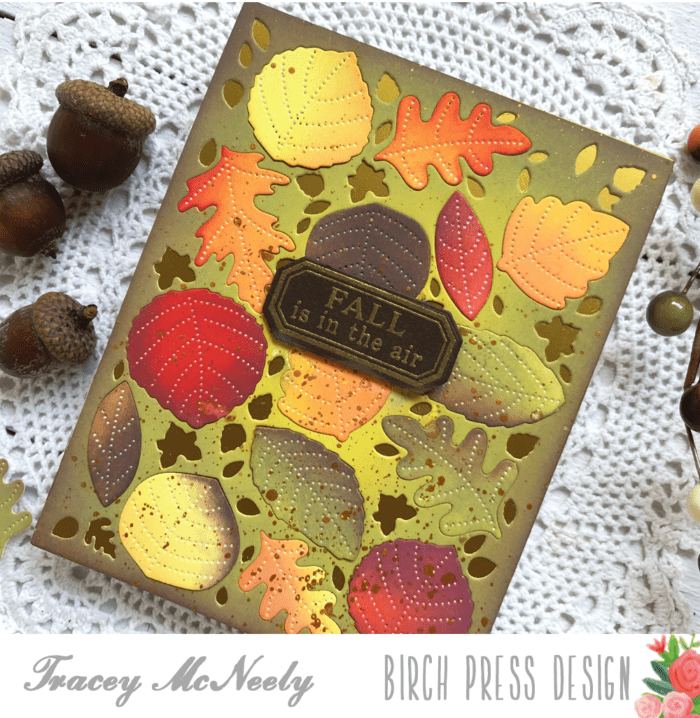
    For today’s card I used only one die, Layer B, from the Autumn Breeze Layer dies. A brilliantly designed set of three dies that all work together but can each work independently of one another giving you options to showcase two different scenes. Layer B can be used all on it’s own and cuts all these beautiful stitched leaves.

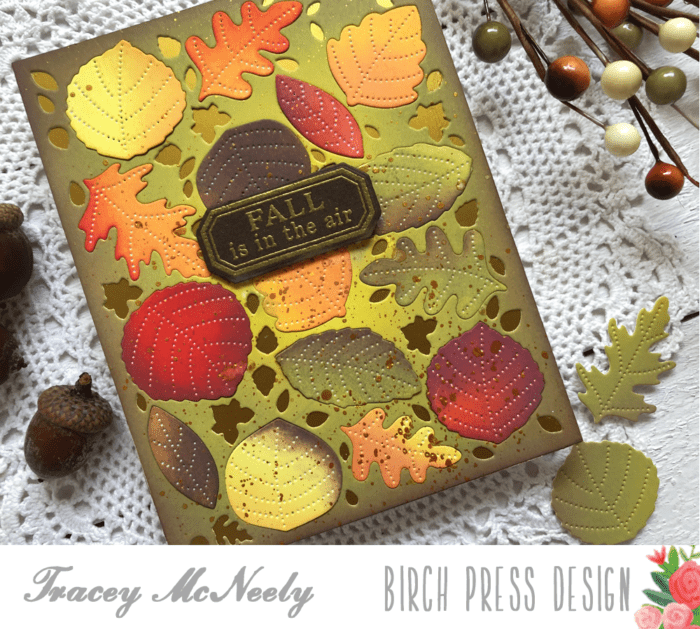
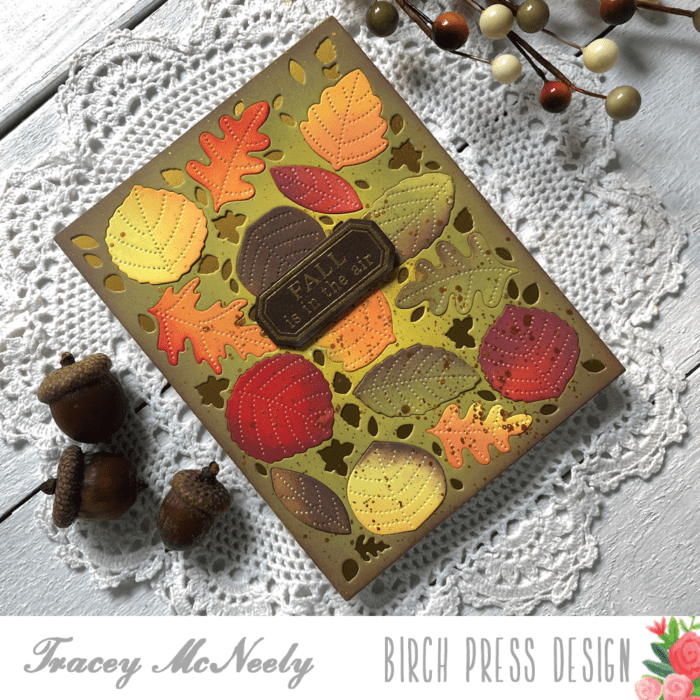
    I cut a panel from Bristol Smooth cardstock and I ink blended each individual leaf using Distress Oxide inks. I used Squeezed Lemonade, Wild Honey, Spiced Marmalade, Candied Apple, Fired Brick, Ripe Persimmon, Peeled Paint and Walnut Stain to create a variety of different coloured leaves.

    I cut another A2 sized panel of Bristol Smooth cardstock and then ink blended a background using more Distress Oxide inks. I started with Crushed Olive and then brought in some Peeled Paint from the edges and finished off with some Walnut Stain just on the edges.

    I covered the card front with a piece of gold paper from the Polished Foil pad and then I adhered the green ink blended panel over top. Each one of the blended leaves was inlaid into the die cut. The gold splatters were created from red gold metallic watercolours.

    Once dry I added a sentiment from the Pumpkin Lacework stamp set. I used the ‘Fall is in the air’ quote which I gold embossed on brown cardstock and die cut it with the co-ordinating Pumpkin Lacework die set. The sentiment was added with foam tape to complete the card.

    Thank you so much for stopping by today and I really hope I tweeked your interest to look at your layered die sets a bit differently. What you can do with only one layer?

    Happy Crafting!

    Supplies