Category: Friendship

  • Elegant Koi | by Rosemary Dennis

    Elegant Koi | by Rosemary Dennis

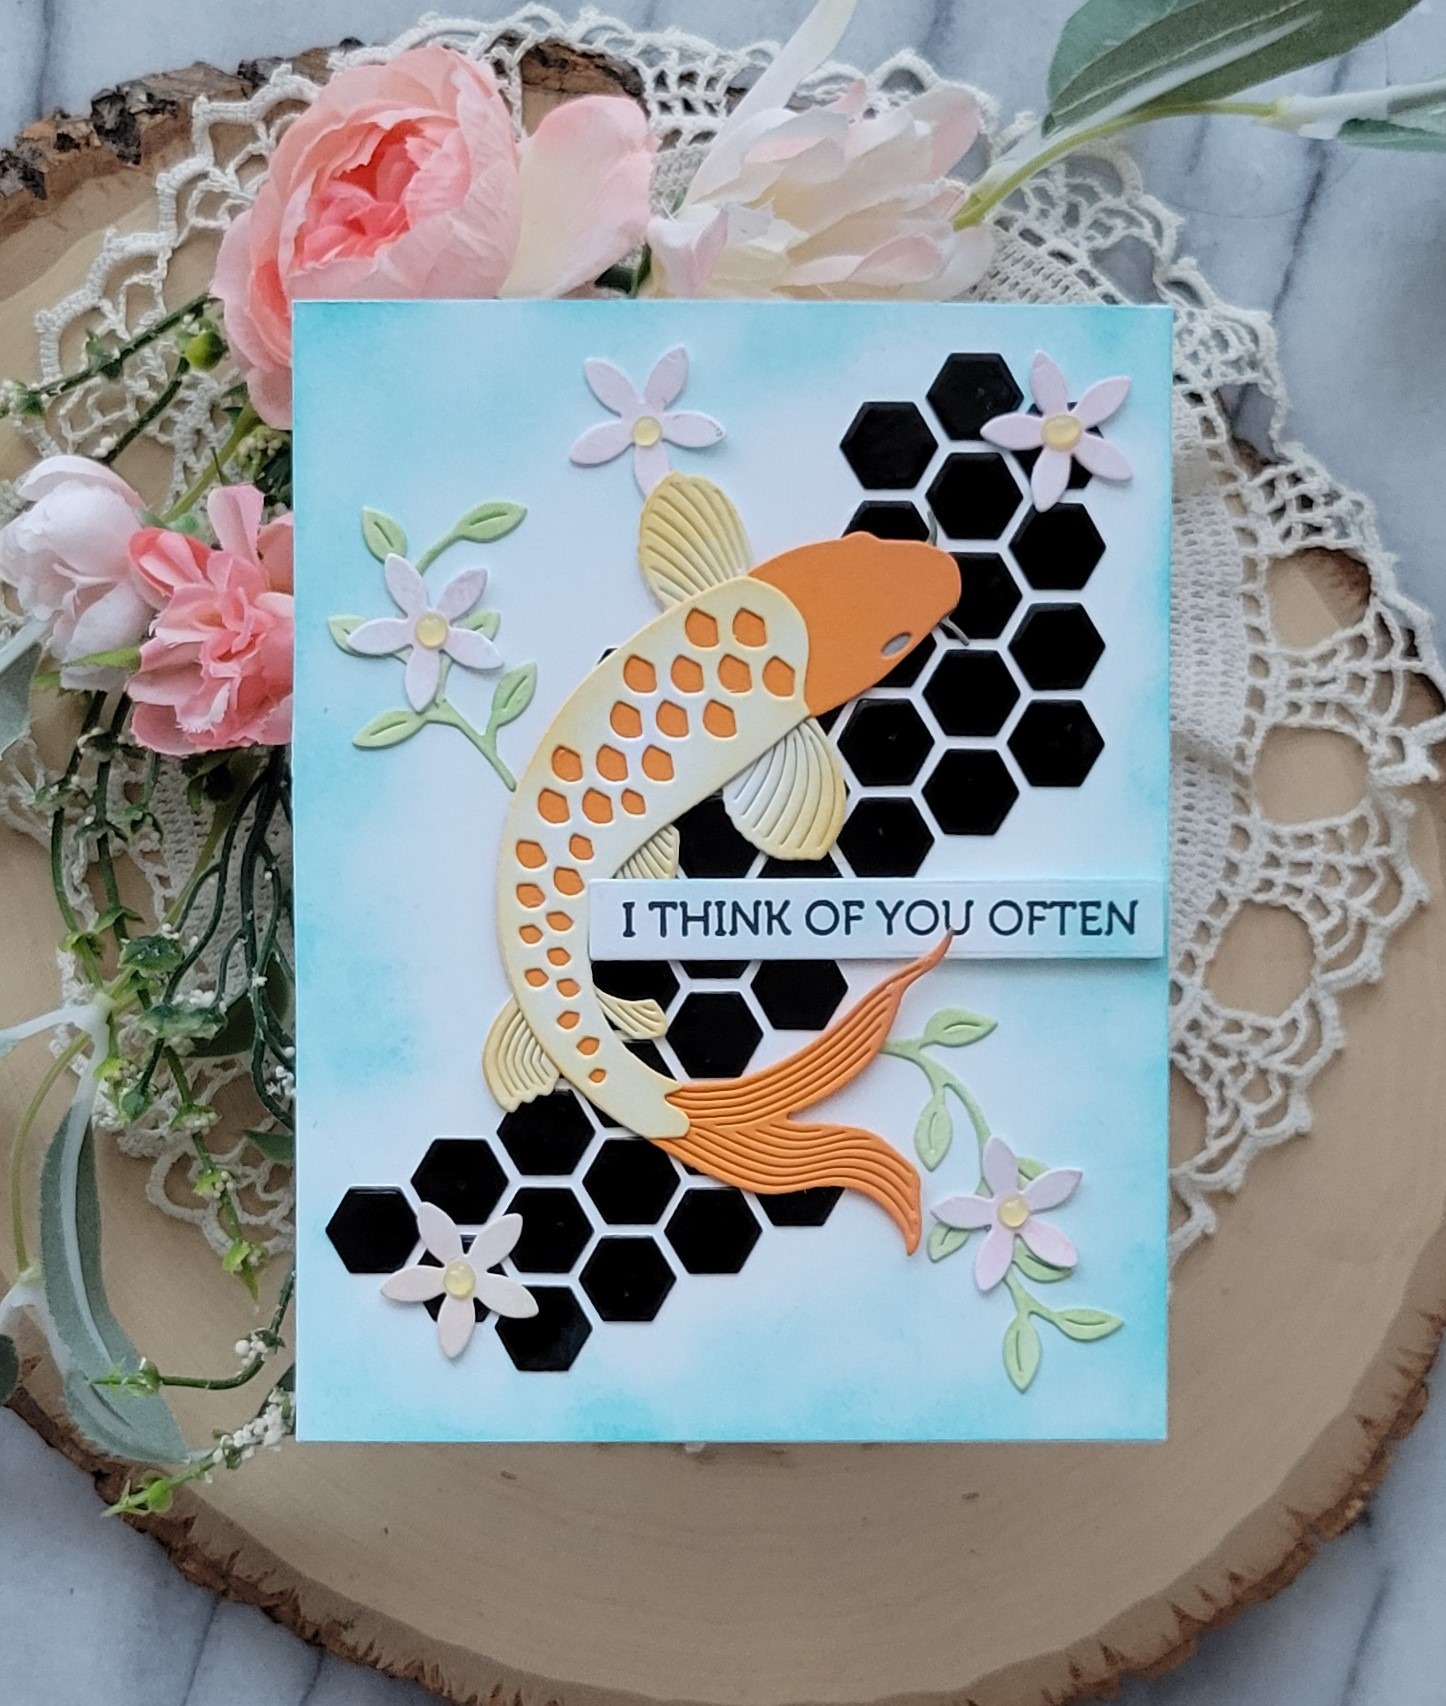
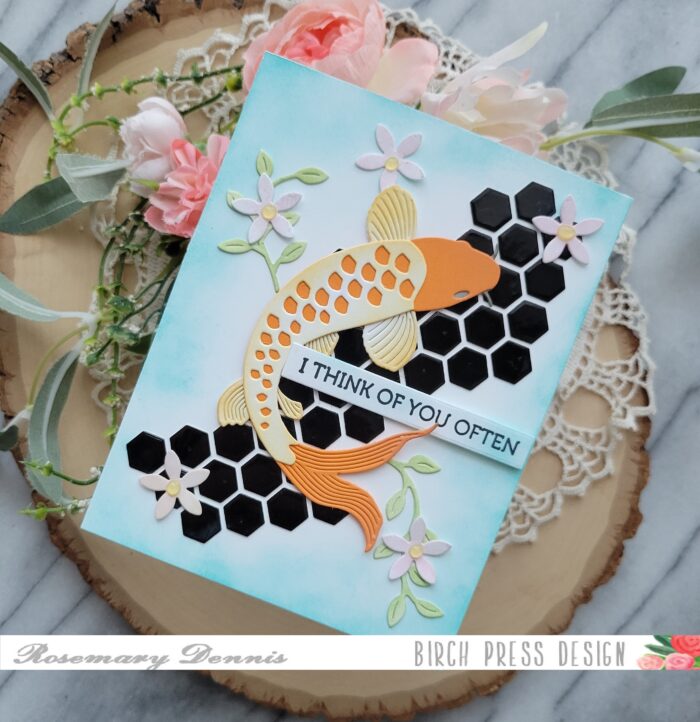
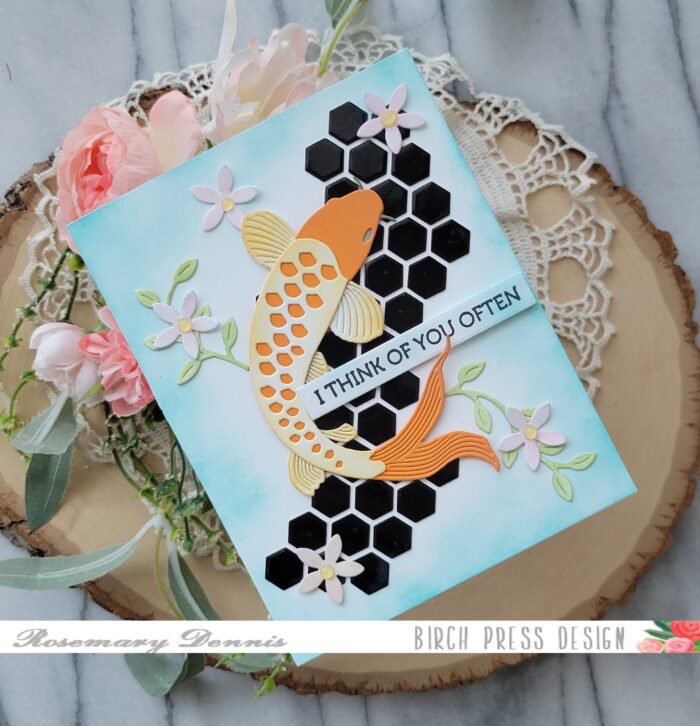
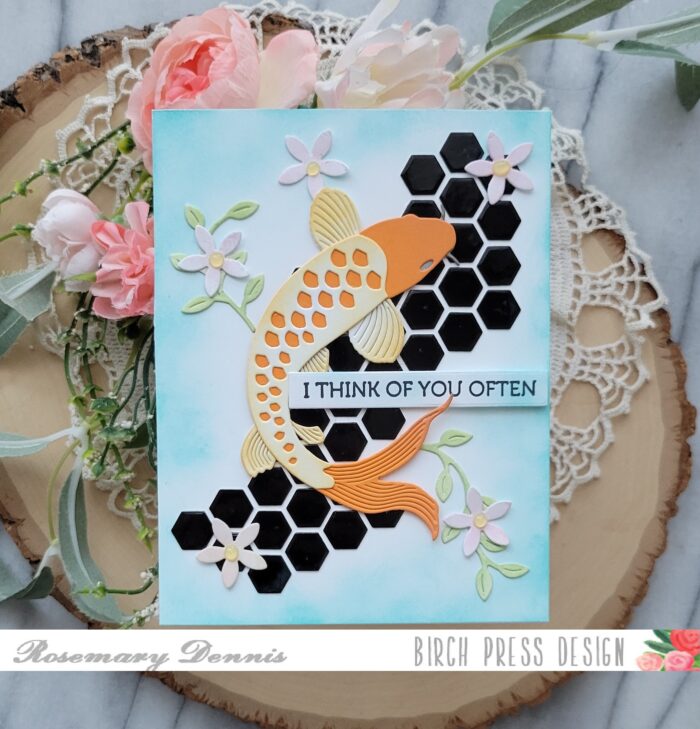
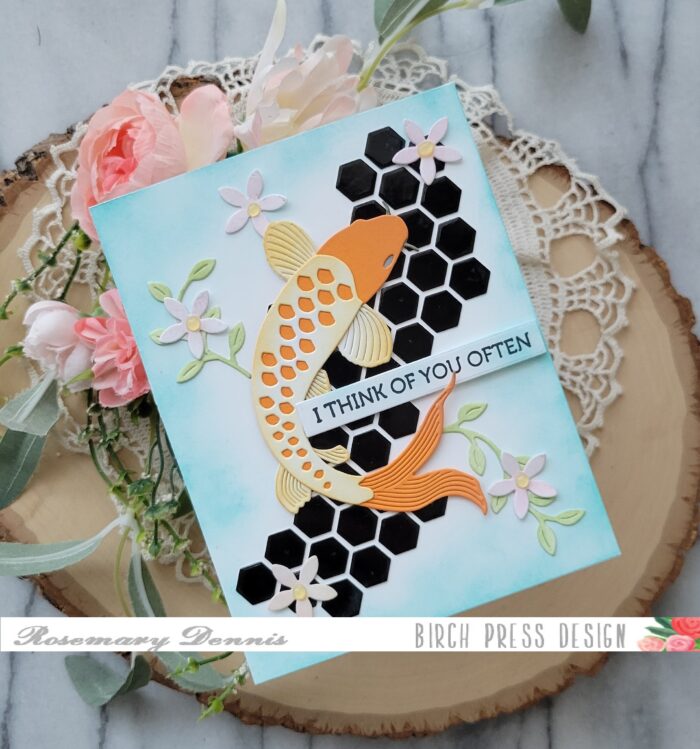
    Hello everyone! Rosemary here on the blog today sharing a card I made using the gorgeous new Elegant Koi die, as well as the new Honeycomb Cut Out die and the older Floral Cross layering die set. Let’s have a look at what I made.

    When I first saw the Elegant Koi die set (and the Koi Duo die set) I almost immediately thought of Kubota Garden located in the Rainier Beach neighborhood of Seattle. The garden is spectacular and has several ponds with numerous koi slowly swimming about. It is fun and relaxing to watch them swim by.

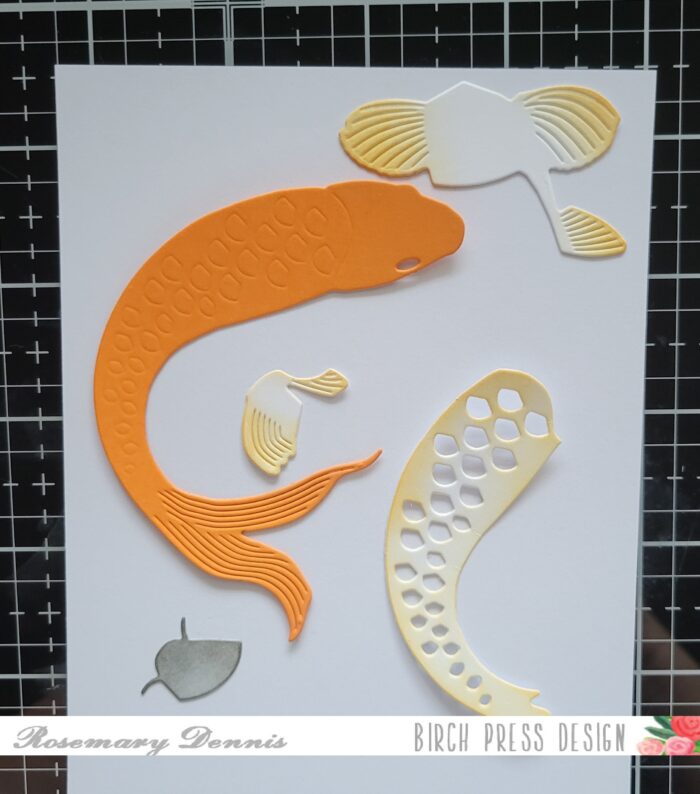
    I started by die cutting my koi from cardstock. I die cut the main body of the koi from orange cardstock from the Memory Box Sunrise cardstock pack. The rest of the koi was die cut from off white and gray. I then added some ink to the gray and off white pieces to give them more depth. I used what distress oxide ink was left on my blending brush to add the color.

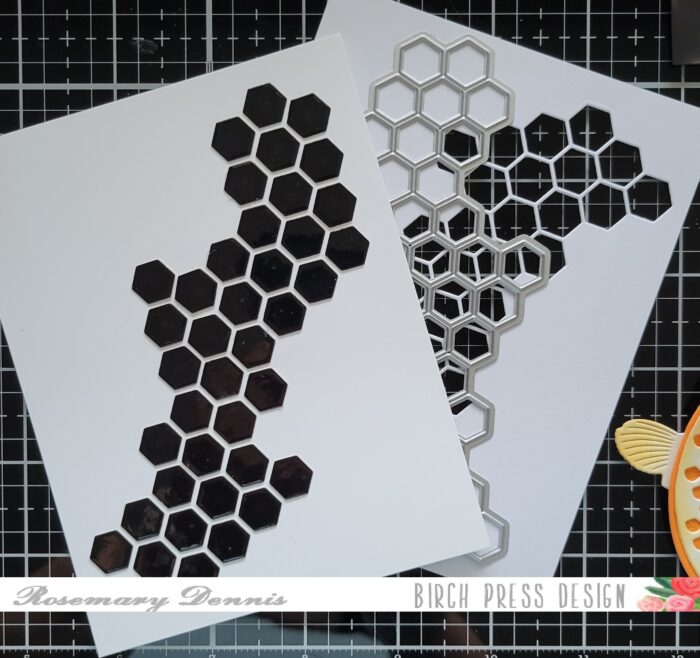
    I set the piece aside to dry. Because I wanted my elegant koi to have an elegant pond to be swimming around in I decided to use the Honeycomb Cut Out die to create some tiles for the bottom of my pond. I used Memory Box glossy black cardstock for the tiles. I also die cut a template with the Honeycomb die so that I could layout and adhered my tile background perfectly.

    Once I had the background created I added some light inking using distress oxide inks in Tumbled Glass and Salty Ocean to the panel. I kept the color mainly at the edges, but did add some in the center of the panel. Once done with the ink blending I made sure to wipe off the ink that got on my black tiles.

    To provide even more of a look of an elegant pond I used the leafy stems and flowers from the Floral Cross layering die set to create some waterlily type flowers. Light inking was used on these pieces as well. Now it was time to complete the pond. I adhered everything using liquid adhesive.

    My sentiment is from the Crystal Lingo stamp set which is unfortunately no longer available. I did ink up the sentiment strip with the same inks used for the background so it blended in a bit more. I finished with small drop of Nuve Jewel drops in Limoncello.

    I hope you enjoyed today’s card. Thanks for stopping by and have a wonderful day!

  • Floral Hummingbird Notecard | by Toni M Maddox

    Floral Hummingbird Notecard | by Toni M Maddox

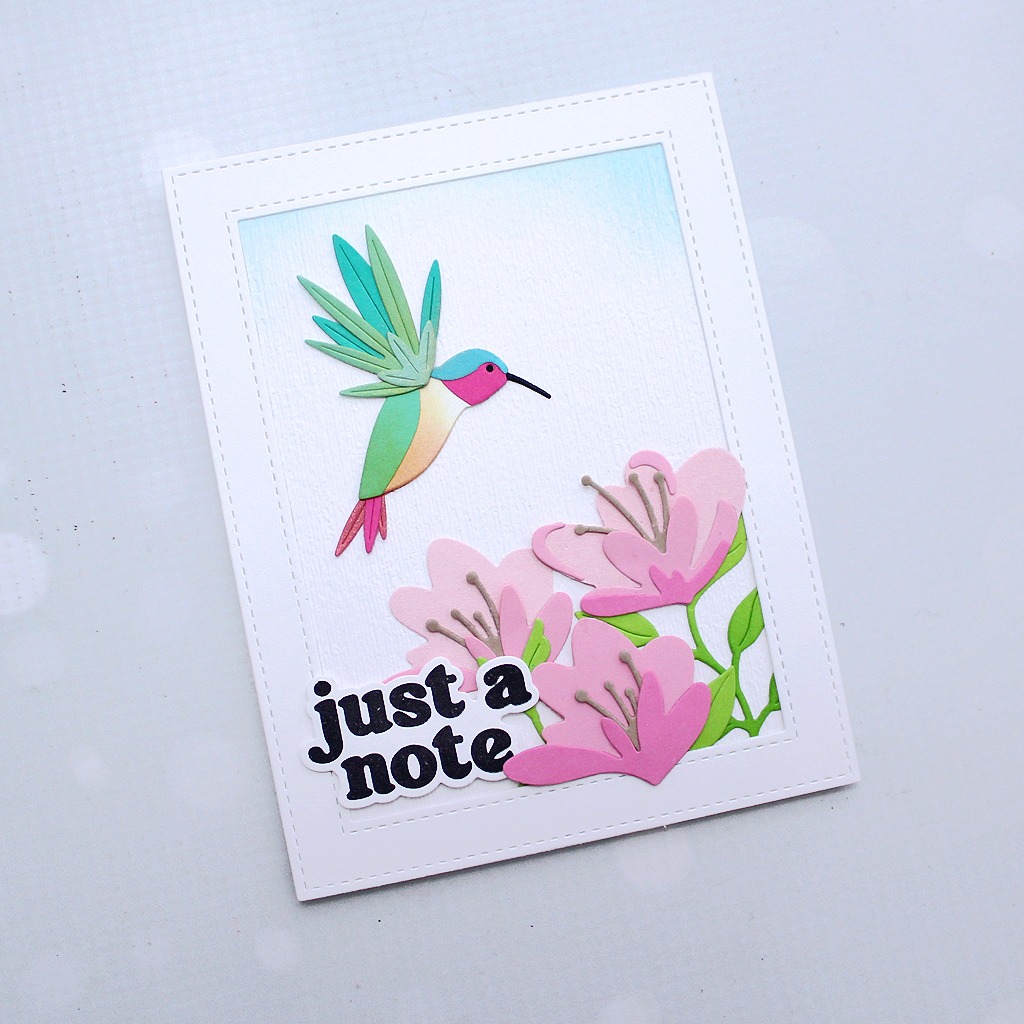
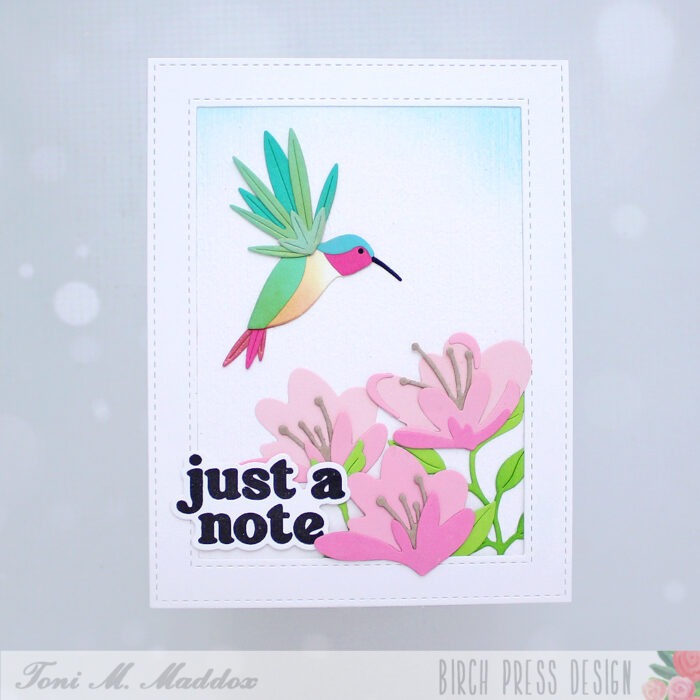
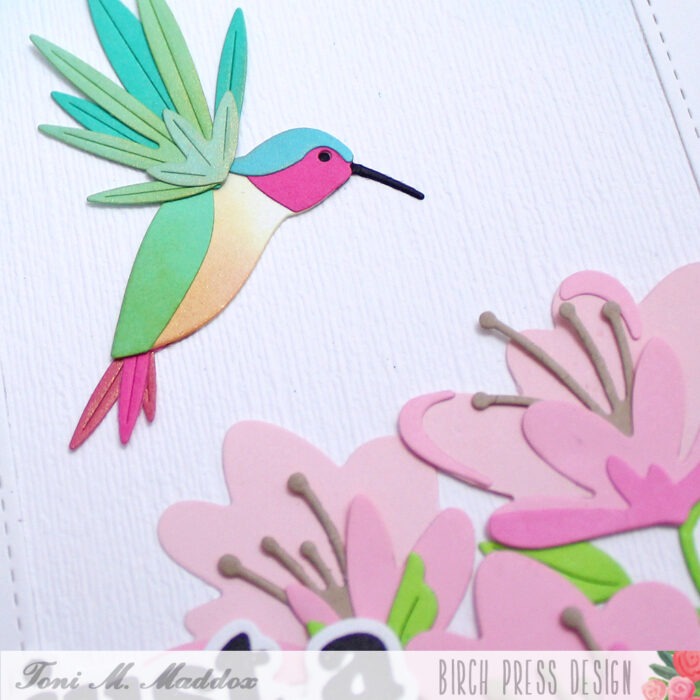
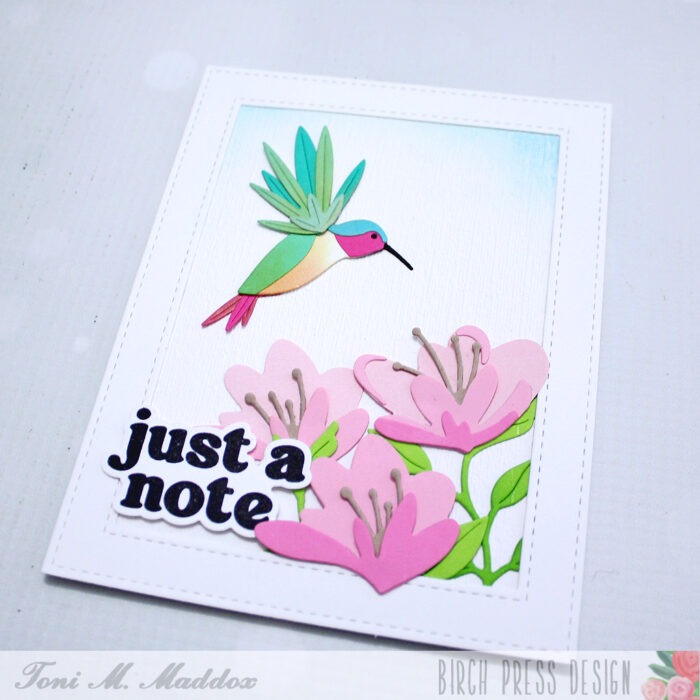
    Hello, everyone! Toni here today sharing a floral notecard with a colorful hummingbird.

    I embossed the card front and sponged the top with a little blue then added a frame.

    Next I cut out some Jovial Blooms and Leaves then nestled the lot into the bottom portion of the card along with one of the Vintage Everyday Greetings.

    My favorite part was sponging up the Block Print Hummingbird and sponging it with a bit of gold to make it iridescent. So very pretty!

    Be sure to visit my blog, Frankie Helps Craft, for a full list of ingredients and to check out my other projects.

    I hope you enjoyed today’s card and have a great rest of your week!


    Supplies


  • A Whale of a Day | by Toni M Maddox

    A Whale of a Day | by Toni M Maddox

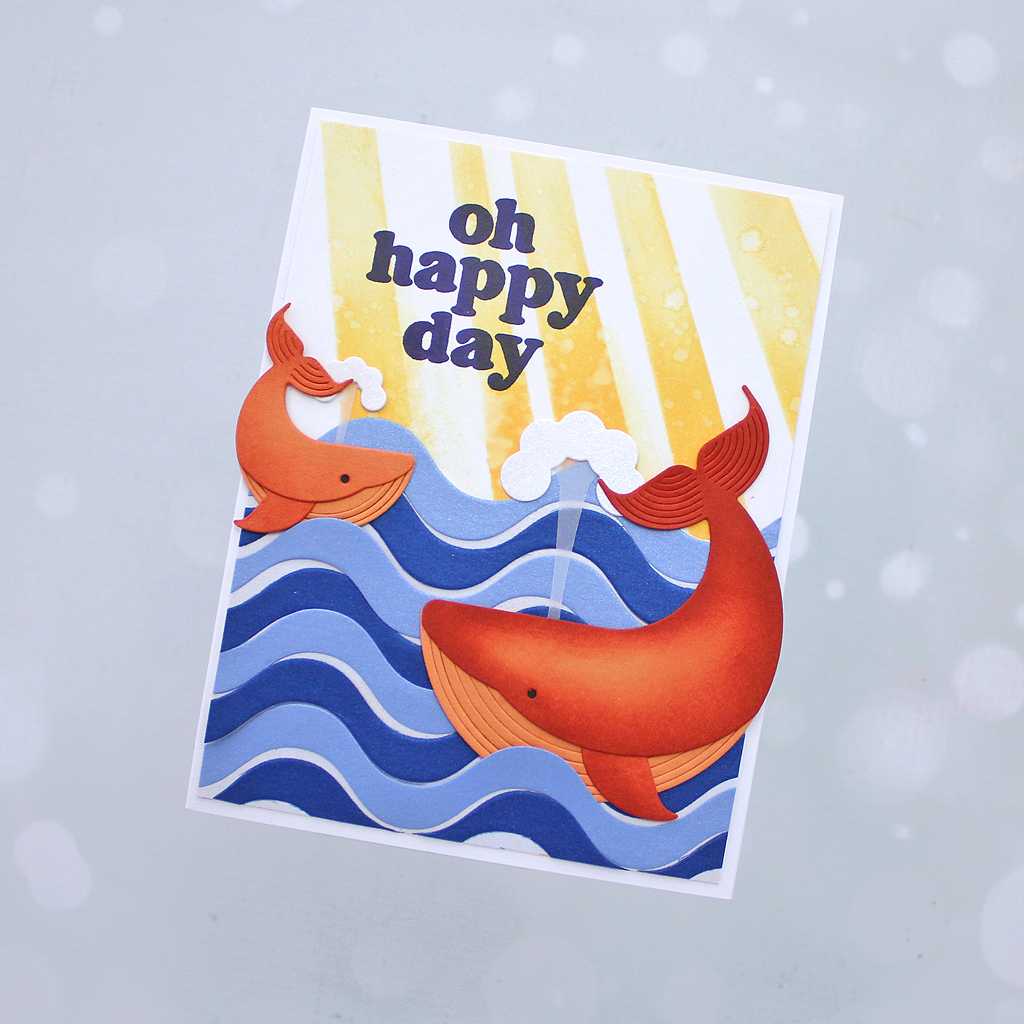
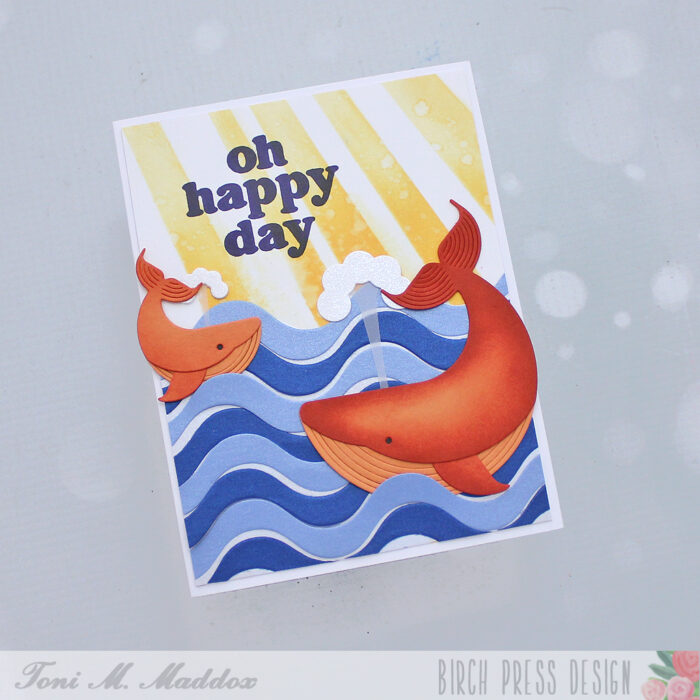
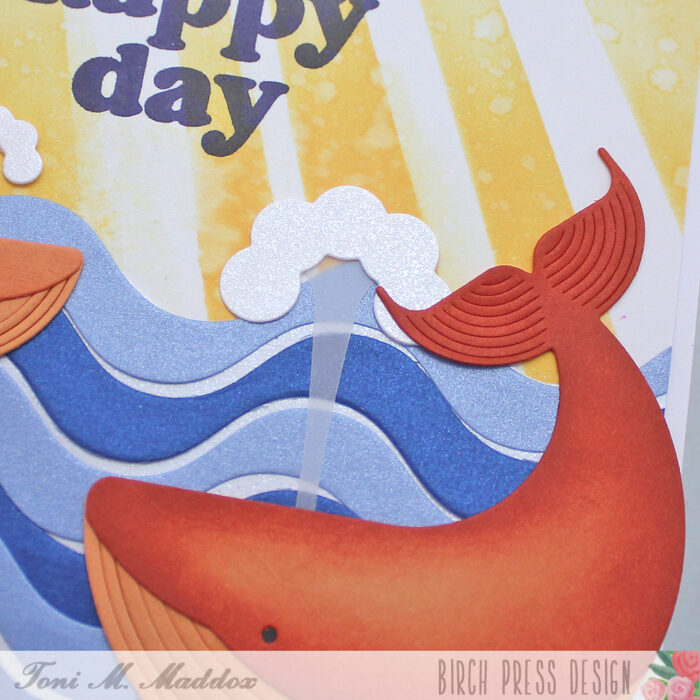
    Hello, friends! Today I’m sharing a a cute birthday or any occasion card that’s perfect for summer.

    To start my card I used one of the two-part Light Ray Stencils along with Catherine Pooler ink to create a sunny backdrop.

    I then cut out the Corner Waves from two different shades of shimmery blue cardstock and loosely adhered them to a third piece of shimmery cardstock.

    Next I cut out the Block Print Whale Duo, sponging them to create shading on that fun orange. I particularly love the spout and plume–so cute.

    My last step was to stamp the Vintage Everyday Greetings directly onto the card front using Versafine Clair Medieval Blue.

    Feel free to visit my blog, Frankie Helps Craft, for a full list of supplies and to check out my other projects.

    I hope you enjoyed today’s card and have a great rest of your week!

    Supplies

  • Flashy Fintastic Hello | by Toni M Maddox

    Flashy Fintastic Hello | by Toni M Maddox

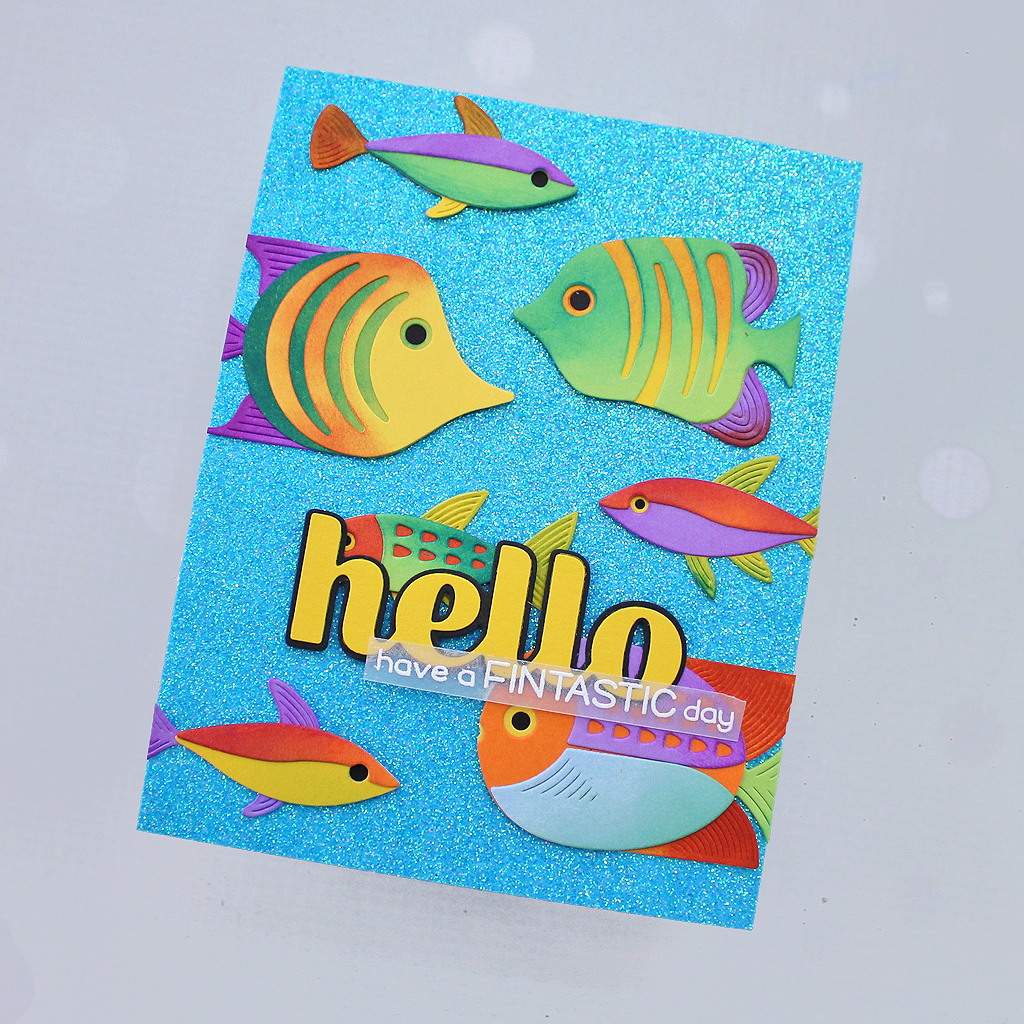
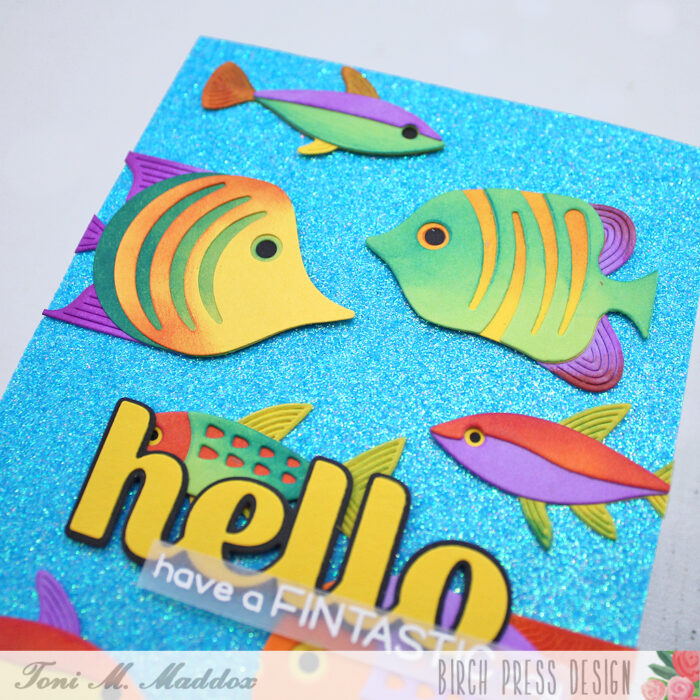
    Hello, everyone! It’s summer and the water’s fine! Toni here with you today sharing a card made using some cute fishies from the new release. I love them so so much!

    I wanted a school of fish, like what you might see in a giant aquarium. To achieve that I cut out a variety of fish using Memory Box cardstock.

    • Block Print Pond Fish, Striped Fish, & Angelfish: Key Lime, Lavender Bloom, Summer Squash
    • Block Print Swimmer Fish (middle right): Orange Peel, Summer Squash & Lavender Bloom
    • Block Print Swimmer Fish (middle): Orange Peel, Summer Squash & Key Lime
    • Block Print Glider Fish: Key Lime, Lavender Bloom, Summer Squash, Orange Peel & Powder Blue

    I used Catherine Pooler inks with the cardstock to create variations in color for each fish.

    For the sentiment I used the Sugar Script Big Hello die and outline in Summer Squash and sturdy black. The sentiment embossed on vellum is Lawn Fawn which coordinates so perfectly.

    I added some glam with a no-shed aqua glitter cardstock as the card front. Swoon!

    Feel free to visit my blog, Frankie Helps Craft, for a full list of supplies and to check out my other projects.

    I hope you enjoyed today’s card and have a great rest of your week!

    Supplies

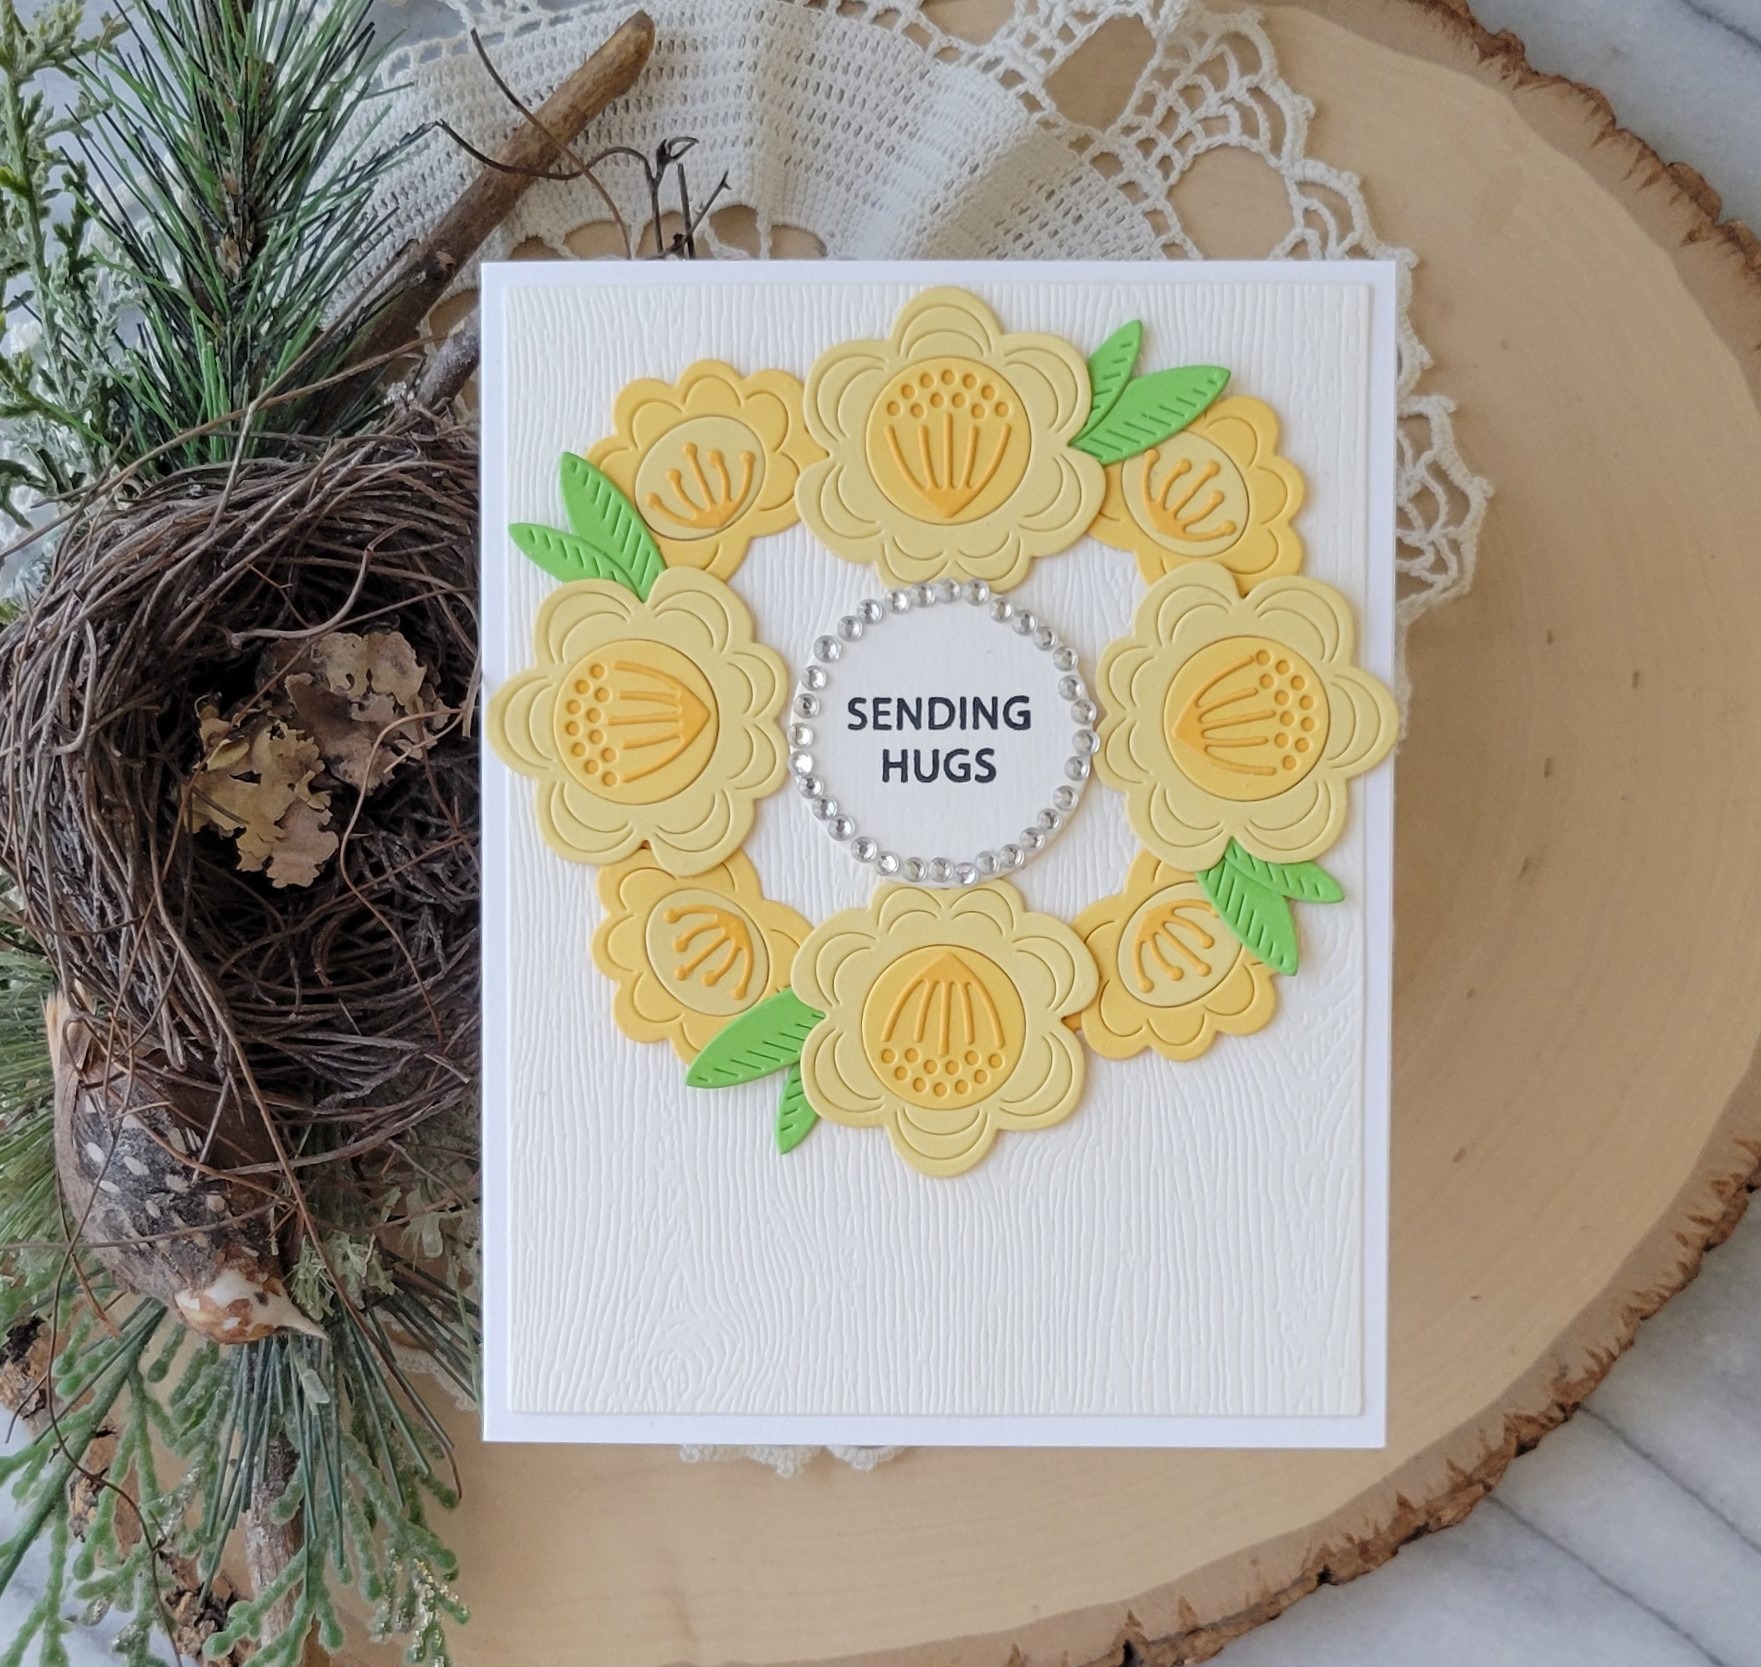
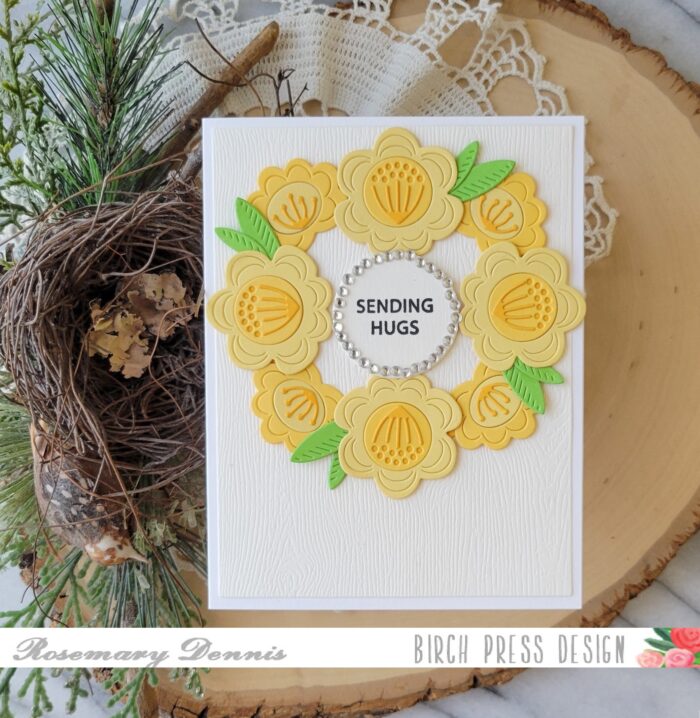
  • Sending Hugs | by Rosemary Dennis

    Sending Hugs | by Rosemary Dennis

    Hello everyone! Rosemary here on the blog today with a sunny card that would brighten up anyone’s day. Let’s have a look at what I made.

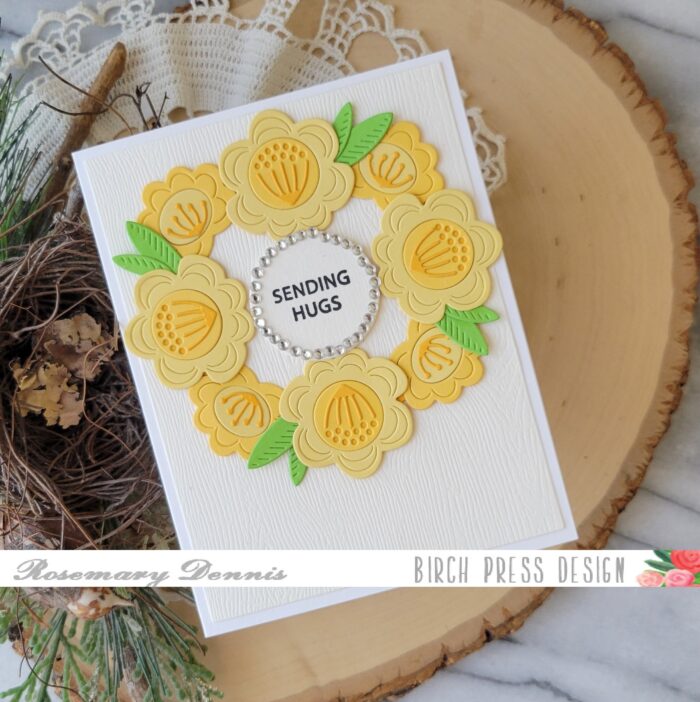
    There are so many pretty flowers in the new Block Print line that it is hard to decide which one to use! For this card I decided to use the Block Print Fun Floral die set. One of the things I noticed about this set of dies and the resulting flowers is that they would be perfect for a wreath!

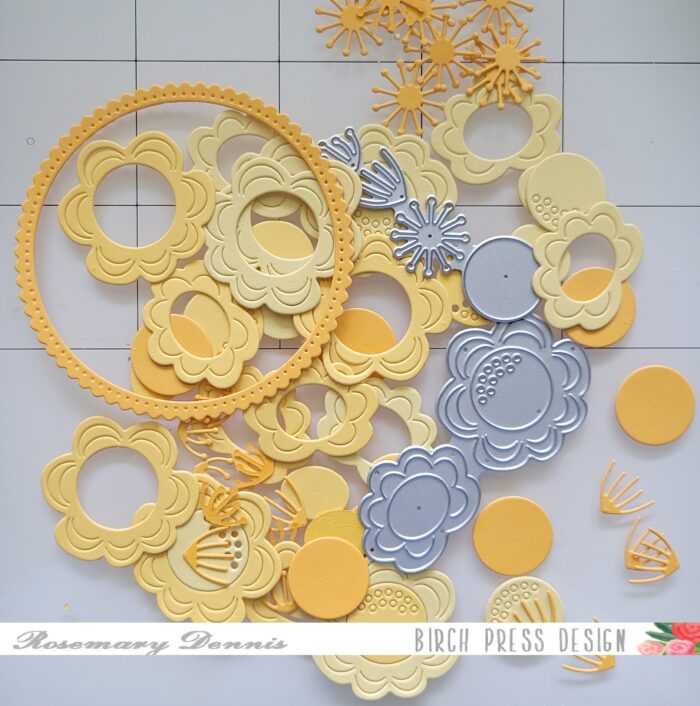
    I started by diecutting a circle using a die set from Poppystamps (our sister company) from bright yellow cardstock from the Memory Box Sunshine. The rest of the pieces were die cut from various shades of yellow from the same pad.

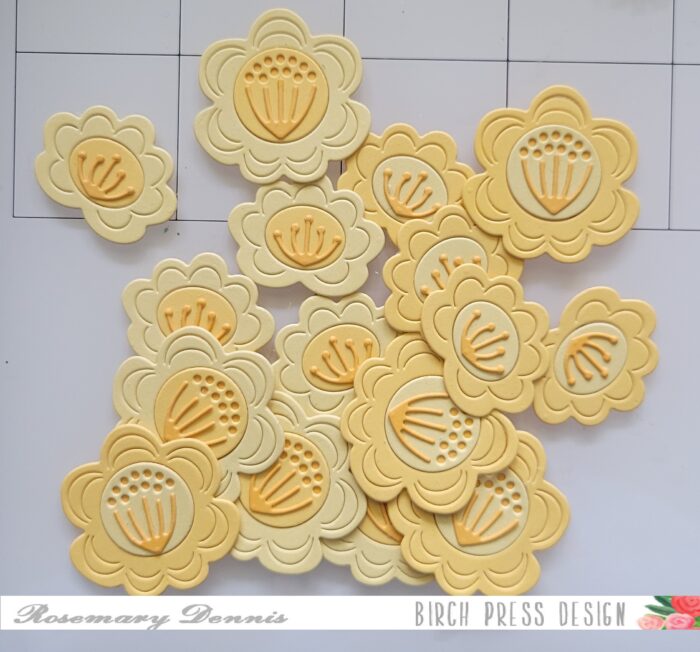
    I then assembled all the flowers by alternating colors. When I was done I had lots and lots of flowers to use for my wreath. Below is a photo of my pile of flowers.

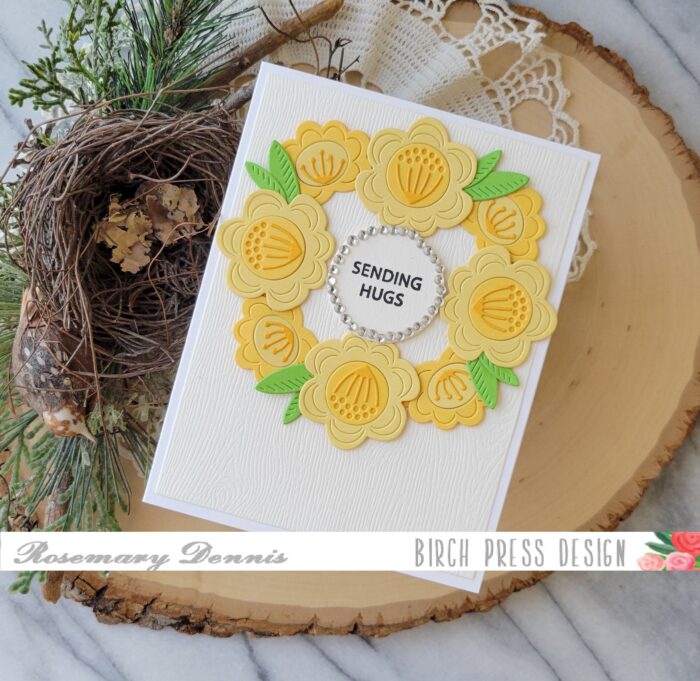
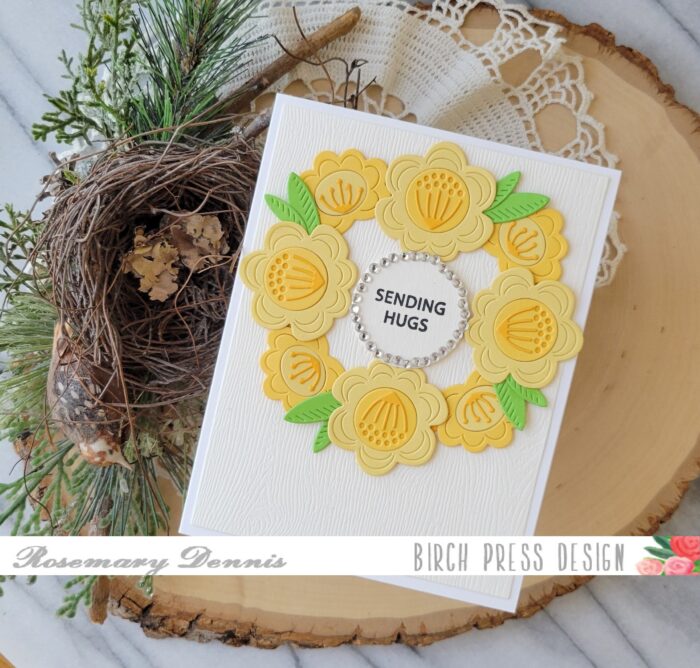
    I die cut some cream Memory Box woodgrain cardstock for my background and then adhered the die cut circle to the panel. I flowers were arranged with the large flowers at the top, bottom and sides and the smaller flowers in the gaps that were left.

    To break up all the yellow I added some bright green leaves that I cut with the leaf die from the Block Print Stems and Berries die. I finished off the card with the sentiment from the Rainbow Days Lingo Note stamp and die set that I surrounded with lots and lots of clear Fairy Jewels.

    I love how my fun and bright wreath turned out! I hope you enjoyed learning how I created it. Thanks for stopping by and have a wonderful day.


    Supplies


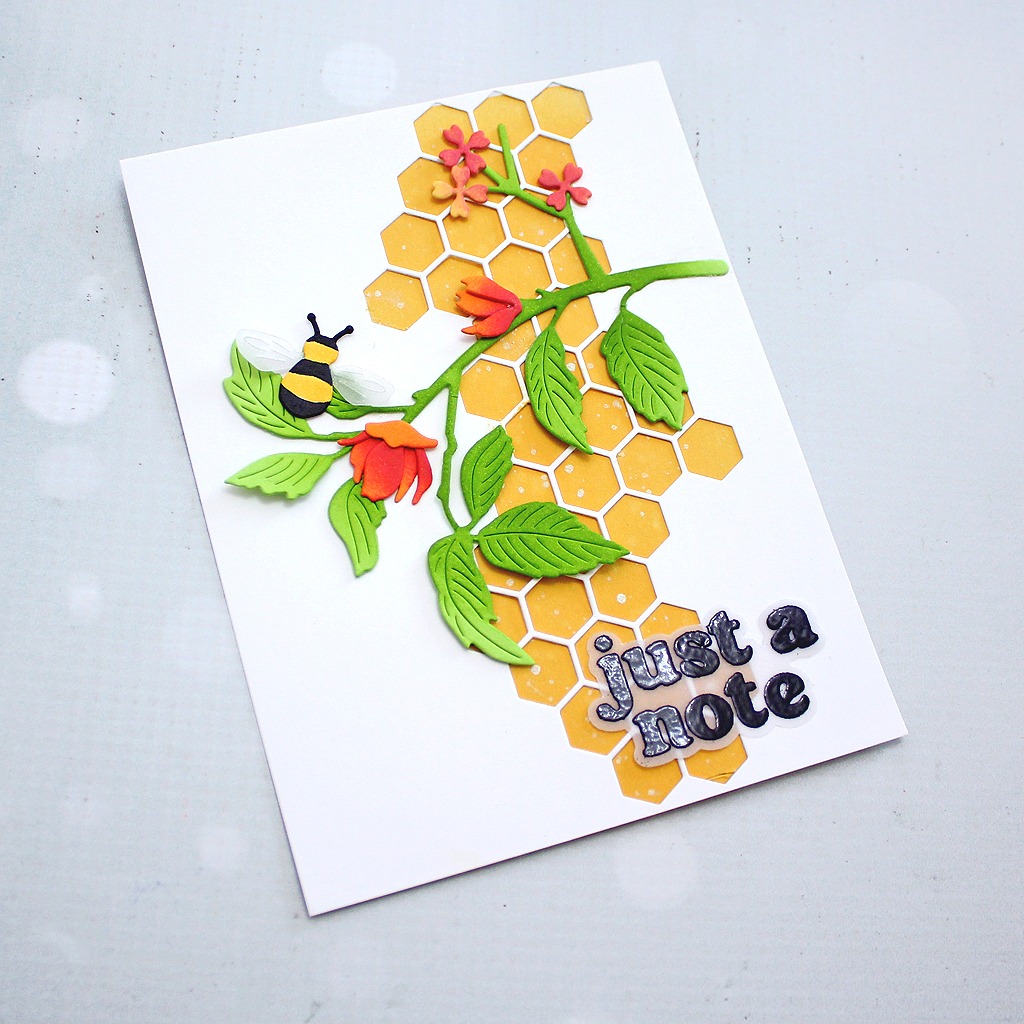
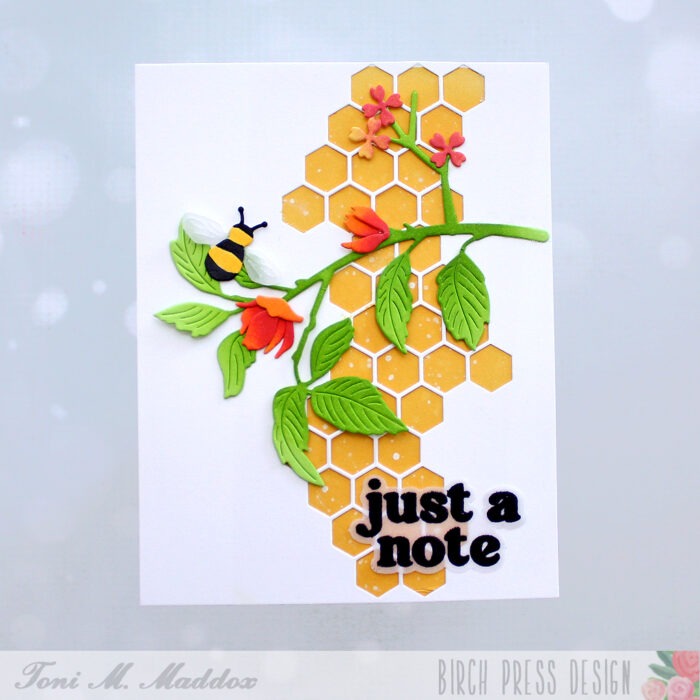
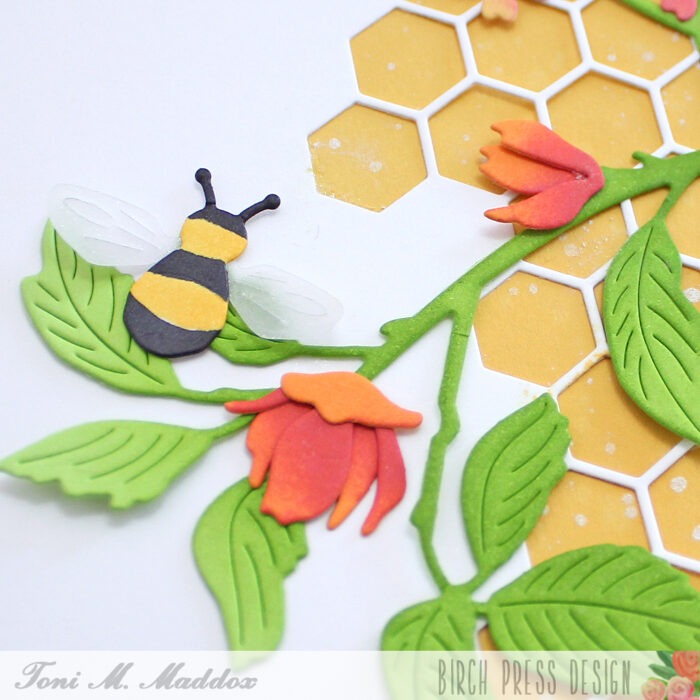
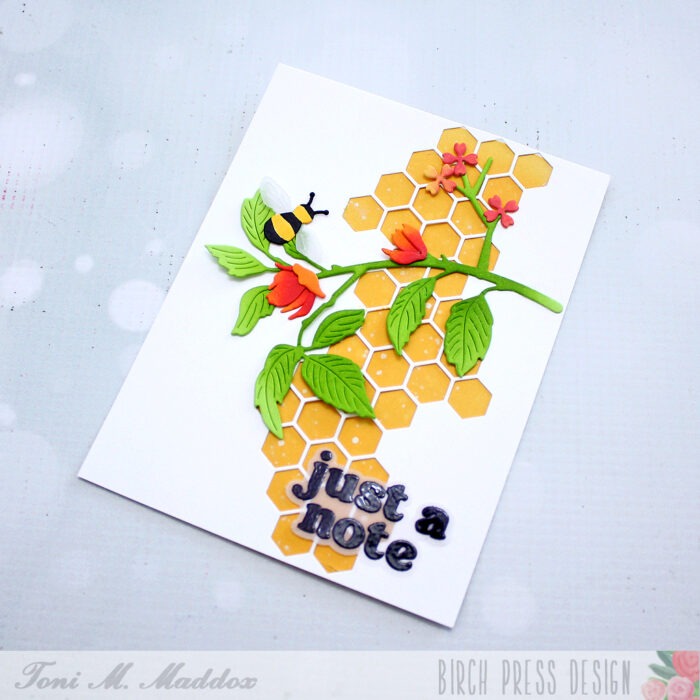
  • Buzzworthy Bees | by Toni M Maddox

    Buzzworthy Bees | by Toni M Maddox

    Greetings, friends! I love this time of year when it’s warming up, flowers are blooming and bees are happily buzzing along. Heavenly!

    Thus, I was so excited to receive the latest release which is all about the bees!

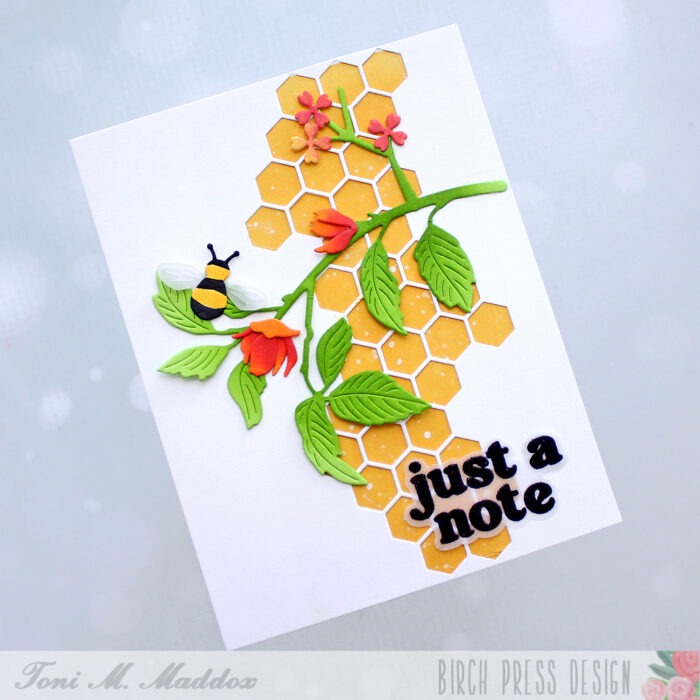
    I think my favorite is the Honeycomb Cut Out die. Just imagine patterned paper or sponging different colors–swoon.

    I used Memory Box Golden Wheat cardstock behind the cut out, sponging some Catherine Pooler inks and spattering white for added interest.

    To coordinate with the background honey colors, I used Memory Box Key Lime for the Abundant Branch with sponged Golden Wheat flowers. The way the branch pops is amazing.

    I colored up the Block Print Buzzing Bumblebee with Copics. I applied a bit of Clear Wink of Stella to the vellum wings.

    I used the same vellum for the backer behind the embossed Vintage Everyday Greeting.

    I hope you enjoyed today’s card and have a great rest of your week!

    Supplies

  • Just a Note | by Rosemary Dennis

    Just a Note | by Rosemary Dennis

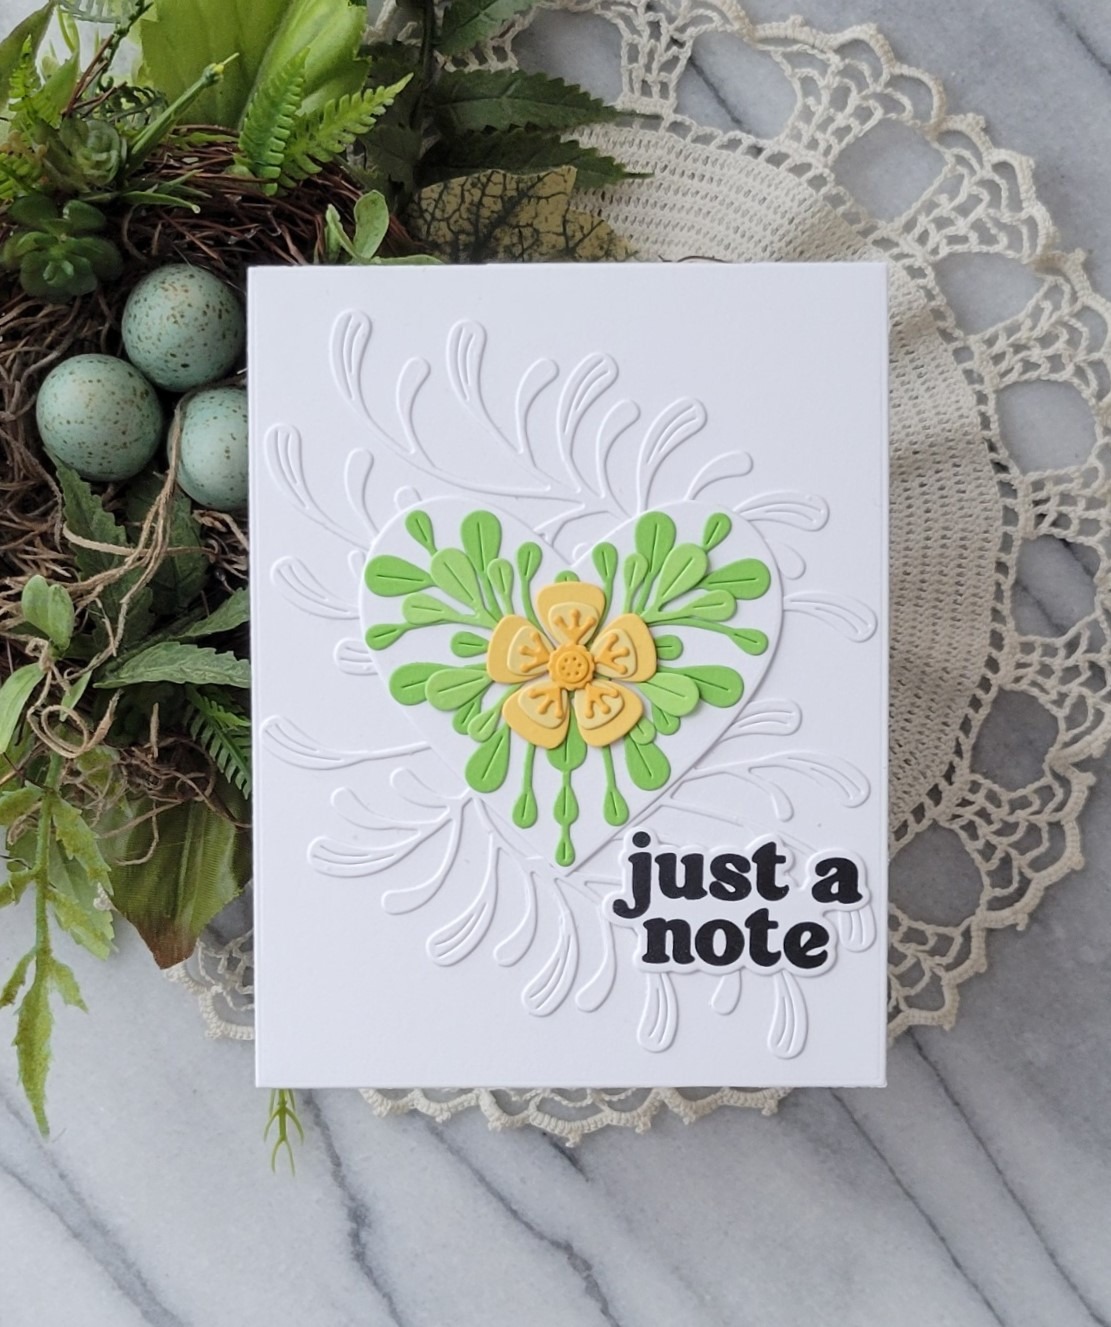
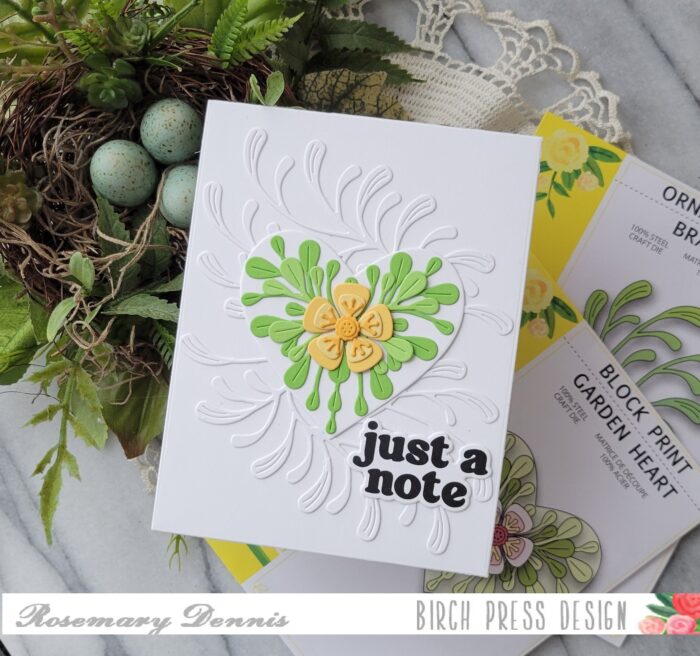
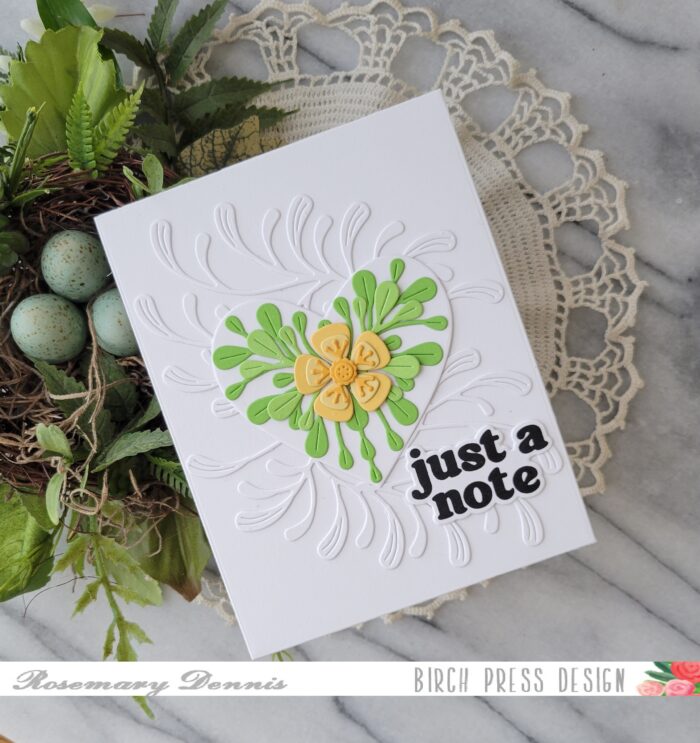
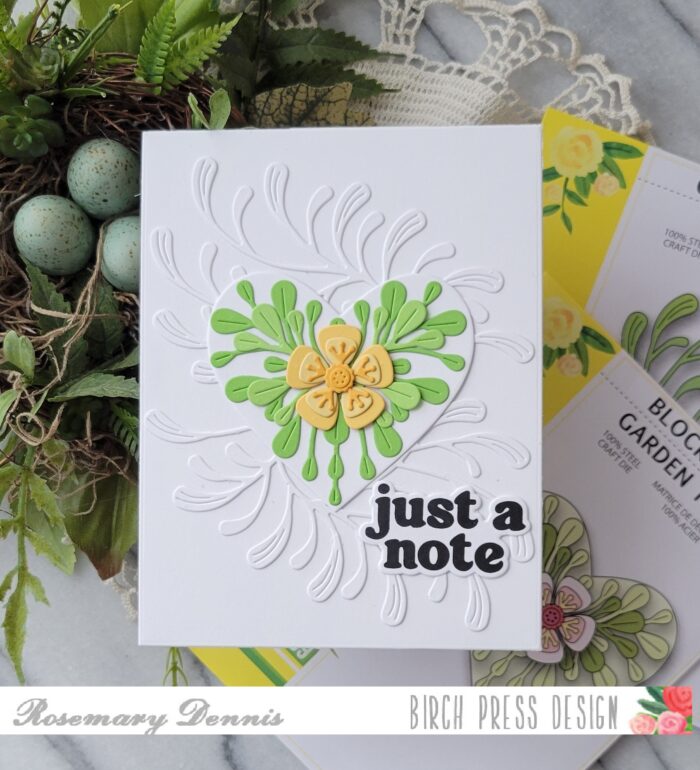
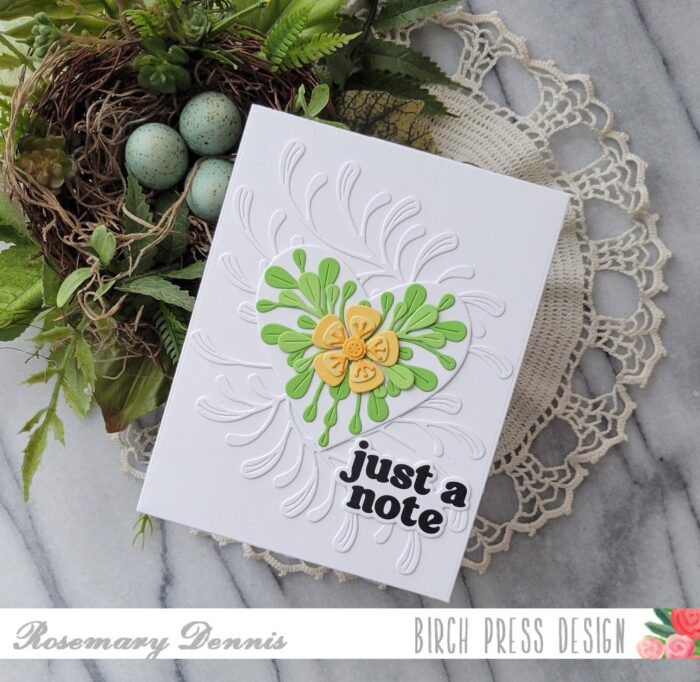
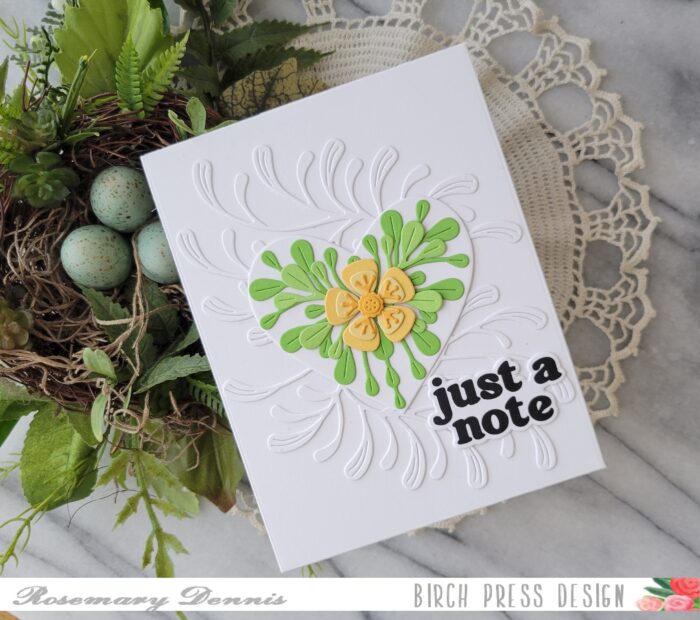
    Hello everyone! Rosemary here on the blog today with a card I created using the new Block Print Garden Heart and Ornamental Branch dies. The Block Print Garden Heart die set is now a new favorite of mine! Let’s have a look at what I made.

    I went with two bright and sunny yellows from the Memory Box Sunrise 6×6 cardstock pad and two light greens from the Greenery 6×6 pad. I know it is hard to tell that there are two shades of green, but there are! Because I used two shades of yellow and green and alternated them for the layers of the bloom and leaves I had leftover pieces that I kept to use for another project.

    Once I got all the floral and leaf piece die cut I became a little stumped as to what to do next. Originally, I thought a solid heart die cut from heavy weight vellum would be nice, but after die cutting the heart from the vellum I really didn’t like it. I also thought about using a darker shade of green, but eventually settled on a white heart. Kept the vellum heart for another time, though.

    Now it was time to figure out a background. Again, I thought of going with a darker green background, but decided to die cut the Ornamental Branch die from white cardstock and layer the pieces on a white cardstock panel. I really like how all the white makes the floral center of the heart pop.

    Now that I had everything figured out, I adhered the large leafy die cut to the heart, added the flower and then tucked the smaller leaf stems behind the flower. The two Ornamental Branch pieces were adhered to the white panel and then I added the heart. I adhered everything using liquid adhesive. The final piece was the sentiment.

    I chose a sentiment from the Vintage Everyday Greetings stamp and die set, stamped it in black ink and then die cut it with the matching die. The sentiment was adhered with liquid adhesive and a few thin foam squares. Well, that’s it for me. Thanks for stopping by and have a wonderful day!

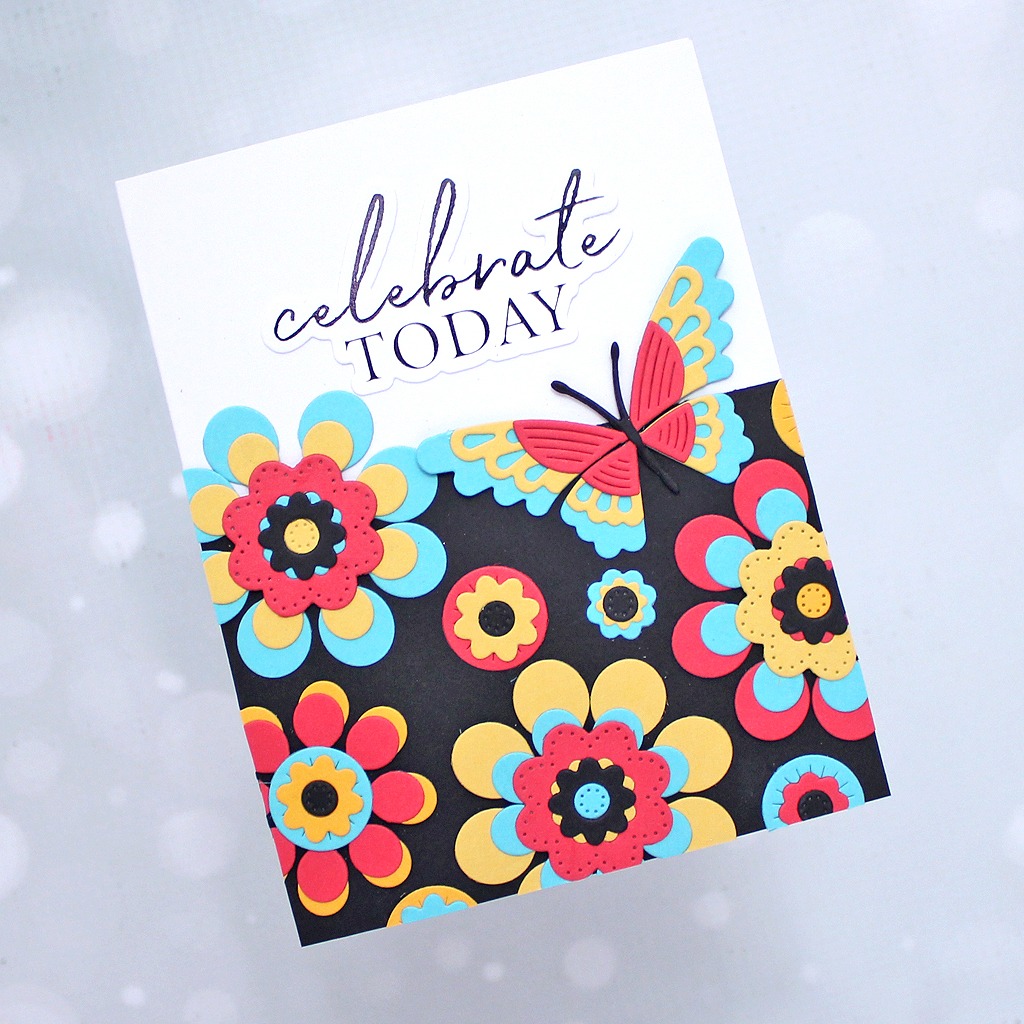
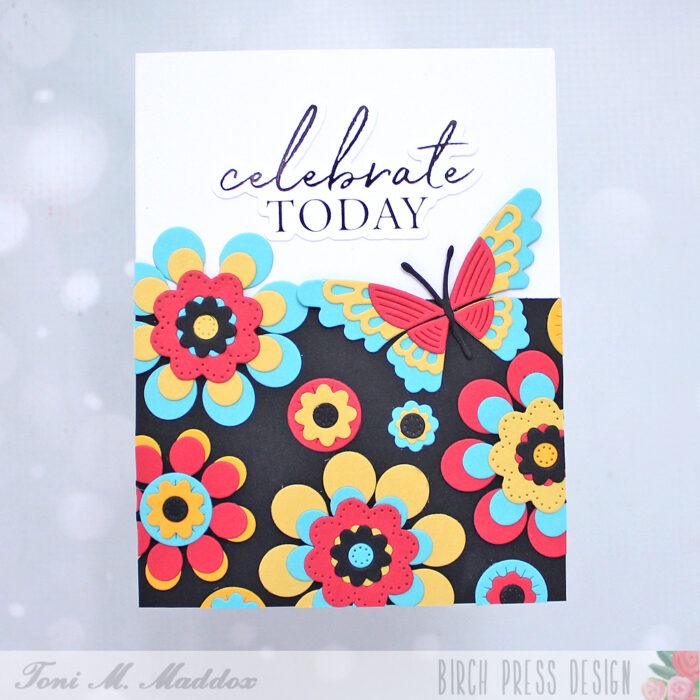
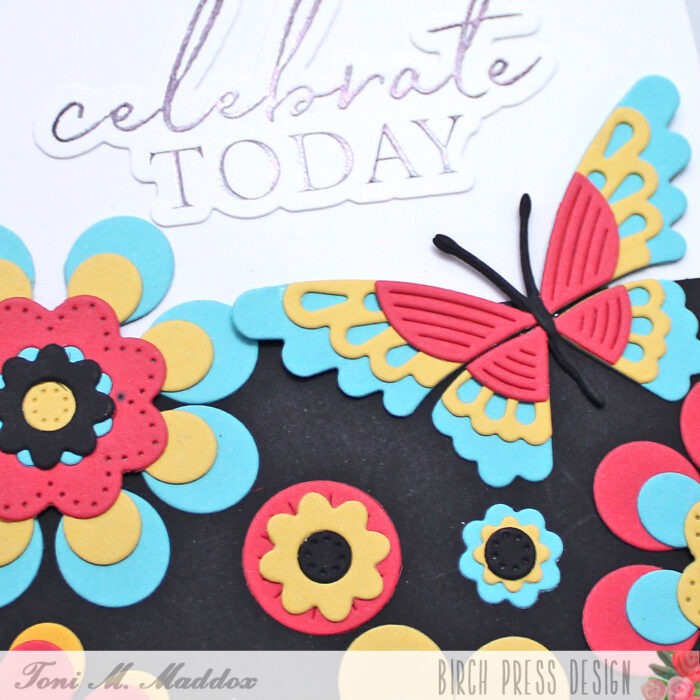
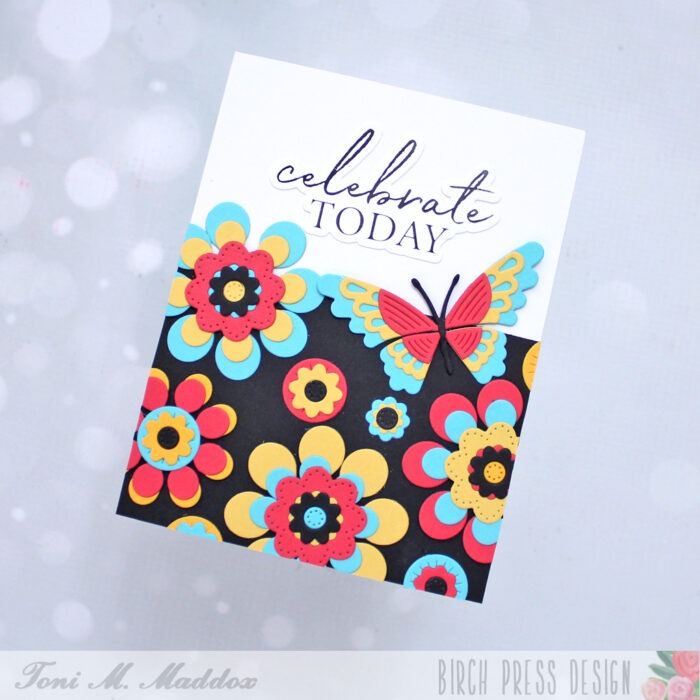
  • Bold Funky Floral Print Card | by Toni M Maddox

    Bold Funky Floral Print Card | by Toni M Maddox

    Hello, friends! Toni here with the first of many cards I’ve made using the new release. The florals are to die for!

    The Block Print Star Flowers remind of 60s/70s floral designs (showing my age!) so I created my own fabric out of paper.

    I used Memory Box Raspberry Sorbet, Golden Wheat, Summer Squash, and Pool Party cardstock on the various layers to create a variety of different flowers.

    I used the same colors for the Block Print Scalloped Butterfly so they would coordinate.

    Final touches include adhering the diecuts onto a piece of black cardstock, leaving enough room for the Celebrate Today Noted Script Hot Plate & Outline Die to be added.

    I hope you enjoyed today’s card and have a great rest of your week!


    Supplies


  • Perched Bird Hello | by Rosemary Dennis

    Perched Bird Hello | by Rosemary Dennis

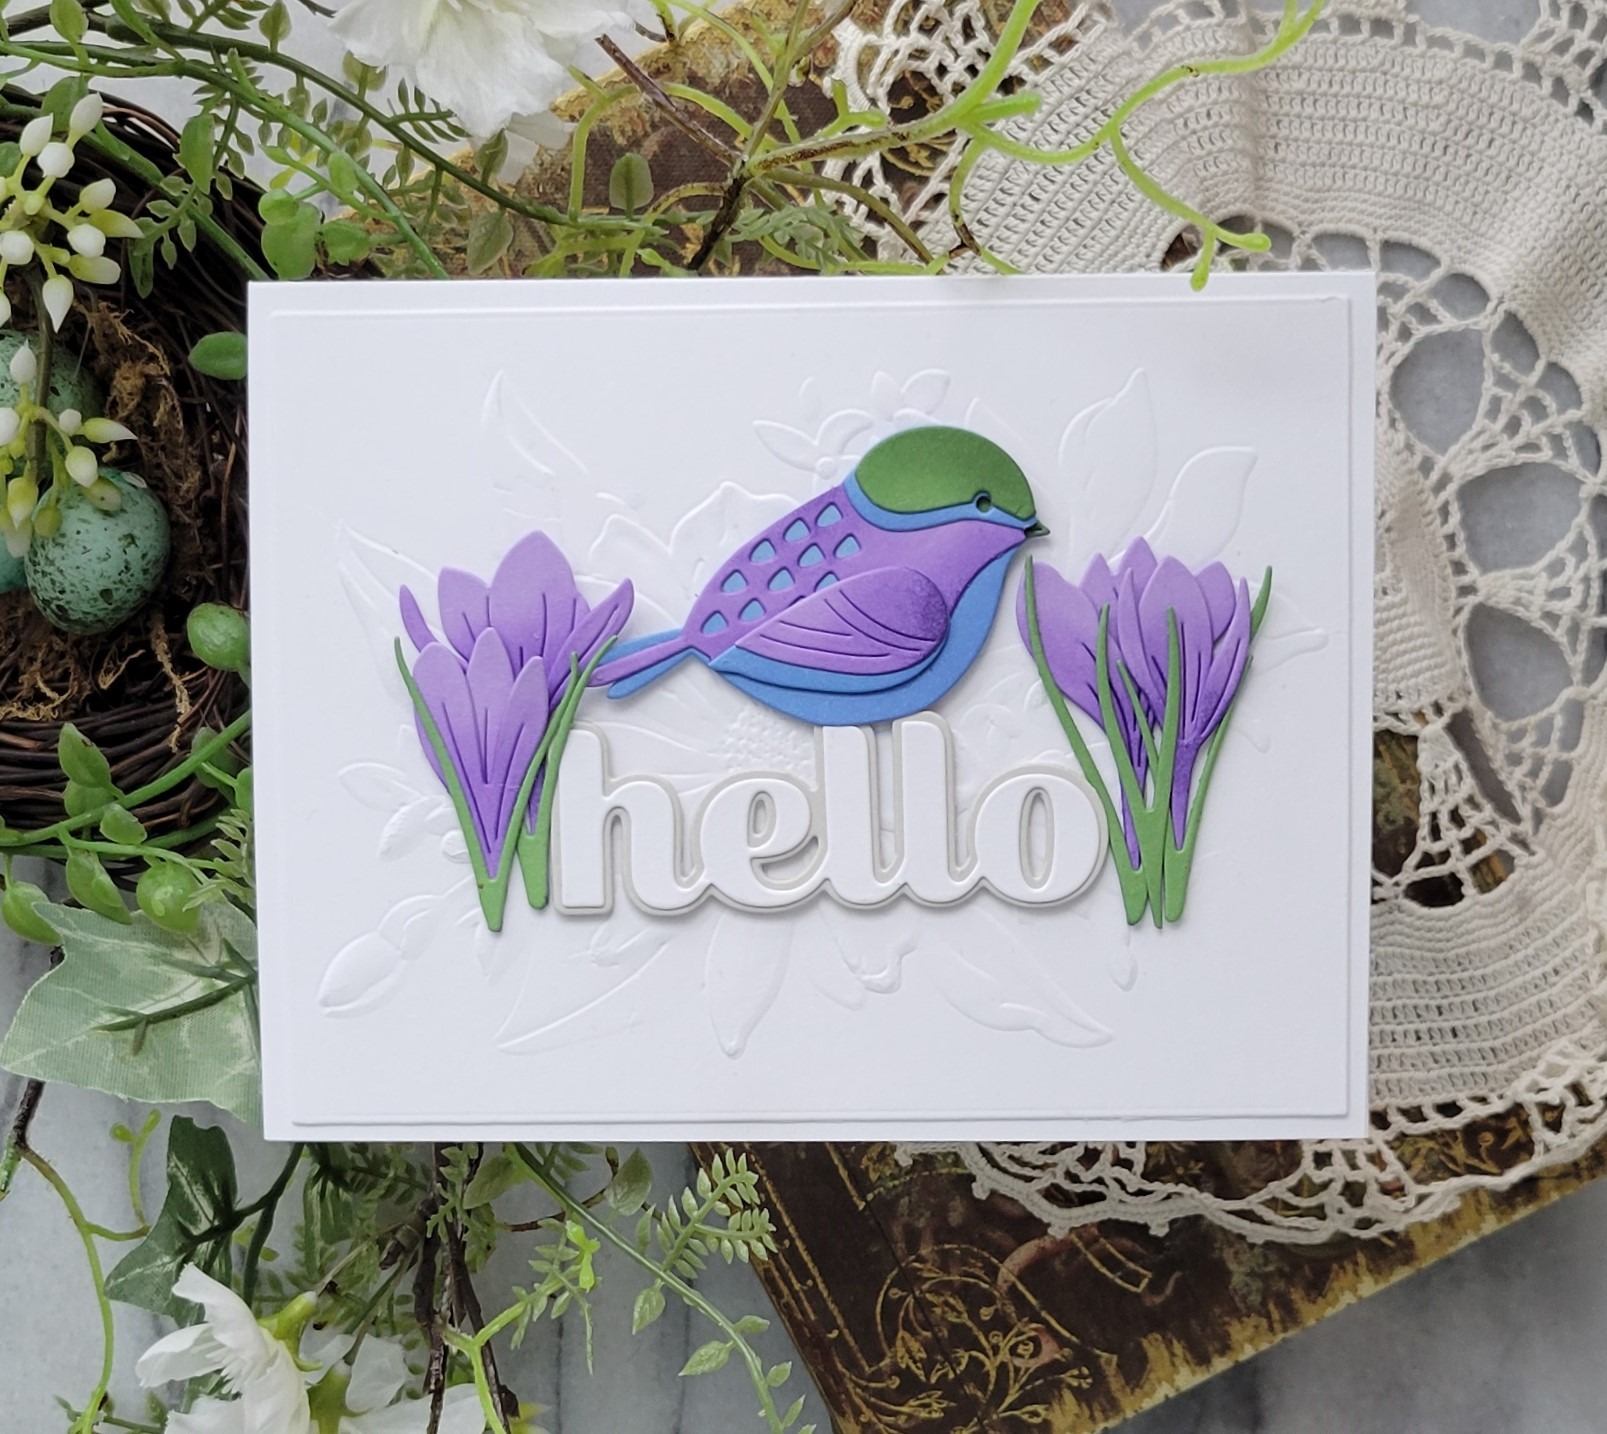
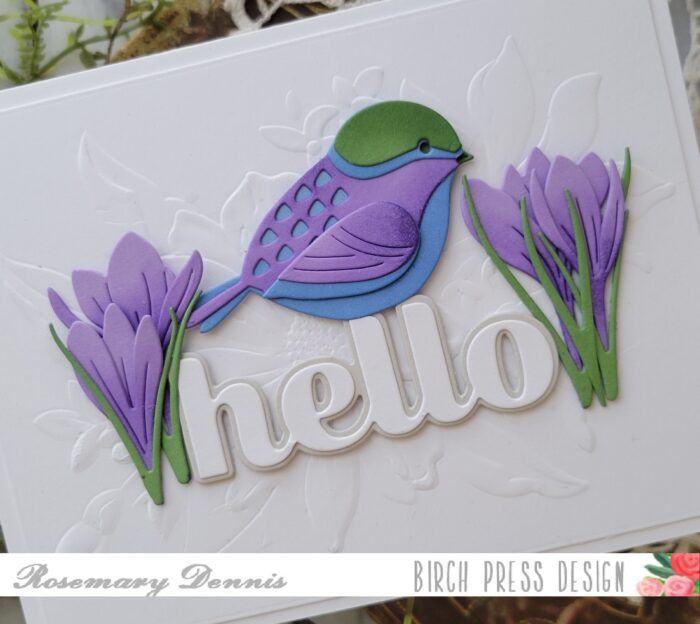
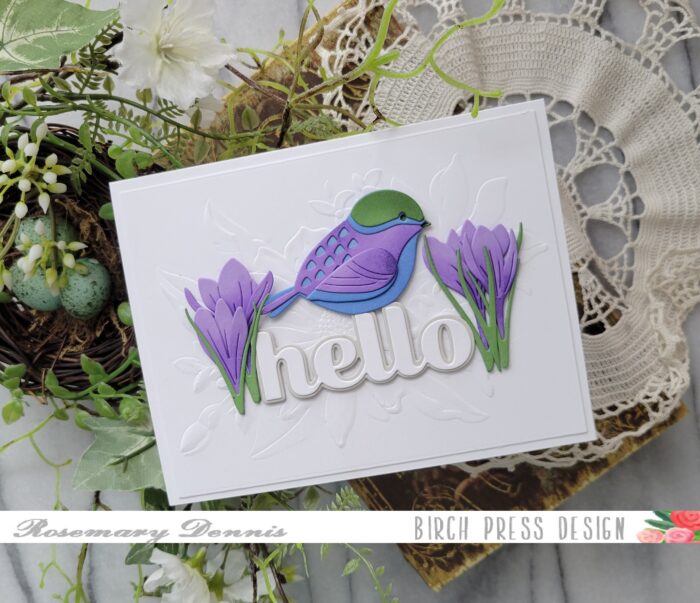
    Hello, hello! Rosemary here today and I am back with a card featuring another super sweet Block Print die set. This time I’m using the Block Print Perched Bird. Let’s have a look at what I made.

    I knew I wanted to perch my little bird on one of the big Sugar Script die sets and settled on the Big Hello die set. I die cut the word from white cardstock and the shadow from a light gray. I did this because I wanted the focus to be on my little bird.

    I decided to go with a blue/purple/green color combo because I thought it would be fun to add some flowers around the word and little bird. Since spring is on the way I decided to use the Sprouting Crocus Contour Layers dies.

    I pulled out the colors of cardstock I wanted to use and then die cut all the pieces. To add some depth to the diecuts I did a little bit of inking to each piece with an ink color that was about two shades darker than the cardstock. Once everything was inked up I let the pieces dry a bit before adhering them together with liquid adhesive.

    I wanted to add more interest to the background that my little scene would be sitting on. I initially had a different idea, but as I was looking through my products I saw the Memory Box/Open Studio embossing folders and decided to use one of them. I went with the Gracious Floral embossing folder. I embossed the white cardstock and then die cut it with a rectangle die. I did this because I wanted the embossing to be flattened just a little bit.

    Now it was time to put it all together. I adhered the embossed panel to a white cardstock base and then arranged all my elements as you see. I used a combination of liquid adhesive and thin foam squares to adhere everything.

    Well, that is it for me. I hope you enjoyed today’s project. Thanks for stopping by and have a wonderful day!


    Supplies

  • Thanks | by Rosemary Dennis

    Thanks | by Rosemary Dennis

    Hello everyone! Rosemary here on the blog today. I have a card today that I made using the new Floral Arch Contour Layers die set. When I pulled the package for this die set out of the box I gasped at how beautiful it is! I couldn’t wait to make a card with it.

    On the packaging the image is shown in shades of pink and that is what I went with initially. As I was making the card I decided to throw a little red into the mix since there is red in the patterned paper I used.

    I decided to die cut the pieces from colored cardstock and then to blend on some additional ink for more color. The green cardstock I used to die cut the top stems was a lot lighter when I started out, but I love the deeper green color I acheived!

    After die cutting and inking all the pieces I adhered everything together using liquid adhesive. I thought that the second largest dies from Memory Box Curved Cap Pinpoint Layers die set would be perfect for the floral arch. I die cut it from a sheet of paper from the Gladiola Plaid 6×6 paper pad and then embossed it with the Open Studio Gracious Floral embossing folder. When I embossed the paper I actually embossed the wrong side, but decided that I liked the debossed side as it was a bit subtler. I adhered the panel to a white cardstock base with strong double sided tape.
    I adhered the floral arches with liquid adhesive and then added the sentiment from the Sugar Script Sentiments 2 hot foil set. I’m almost out of these sentiments so time to foil some more! The foiled sentiment worked perfectly since as you can see there are little touches of foiling in the plaid paper.

    I hope you enjoyed today’s card. Thanks for stopping by and have a wonderful day!

    Supplies