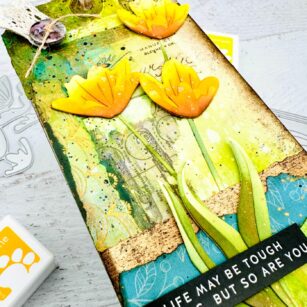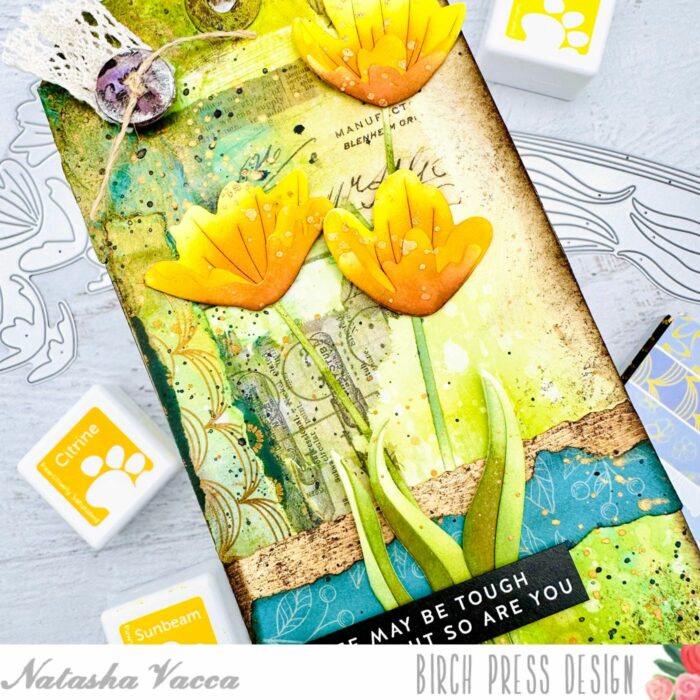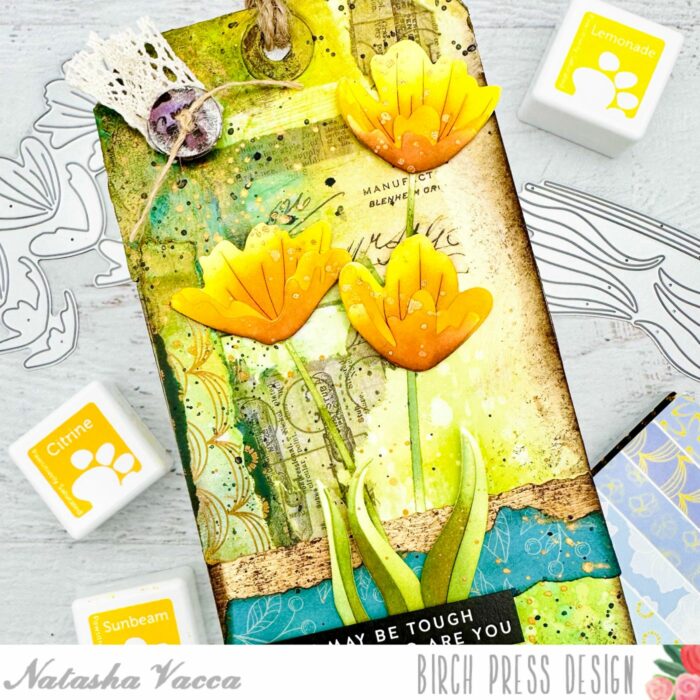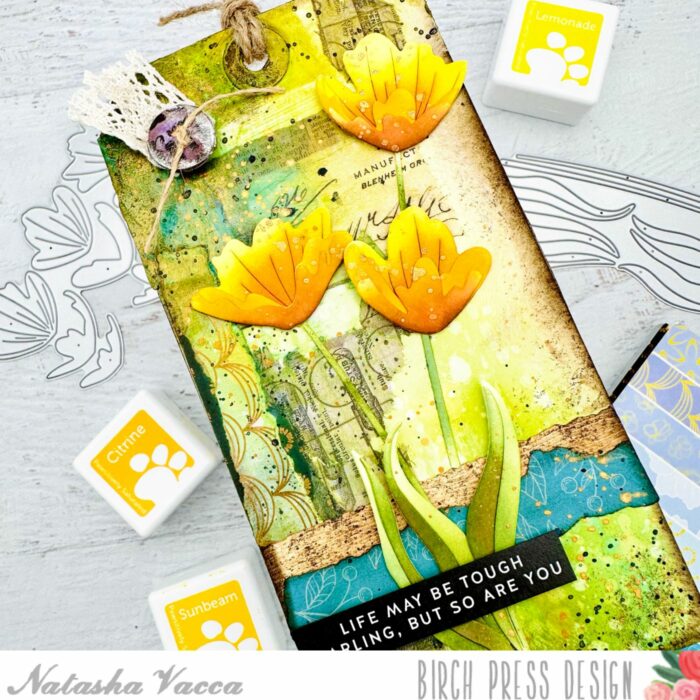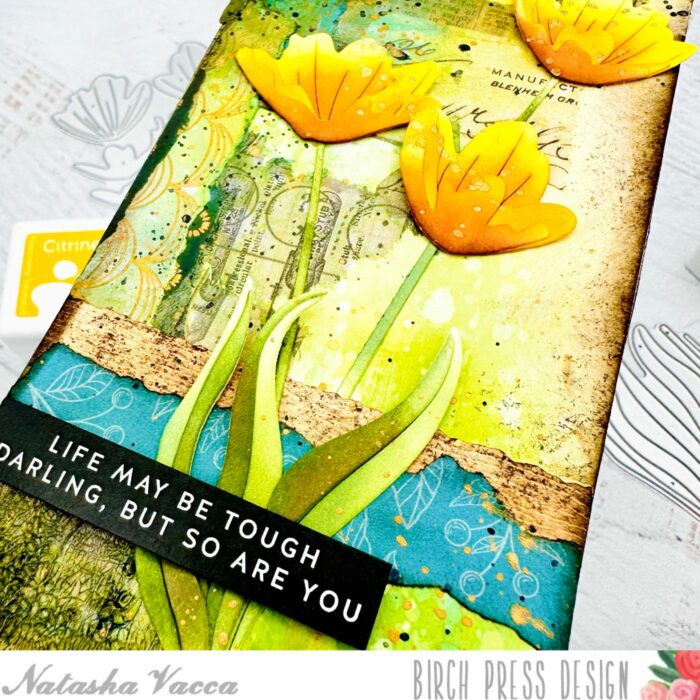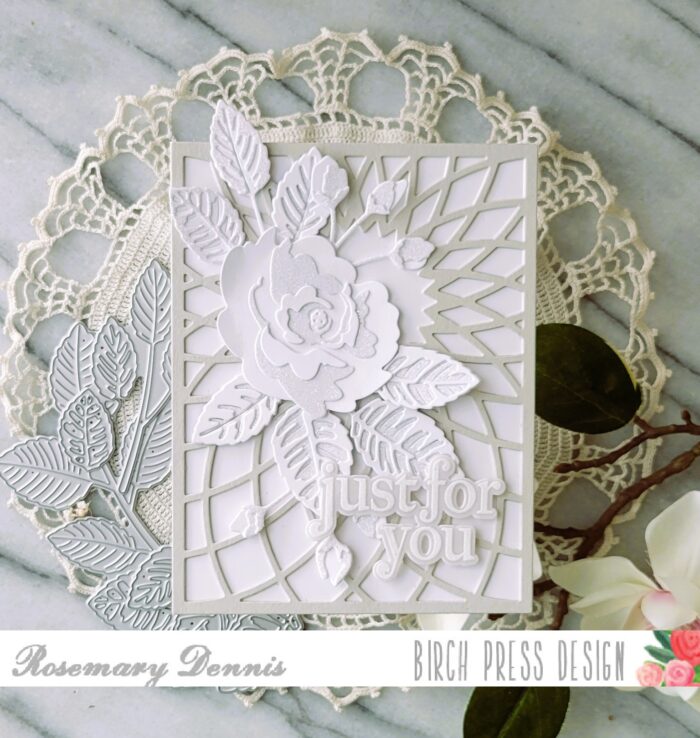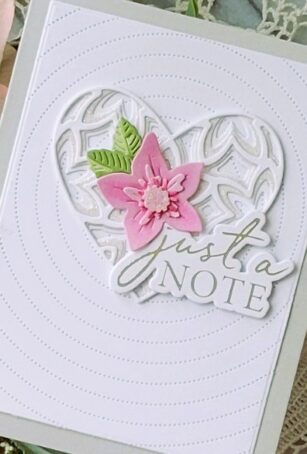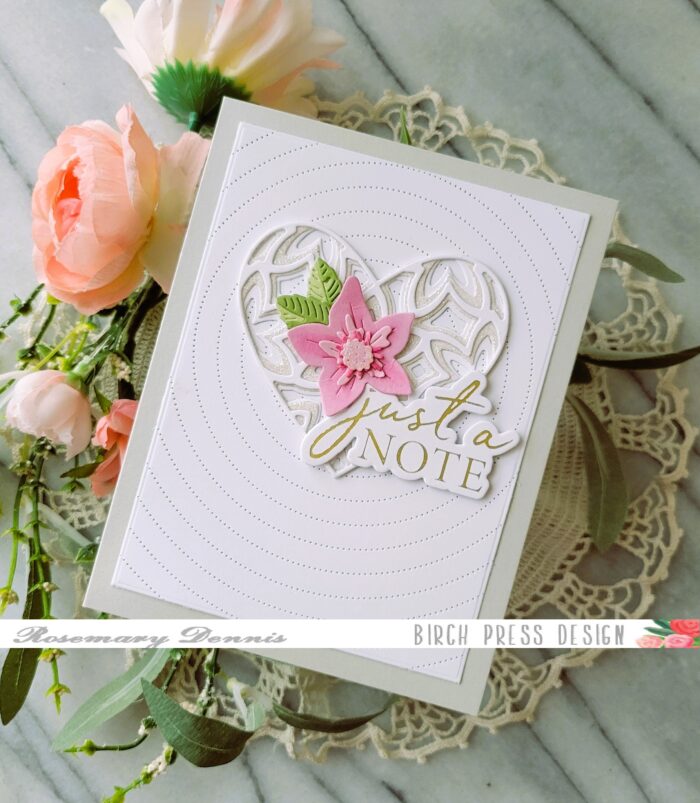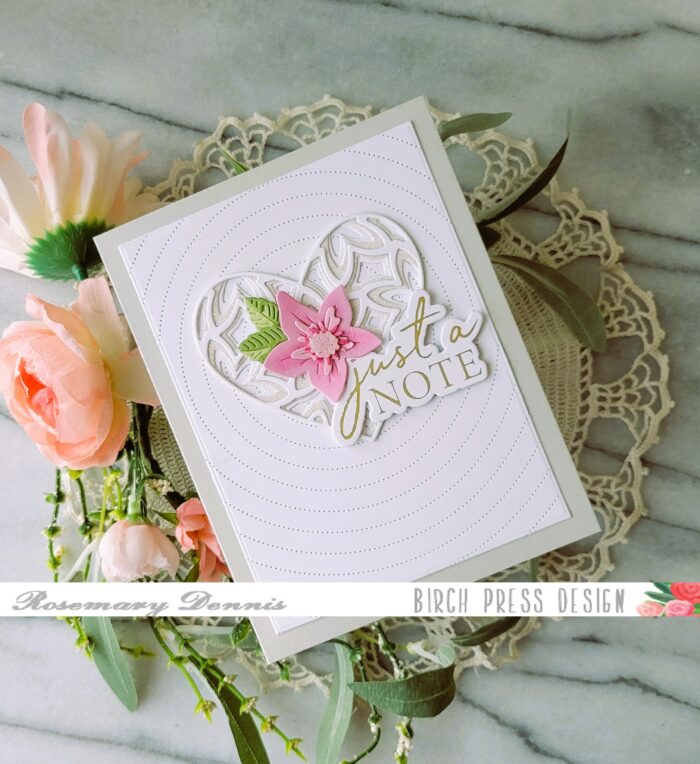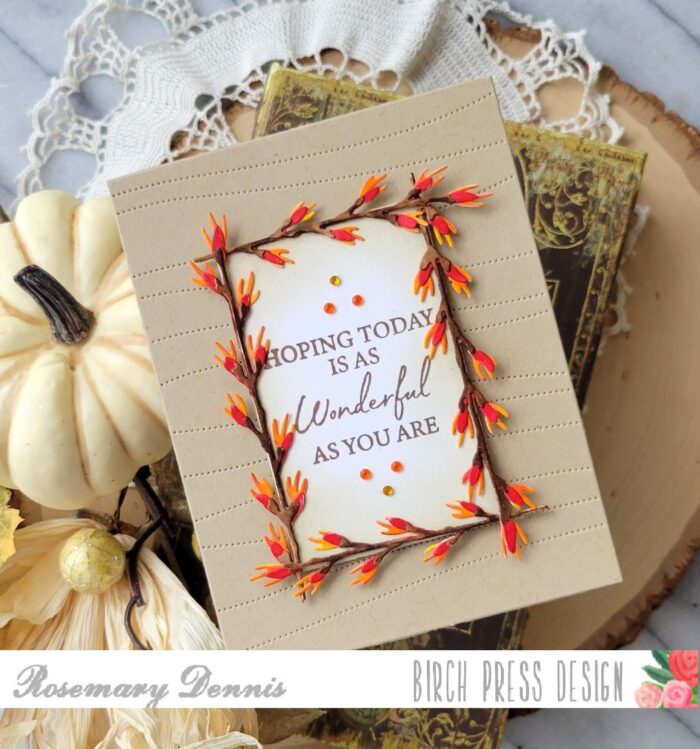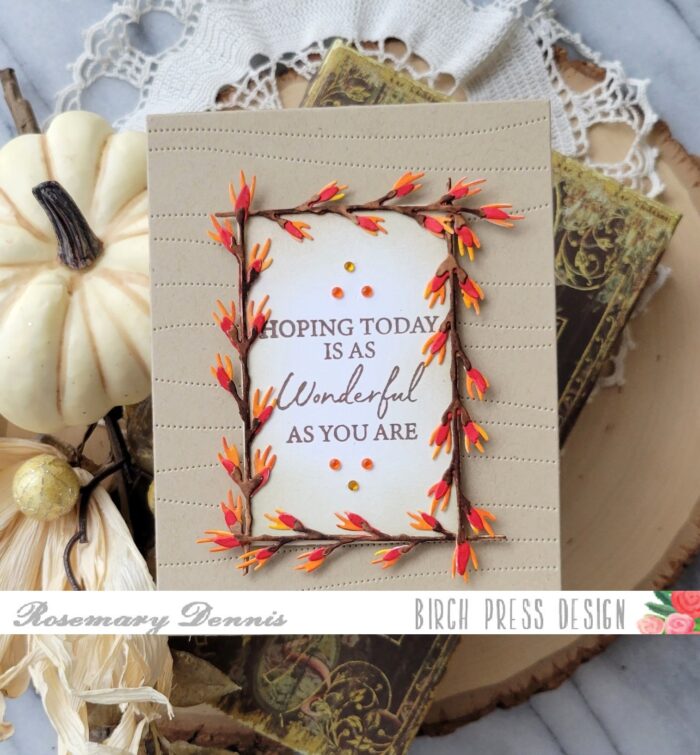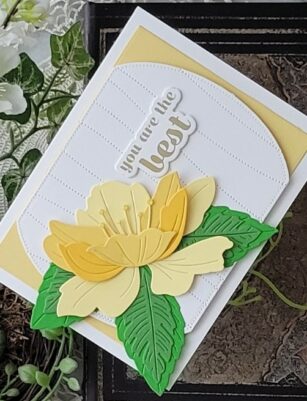
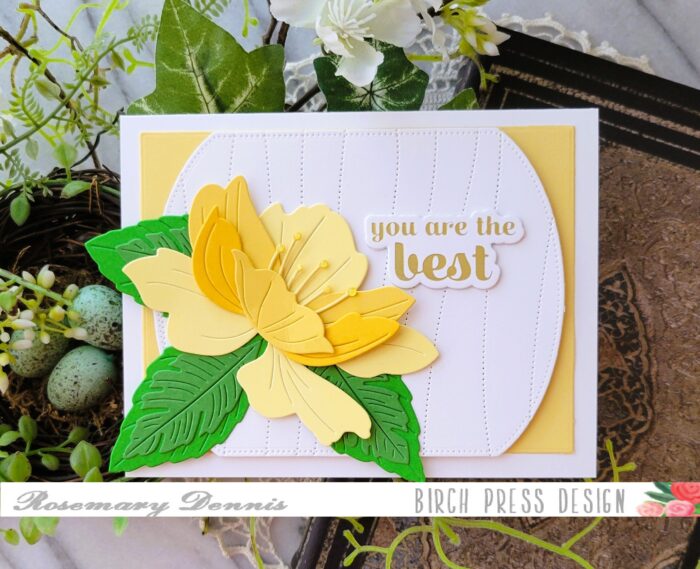
Hello everyone! Rosemary here on the blog today with a bright and sunny card I made using the new Perky Bloom Contour Layers, Wiegela Leaf Contour Layers and Sugar Script Sentiments 2 products. I also used the Pinpoint Contour Plate and papers from the new Memory Box Sunrise and Greenery 6×6 cardstock pads.
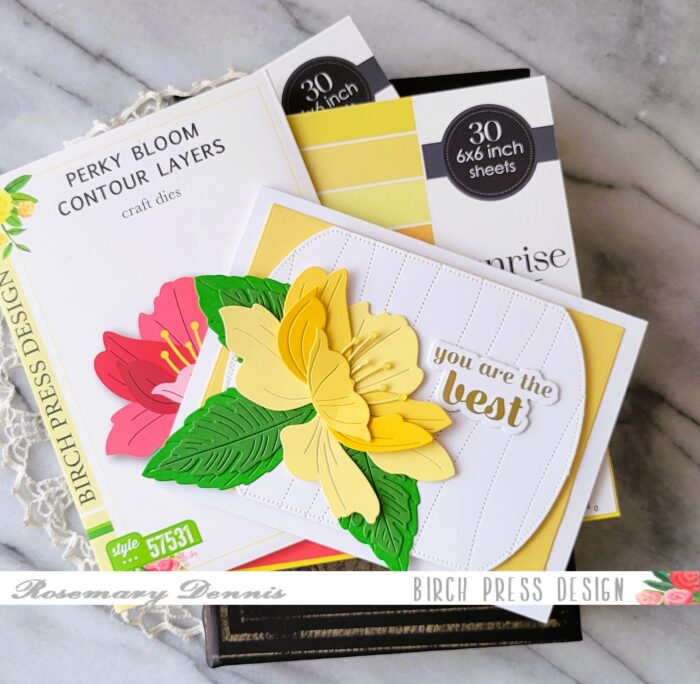
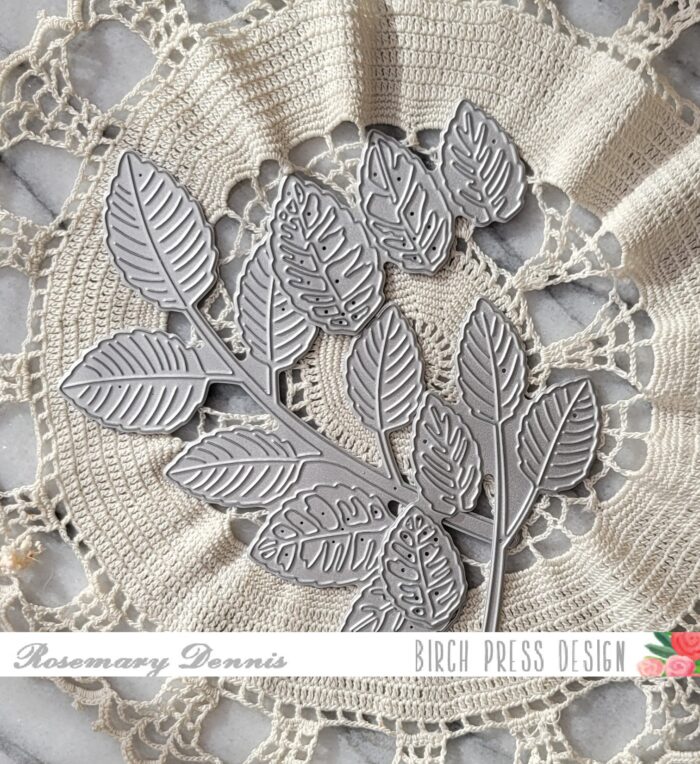
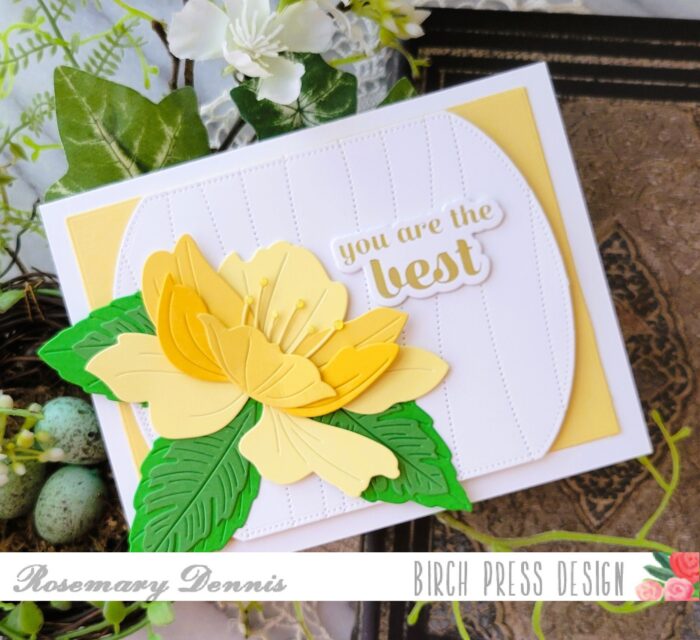
I don’t often use yellow cardstock as I don’t have alot of it and most of the shades I have don’t really coordinate. That is a thing of the past with the Sunrise cardstock pad! The yellows in the pad coordinate perfectly! I went through the pad and pulled out the ones I wanted to work with and die cut the various layers from each. The Perky Bloom die is one piece so after diecutting I did have a few extra pieces that I didn’t need for my flower. I just simply tucked those inside the packaging the die comes in for future use! I used a combination of liquid adhesive and thin foam squares when I put together my flower. The leaves were simply adhered together using liquid adhesive.
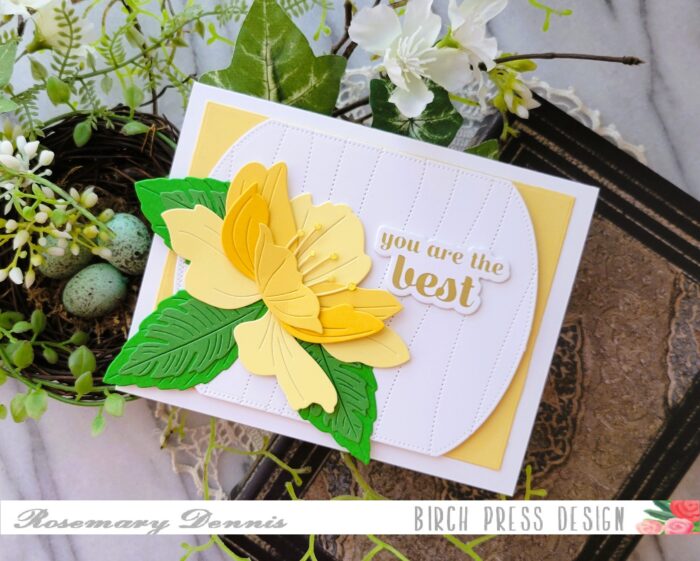
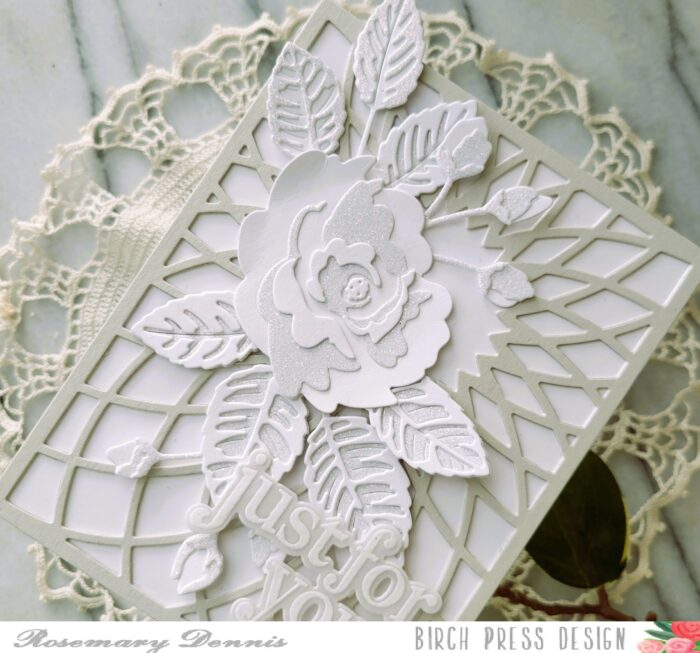
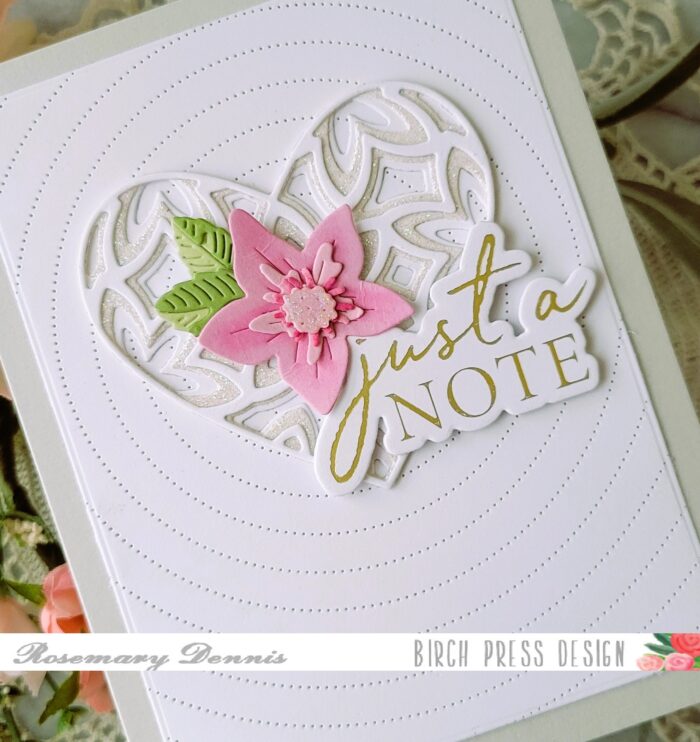
I used a Memory Box arched die to cut the white panel. The arch is only on one side of the side so to create the second arch I simply flipped the arch to the other side and die cut that portion of the panel. I then laid the panel on the Pinpoint Contour plate and ran it through my die cutter. This panel was adhered to a panel of yellow cardstock that I die cut with a rectangle using foam tape for dimension. I like how the arched panel fits perfectly inside with just the ends showing the yellow peeking out!
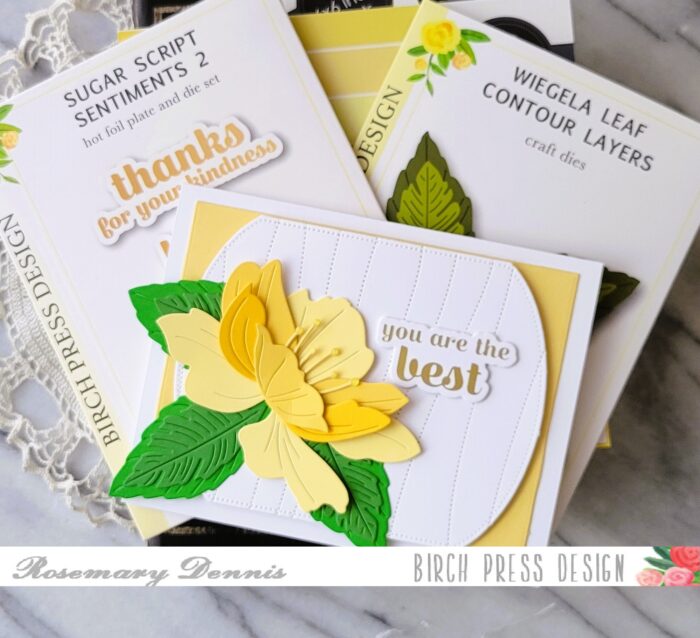
Now it was time to add the flower and leaves to the panel. I glued down the leaves and then added the flower I made sure to only add glue to the center of the flower so I could slip in the thin foam squares when I wanted to to provide dimension and lift to the flower petals. The last thing to do was foil the sentiment. I used matte gold foil and my hot foil machine. I foiled all the sentiments in the Sugar Script Sentiments 2 set as I wasn’t sure which one I wanted to use. I settled on “you are the best”. I used the die for the sentiment to cut additional layers from scrap cardstock and adhered them to the sentiment with liquid adhesive. The sentiment was then added to the card also using liquid adhesive. I had some yellow nuvo drops that I added to the tips of the stamen for a little more dimension.
I hope you enjoyed today’s card. I had a lot of fun creating it! Thanks for stopping by and have a wonderful day!

Supplies