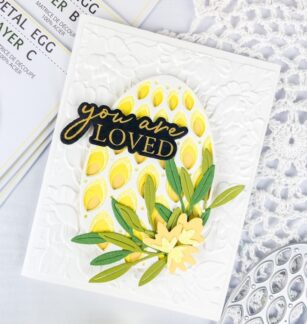
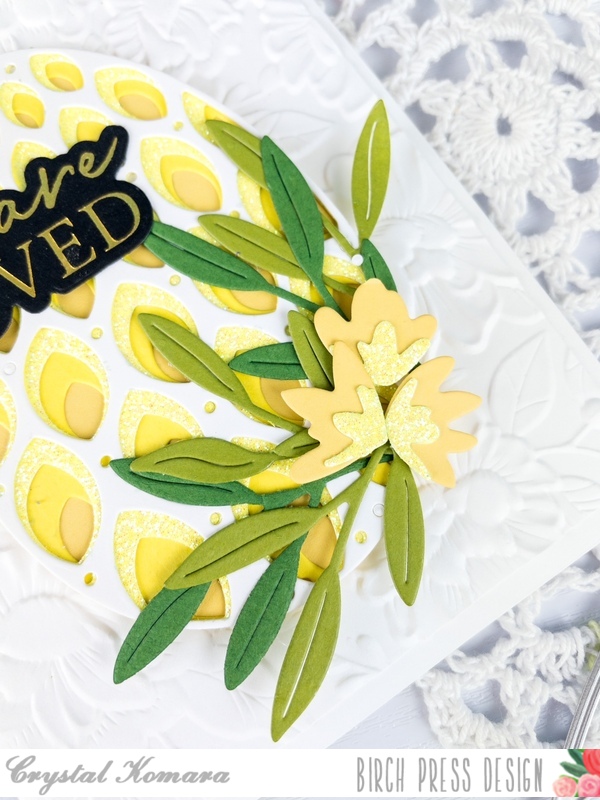
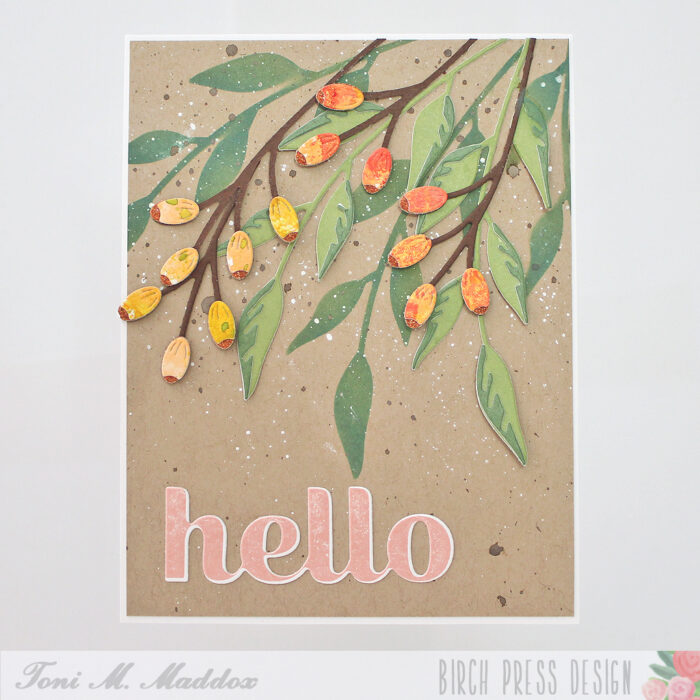
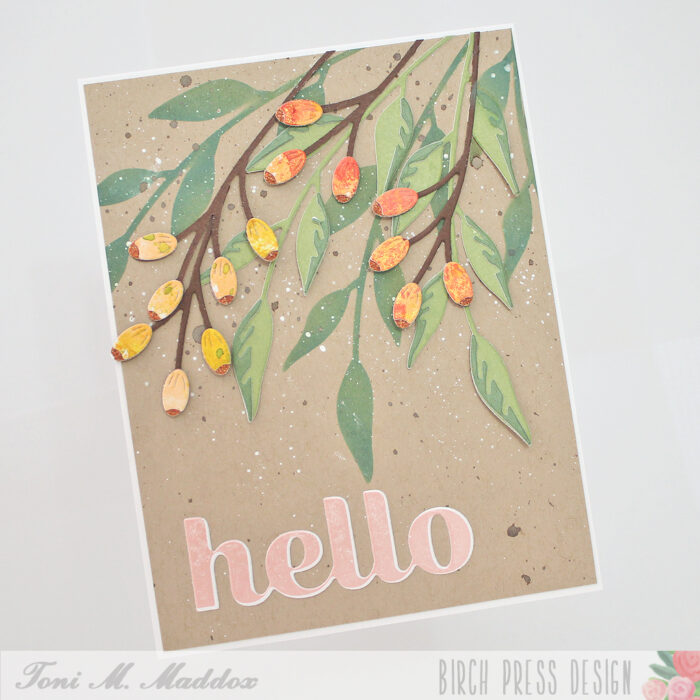
Hello, Birch Press fans! Toni here with you today sharing a floral card that reminds me of my cotoneaster bush.
The blooms of my cotoneaster aren’t very exciting but the resulting berries are prolific and gorgeous.
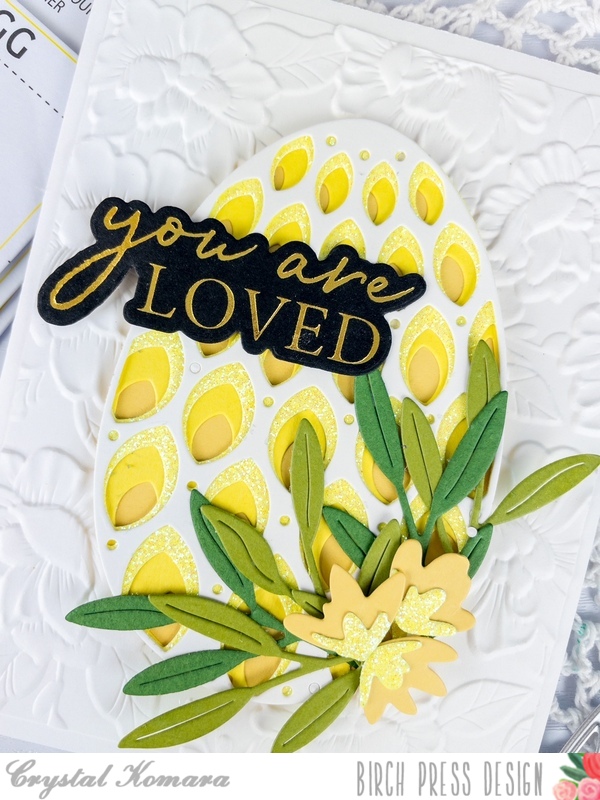
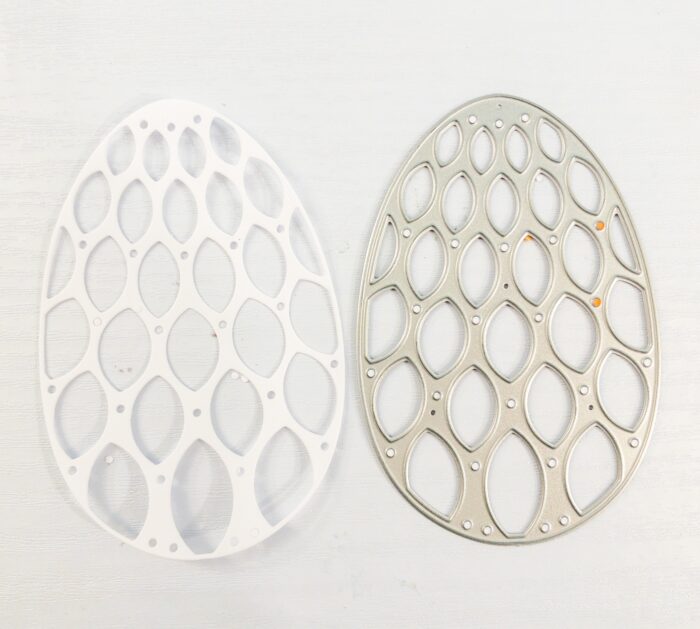
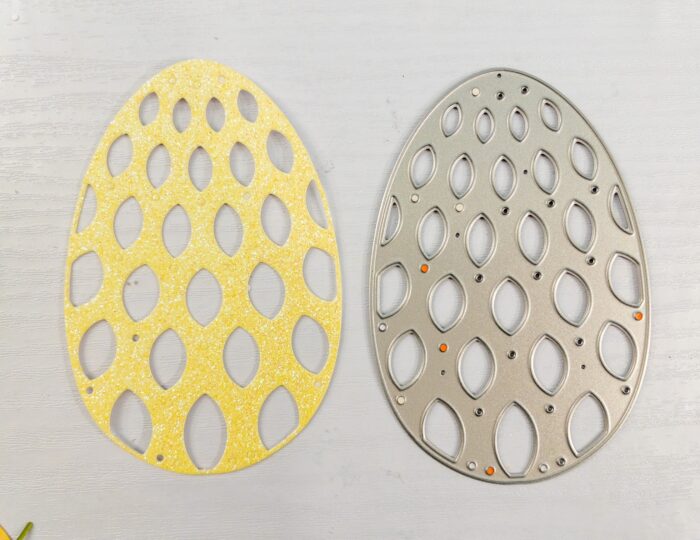
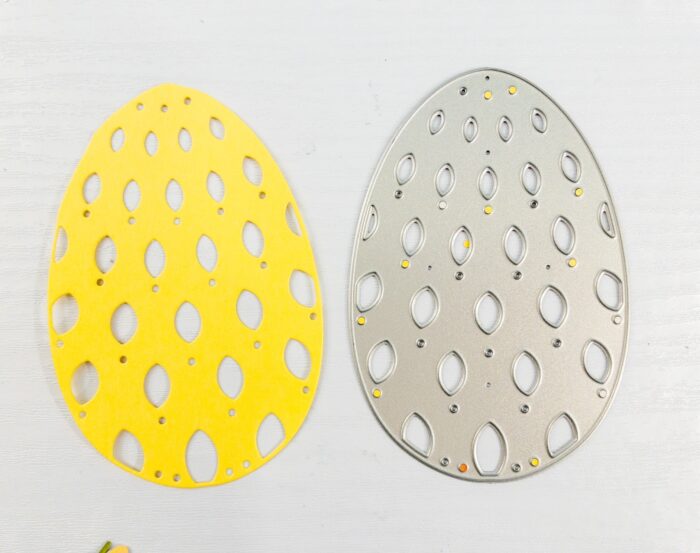
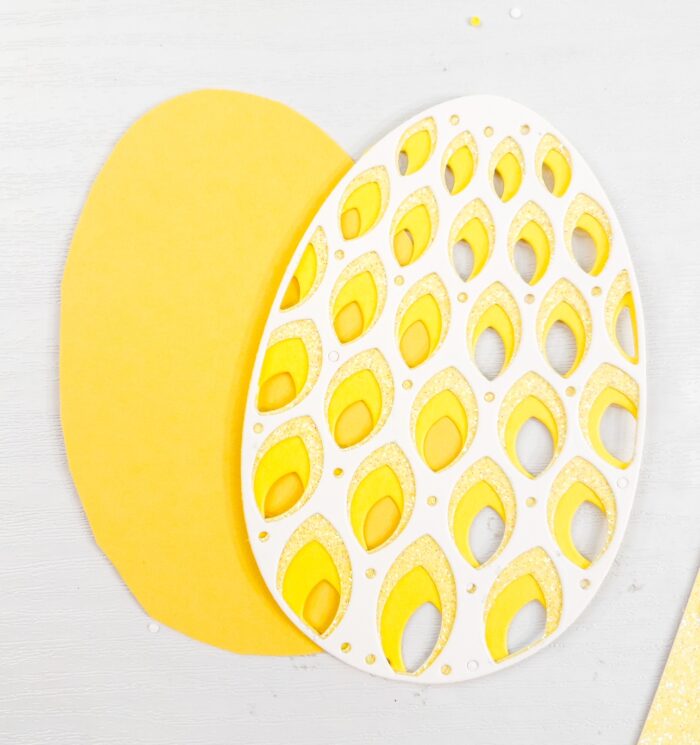
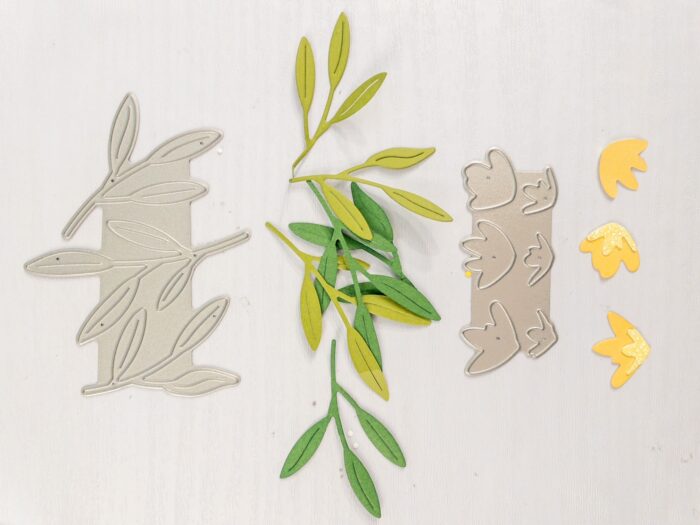
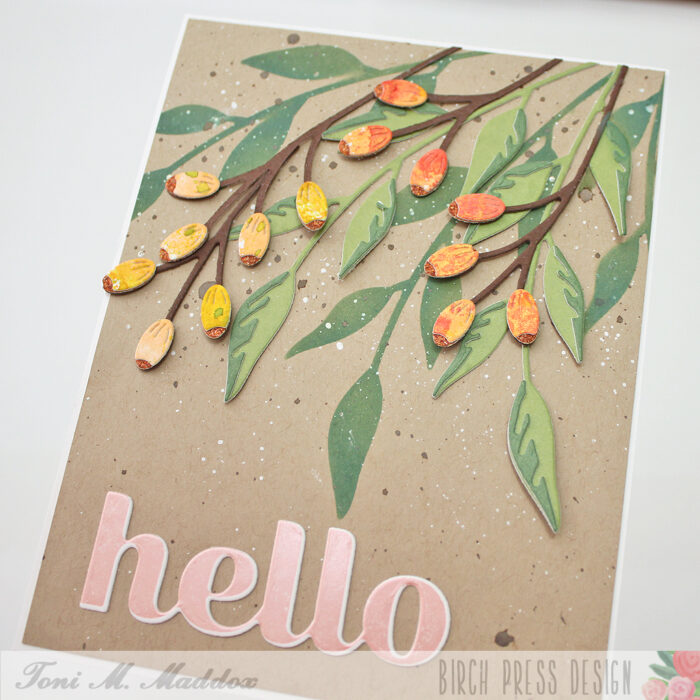
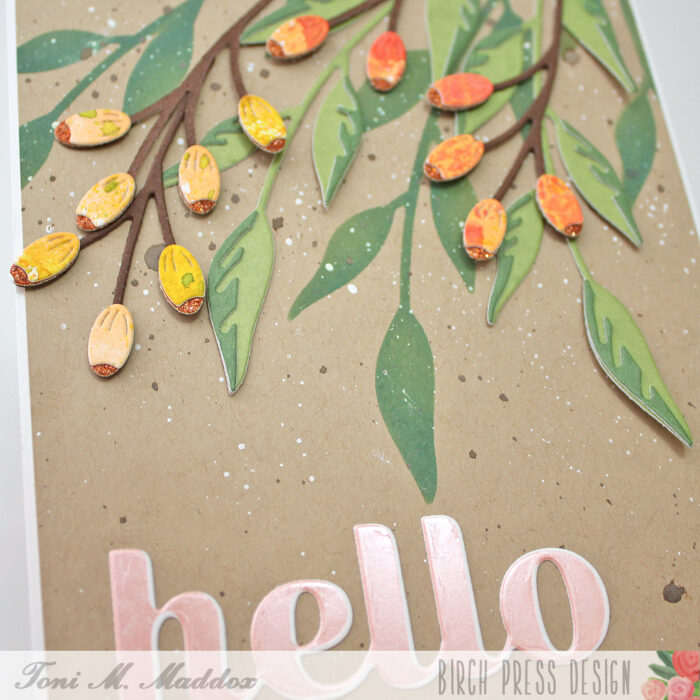
I cut the Sylvan Berries Contour Layers from Memory Box Glitzy Glitter 6×6 cardstock and leftover cardstock I had used Brushos on once upon a time. I cut the Sylvan Leaves from Memory Box Lush Green 6×6 cardstock.
I used the negative of the leaves diecut as a stencil with Distress Oxide Rustic Wilderness. What an easy way to add additional depth!
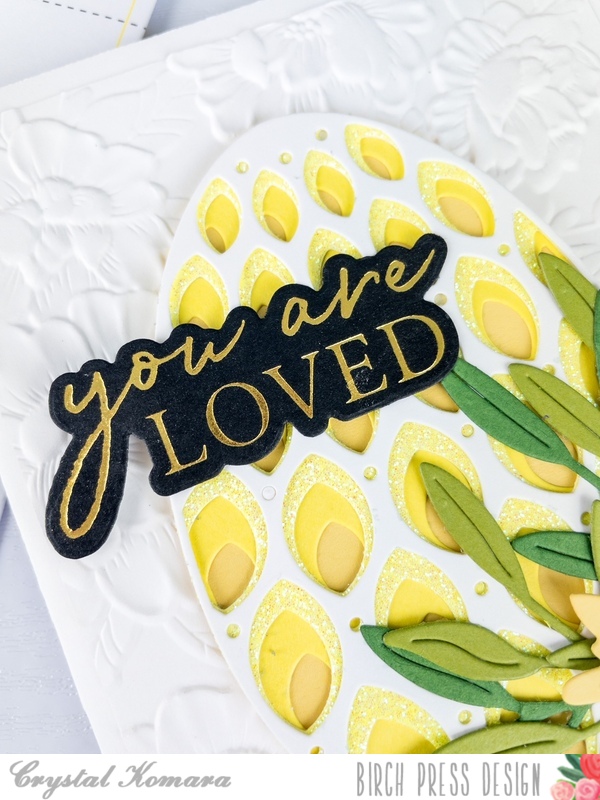
I spattered a bit of Copics Opaque White and Distress Oxide Spray Vintage Photo before adding the sentiment.
For that I used one of the Spellbinders Glimmer Satin Pastel hot foils with the Hugs Sugar Script Hot Foil Plate & Die. I wanted a smaller outline so cut the sentiment with the Sugar Script Big Hugs die. Cool shadow, right?!
I hope you enjoyed today’s card and have a great rest of your week!
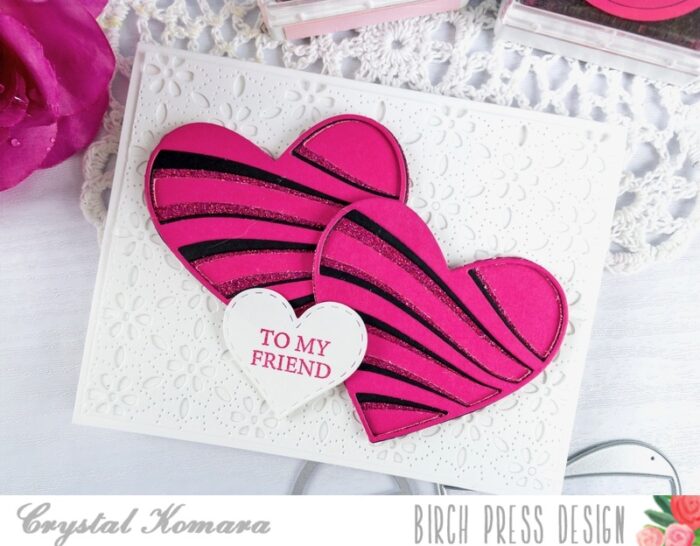
Hello friends and happy Valentine’s (or Galentine’s) day to you all! This is Design Team member Crystal Komara here today. I wish you a day filled with love, happiness and a lot of something sweet! I have one last love or heart themed card to share with you for this season.
Card details:
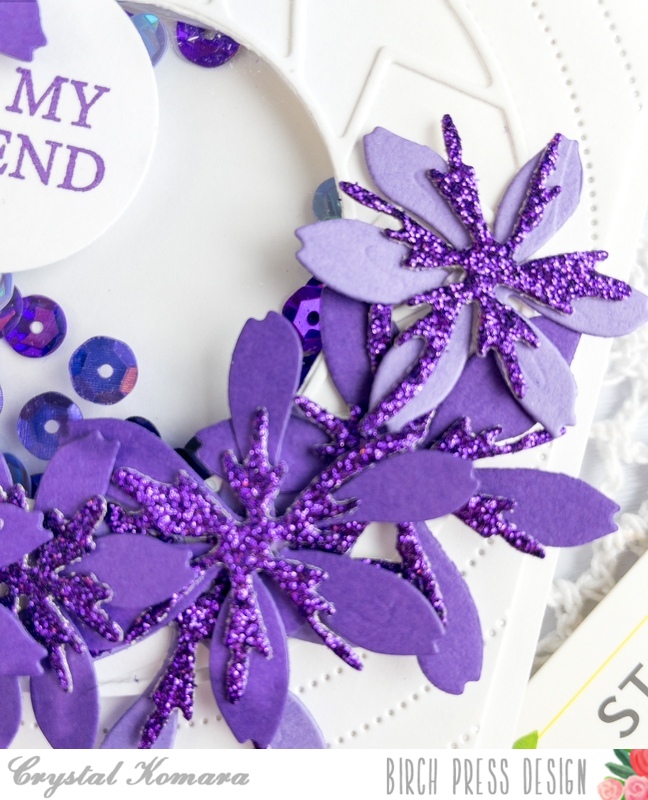
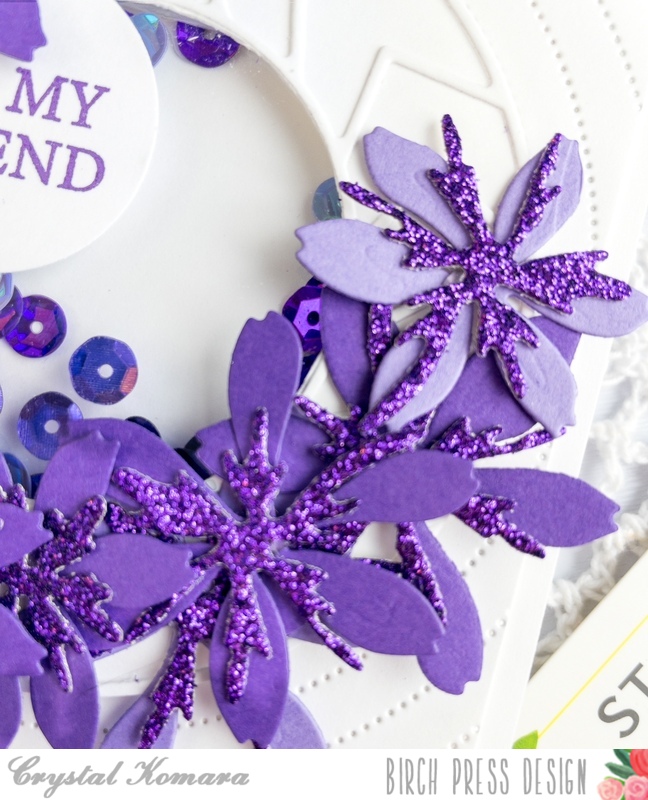
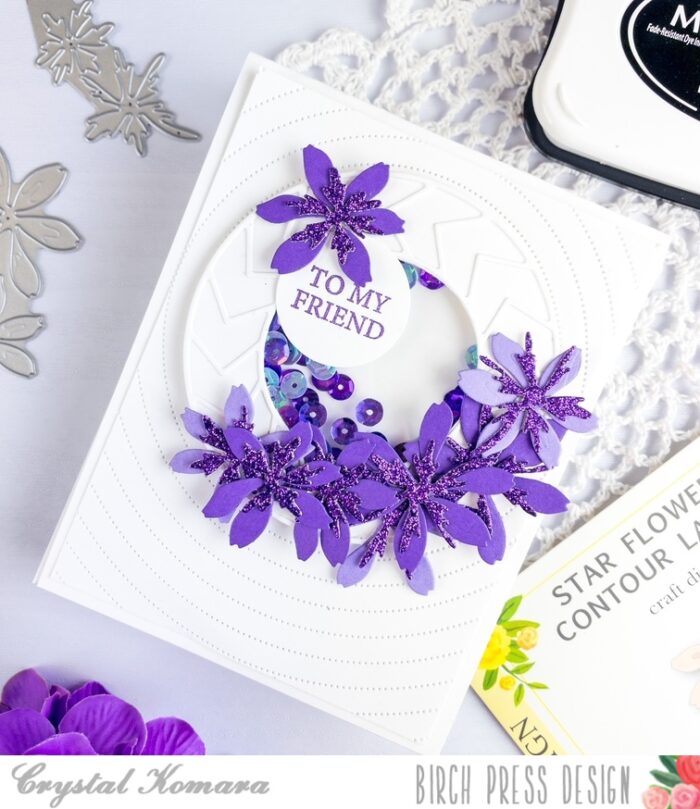
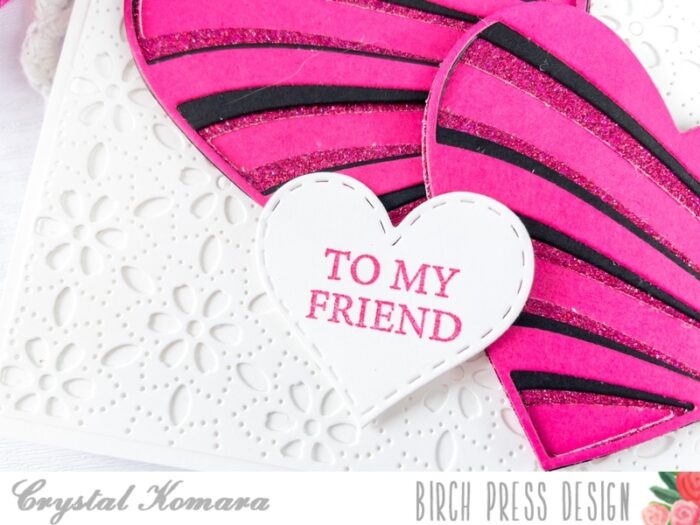
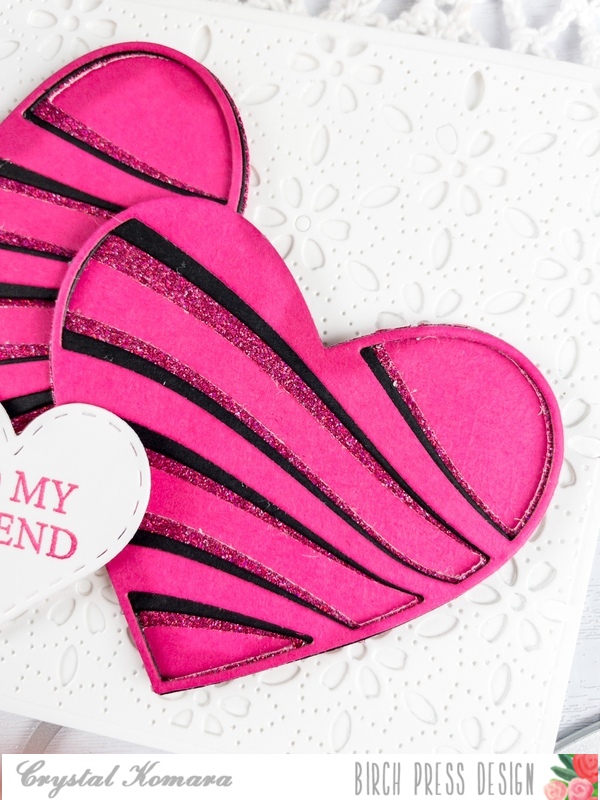
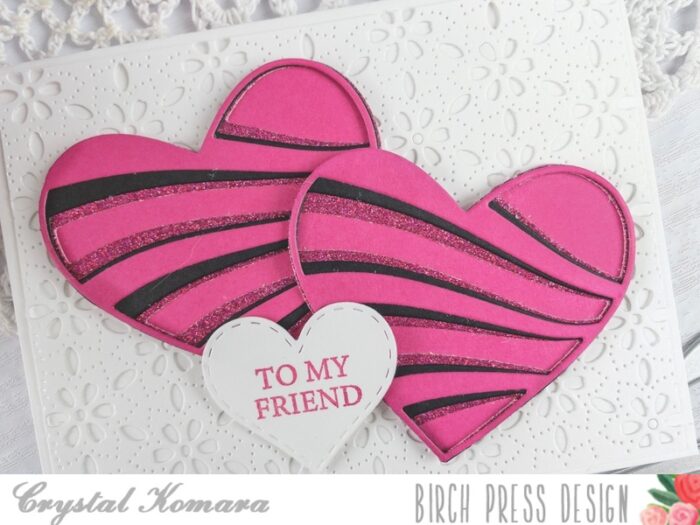
The base of this A2 sized card is made from Neenah Solar White Smooth cardstock. Using Layer A of the Flora Layering Plates, I cut the background layer from white cardstock. Using the new Banner Heart Layer set, I cut Layer A (the top layer) from magenta pink cardstock. I used the I cut Layer B (the middle layer) from black cardstock. I cut Layer C (the bottom layer) from a magenta pink glitter cardstock. I adhered all three layers together using a fine tip liquid glue. Then once the layers were dried, I adhered the hearts to the card using 3M foam adhesive for added dimension.
*Note, I cut two of each layer of the Banner Hearts die so that my card would have two hearts on it. Lastly, I stamped the sentiment “to my friend” in magenta ink on a piece of white cardstock. This stamp is from the Kind Hearts stamp set. I then used a small punch to punch out the heart and adhered it on the top of the card.
Happy Valentine’s Day, my crafty friends! Thanks for visiting and be sure to spread the love today and always.
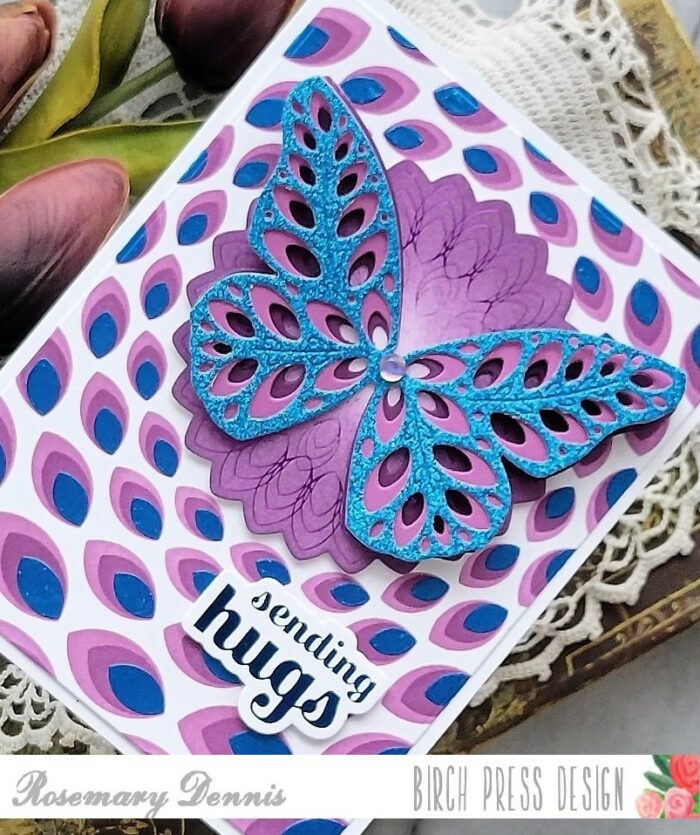
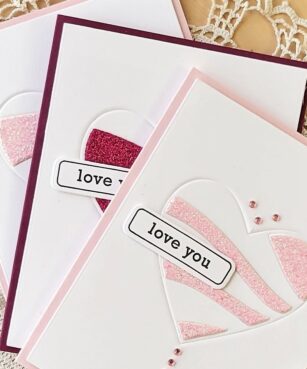
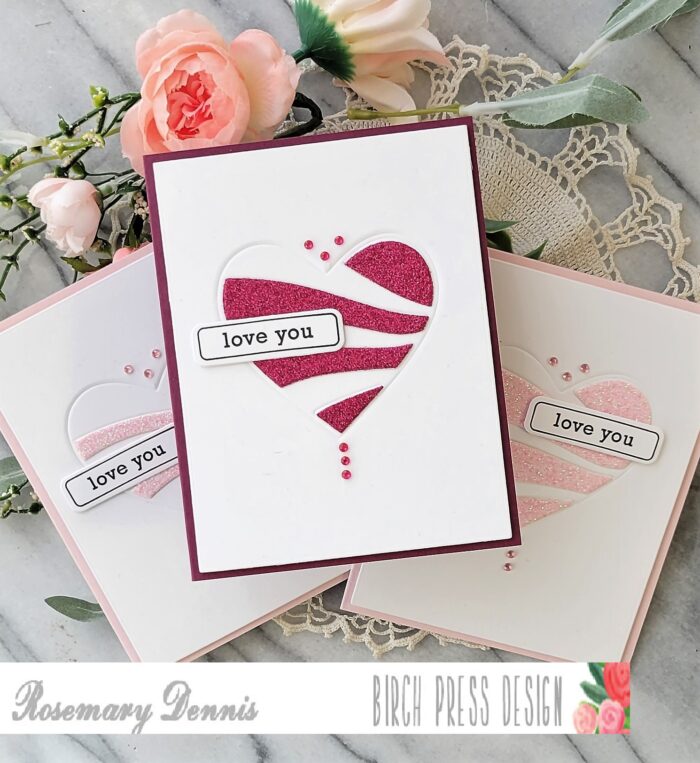
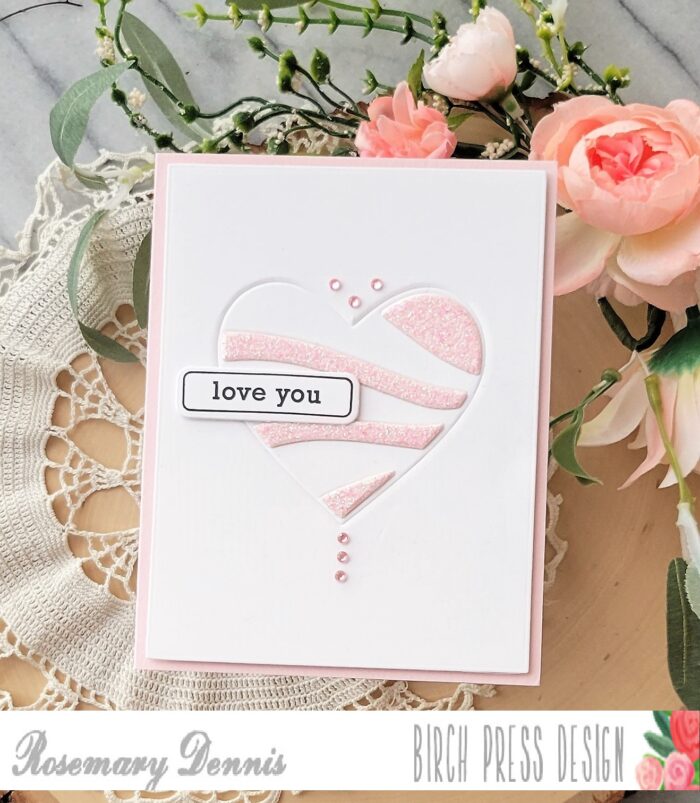
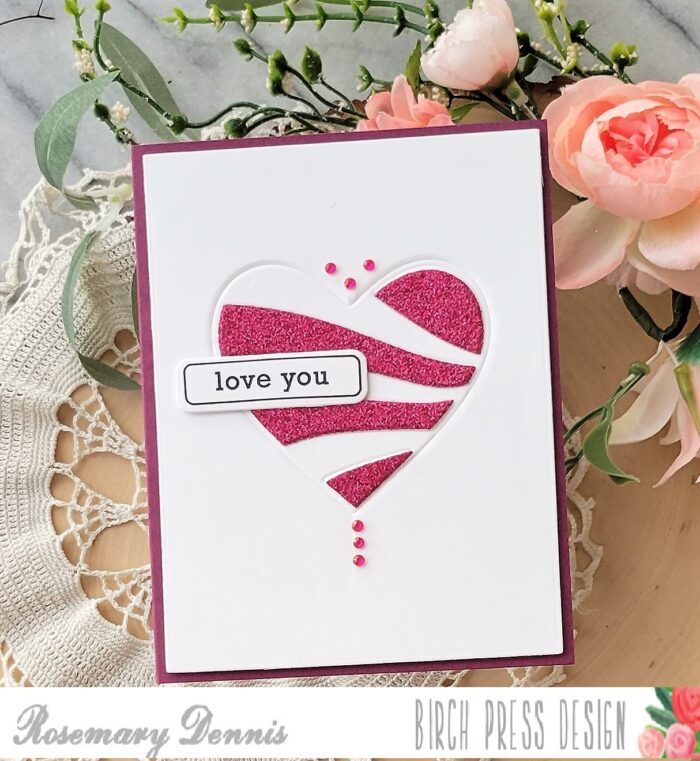
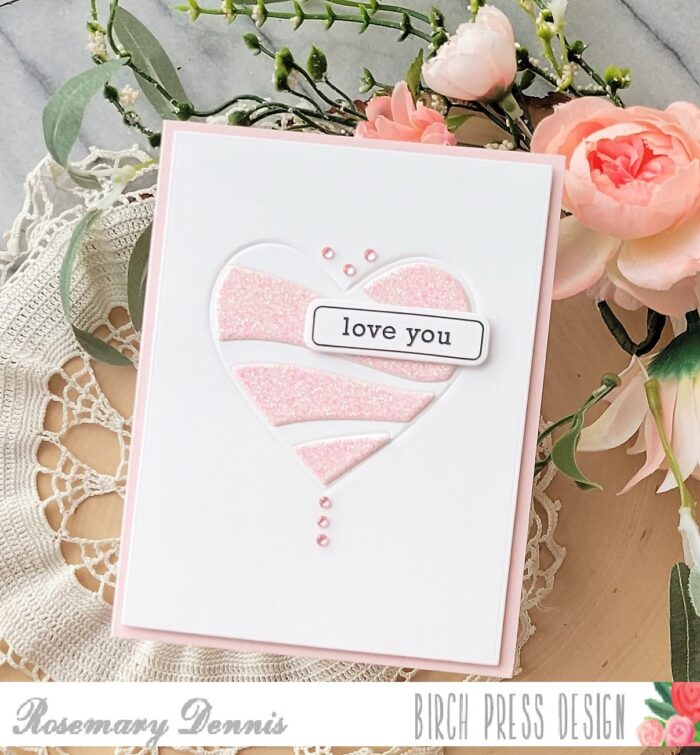
Hello and happy Friday everyone! Rosemary here with a trio of love themed cards that I created using the fall out pieces from a card that I previously created using the Banner Heart layered die set.
When I created the original card, I wasn’t thinking that I would make another three cards, but I quickly realized that I couldn’t just throw away the fall out pieces that were left after I die cut the Banner Heart layers from the glitter cardstock I used. That got me thinking about how I could use the dies and the fall out pieces in a different way.
I decided to use each layer of the die to emboss the cardstock and then layer on the corresponding fall out pieces. I die cut three panels of white cardstock and got to work embossing each panel.
There can be some trial and error when using your dies to emboss, but I was super happy when all three embossed perfectly the first time. The impress I got is very deep because I had to use my thick embossing mat as I wasn’t able to find the thinner one. To emboss a die on cardstock you need to make sure that you use an embossing mat. The mat is flexible, usually tan in color and comes with your die cutting machine.
To emboss with your dies, use low tack tape to keep the die in place on your cardstock. For me my embossing sandwich was die cutting platform, cutting plate, embossing mat, cardstock and die (cutting edge facing down) and additional cardstock shims. For everyone else who has the correct embossing mat the sandwich would be cutting platform, cutting plate, embossing mat, cardstock and die (cutting edge facing down). Then run it through your die cutter. Some people like to lightly spray their cardstock with water in order to make it a little more pliable so the cardstock doesn’t crack. I didn’t do that with my cardstock, but the cracking was minimal.
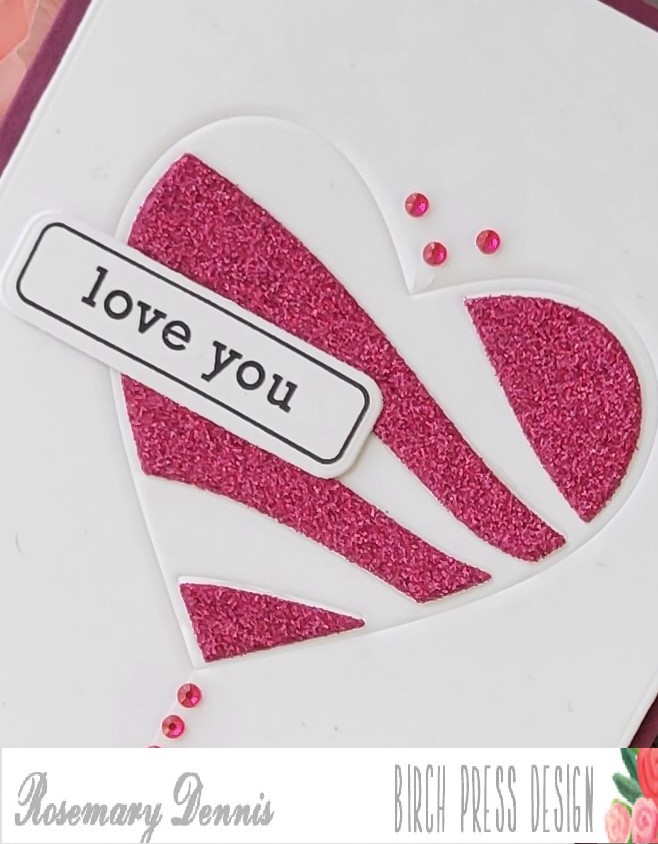
Here is a close up of one of the cards. I found that the embossing left me with really nice impressions on each panel. Layering in the fallout pieces was super easy. I finished off each card with the same sentiment from the Contempo Greetings stamp set and Fairy Jewels that coordinated with the colors of glitter cardstock that I used from the Memory Box Glitzy Glitter 6×6 pad and the Delicate Pastel Glitter 6×6 pad.
I hope you will enjoyed my cards and that you will give embossing with your dies a try sometime. Have a wonderful day!
Hello crafty friends and happy Wednesday! This is Design Team member Crystal Komara here with you today sharing some Valentine’s Day themed inspiration, but in non-traditional colors. I’m all for the lovey-dovey, over-the-top, red and pink hearts everything, but what if you want to tone it down just a bit and tell your friends you’re thinking of them? Well, keep reading because here’s my version of sending some love and hugs that isn’t so mushy-gushy romantic.
First, I LOVE this color combination of mint green, teal green, gold and white. It’s classic and it’s elegant. You can also see what it looks like here with a Christmas themed card. Or here, where I added just a touch of baby pink color too! Clearly, it’s a combination I love as I have used it frequently.
Card details:
The base of this A2 sized card is made from Neenah Solar White Smooth cardstock. This is my go-to white cardstock for e-v-e-r-y-t-h-i-n-g! It’s great for card bases, layering, die cutting, distress oxide blending and Copic coloring For the very first base layer I cut a piece of teal green cardstock to measure 5 1/4″ x 4″ from the Lush Green 6″ x 6″ paper pack. Using the Kinsley Heart Layering Plates, I cut Layer C (the bottom layer) from gold glitter cardstock. Next I cut Layer B (the middle layer) from mint green cardstock, also found in the Lush Green 6″ x 6″ paper pack.
I cut Layer A (the top layer) from white cardstock. I adhered all three layers together with a fine-tip liquid adhesive before adhering them all to the card base. I then cut a 5 1/2″ x x 1 1/2″ strip of white cardstock and adhere it to the bottom third of the card. This allowed me to place the words “hugs” onto a white background in order for it to stand out against the detailed die. I used the Big Lingo Type Hugs die here. I cut the bottom thicker layer from teal green cardstock and the top thinner layer from gold glitter cardstock. Lastly, I stamped the sentiment “thinking of you” from the Lingo Thanks Clear stamp set in teal ink on white cardstock. I adhered the sentiment strip to the card using 3M foam adhesive for added dimension.
Gosh, I just looooooove this color combination so much. I hope you have enjoyed today’s card as well. Thank you for visiting and have a wonderfully creative day!
Happy Wednesday everyone! Rosemary here with two cards featuring foiling! Do you like to foil? I absolutely love foiling and the bit of glamour that it adds to my projects. There are several ways to foil including hot foiling and that is what I have done on my cards.
When I started my cards I hot foiled the String Art Frame hot foil plate using matte silver and gold foils. I die cut the pieces down in preparation to use them on my cards. However, as I got further into the process, I changed my mind and I decided to use the leftover foil to do some reverse foiling. I will explain that a little further on in this post. After I did the initial foiling, I decided to use light pink and light blue cardstocks along with light blue and pink glitter cardstock from the Memory Box Delicate Pastel Glitter pad.
After I foiled the String Art Frame I foiled the new You Are Loved Noted Scrip foil plate with the same silver and gold matte foils and die cut them with the matching dies. Then I started in on die cutting all the pieces for my roses using the new Morning Rose and Triple Buds Contour Layers dies. I love how the dies emboss the lines so you know exactly where to place each layer of the flower. For the large rose I used a base of white cardstock for each flower.
Then I started adding all the layers finishing with the glitter layer on top. My idea was to have a somewhat monochromatic color scheme for the flowers, but did add a little pop of yellow glitter cardstock to the center of the large flower. The same process was used for the bud stems. Now it was time to start putting the card together and that is where I started to change my mind about things.
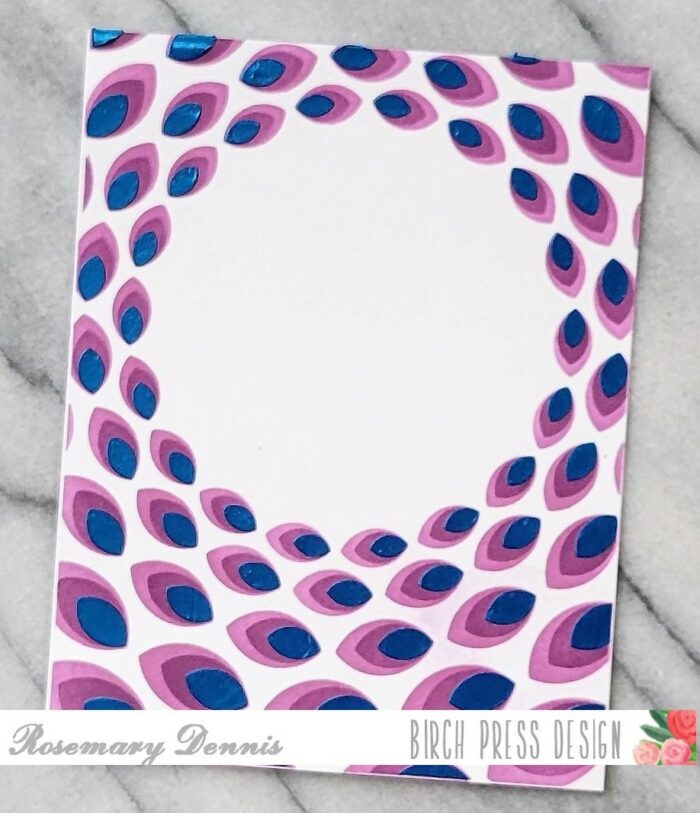
As I layerd the roses and buds on to the card fronts that I had foiled I didn’t like how busy things looked to me. I tried, but I just wasn’t happy with what I saw. So I decided to reverse foil the leftover foil. To reverse foil you need a large flat foil plate and the negative foiled image. You heat up the flat foil plate on your machine and when it is ready, lay the foil on top (pretty side on the plate), add your cardstock and then proceed with the foiling process. When you end up with is what you see on my cards.
The reverse foiling wasn’t perfect, so I just die cut out the parts that didn’t turn out and moved forward with completing the cards. I thought the floral swags I created needed to be a little fuller, so I added some leaves from the Dainty Rose and Leaves Contour Layers dies. When I was assembling the flowers, I used liquid adhesive. For the assembly of the cards, I used a combination of liquid adhesive and foam squares. The large flower was adhered with foam squares so I could tuck the flower buds and leaves under the flower using liquid adhesive. The sentiments were adhered with a combination of liquid adhesive and foam squares.
I hope you enjoyed my projects today. Reverse foiling can add so much to your projects so I hope you will consider giving it a try if you have a hot foiling systems. The possibilities are endless!
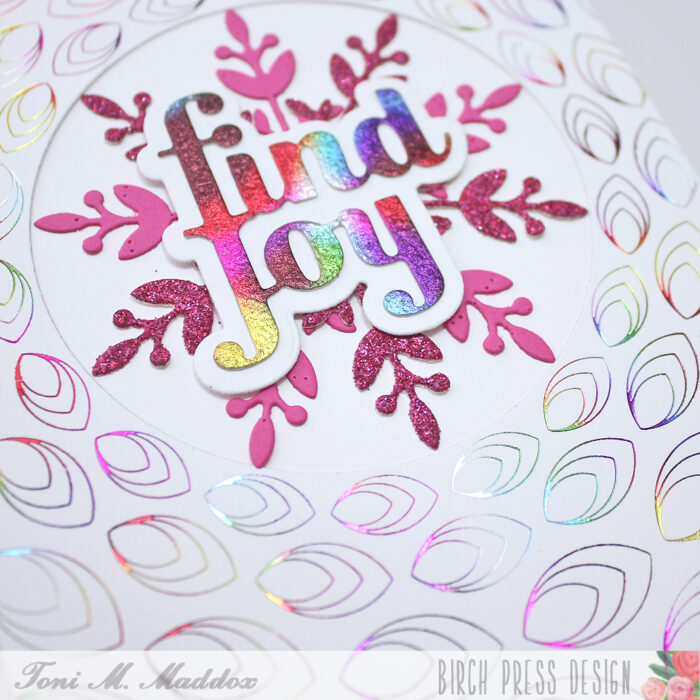
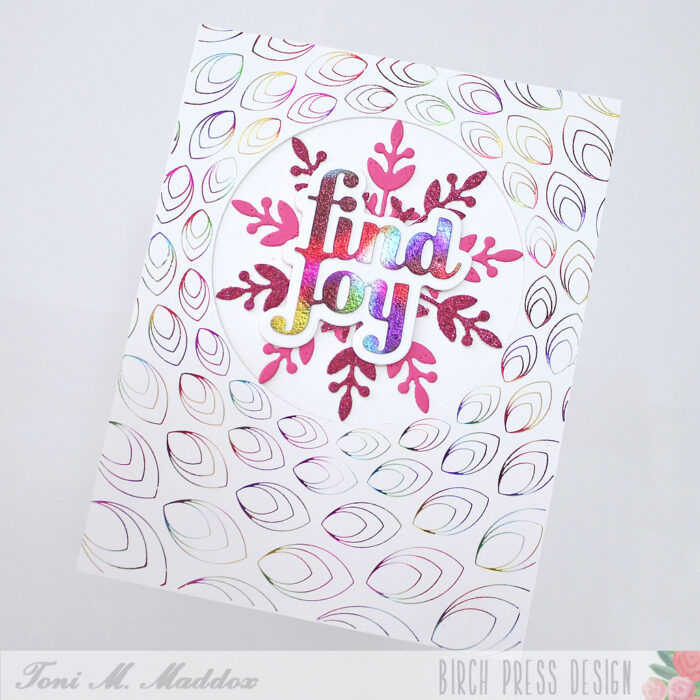
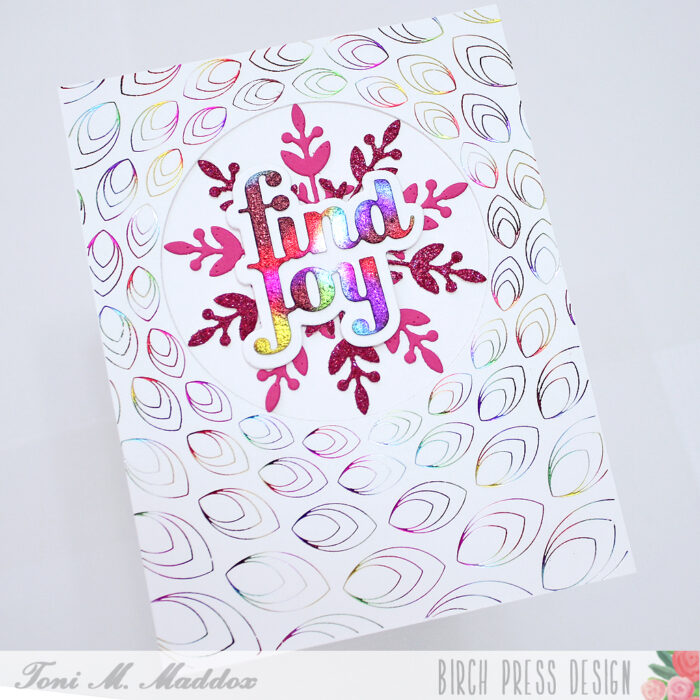
Hello, Birch Press fans! Toni here with you today sharing a fun and ever so glittery winter birthday card.
I have a lot of winter birthdays in my life so am always looking to build my stash.
I cut out the card front from the Memory Box Majestic Hues 6×6 Glitter Pad. I wish the pictures did a better job of showing you just how amazing this paper is. AND, no glitter rubs off. That alone is a winner in my book!
Next I cut out a few of the Adornment Snowflakes and adhered them to the glitter using Scor-tape. I cut the Sugar Script Birthday Wishes letters from white and the backer from the Memory Box Rainbow Reflections 6×6 Mirror Pad.
I hope you enjoyed today’s card and have a great rest of your week!
Hello Birch Press friends, it is Natasha here today and I am excited to share a fun card idea with you today using the Banner Heart Layering die set! So let’s get started!
I started by choosing a colorful background from my stash for today’s card! I love to use pre-made backgrounds! It is a fun and easy way to create, as well as saving you time! The background inspired my color choices today!
Next I started by die cutting each layer of the Banner Heart Layering die set. I used a combination of red, pink, and white card stock for the 3 layers. The pink and red card stock are from the Berry Red Memory Box paper pad collection. I die cut layer C 1 time, layer B 2 times, and layer A 1 time.
After each layer was die cut, I added a bit of ink using a finger dauber to layer C and B. I love to add ink to color card stock. I feel it adds a bit of dimension and texture. Once these were complete, I adhered Layer C and B together using liquid glue. Next I chose an embossing powder from my stash. I embossed Layer A for each heart. On one heart the top layer has a pink card stock and the other has a white card stock. Using a different color card stock changes up the embossing powder effect!
Once Layer A was heat embossed, I adhered Layer A to the top of each heart using liquid glue. Next I trimmed the background panel to 4 inches by 5.5 inches. I used the extra 1/4 inch strip and adhered this to the left side of the card panel. It added a bit more interest and texture.
To complete my card I chose the You Are Loved Noted Script Hot Foil Plate and die set. I used my hot foil machine and followed the instructions for my machine. Once the sentiment was complete, I die cut 2 more shadow layers and adhered them behind my foiled sentiment for added dimension.
I completed the card by adhering the card panel to an A2 card base, adhered the hearts using liquid and foam adhesive and completed my card with my sentiment.
I had a lot of fun creating today’s card and I hope this inspires you to share a handmade Valentine with a family member or a dear friend!
Hello, crafty friends! Dee here today with this Merry Christmas card showcasing the Herbarium Plate Layers!
First, I created the background by die cutting each of the Herbarium Plate Layers (A, B, and C) and adhering them together, then onto a top-folding card base.
Next, I cut the Felicity Snowflakes and the Eucalyptus Stem and Berries Contour Layers in various red, blue, and silver glitter cardstock and adhered them over the top of the Herbarium Plate Layers. To finish, I added the Handwritten Merry Christmas die cut to the center using foam tape.
I hope you enjoyed this sparkly layered Christmas card! Thank you so much for stopping by, friends!
Hi Birch Press Friends, it is Natasha here and I am excited to be back on the blog today. Today I am sharing a rustic inspired holiday card featuring the beautiful Holly Wreath Layering die set.
I started by die cutting all the layers from the Holly Wreath layering die set. I die cut layer C using a gold glitter card stock from the Festive Glitter Paper pad from Memory Box. I then die cut layer B and A using the Lush Green paper pad collection from Memory Box. I used 2 different shades of green from the paper pad. Next I added a bit of distressing to both layer B and A using my oxide inks. I then adhered all the layers together using liquid glue. I then splattered my wreath using metallic gold watercolor and white acrylic paint. I set the wreath aside.
Next I worked on my background with a piece of wood grain paper from Wood Grain White paper pack. I added a bit of distressing to the panel using oxide inks. Once this was complete, I used my distress tool to add texture to the panel edges and then added distress ink to darken the edges.
Next I die cut a few leaves using the Adornment Dove die set. I added distress oxide inks to the leaves and then embossing powder to the leaves for added texture. I cut a few berries using the Eucalyptus Stem and Berries Contour Layers die set. I used the festive Glitter Pad and die cut the berries in red. To create the look of snow on the berries, I added a bit of embossing ink and sprinkled a white glitter powder on each berry, then heat set the powder with my heat tool.
To complete my card I chose the Find Joy and Outline die. I die cut the sentiment 3 times and adhered it together with liquid glue. I embossed the sentiment using the same white powder as I used on the berries. I added a twine bow around the distress wood panel, tied the bow and adhered this to my card base.
I adhered the wreath using foam tape and adhered the sentiment, berries, and leaves using liquid glue. I added a button from my stash on the bottom right corner. I had a lot of fun creating today’s rustic holiday card! The Holly Wreath layering set is truly beautiful!
Thanks so much for stopping by, I will be back soon!
Hello Birch Press friends, it is Natasha here and I am super excited to be back on the blog today! For today’s card I had a lot of fun creating a mixed media inspired card using the beautiful Winsome Rose and Leaves Contour layers dies! So let’s get started!
I started by creating 2 water color panels using Canson XL card stock. I added powders to the papers to create my own backgrounds. I created 2 panels, one in purple tones and another in green tones. Once my panels were dry, I die cut the Winsome Rose and Leaves using my watercolor panels. I also die cut a set of roses using the Twilight Purple paper pad from Memory Box. I wanted to create dimension for my roses and once die cut adhered these to my watercolored rose die cuts. I adhered each layer using liquid glue. Once the roses were adhered, I set these aside.
Next I die cut the leaves using the dies included in this set. Once they were die cut I added more texture to each leaf using dye inks from my stash. I applied the ink with an ink dauber to the edges of the leaves. On the top layer I added embossing powder for added texture. I then adhered the leaves together using liquid glue. I also embossed the center of the roses using a gold embossing powder.
Next I started to work on my background. I looked through my gelli print stash and chose a print to coordinate with my flowers. I wanted to add a bit of texture to my gelli print using the Flora Plate die set. I chose to use layer C. Following the instructions with my die cutting machine I used the plate to dry emboss the background die onto my gelli print. Next I added a bit of distressing to the panel. I used my distress tool to “rip” the edges, applied distress ink, as well as some embossing powder to various sections of the panel. I added a gelli print strip to the center of the panel following the same distressing pattern. I then adhered the card panel to an A2 card base.
Next I adhered the leaves and roses to the card front using both liquid glue and foam adhesive. I then chose a sentiment to to complete my card. I chose the Handwritten Thanks and Outline die set. I die cut the shadow layer using a piece of the same gelli print background. I then die cut the script thanks 3 times. For the top layer I added tape to the paper prior to die cutting, as I wanted to use a glitter powder on the top layer of the word die cut. I then adhered all the layers together using liquid glue. I adhered the sentiment using foam tape.
I had so much fun creating today’s card! I hope it inspires you to create today!