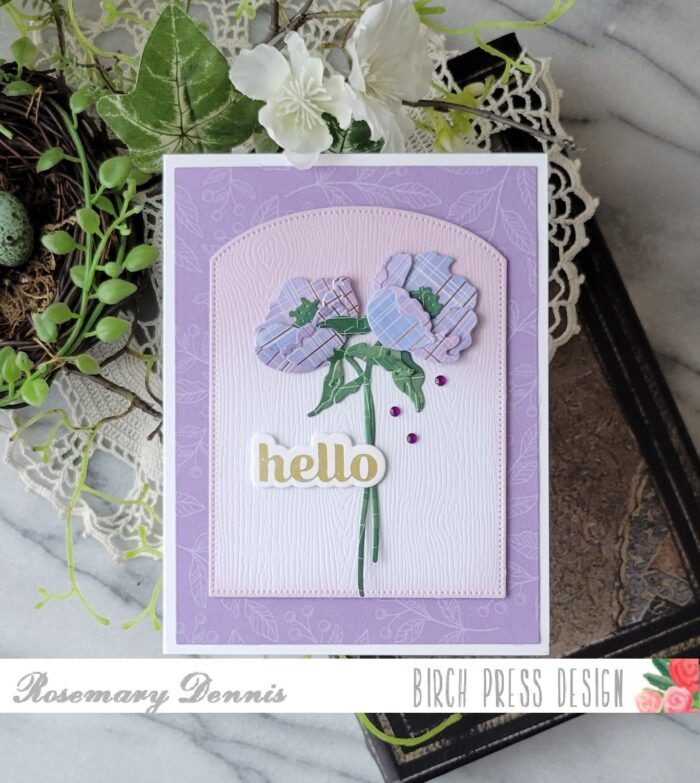
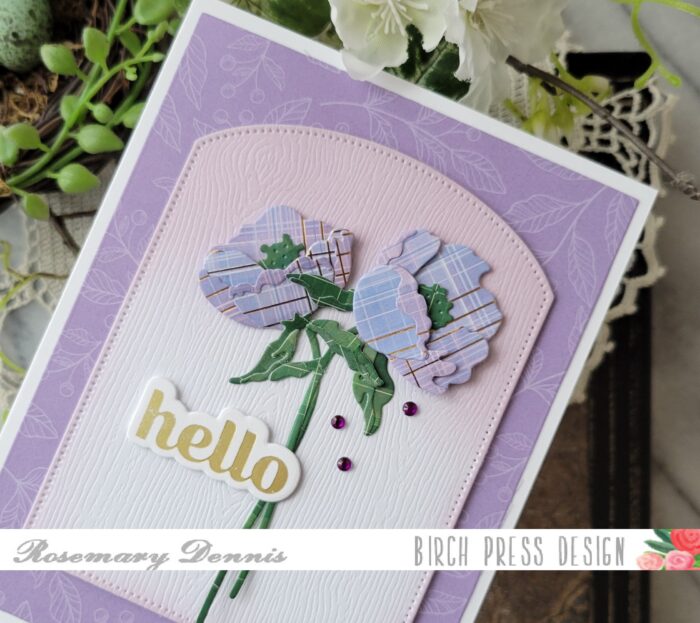
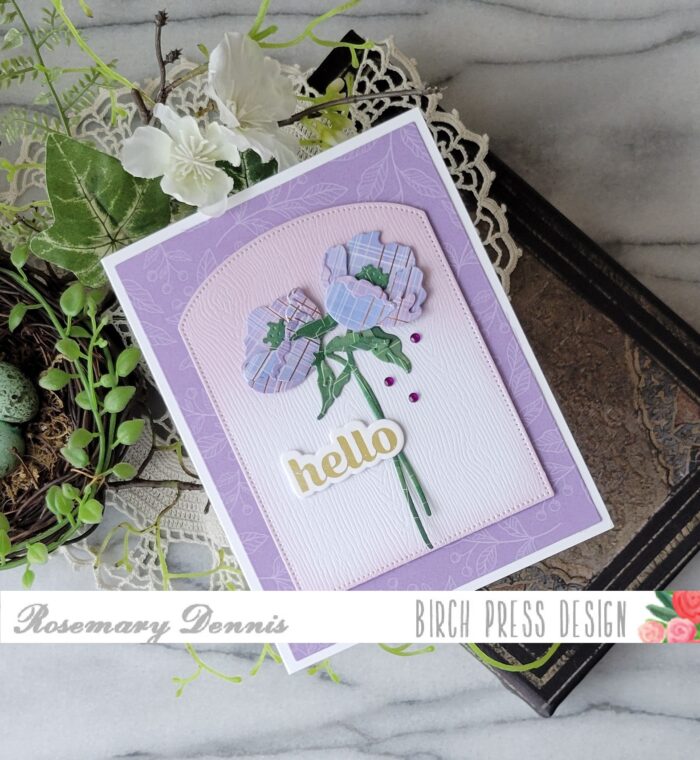
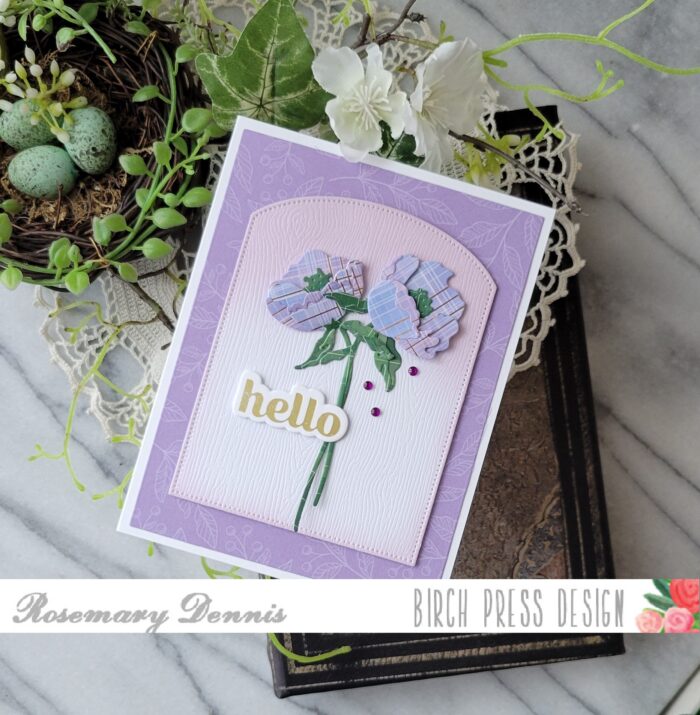
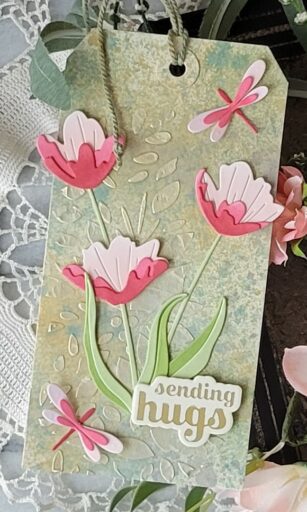
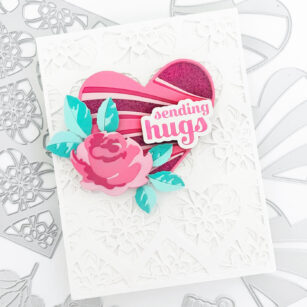
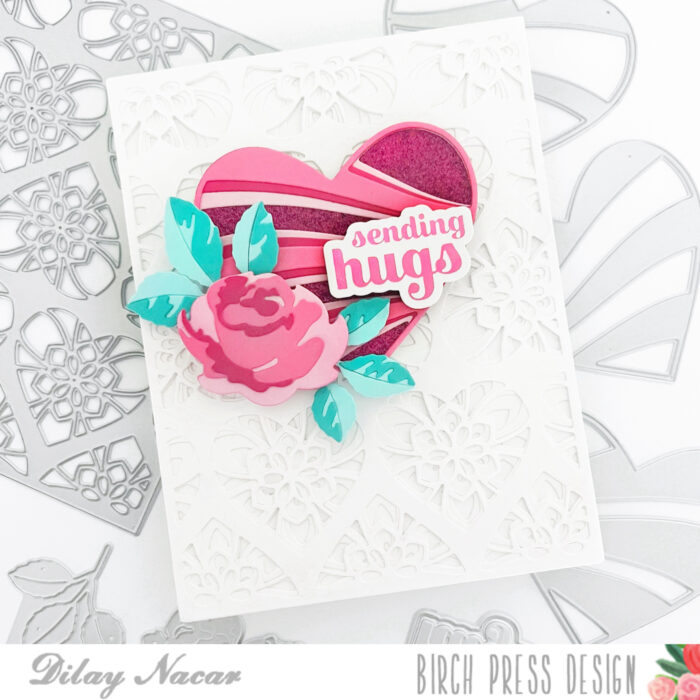
Hello and Happy Valentine’s Day, friends! Dilay here with you today, sharing a clean and simple yet intricate ‘sending hugs’ card. This card showcases the beautiful Banner Heart Layer Set, Kinsley Heart Layer Set, and Rose Bunch Contour Layer dies!
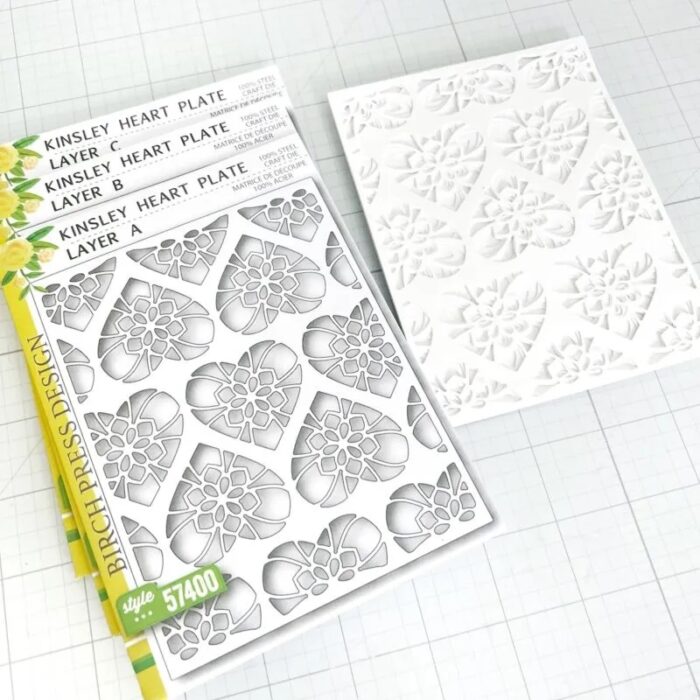
To begin, I created the background by die-cutting each piece of the Kinsley Heart Plate Layer Set (A, B, and C), adhering them together, and then onto a top-folding card base.
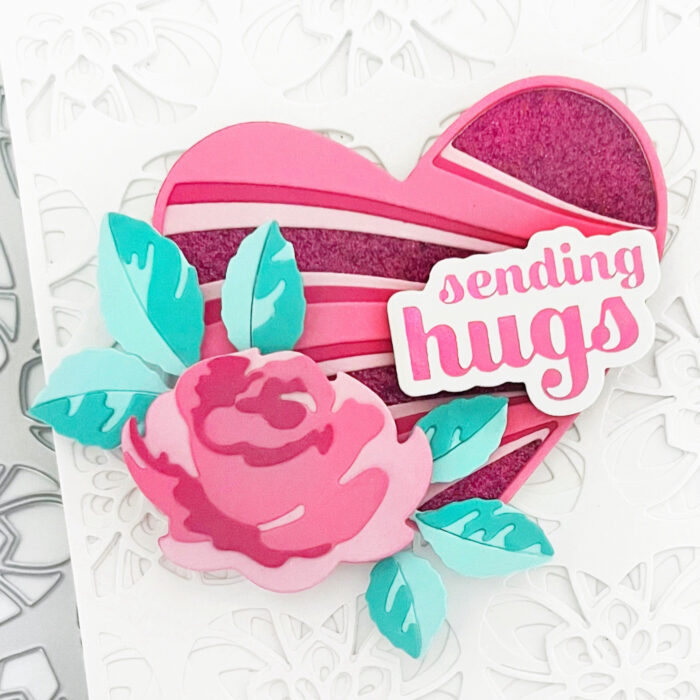
Following that, I cut the Banner Heart Layer Set from various shades of pink cardstock and pink glitter cardstock, then adhered the heart on top of the Kinsley Heart Layers.
Afterwards, I fashioned a single rose using the Rose Bunch Contour Layers in various pink and teal cardstock colors. I assembled the layers and placed the rose on top of the heart. To complete the look, I added a pink foiled sentiment from the Sugar Script Sentiments 1 Hot Foil Plate and Die Sets.
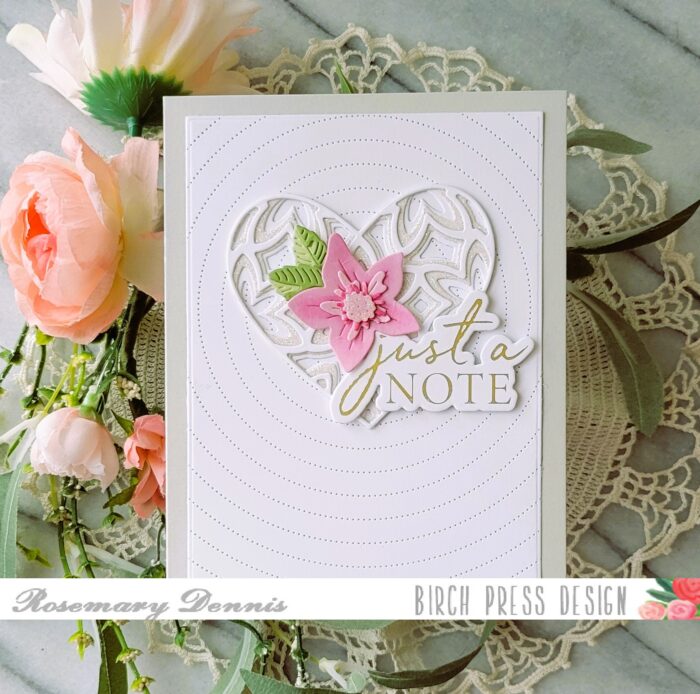
Hello everyone! Rosemary here on the blog today. I hope that your January is off to a great start. Since it is the start of a new year I thought it would be fun to mix some old products with some newly released products for my card today.
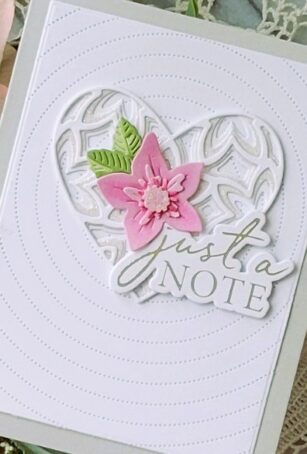
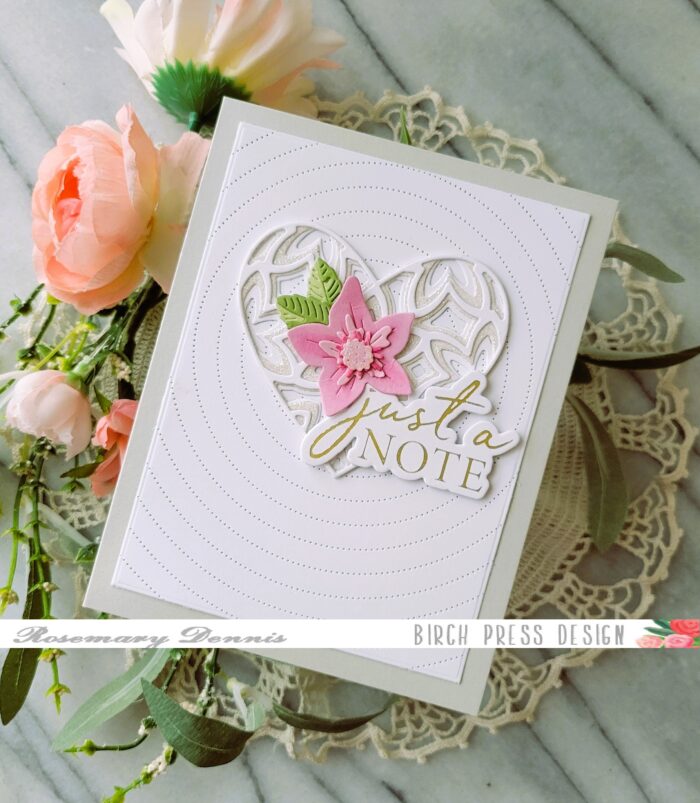
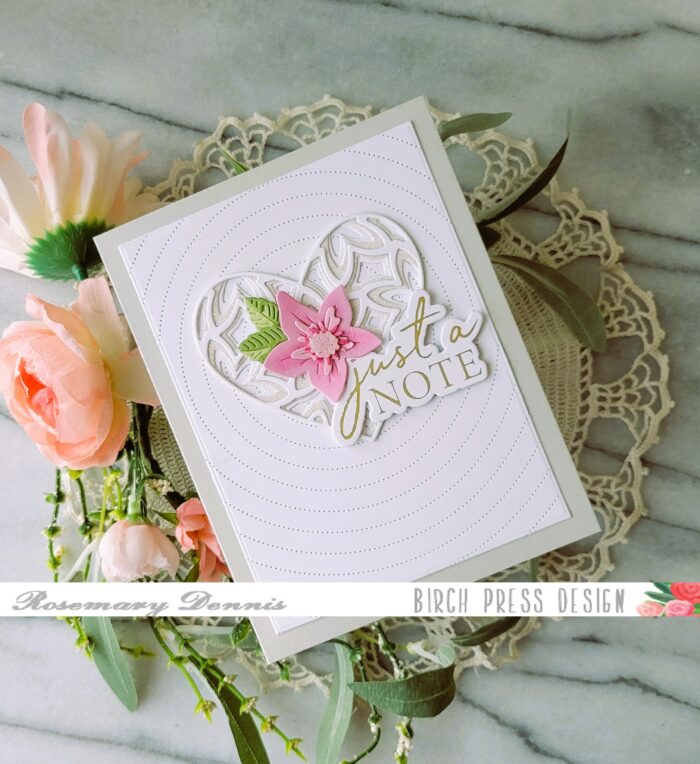
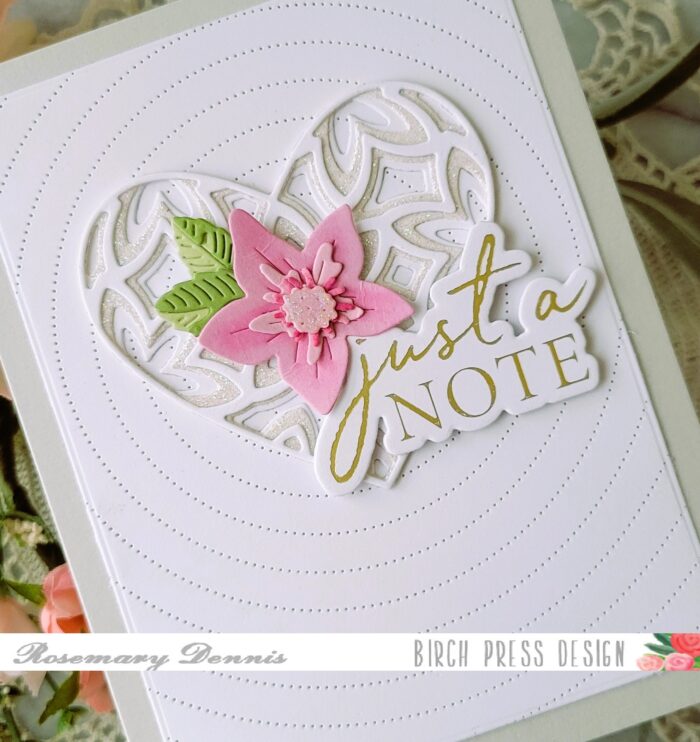
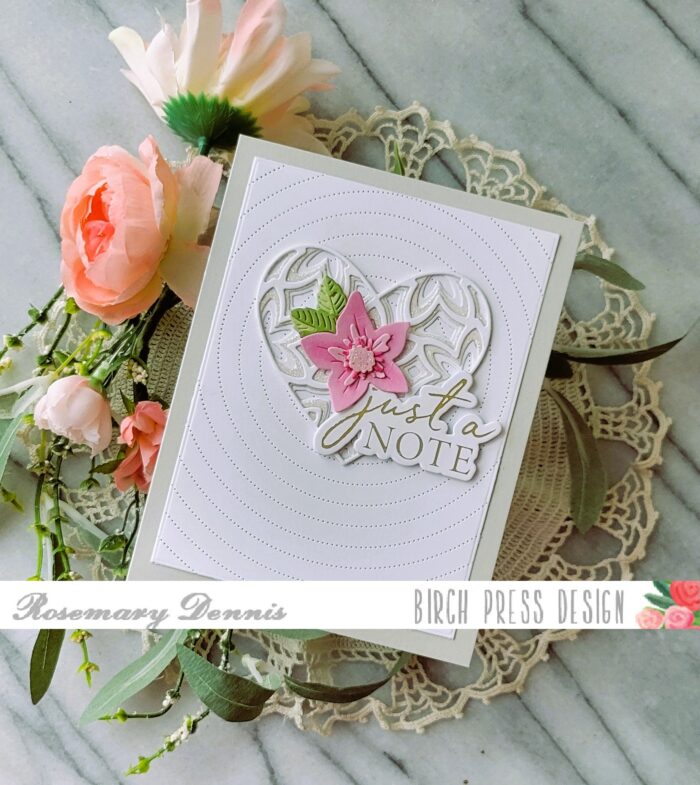
The new Birch Press Design release includes the sweet Gentle Flower and Leaves Contour Layers die set, as well as the Just A Note Noted Script hot foil plate and die set. I combined these two new items with the older Caprice Heart Layering die set and the Pinpoint Radial Plate.
I created a custom pink color by applying an ink cube directly to white cardstock. Once the ink was dry I die cut the flower pieces. I found a dark shade of pink that coordinated with the lighter pink and applied that to the center of the largest flower layer using a small blender brush. To darken up the third layer of the flower I placed it directly on the dark pink ink cube and using my finger I carefully pushed it into the ink cube to apply the ink. I let everything dry before adhering all the layers with liquid adhesive.
I did the same direct to cardstock inking for the leaves using two shades of green. Once the cardstock had fully absorbed the ink and was dry I die cut the layers and then adhered them together using liquid adhesive. Once the flower was adhered together I added some shine to the center of the flower with some Glossy Accents.
I die cut the Caprice Heart Layers as follows: top and bottom layers from white cardstock and middle layer from white glitter cardstock. You can see the glitter layer in the close up photo above. I used liquid adhesive to adhere the layers together. The Pinpoint Radial die was die cut from white cardstock and then further cut down with a smaller sized rectangle die. I adhered the heart to the center along with the flower and leaves. Liquid glue was used to adhere the heart and varying thicknesses of foam squares for the flowers. I used liquid adhesive to secure the flowers. The final detail was the sentiment. I hot foiled that using matte gold foil and then die cut it with the matching die. I die cut two additional layers to add behind the foiled sentiment for more stability. The layers were secured with liquid glue. I then added the sentiment using both foam squares and liquid glue.
I just love how all the Birch Press Design products mix and match so perfectly. I hope you enjoyed today’s card and that I inspired you to mix your old products with your new ones! Thanks for stopping by and have a wonderful day!
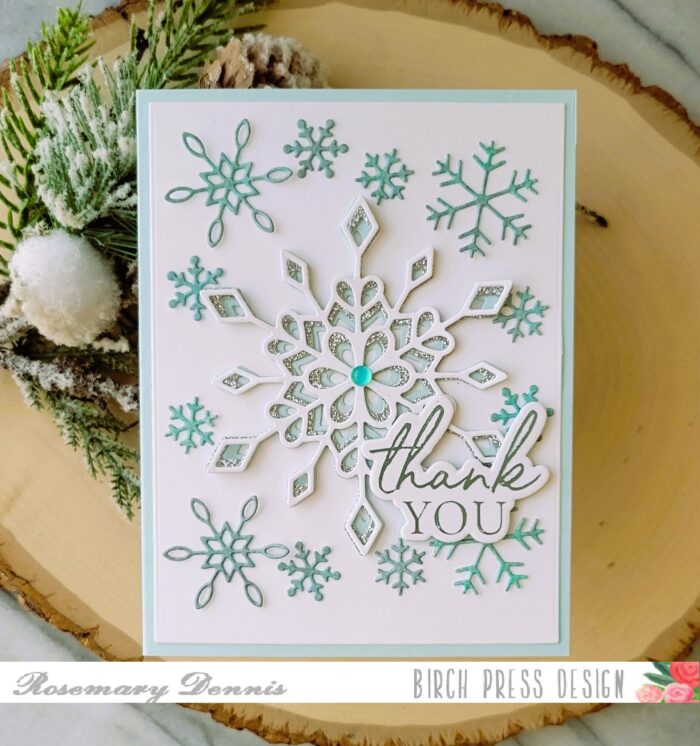
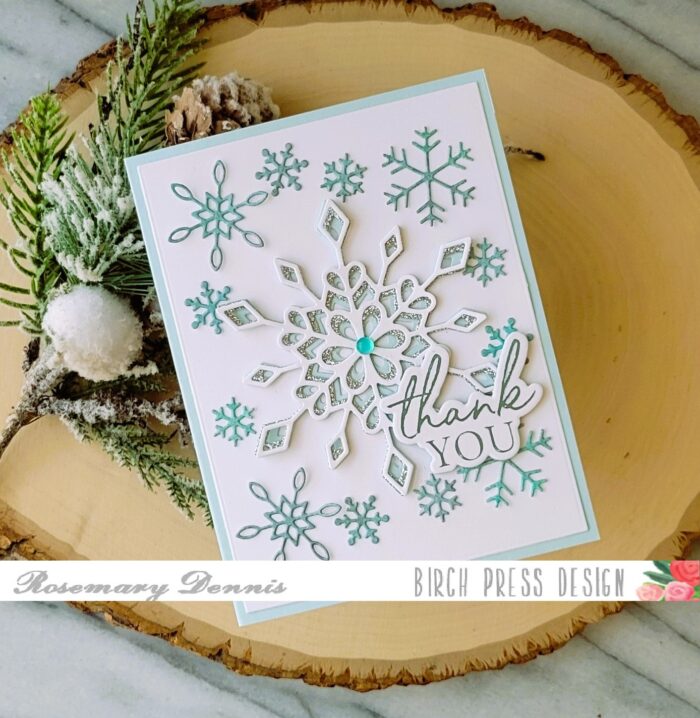
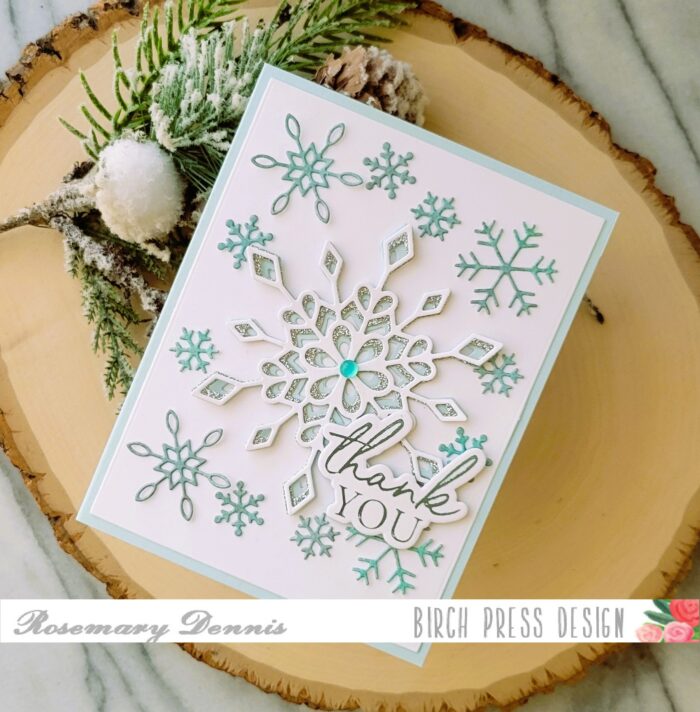
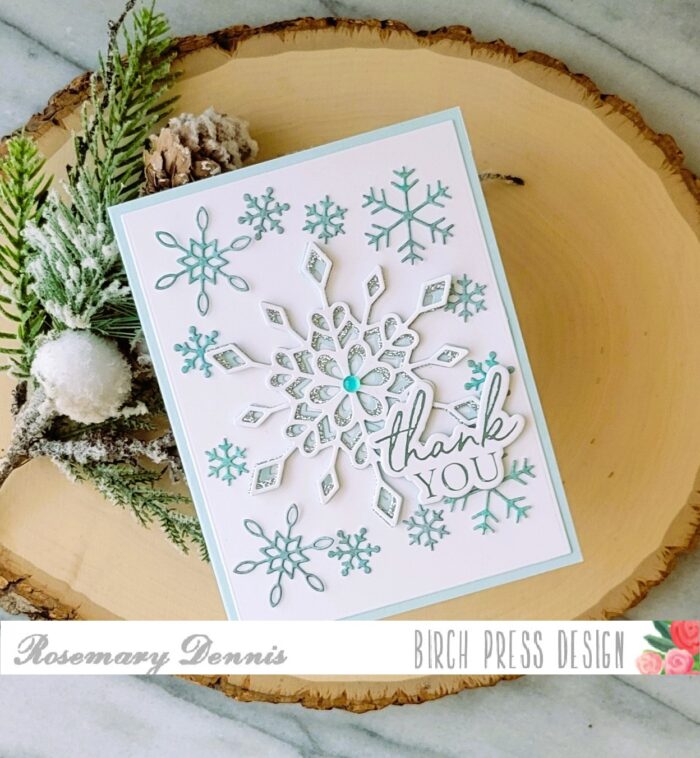
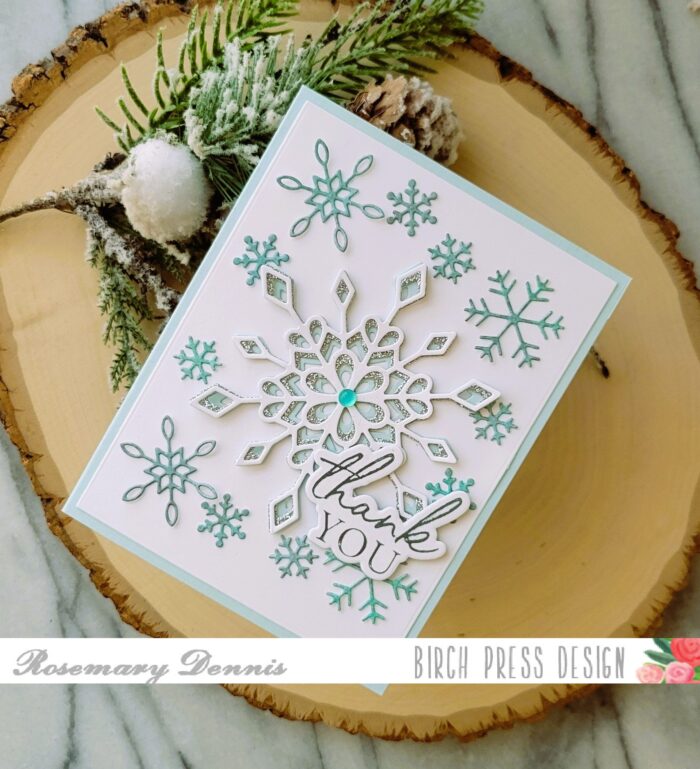
Hello everyone! Rosemary here today. I hope everyone had a wonderful Christmas celebration with family and friends. Now that Christmas is past it is time to think about thanking people for the gifts given. With that in mind I made a wintry thank you card using several Birch Press Design snowflake dies. Let’s take a look at what I made.
When I made the light blue snowflake ornament for my last post I had lots of scraps of the panels I had made left over. I decided to die cut lots of snowflakes using the Felicity Snowflakes die set with the idea to use them on a card.
I then pulled out the Frosty Flake Layering die set and determined an arrangement of the flakes that I liked. I then die cut the Frosty Flake layers from a very pale blue cardstock, silver glitter cardstock and white.
To give the layered snowflake more dimension and movement I only adhered the layers together in the very center. Adhering the snowflake together this way also created some off-setting of the layers which I think looks really pretty.
I die cut a piece of white cardstock with a rectangle die and then arranged all the snowflakes on the panel as you see. When adhering the smaller snowflakes I only used the liquid adhesive on the centers of them so that there is a little bit of dimension and movement. I foiled the sentiment using Thank You Noted Script hot foil plate using a light blue foil and then die cut with the matching die. I adhered that to the card using a combination of foam squares and liquid adhesive. An icy blue fairy jewel was added to the center of the large snowflake to finish off the card.
I hope you enjoyed today’s project. Thanks for stopping by and have a very, very happy new year!
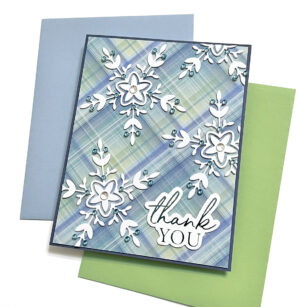
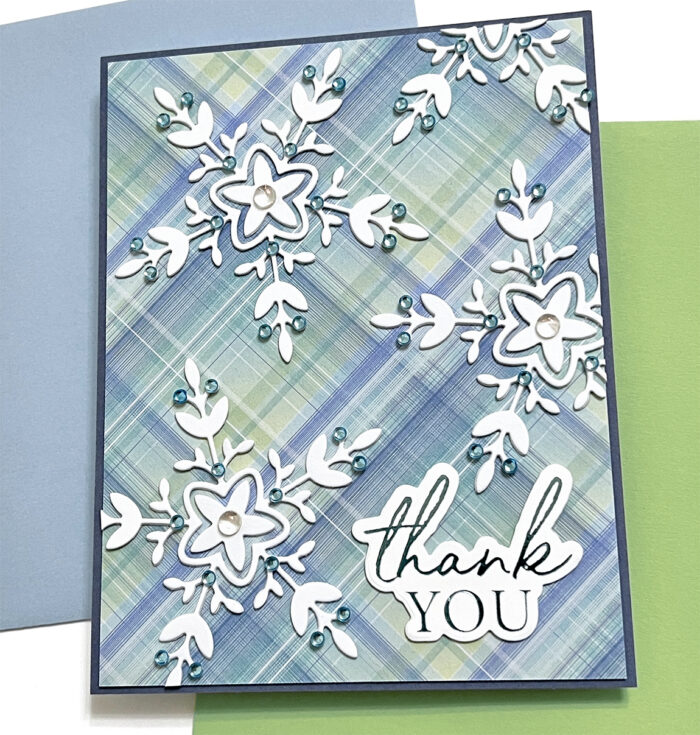
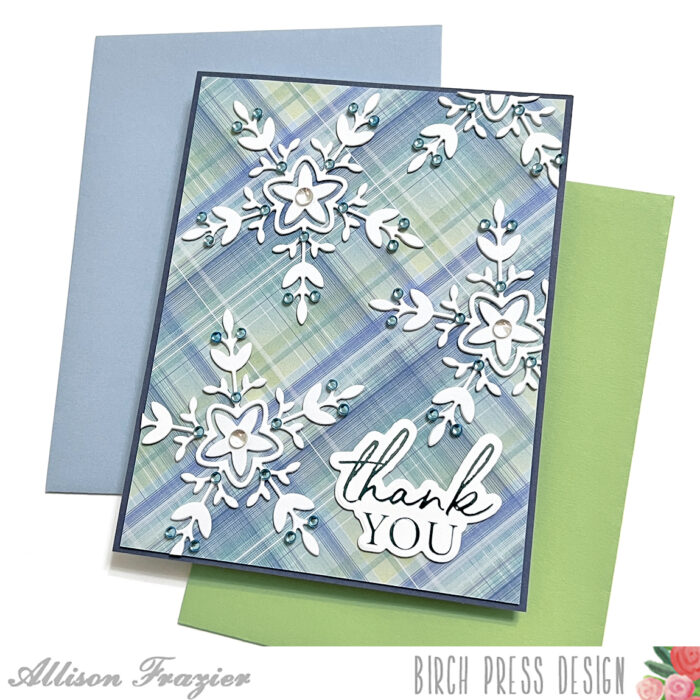
Hello, Birch Press friends! I hope you all had a wonderful Christmas and have been enjoying the holiday season. I admit that I am always sad to see the holiday card making come to an end. But just because the holidays are over doesn’t mean that you have to put your winter-themed supplies away. Snowflakes are still great for winter birthdays, winter greetings, or in the case of my card today, a post-holiday thank you card. I am featuring the Piped Icing Star die set today, and I am just using the detail die from that set as a snowflake.
I started by choosing a background for my card. I love plaid for the holidays, but since I am not necessarily going for a holiday card, I reached for an older pad of Memory Box paper – the Madras Plaid Blue and Violet paper pad. This has some fun plaids that make me think more of spring, but this particular piece of paper also says winter to me. I mounted this piece of paper onto a dark, muted purple piece of card stock and then glued that to an A2 card base.
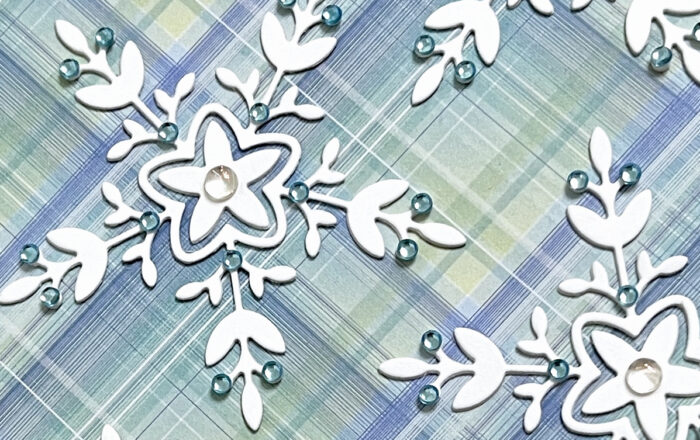
I then cut the detail die from the Piped Icing Star set out of white card stock eight times. This is so I could glue two of the “snowflakes” together for dimension, for a total of four snowflakes. As you can see from the card, I used almost three full snowflakes and a portion of the fourth up in the right corner. After glueing my snowflakes to my card panel, I just snipped off the excess that hung over the panel.
I hot foiled the Thank You Noted Script sentiment with light blue foil and cut it out with the matching die. I glued that to my panel, and I love how the points of the snowflakes complement the shape of this sentiment. Once I was done gluing my die cut elements, I added light blue jewels to each of the snowflakes. I also added a larger, clear crystal to the middle of each snowflake. The addition of these embellishments really kicks things up a notch, don’t you think?
That is it for my card today. I hope it puts a smile on your face. Thank you so much for joining us today.
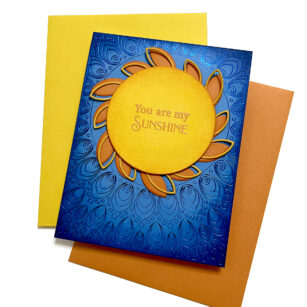
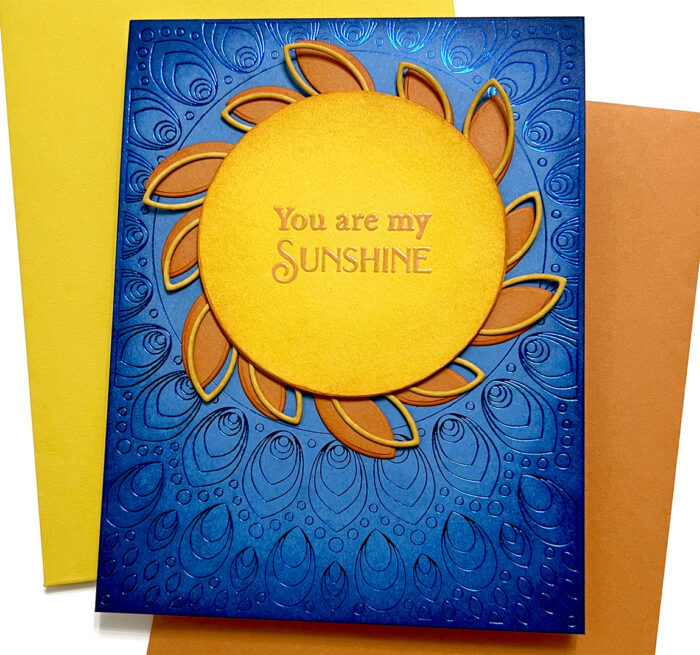
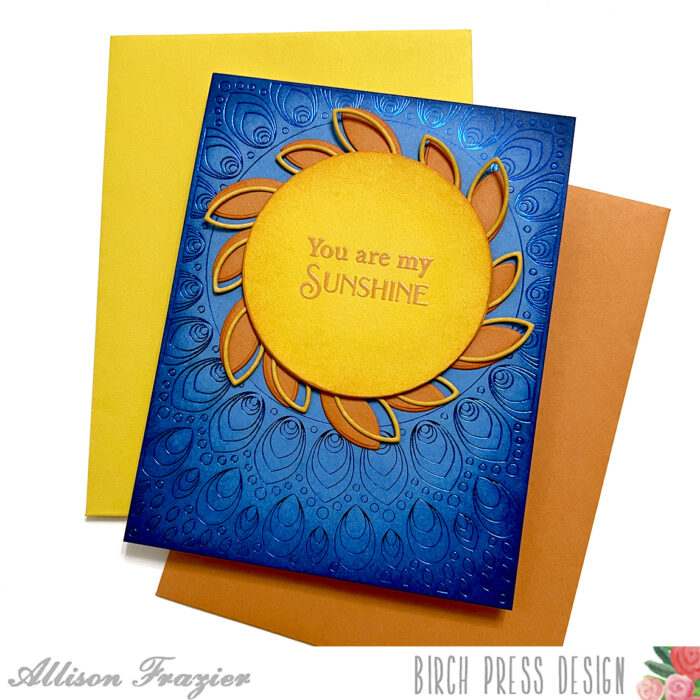
Hello, Birch Press friends! Today, I am stretching my supplies. I love the new Adornment Wreath die set, but I felt like doing something different with it. So, I used both dies to create the rays of the sun! Fun, right?
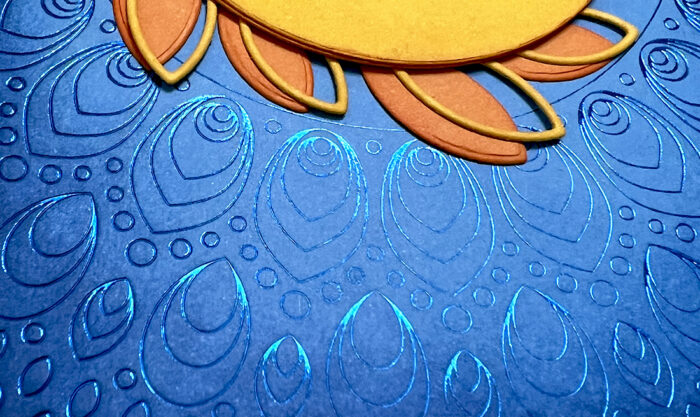
I started my card by making the background. I really wanted a blue background to mimic the sky but also didn’t want to be too literal. I took a medium shade of blue card stock and foiled the Gilded Grace hot foil plate with Cobalt foil. I love using tone on tone when it comes to foil backgrounds. I then took two shades of blue ink that are darker than the card stock and ink blended the corners and edges in order to create that glow in the center.
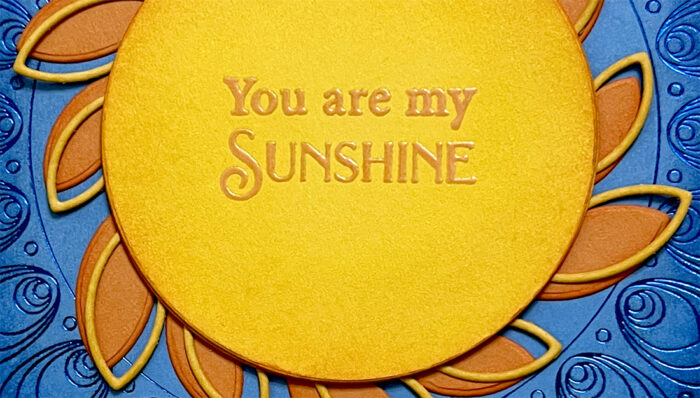
I used the solid die from the Adornment Wreath set and cut it from a piece of orange card stock. I then used the outline die from the set and cut it from a piece of yellow card stock. I used a circle die from my stash and cut it from a yellow piece of card stock. I heat embossed the sentiment from the Colorful Life stamp set with orange Distress Oxide and clear embossing powder. I then ink blended the edges of that circle with orange Distress Ink.
I stacked my center circle with two more circles in order to create a little dimension, and then I glued that to the yellow outline of the Adornment Wreath first. Next, I glued that onto the orange solid part of the Adornment Wreath, slightly offsetting it so that the two layers weren’t perfectly matched up. Finally, I glued my “sun” into the center of the circle of the Gilded Grace pattern.
I hope this card puts a smile on your face and inspires you to think “outside the box/wreath” with your dies, as well! Thank you so much for joining us today.
Hello and welcome! Seeka here and today I’m sharing a card featuring the Adornment Oak Leaf die set.
I started by using Dylusions Pure Sunshine and Fiery Sunset ink sprays to spray a panel of white cardstock. When the panel was dry, I used the leaf outline die to cut out three leaves. Then I used the detail leaf die to cut three different shades of yellow and orange cardstocks. I glued the layers together and then set them aside.
Next, I used the Forest Canopy Layer C die to cut a panel of white cardstock. I glued the canopy panel to a card base and then added the leaves with foam tape. For the sentiment, I used the Thank You Noted Script hot foil plate and die and then added that to the card front.
Hello readers! This is Design Team member Crystal Komara here today sharing one of my “oldie but goodie” favorite dies. As much as I despise birds (shhhhh!), I do admire the peacock simply for the gorgeous plumage of its quills. I mean who wouldn’t want to shake their booty and BOOM! Instant wow factor! : )
Just look at the details in those tail feathers!
The base of this A2 sized card was made from 80 lb. Neenah Solar White Smooth cardstock. On a 5 1/4″ x 4″ piece of the same white cardstock, I heat foiled the Gilded Grace Hot Foil plate with gold foil. I only used the large background piece (and not the center cut outs) for this card. Then I created the layers of the peacock using a variety of teal and purple cardstock from the Ocean Blue 6 x 6″ paper pack and Vibrant Violet 6″ x 6″ paper pack. For the top layer (Layer A) and the main body of the peacock I used a teal glitter paper from the Glitzy Glitter 6″ x 6″ paper pack.
I then adhered the peacock to the card using 3M foam adhesive for added dimension.
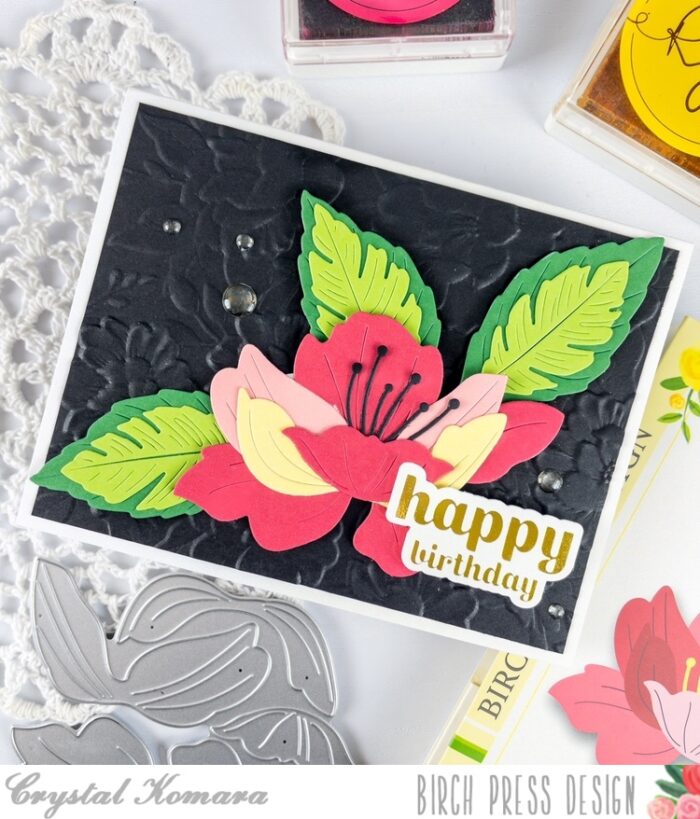
For the sentiment I heat foiled the Hello Sugar Script with purple foil on white cardstock. I used the coordinating die to cut it out and adhered it to the card with foam adhesive.
Ahhhh, she’s so pretty! I hope you have enjoyed today’s card! Be sure to come back tomorrow for more inspiration from my fellow design team members!
Hello, Birch Press fans! Toni here with you today sharing a bold floral card using the new Large Cosmos and Curved Leaf Branch Contour Layer dies.
I used Copics to color up the Large Cosmos layers because I wanted a striated look. I used Distress Oxide Rustic Wilderness and Mowed Lawn to sponge the Curved Leaf Branch.
I cut a couple of the Curved Leaf Branch and split it up behind the Large Cosmos. I used the negative of the die as a stencil on the background which I diecut with the Pinpoint Contour Plate.
I added a smidgen of Distress Oxide Salvaged Patina to the top of that panel so the Sugar Script Sentiments 1 really pops.
I hope you enjoyed today’s card and have a great rest of your week!
I hope you’re enjoying your summer and that your surrounded by beautiful blooms. Maybe you’re experiencing a little rain like we are here in the Midwest? That’s ok.. that means it’s time to turn to your crafting and make some pretty florals of your own!
I’m smitten with the new Birch Press Design Large Cosmos bloom! I think it looks amazing in just about every color I’ve seen it in. I cut mine from four shades of red cardstock to add some dimension.
I added a few Curved Leaf Branches for a bit of foliage. I cut the branch three times from three shades of green cardstock and then alternated them so I wound up with three completed branches.
Some Mixed Berries in turquoise add another layer of interest to the design, and a hot foil Thank You Noted Script Sentiment is the finishing touch!
I used the “C” layer of the Flora set for a lacy looking background that is subtle and detailed at the same time. I love that it doesn’t distract from the beautiful floral! I hope you have a great day!
Finished Size 4.25 x 5.5″
Supplies
57437 Flora Plate Layer Set
BPF511 Thank You Noted Script Hot Foil Plate and Die Set
Hello! Rosemary here on the blog today sharing a mixed media type card that I created using the gorgeous new Large Cosmos Contour Layer die set, along with Fuddled Leaf Branches Contour Layer die set and a sentiment from the Sugar Script Sentiments 1 set. Let’s have a look.
My teammate, Natasha, creates the most amazing mixed media projects using her Birch Press products. I was inspired by her to create my card combining by clean and simple with mixed media. I used Tim Holtz distress mica sprays and distress sprays and watercolor cardstock to create my panels.
I die cut all the pieces and them assembled them using liquid adhesive. After the pieces were dry I added Gilded Distress Foundry Wax to the edges of the petals and the leaves. I used only smallest leaf cluster from the Fuddled Leaf Branches for my card. You have to work quickly when applying the foundry wax since it dries fast. I used my ring finger to apply the wax and then heat set it with my heat tool. Heat setting serves two purposes, it gives the wax the gilded look and it permanently sets it on your project. If you don’t heat set the was, it will simply chip off.
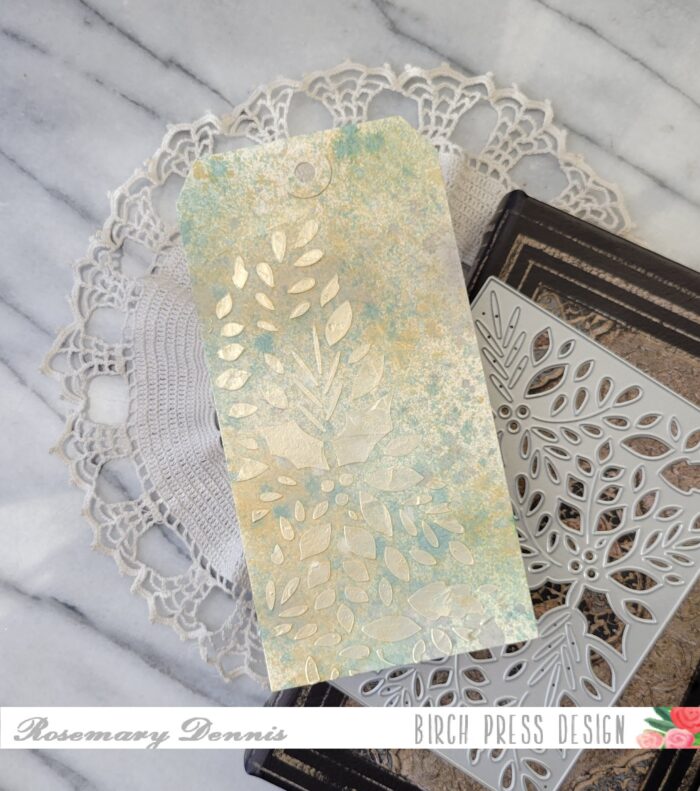
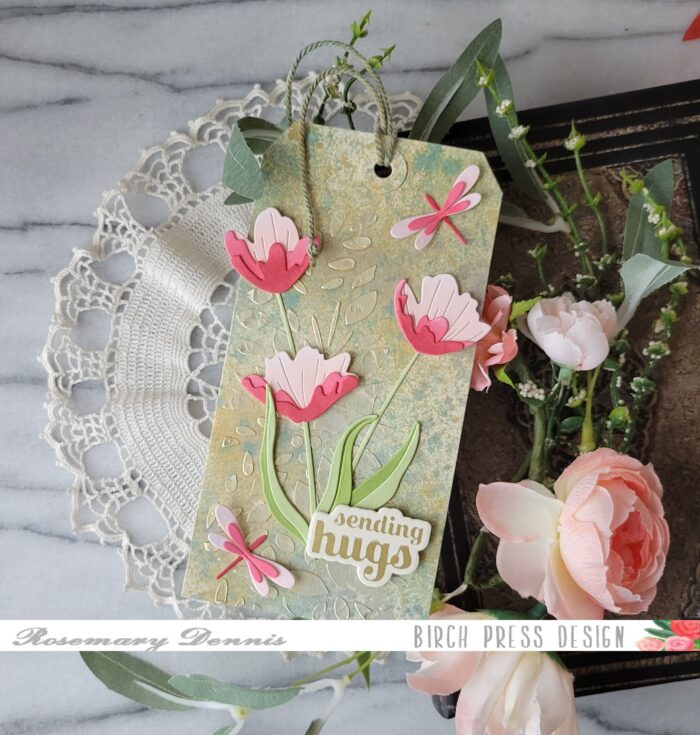
Once I had the gilding done, I created my background panel. I die cut cream Memory Box woodgrain cardstock and then splattered it with distress mica spray in Tart Cranberry. I had previously foiled the sentiment, so I simply had to die cut a few more blanks and then adhere them to the sentiment. I arranged the flower, leaves and sentiment to the panel with liquid adhesive. I then added my panel to an off-white cardstock base.
Here is a close up of the flower and leaves showing all that pretty gilding and some of the mica that provides alot of shine in real life.
I hope my card inspires you to try mixed media in a more clean and simple way. Thanks for stopping by and have a lovely day!