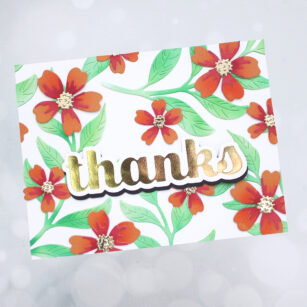
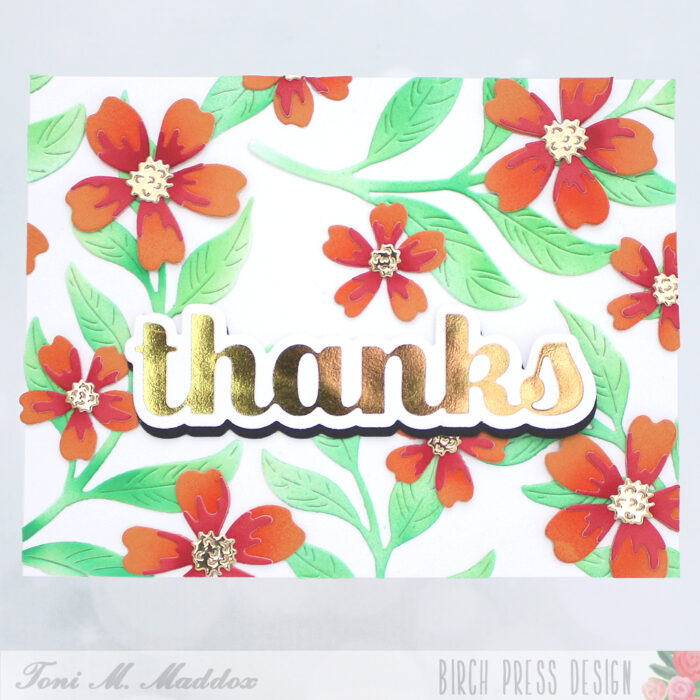
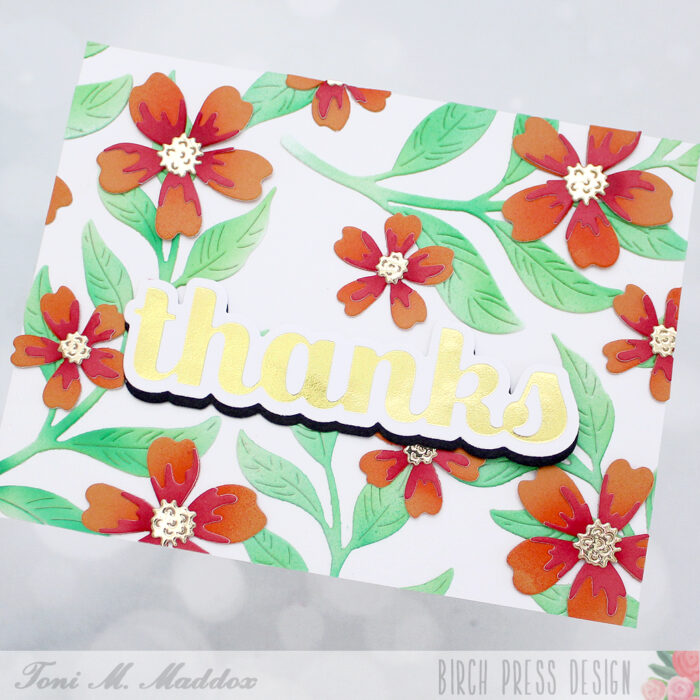
Hello, Birch Press fans! Toni here with you today sharing a tropical thank you card. I guess I’m feeling the summer weather big time!
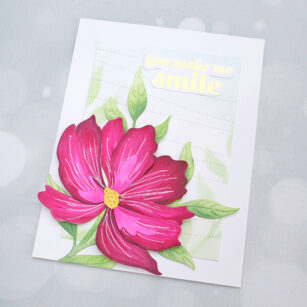
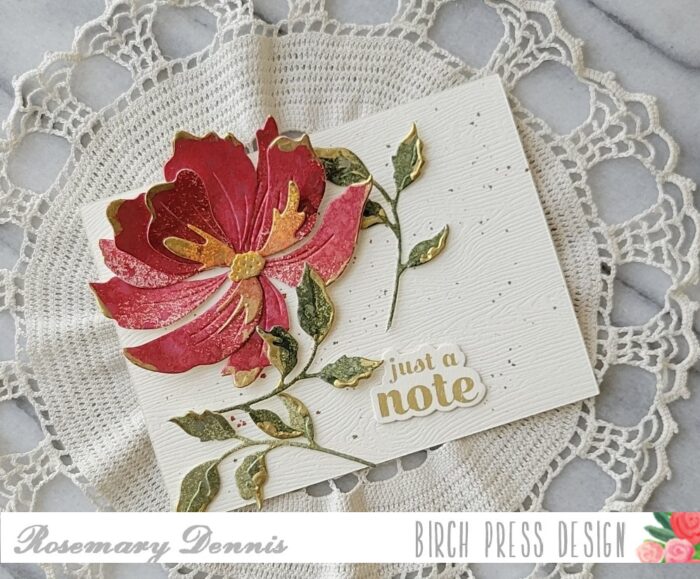
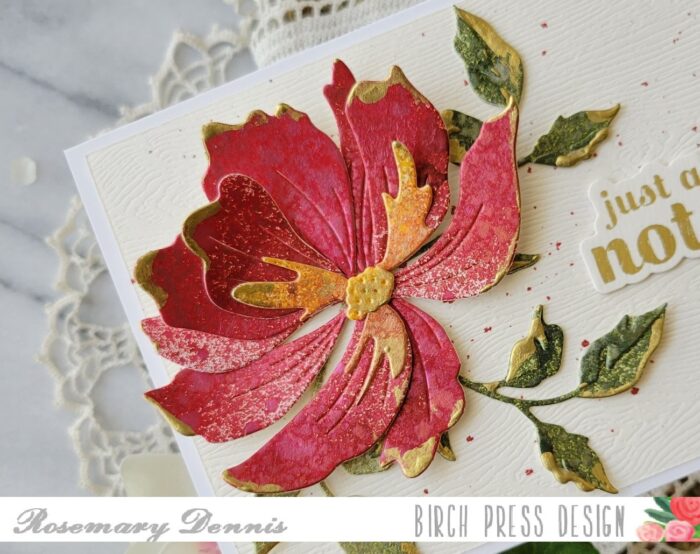
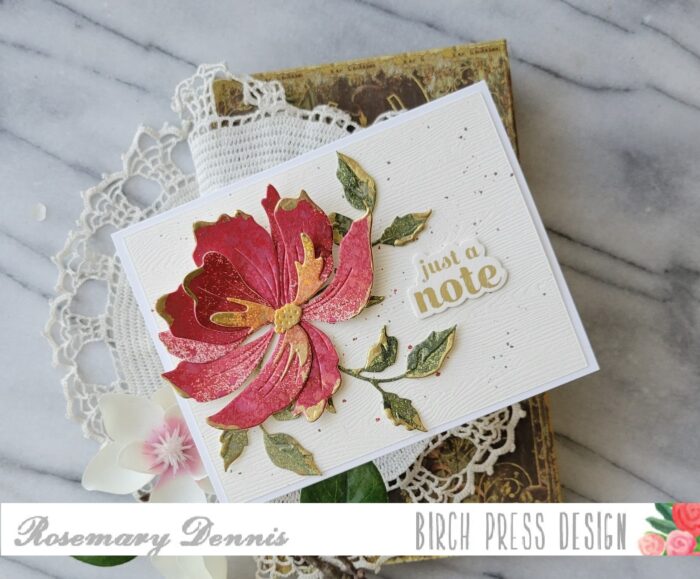
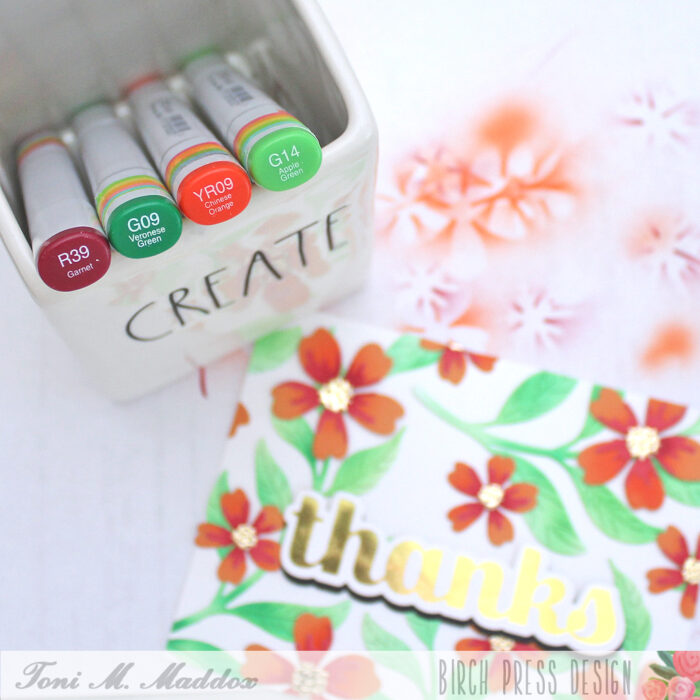
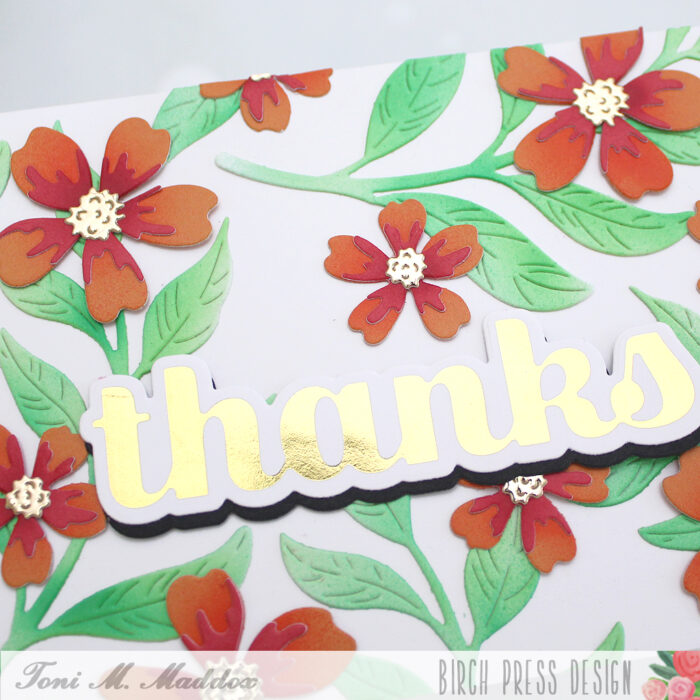
I started the card by cutting out some Phlox Blooms Contour Layers from Memory Box Berry Red and Sunny Orange 6×6 Paper. I added some Copic airbrushing (G09, G14, YR09, and R39) shading to the blooms.
I cut the Curved Leaf Branches from white and also airbrushed them.
For the sentiment I used gold with the Thanks Sugar Script Hot Foil Plate & Die, adding a black shadow diecut beneath. Notice how the bloom centers are gold too? Shiny and glam are being served today!
I hope you enjoyed today’s card and have a great rest of your week!
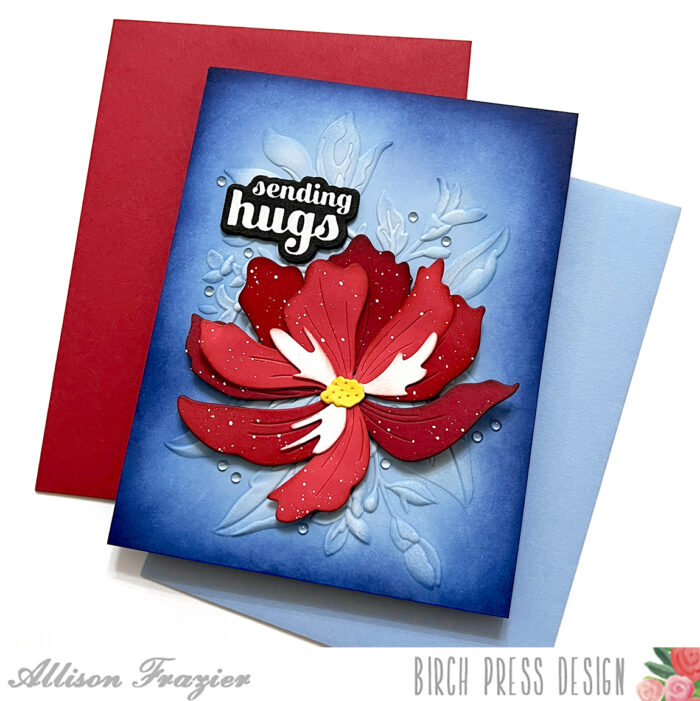
Hello, Birch Press friends. Today, I am sharing this vibrant card using the new Large Cosmos Contour Layers set. Since tomorrow is the 4th of July, I decided to use red, white and blue! I am also using the brand new Gracious Floral 3D embossing folder for the background.
I started out by embossing an A2 sized panel of light blue card stock with the Gracious Floral Embossing Folder. After taking the card stock out of the folder, I ran my white pigment ink pad over the embossed edges of the floral design. I then took a couple shades of darker blue ink and blended the edges of my card panel. This creates a glow effect in the middle.
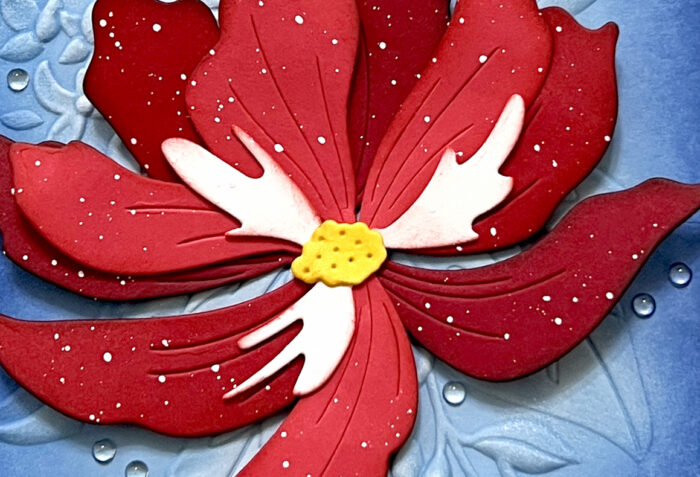
There is one die that cuts the larger petals for the Cosmos. I cut that from two different shades of red card stock and used one petal from each shade. So, one of those bottom layers is slightly darker than the other. I cut the smaller petals from a lighter shade of red. For all the petals, I inked up the edges with some dark red ink, and even a little bit of black ink for the darker petals. I cut the smallest die from white card stock – that cuts the two small pieces in the center. I ink blended the edges of the white piece with some red ink, and I ink blended the very center yellow. After glueing all the pieces together, I splattered it with white acrylic paint. I then adhered it to my panel over the large embossed flower from the Gracious Floral design.
I hot foiled my sentiment onto black card stock with white opaque foil. You can’t even tell that it’s foil – it just looks perfectly smooth. The sentiment comes from the Sugar Scripts Sentiment 1 Hot Foil Plate set. I finished my design by scattering my favorite embellishment – clear fairy drops.
I hope this card puts a smile on your face. Happy (early) 4th of July to those who celebrate! Thank you so much for joining us today.
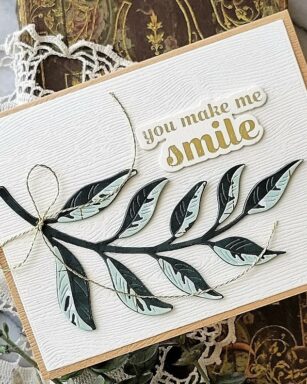
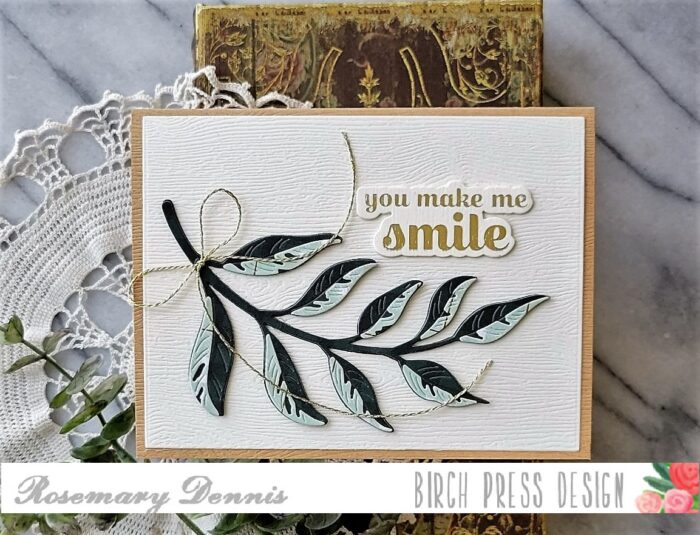
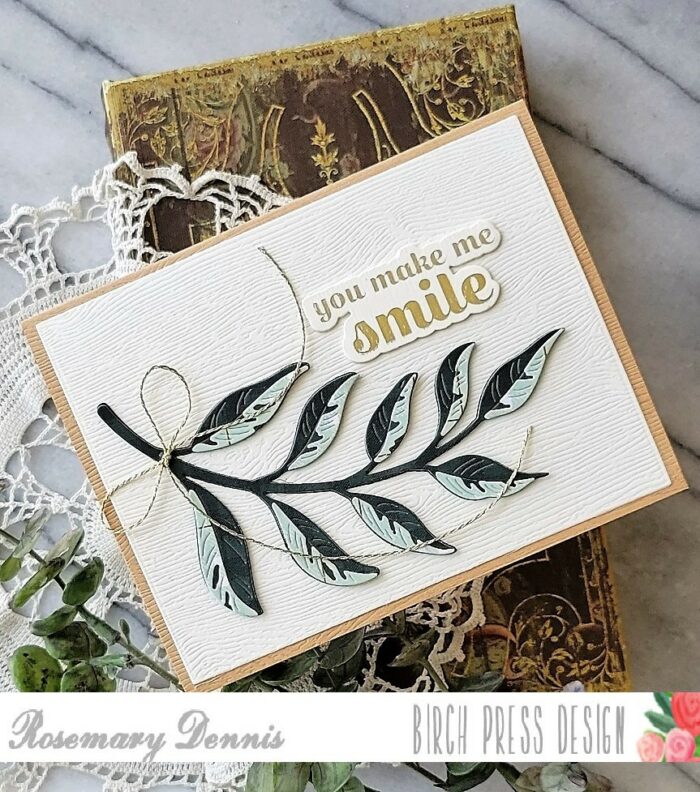
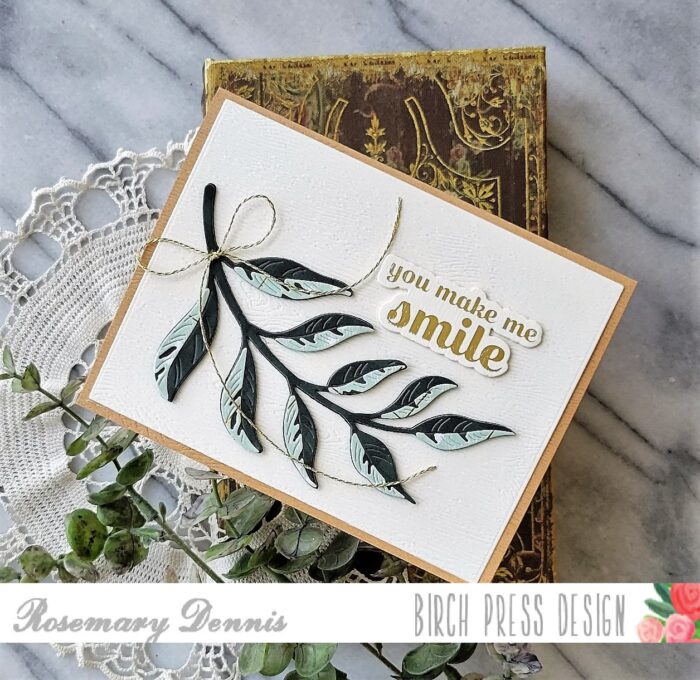
Birch Press has a new release out and today I’m sharing a simple friendship card that I made using the new Curved Leaf Branch Contour Layers die and some Memory Box patterned paper.
Like alot of us I have many different pads of patterned paper, but I often forget to use them. I have a lovely pad of papers from Memory Box called Jolly Christmas. I thought it would be fun to look through the pad to see if there were any that would work for diecutting the Curved Leaf Branch and I found one that would. One side is a dark hunter green plaid and the other is a lighter more aqua green. I thought the extreme contrast between the two would create a fun look and I love how it turned out!
After die cutting the main leaf from the dark hunter green paper and the layering pieces from the contrasting paper, I die cut the leaf, again, from black cardstock three times then adhered everything together using liquid adhesive. I once, again, turned to the Memory Box woodgrain cardstock to help me create a simple background for my leave. This time I used the cream woodgrain cardstock. I die cut a rectangle of the cardstock and then adhered my leaf with liquid adhesive.
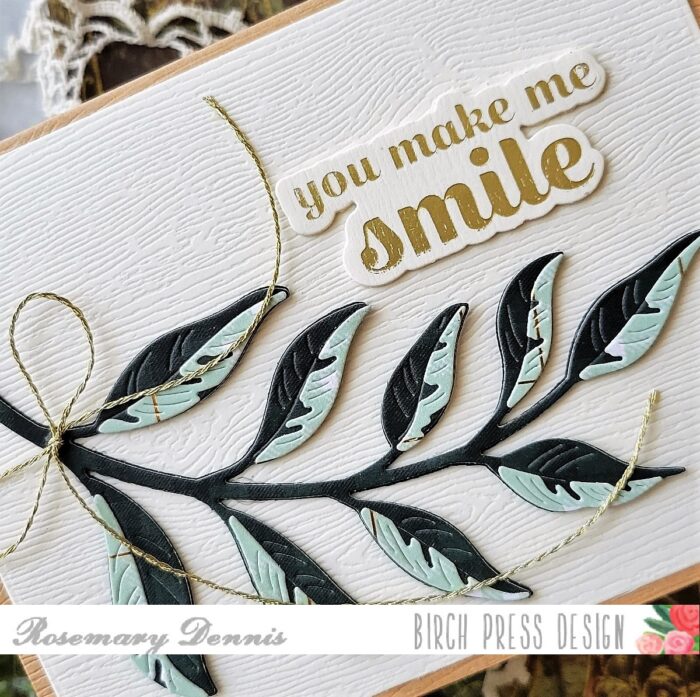
Now it was time to decide on a sentiment. I was going to stamp one, but then decided to do some hot foiling. So I pulled out the Sugar Script Sentiments 1 set and some matte gold foil. The backside of the woodgrain cardstock is actually rather smooth and since it obviously matched the color of the background perfectly I decided to try foiling on it. And it worked. Not perfectly, but I love the little bit of distressing that resulted. You can see it in the close up photo above. I die cut the sentiment and several “blanks” to adhere behind it so that the sentiment was a little more substantial. I adhered that to the card front with liquid adhesive, as well.
To finish off the card I tied a simple bow using some gold twine from my stash and adhered it to the leaf with a dot of glue. I also used a dot of glue to adhere down tails of the bow.
I hope you enjoyed my project today and that you will give hot foiling on the wrong side of woodgrain cardstock a try! Might just like it! Thanks for stopping by and have a lovely day!
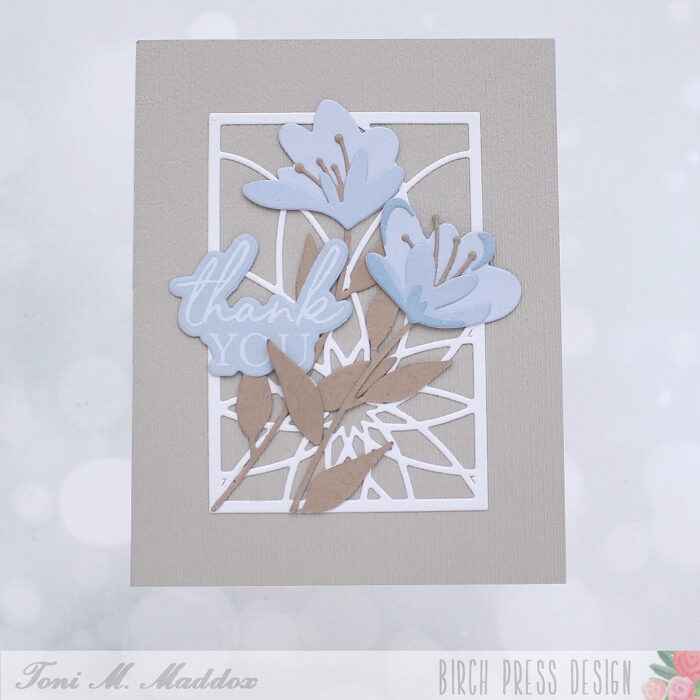
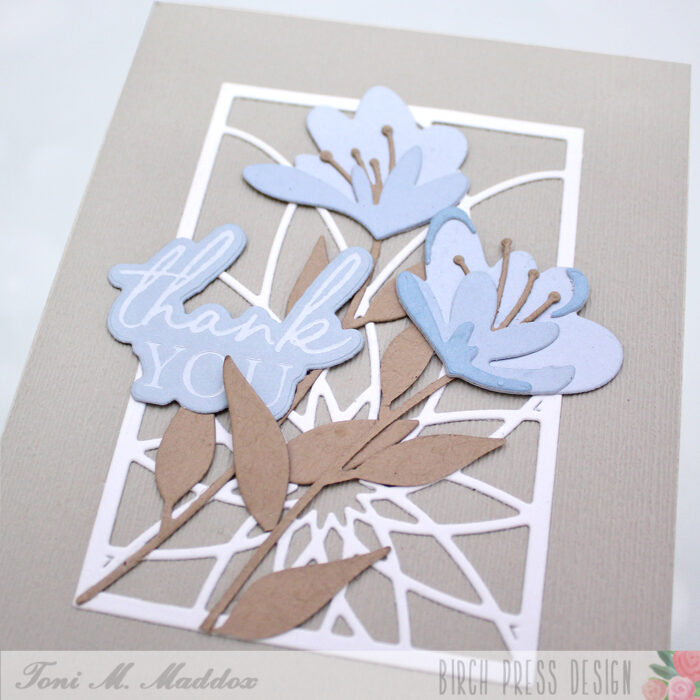
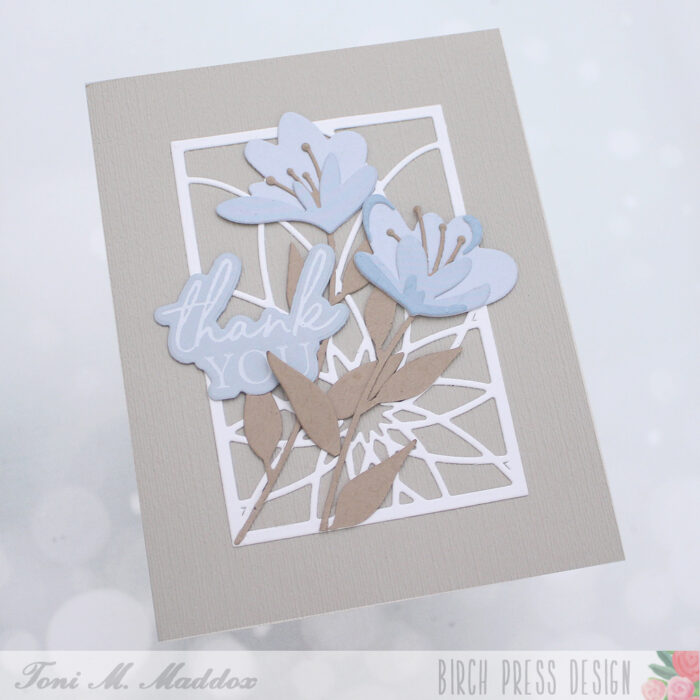
Hello, Birch Press fans! Toni here with you today sharing a rather tranquil thank you card. Such a calming, spa-like color palette, don’t you agree? I don’t use a lot of blues but, man, this combo is one I love.
I started the card by cutting out the BPD Dazzle Mini Frame Layer A in a sturdy white cardstock and adhering it to a linen textured card front.
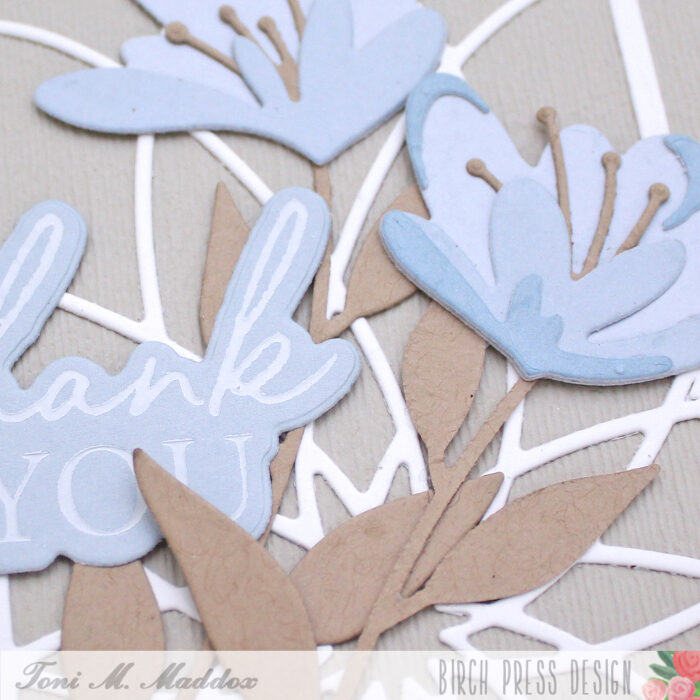
I cut the Sylvan Berries & Leaves as well as the Jovial Blooms & Leaves Contour Layers out of Memory Box Stormy Blue 6×6 Paper and kraft cardstocks.
For the sentiment, I used the Thank You Noted Script Hot Foil Plate & Die with Spellbinders White Glimmer Hot Foil. It’s very subtle, both in coloring and nestled amongst the leaves.
I hope you enjoyed today’s card and have a great rest of your week!
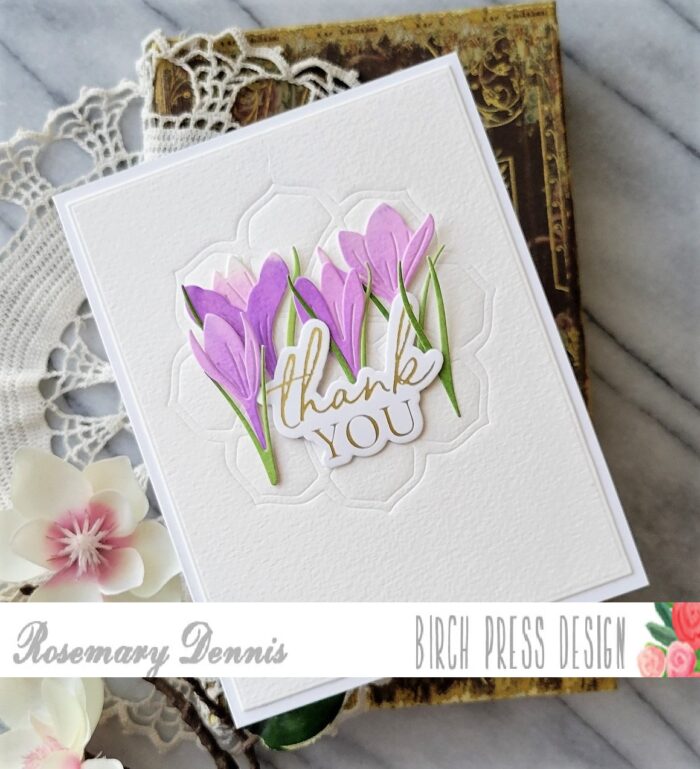
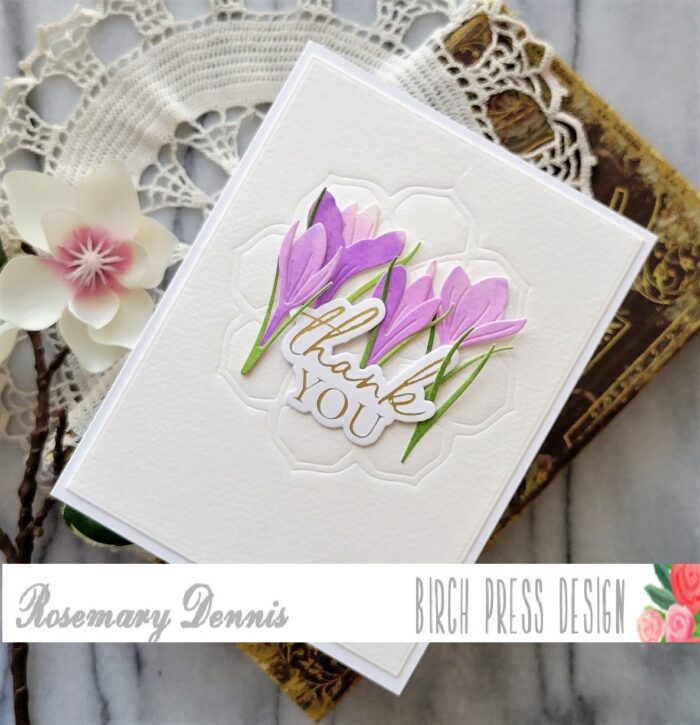
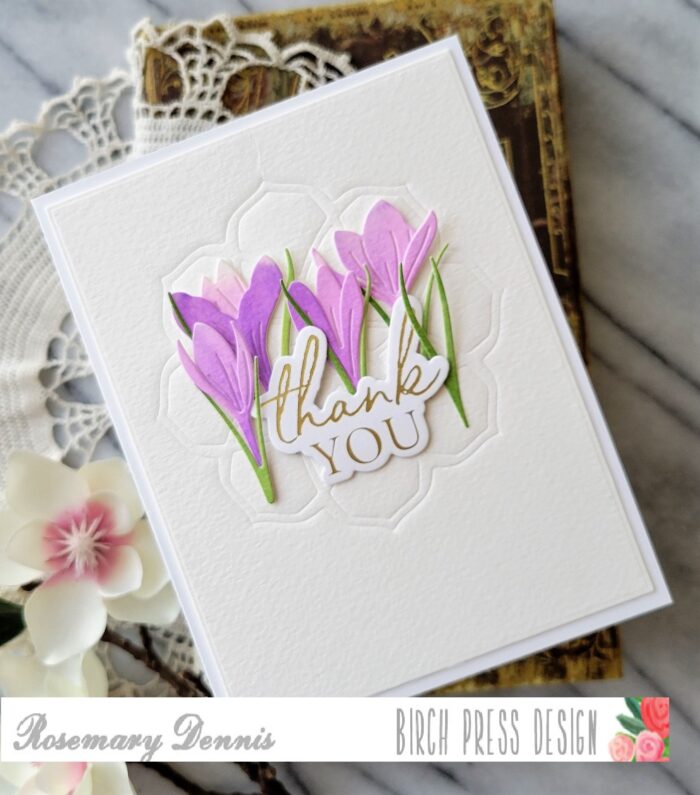
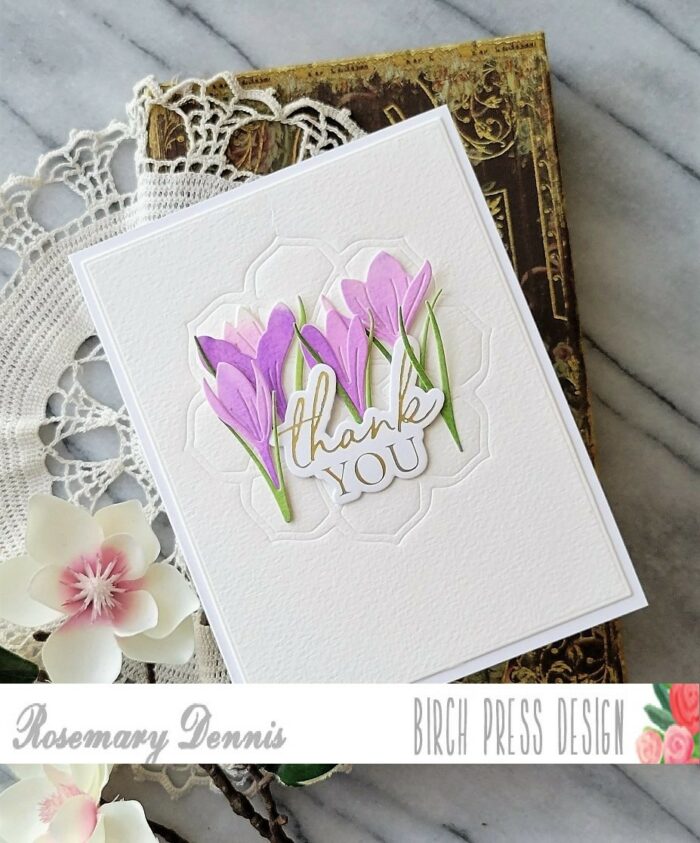
Happy Memorial Day to everyone here is the US! I hope you are having a relaxing day with your loved ones and remembering all those who gave their lives for our amazing country! Appropriately I am sharing a thank you card today. This one features the Sprouting Crocus Contour Layers dies, as well as the Thank You Noted Script hot foil plate and die set.
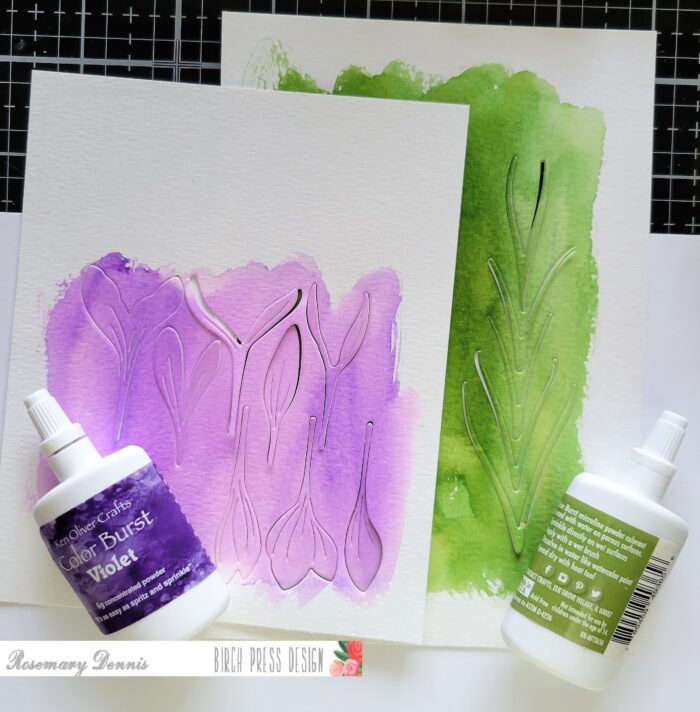
I started out my card by deciding that I wanted to do a little simple watercoloring. I have several different watercolor mediums, but recently rediscovered some color burst powders that I had bought years ago. I decided to use them for the watercoloring. It is a simple process to create the panels that I used. Simply wet watercolor cardstock, tape on a small amount of the powder and then spread the color around with a wet paintbrush. Once you have the color depth you want, dry the cardstock and die cut.
This photo shows the colors I used along with the panels after I had die cut all the part of the flowers. I assembled all the flowers using liquid adhesive and then moved onto foiling the sentiment. For this I used matte gold foil and white cardstock. I foiled several sentiments so I will have some for later use.
Since I love using the layering dies for embossing my backgrounds I used the Cora Layer A die to emboss some watercolor cardstock. I just love the letterpress look you get from using the thicker watercolor cardstock for embossing. (Again, my sandwich is the die cutting platform, one cutting plat, the embossing mat, cardstock, the die cutting side down and a few shims.) After embossing the background I die cut the panel with a rectangle die. This will flatten the embossing a bit, but it still looks nice.
Now it is time to arrange all my flowers. I used liquid adhesive to adhere the flowers first and then added the sentiment using a combination of thin foam squares and liquid adhesive where needed. I then added my panel to a white cardstock base using strong double sided adhesive strips.
Thanks for stopping by and have a lovely, lovely day!
Hello, Birch Press friends! Today, I am sharing a couple different methods that will enable you to stretch the use of your dies. You can use each method separately, or you can do what I did, and use them both on the same card. The best part is that it results in a bonus card! You can’t beat a 2 for 1 technique, right? All you need to get started is a background die. My cards feature the Flora Plate Layer Set.
The first thing that I did was to use Plate C from the Flora Plate Layer set to emboss a piece of lavender card stock. It’s really easy to emboss your card stock with a die instead of cut it – you just need the rubber embossing mat and embossing plate for your die cutting machine. You place your card stock on top of the rubber mat and then place your die on top, cutting side down. It’s a really fun way of creating texture on your card stock.
Embossing with a die is the first way I stretched the use of my Flora plate. The next method is just as easy. Simply cut a piece of white card stock using the die in the traditional way and then use it as a stencil! Specifically, I used it as a stencil to color the embossed panel that I created with the first method. I just put the white die cut panel on top of the lavender embossed panel and secured it with tape in a couple places so it wouldn’t move. It’s really easy to line up the die cut pattern with the embossed pattern, since they’re the exact same. I used two shades of purple to ink blend over my “stencil,” going from a lighter color in one corner to a darker color in the other corner. Once I was finished, I used a purple alcohol marker to color the center of each embossed flower on the panel. I also added a dot of white gel pen to enhance the dotted pattern around each flower
To decorate the front of this card, I created three flowers using the Phlox Blooms and Leaves Contour Layers set and the same lavender card stock that I created my panel with. I inked up the edges of the flowers and the flower interiors with the same two colors of ink that I used to stencil the background. For my sentiment, I foiled the “You Are Loved” hot foil plate with purple foil. I added a clear fairy drop to the center of each flower.
Instead of discarding the panel that I had used as a stencil, I used it to make a bonus card. I used my purple inks to smooth out the ink blending that I had already done when I used it as a stencil. I adhered the panel to a white card base and then hot foiled another sentiment. This time, I used the Hello Sugar Script hot foil plate and die, along with silver hot foil. Once I hot foiled the sentiment onto white card stock, I then took the foil remnant and hot foiled that using a solid hot foil plate. That is why the silver foil is on the outside, and the word itself is white. I added a sub-sentiment from my stash.
To finish my bonus card, I added a clear fairy jewel to the center of each flower on the panel. Just to recap – the purple die cut panel on the top card in the image above was used to stencil the embossed panel on the card pictured behind it. I love how these turned out, and I hope they put a smile on your face. Thank you so much for joining us today!
Hello, Birch Press fans! Toni here with you today sharing a spring-theme card using the Delicate Floral Buds Contour Layers.
I found a piece of my cardstock in my stash with a circle cut out of it (why did I cut it from the middle?!) and thought it would make a great focal background for the buds.
I layered it on top of a scrap piece of aqua cardstock then added the Herbarium Plate Layer A in white on top of that.
I cut the Delicate Floral Buds Contour Layers from white cardstock which I colored up with Copics R01 and R14. The leaves are cut from Lush Green 6×6 Cardstock.
For the sentiment I used the Sugar Script Sentiments 1 Hot Foil Plate along with Therm O Web Gold Hot Foil and the Pinkfresh Studio Solid Hot Foil Plate. The latter allows you to use your hot foil leftovers, creating a solid version of the design.
I hope you enjoyed today’s card and have a great rest of your week!
Hello and happy Monday! I’m excited to be back with you on the blog. Today’s project features some leafy dies, stenciling and hot foiling all in one card.
I started this card knowing that I really wanted to do some stenciling. I grabbed three complimentary shades of blue ink in a light, medium and dark tones, along with the Gilded Petalpoint Stencil Set. I placed my stick mat in the corner of my rubber stencil mat, and put a piece of A2 cardstock on top of the mat, making sure to align it with the first layer of my stencil.
Now this stencil has 3 layers and I started with the largest layer, inking up with my lightest color. Then I took the medium sized layer, using my medium ink color, and lastly I used the darkest blue with the smallest layer. This is how I created that nice, peacock-y looking, layered effect.
Next I trimmed down that A2 panel until it was approximately 3 5/8 x 4 1/8. There was no rhyme or reason — I just started large and kept on trimming until I liked how the panel looked. I then adhered it to the front of an A2 white card base using foam tape.
The next part was really fun to arrange. I took three shades of green from the Lush Green Collection cardstock pack and cut leaves from them using the leaves from the Jovial Blooms and Leaves Contour Layers set. After cutting from each color about 4 times, I glued two of the leaves together with liquid adhesive to create a bit more dimension and thickness. I then practiced arranging them on the front of the panel before gluing them down with liquid adhesive.
For my sentiment, I wanted something that would pop since my background was a bit busy. Since I’m low on thank you cards, I decided to use the Thank you Noted Script Hot Foil and Die set to hot foil the ‘thank you’ and die cut it out. I did die cut it two more times and glued all three layers together for some more dimension. I adhered the sentiment to my card front with foam tape.
Lastly, of course I have to add some embellishments, so I used clear Fairy Drops and sprinkled a few around the leaves.
That is it! I really enjoyed adding a square sized block to a card front and mixing and matching up the stenciled background with some detailed die cuts. I hope this inspires you as you go into your week!
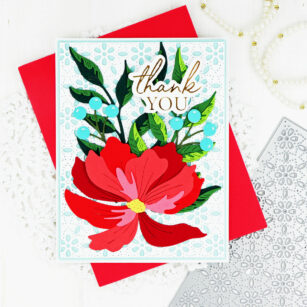
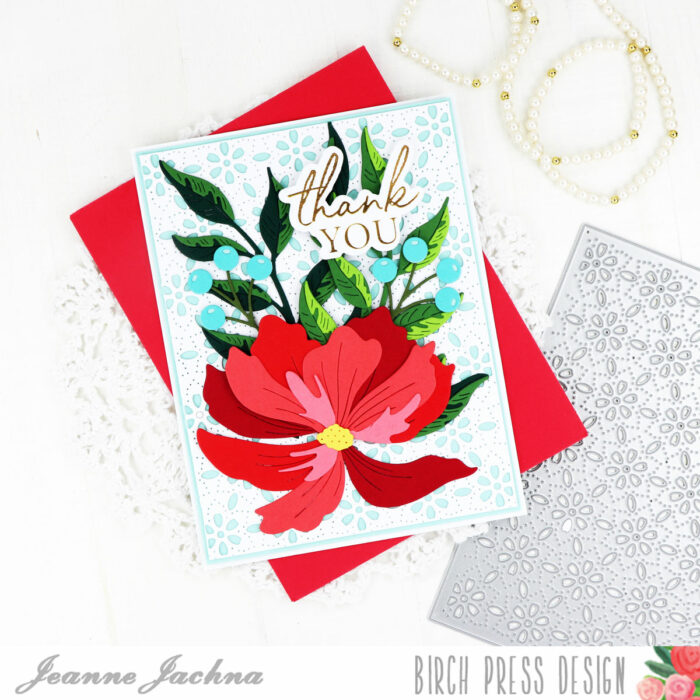
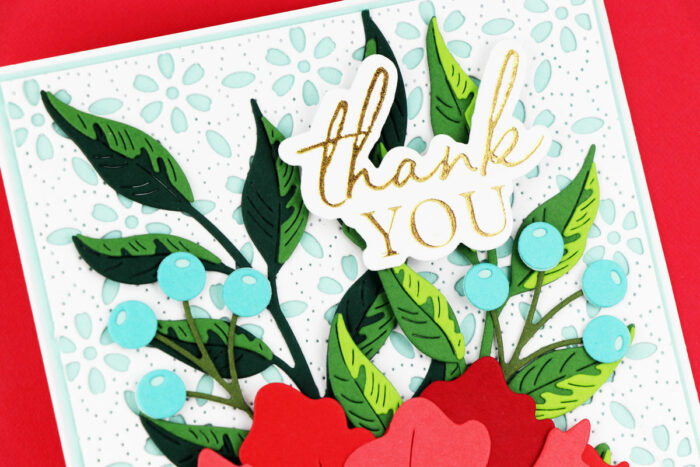
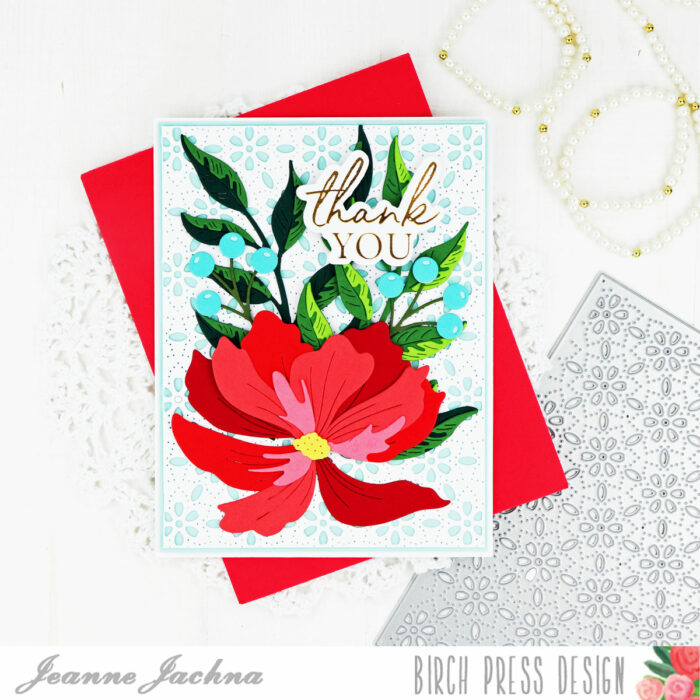
Hi friends! I hope you’re having a great day! Today I’m sharing a slimline card made with beautiful Birch Press Design Florals!
Flowers are my favorite and when they’re bright and bold I just can’t resist – like a little bee and think to myself… MORE PLEASE!!!
To get more from my panel dies I like to think of different uses for them. One example would be adding a texture pattern to another die cut – perhaps some alphabet letters. Just because the die is made for an A2 card doesn’t mean that you have to stick with that size. I trimmed the Pinpoint Contour Plate die cut panel to 3 1/2″ and layered it over a 3 5/8 X 6 1/2″ aqua panel to make a longer slimline card.
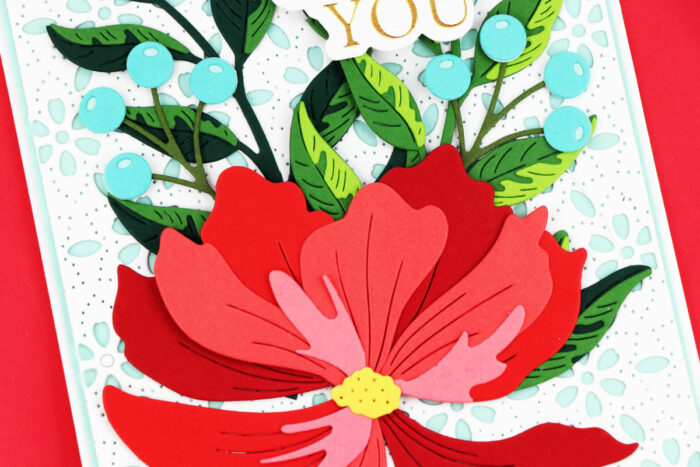
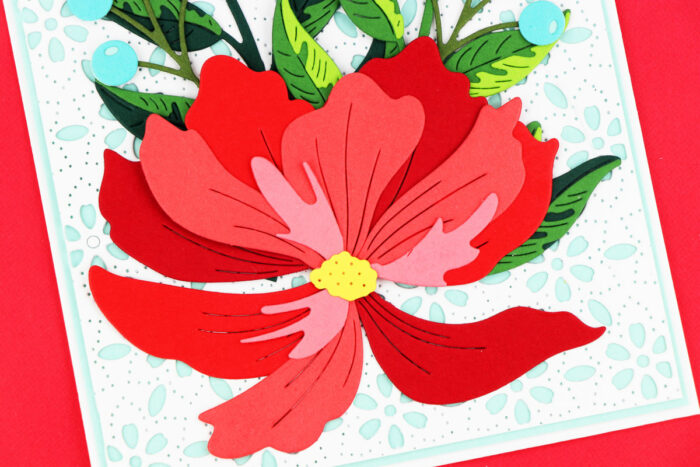
I added the gold foil sentiment to the center of the card with adhesive foam tape so it’s raised. Next I tucked in various shades of green foliage adhered flat to the card. The florals are all adhered with adhesive foam tape. I used berries as accents to coordinate with the blue background panel.
These gorgeous florals look amazing cut from any of your favorite shades – I made a whole bunch so all I have to do is arrange them and add a sentiment. They’re a great addition to your stash!
Finished size: 6 5/8 x 3 3/4″
Supplies
57511 Pinpoint Contour Plate
57507 Phlox Blooms and Leaves Contour Layers
57502 Jovial Blooms and Leaves Contour Layers
57503 Sylvan Berries and Leaves Contour Layers
57492 Delicate Floral Buds Contour Layers
57527 Mixed Berry Contour Layers
bpf503 Sugar Script Sentiments 1 Hot Foil Plate and Die Sets
Hello, Birch Press friends! Today, I am sharing this rainbow inspired card featuring the Epiphany Plate Layer Set. This is the second post in a row where I have reached for one of my layering background sets. Layering sets never get old for me because there is an infinite number of color combinations. This especially applies to the Epiphany set, since there are essentially three different elements on the card, each having three layers.
First thing’s first with a layering die set – cut all of the layers! Since there are three plates to the Epiphany set, each cutting out three different elements, I chose to just use each plate once to cut a panel of white card stock. For the large outer layer, I only used the piece that I cut from the A plate. I adhered that to a white A2 card base.
For the outer circle and the inner circle, I ink blended my white die cuts. For the outer circle pieces, I used green for Layer A, blue for Layer B, and purple for Layer C. For the inner circle, I used red for Layer A, orange for Layer B, and yellow for Layer C. I used circle dies to cut a white back for both of these layers. Once I had adhered the three layers together with glue, I adhered each element to its corresponding white circle background. I glued the outer circle to the card. Before adhering the inner circle to the card, I popped it up on foam tape to create some dimension.
For my sentiment, I used the “sending hugs” from the Sugar Script Sentiments 1 Hot Foil Plate and Die Set. I hot foiled the sentiment onto black card stock using white opaque foil. This is my new favorite foil! Before adhering the sentiment to the card, I added clear fairy jewels around the die cuts to highlight the design. I made sure not to place any jewels in spots that would interfere with the sentiment. I had so much fun making this card. There is something very satisfying about adding all those jewels!
Thank you so much for joining us today. I hope this card inspires you and brings a smile to your face!