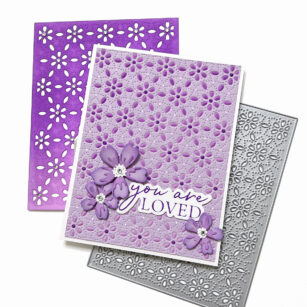
Hello, Birch Press friends! Today, I am sharing a couple different methods that will enable you to stretch the use of your dies. You can use each method separately, or you can do what I did, and use them both on the same card. The best part is that it results in a bonus card! You can’t beat a 2 for 1 technique, right? All you need to get started is a background die. My cards feature the Flora Plate Layer Set.
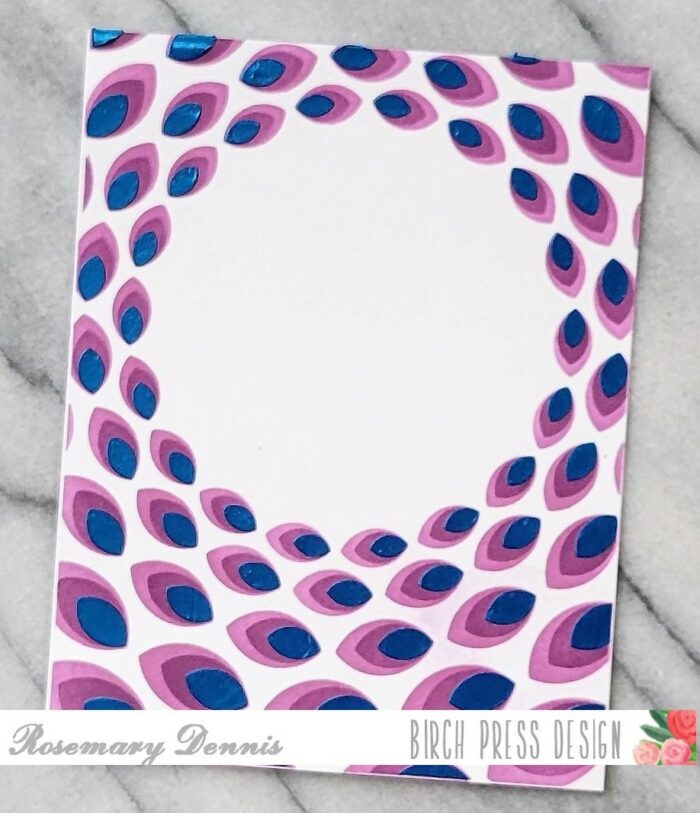
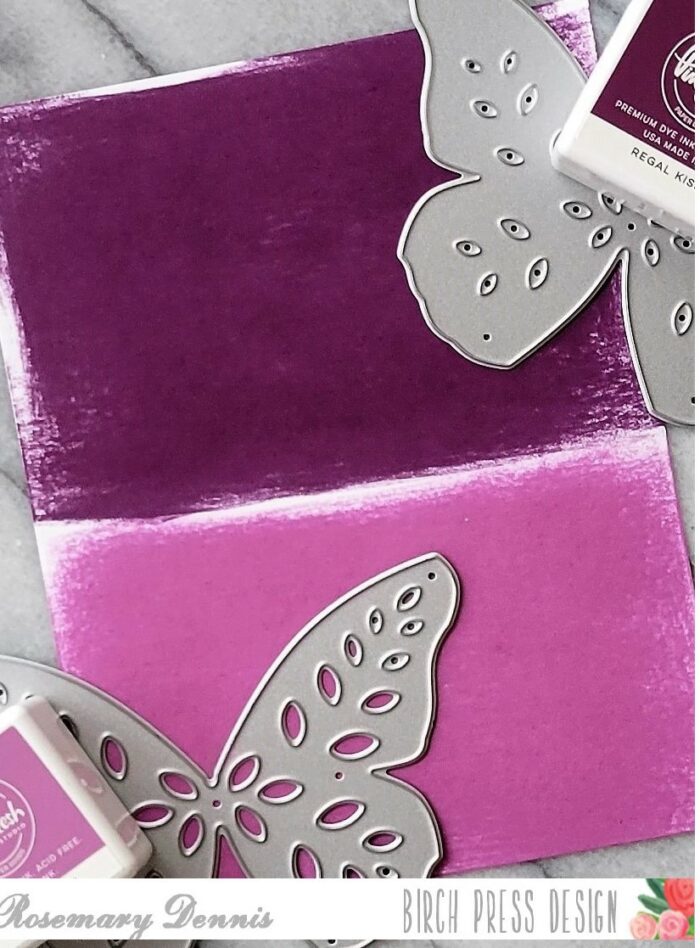
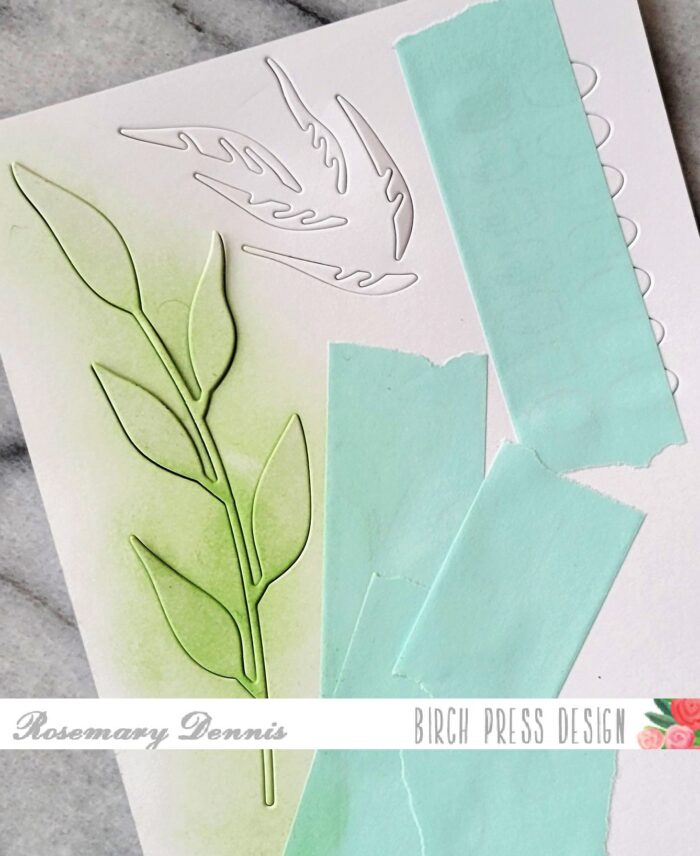
The first thing that I did was to use Plate C from the Flora Plate Layer set to emboss a piece of lavender card stock. It’s really easy to emboss your card stock with a die instead of cut it – you just need the rubber embossing mat and embossing plate for your die cutting machine. You place your card stock on top of the rubber mat and then place your die on top, cutting side down. It’s a really fun way of creating texture on your card stock.

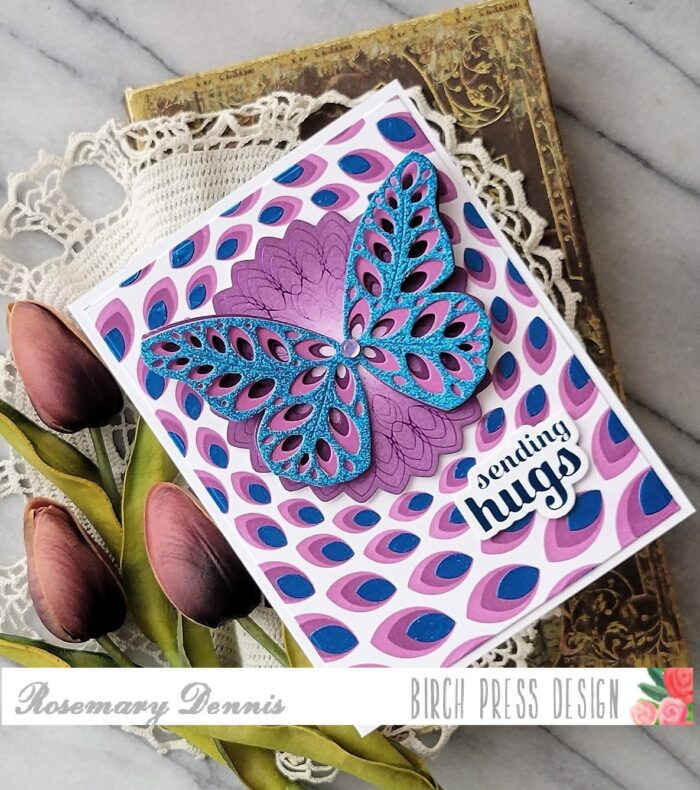
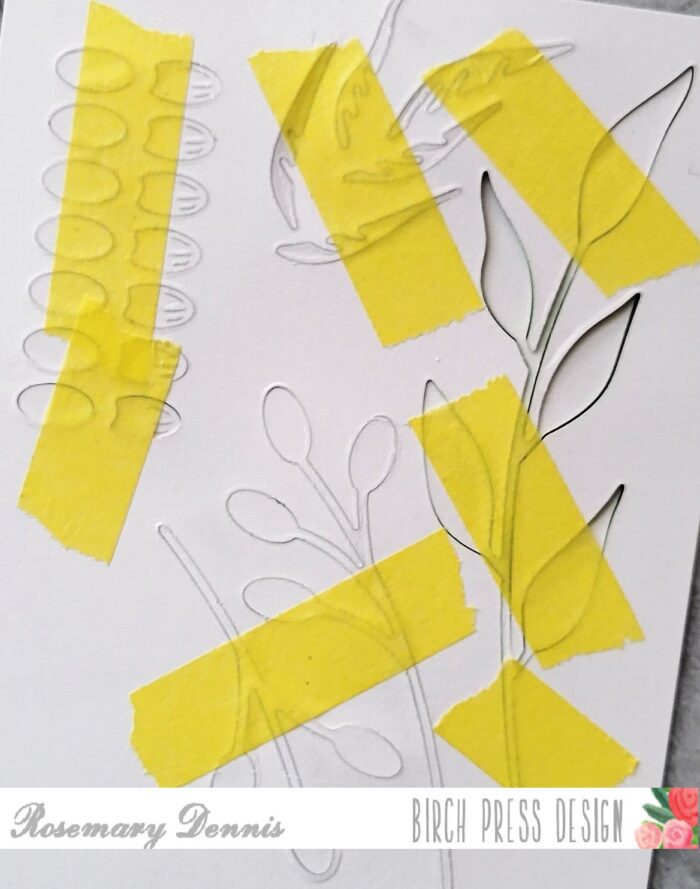
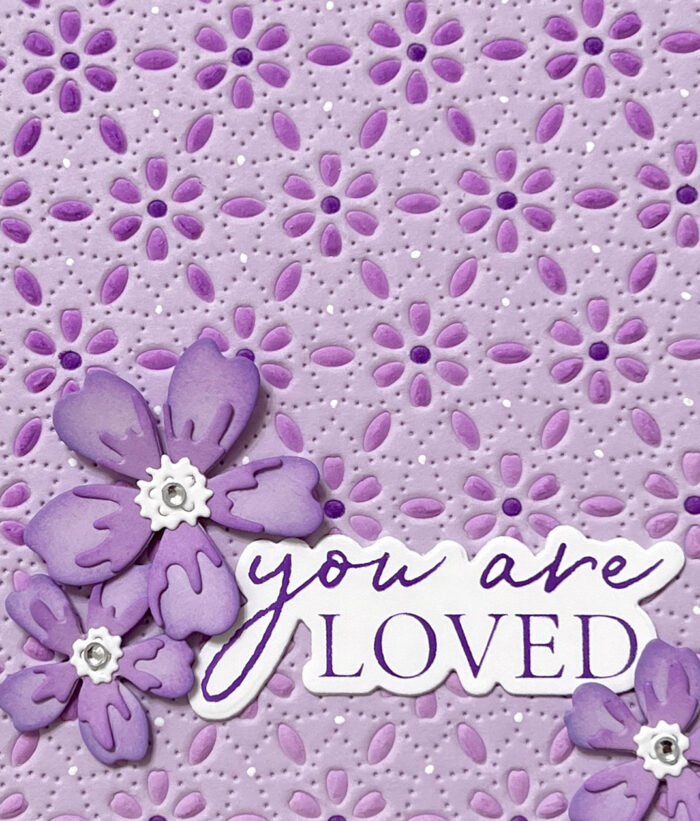
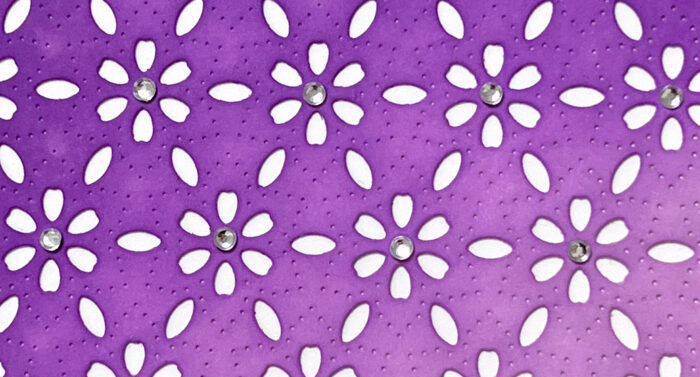
Embossing with a die is the first way I stretched the use of my Flora plate. The next method is just as easy. Simply cut a piece of white card stock using the die in the traditional way and then use it as a stencil! Specifically, I used it as a stencil to color the embossed panel that I created with the first method. I just put the white die cut panel on top of the lavender embossed panel and secured it with tape in a couple places so it wouldn’t move. It’s really easy to line up the die cut pattern with the embossed pattern, since they’re the exact same. I used two shades of purple to ink blend over my “stencil,” going from a lighter color in one corner to a darker color in the other corner. Once I was finished, I used a purple alcohol marker to color the center of each embossed flower on the panel. I also added a dot of white gel pen to enhance the dotted pattern around each flower
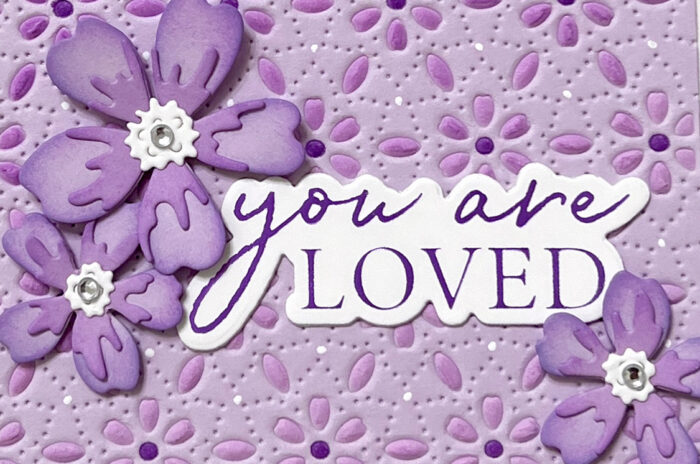
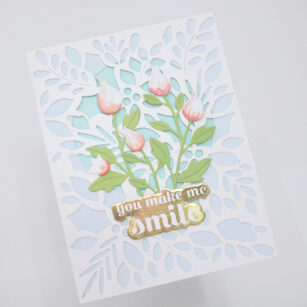
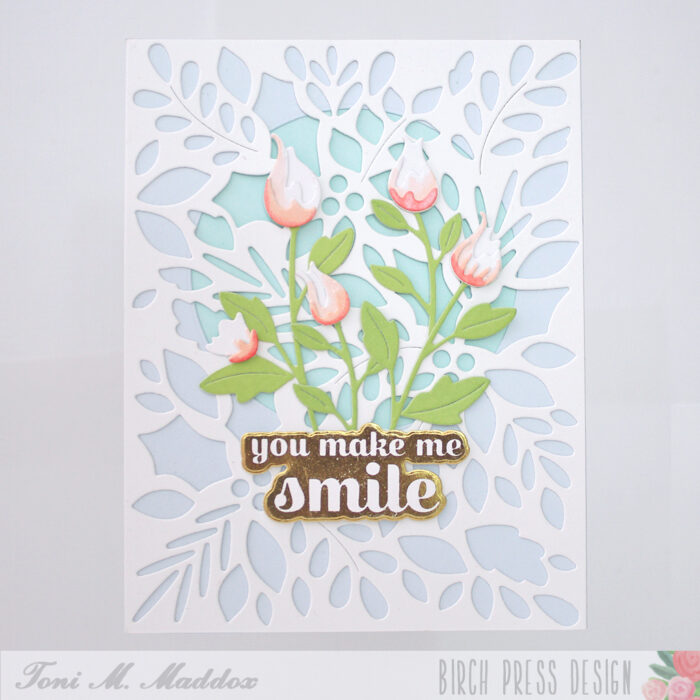
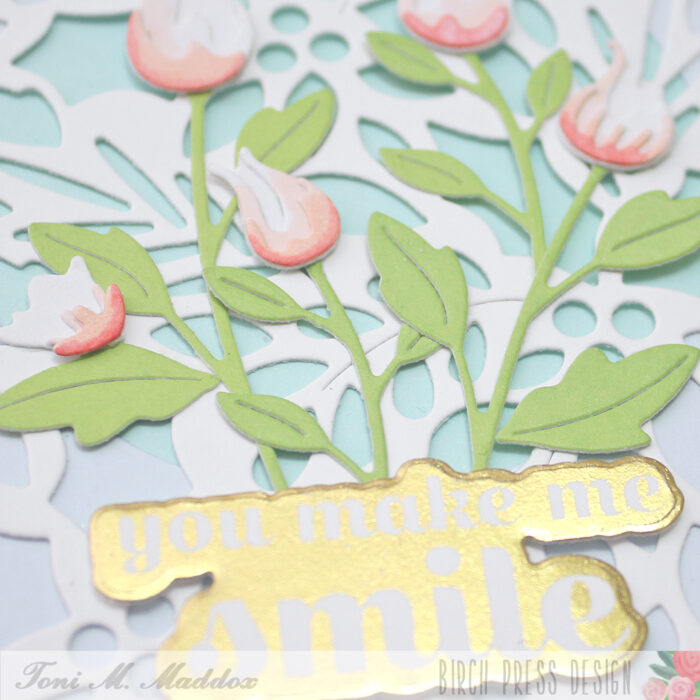
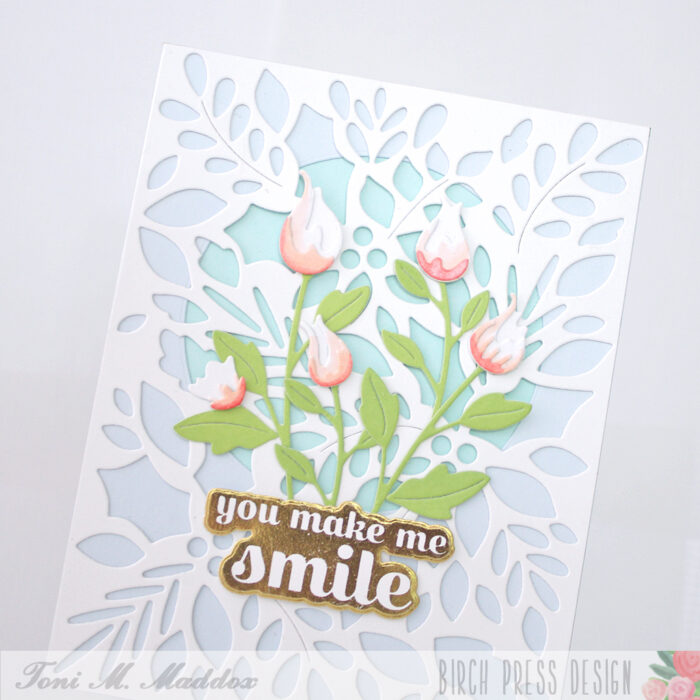
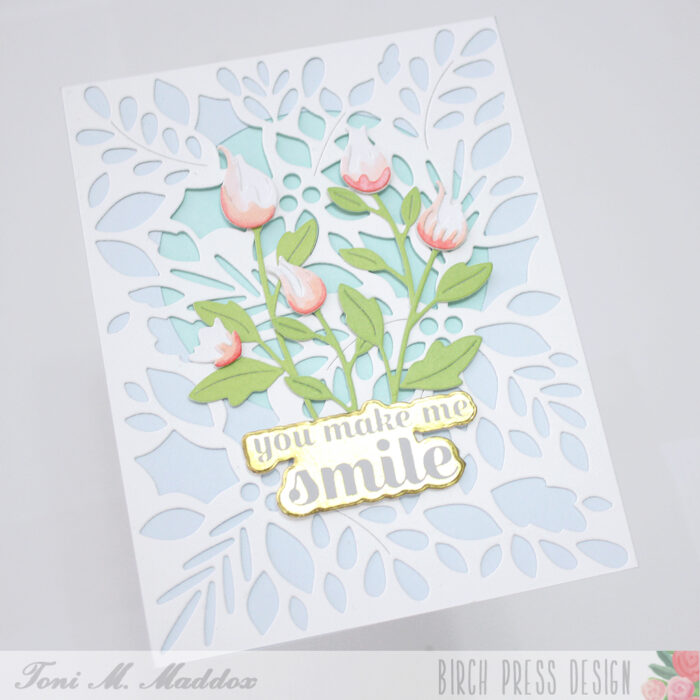
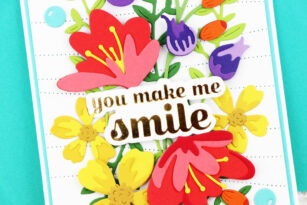
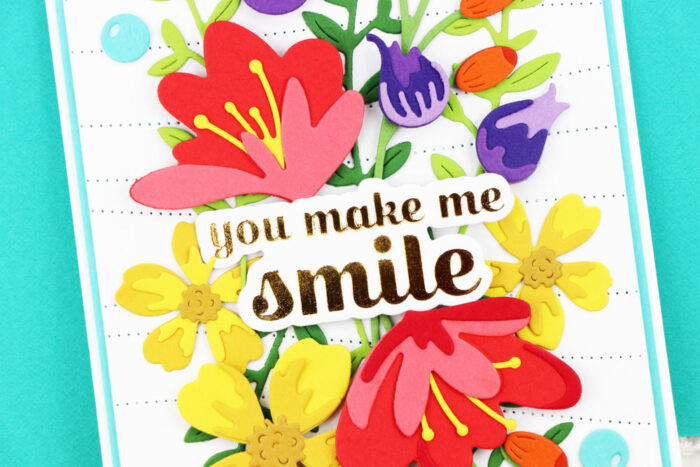
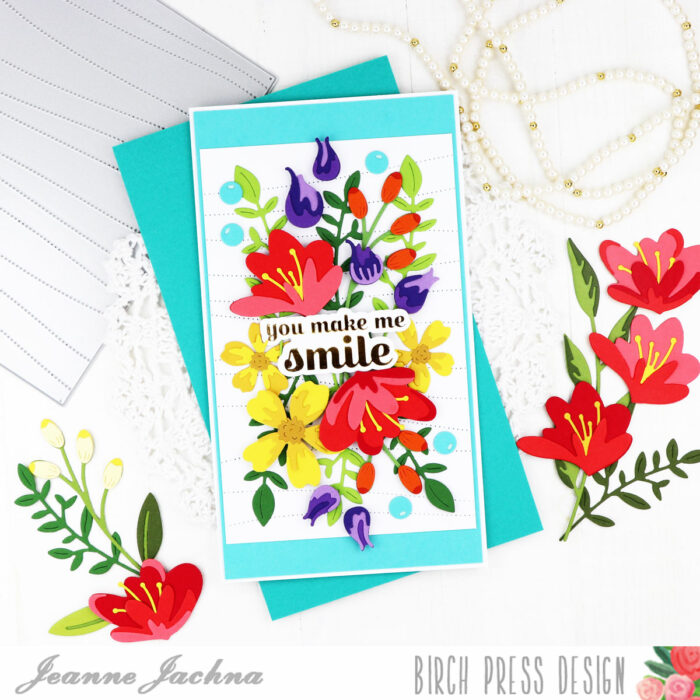
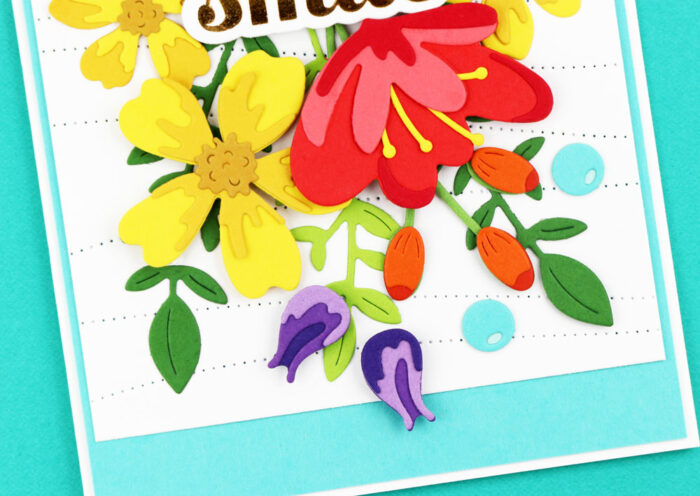
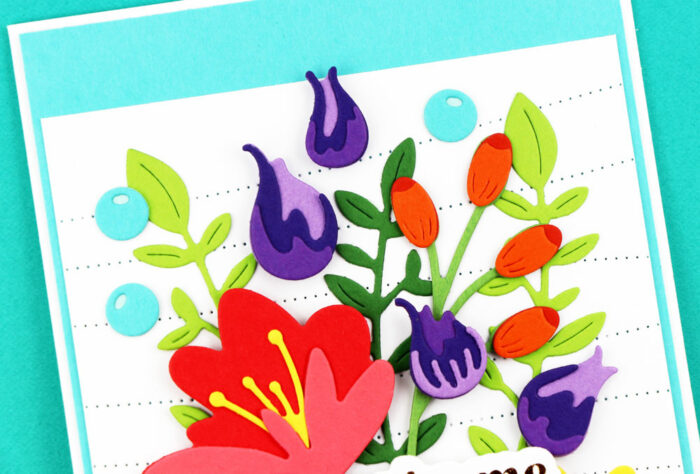
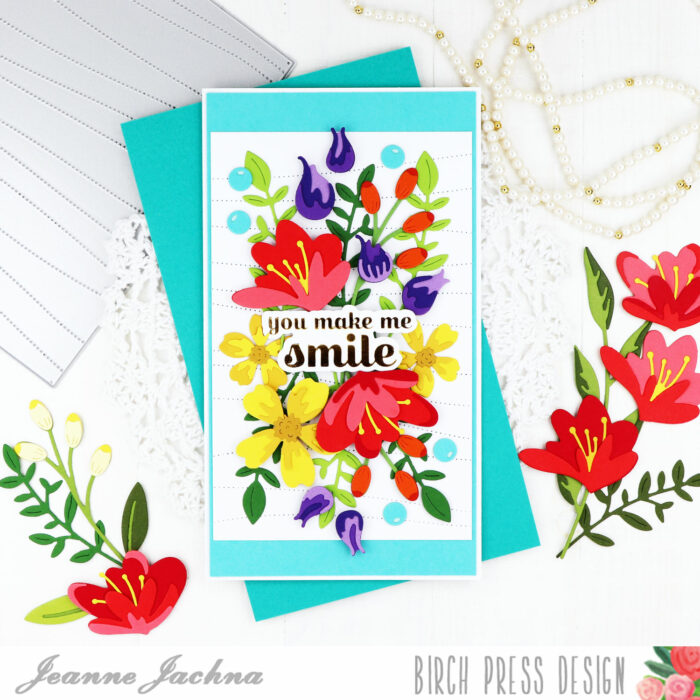
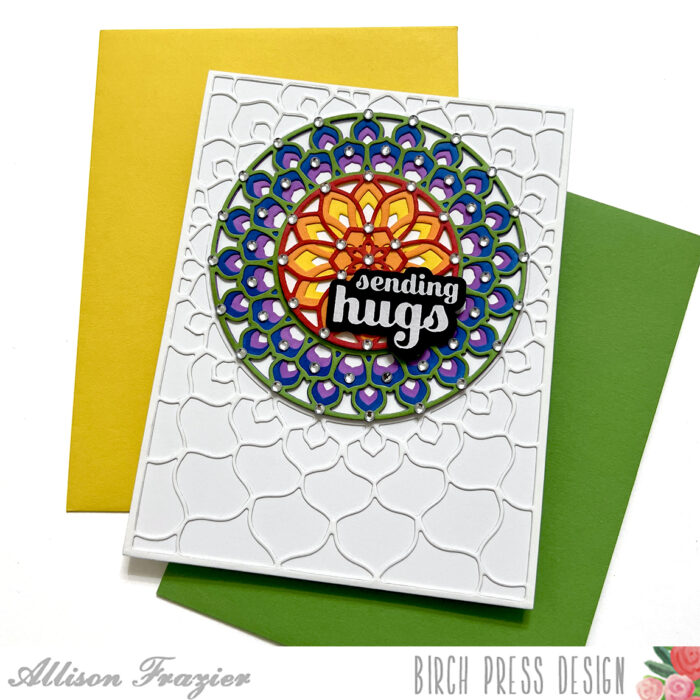
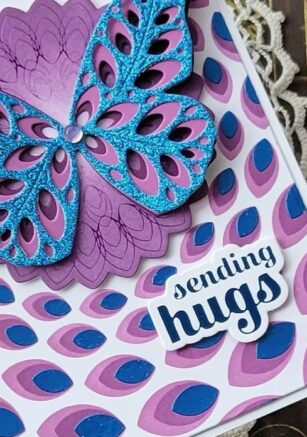
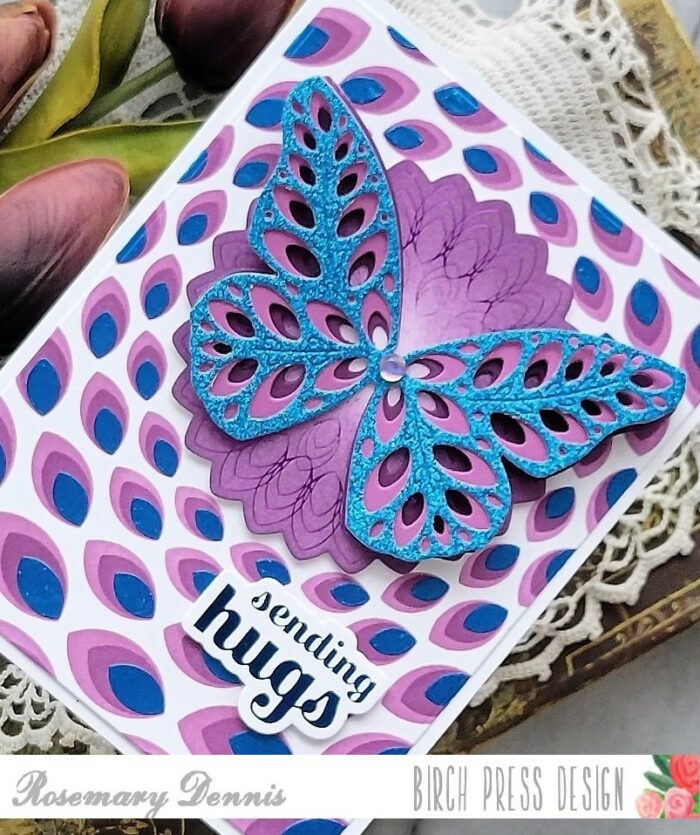
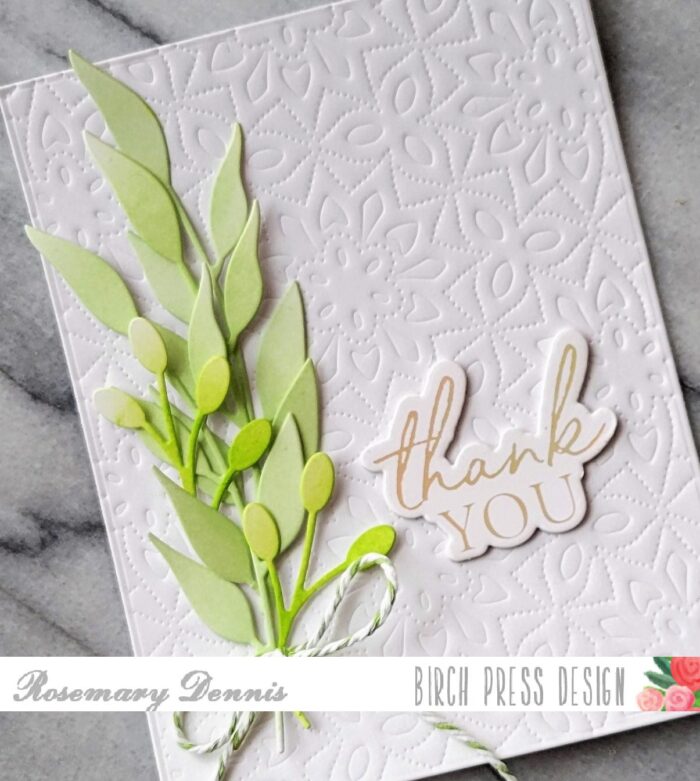
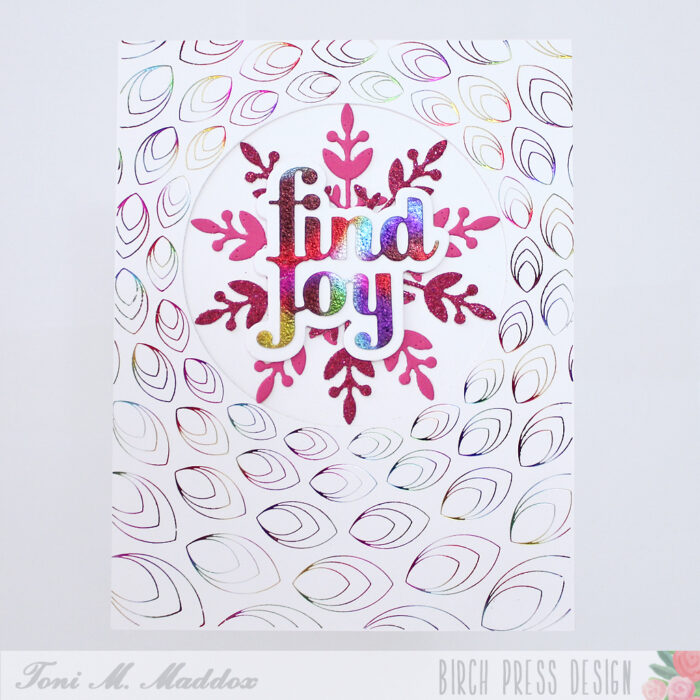
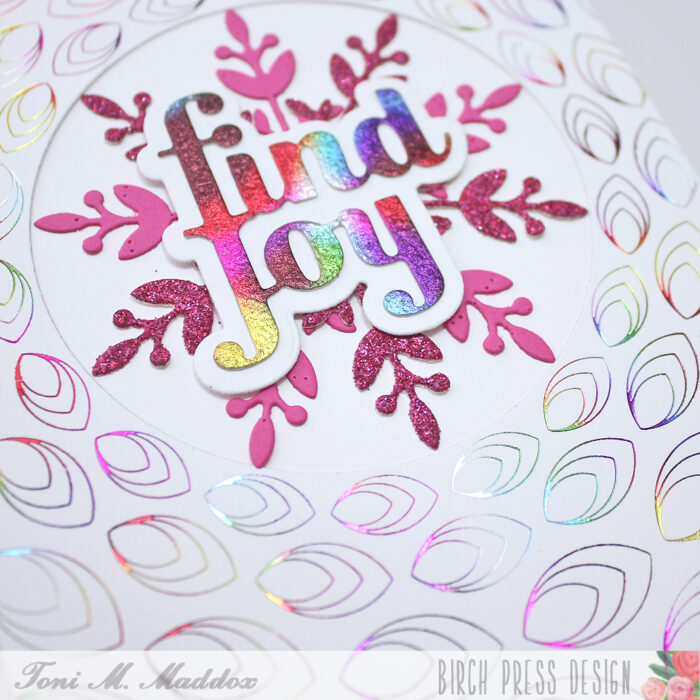
To decorate the front of this card, I created three flowers using the Phlox Blooms and Leaves Contour Layers set and the same lavender card stock that I created my panel with. I inked up the edges of the flowers and the flower interiors with the same two colors of ink that I used to stencil the background. For my sentiment, I foiled the “You Are Loved” hot foil plate with purple foil. I added a clear fairy drop to the center of each flower.
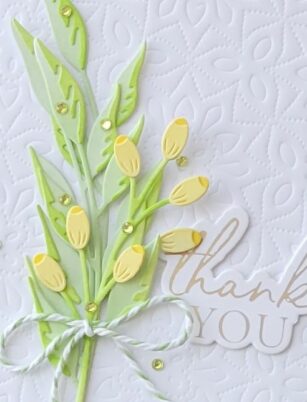
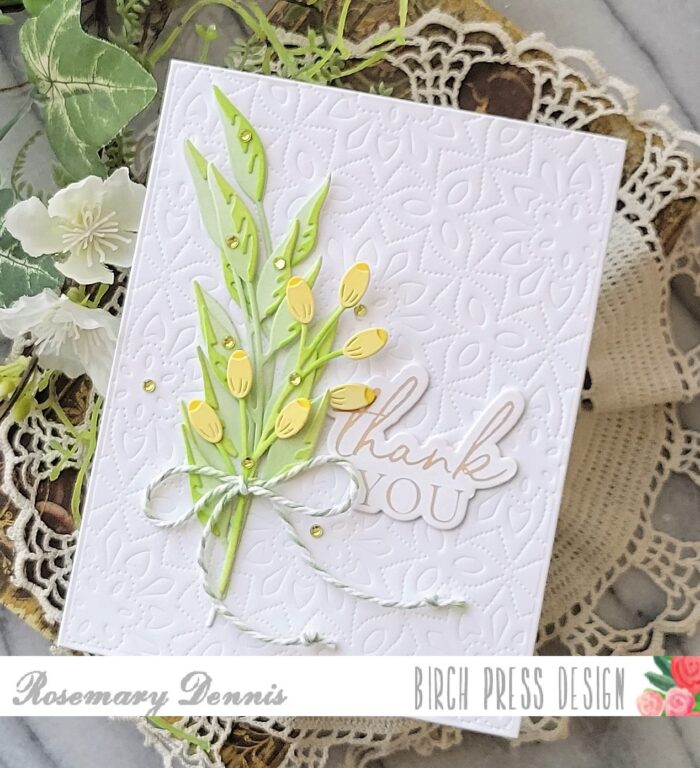
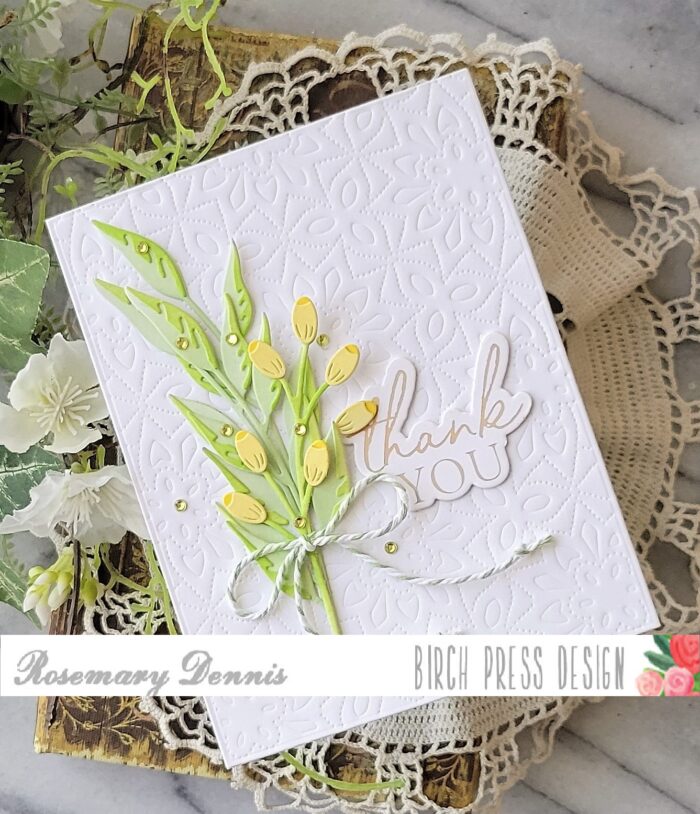
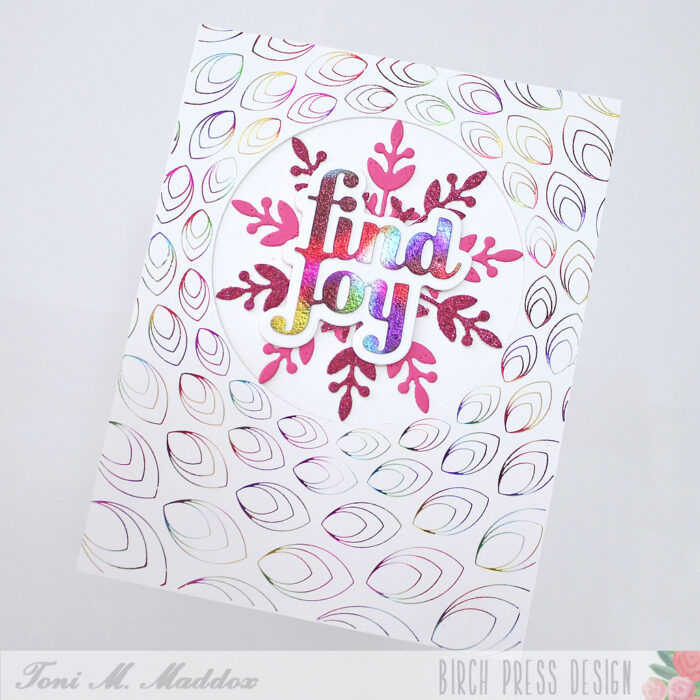
Instead of discarding the panel that I had used as a stencil, I used it to make a bonus card. I used my purple inks to smooth out the ink blending that I had already done when I used it as a stencil. I adhered the panel to a white card base and then hot foiled another sentiment. This time, I used the Hello Sugar Script hot foil plate and die, along with silver hot foil. Once I hot foiled the sentiment onto white card stock, I then took the foil remnant and hot foiled that using a solid hot foil plate. That is why the silver foil is on the outside, and the word itself is white. I added a sub-sentiment from my stash.
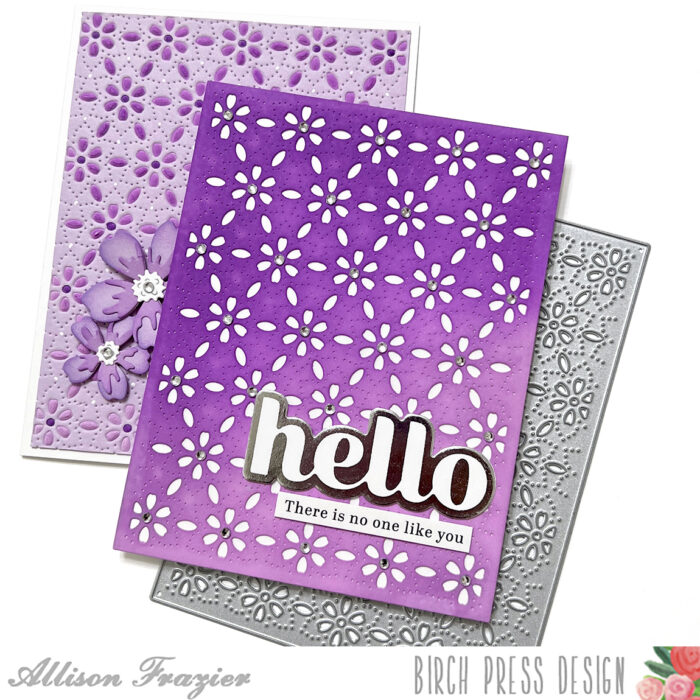
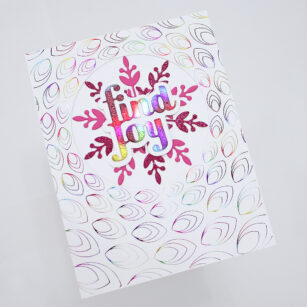
To finish my bonus card, I added a clear fairy jewel to the center of each flower on the panel. Just to recap – the purple die cut panel on the top card in the image above was used to stencil the embossed panel on the card pictured behind it. I love how these turned out, and I hope they put a smile on your face. Thank you so much for joining us today!
Wishing you a crafty day,
Allison

Supplies


Supplies