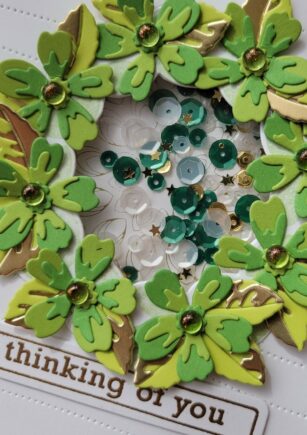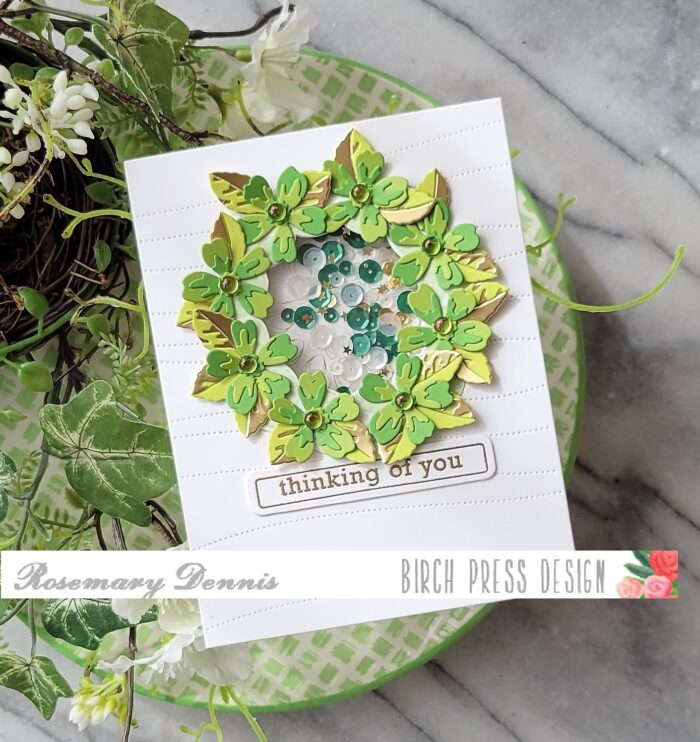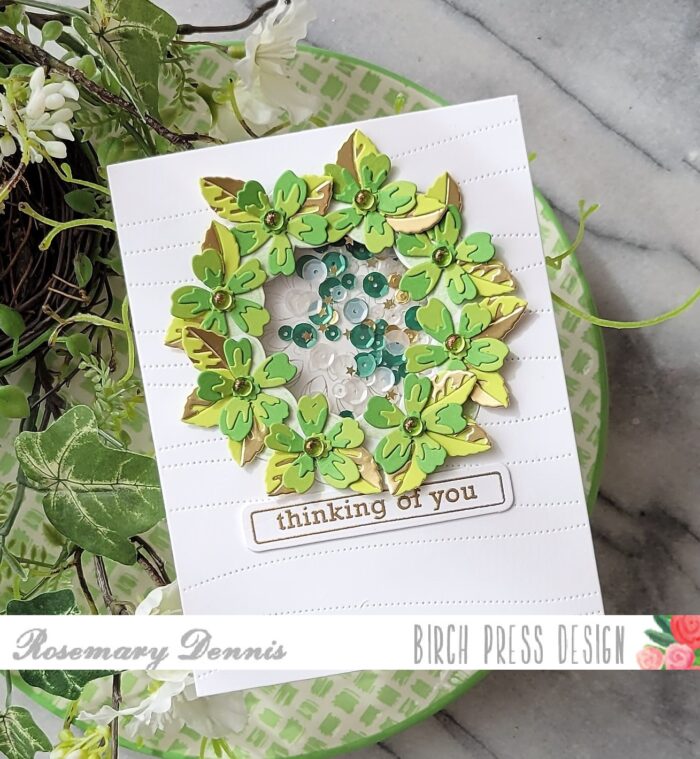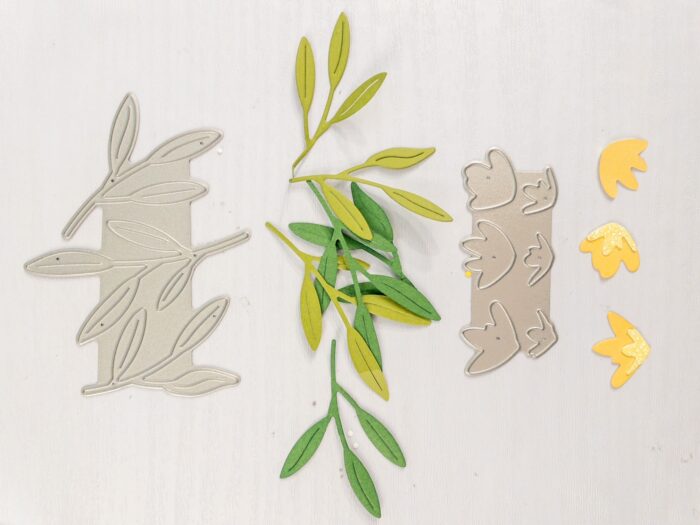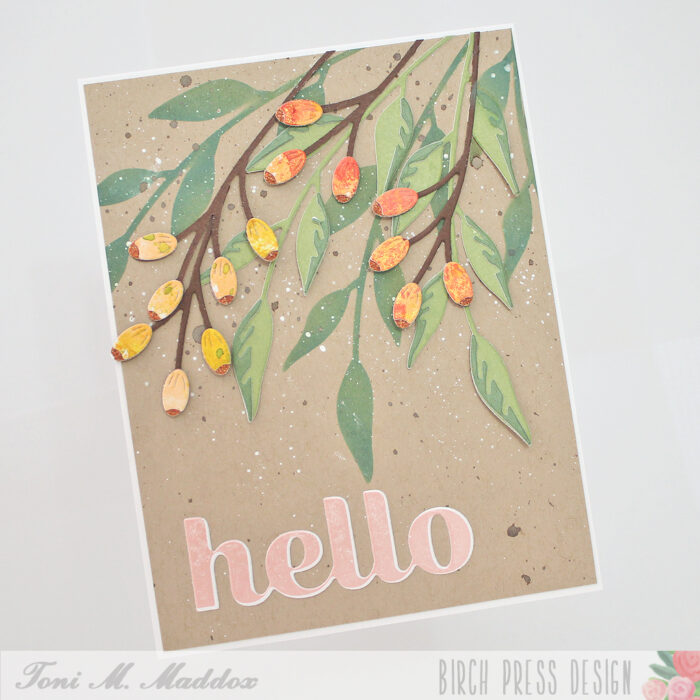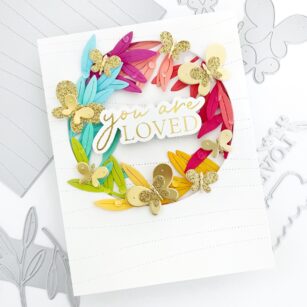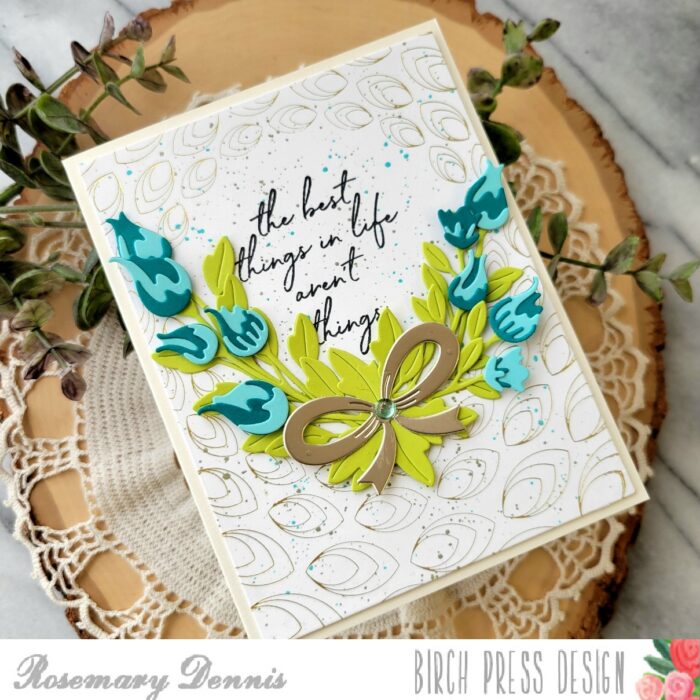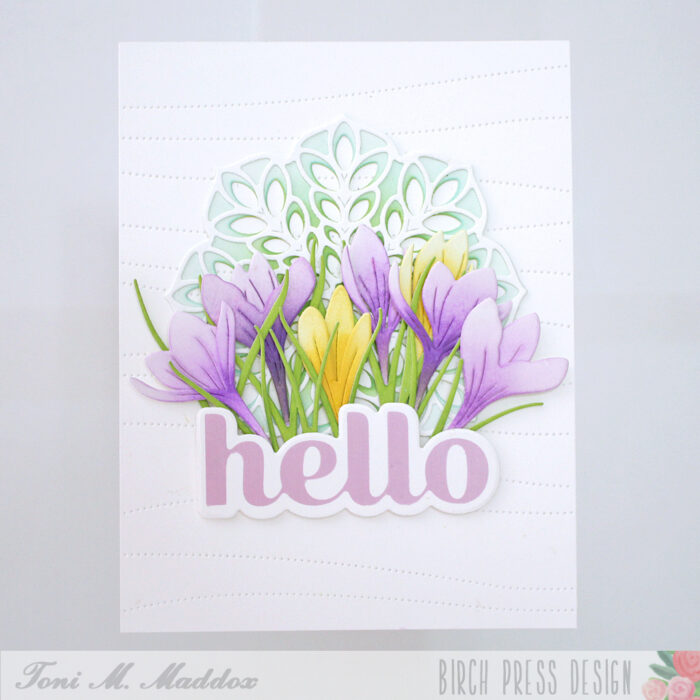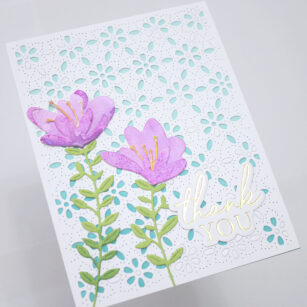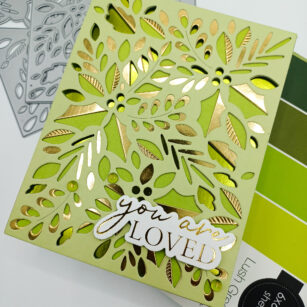
Happy Friday! Today I’m sharing a St. Patricks’ Day inspired card using the beautiful Herbarium Plate Layer die set. Scroll down to find detailed instructions on how I pulled this card together.
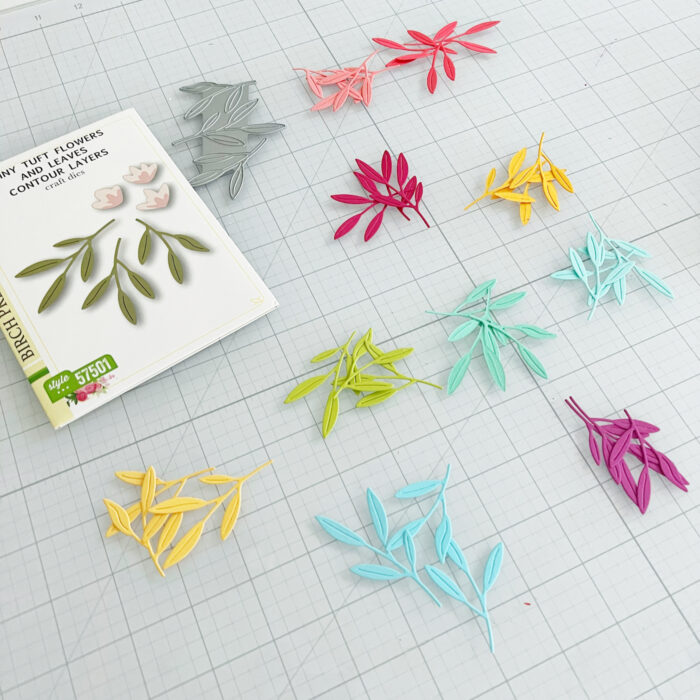
To obtain the beautiful layers of green and gold, I grabbed the Lush Green and Rainbow Reflections Mirror Pad 6×6 cardstock packs.
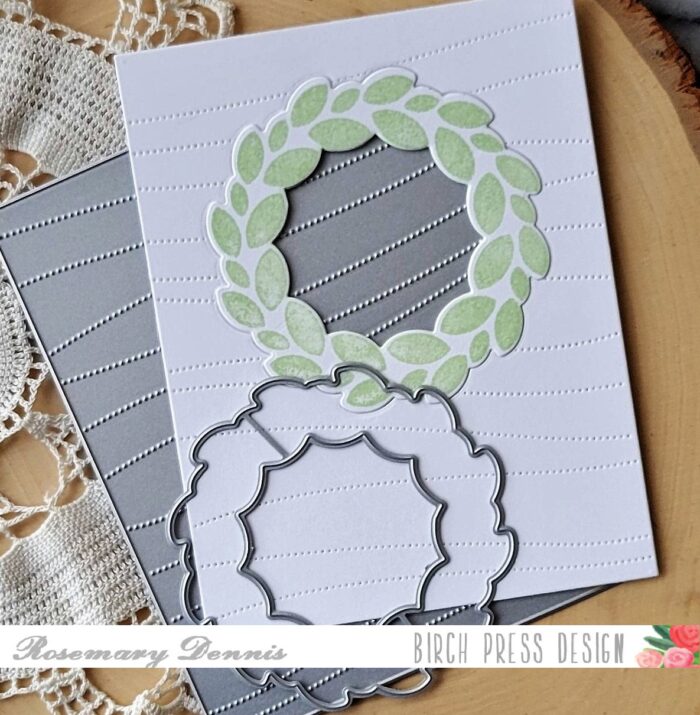
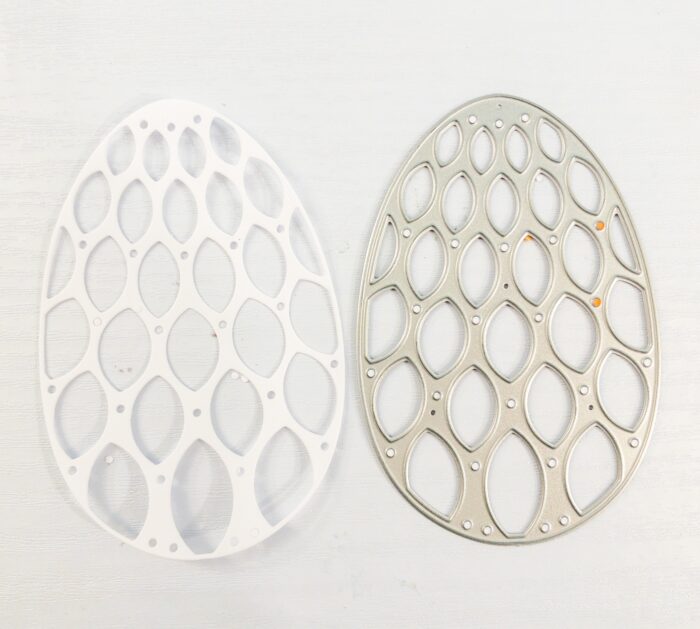
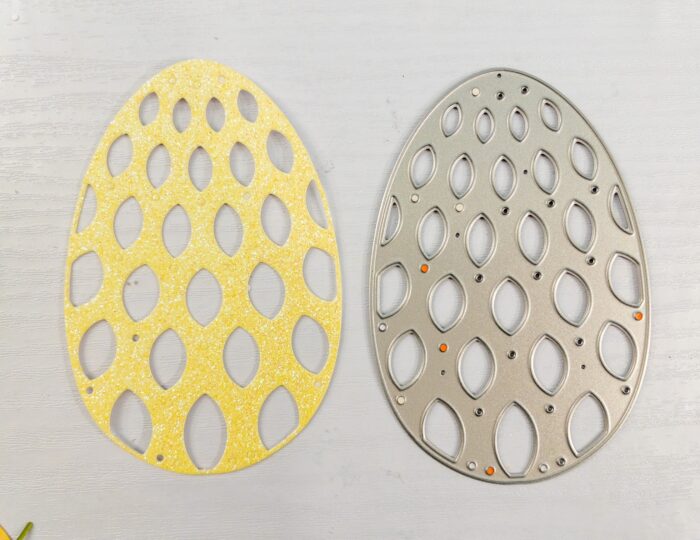
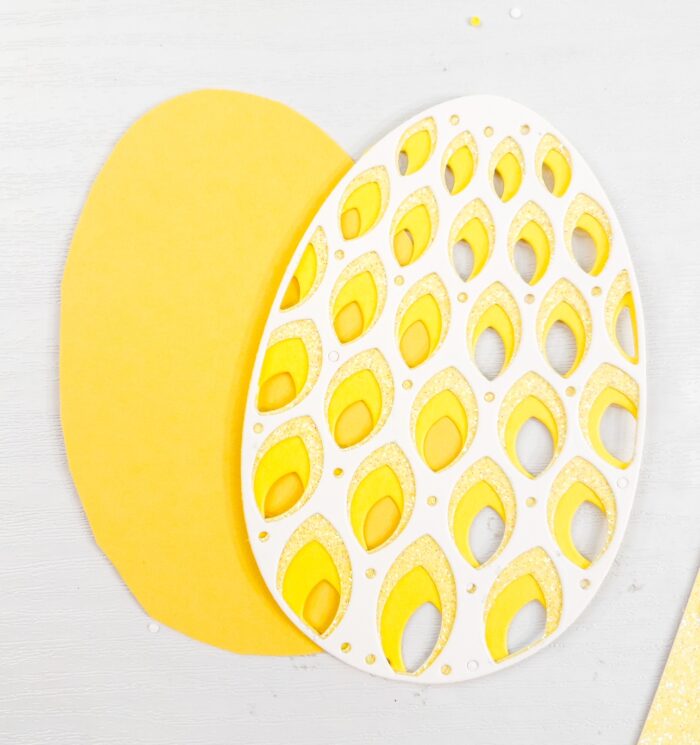
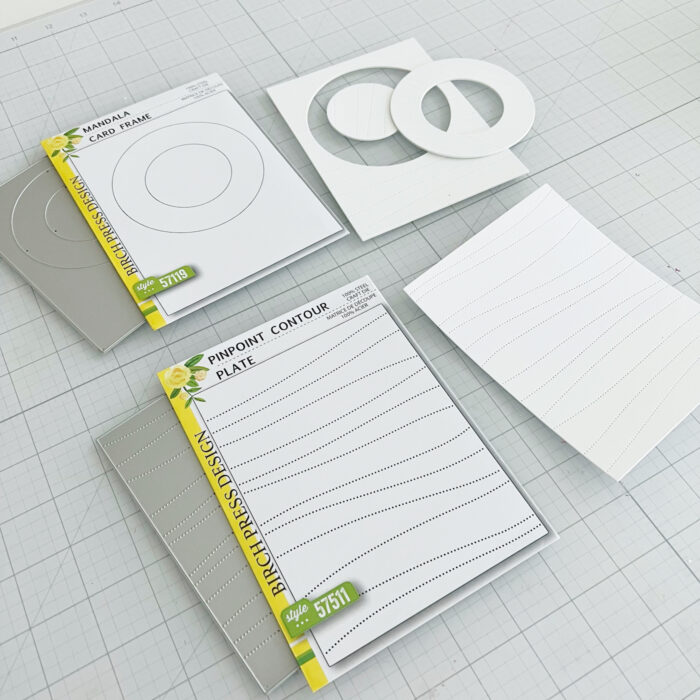
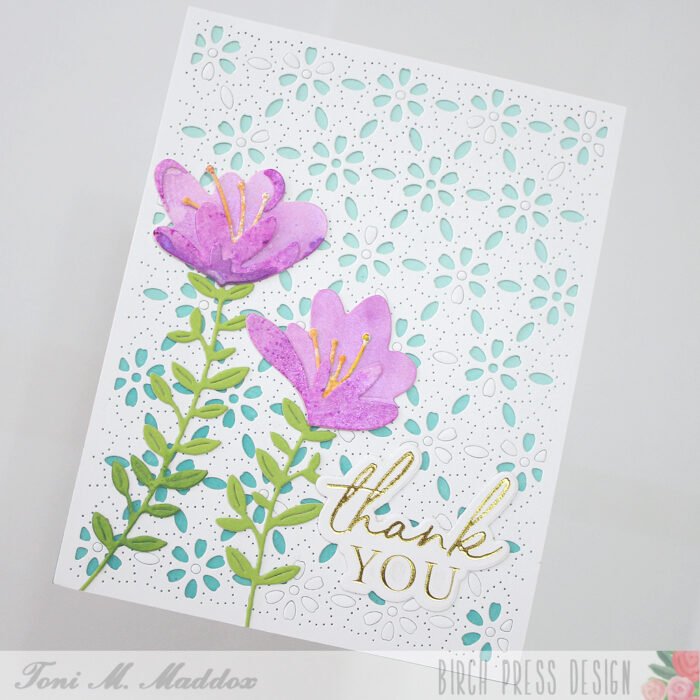
First, I took the lime green from the mirror pad, cut it to A2 size and glued it to my A2 card base. Next I cut Layers A, B, and C using the Herbarium Layer set as follows:
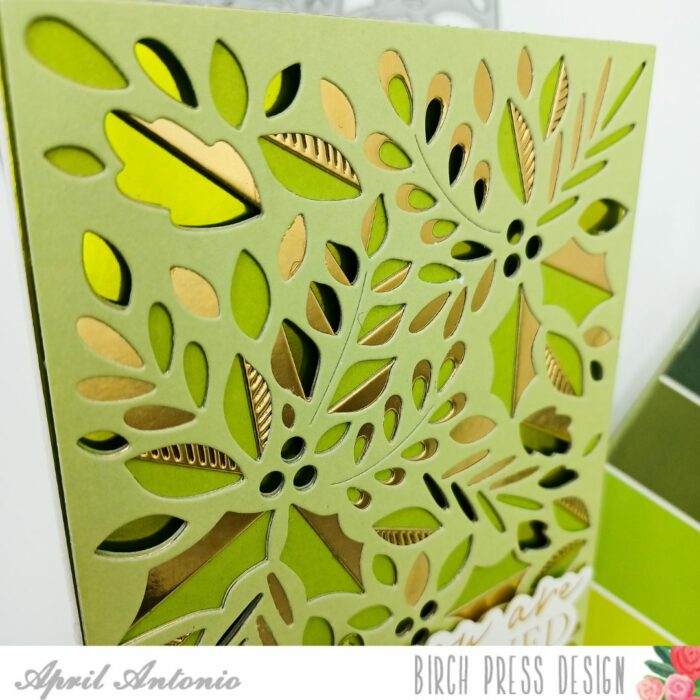
Layer A – light green cardstock
Layer B – gold mirror cardstock
Layer C – medium green cardstock
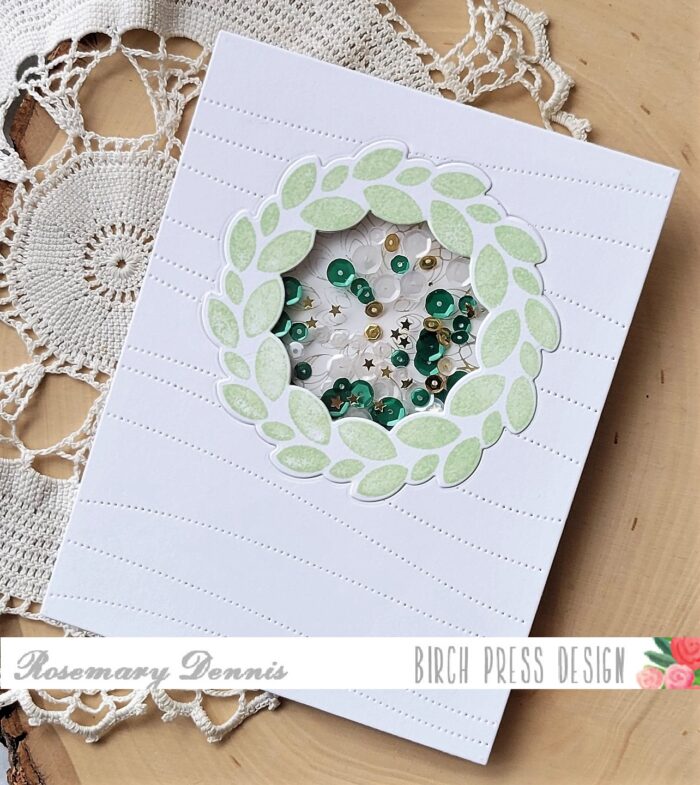
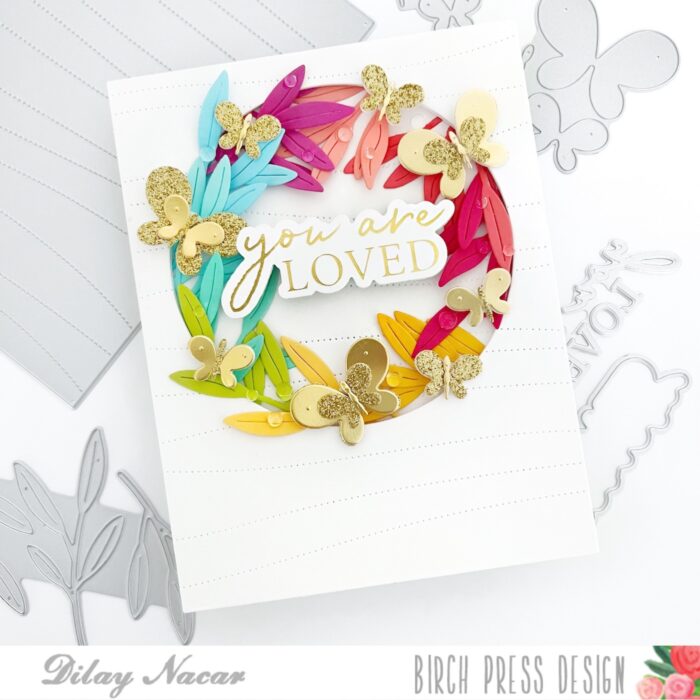
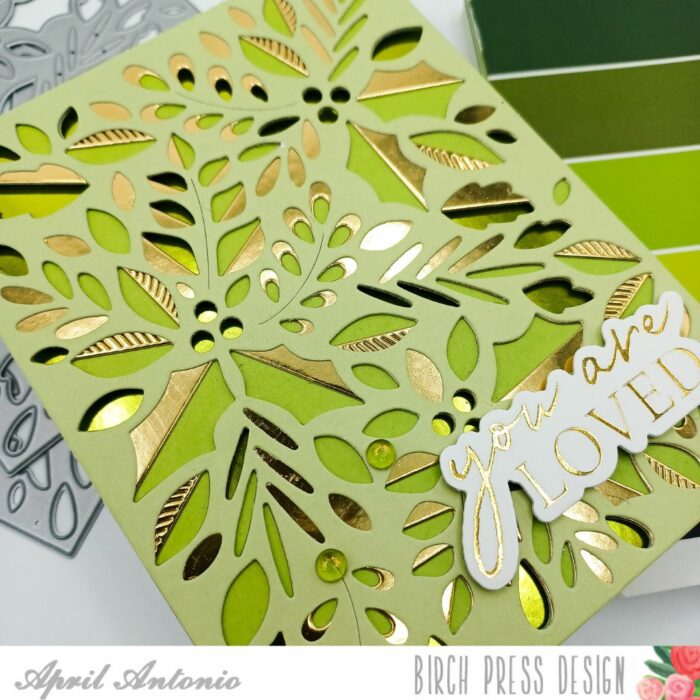
I glued all three layers together using liquid glue, then put small foam squares on the back. I then took the backing off the squares and placed the entire layer onto the A2 card base.
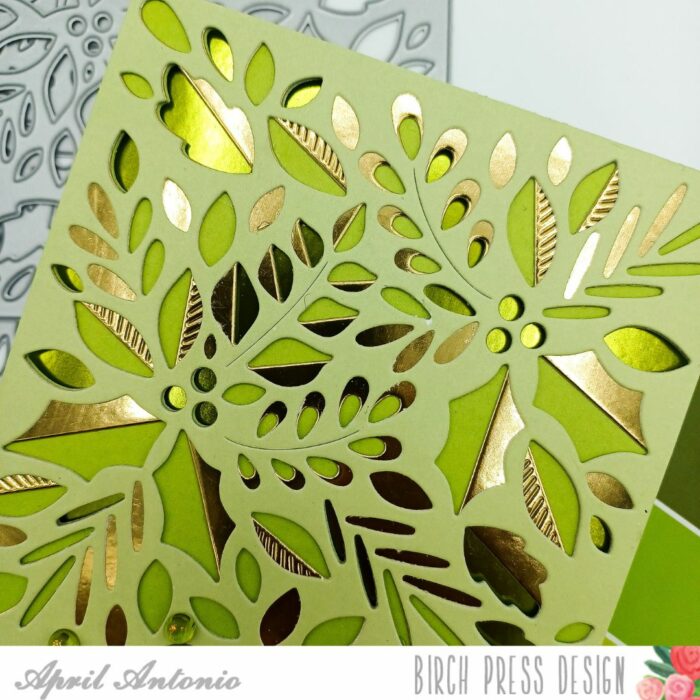
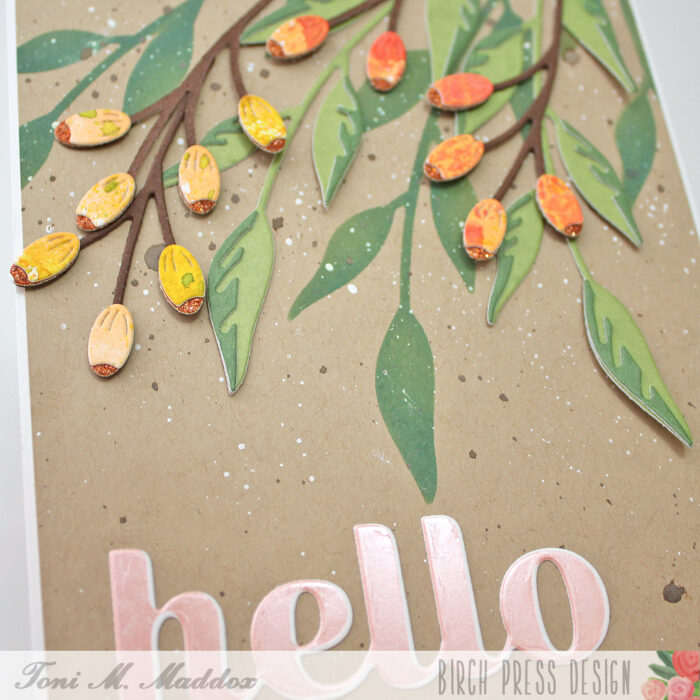
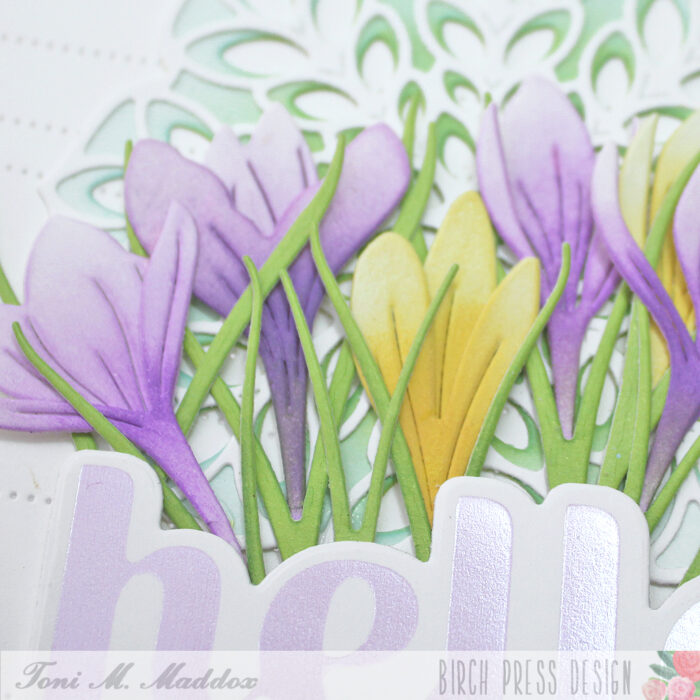
Adding the foam squares before putting the layers onto the card base is what helped the card to have extra dimension and highlight the lime green mirror cardstock I glued in the very back.

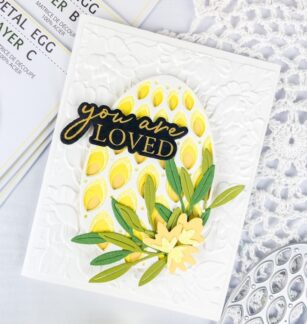
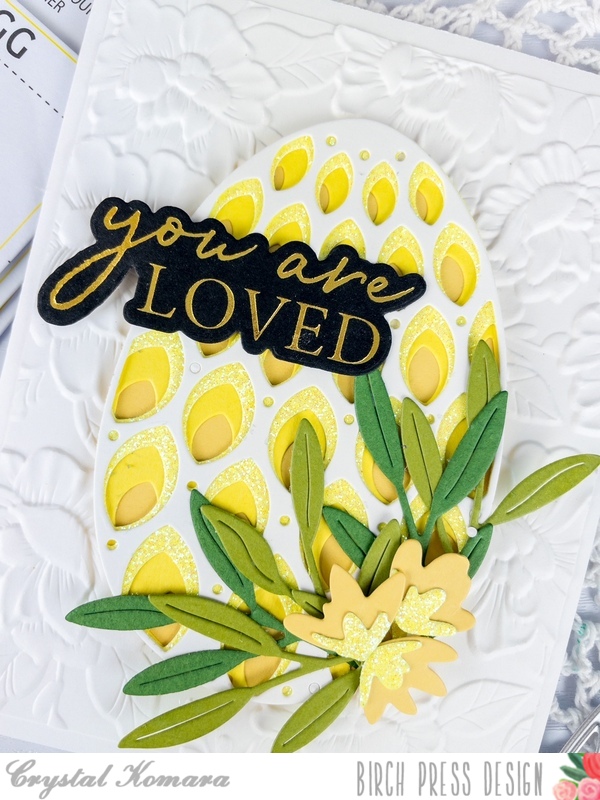
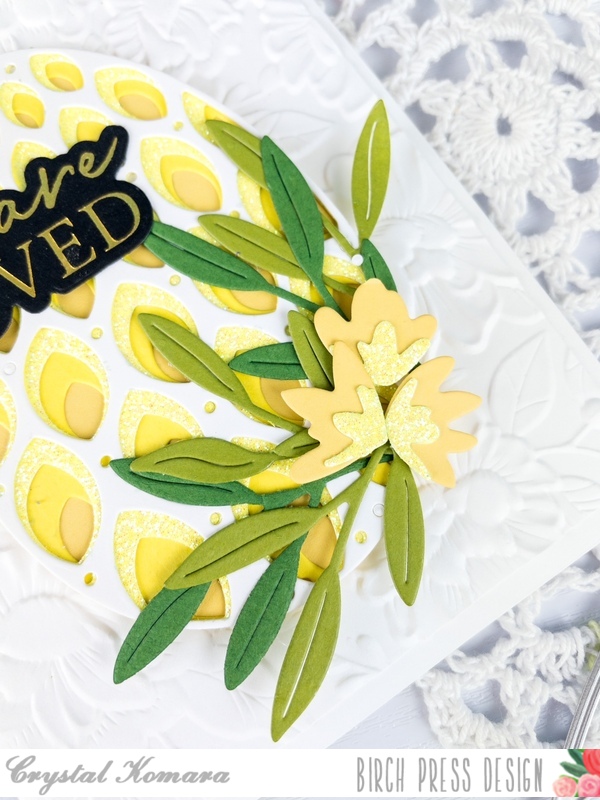
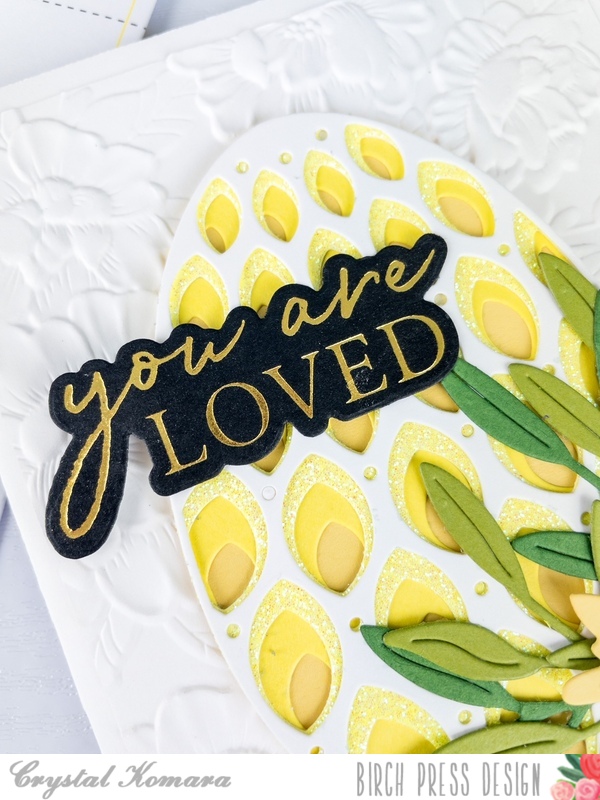
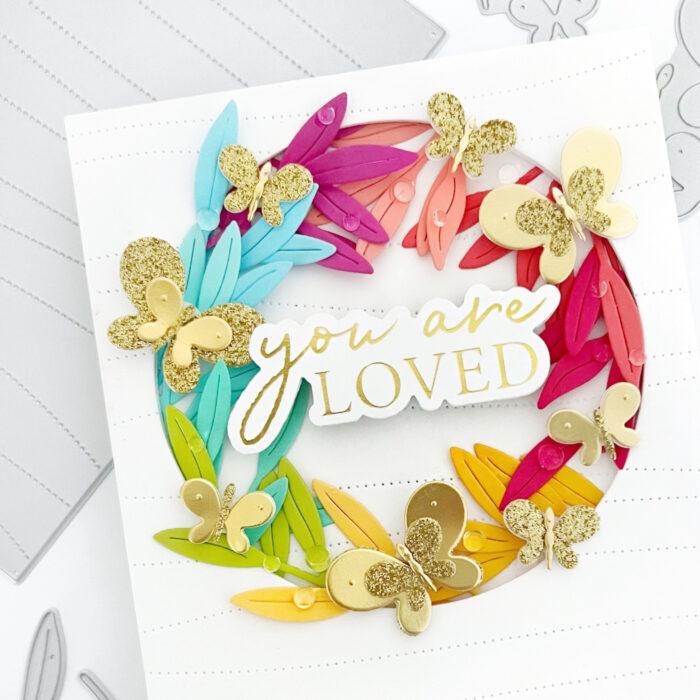
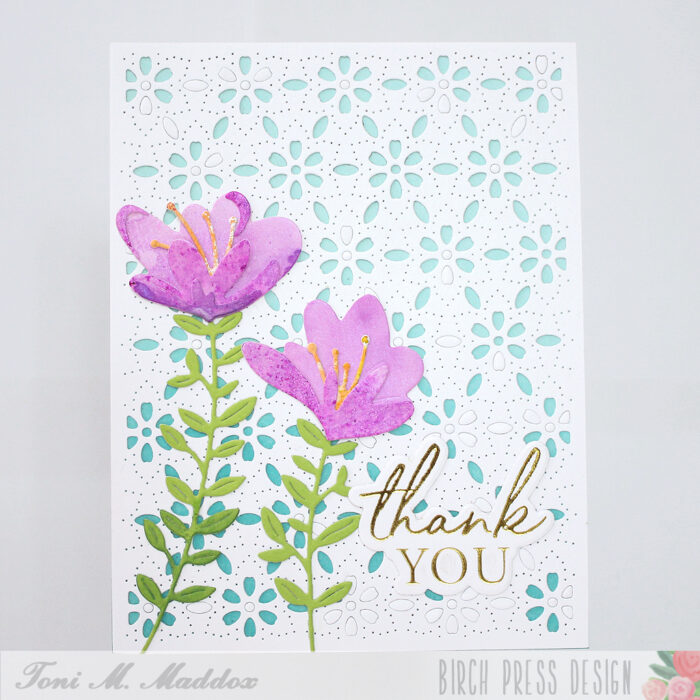
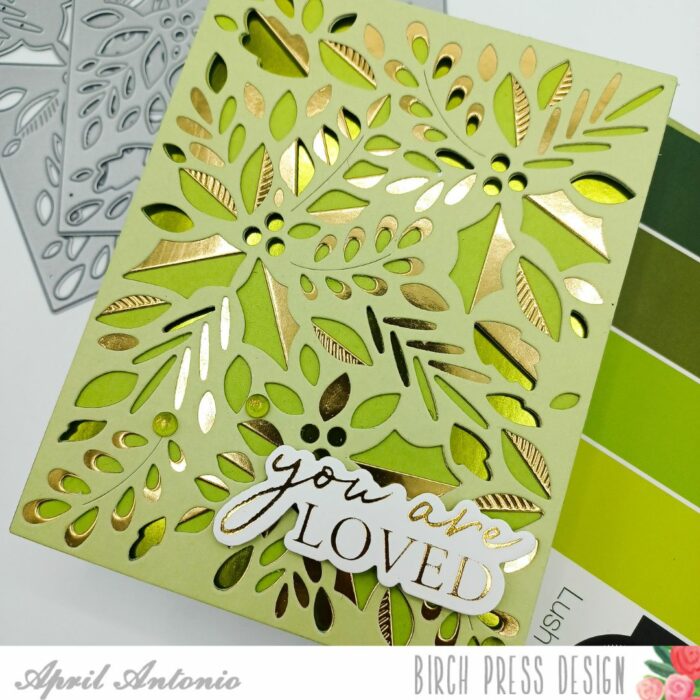
For my sentiment I used the Your Are Loved Hot Foil plate. I used a gold foil on 100lb Hammermill Cardstock for the sentiment. I used the coordinating die to cut out the sentiment, adding a second cutout and foam squares behind it for extra strength and dimension.
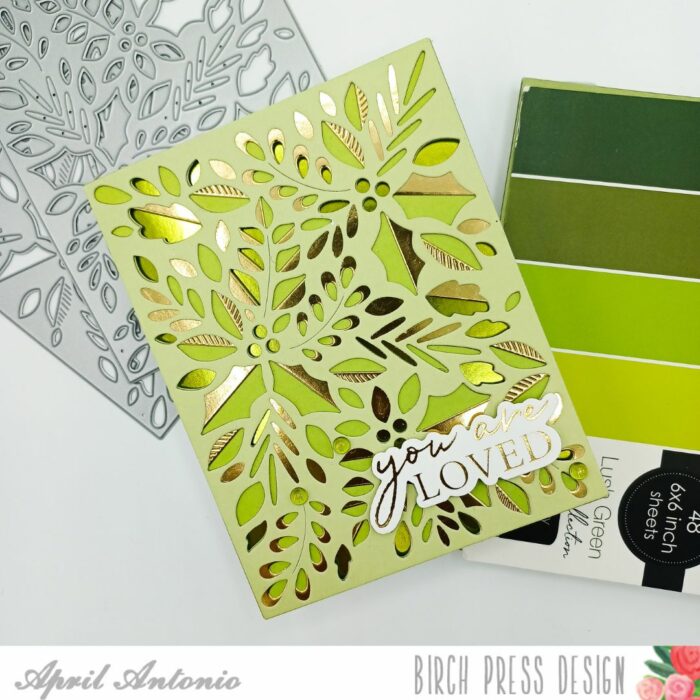
Lastly I added a few green dots from the Christmas Fairy Crystals set.
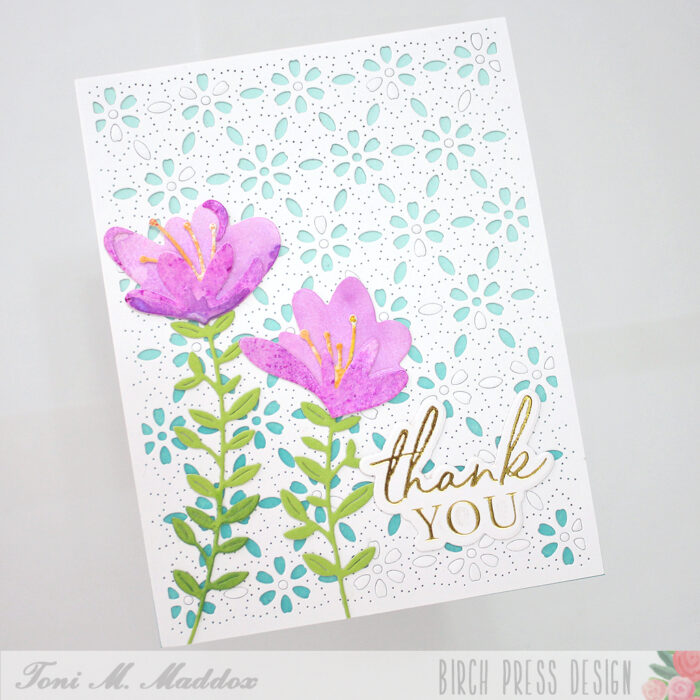
That’s it! I hope this green and gold project made your day and has inspired you to take some time to create this weekend.

Supplies


Supplies