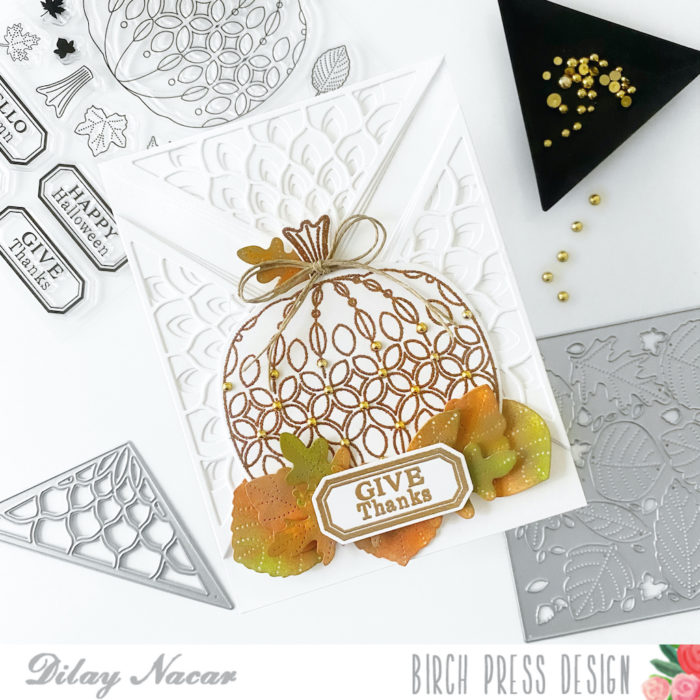
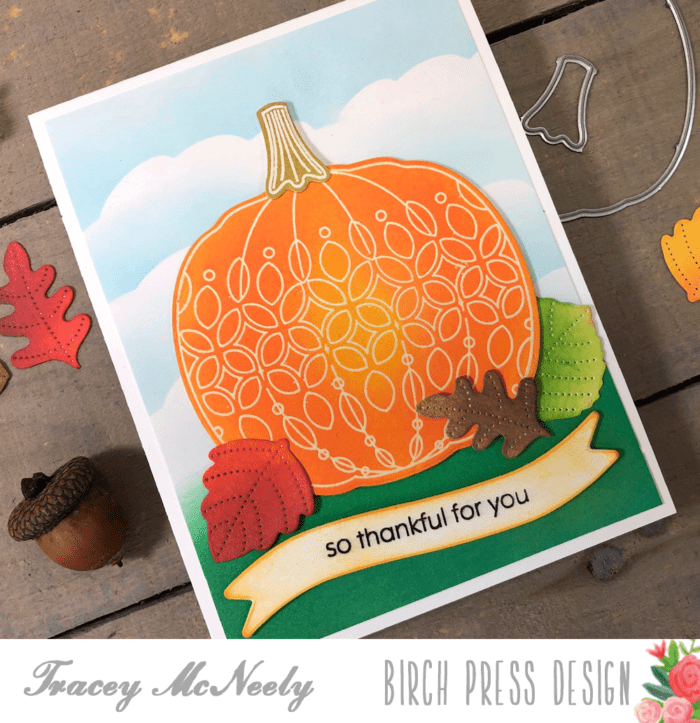
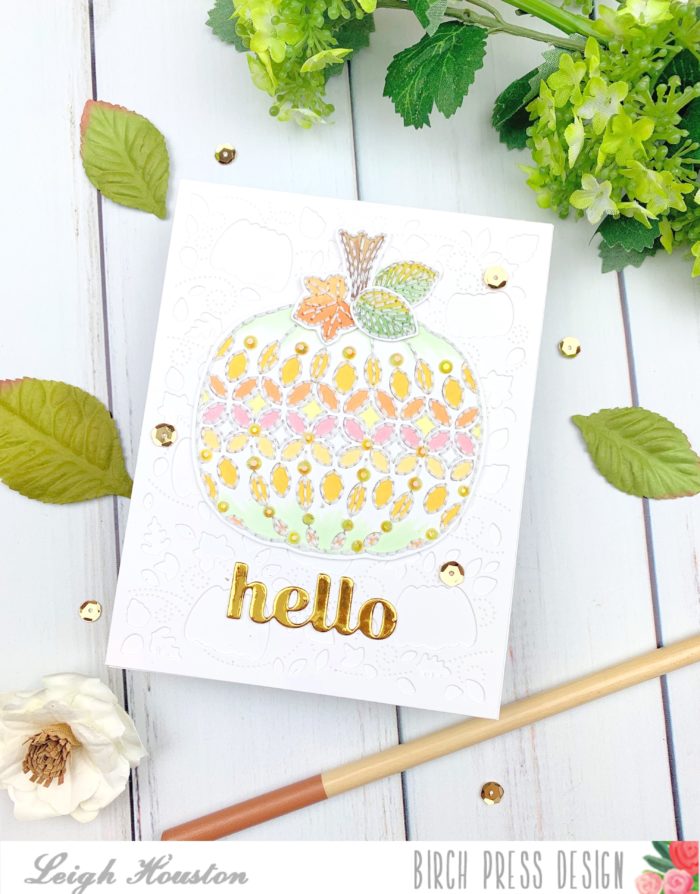
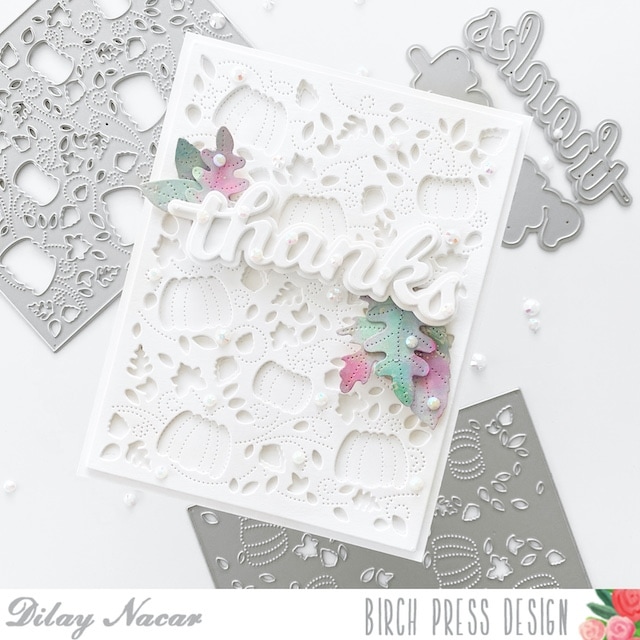
Welcome, everyone! Dilay here, and I’m back today to share another fall-themed card with a clean and simple design that is perfect for the season! Let’s get started!
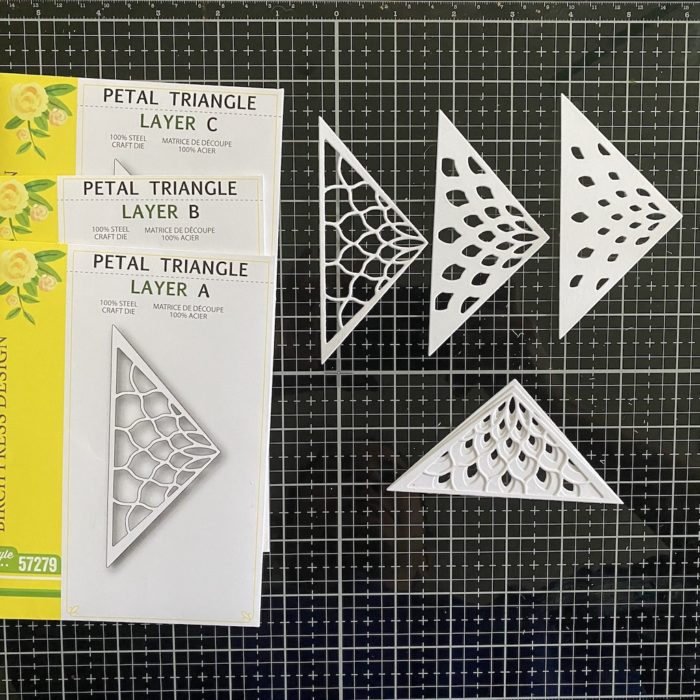
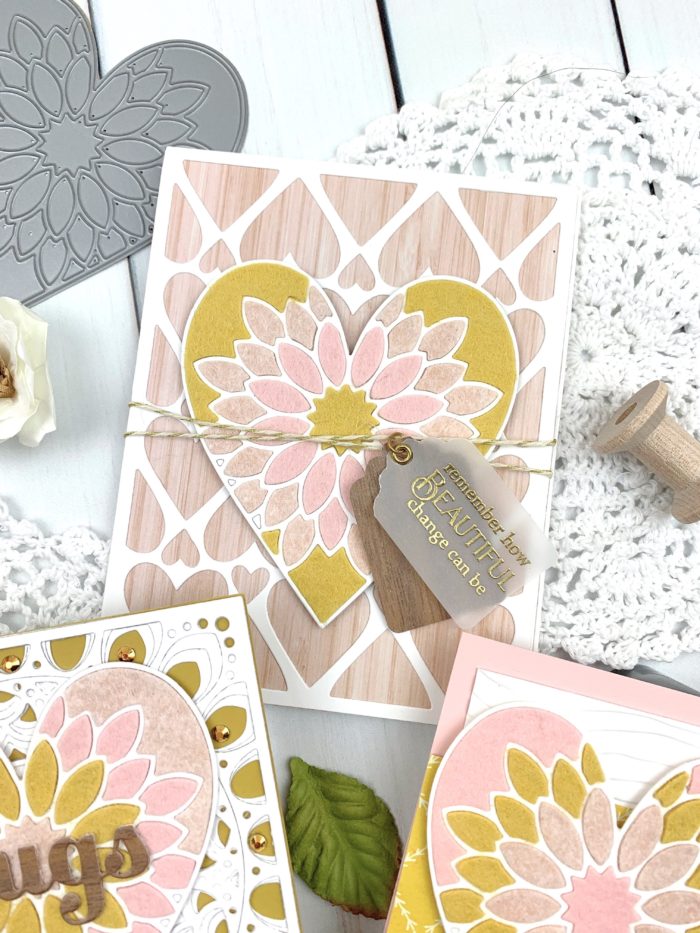
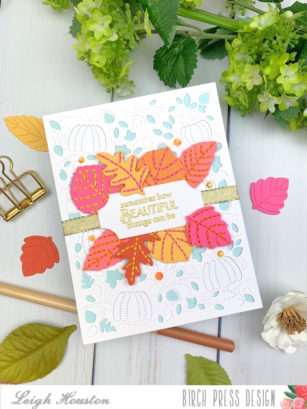
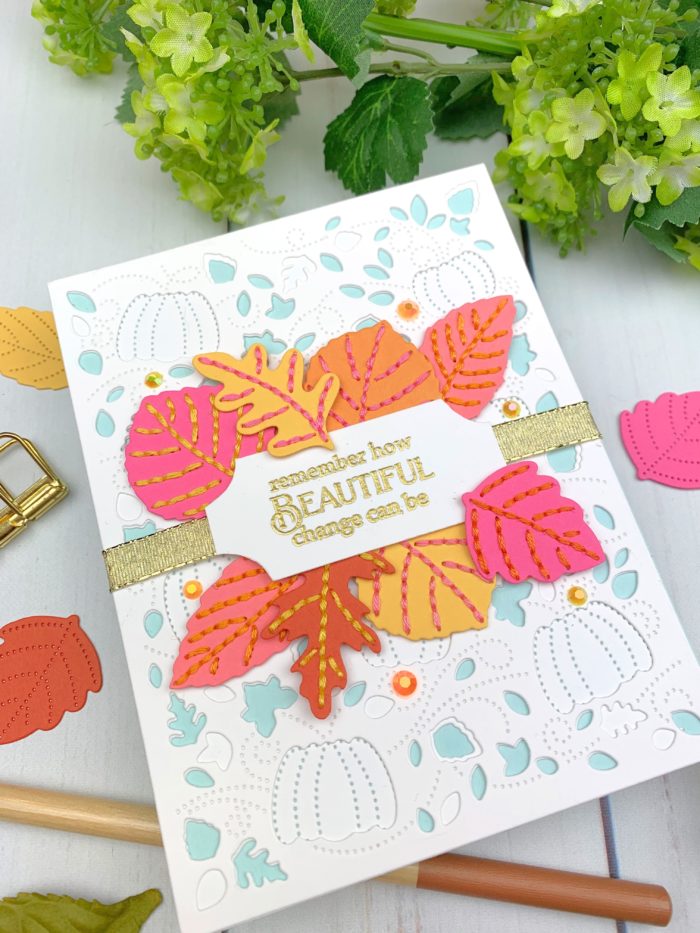
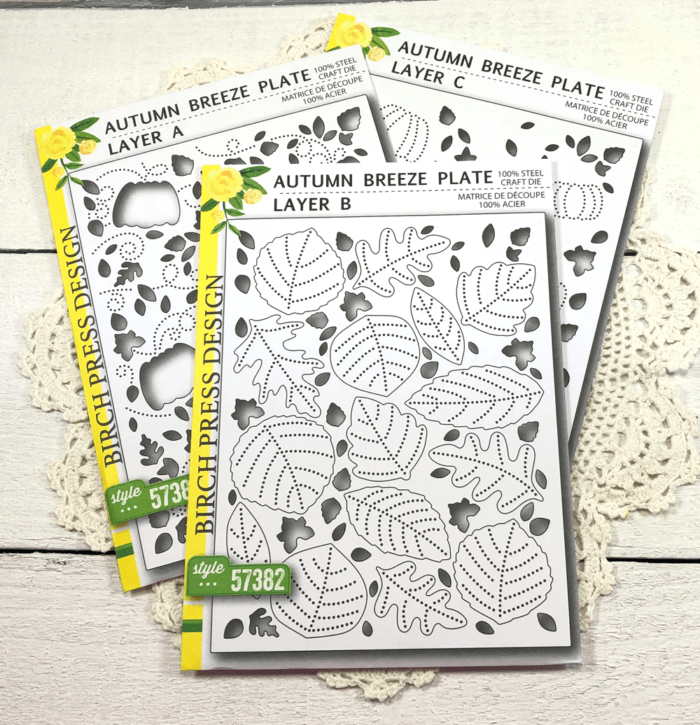
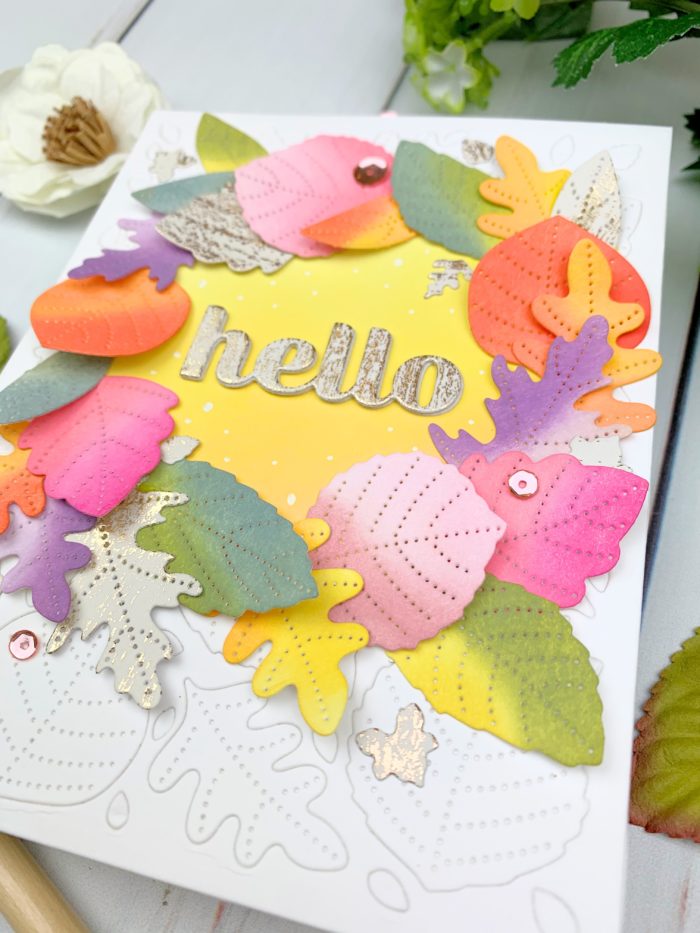
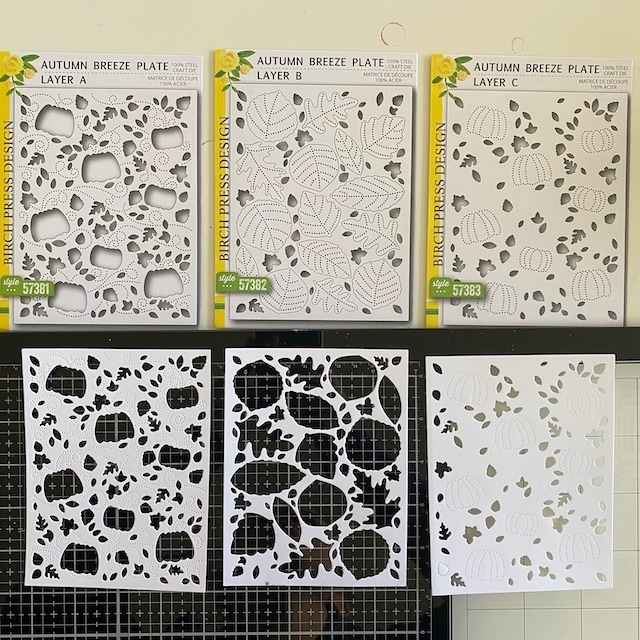
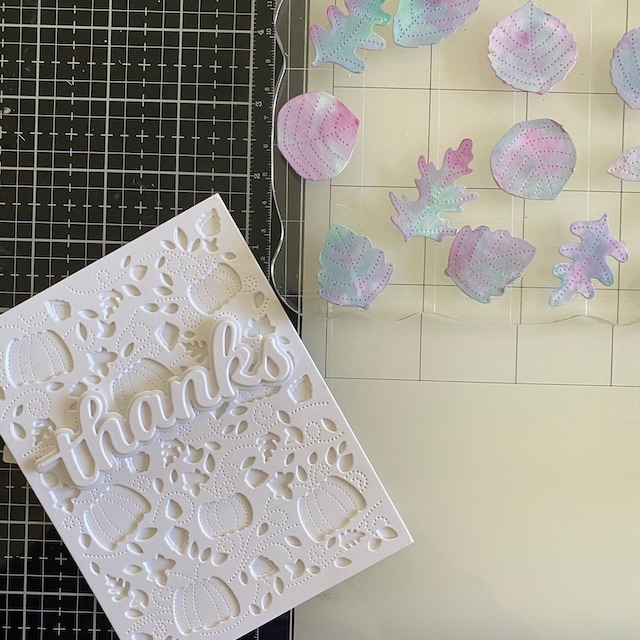
I began by cutting a solid piece of white cardstock down to an A2 (4.25” x 5.5”) size for the base of my card. Next, I die cut layers A, B and C from the ‘Autumn Breeze’ plate set, again in white cardstock, and adhered layer A and C onto the base.
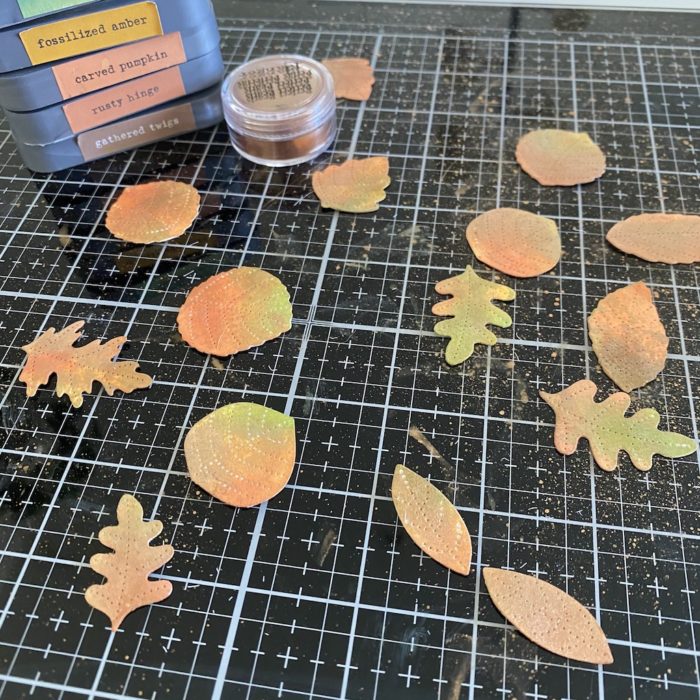
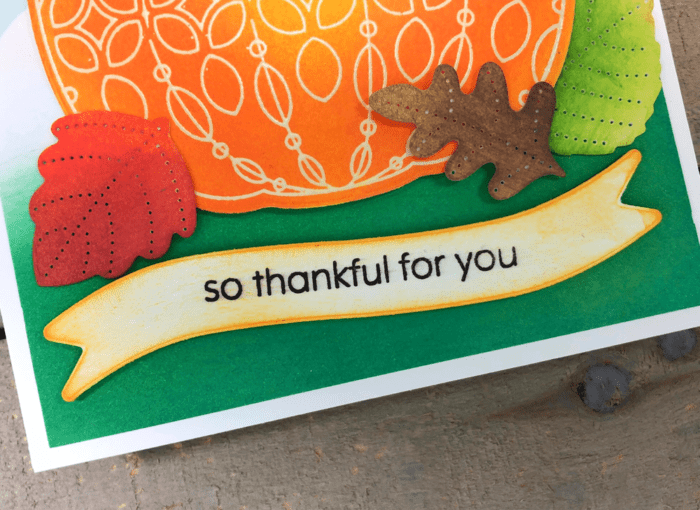
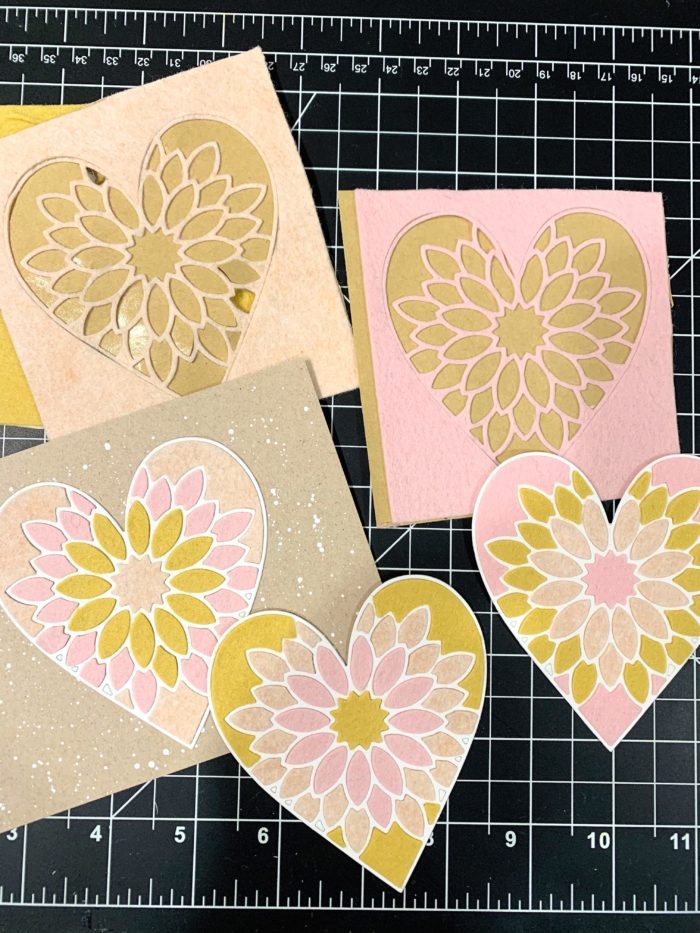
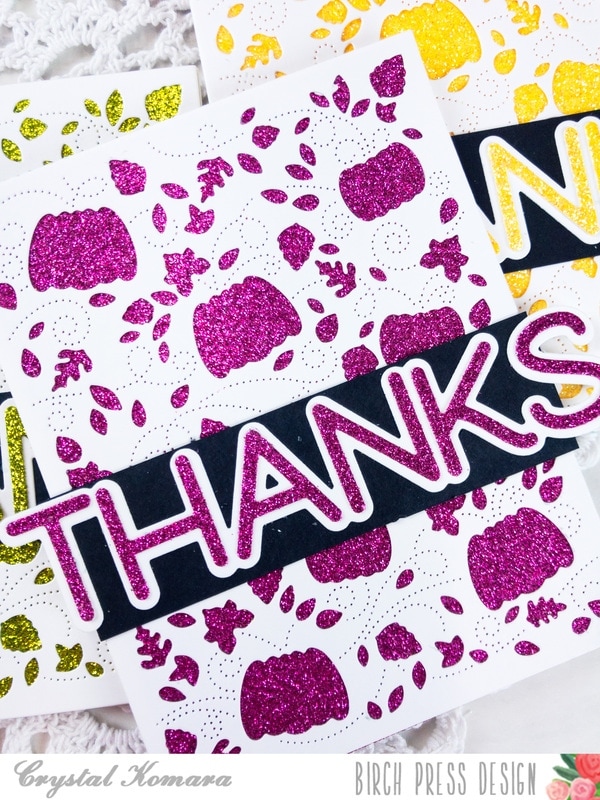
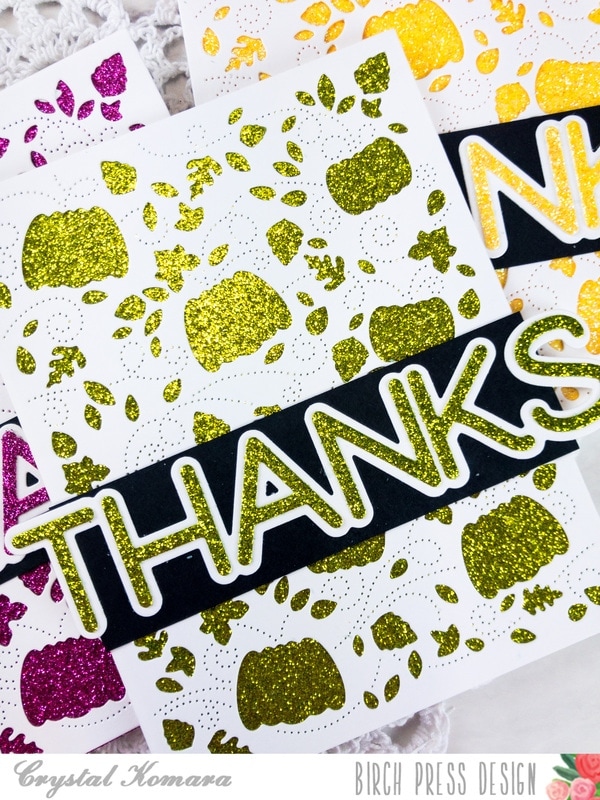
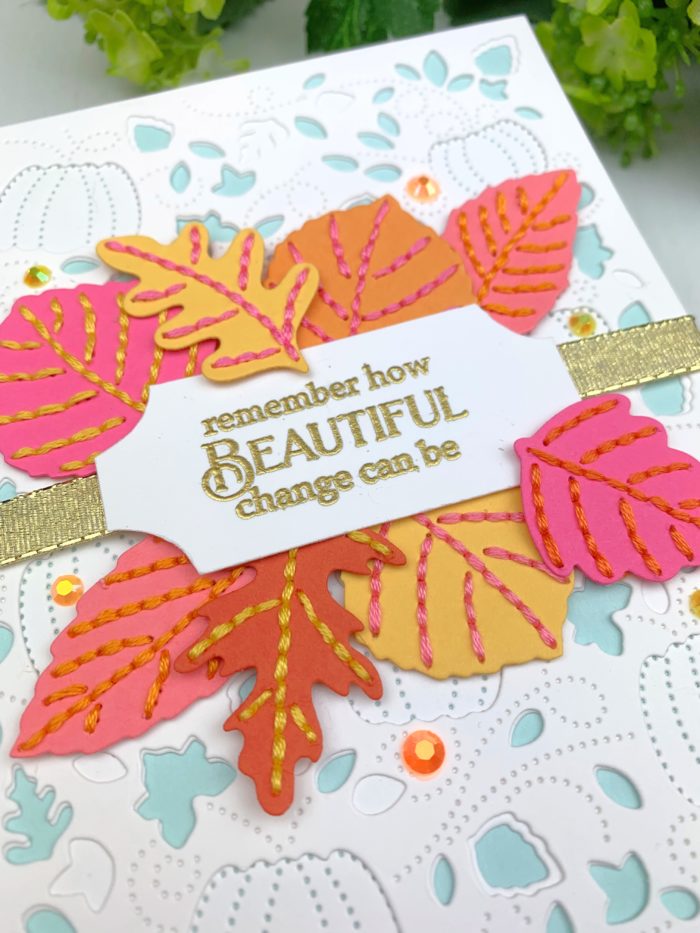
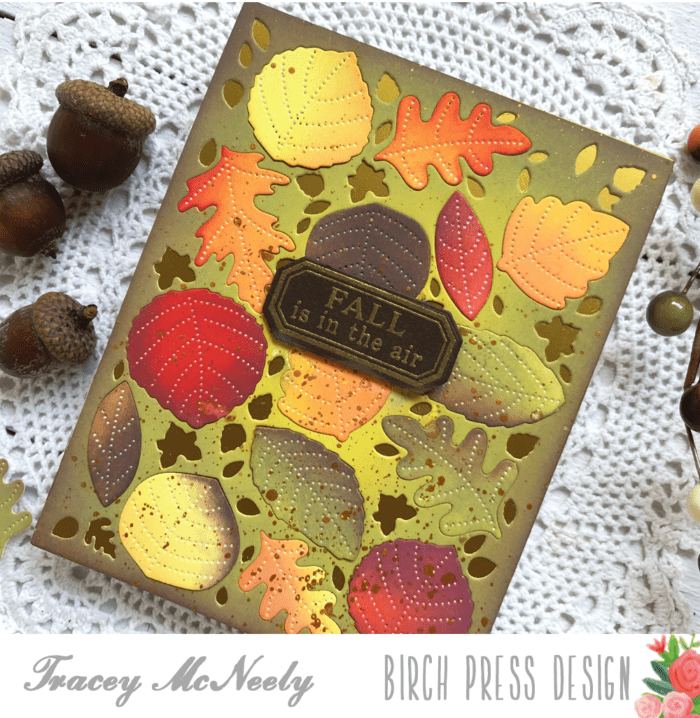
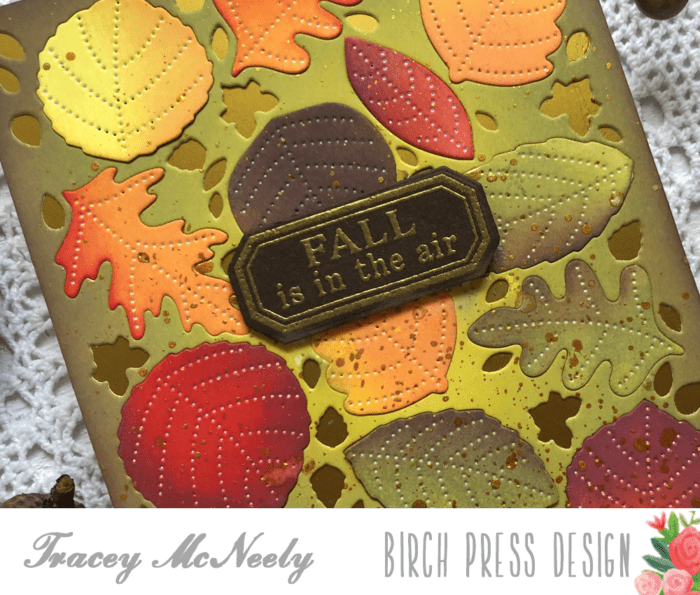
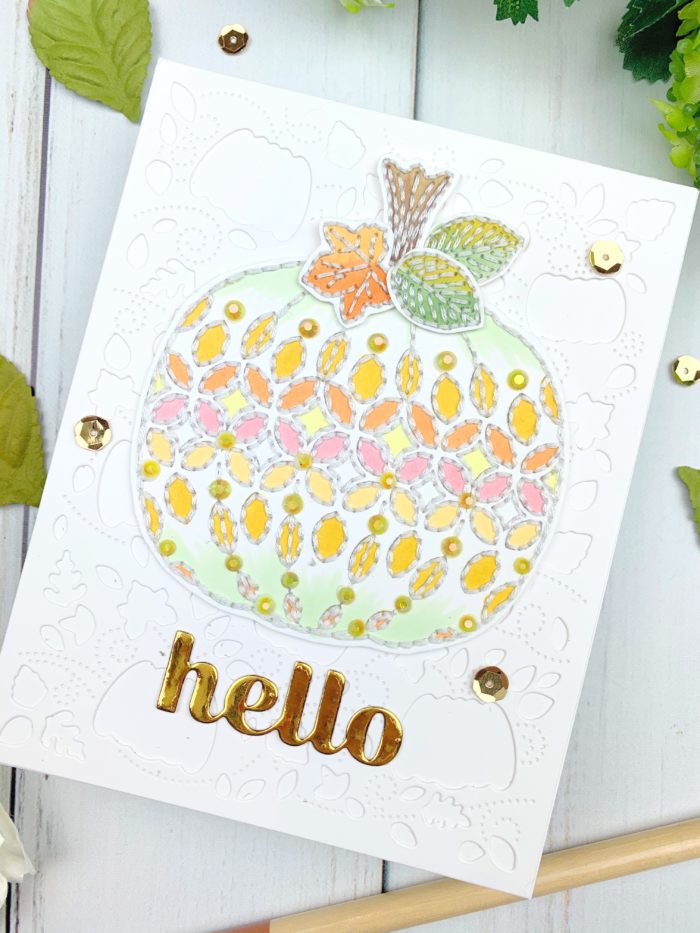
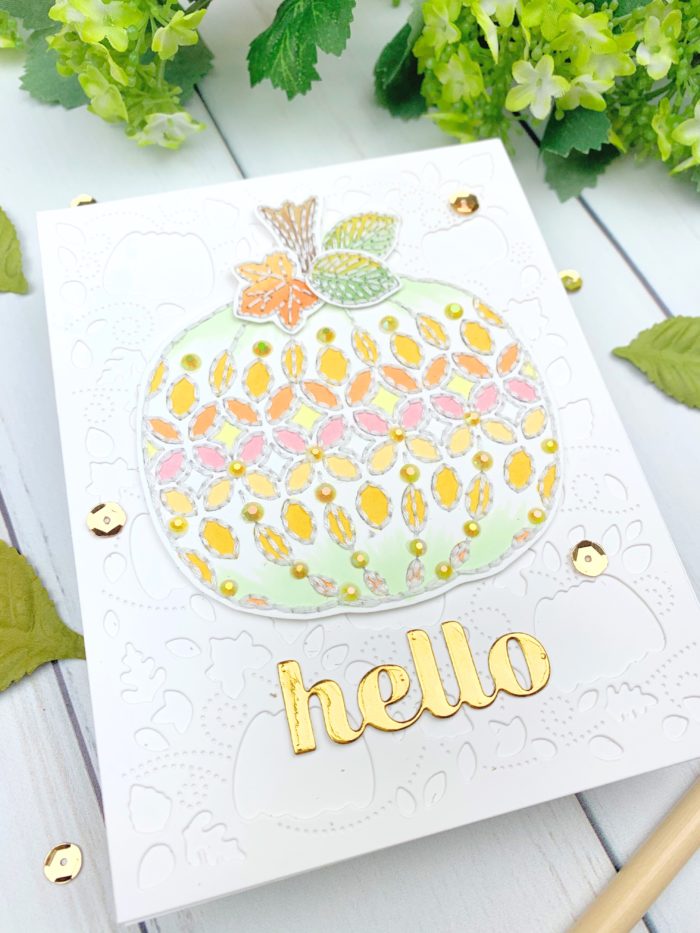
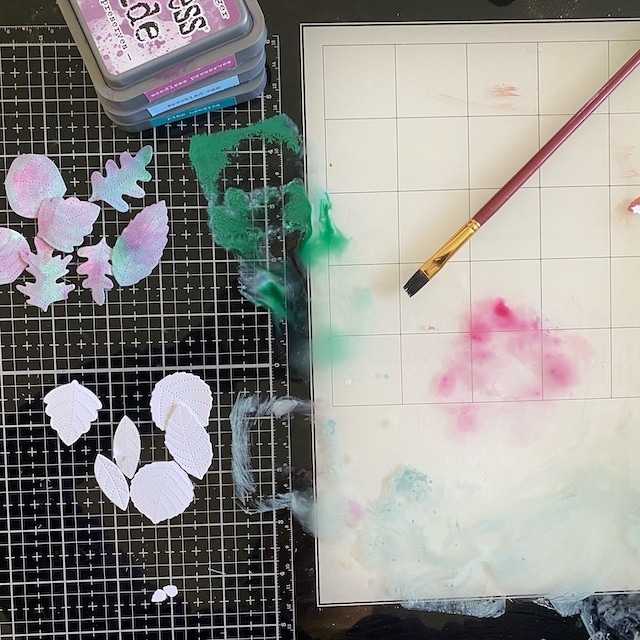
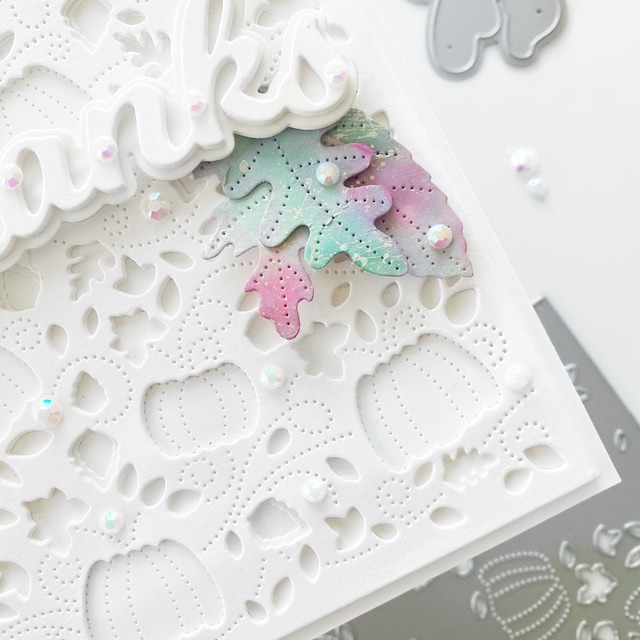
Then, I brush-colored the leaf cutouts from panel B using Distress Oxide inks diluted with a little water – this technique produces a distressed look and feel once dry, mimicking real leaves (I chose to use non-traditional fall colors, but any colors would look great for this step!) I then used a brush to splatter silver paint onto the leaves for an added touch. I set those aside to dry while I worked on the next step.
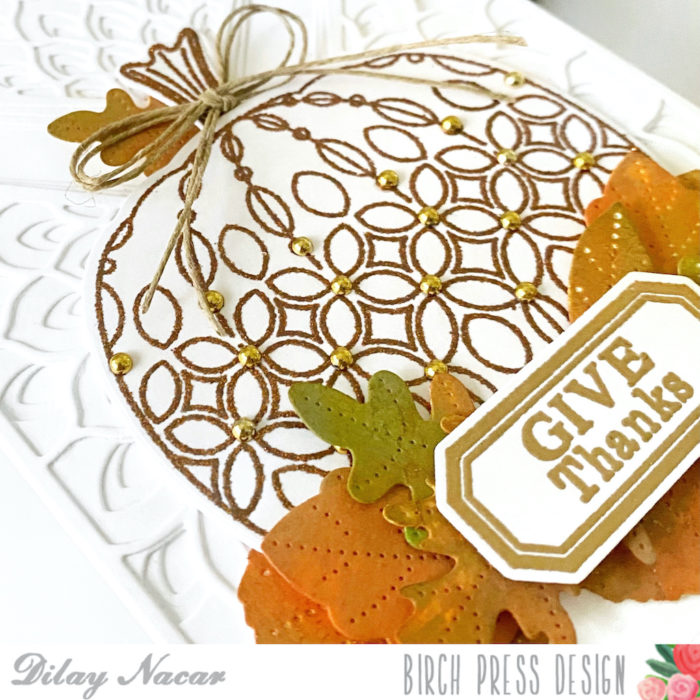
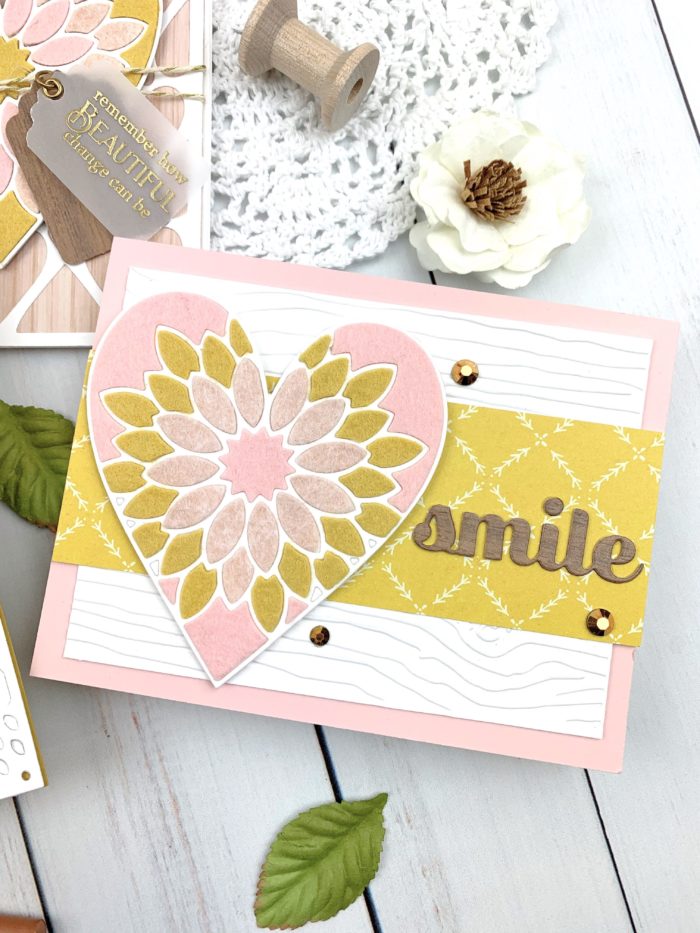
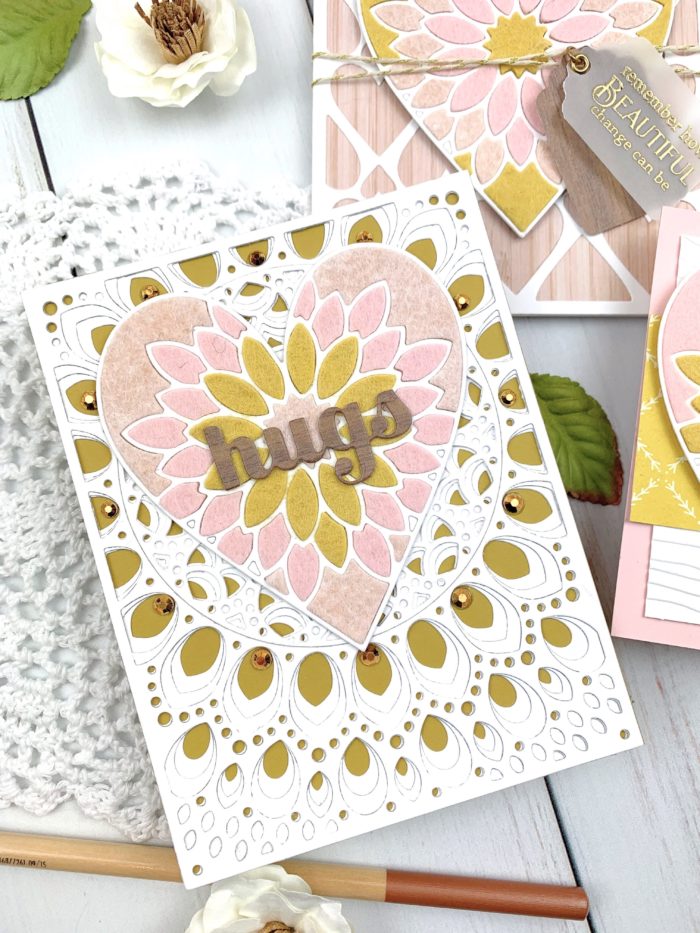
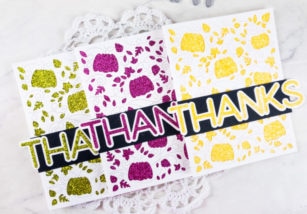
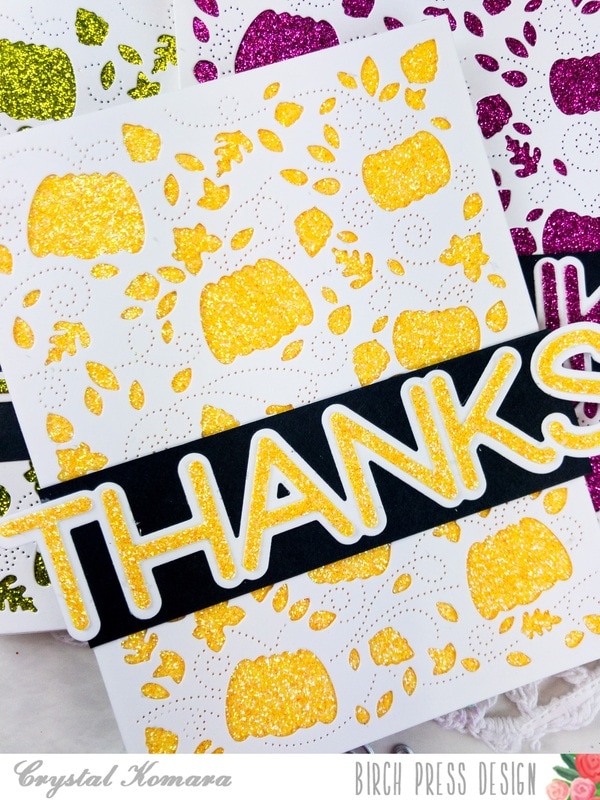
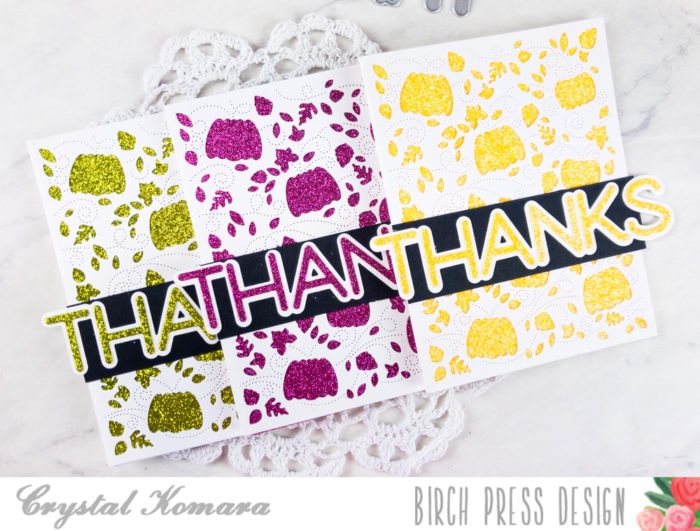
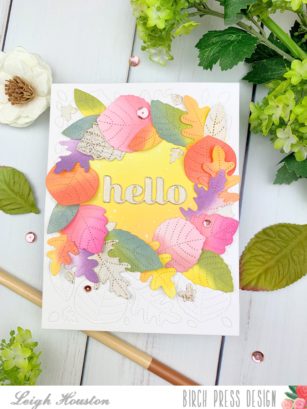
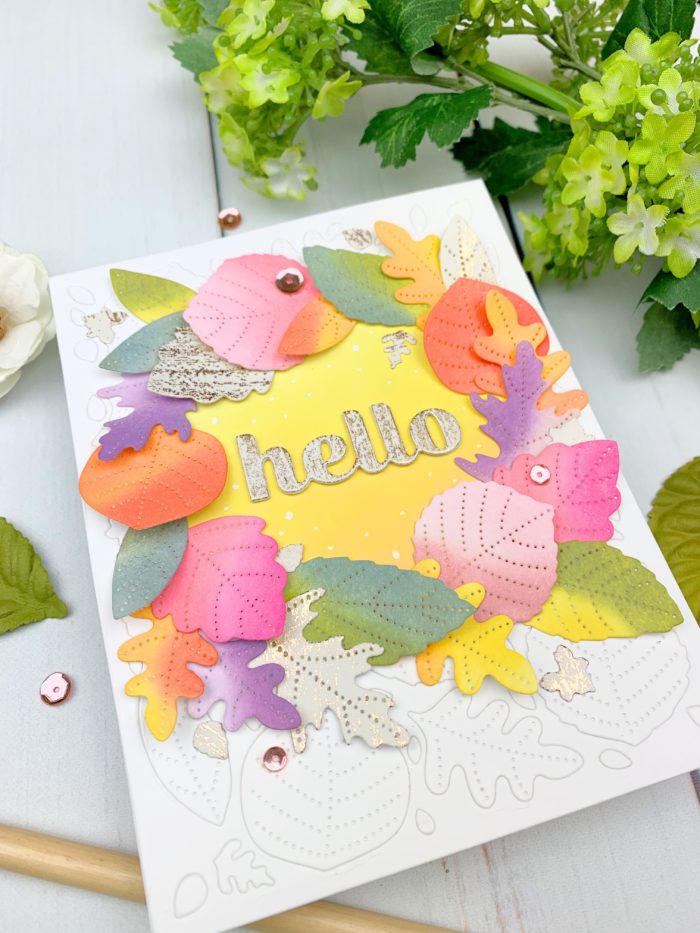
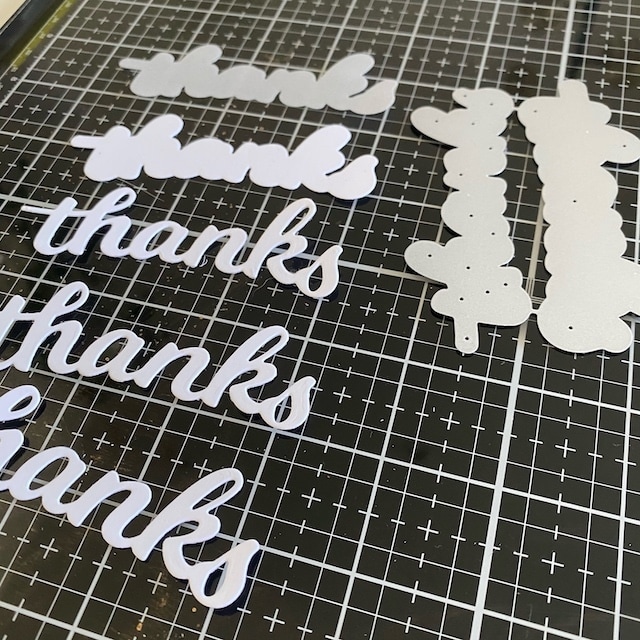
For the sentiment, I chose something that would blend in nicely with the background and allow the leaves to ‘pop’. I die cut ‘Honey Script Thanks’ word die three times in white cardstock and the shadow once in white cardstock and once in vellum, and stacked them together using liquid glue. I then adhered the completed sentiment onto the center of the base.
Once the leaves were dry, I tucked a few under both ends of the sentiment (you’ll have some leaves leftover for a another card). To finish, I added white iridescent rhinestones throughout the design to give it some sparkle!
I hope you enjoyed today’s design and found some inspiration! Wishing everyone a wonderful holiday week!