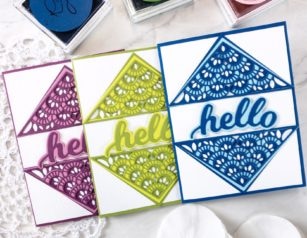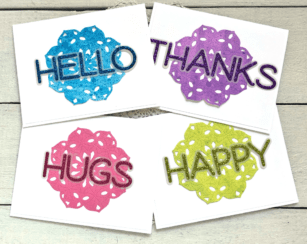
Hi there it’s Tracey. Today I am going to show you how easy it is to use one basic card design and by changing just one element you can make multiple cards each with a different theme.
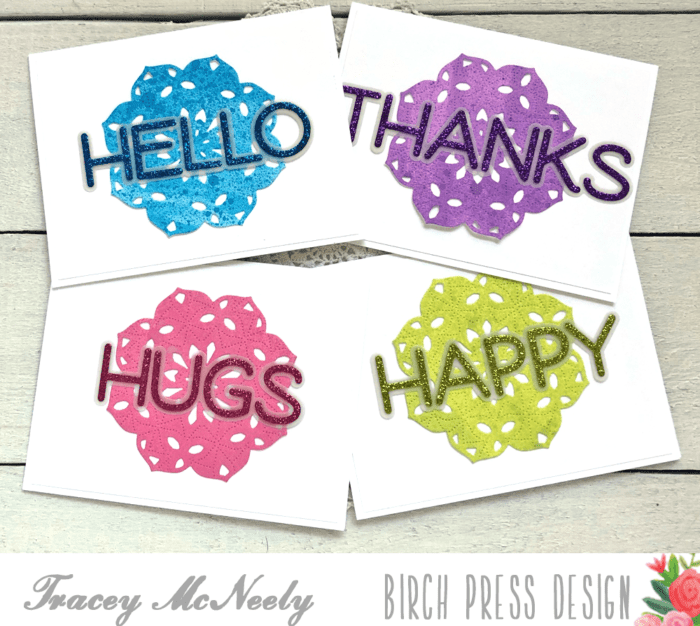
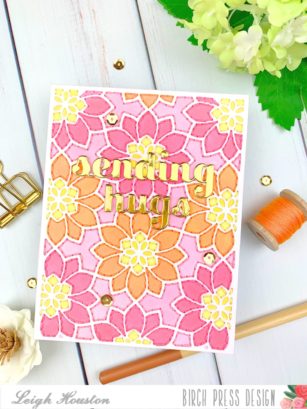
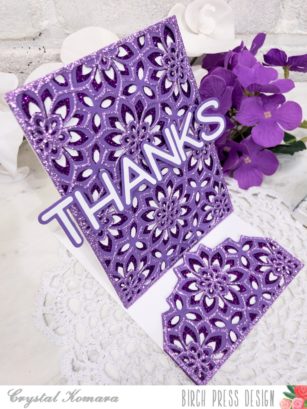
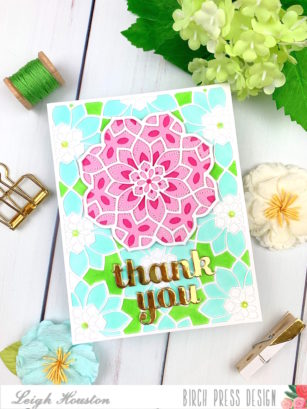
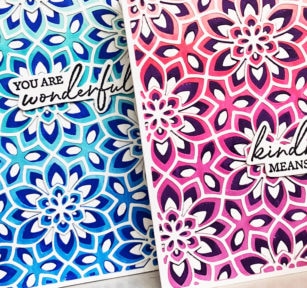
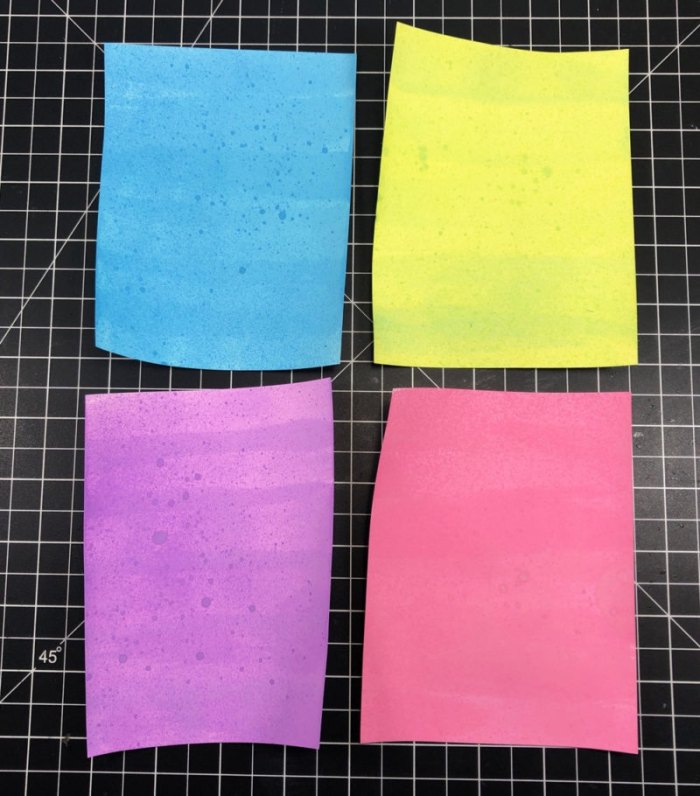
Each one of my four cards uses the newly released Kinsley Layer Set. The background paper for each of the die cuts was custom made using Distress Oxide Spray Inks. I sprayed some ink on my glass media mat and then sprayed some water onto the ink. I picked up the water with a foam blending tool and ran it back and forth across a panel of white cardstock until the whole panel was covered. I left some time so the first coat dry and then gave each of the panels a spritz of the same colour Distress Oxide Spray Ink direct to paper to add some subtle interest. I let the panels dry completely and then I cut four of the Kinsley Layer Dies Layer C from each panel. I chose to use only Layer C because on its own it creates a beautiful stitched pattern.
Next I used the new Jumbo Lingo word dies to create glittery sentiments from the Twinkling Jewel Glitter Pad to co-ordinate with each of the die cuts. I used Jumbo Lingo Hello, Jumbo Lingo Thanks, Jumbo Lingo Hugs and Jumbo Lingo Happy. I cut the shadow from vellum cardstock and the individual letters from the glitter cardstock.
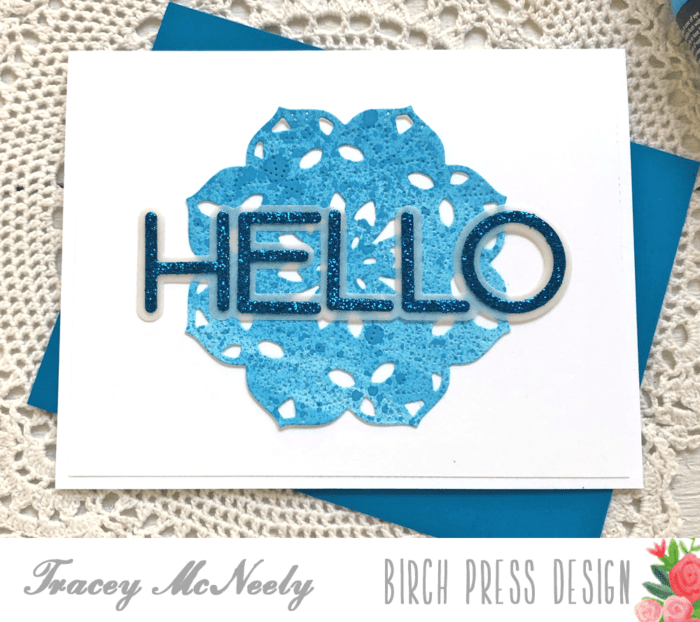
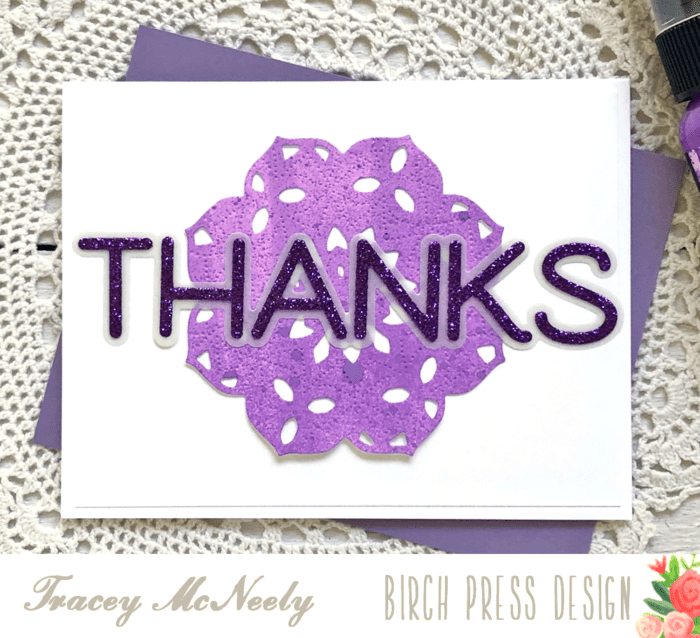
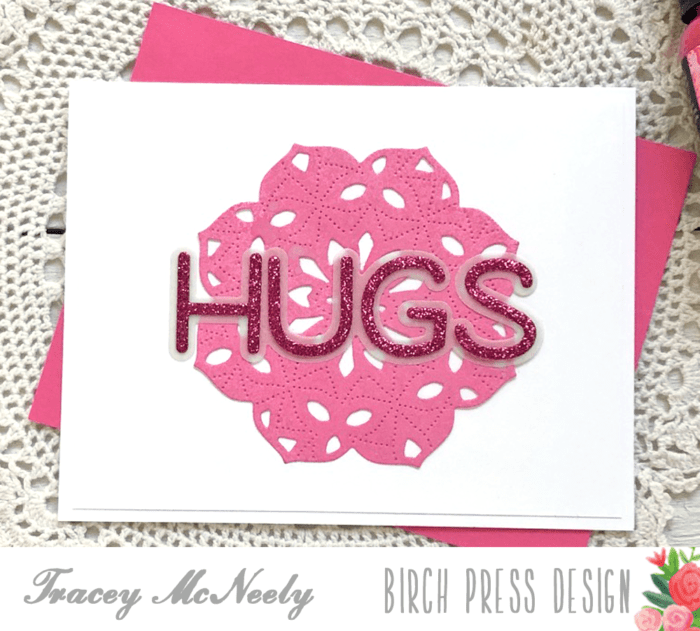
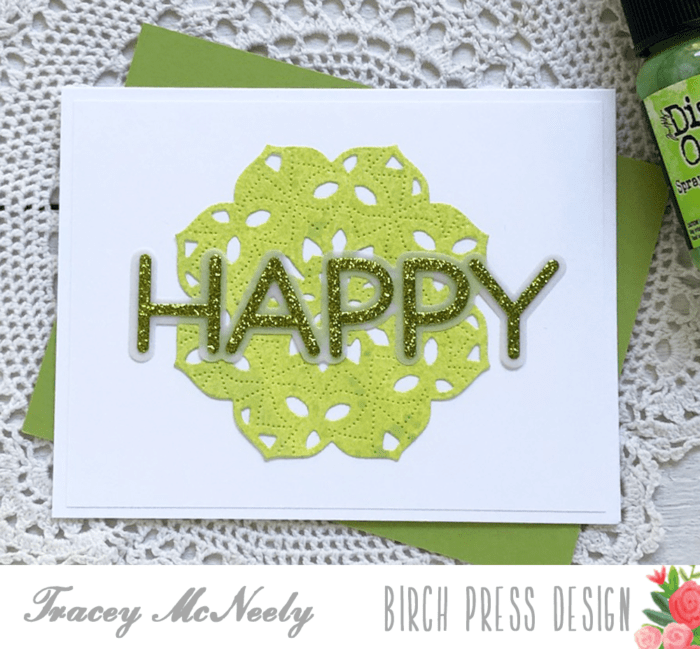
Each white A2 sized card has a 5 1/4″ x 4″ mat that I adhered the Kinsley Layer die directly to and the sentiments added to the top with liquid glue. The mat was then adhered to the card base directly making the card nice and flat for mailing.

Thanks so much for stopping in today. Give it a try, choose a simple background and change up your sentiments to make a collection of cards to have at the ready. You never know…

Supplies