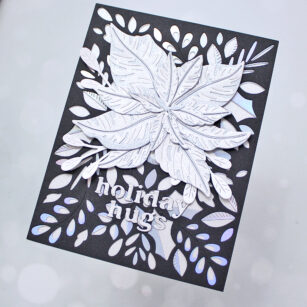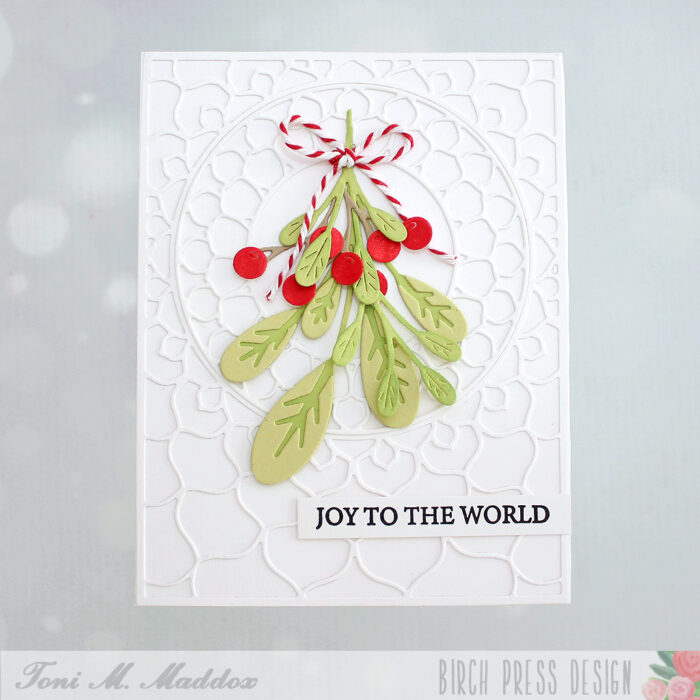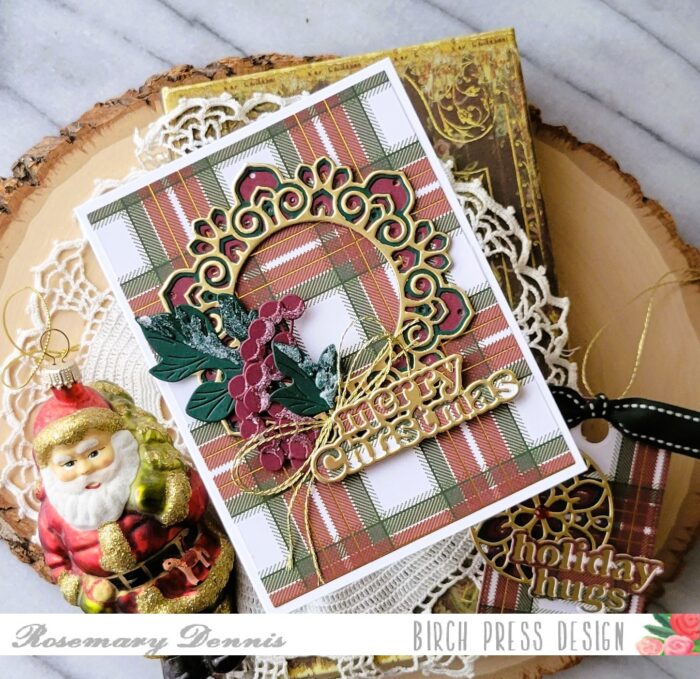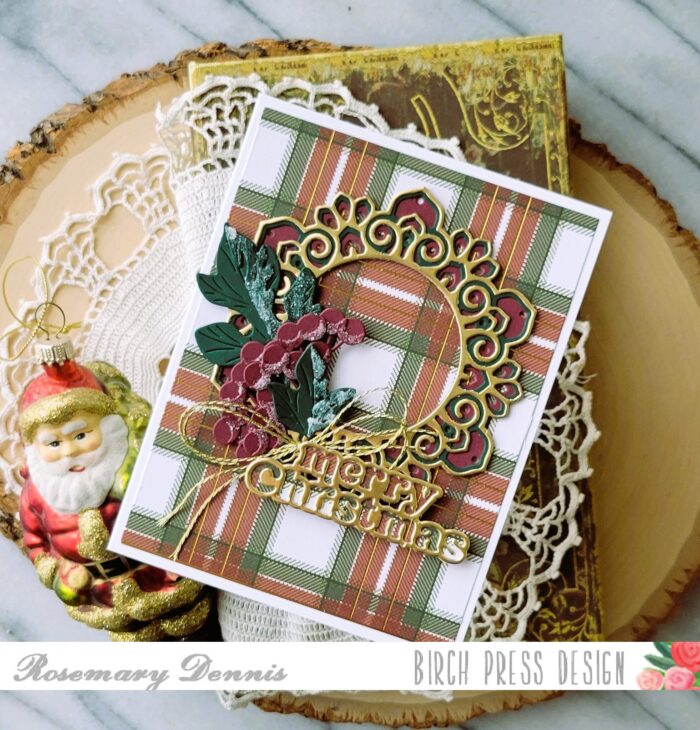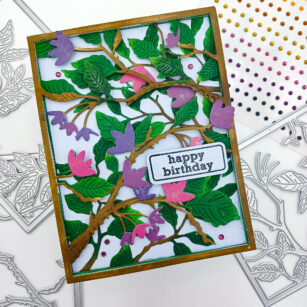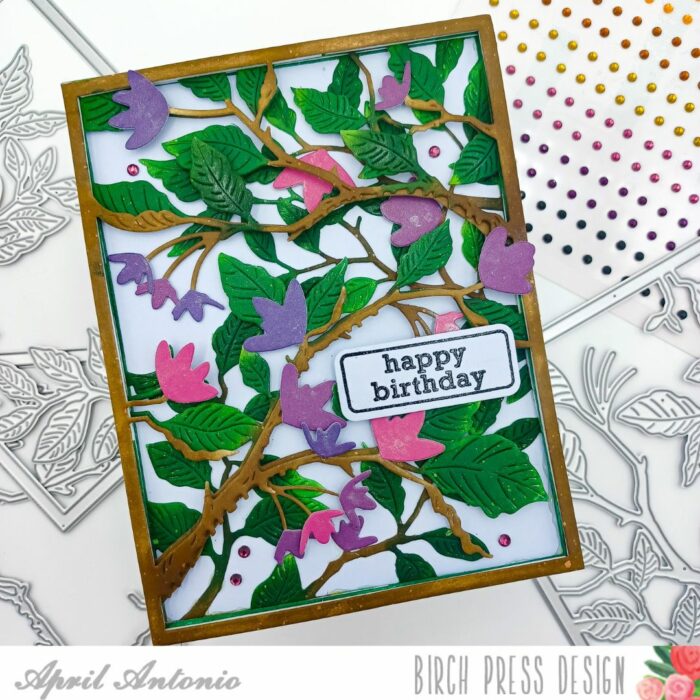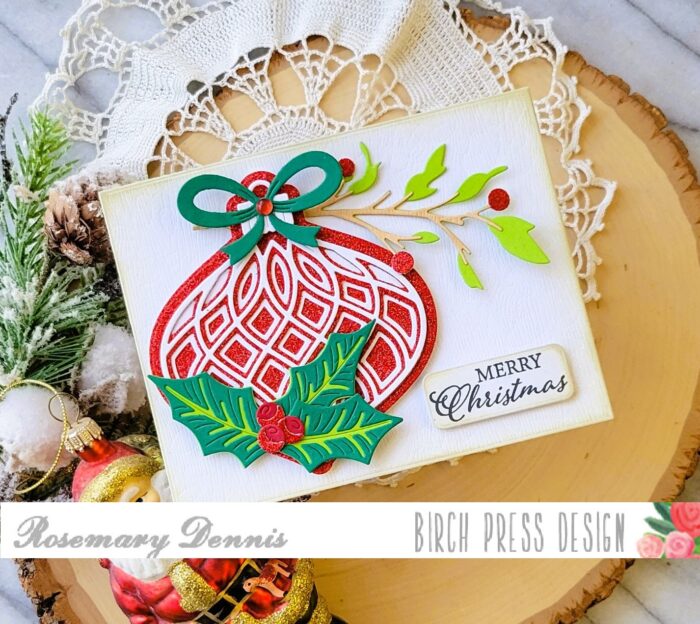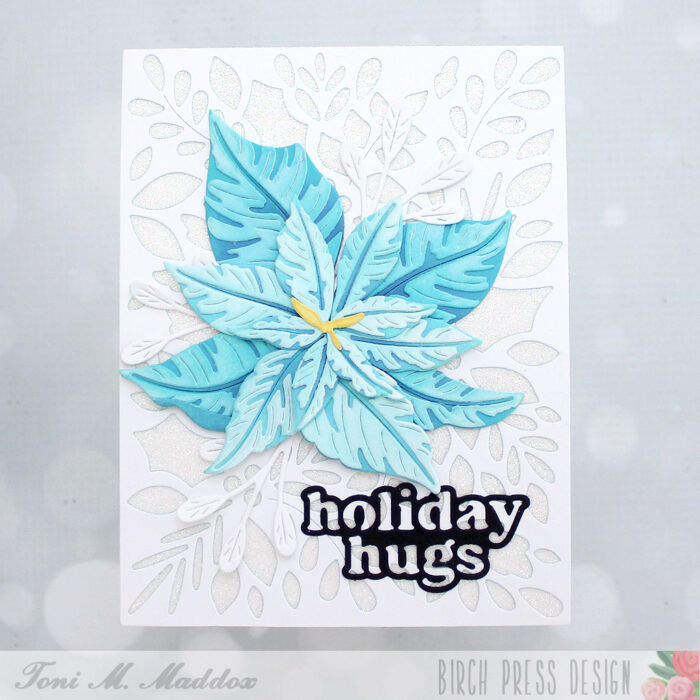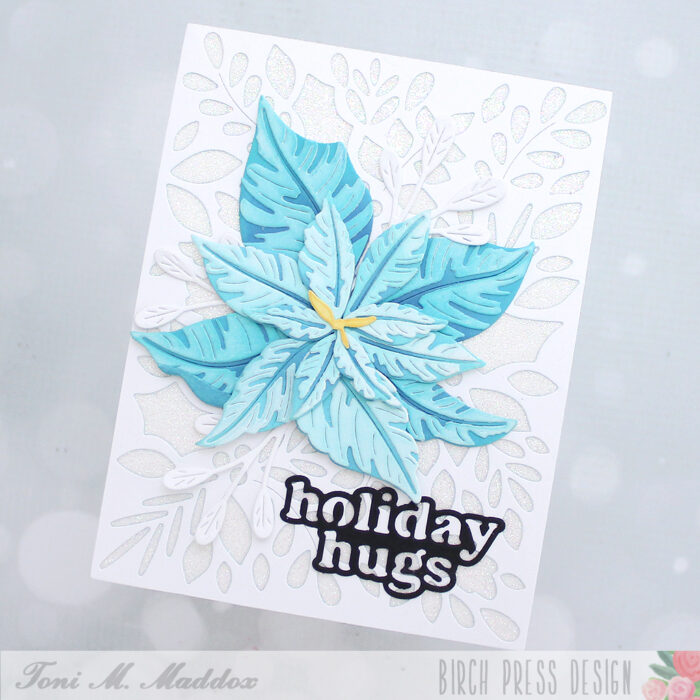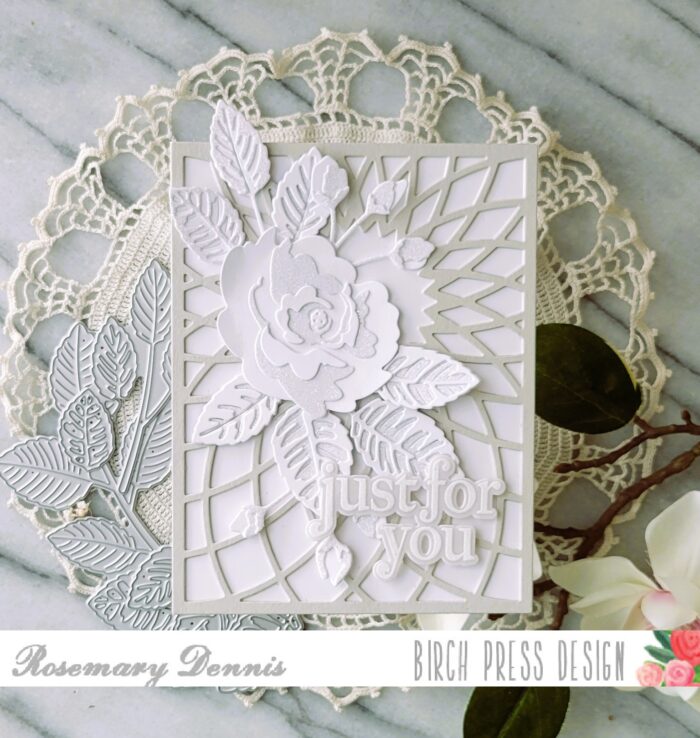
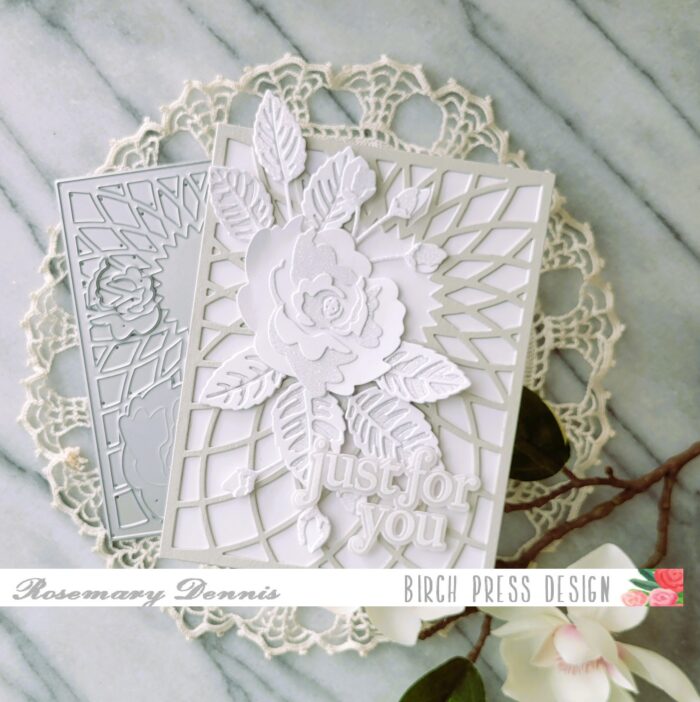
Hello everyone! Rosemary here on the blog today sharing a white on white (with a little bit of gray) design using one of the January release dies, Rose Leaves Contour Layers. I paired the new die set up with the older Morning Rose and Triple Buds Contour Layers dies and layer A from the Dazzle layering dies. White one white always creates a clean and classic look.
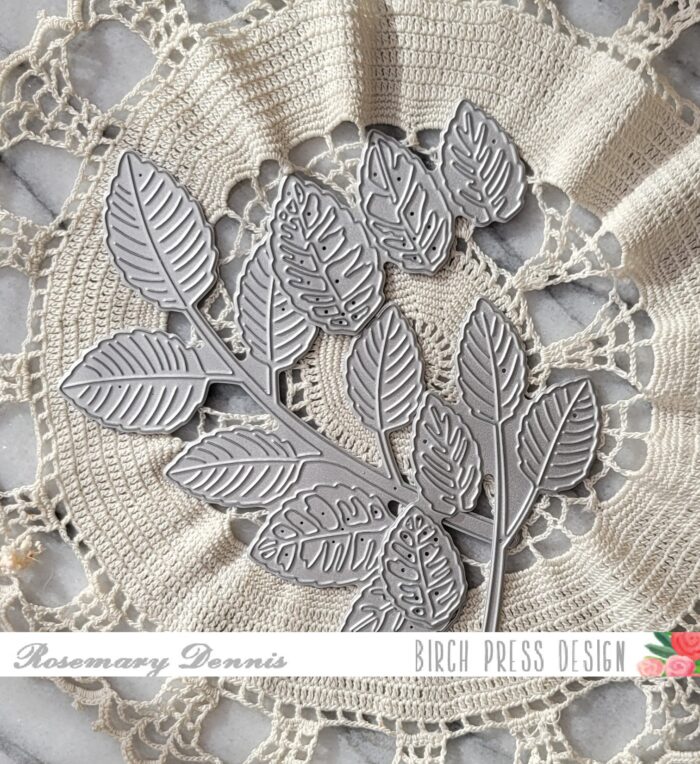
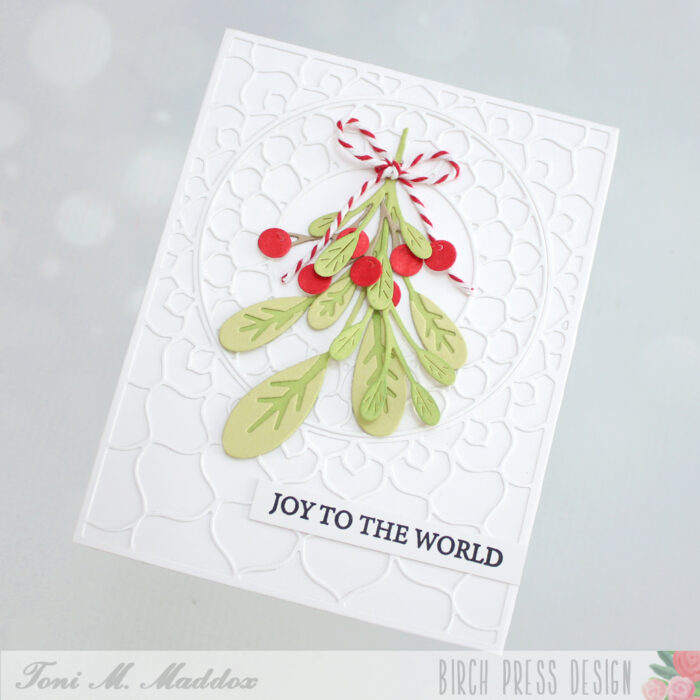
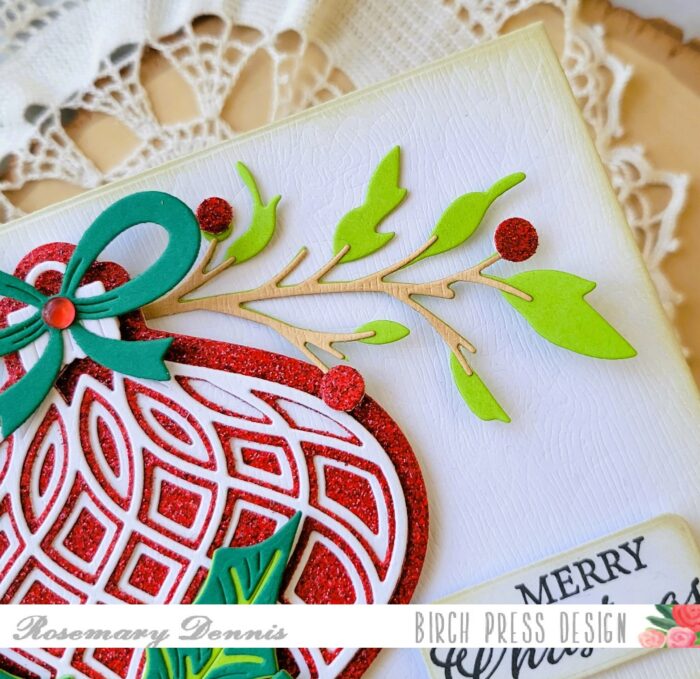
As you can see that Rose Leaves Contour dies are fairly large and I felt they needed a larger floral design to compliment them. That is why I went with the Morning Rose and Triple Buds Contour Layers die set.
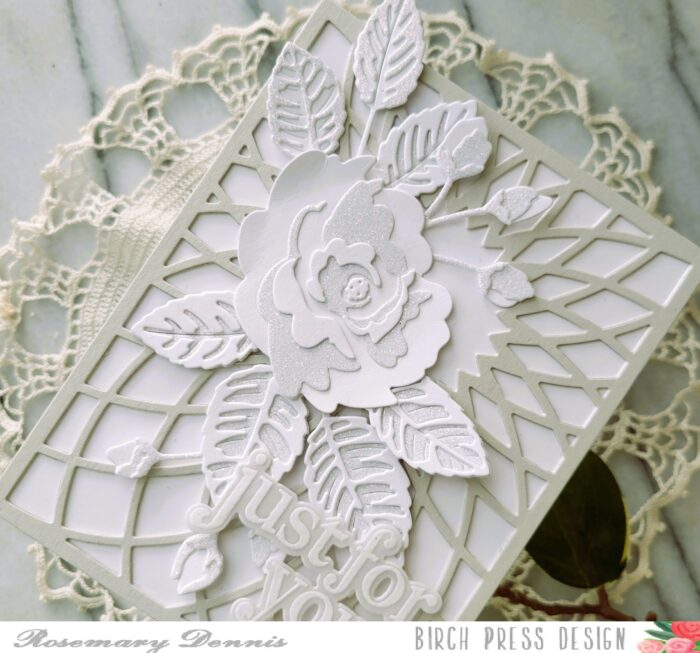
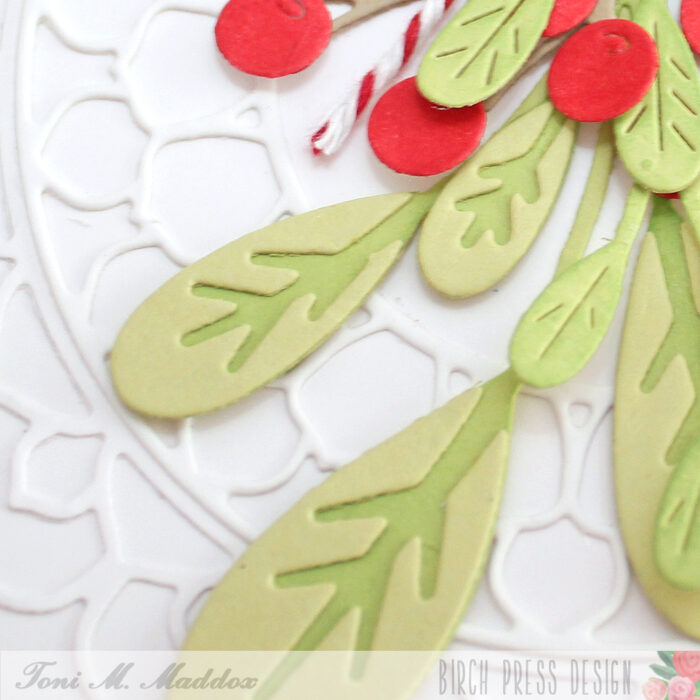
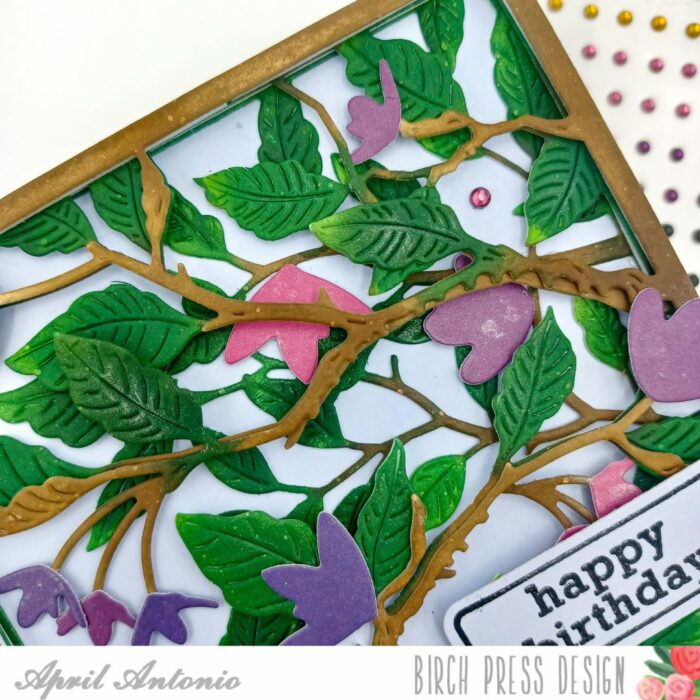
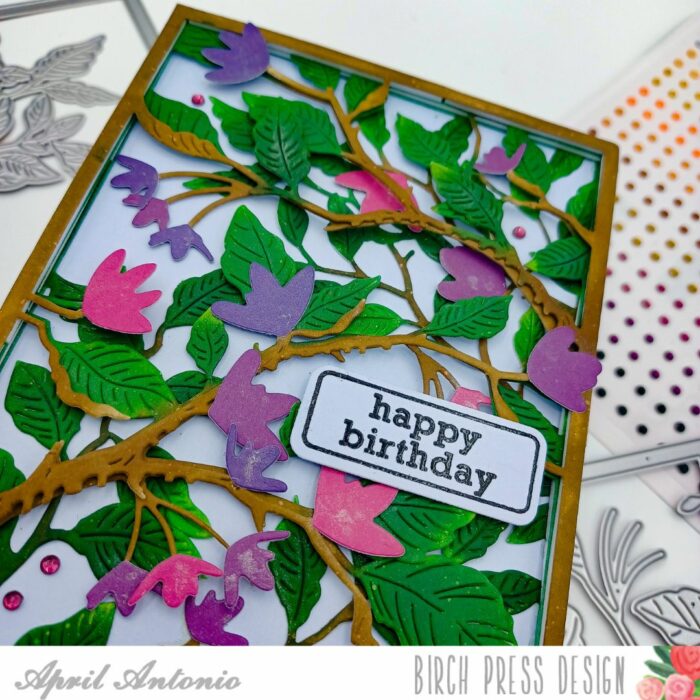
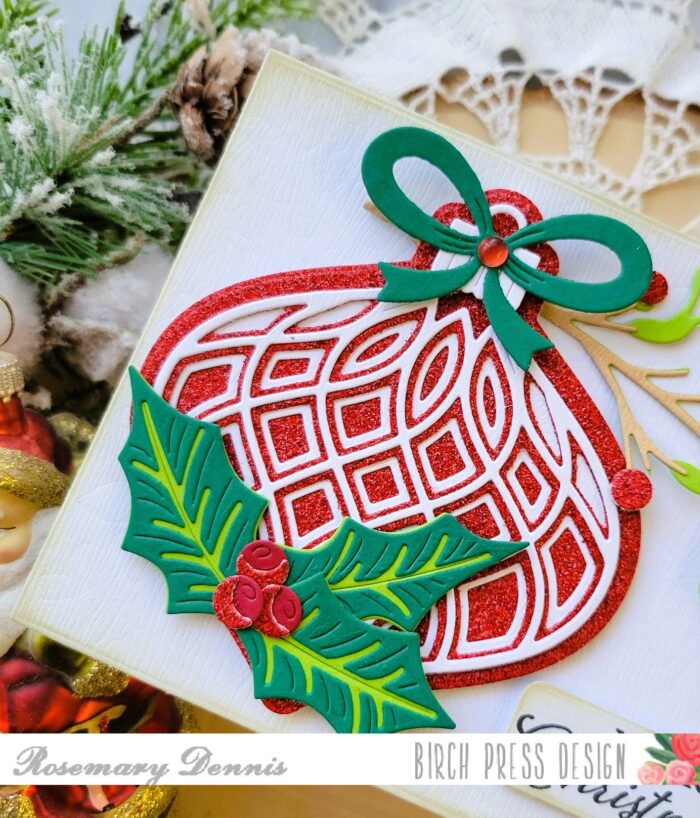
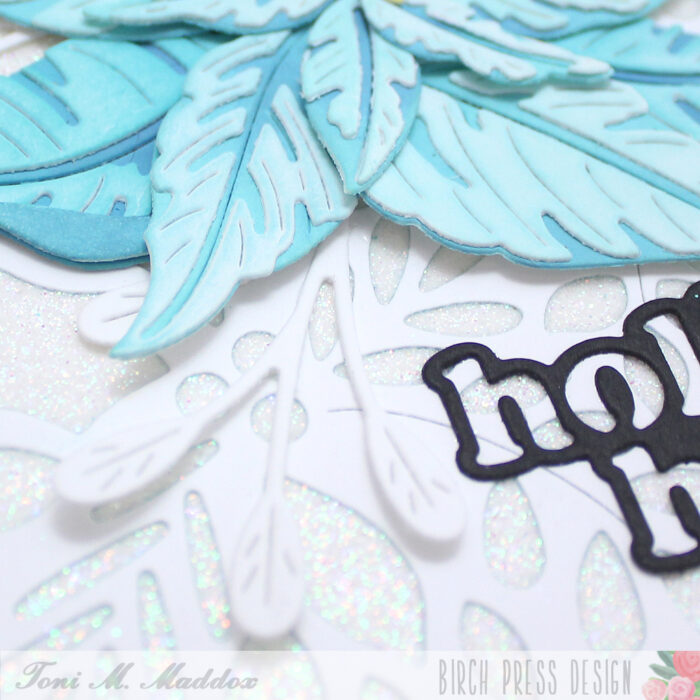
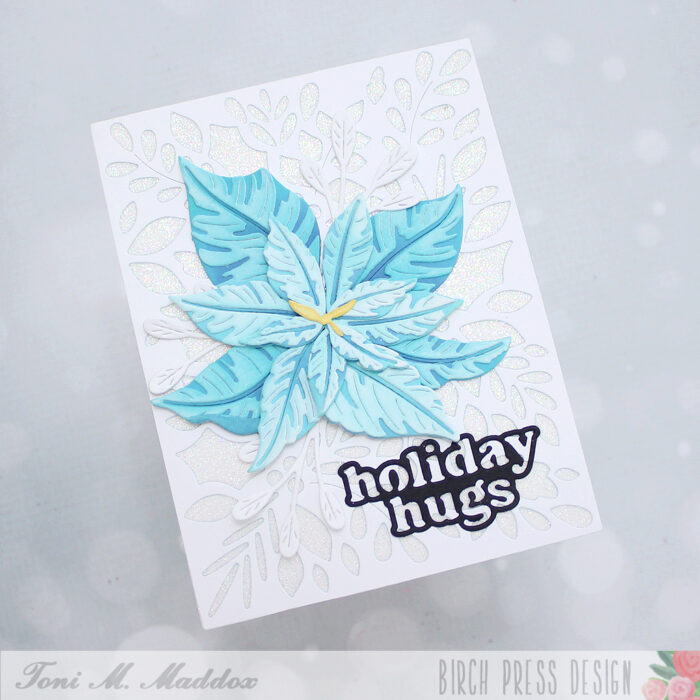
The bottom layer of the larger leaves die was cut from the glitter cardstock and the top layer from white cardstock. For the smaller leaf cluster I die cut the bottom from white cardstock and the top layer from the glitter cardstock. Since the large rose has four layers I die cut two from white cardstock and two from glitter cardstock. Two layers of the buds were cut from the glitter cardstock and one layer from the white cardstock. I used liquid adhesive to secure all the layers together.
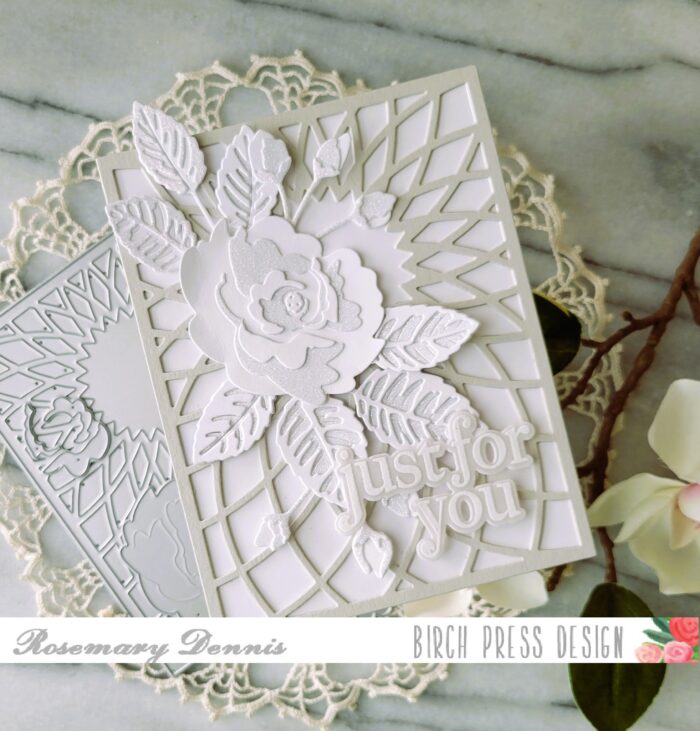
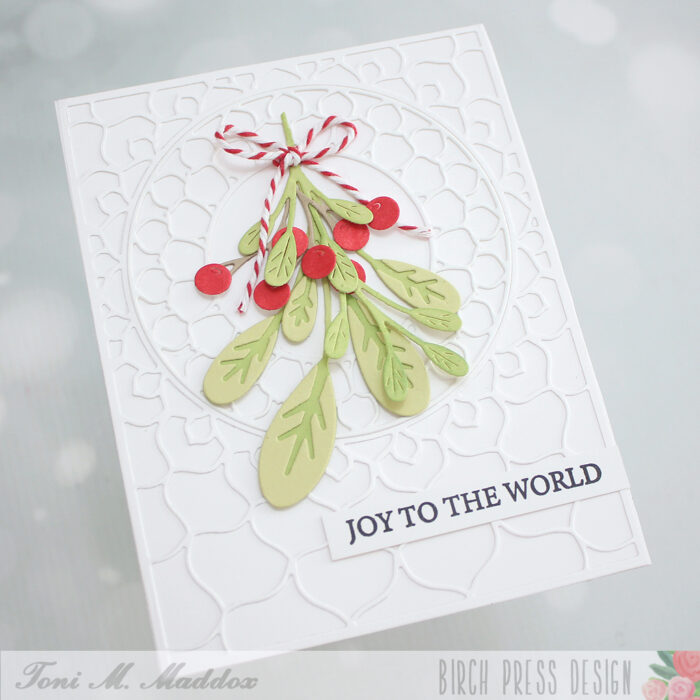
I die cut the Dazzle layer A from a light gray cardstock and a piece of thicker white cardstock. The two layers were secured with liquid adhesive, added to a white cardstock base using more liquid adhesive and then allowed to dry for a bit before I added the rose, buds and leaves with more liquid adhesive. I trimmed some of the leaves off the larger leaf cluster to better fit the flow of the design.
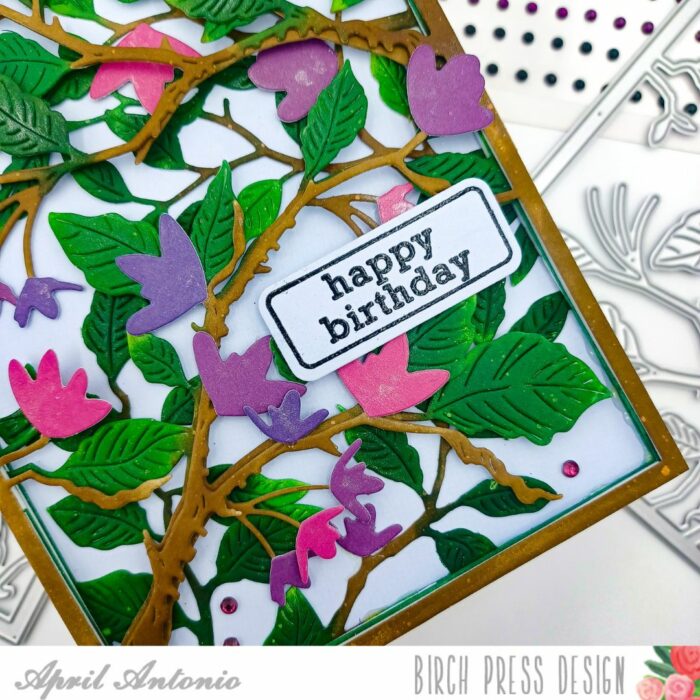
I finished off the card with a sentiment from the Open Studio Gracious Floral stamp set. I heat embossed the sentiment with white embossing powder on vellum. The sentiment was secured with rolled up glue dot hidden behind the letters and liquid adhesive.
I hope you enjoyed today’s card. Thanks for stopping by and have a wonderful day!

Supplies