Hello Birch Press Friends! I am excited to be up on the blog today sharing the gorgeous Eloquent Butterfly layering die set! I absolutely love this set and decided to use this set today with a mixed media vibe! I hope you enjoy it, let’s get started!

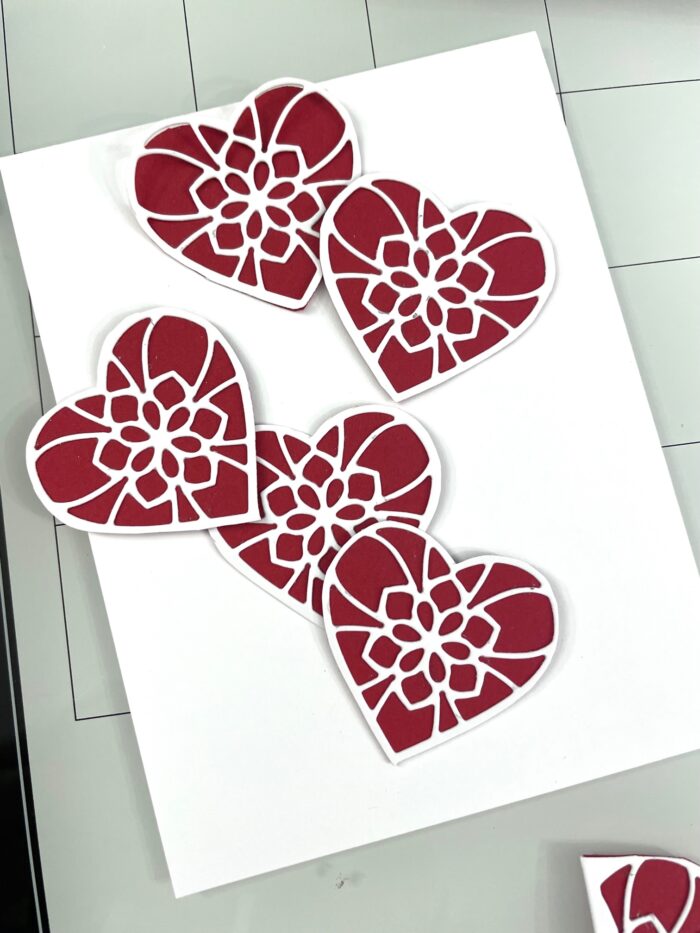
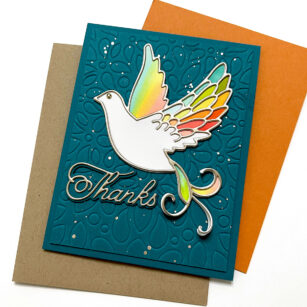
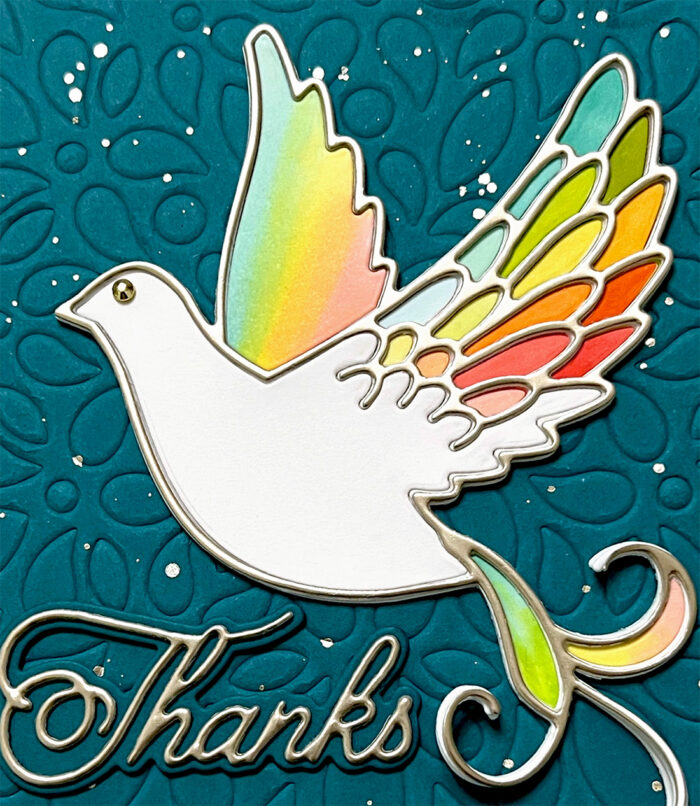
I started with the beautiful Eloquent Butterfly layering die set. I die cut all 3 layers. First I die cut layer C using white card stock, layer B using white and an inked background from my stash, and then layer A using an inked background from my stash. The inked backgrounds were made using sprays. Once all the layers were die cut, I added dye ink to layer B and layer A. I feel this adds a bit more texture and definition to the layer. On layer A I also added a bit of embossing glaze for added texture. I then adhered all layers together and added foam tape. I then die cut the antennae for the butterfly from the Butterfly Basics die set using a piece of card stock from the Vintage Pastel Mirror pad and adhered this with liquid glue to the butterfly.

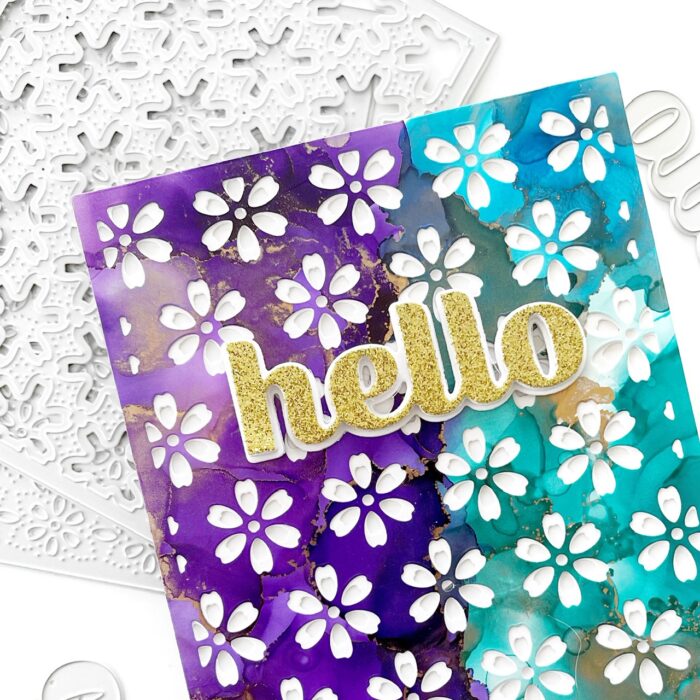
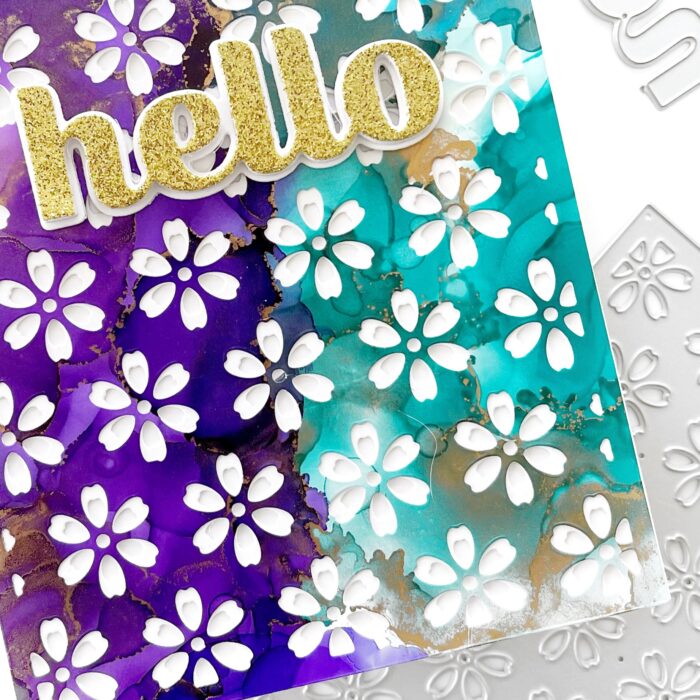
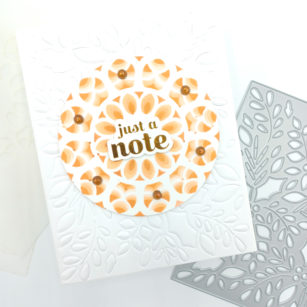
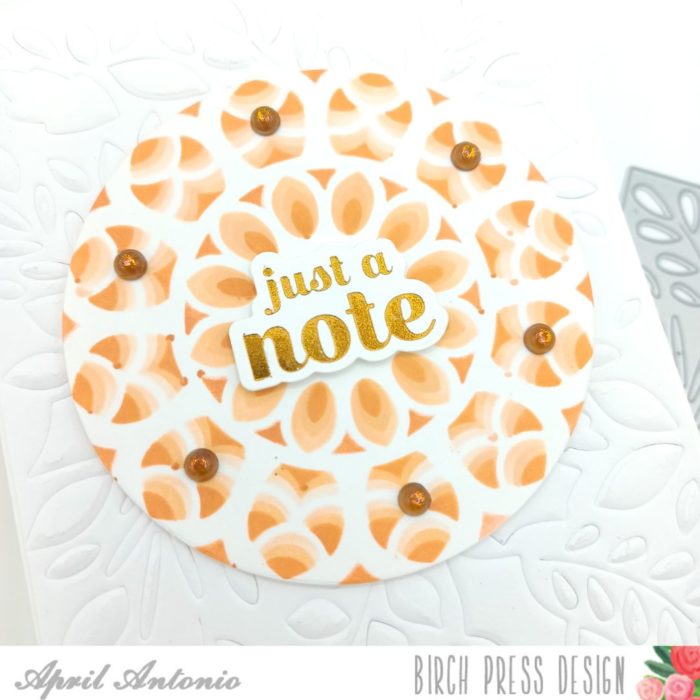
Next I chose a gelli print from my stash and embossed the panel using the Flora Plate die set. I used Layer C from the set and followed the instructions in my die cutting machine to emboss the panel onto my gelli print. Next I distressed the edges of the panel using a paper trimmer, distress tool, and then inked up the edges with distress ink.

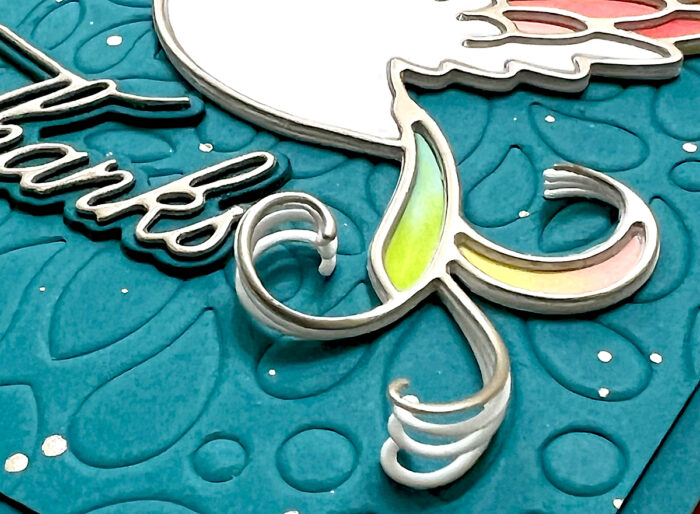
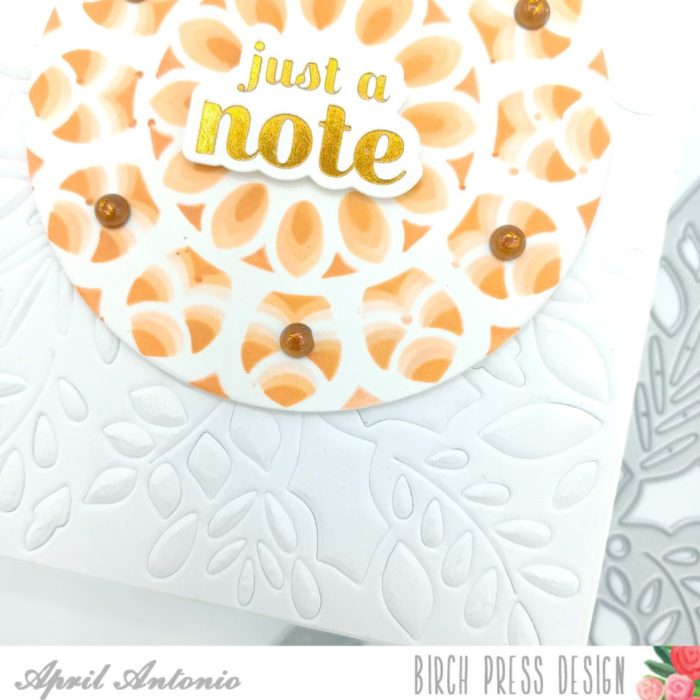
I then added a bit more texture to the panel using metallic paint by adding splatters with my paintbrush. Next I added a bit more distress ink to the raised areas of my background panel using a blending tool.

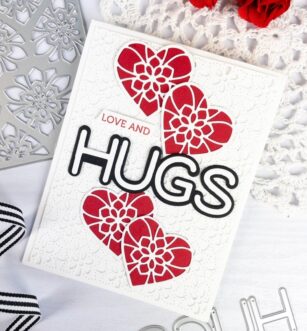
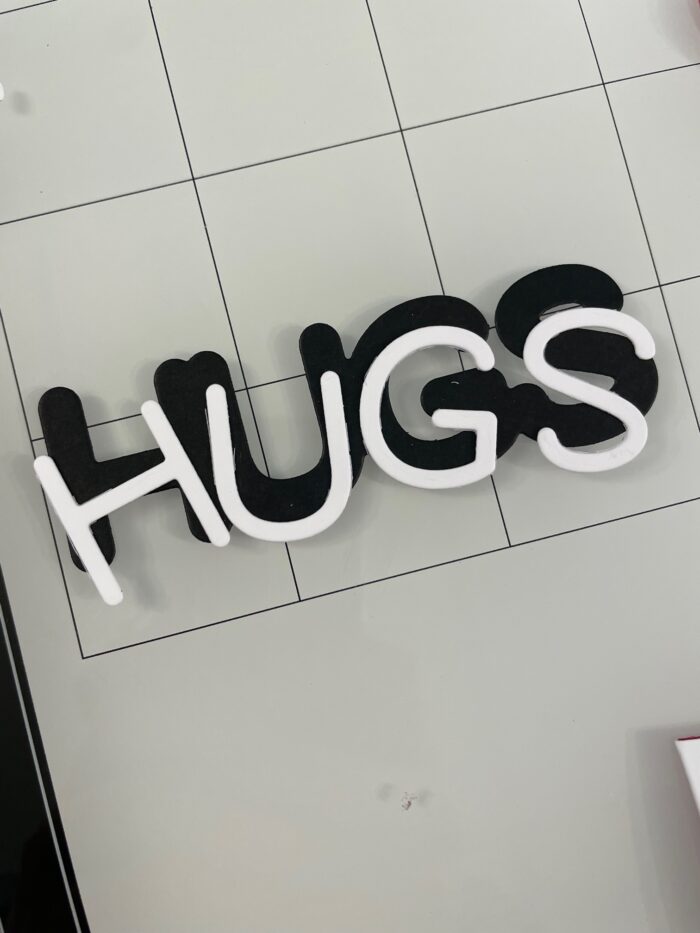
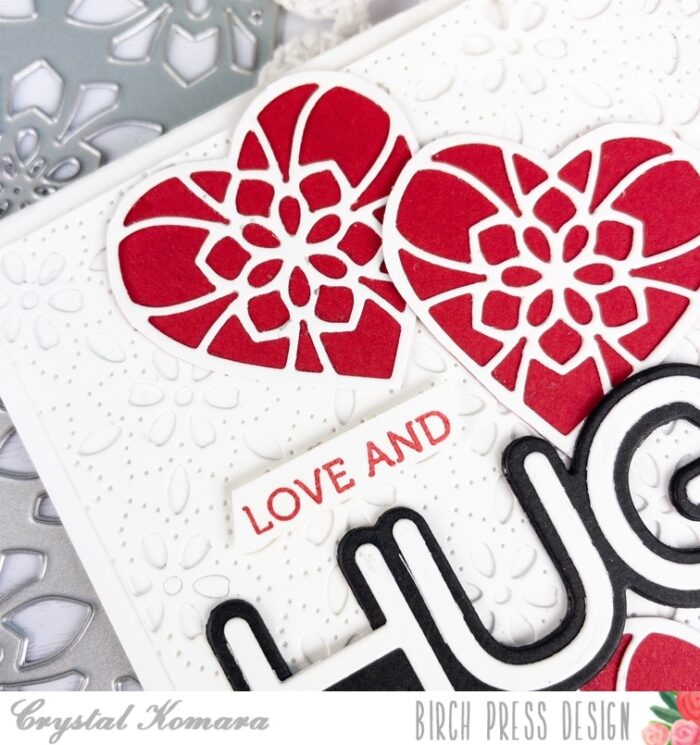
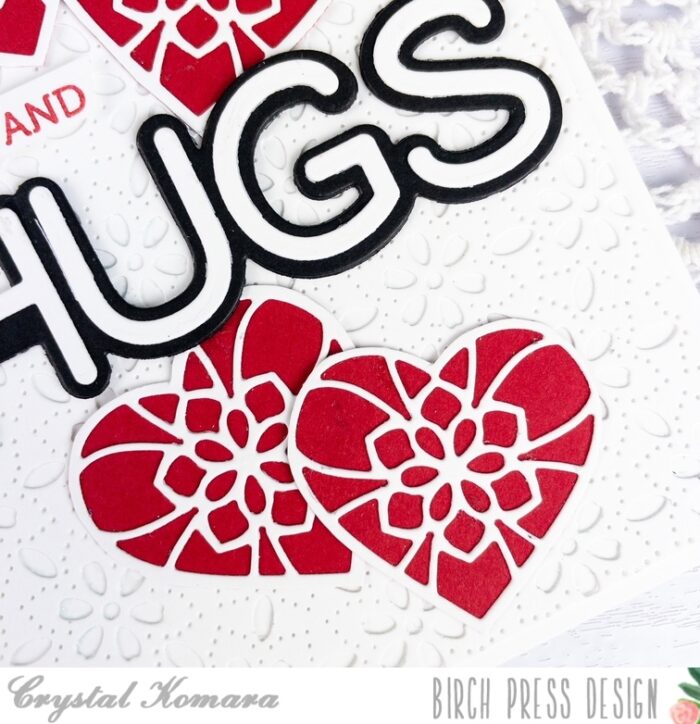
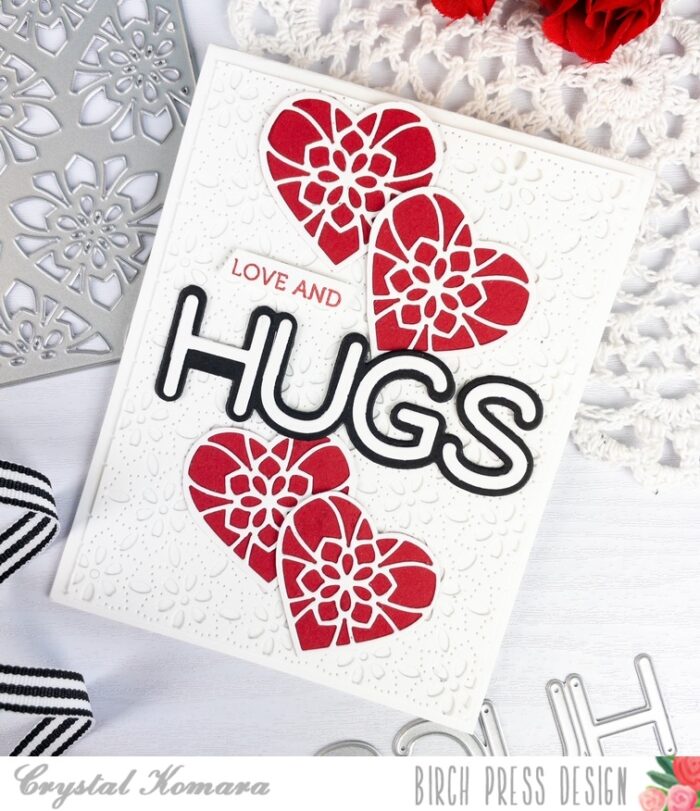
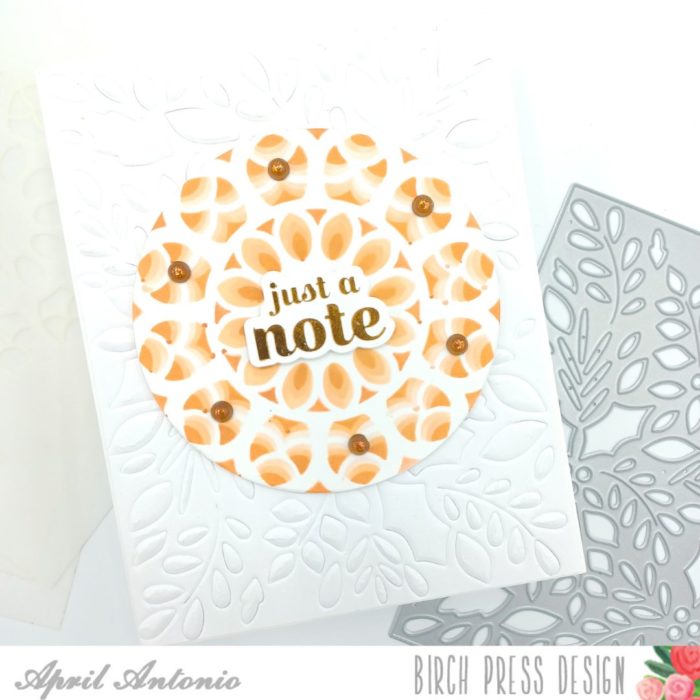
To complete my card I adhered the panel to an A2 card base. Next I added two strips of paper, one from an old book and another piece of gelli print. Both pieces were distressed using a combination of distress inks and embossing glaze. I added the Hugs Honey Script sentiment to my card. I die cut the shadow layer using white card stock and ink blended the shadow with distress oxide. I die cut the hugs sentiment 3 times using kraft card stock and adhered them together with liquid glue. I then ink blended the sentiment with distress inks. I added a sub sentiment from my stash. Both sentiments were adhered using liquid glue.
Thanks so much for stopping by today! I had so much fun creating today’s card! I will be back soon!

Supplies