Hello friends!
Supplies
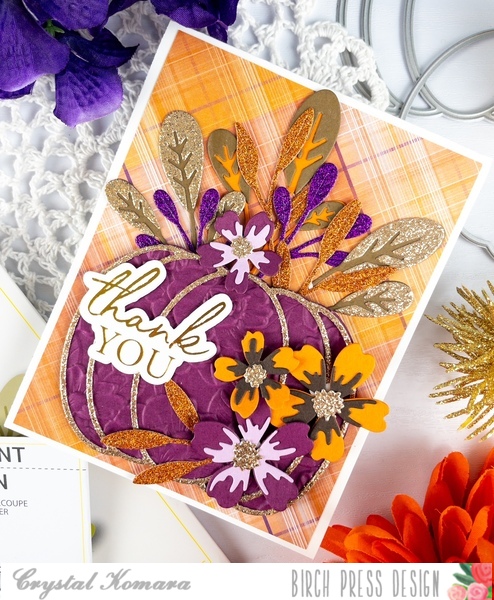
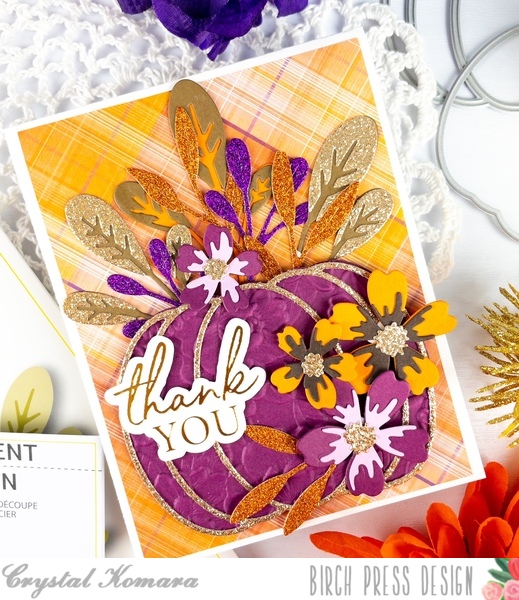
Hello crafty friends! This is Design Team member Crystal Komara here with you today sharing the first of a few fall themed pumpkin cards that I have made featuring the Adornment Pumpkin Set.
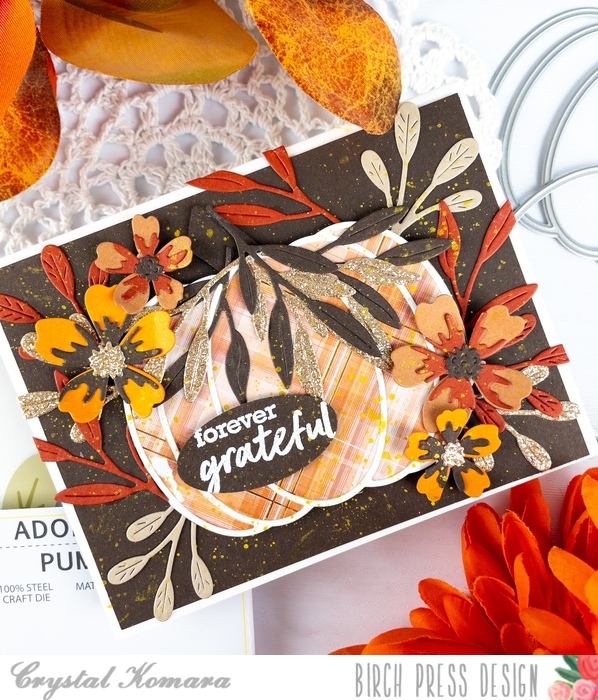
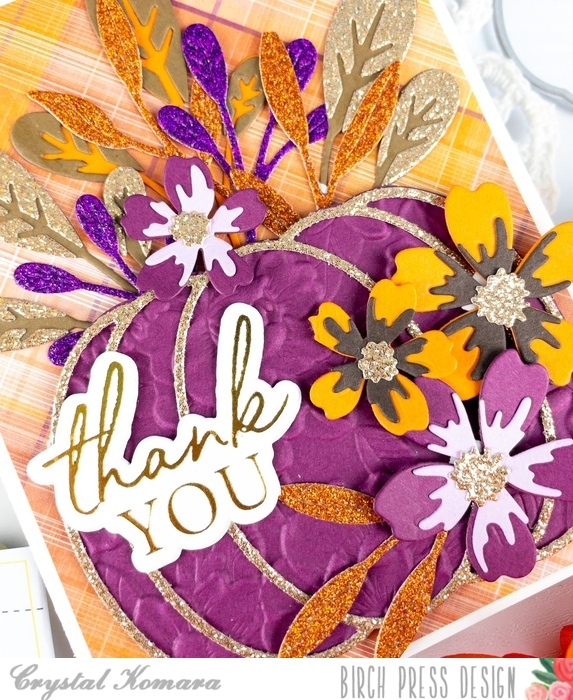
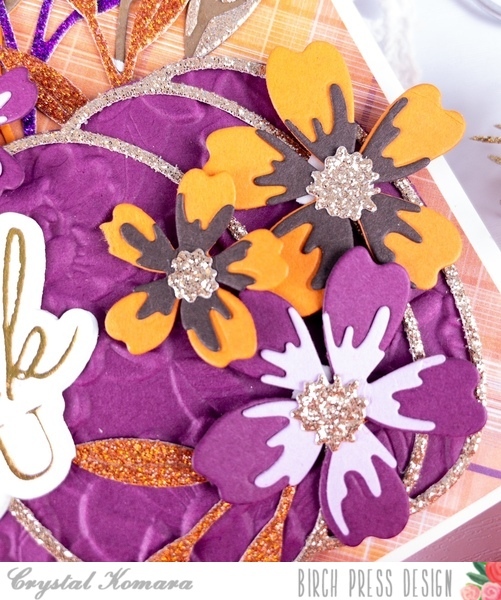
The Adornment Pumpkin Layer Set is one of my go-to products for fall cards. I love the large size of the layering pumpkin. Plus, it comes together easily with only two dies – a solid inside layer and a thin outline layer. For this card, I combined it with a variety of other products from Birch Press Design to include:
~Phlox Blooms and Leaves Contour Layers
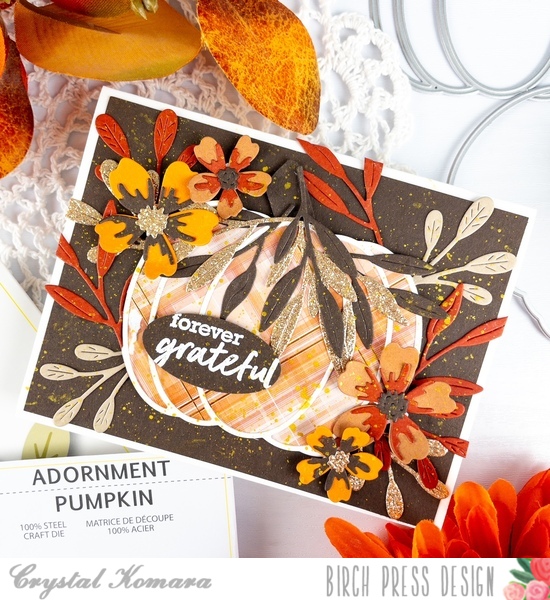
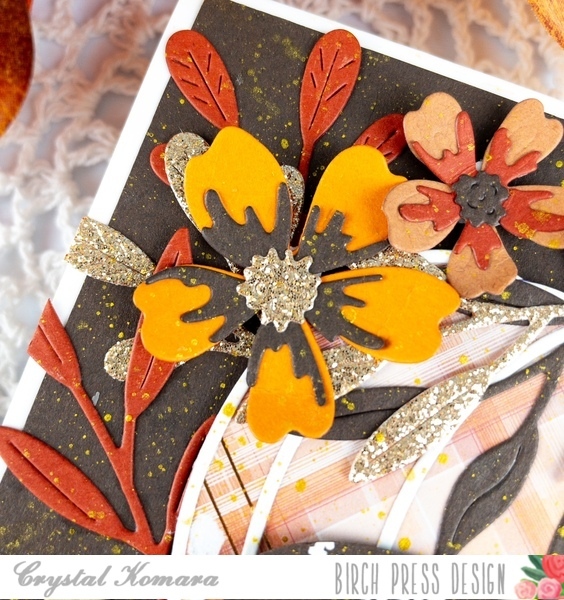
Card details:
There is a lot to this card, so let’s break it down:
I know at first glance that a lot of these intricate layered cards can seem intimating, but all it really entails is a LOT of die cutting. My little tip* – I don’t even count or measure as I’m die cutting, I just keep cutting until it seems like I have a lot. Any extra pieces can be used on the inside or saved for another card!
Thanks for visiting and have a wonderfully creative day!

Supplies
Supplies
Hello friends! Design Team member April here today sharing a card in honor of the first day of Fall. Time to light some cozy candles, grab a warm blanket, and sink into a fun afternoon of crafting.
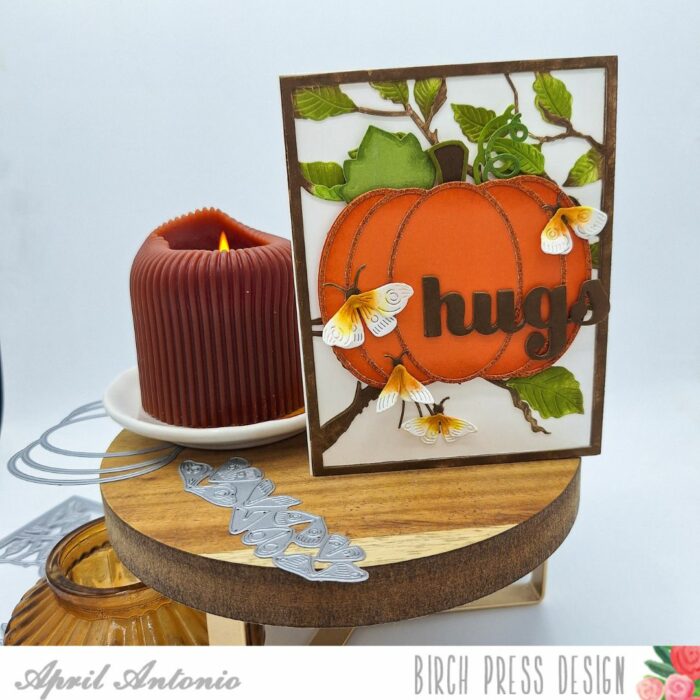
Here’s how I pulled this card together:
I used layer A and B from the Forest Canopy Layer set and ink blended on the leaves and branches with green and brown inks. I glued both layers together, and then used a tape runner to attach them to an A2 card front.
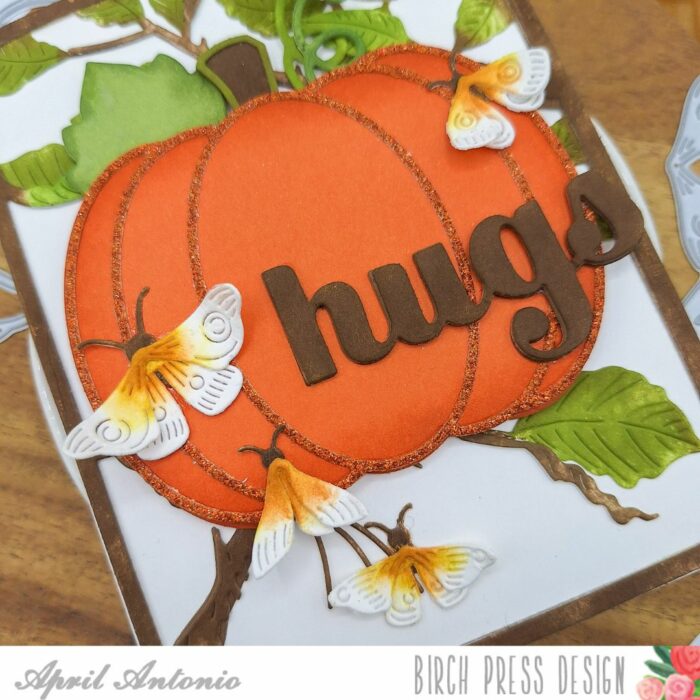
I then used a sheet of orange cardstock from the Sunny Orange cardstock pack to cut the background of the Adornment Pumpkin die set. I cut this out twice and used foam tape to glue the two pieces together.
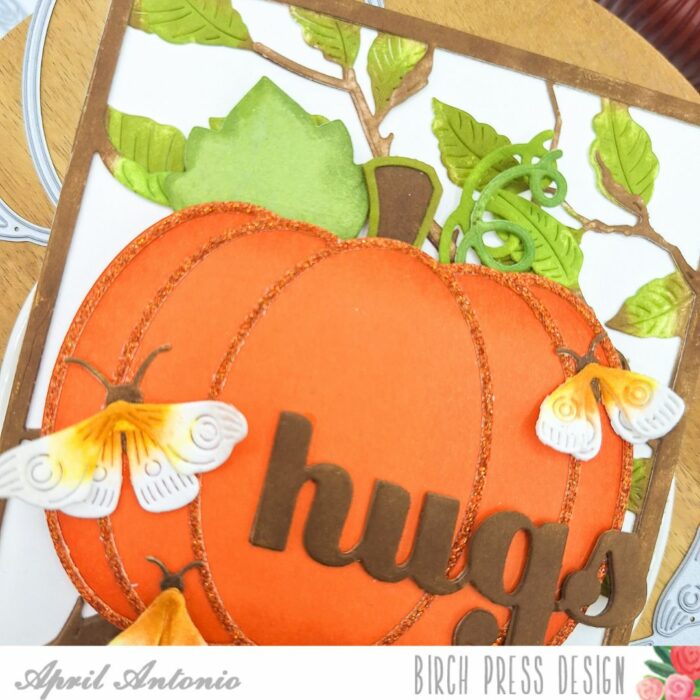
I cut the outline part from a piece of orange cardstock from the Glitzy Glitter pad. I finished off the pumpkin by ink blending the stem and leaves and adding them to the top.
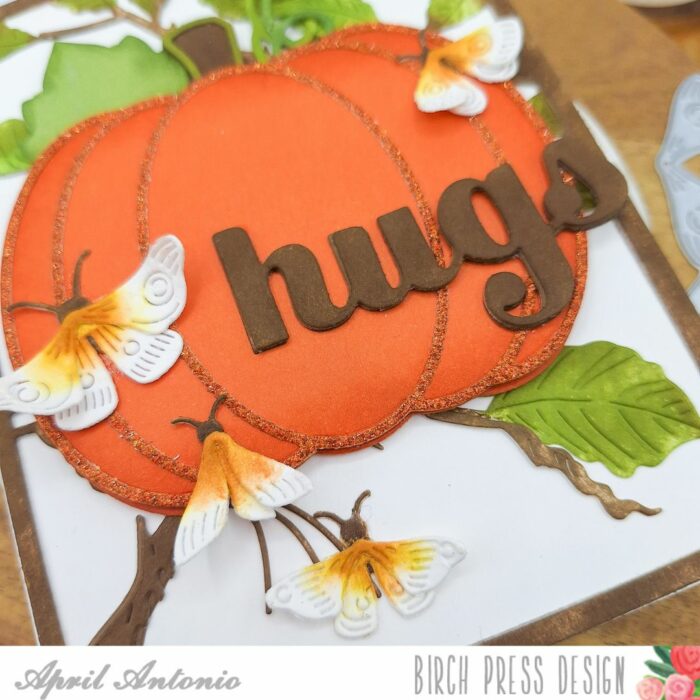
For my sentiment I used the Big Hugs Sugar Script die, cutting it out three times and ink blending brown onto the layers, and gluing them together.
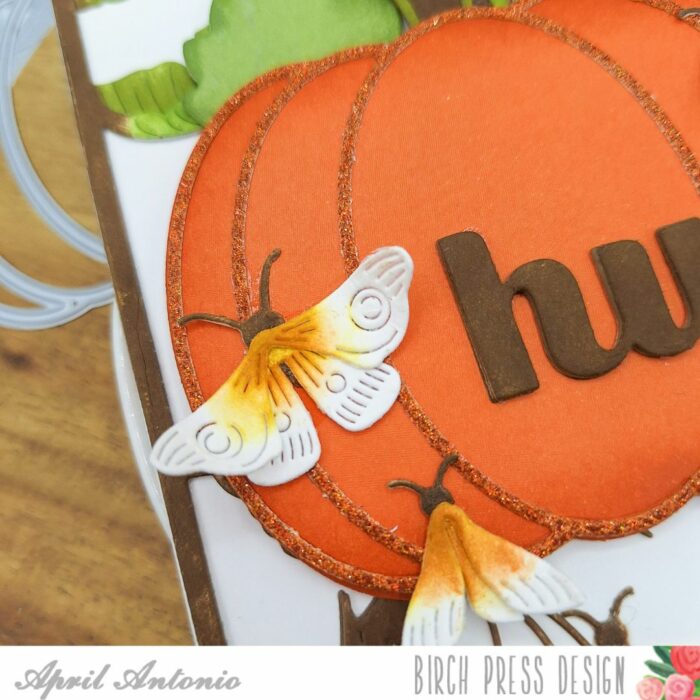
Lastly, I cut out all the dies from the Evening Moths die set from white cardstock.
Supplies
Supplies
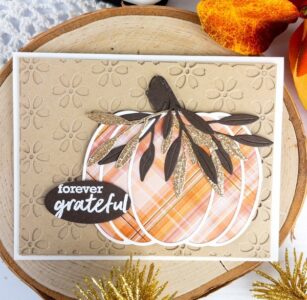
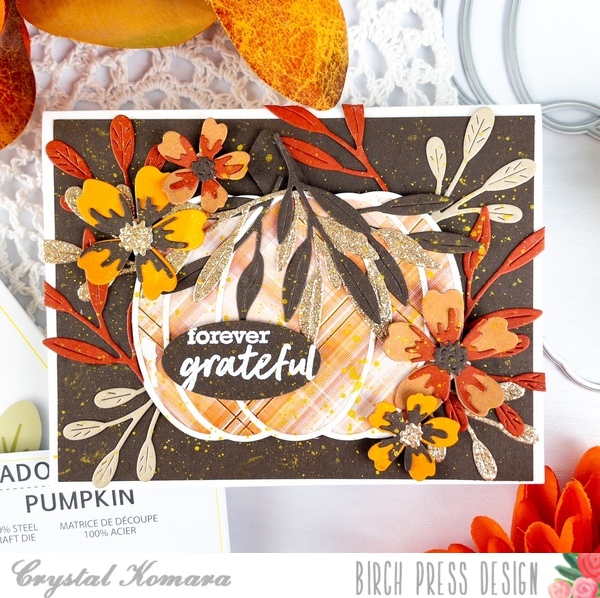
Hello fall friends! This is Design Team member Crystal Komara here to inspire you today! I have been sharing a lot of detailed intricate die cut cards lately, so today I thought I would keep my card a little more simple. I know that those intricate contour dies can be intimidating to some (as they were to me at first), but Birch Press Design makes so many gorgeous products, that you can cater the level of detail to your own personal taste.
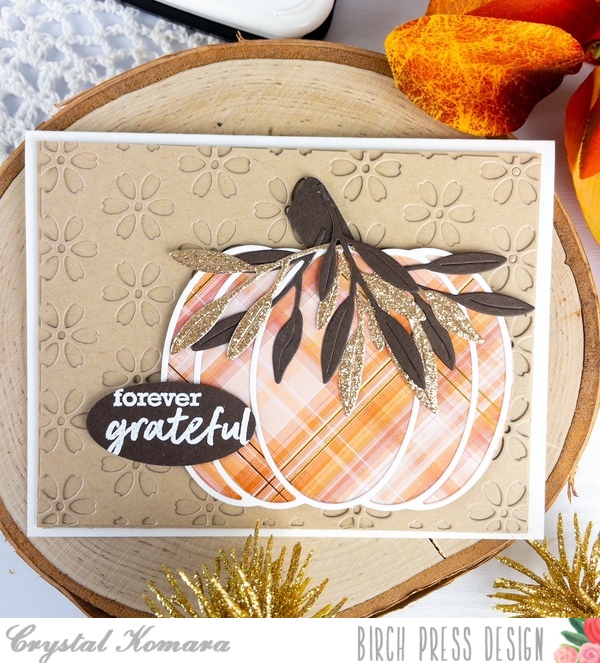
Card details:
The base of this A2 sized card is made from 80 lb. Neenah Solar White smooth cardstock. I cut a 5 1/4 x 4″ piece of Kraft cardstock and adhered it directly to the card base. Then, using Layer Plate B of the Flora Plate Layer Set, I die cut that from Kraft cardstock and adhered it directly to the previous Kraft layer (so it’s kind of see through).
I die cut the base of Adornment Pumpkin from plaid cardstock from the Gladiola paper pack by Memory Box Company (a sister company of Birch Press Design). I LOVE their paper packs, they are all stunning. I cut the outline of the Adornment pumpkin from white cardstock. I layered the two together using a fine-tip liquid glue before adhering the pumpkin to the card with 3M foam adhesive for dimension.
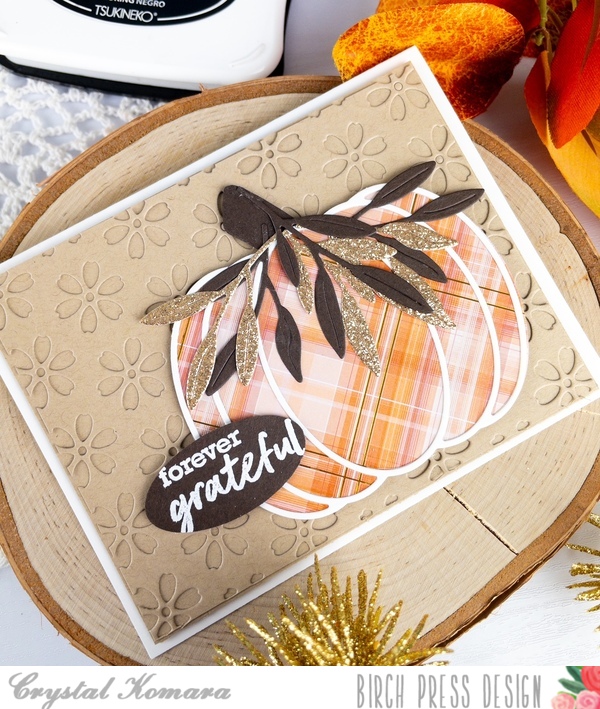
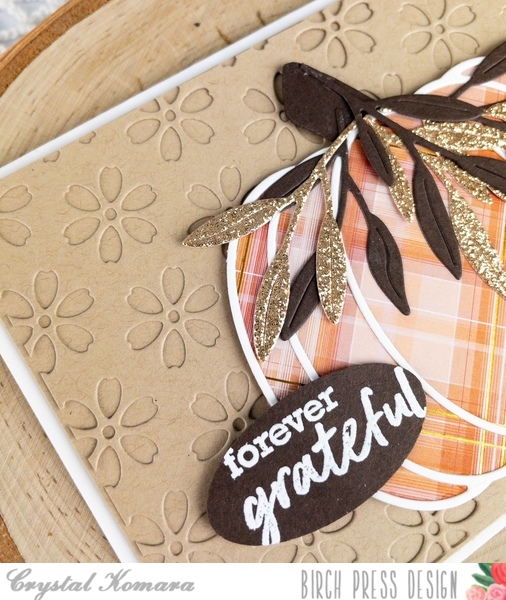
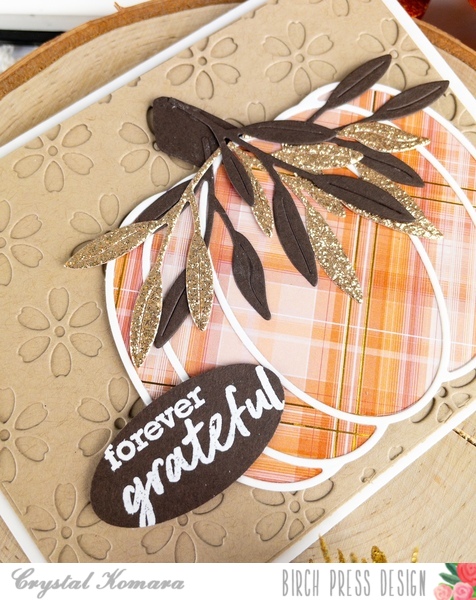
I die cut a bunch of leaves using the Tiny Tufts Leaves and Flowers contour set. I die cut these leaves in both a dark brown and gold glitter cardstock. I adhered the leaves to the top stem of the pumpkin. Lastly, I stamped the sentiment “forever grateful” from the Brush Sentiment clear stamp set. I stamped the sentiment in Versamark ink on dark brown cardstock and heat embossed the sentiment with white embossing powder. I then used an oval punch to punch out the sentiment. I adhered the sentiment to the pumpkin using 3M foam adhesive.
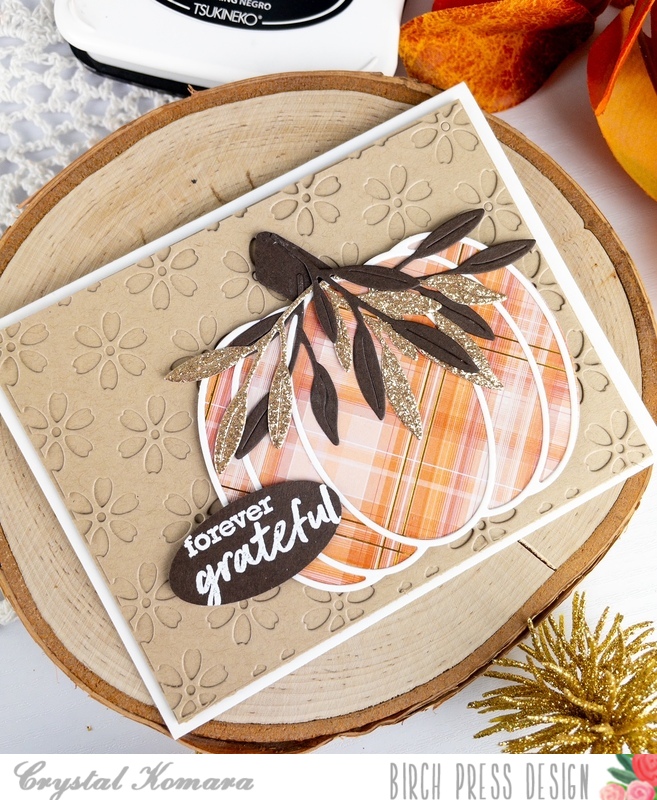
Fall is one of my favorite seasons to make cards for. I promise you will be seeing lots more ways to use this Adornment Pumpkin in the very near future!
Thanks for visiting and have a wonderfully creative day!

Supplies
Supplies
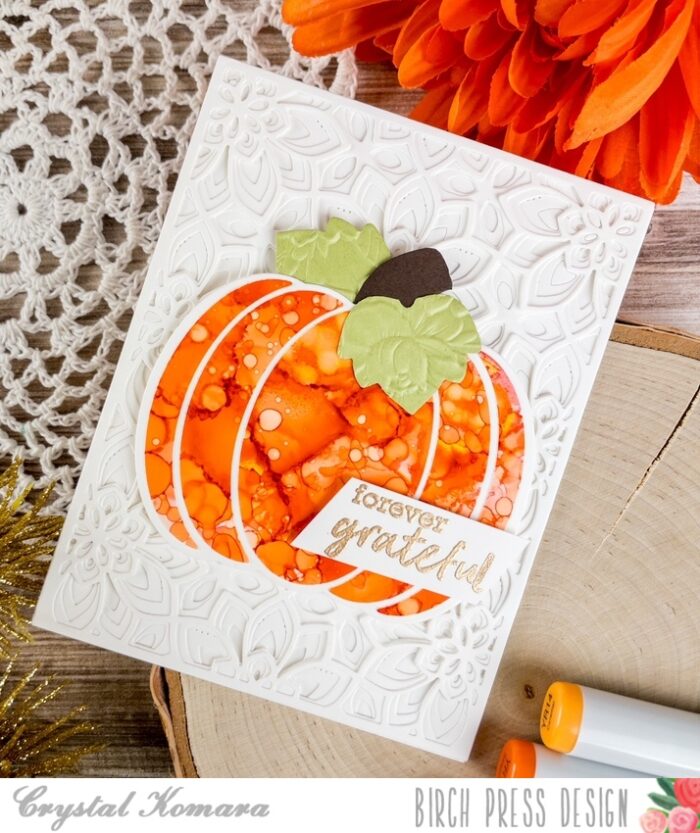
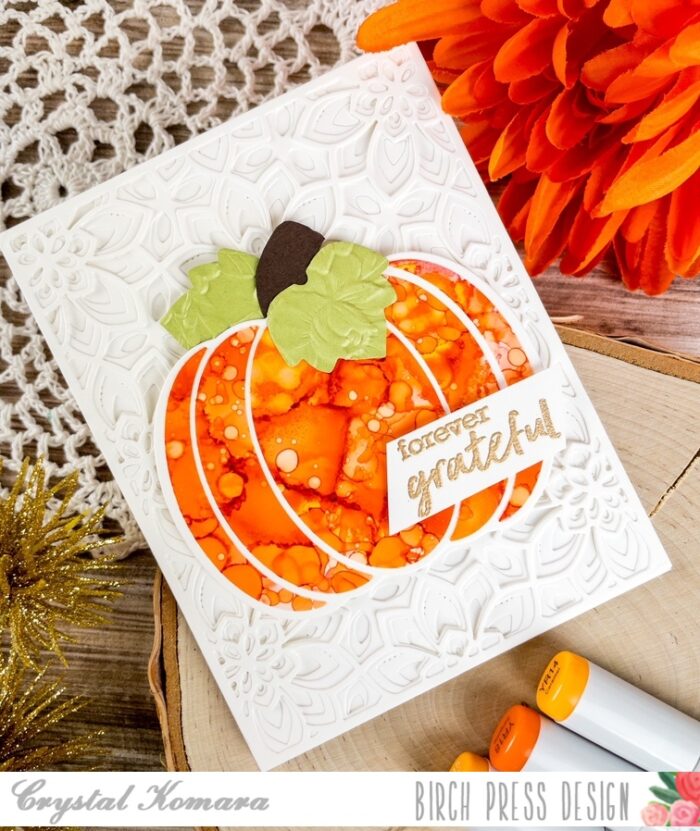
Hello Birch Press Design readers! This is DT member Crystal Komara here with you today and I can’t believe it’s November already! I have been loving the new Adornment Pumpkin dies and since I love creating with alcohol ink backgrounds so much, I decided to put the two together for this elegant card:
Card details:
The base of this A2 sized card was made from 80 lb. Neenah Solar White Smooth cardstock. To create the background, I die cut all three layers of the Viola Layering Plates from the same Neenah white cardstock and adhered them together with a fine-tip liquid glue.
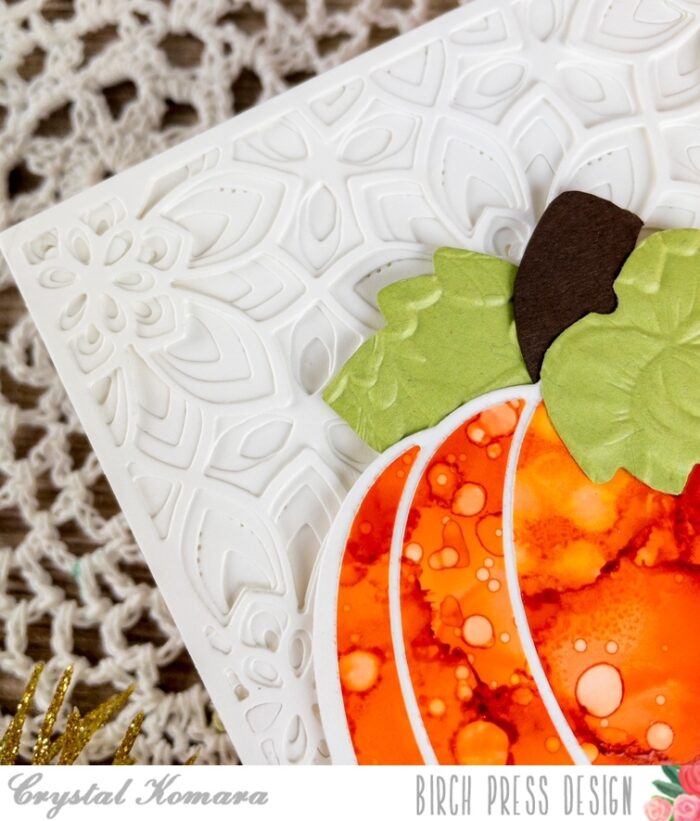
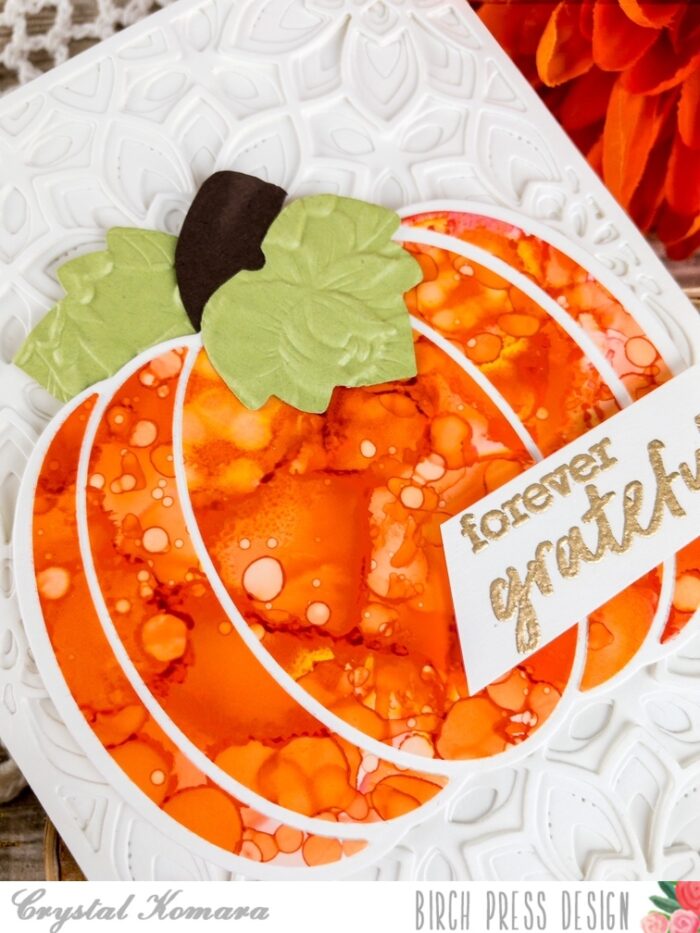
Using the Adornment Pumpkin 2-piece die set, I die cut the pumpkin shadow from white cardstock and I die cut the intricate layer pieces from an orange pre-made alcohol ink background. I simply used Valencia orange alcohol ink on Yupo paper to create the alcohol ink piece. Just one color! I adhered the pumpkin together and die cut the stem from brown cardstock and the leaves from olive green cardstock. I adhered the assembled pumpkin to the center of the card using 3M foam adhesive for dimension.
On a thin white strip of cardstock, I stamped the sentiment “forever grateful” from the Brush Sentiments stamp set. I notched the left end of the sentiment strip before adhering it to the card.
Thanks for visiting and have a wonderfully creative day!

Supplies
Hello Crafty friends! I am excited to be back up on the blog today sharing the beautiful new Adornment Pumpkin die set! I love the large pumpkin and how this die set creates a beautiful focal image! So let’s get started!
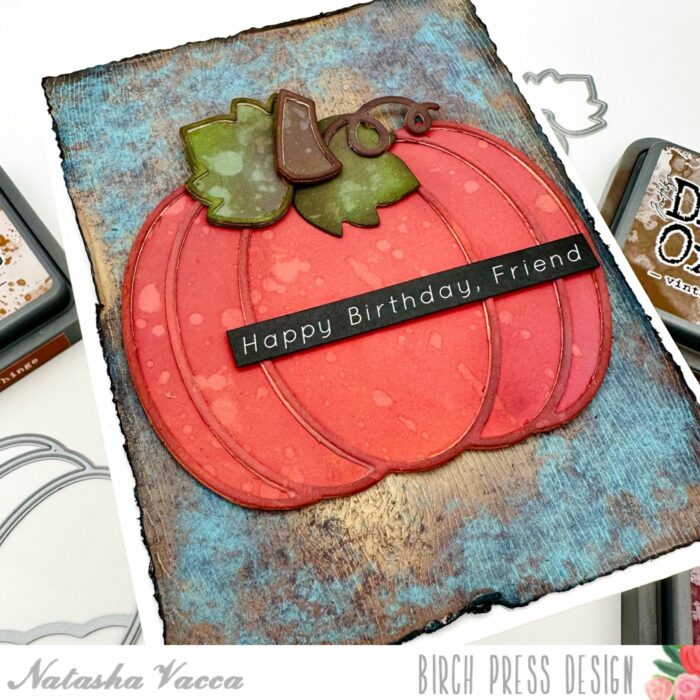
I started by die cutting the Adornment Pumpkin using paper pads from Memory Box. I die cut the pumpkin using the Sunny Orange pad, the leaves using Lush Green, and the stem from the Earth Neutral paper pad. I die cut each of the pieces using a colored cardstock and then a white piece of card stock as well.
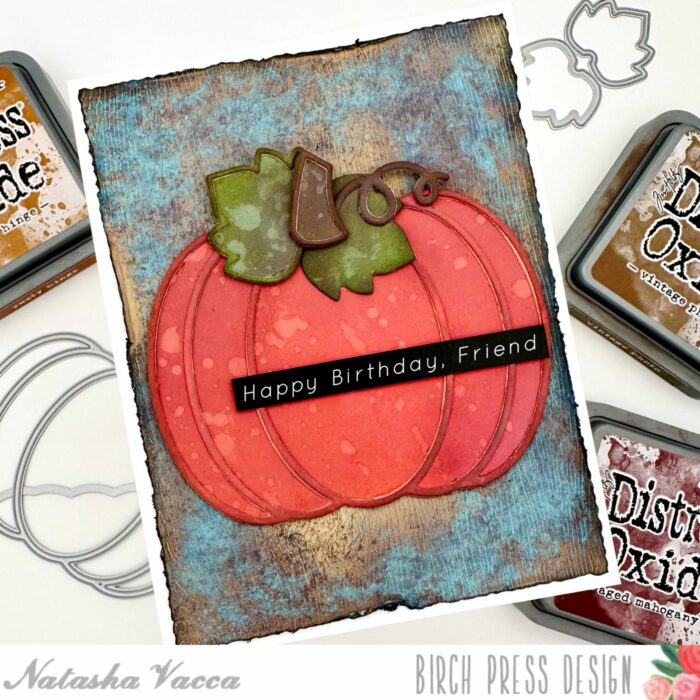
Once all the layers were die cut, I adhered the colored layer on top of the white card stock using liquid glue. Next I added a bit of color to each of the layers using Distress Oxide inks. I applied the ink on top of the colored card stock and then added water droplets for added texture.
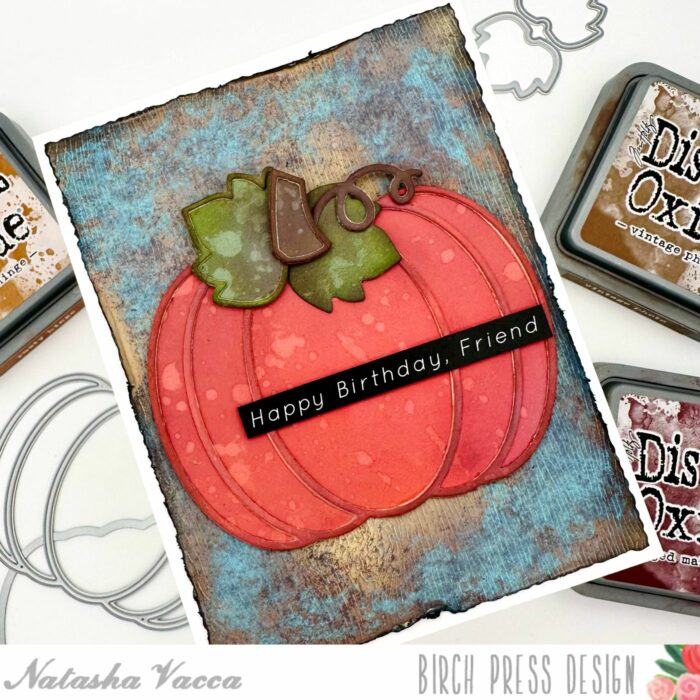
Next I darkened the edges of each die cut using a dye ink. I set the pieces aside to work on the background. For the background I trimmed a piece of white woodgrain paper down to an A2 card size panel. I then used distress oxide inks to create a wood background. I added a bit of distress paint using a sponge for added texture and color.
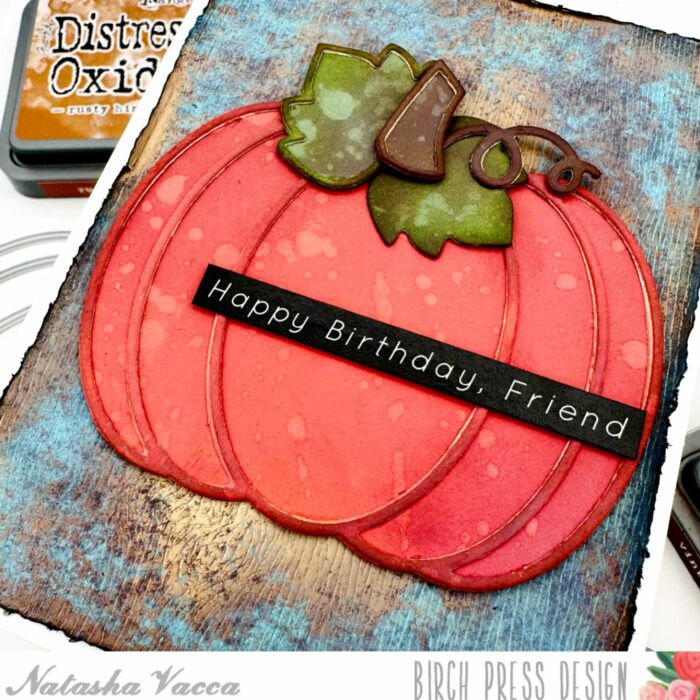
Once the panel was completely dry, I trimmed the panel using my deckle trimmer. I then distressed the edges using my distress tool and distress ink. I then adhered the background panel onto a top folding A2 card base. I adhered the pumpkin, leaves, and stem to the card front using liquid glue. I completed the card with a sentiment strip from my stash.
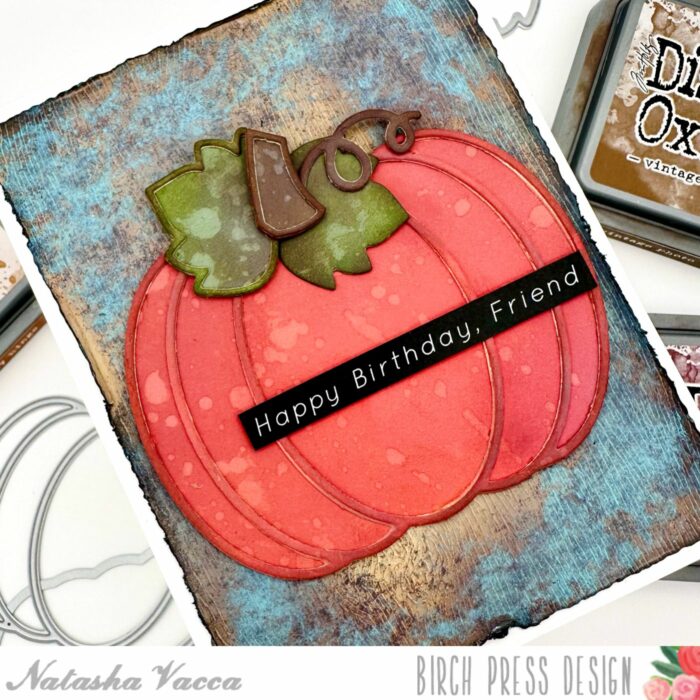
I had a lot of fun creating today’s card! I hope you enjoyed this and I will be back soon!

Supplies
Supplies
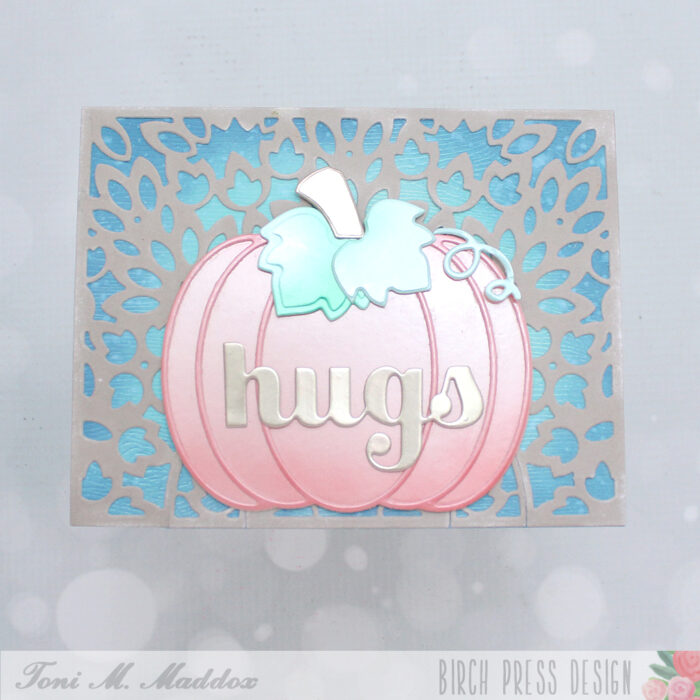
Hello, Birch Press fans! Toni here with you today with another fall-inspired card. Yay, fall!
I used the Adornment Pumpkin dies as separate dies rather than using the outline die to create an impression. So clever to be have such a versatile die in the package, right?!
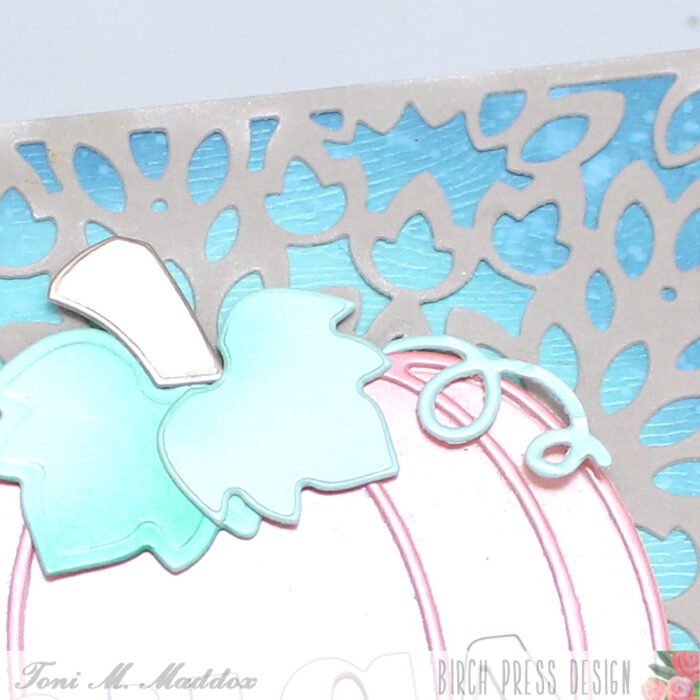
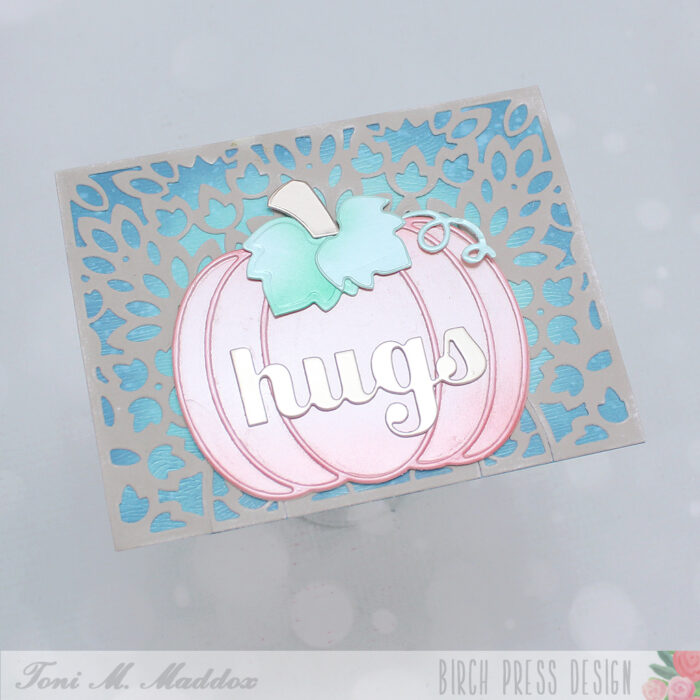
I sponged the Memory Box Cream Woodgrain cardstock with Distress Oxide Salvaged Patina and Uncharted Mariner–love that “glow.”
On top of that I added the Enchantment Plate Layer A in a stone cardstock that I distressed with a sand eraser.
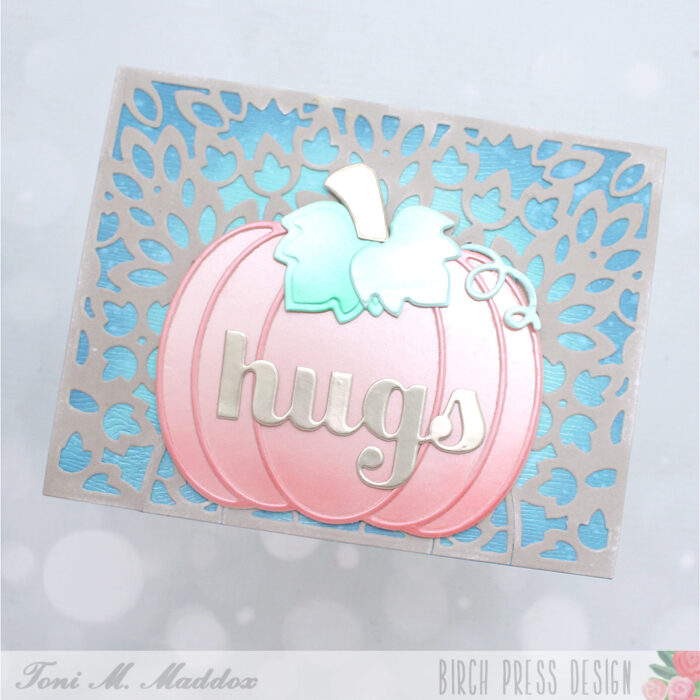
I love the softly colored Memory Box Vintage Pastel 6×6 Mirror cardstock I used for the pumpkin and sentiment. By the way, I added a bit of shading to the cardstock using my Copic airbrush with G17 and R32.
I hope you enjoyed today’s card and have a great rest of your week!

Supplies
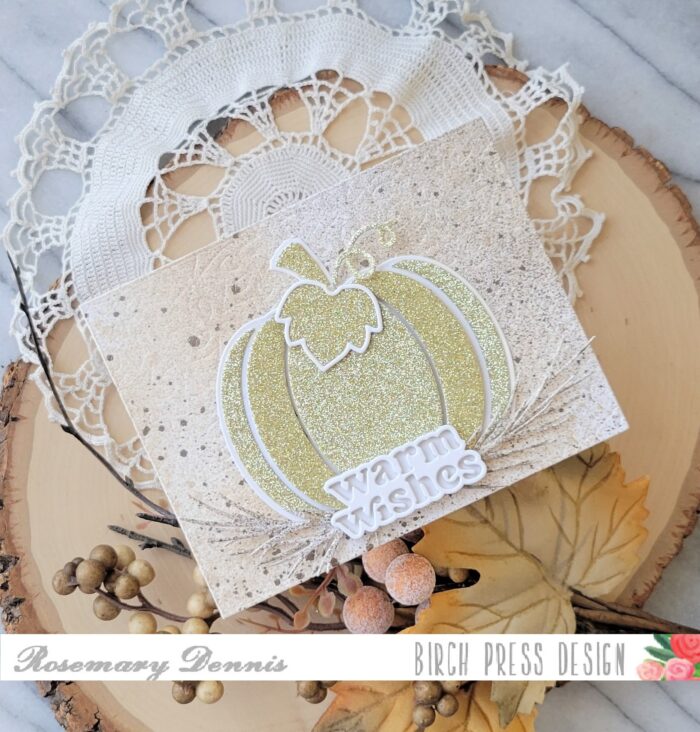
Hello everyone, Rosemary here today on the blog. Fall is almost here and that has my thoughts turning to pumpkins! I love pumpkins and when I saw the Adornment Pumpkin die set in the new release I was over the moon excited. I couldn’t wait to create something with this beautiful die set. I actually created a different pumpkin using the die set, mirror cardstock and alcohol inks, but decided that I wanted something a little more elegant. Like Cinderella’s pumpkin coach. So I pulled out some pretty gold glitter cardstock from the Memory Box Majestic Hues 6×6 pad, white cardstock and got to work.
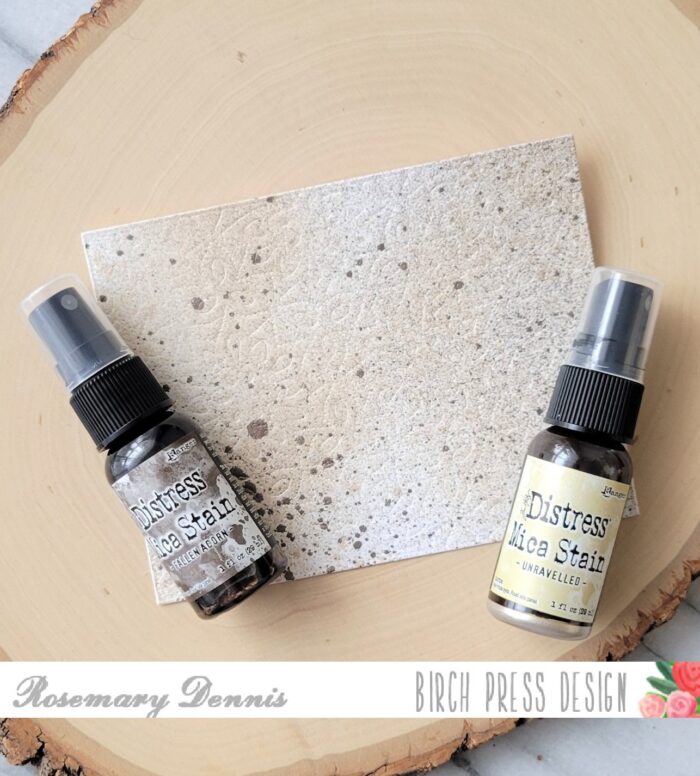
Once I had my pumpkin completed I moved on to creating a background and for this I used the Viola Plate C to emboss white cardstock that I then spritzed with two of the new Tim Holtz distress mica sprays, Fallen Acorn and Unravelled. The Unravelled mica spray has a lovely light gold look to it and the Fallen Acorn has a beautiful bronze look to it. Both were perfect with the gold glitter pumpkin.
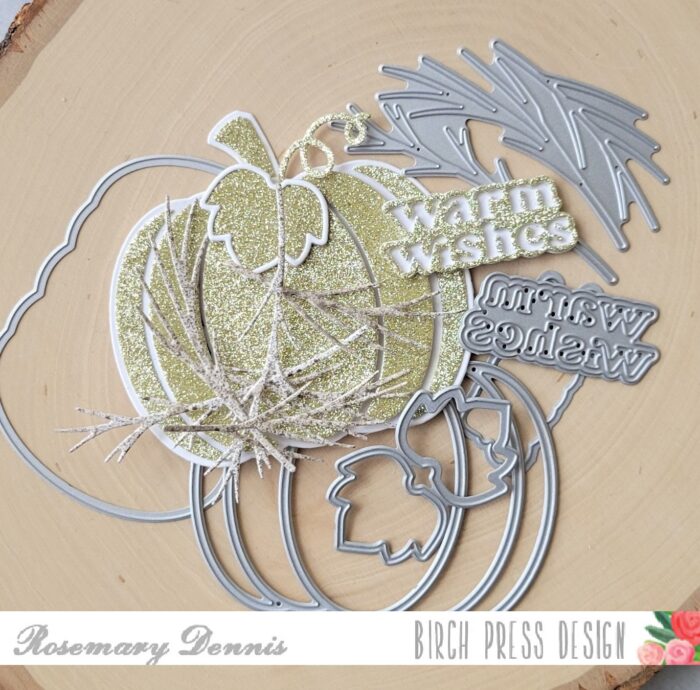
I used scraps leftover from completing the background to die cut the bare branches from the Hillside Branch and Bramble Contour Layers die set. I die cut the new Warm Wishes Vintage word die set from white cardstock and as you can see in the photo, the gold glitter cardstock. When I started editing my photos, I realized that there was just too much glitter too close together, so I die cut the words layer from white cardstock, adhered it on top of the glitter and retook my photos!
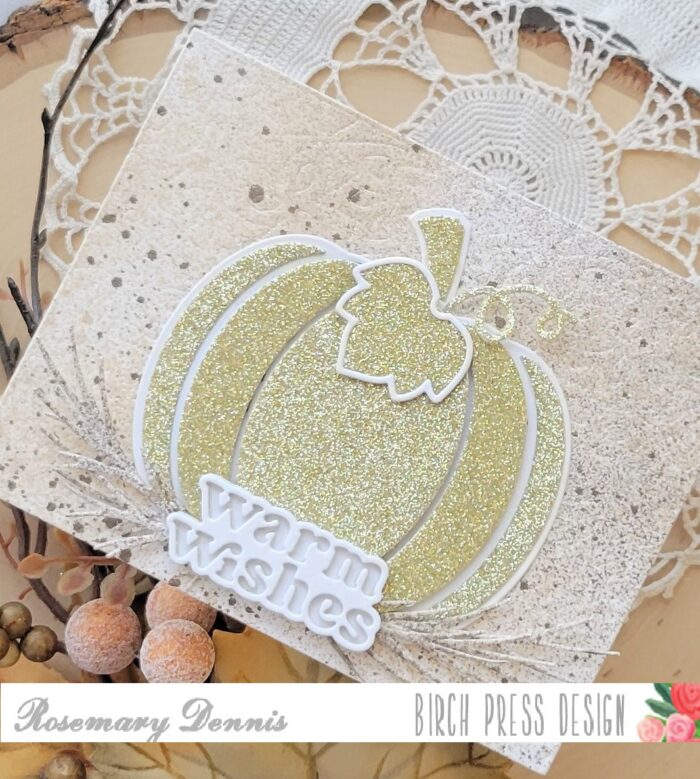
I adhered the pumpkin to my background using strong double sided tape and then used liquid adhesive to glue all the branches into place. I struggled a bit with where to put the sentiment and finally decided to place it at the bottom of the pumpkin. I was going to spritz the white sentiment with more mica spray, but decided that because I used white cardstock that I did not spritz with mica spray to create my solid layer for the glitter pieces of the pumpkin the sentiment would be the same to provide additional contrast between the spritzed and non-spritzed elements.
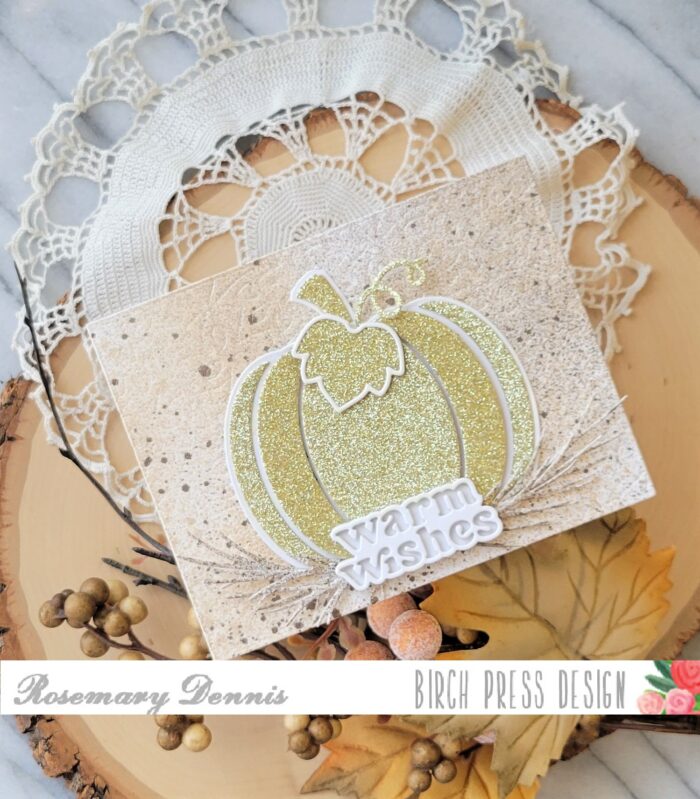
I hope you enjoyed today’s project. Thanks for stopping by and have a wonderful day!

Supplies
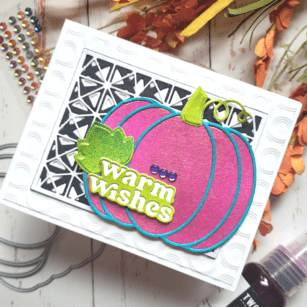
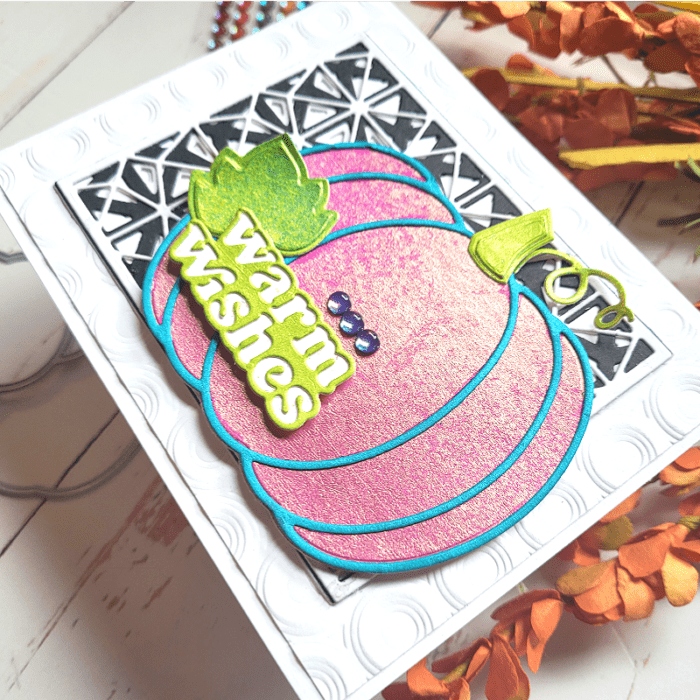
Hi friends! As we near the end of summer and welcome fall into (most of) our lives, I wanted to share a card using the NEW Adornment Pumpkin. But…I am adding a playful twist by experimenting with color! So today I will share my version of the ideal pumpkin using Adornment Pumpkin die set, Splendor Bevel Plates, Memory Box Ringadings embossing folder, and Warm Wishes sentiment die!
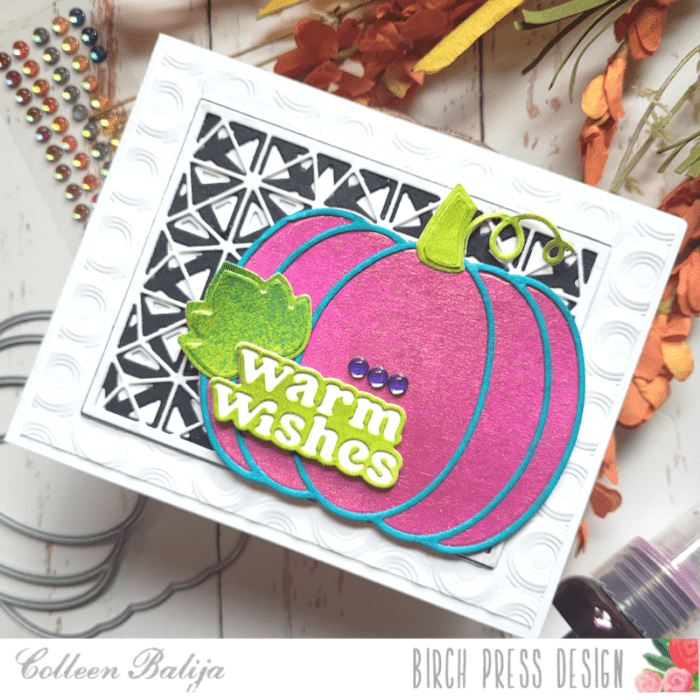
The first step was to decide on the color of my pumpkin. Using my Hero Arts shimmer sprays as inspiration, I created a fuchsia and aqua pumpkin with shimmery green foliage! To achieve that fun pop of color, I die cut the pumpkin layers onto white watercolor paper, placed them in a box that I use solely for my sprays (keeps the mess down!), and sprayed the pumpkin layers with the fuchsia and aqua sprays. When they dried, I adhered the layers together. Also, to give the pumpkin more depth and support, I die cut the base layer 2 more times and adhered them all together. Here is a closer look at the shimmer and shine of that pumpkin!!!
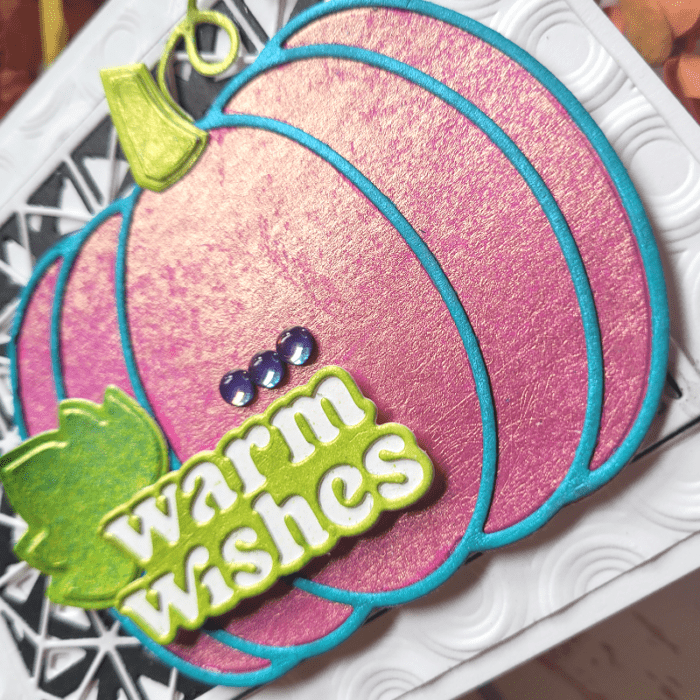
Isn’t she a beauty? Next, I created the sentiment using the new Warm Wishes layered die. The base layer of the sentiment is white, and the 2nd layer is done with the green spray. I used only the negative part of “Warm Wishes”. But you could also pop the in the positive portion as well and use a different color!
Now I was ready to work on a complimentary background!
The background needed to be neutral since the pumpkin was so bright that you need sunglasses to look at it, ha ha! I dry embossed a piece of white cardstock with Memory Box Ringadings embossing folder, trimmed the panel to 5.25×4, and placed it over a 5.5×4.25 white card base. Then I created a geometric frame over the embossed image using Splendor Bevel Plates on black and white cardstock. I love the geometric look and the texture that both the embossing folder and dies added!!!
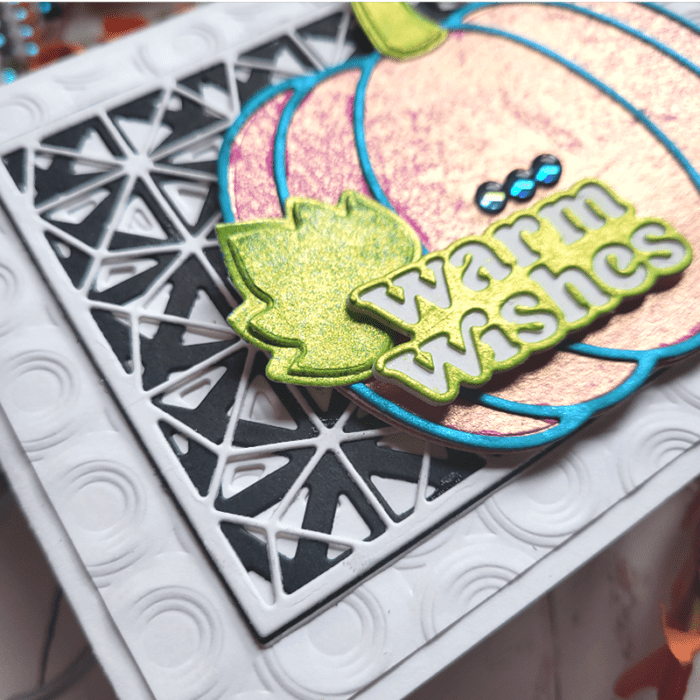
The last step was to place the pumpkin and sentiment over the background that I had just created. I offset the pumpkin to the right of the Splendor Bevel Plates just for interest, and added the green stem with foam tape so it was in alignment with the pumpkin. I placed the sentiment and the leaf together at the bottom left of the pumpkin and finished with Memory Box Treasury Chest Fairy Gemstones over the sentiment.
Next time I make a card using this pumpkin, I may play with color once again! Who says a pumpkin has to be limited to orange, right? Thanks so much for stopping by today!
Supplies