Category: Rainbow

  • H-E-L-L-O | by Crystal Komara

    H-E-L-L-O | by Crystal Komara

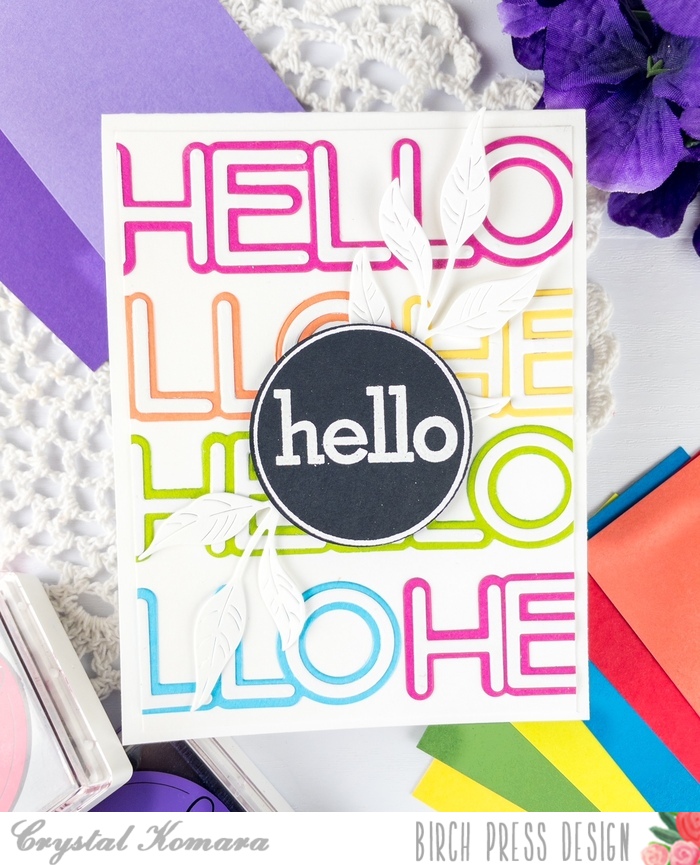
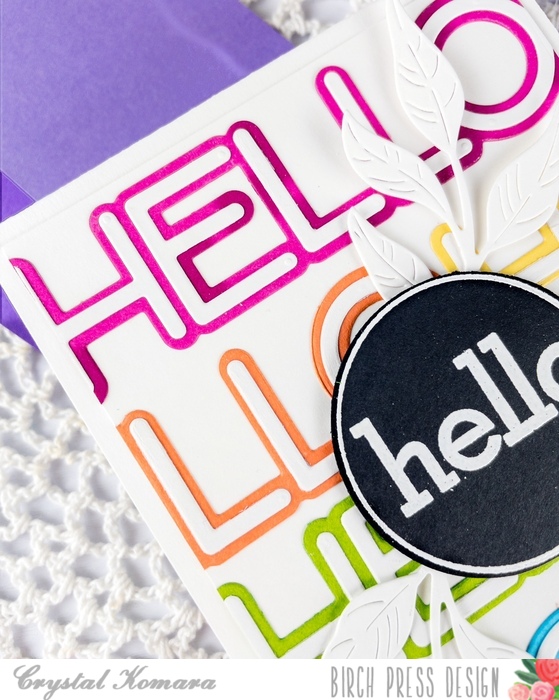
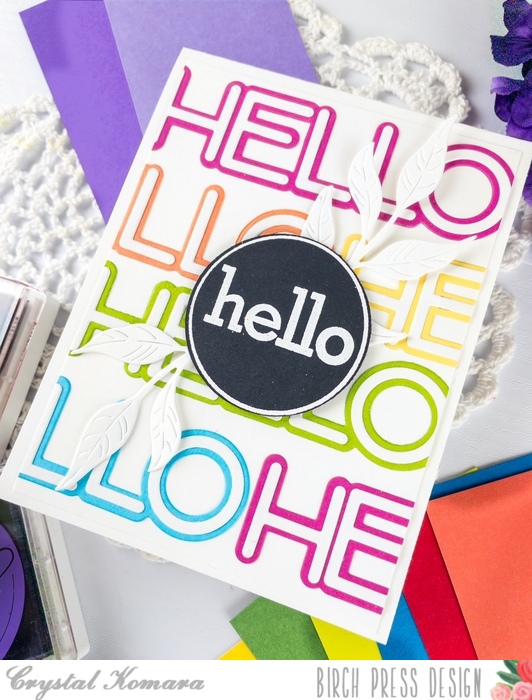
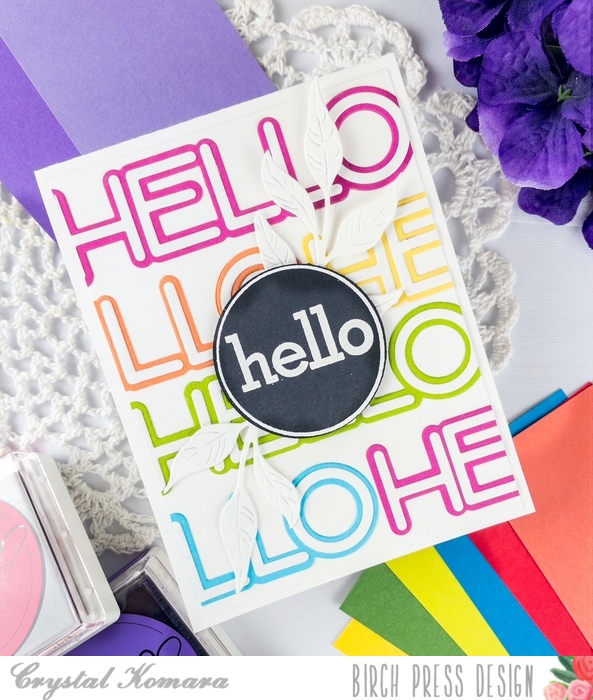
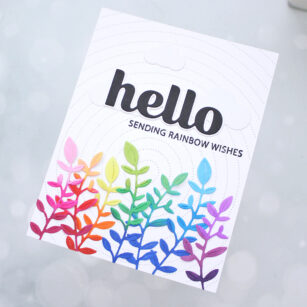
    H-e-l-l-o readers and happy June! This card will welcome you to summer many times over in an array of rainbow colors! This is DT member Crystal Komara here with you today sharing this fun clean and simple (CAS) card using the Jumbo Lingo Hello die and two single white curved leaf branches.

    Card details:

    The base of this A2 sized card is made from 80 lb. Neenah Solar White Smooth cardstock. Using the Jumbo Lingo Hello die, I die cut the sentiment many times from a variety of cardstock colors. To keep it simple, I die cut all the shadow bases from color cardstock and the thinner top layer all from white cardstock. I then arranged the “hello’s” in a pattern that seemed pleasing to my eye, while also not accidentally spelling out a bad word!

    Using the Contempto Greetings Stamp set, I stamped the hello circle in Versamark ink on black cardstock and then heat embossed it using white embossing powder. I used the coordinating die to die cut the sentient out. I adhered the sentiment to the center of the card using 3M foam adhesive to pop it up. I then die cut two white leaves using the Curved Leaf Branch and tucked them underneath the sentiment. Easy and colorful!

    I like how this card turned out, it’s fun for summer with those rainbow colors and what a cheerful way to greet anyone. Thanks for visiting and have a wonderfully creative day!

    Supplies

  • Eloquent Alcohol Ink Butterflies | by Crystal Komara

    Eloquent Alcohol Ink Butterflies | by Crystal Komara

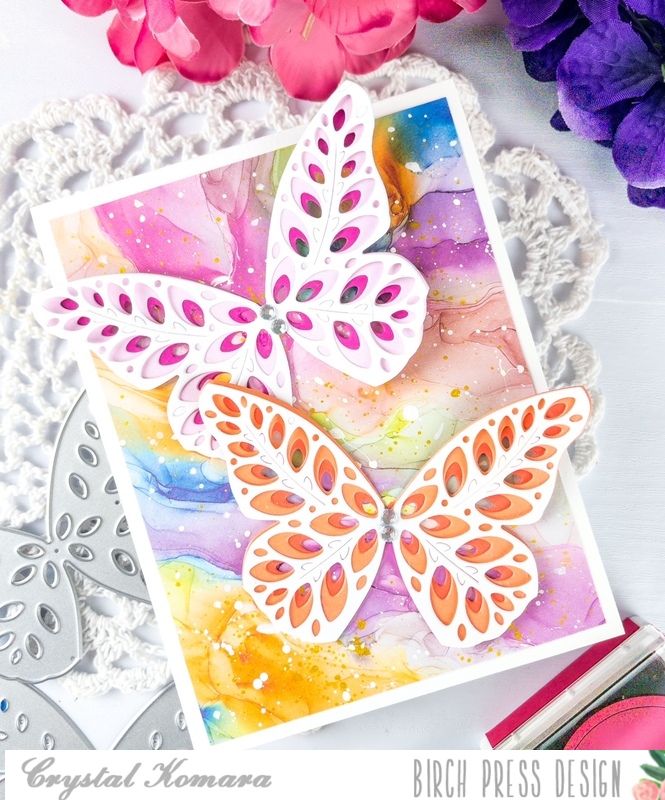
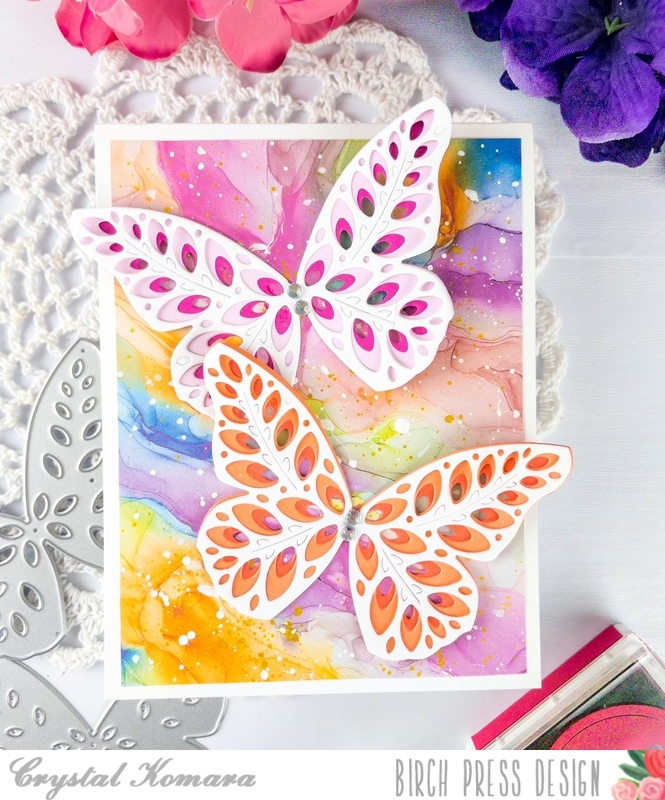
    Hello Birch Press Design readers! This is DT Member Crystal Komara here today and I’m so excited at how today’s card turned out. I’m going to kind of toot my own horn here, for just a second, but it currently is my absolute favorite card! I know, I know, this changes over time and with each new card that I make, but for today, I’m gonna let this card have its moment and shine as my “favorite!”

    I have long used alcohol inks in my card making. I think they make for beautiful background and accent pieces. If you’d like to see more examples, please click on any of the following descriptive links:

    ~Alcohol Ink Leaves

    ~ Alcohol Ink Easter Eggs

    ~Alcohol Ink Birthday Balloons

    ~Alcohol Inks Hearts and Butterflies

    ~Alcohol Ink String Art

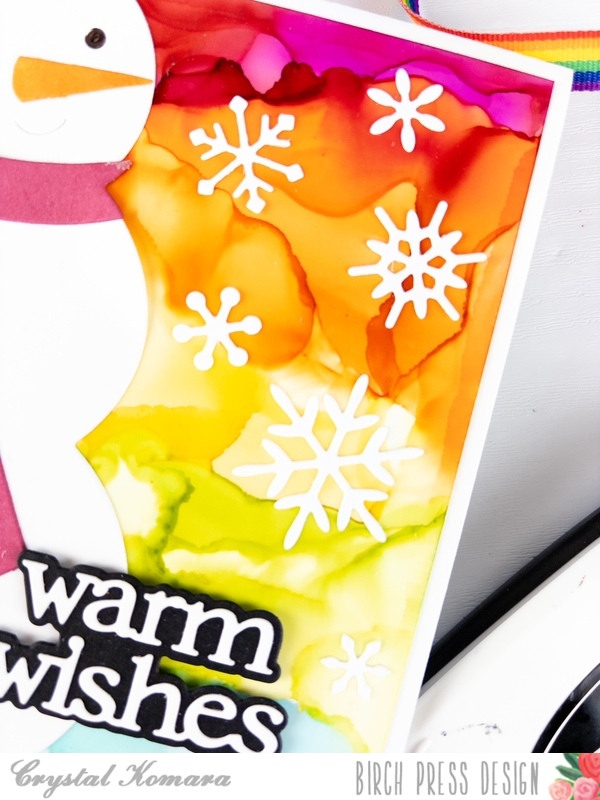
    When I have the time, I sit down and make a ton of alcohol ink art pieces, I’m talking like anywhere between 50-100 pieces at a time and then I put them in a bin and tuck them away. When I need to make a “quick card,” I simply pull from the pre-made bin and finish my card. Many of the alcohol ink backgrounds I create often feature rainbow colors, similar to today’s.

    Card details:

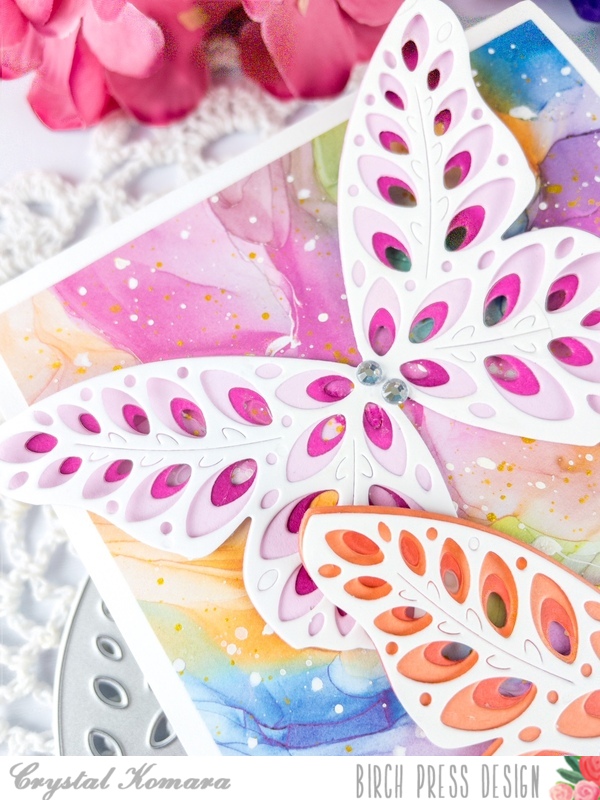
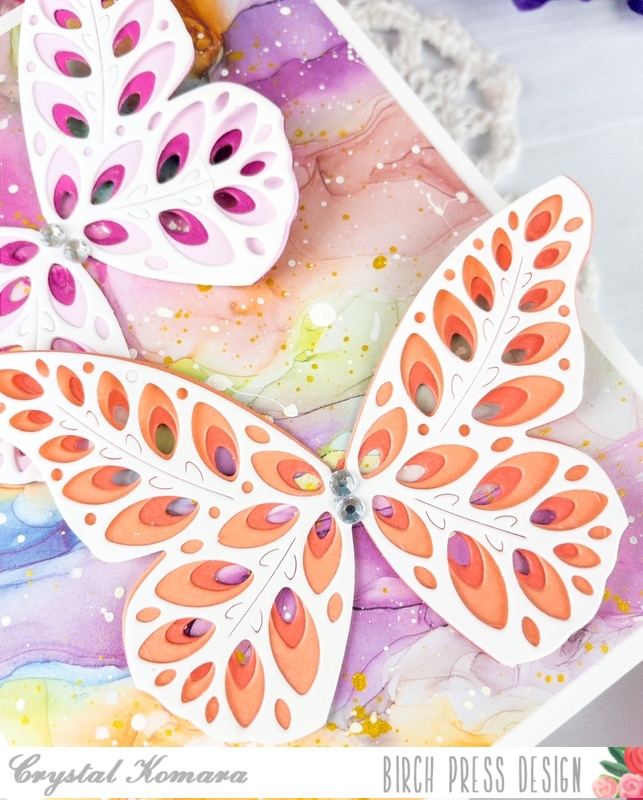
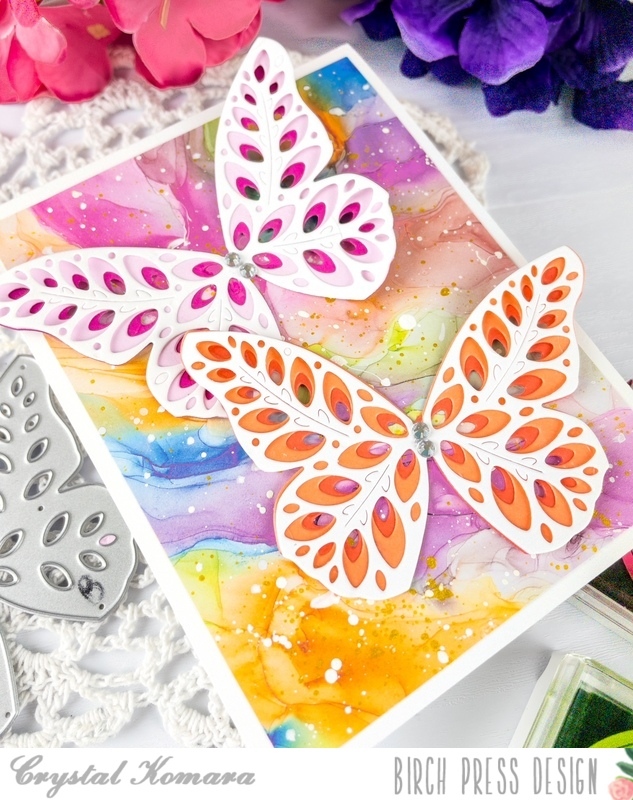
    The base of this A2 sized card is made from 80 lb. Neenah Solar White Smooth cardstock. I then cut one of the pre-made alcohol ink pieces down to 5 1/4″ x 4″ and adhered it directly to the card base. Next I created two butterflies using the Eloquent Butterfly Layering set. The first butterfly was made from pink cardstock and the second butterfly was made from orange/peach cardstock. For both of the butterflies, I die cut Layer A (the top layer) from white cardstock. I adhered the butterflies to the card using 3M foam adhesive for added dimension. Lastly I added a couple clear rhinestones on the body of the butterfly for even more sparkle.
    I hope you will enjoy this card as much as I do! Now excuse me while I go make twenty more of this one to send to friends!! Thanks for visiting and have a wonderfully creative day.

    Supplies

  • Rainbow Hello | by Toni M Maddox

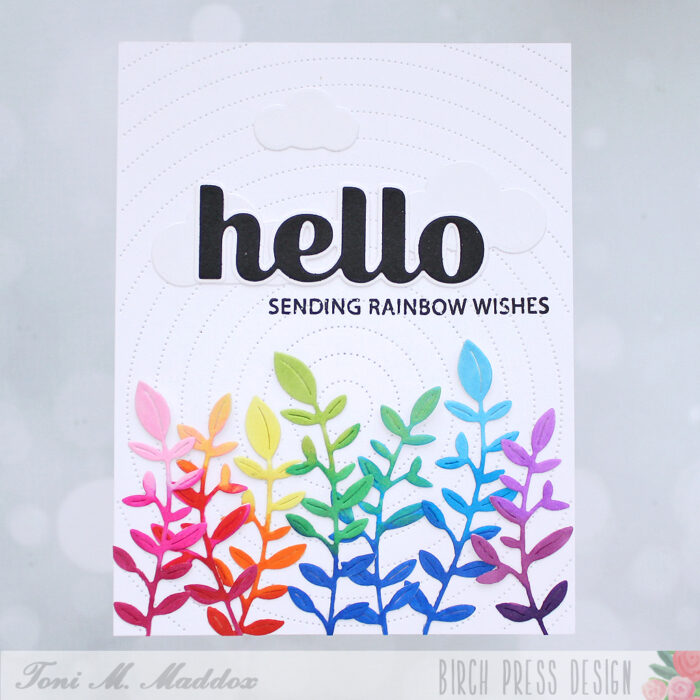
    Rainbow Hello | by Toni M Maddox

    Hello, Birch Press fans! Toni here with you today sharing a card that’s perfect for PRIDE month or any occasion really.

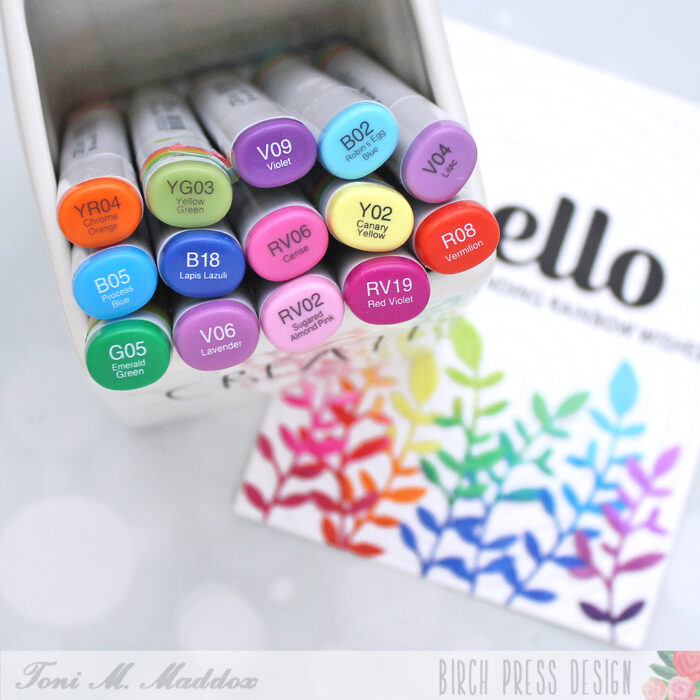
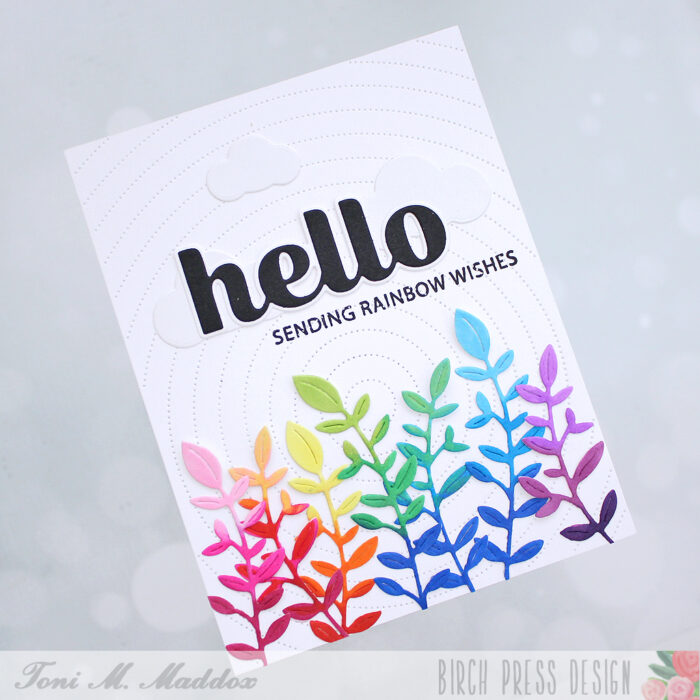
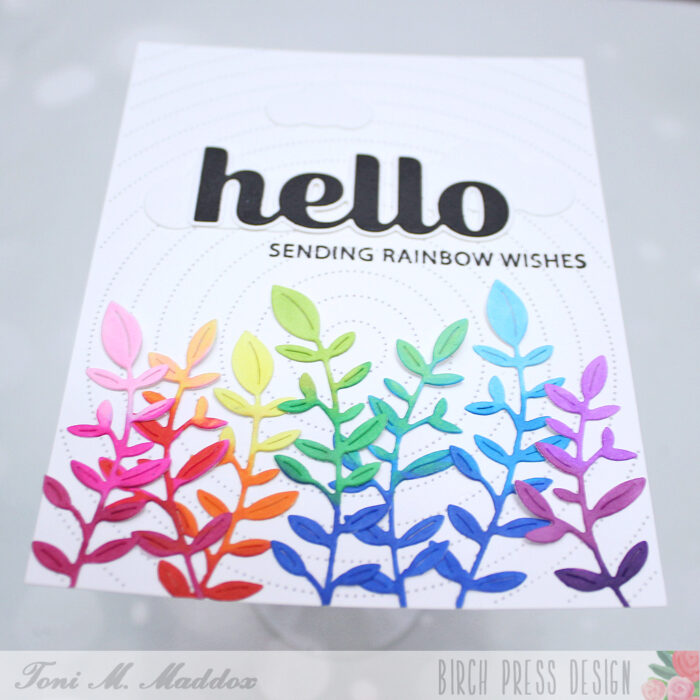
    I cut out a bunch of the Jovial Blooms & Leaves Contour Layers in Copic-friendly cardstock and colored them up with a bunch of bright colors. I thought about sponging but really wanted bright.

    I adhered those to the bottom of the card front which I had cut from the Pinpoint Radial Plate. The curves of that reminded me of a rainbow. I added a few clouds and sentiment from the Rainbow Days (with dies) set with the bold Sugar Script Big Hello on top.

    I hope you enjoyed today’s card and have a great rest of your week!

    Supplies

  • Sparkly Butterfly Greetings | By Natasha Vacca

    Hello Birch Press friends, it is Natasha here today to share a card with you using lots of color and sparkle! For today’s card I am using the Butterfly Basics die set! Let’s get started!

    I started by creating 2 colorful background panels using Distress Mica Stain. I used 3 different colors to create my backgrounds. I spritzed each panel, allowed them to dry, then picked up some color with water. I repeated this process until I was happy with each panel.

    Once each panel was dry, I die cut 2 butterflies using the Butterfly Basics die set. I love these large butterflies! I then die cut the antennae for each butterfly using the Memory Box Vintage Pastel Mirror Pad. I then adhered the antennae to the butterfly using liquid glue. I set these aside to work on my background.

    Next I ran a piece of white card stock through my die cutting machine with the Memory Box Geometric Crystals embossing folder. I then tore a section of the panel off for a distressed look. I trimmed the panel down and then chose a piece of coordinating pattern paper. I then adhered these to an A2 card base.

    To complete my card I added foam tape to the back of each butterfly then adhered them to my card front. I chose a sentiment from my stash and added a piece of pattern paper to compliment my design.

    I had so much fun creating today’s card! I will be back soon with more crafty inspiration!


    Supplies


    Supplies


  • Rainbow Roundabout | by Crystal Komara

    Rainbow Roundabout | by Crystal Komara

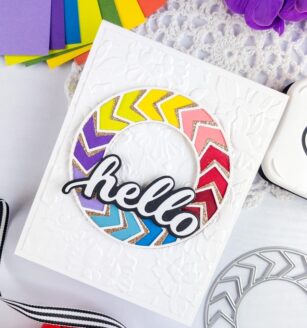
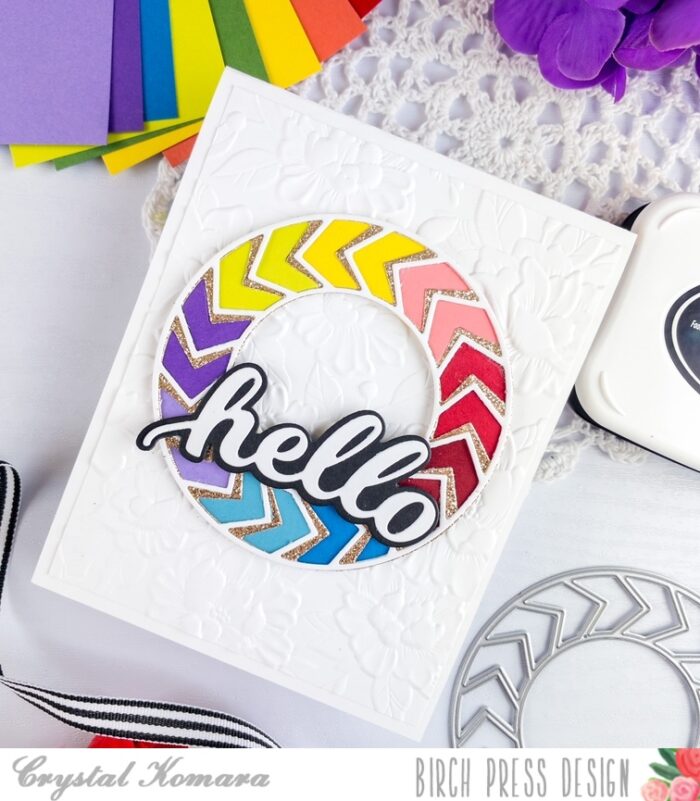
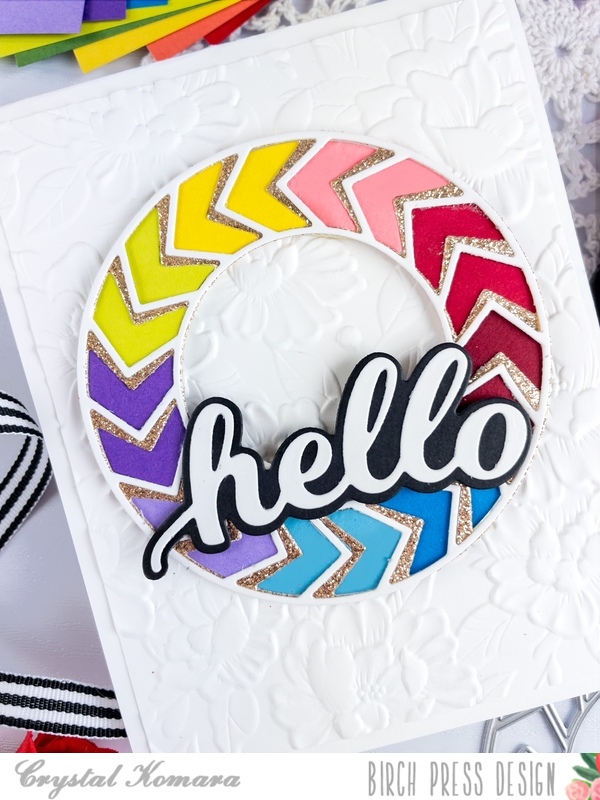
    Hello readers! This is Birch Press Design Team member Crystal Komara here with you today sharing some rainbow inspiration using the Roundabout Layer Set. I love creating rainbow colored cards, I just find them so cheerful and uplifting!

    Card details:

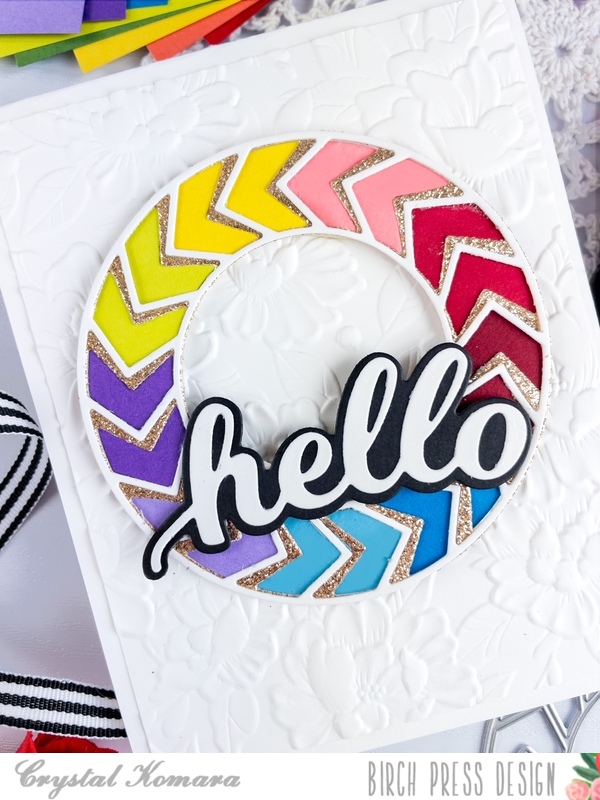
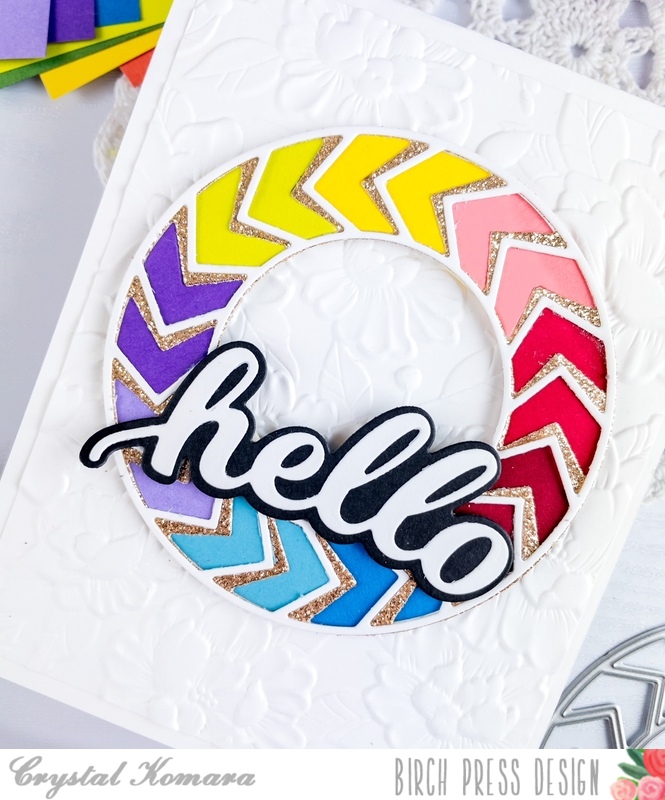
    The base of this A2 sized card is made from 80 lb. Neenah White Solar Smooth cardstock. Using the same Neenah white cardstock, I cut a 5 1/4″ x 4″ piece and ran it through my Big Shot using the Blooming 3D embossing folder from Memory Box Co. (a sister company of Birch Press Design).

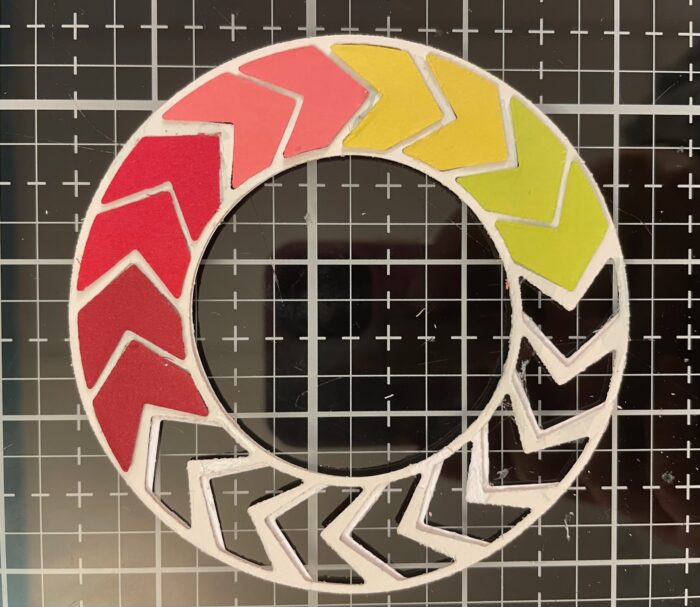
    Continue reading below to see how I created and assembled the rainbow roundabout itself, it was a little bit tricky!

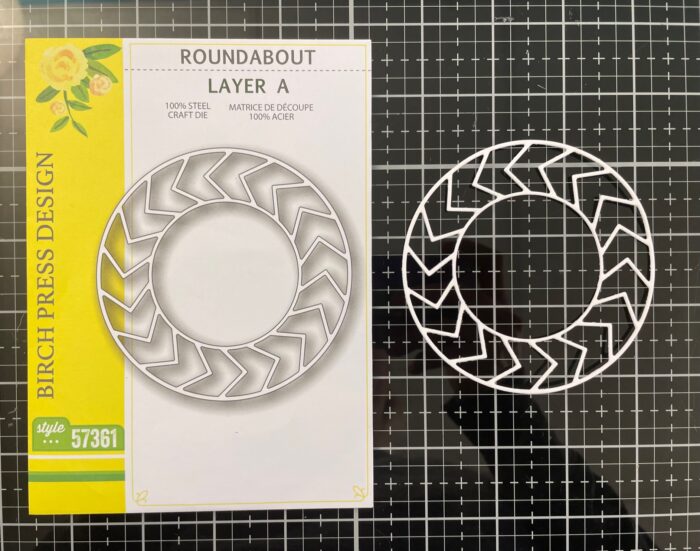
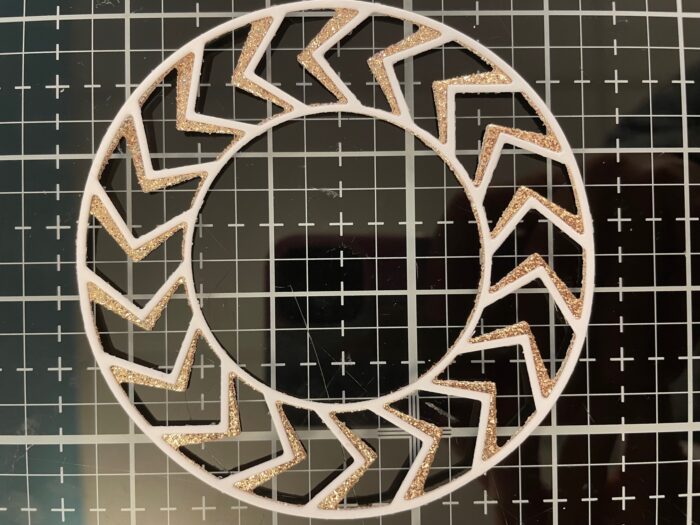
    Step 1: Die cut Layer A of the Roundabout Layer Set from white cardstock.
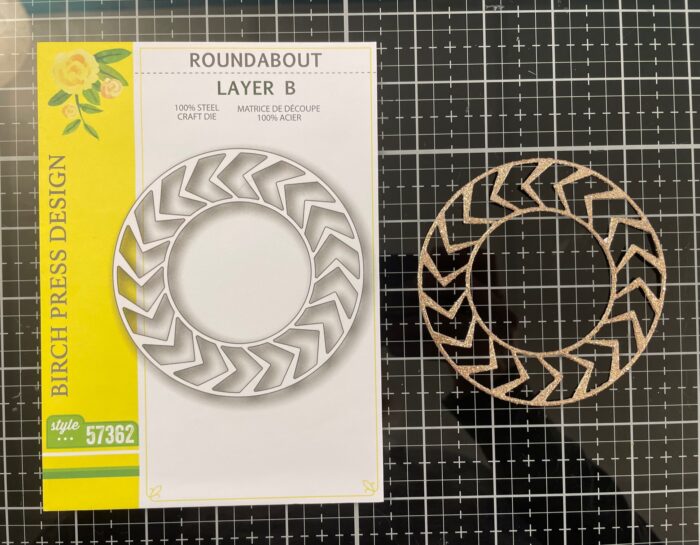
    Step 2: Die cut Layer B of the Roundabout Layer Set from gold glitter cardstock.
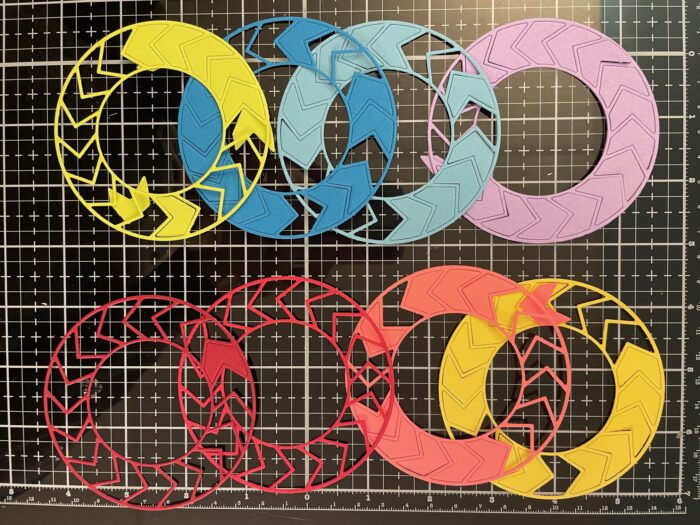
    Step 3: Die Cut Layer A from the Roundabout Layer Set from all the colors of the rainbow – ROYGBIV. Red, orange, yellow, green, blue, indigo and violet.
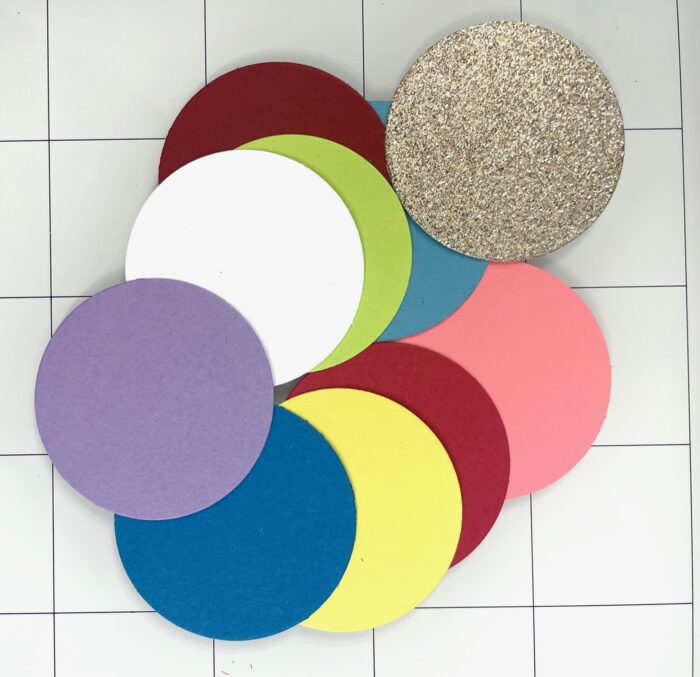
    Step 4: Save the large solid circles for another card!
    Step 5: Adhere Layer A (white cardstock) over Layer B (gold glitter cardstock) using a fine-tip liquid glue.
    Step 6: Piece all the little shapes back into the die in a rainbow array.

    I then adhered 3M foam adhesive to the back of the roundabout and adhered it to the center of the card.

    Using the Hello Honey Script word die, I die cut the back shadow layer from black cardstock and the thinner top outline from white cardstock. I adhered both layers together with a fine-tip liquid glue and then adhered the entire sentiment to the card using 3M foam adhesive for added dimension.

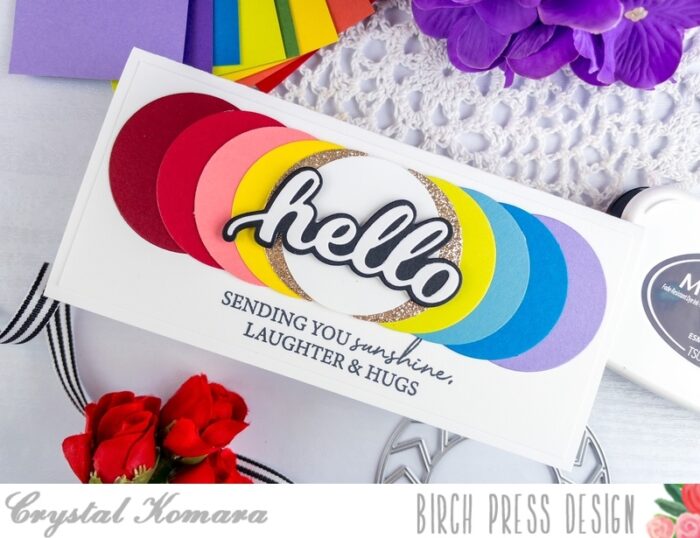
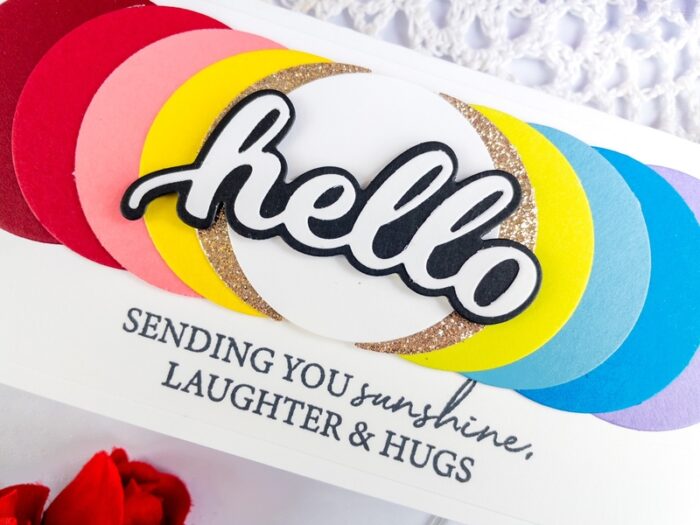
    I also created a second card using the leftover solid circles that were die cut from the Roundabout Layer Set.

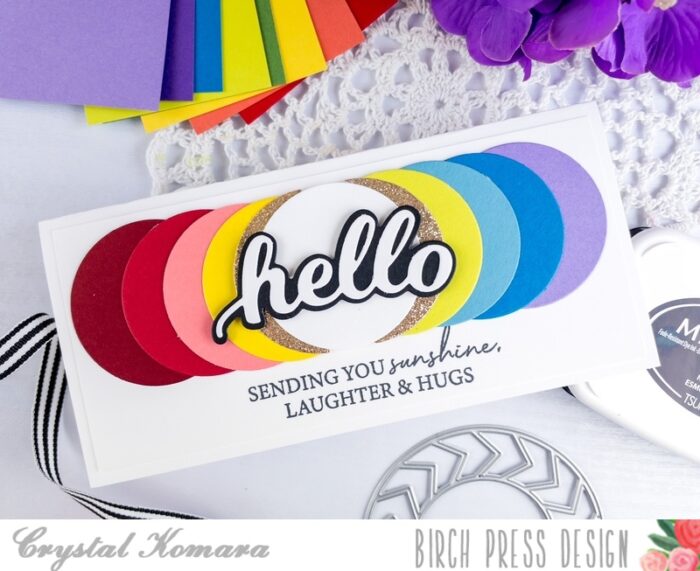
    This mini slimline card measures 6 1’2″ x 3″. Honestly, I made up my own dimensions on this card, so don’t take these measurements as being any sort of a “professional” size! I placed all the die cut circles leftover from the Roundabout Layer Set in a rainbow array horizontally across the card. I stamped the sentiment “sending you sunshine, laughter and hugs” in Memento Tuxedo Black ink. This sentiment is from the Kind Hearts clear stamp set.

    Using the same Hello Honey Script word die, I die cut the back shadow layer from black cardstock and the thinner top outline from white cardstock. I adhered both layers together with a fine-tip liquid glue and then adhered the entire sentiment to the card using 3M foam adhesive for added dimension.

    I hope you have enjoyed these two very colorful ways to use the Roundabout Layer Set. Thanks for visiting and have a wonderfully creative day!

    Supplies