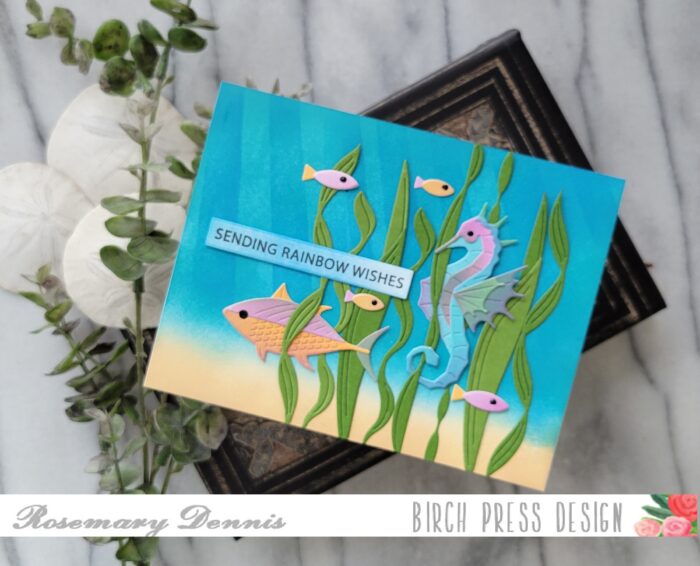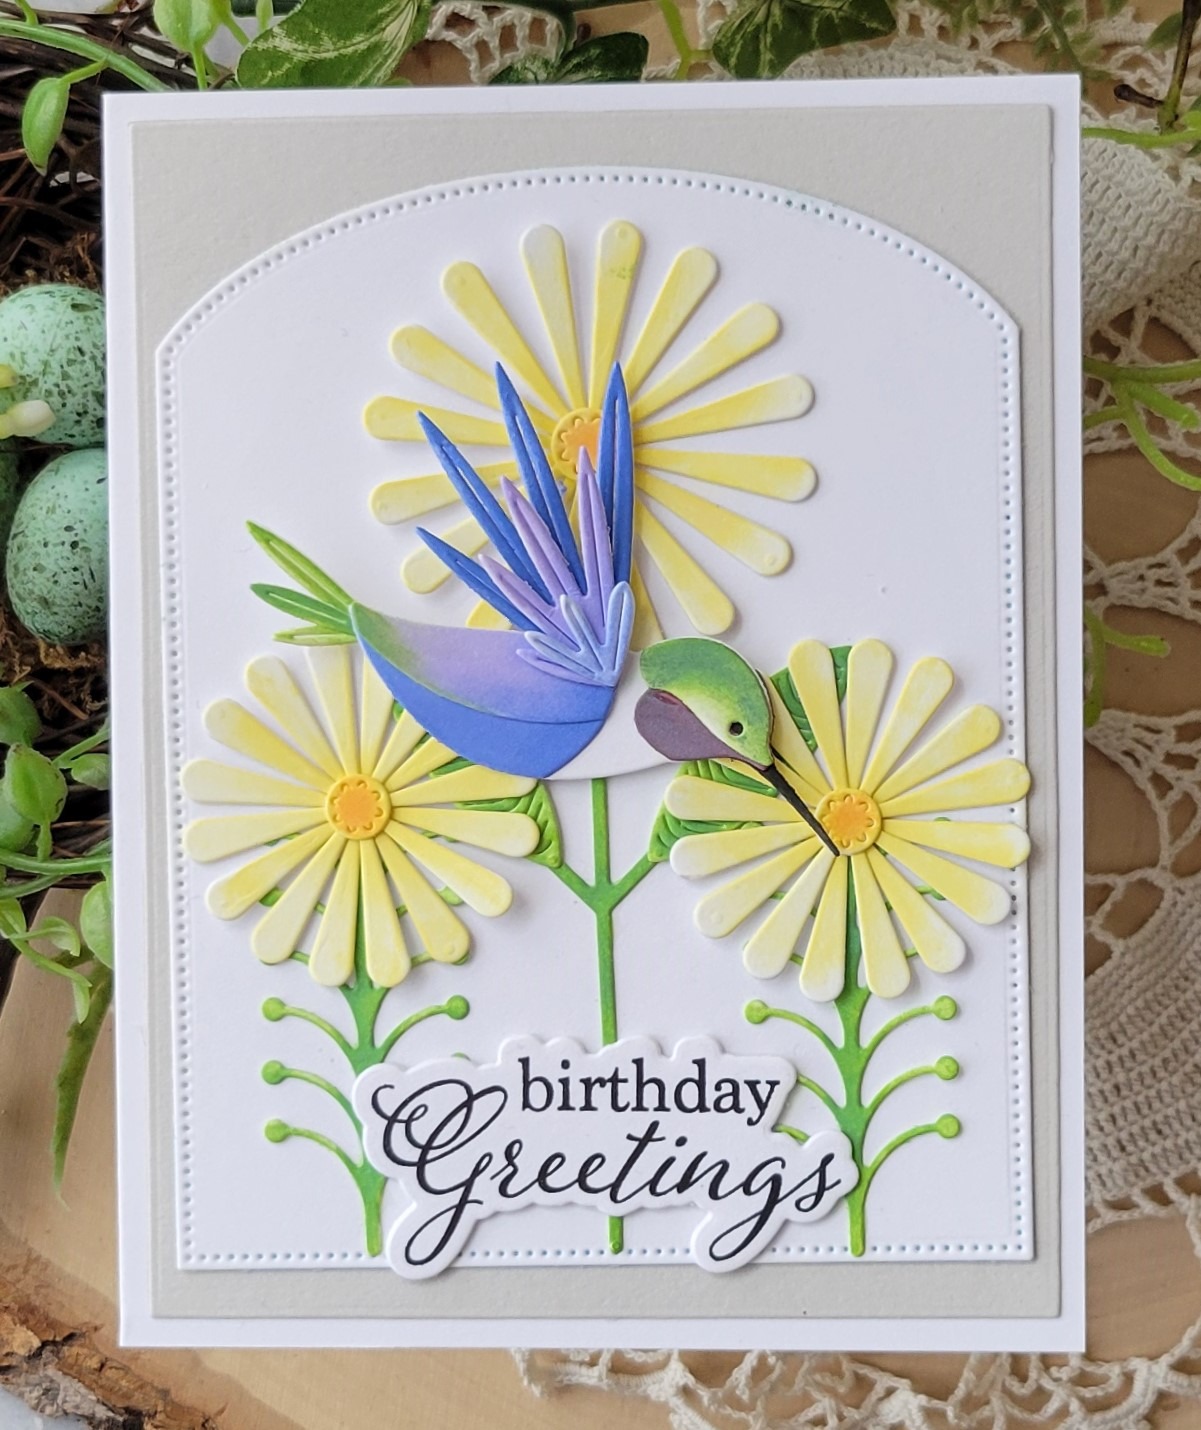
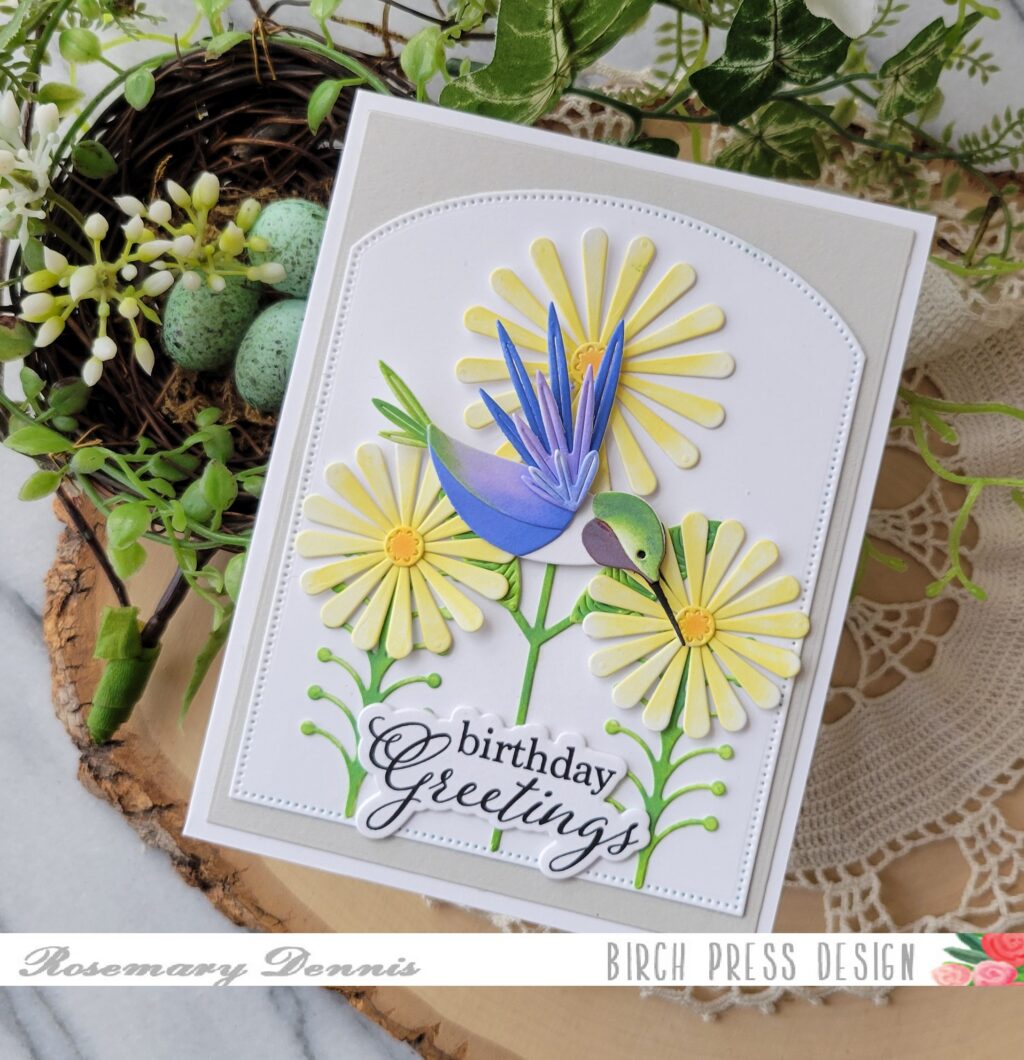
Hello everyone! February is winding down and I am starting to think of spring even though we really haven’t had much of a winter here in the Pacific Northwest. While there are lots of pretty dies in the newest Birch Press Design release the beautiful Soaring Hummingbird and Daisy Flower dies from the Block Print line caught my eye and I just had to use them first. Let’s look at what I created.
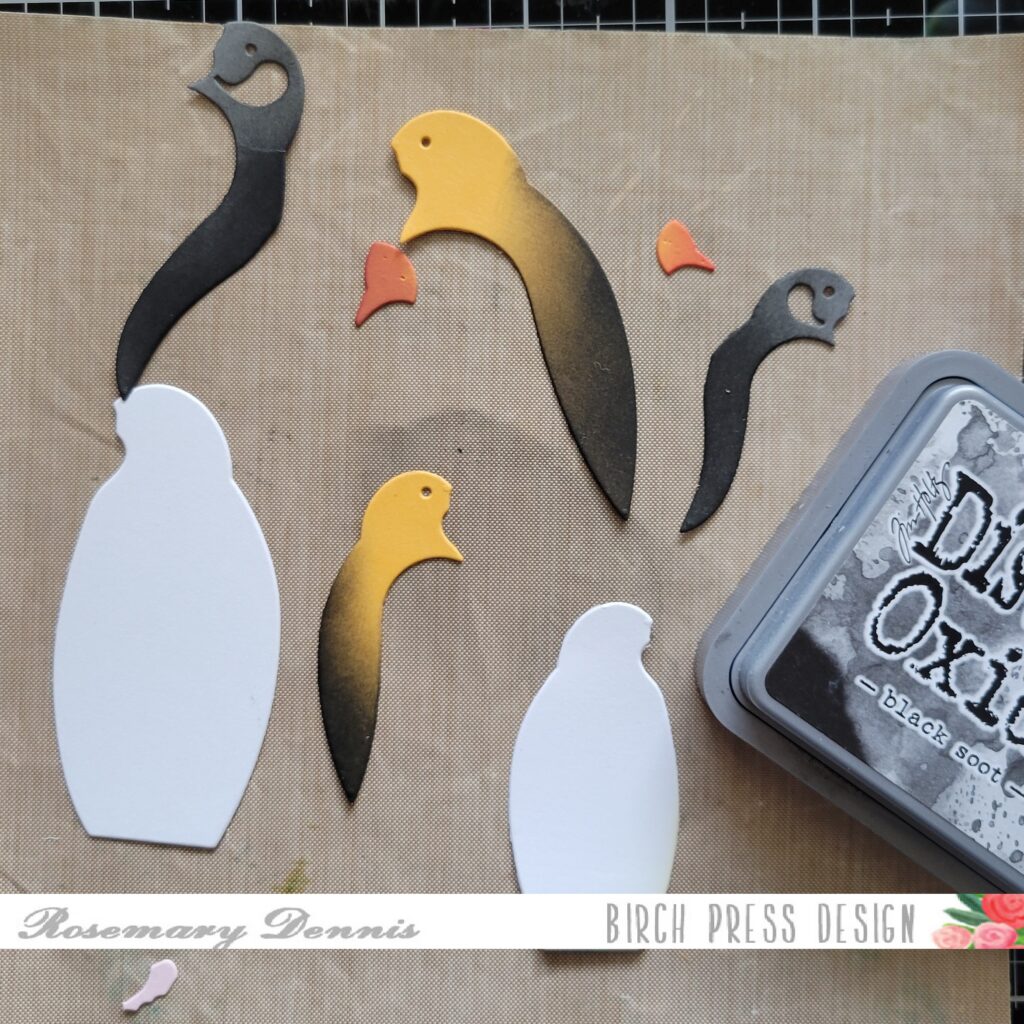
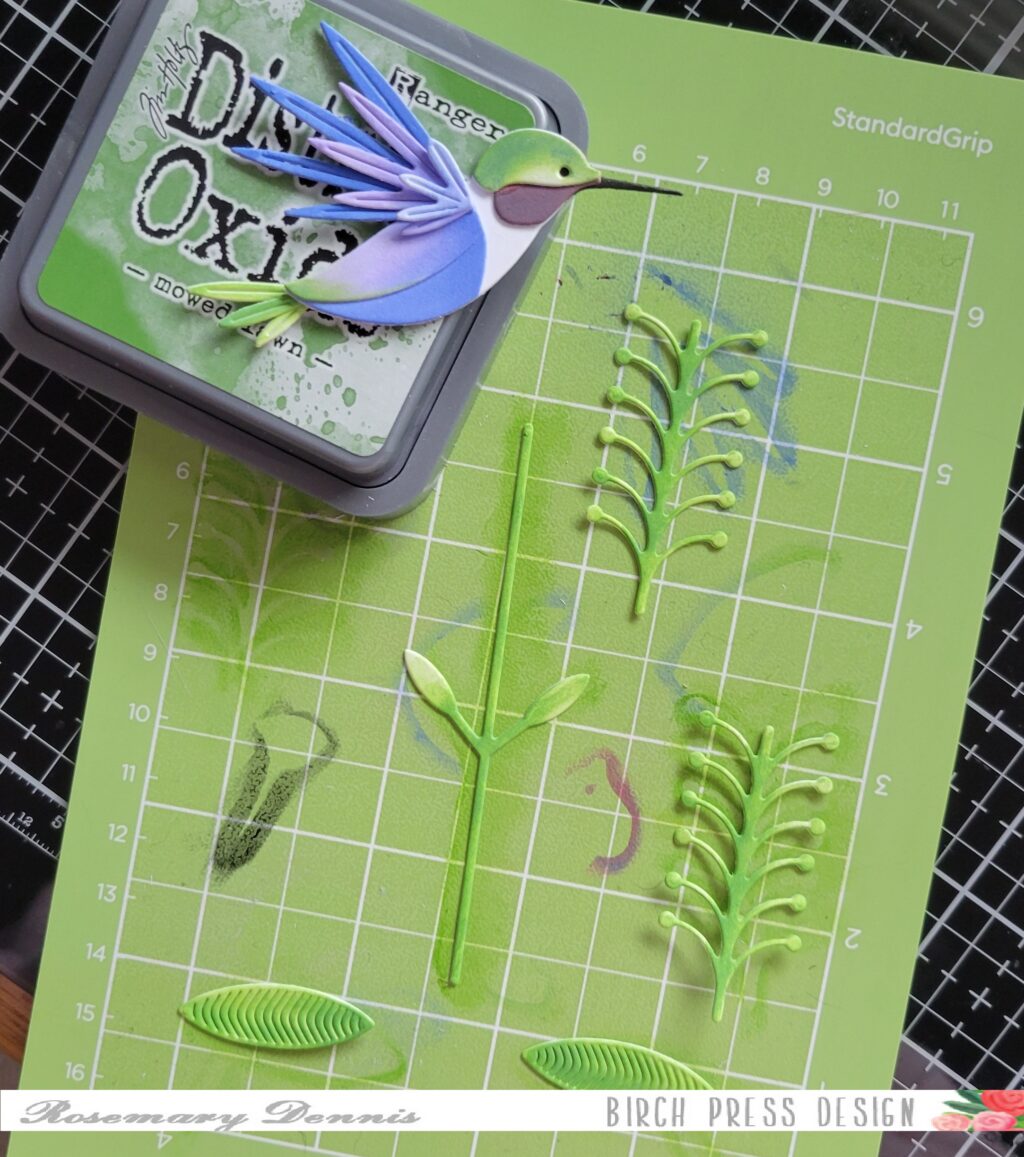
I love the other hummingbird die set from Birch Press Design (Block Print Hummingbird) and so was delighted to see this new hummingbird die. I started by die cutting all the hummingbird pieces from white cardstock. Initially I was just going to use them to help me determine how the bird went together, but then I decided to use distress oxide ink color the pieces instead of diecutting from colored cardstock which was my original idea. I used small blending brushes to color all the pieces.
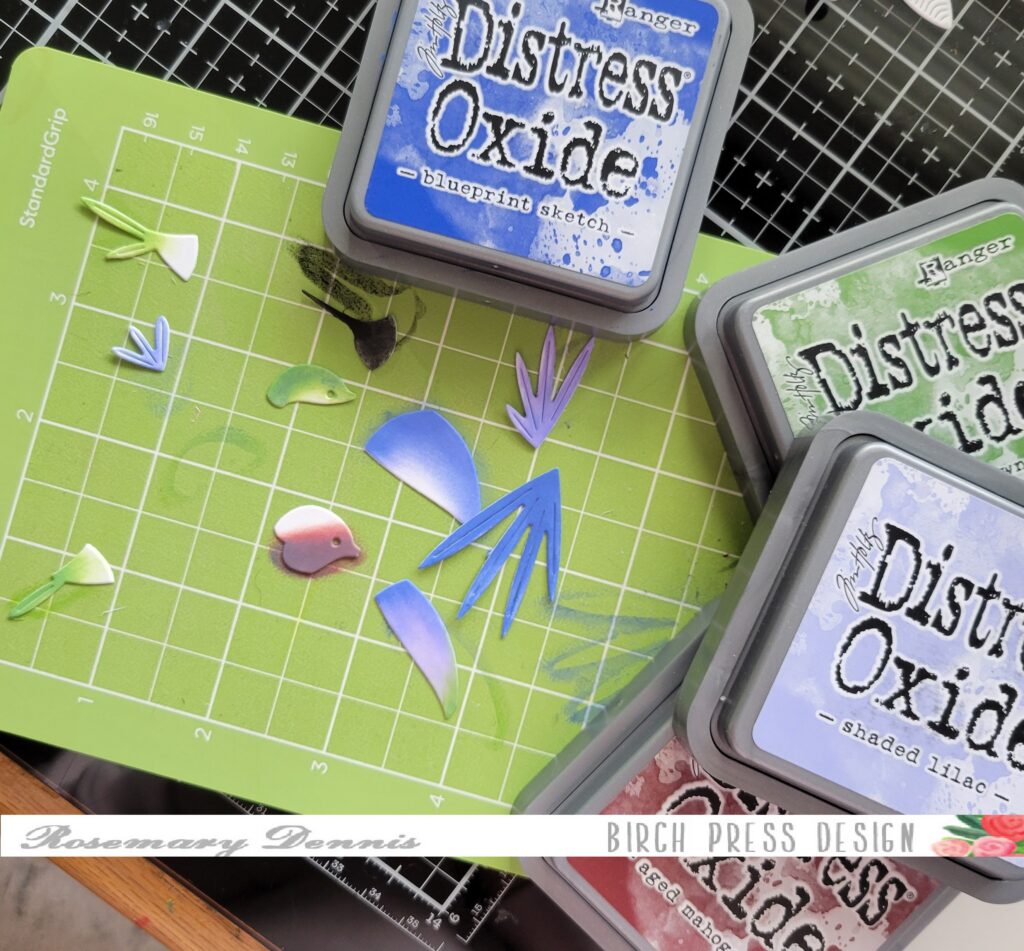
In the photo you can see some of the inks I used as well as the inkblended pieces.
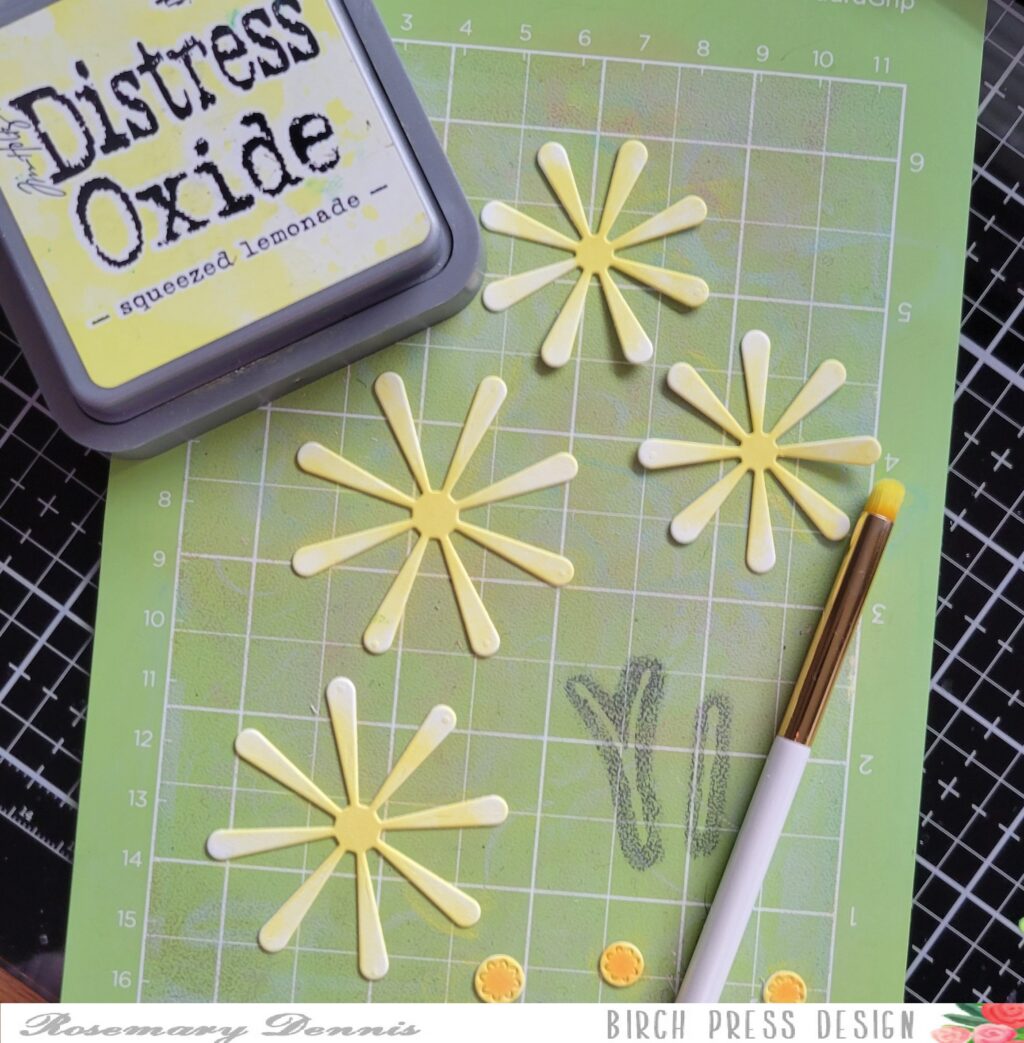
I die cut the daisies and centers from white cardstock as well. You will need two die cuts per flower to create the daisies on my card. I think it would be fun to die cut a third flower to create an even fuller daisy – like a gerber daisiy. In this photo you can see the small blending brush I used to color the die cuts. My blending isn’t perfect because in real life flowers are perfect, either!
The bird and the flowers were assembled using liquid adhesive and then set aside to dry.
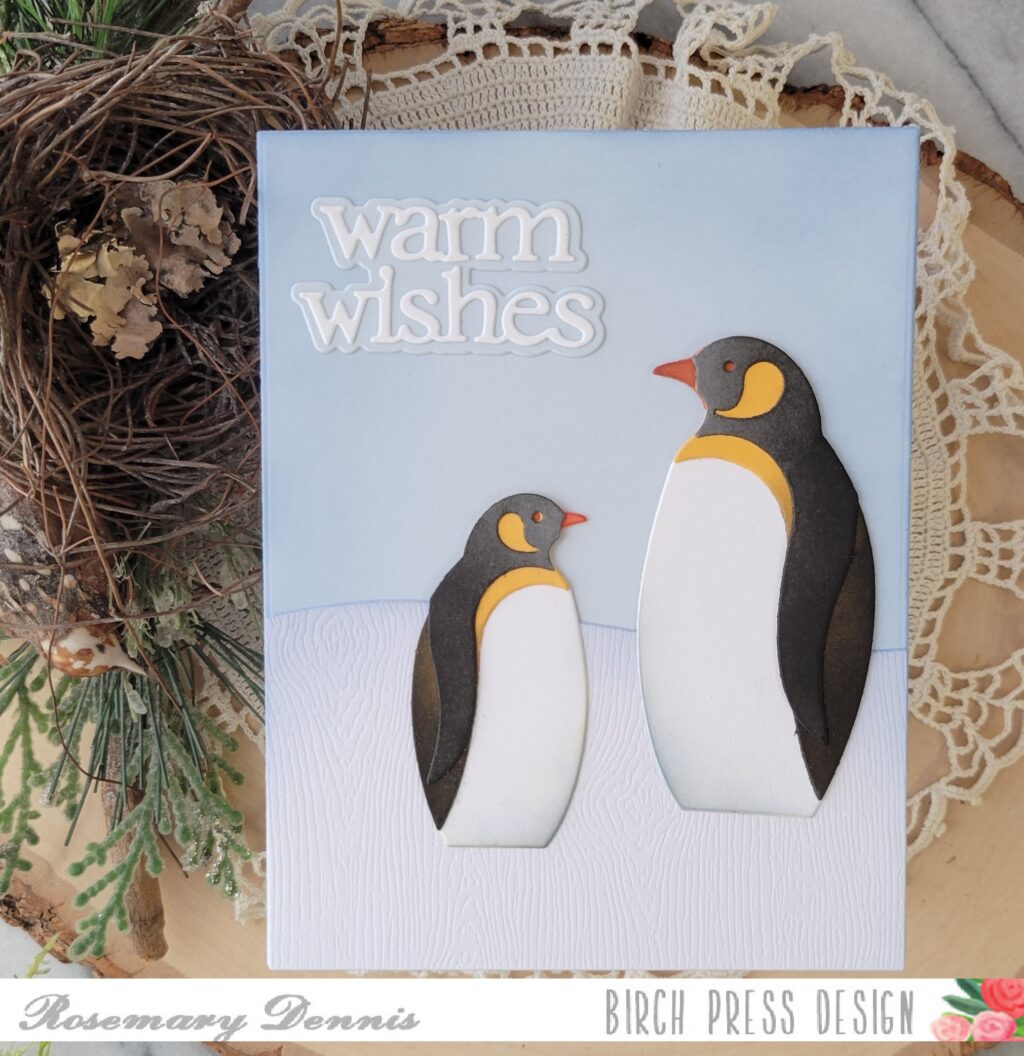
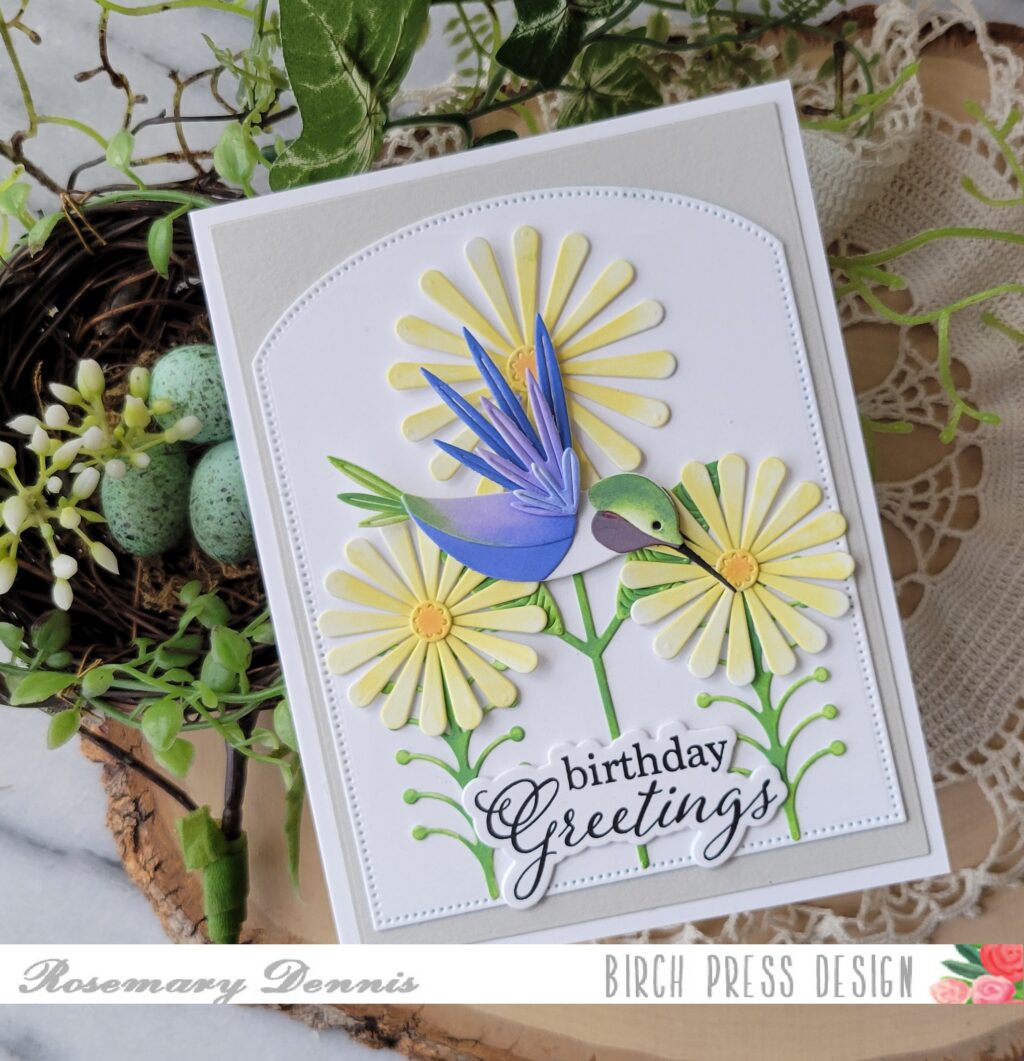
Then I die cut the stems and leaves added the inkblending and added the leaves to the tall stem. I die cut white cardstock using a Memory Box Curved Cap Pinpoint Layers die and then layered that onto light gray cardstock that I die cut with a rectangle die.
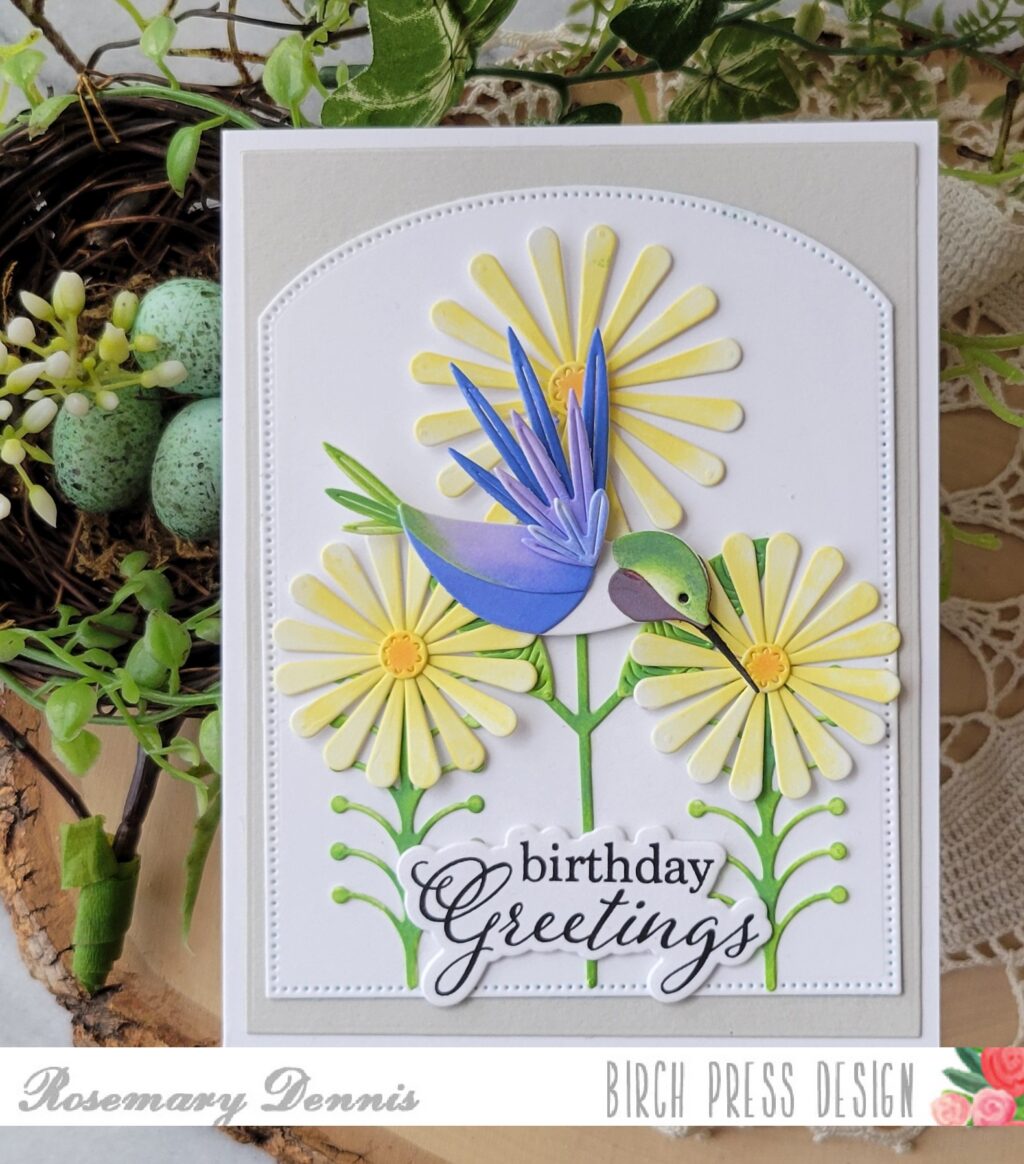
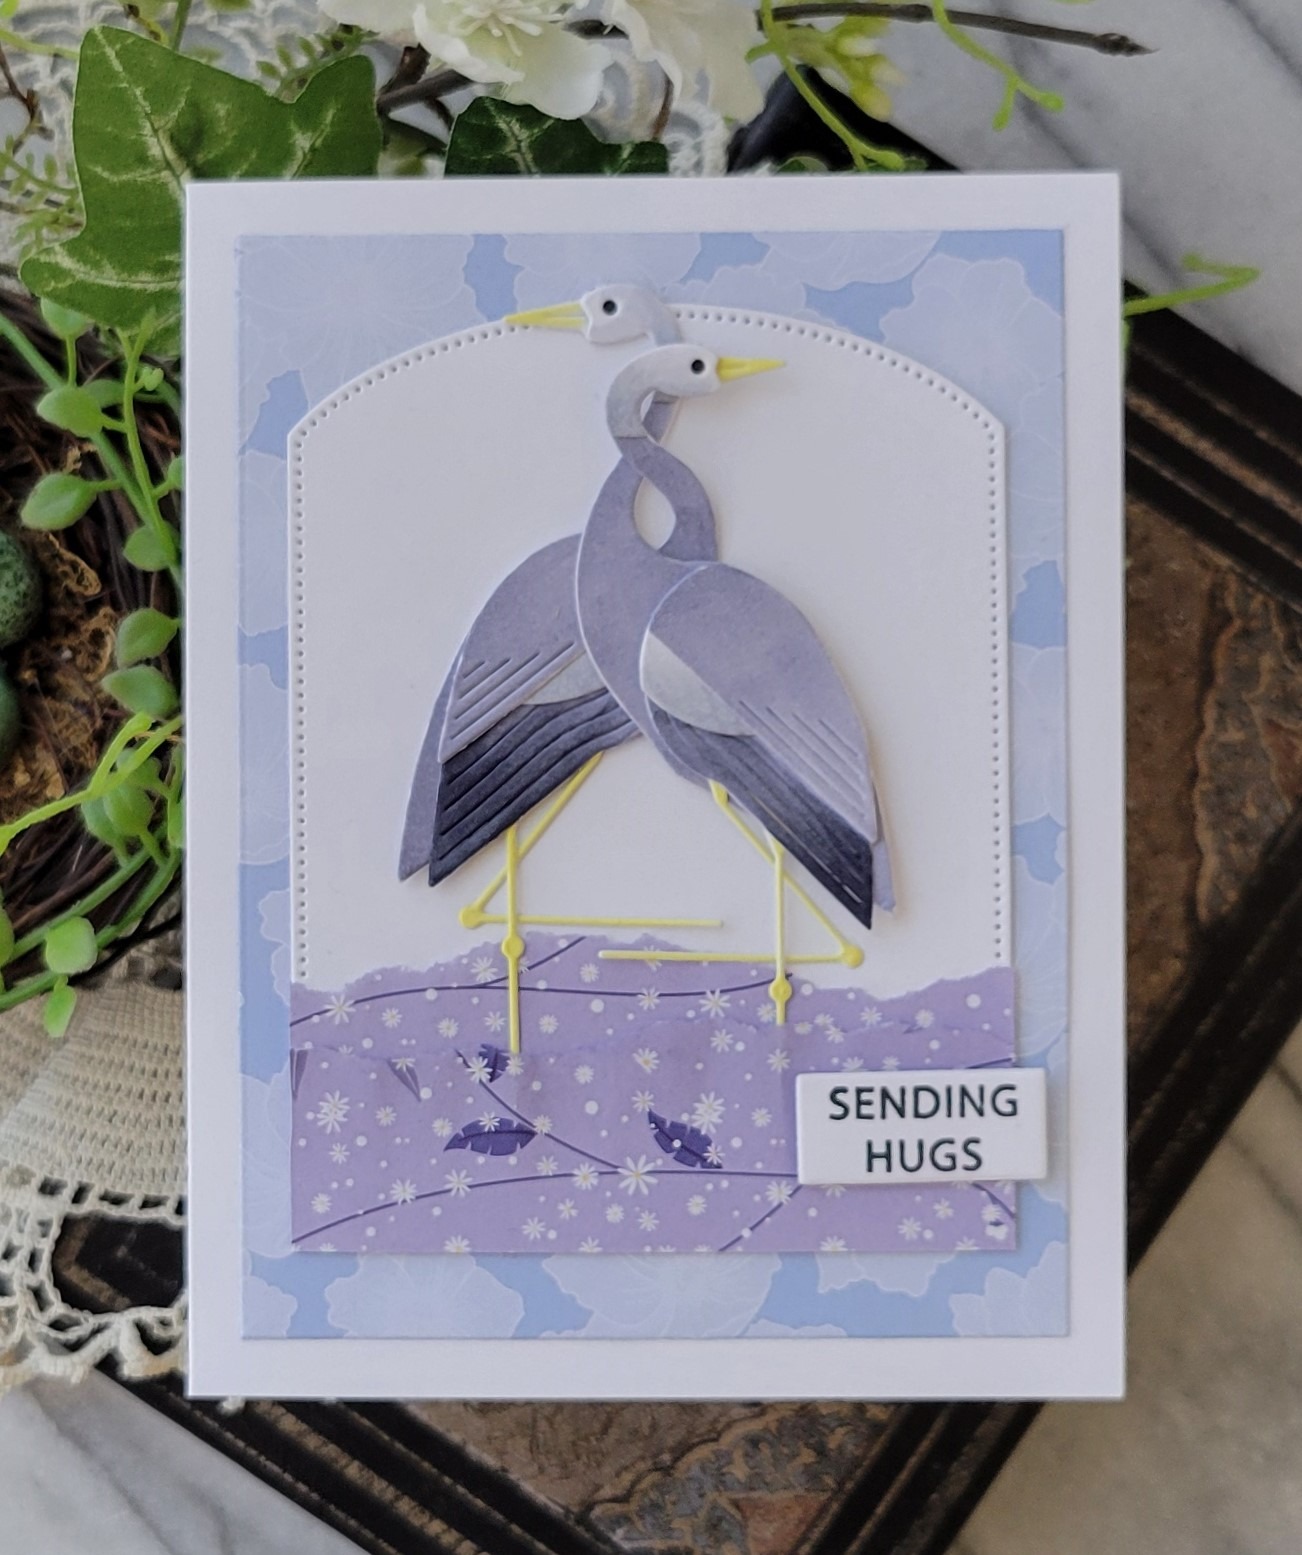
Now it was time to layer on all elements. I used liquid adhesive to adhere everything to the card front except for the hummingbird. For him I used a combination of liquid adhesive and foam squares. I stamped the greeting from the Elegant Birthday Sentiments stamp set with black ink and die cut it with the matching die. The die was used to die cut two more layers that were adhered behind the stamped sentiment and then adhered to the card with liquid adhesive.

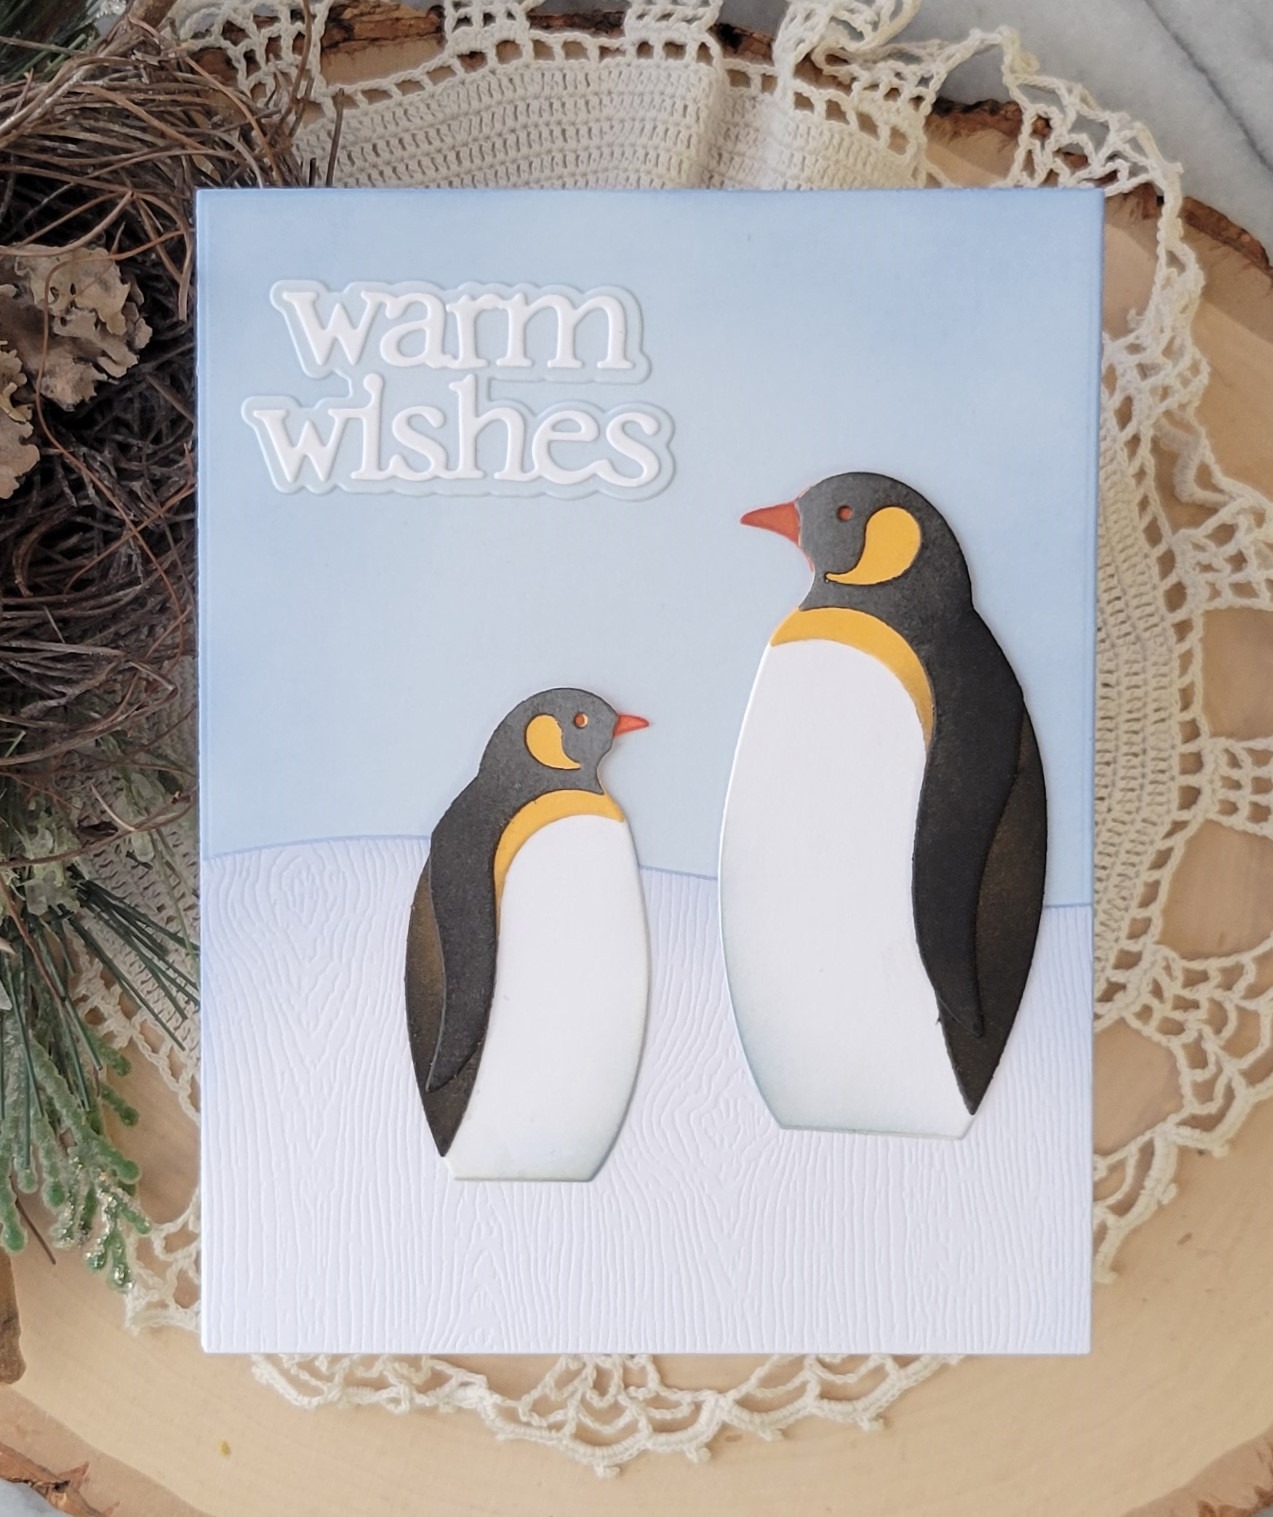
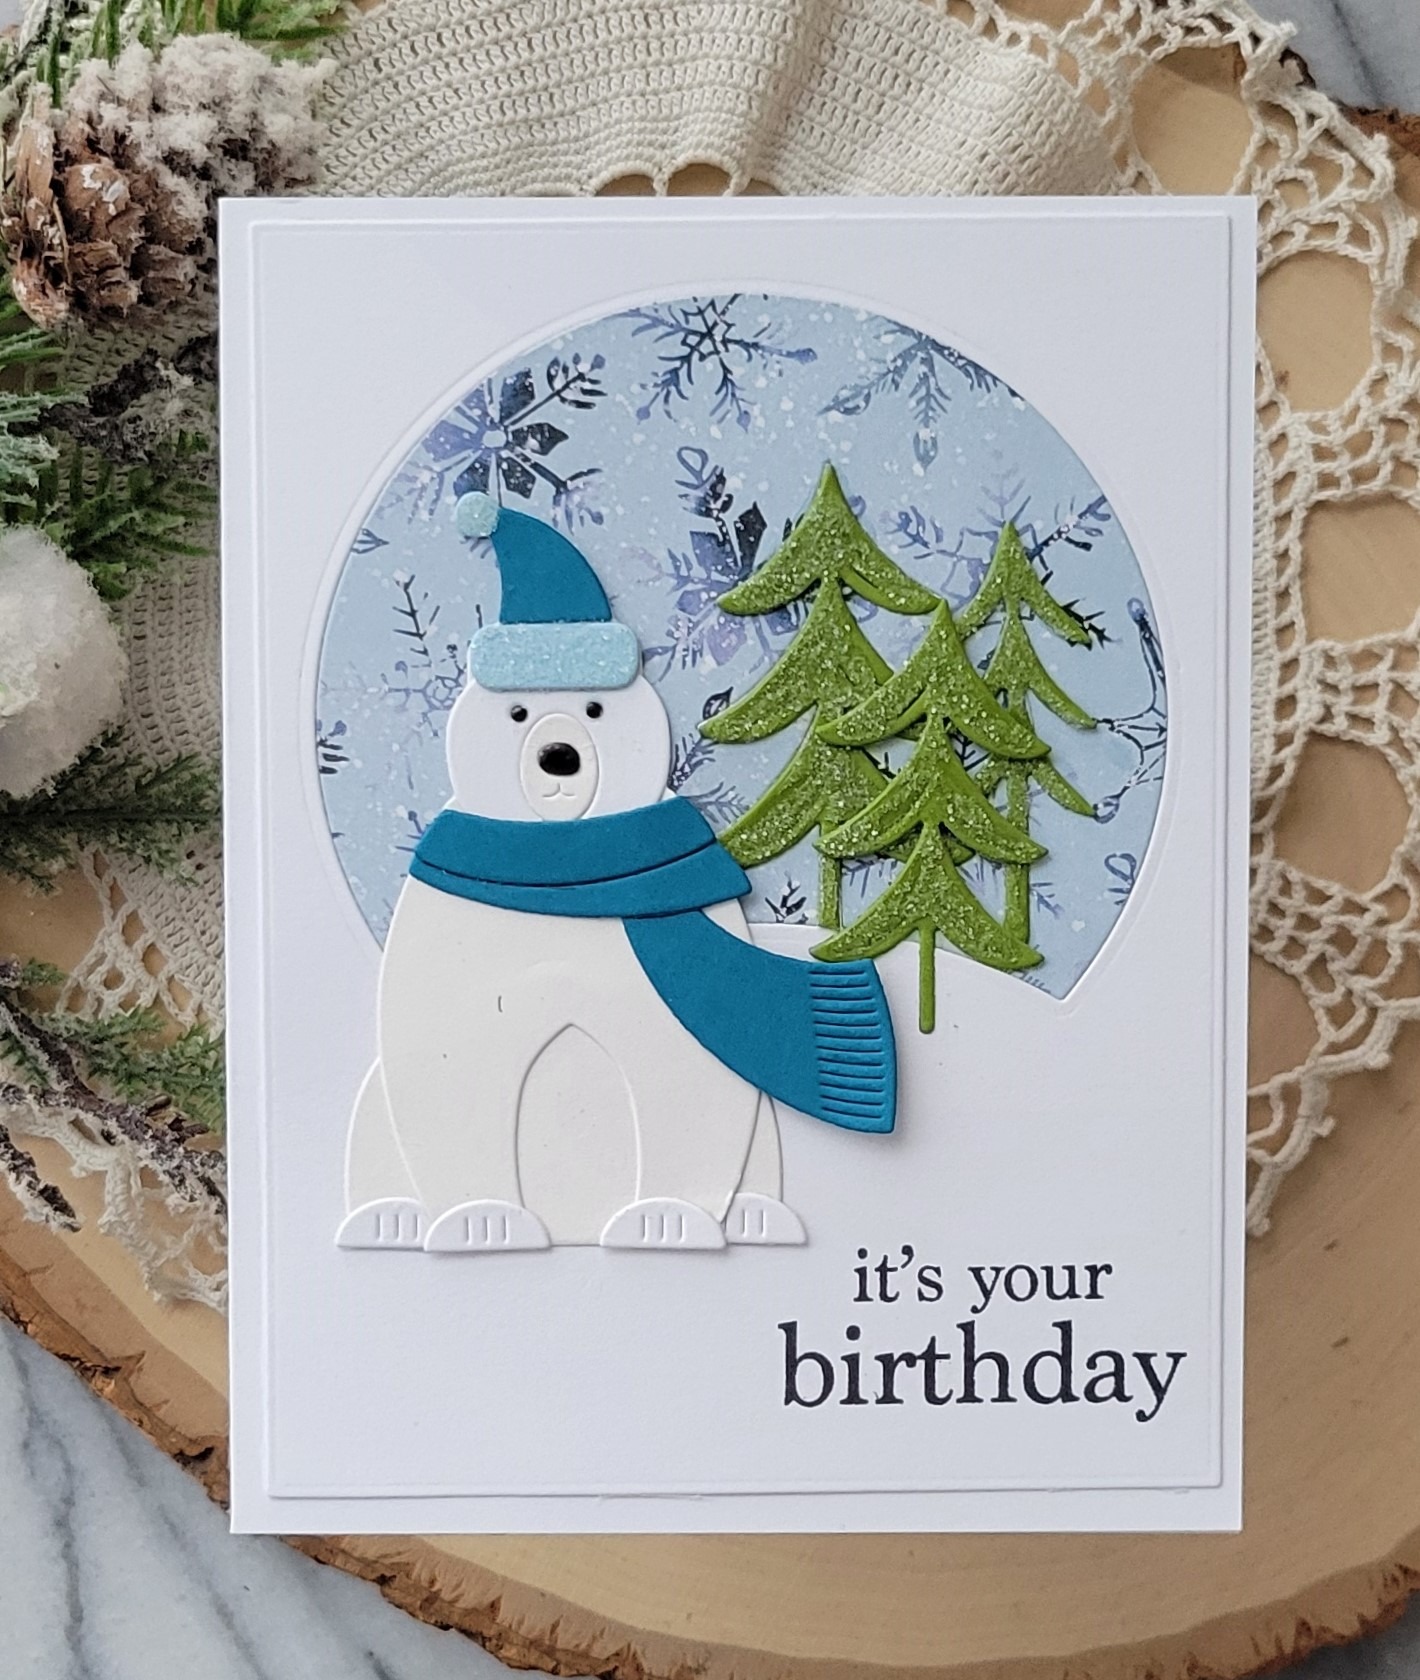
I really love how this card turned out. It will be going to my sweet mom who will be turning 89 at the end of April. I hope she loves it too!