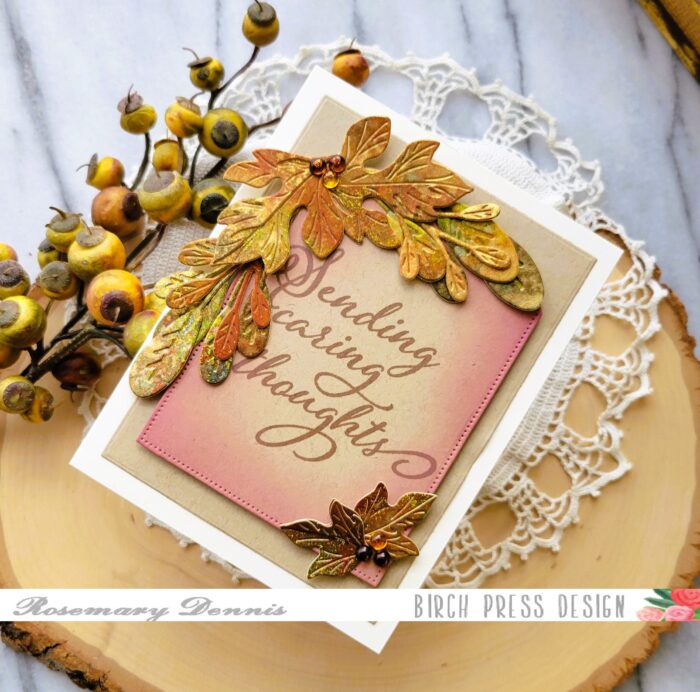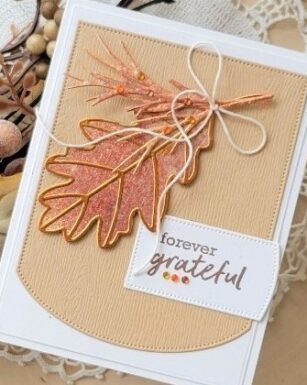
Hello everyone! Rosemary here on the blog today. I hope that your January is off to a great start. Since it is the start of a new year I thought it would be fun to mix some old products with some newly released products for my card today.

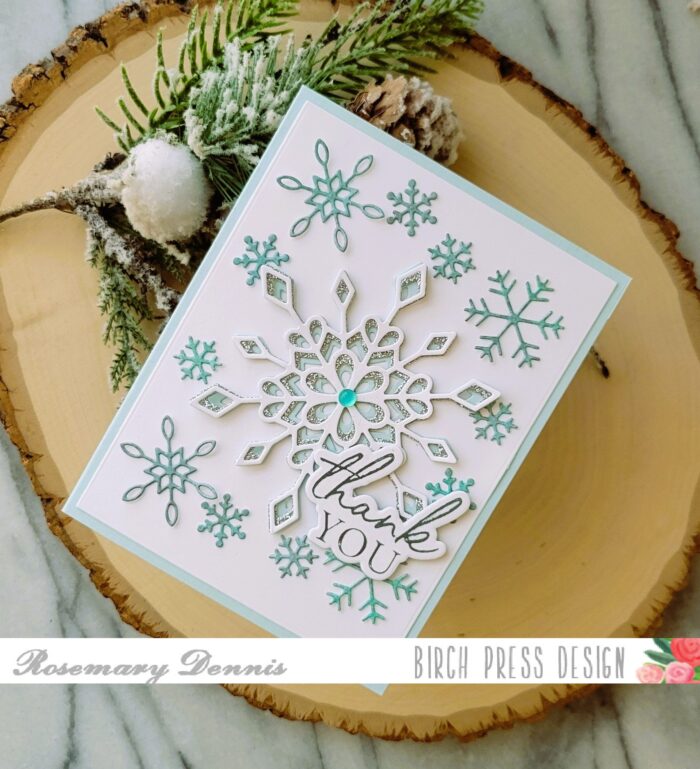
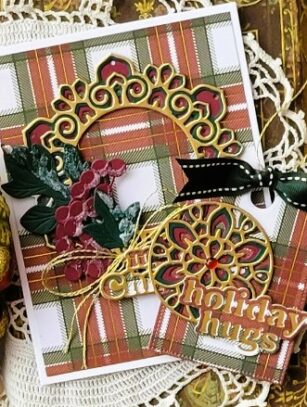
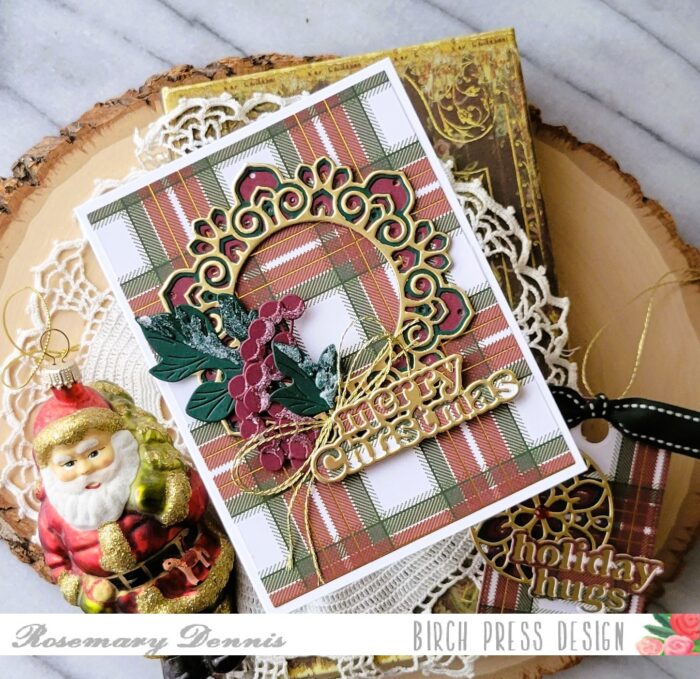
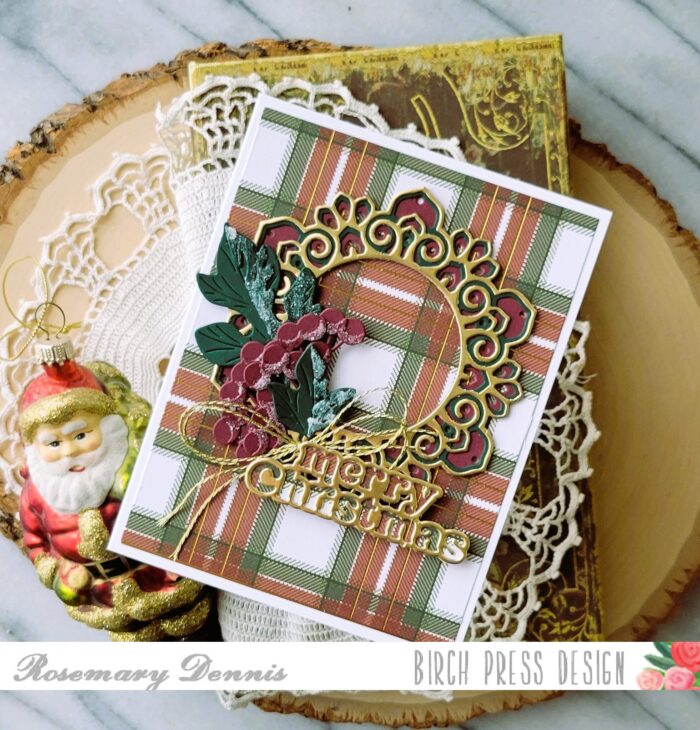
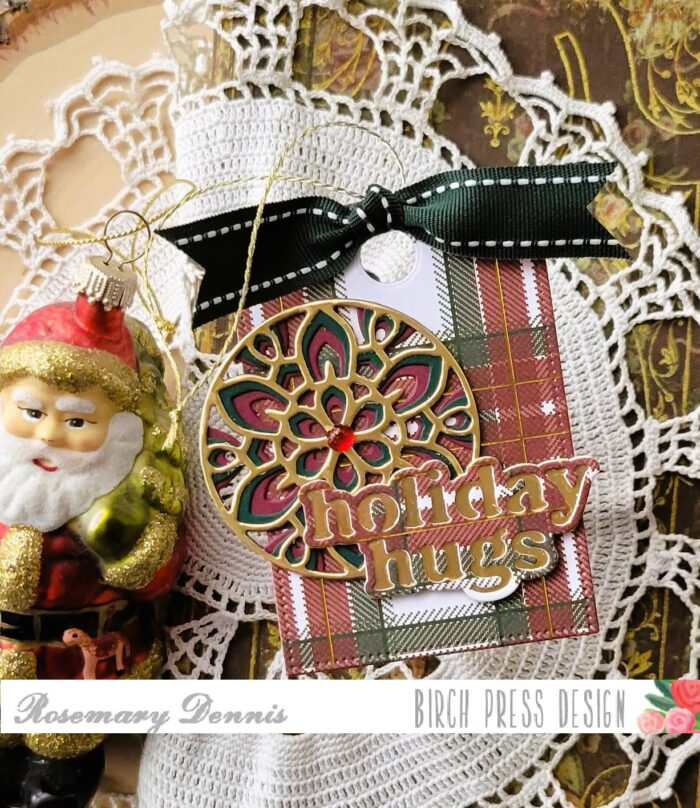
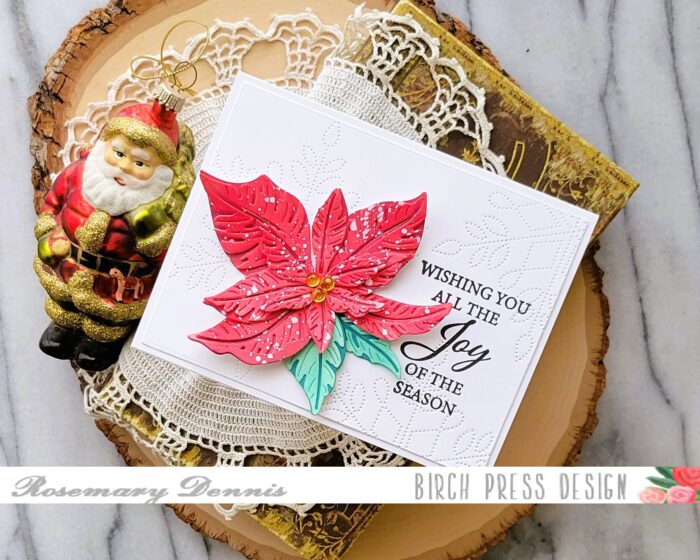
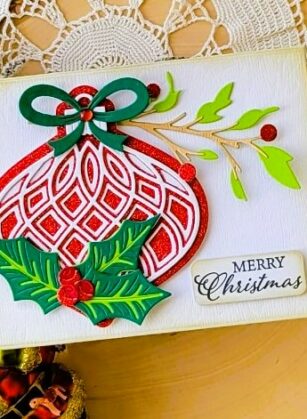
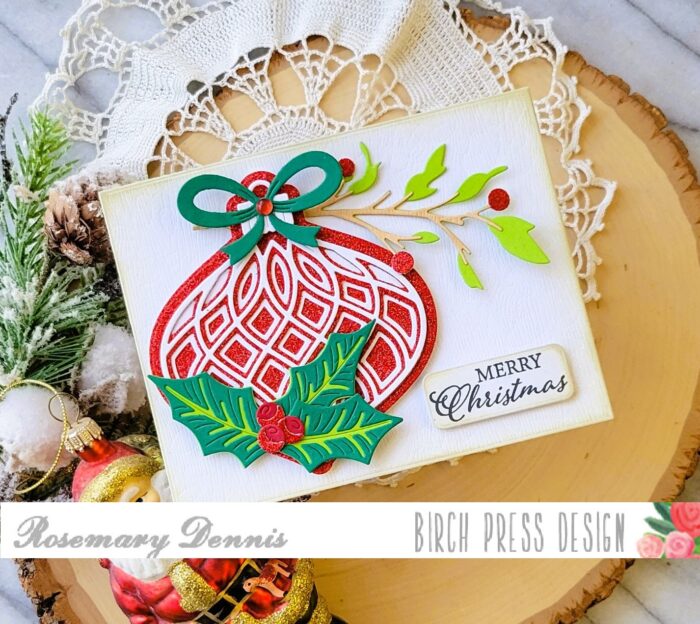
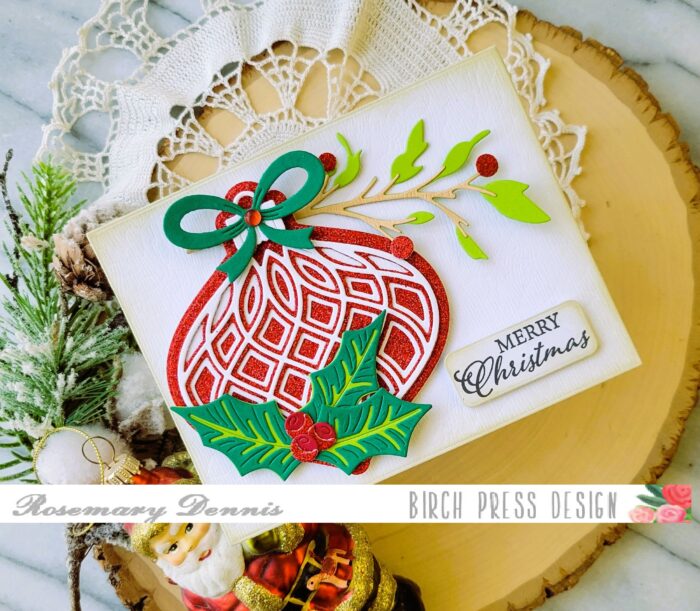
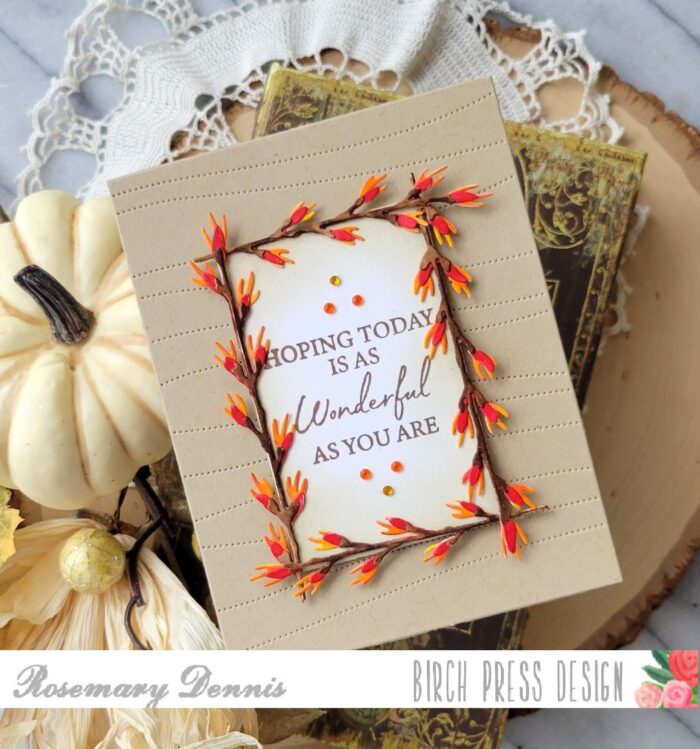
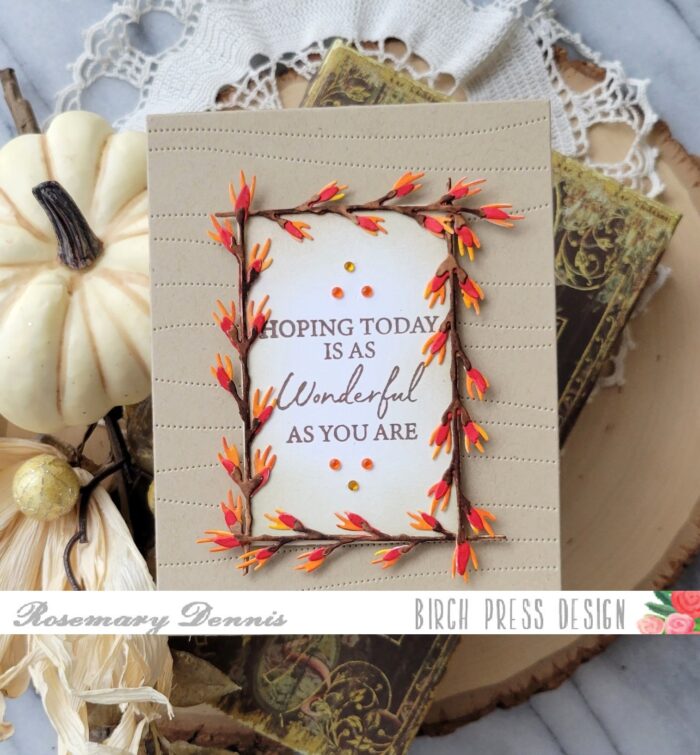
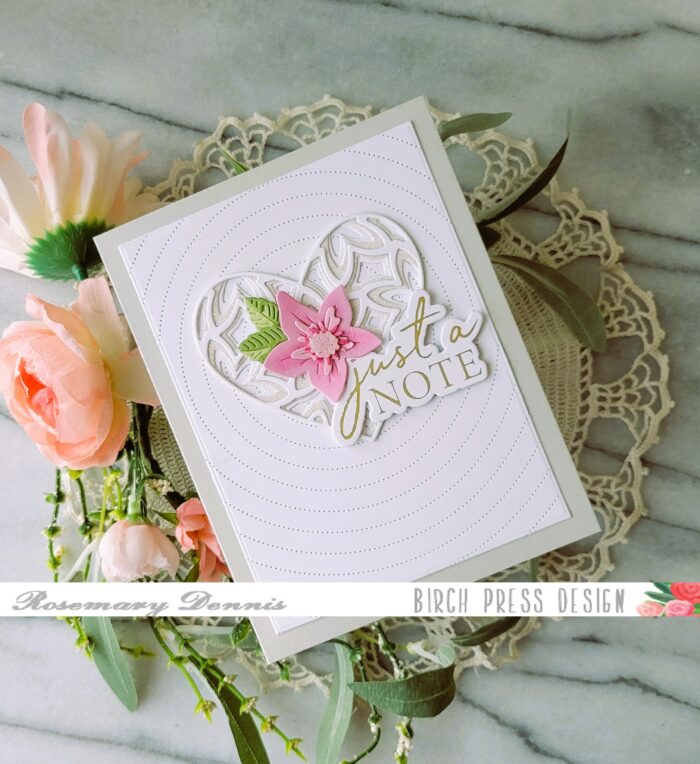
The new Birch Press Design release includes the sweet Gentle Flower and Leaves Contour Layers die set, as well as the Just A Note Noted Script hot foil plate and die set. I combined these two new items with the older Caprice Heart Layering die set and the Pinpoint Radial Plate.
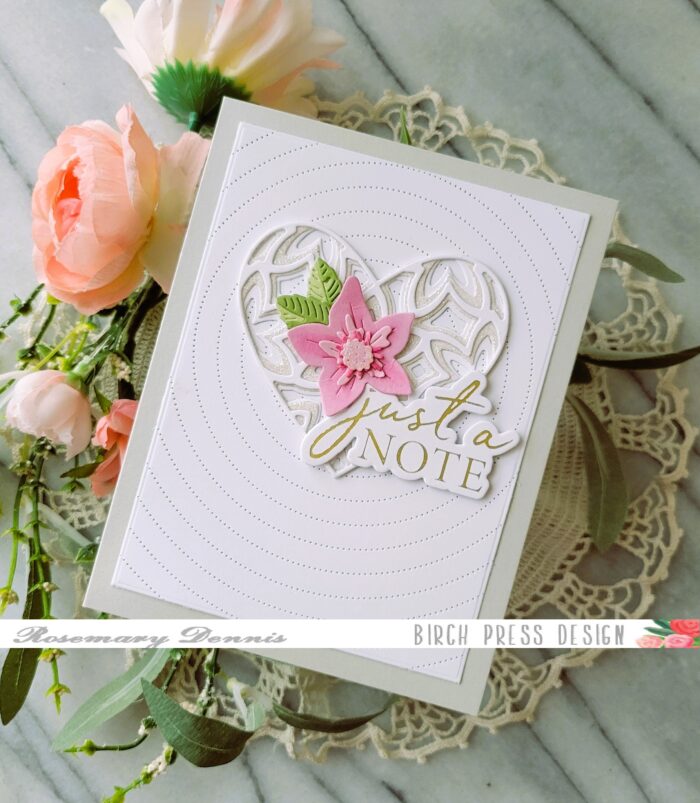
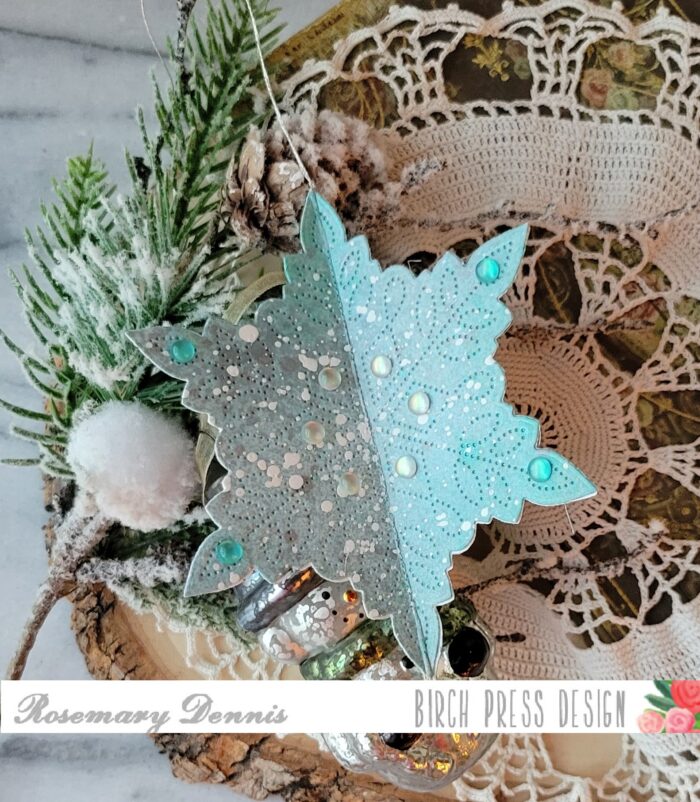
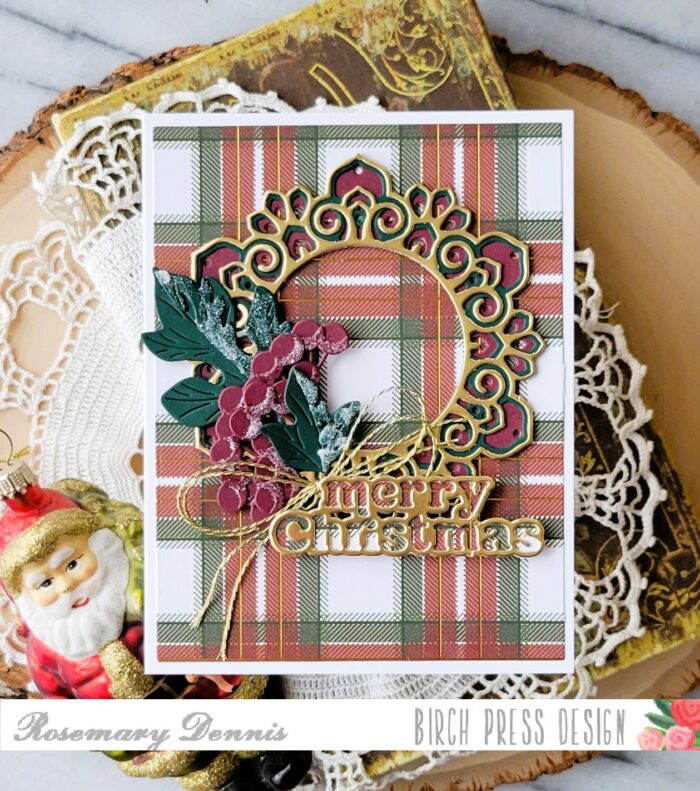
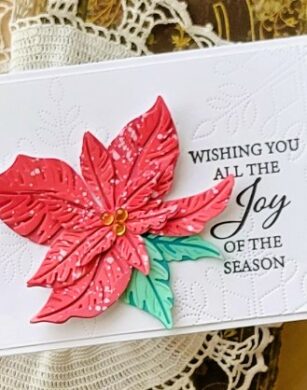
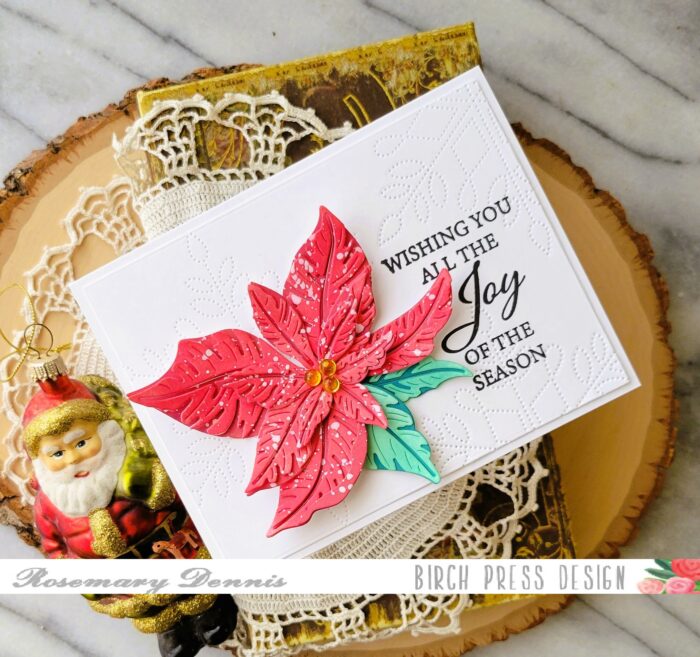
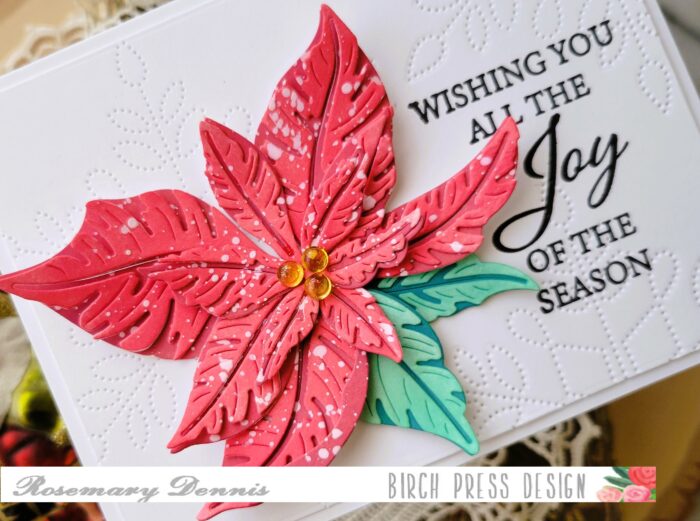
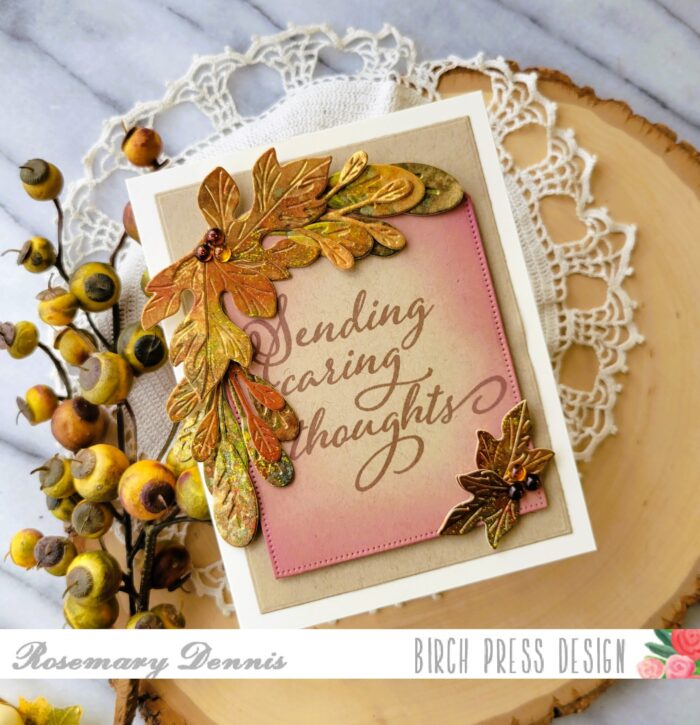
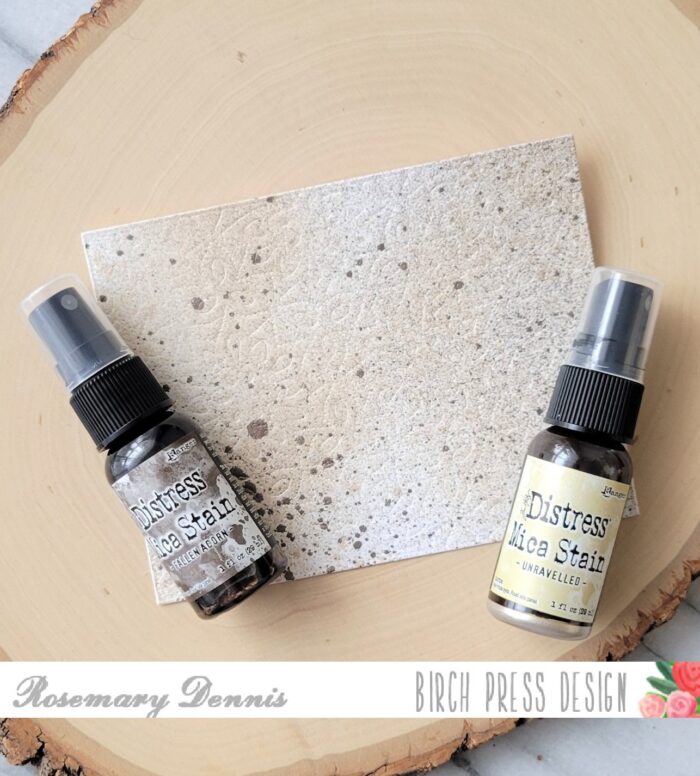
I created a custom pink color by applying an ink cube directly to white cardstock. Once the ink was dry I die cut the flower pieces. I found a dark shade of pink that coordinated with the lighter pink and applied that to the center of the largest flower layer using a small blender brush. To darken up the third layer of the flower I placed it directly on the dark pink ink cube and using my finger I carefully pushed it into the ink cube to apply the ink. I let everything dry before adhering all the layers with liquid adhesive.
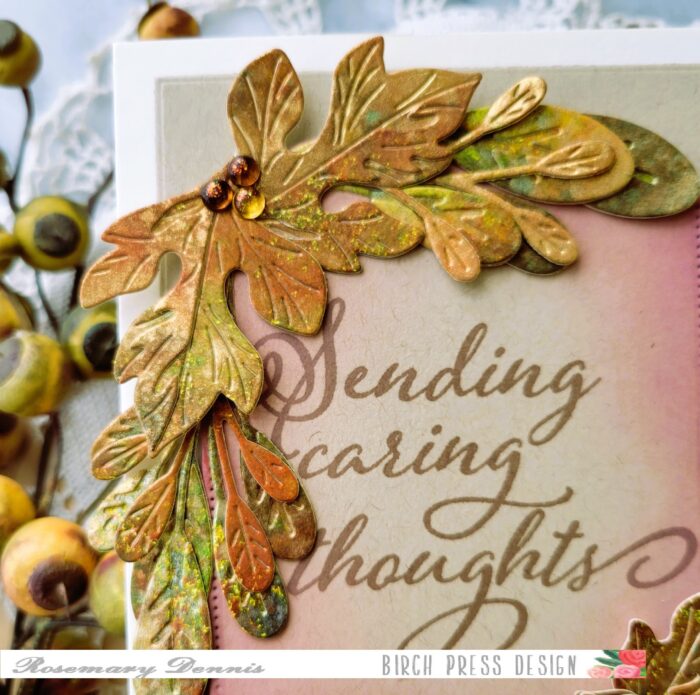
I did the same direct to cardstock inking for the leaves using two shades of green. Once the cardstock had fully absorbed the ink and was dry I die cut the layers and then adhered them together using liquid adhesive. Once the flower was adhered together I added some shine to the center of the flower with some Glossy Accents.
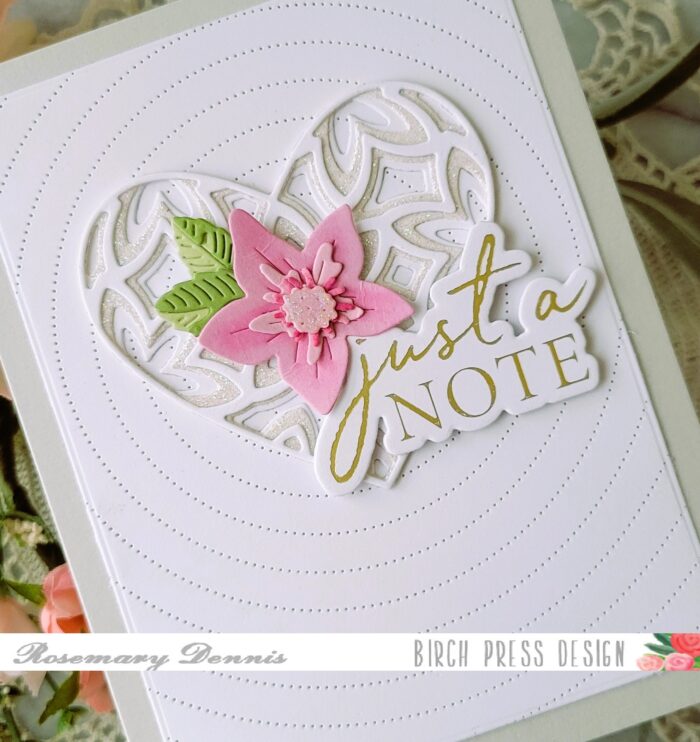
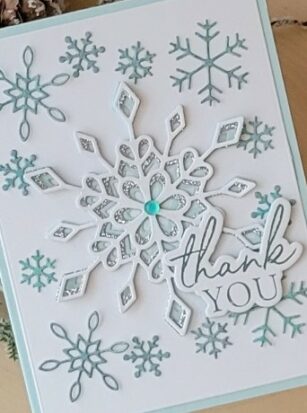
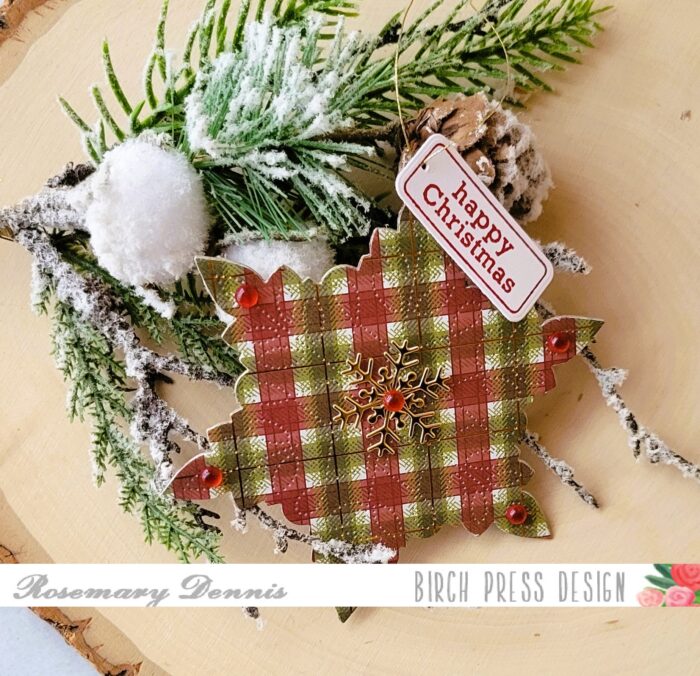
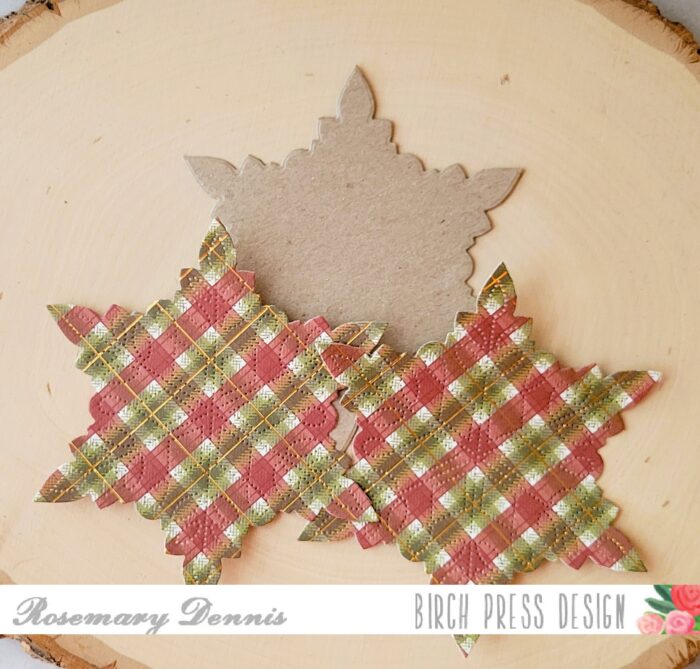
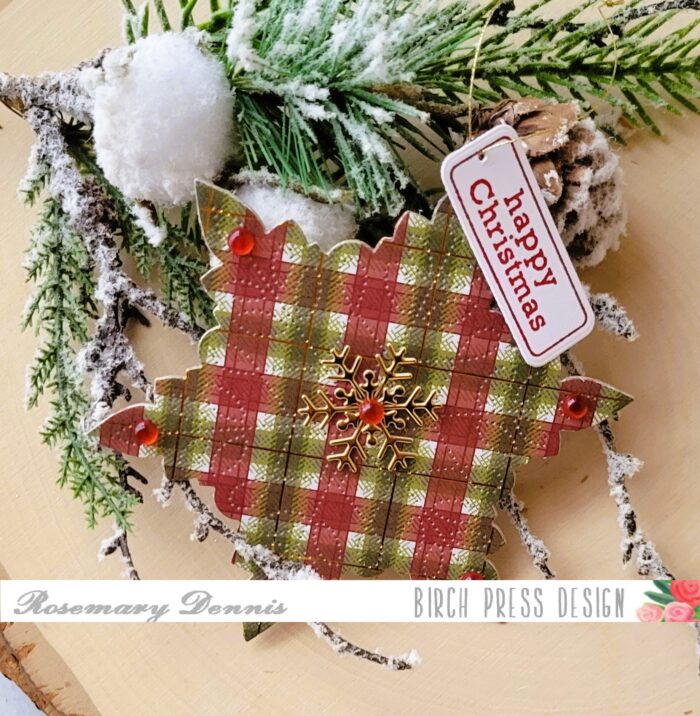
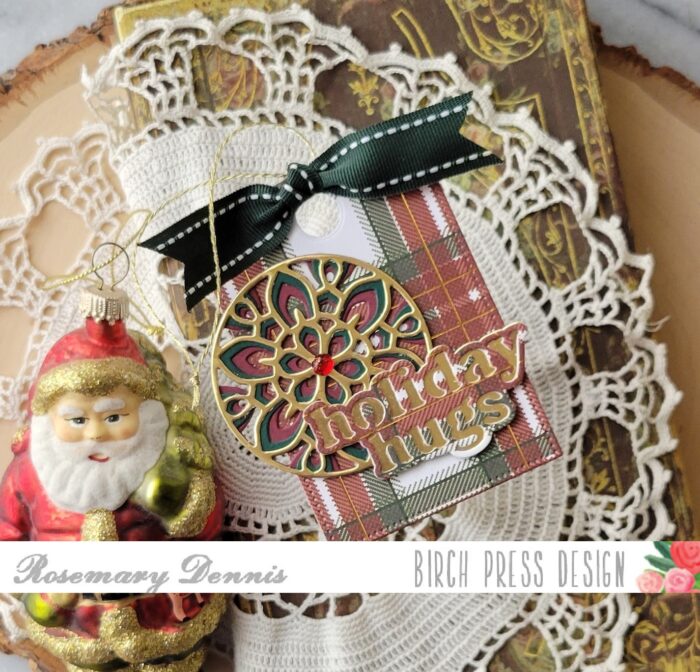
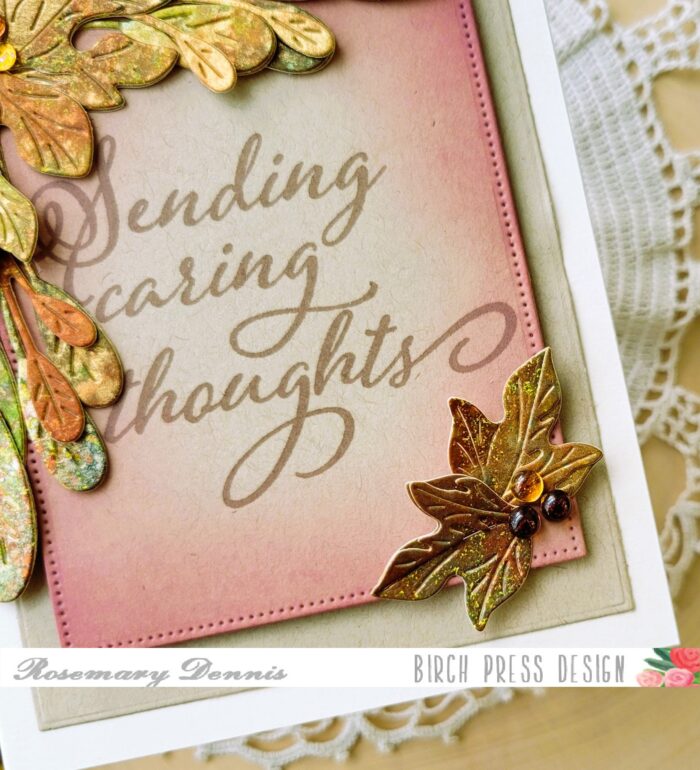
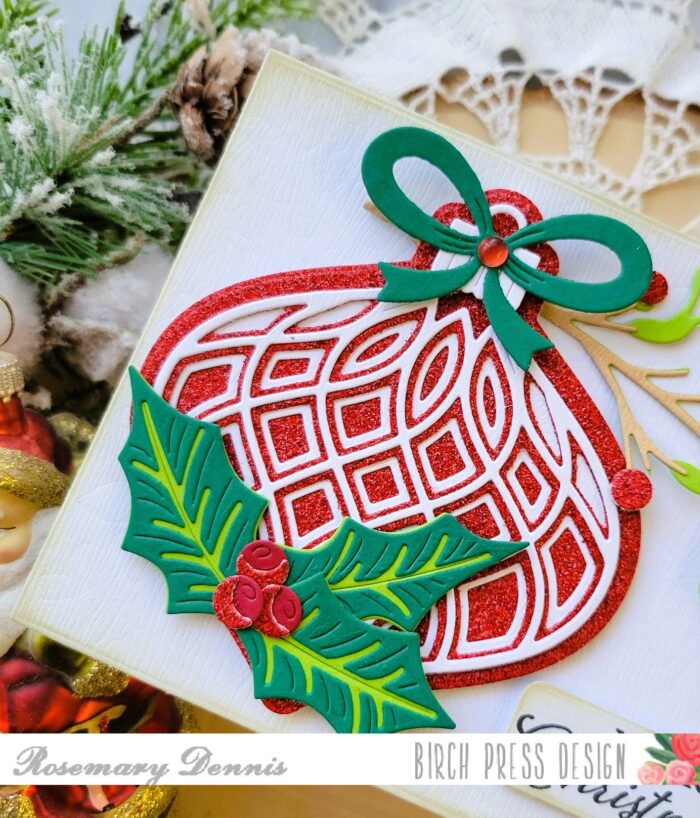
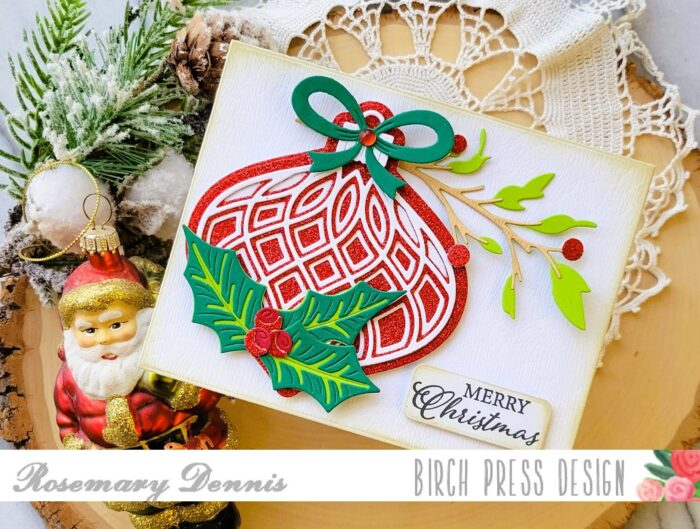
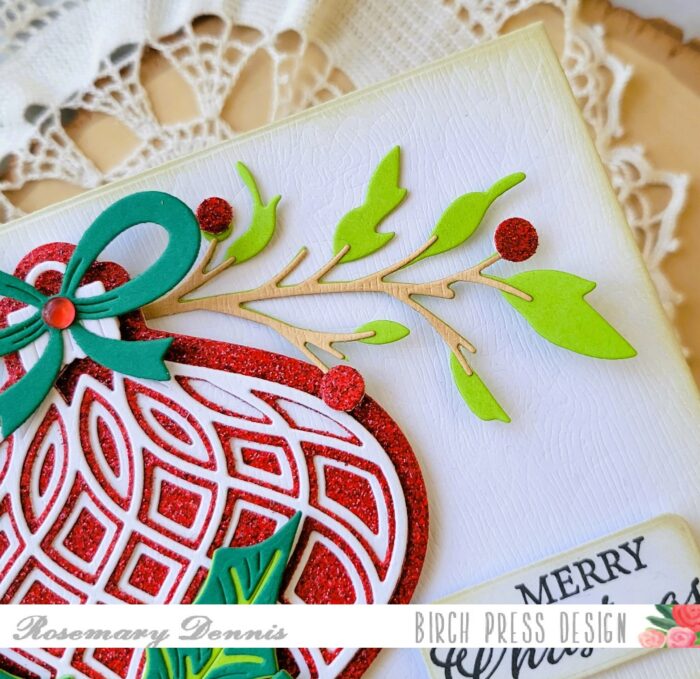
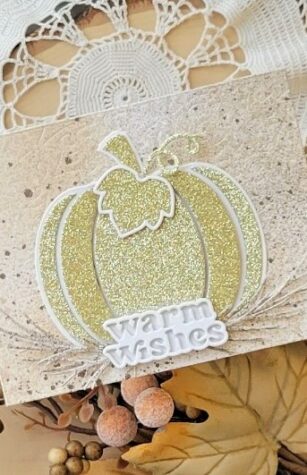
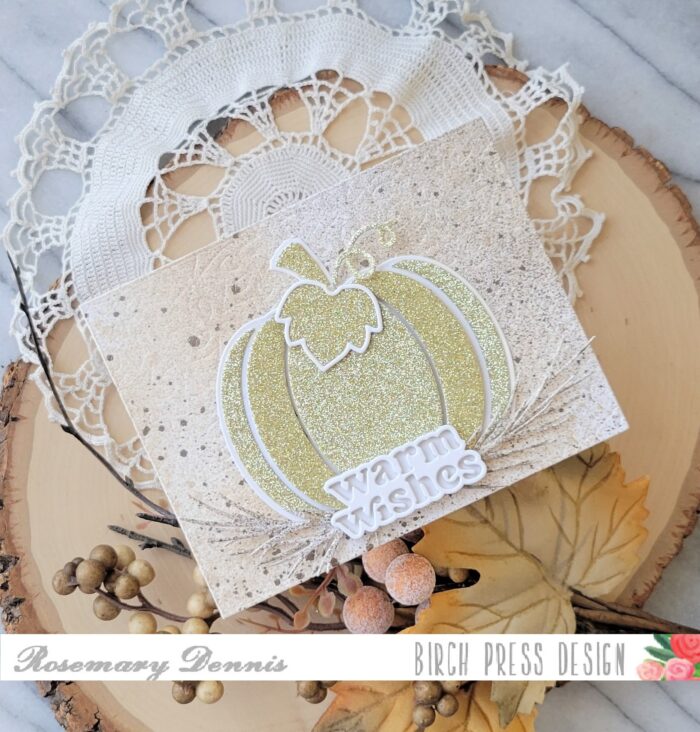
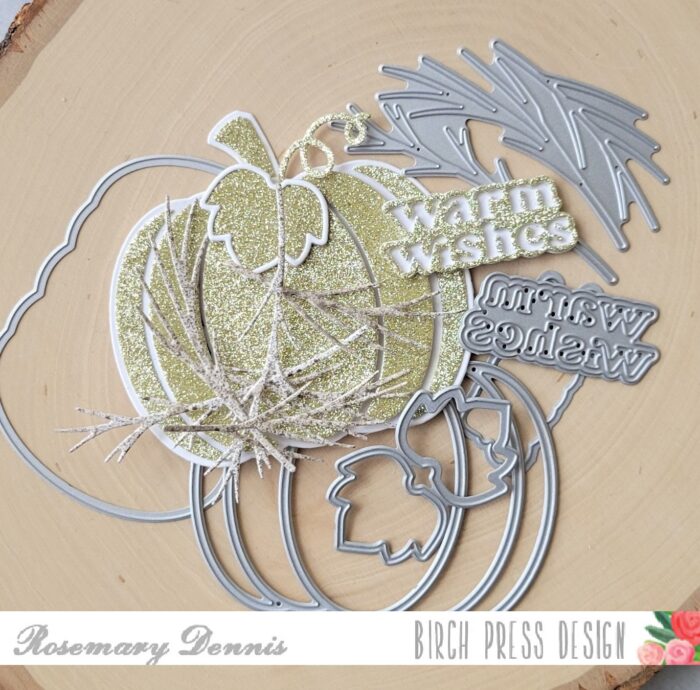
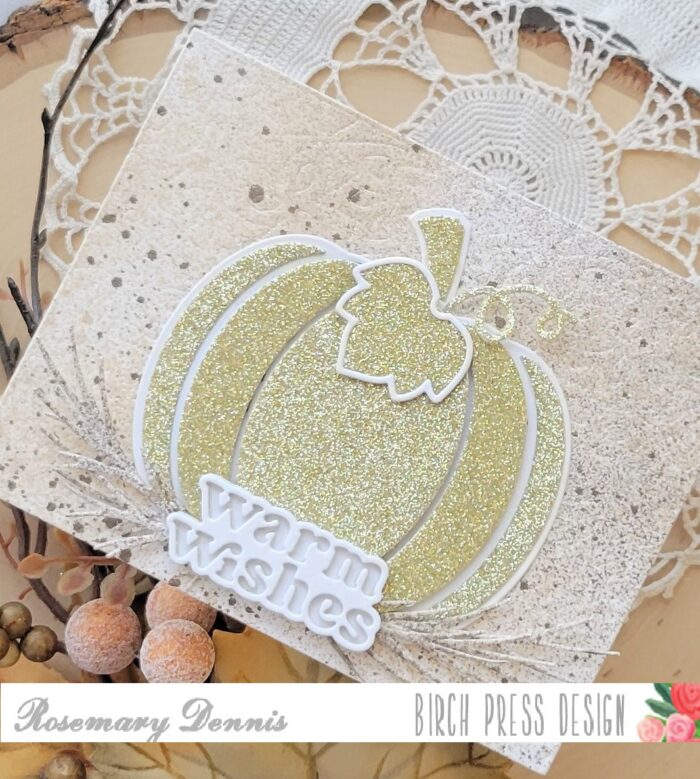
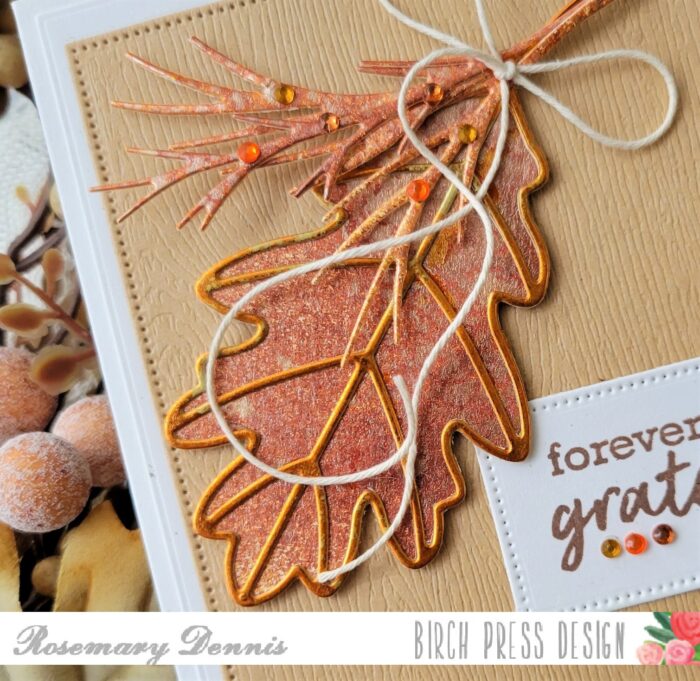
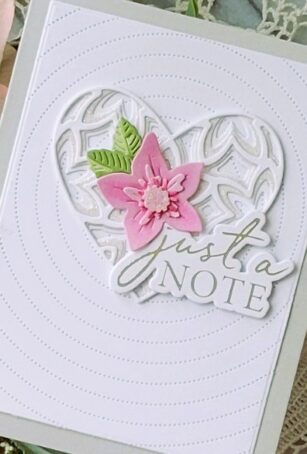
I die cut the Caprice Heart Layers as follows: top and bottom layers from white cardstock and middle layer from white glitter cardstock. You can see the glitter layer in the close up photo above. I used liquid adhesive to adhere the layers together. The Pinpoint Radial die was die cut from white cardstock and then further cut down with a smaller sized rectangle die. I adhered the heart to the center along with the flower and leaves. Liquid glue was used to adhere the heart and varying thicknesses of foam squares for the flowers. I used liquid adhesive to secure the flowers. The final detail was the sentiment. I hot foiled that using matte gold foil and then die cut it with the matching die. I die cut two additional layers to add behind the foiled sentiment for more stability. The layers were secured with liquid glue. I then added the sentiment using both foam squares and liquid glue.

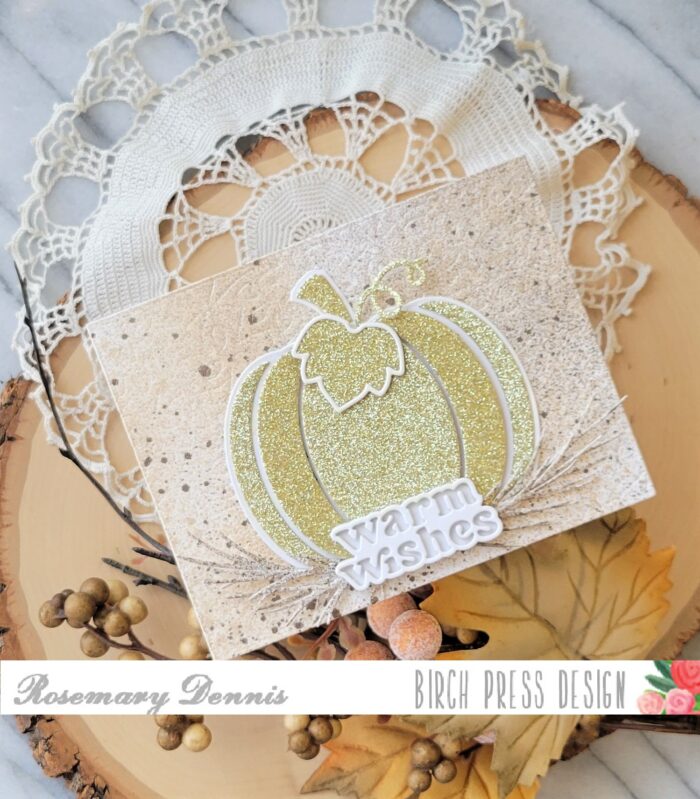
I just love how all the Birch Press Design products mix and match so perfectly. I hope you enjoyed today’s card and that I inspired you to mix your old products with your new ones! Thanks for stopping by and have a wonderful day!

Supplies