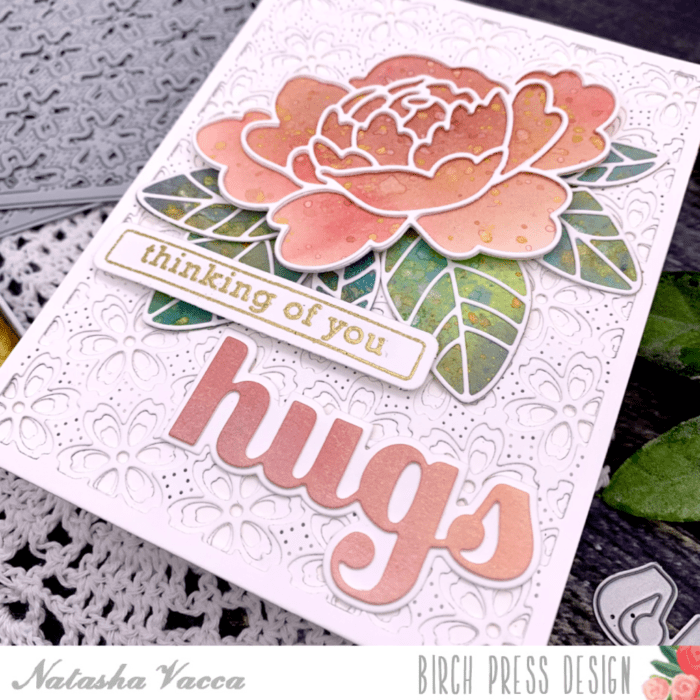
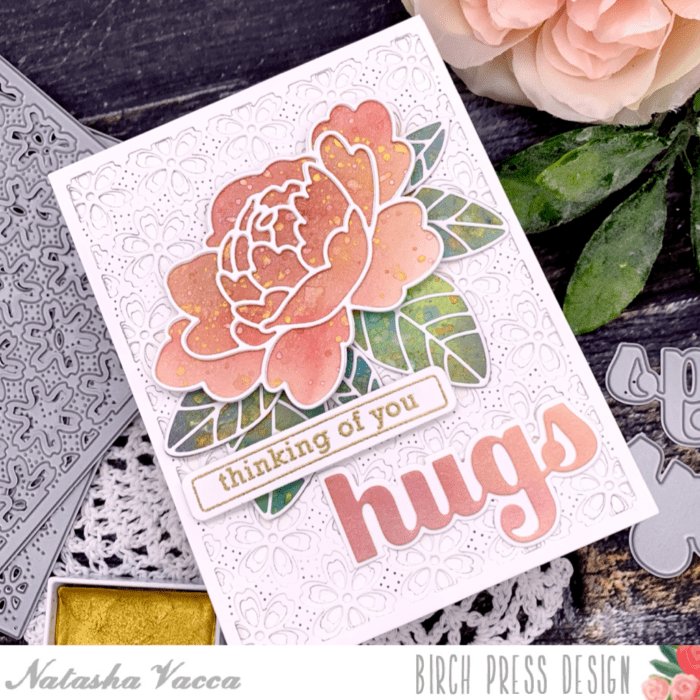
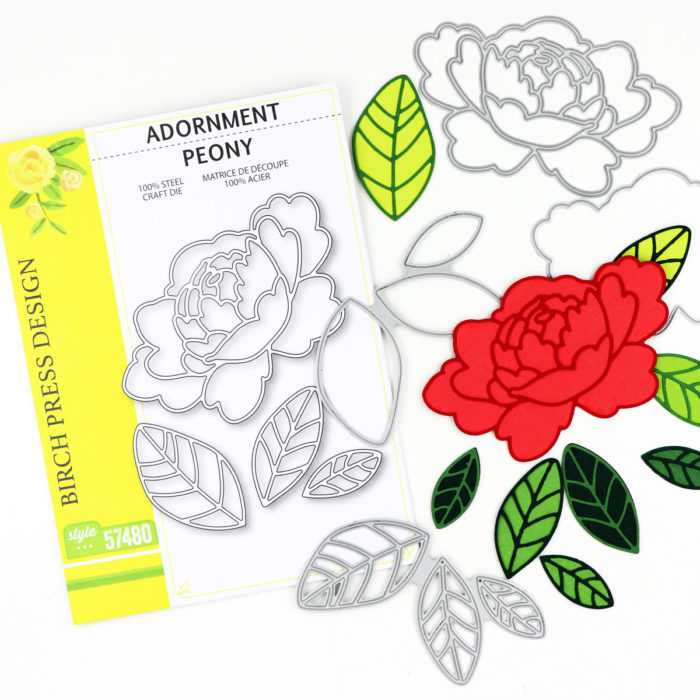
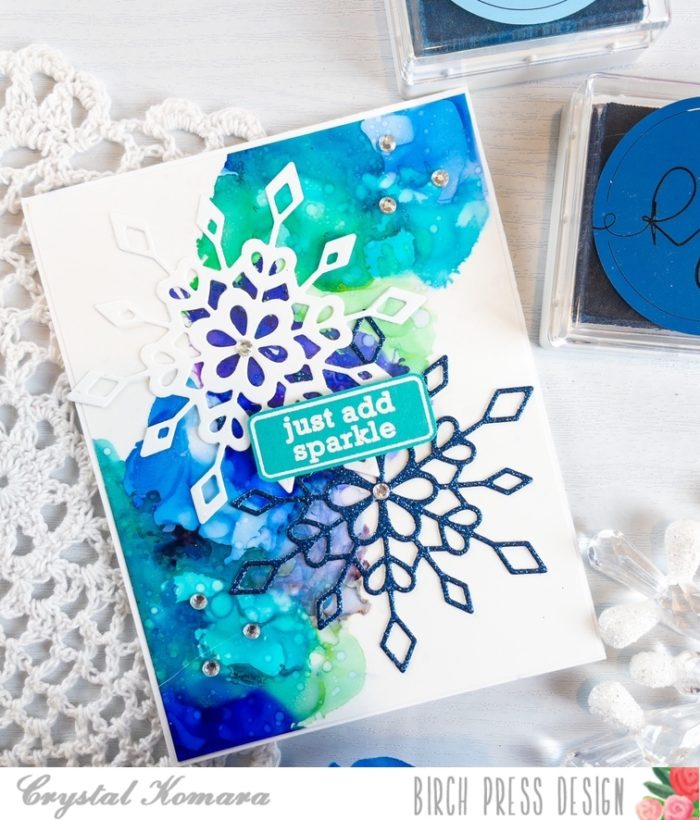
Hello, Everyone! Have you seen the amazing new floral dies that were just released? They are all gorgeous, and today I am featuring one of those die sets – the Wispy Blooms Contour Layers.
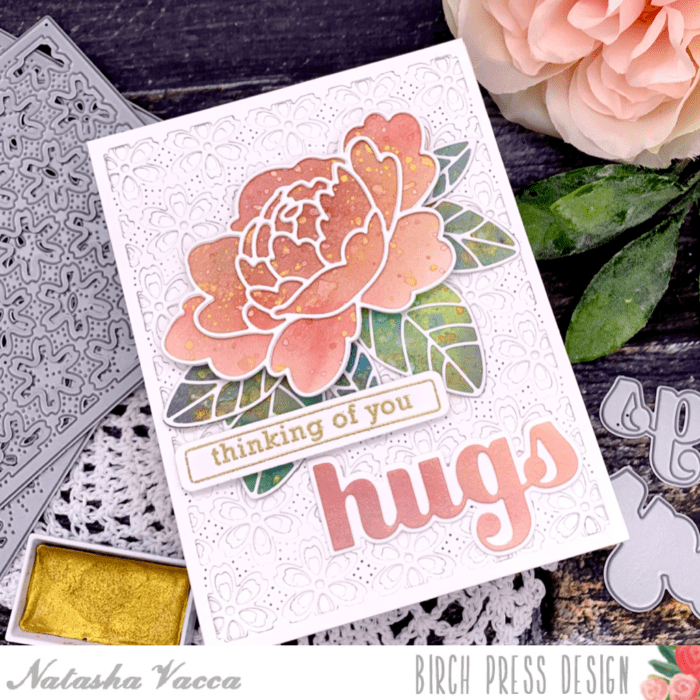
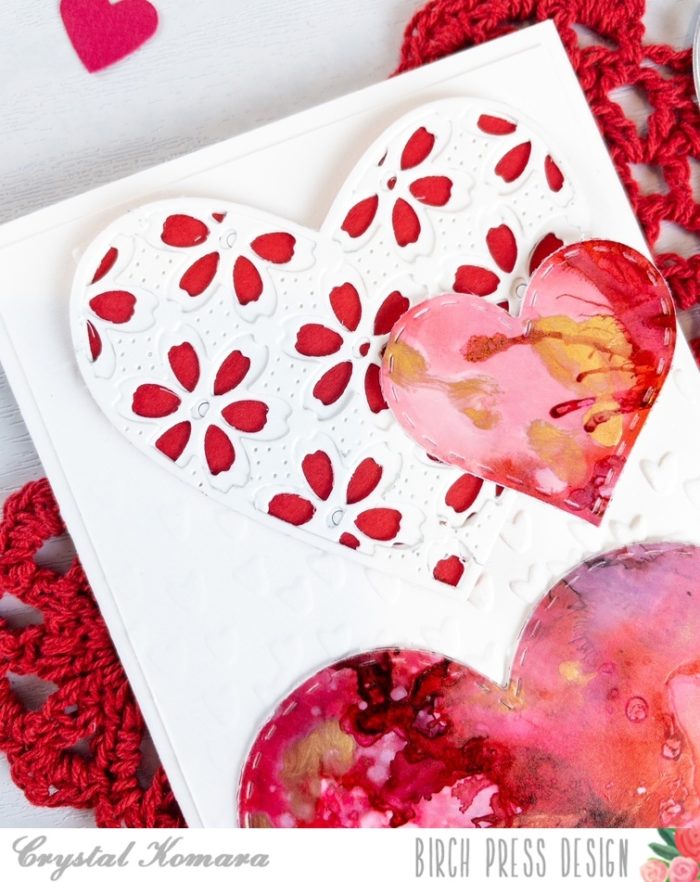
I started my card by cutting a panel of white card stock to 3.5″ x 8.5″. I thought that a slimline card would really lend to the feeling of movement with these Wispy Blooms. I then used the dies from the set to cut a bunch of blooms and stems out of white card stock.
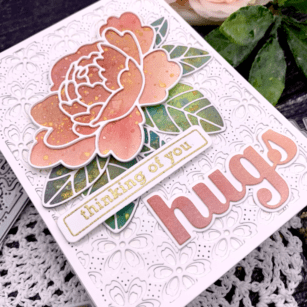
For the main flowers, I ink blended those with shades of peach and orange, making sure that the color was more intense on the front pieces. I then ink blended the stems with some turquoise ink, again focusing some of the more intense color toward the top where the stems would meet the flowers.
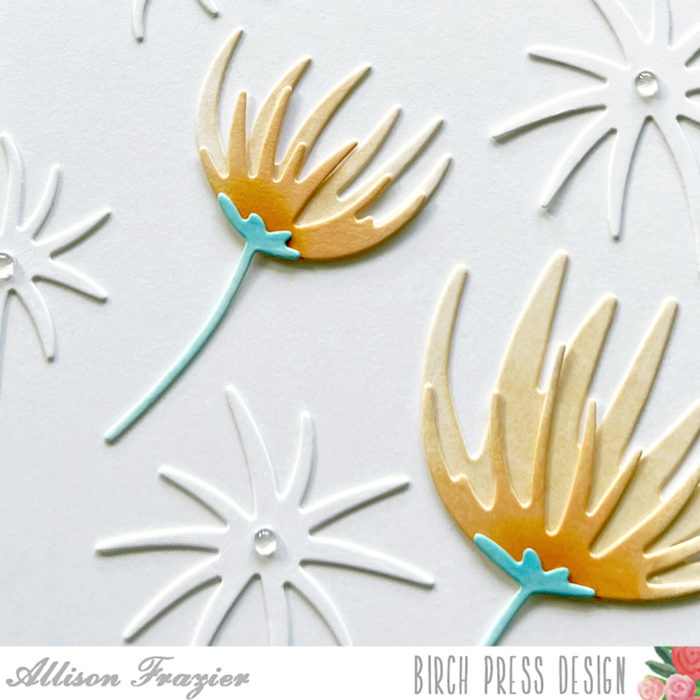
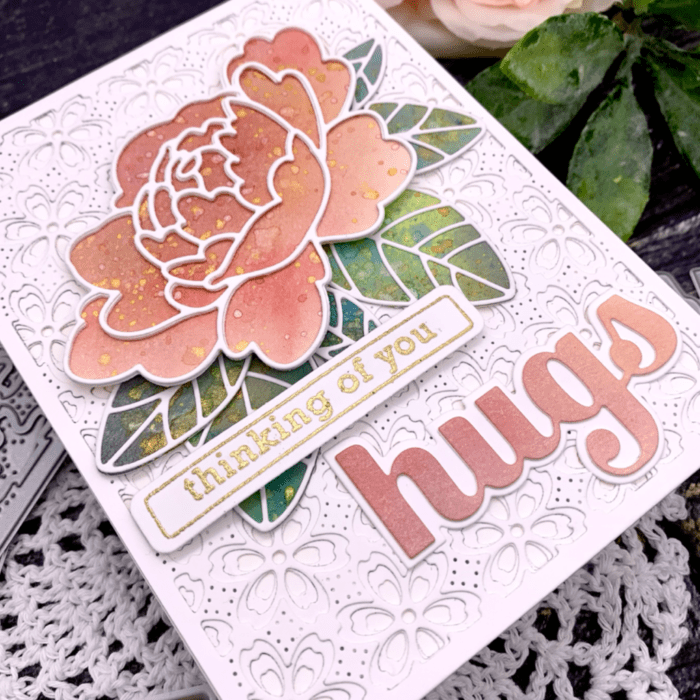
Once I was finished with my ink blending, I adhered the flowers together with liquid glue and then adhered them onto my panel. For the wispy die cuts that are not part of the flowers, I left those plain white and adhered them around the card panel in order to create some texture.
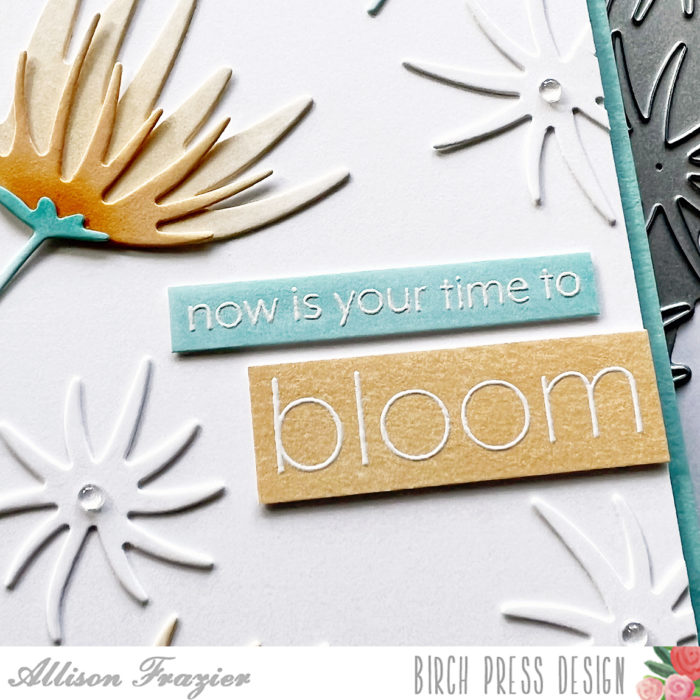
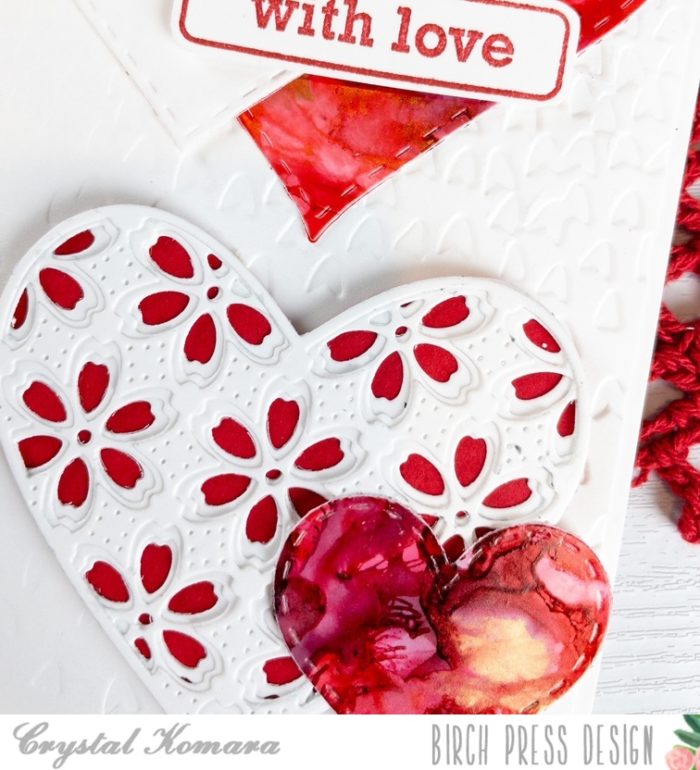
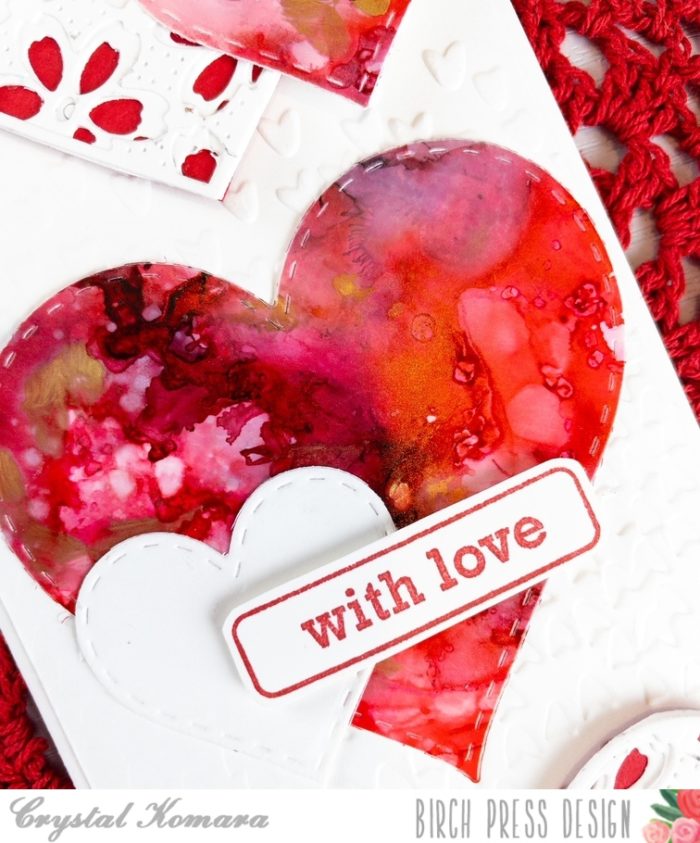
My sentiments come from the Blooming Spring stamp set. I stamped both sentiments onto white card stock with VersaMark ink and then heat embossed with white embossing powder. I took the same color inks that I had used for the flowers and blended those over my sentiments in order to make the white embossed words pop. I chose the peach color for the larger sentiment and the turquoise for the smaller sentiment. I made sure to rub a cloth over both in order to get any excess ink off of the white embossing. I trimmed both sentiments down and adhered them onto my panel, popping each of them up with some thin foam tape.
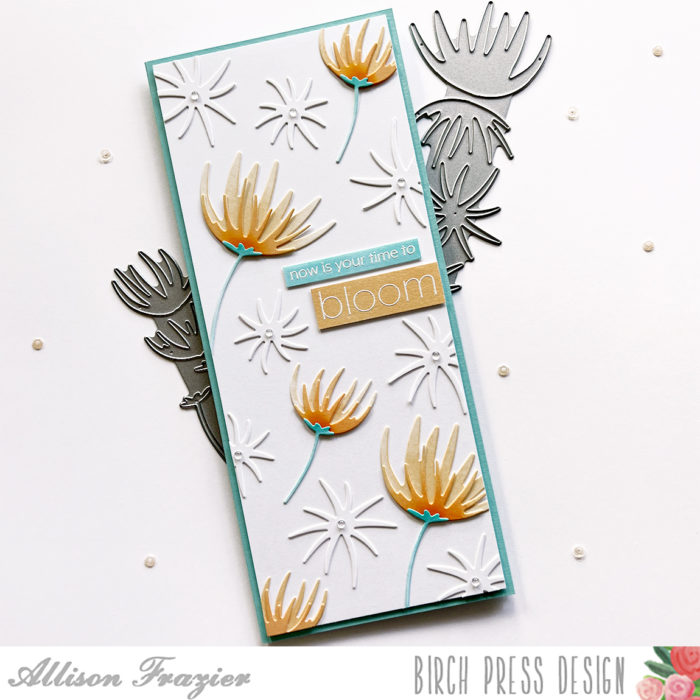
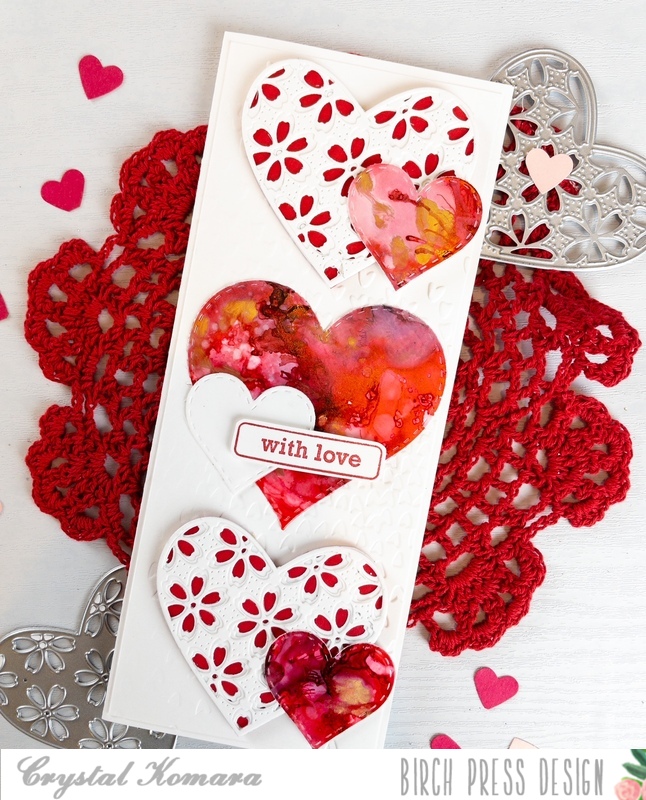
For final assembly, I glued my panel onto a turquoise card base that measures 3.75″ x 8.75″. I also glued a small Clear Fairy Drop into the center of each of the white blooms.
I really love how this card turned out, and I hope it brought a smile to your face. Thank you so much for joining us today, and don’t forget to check out all of the amazing new products in the shop!
Wishing you all a crafty day,

Supplies