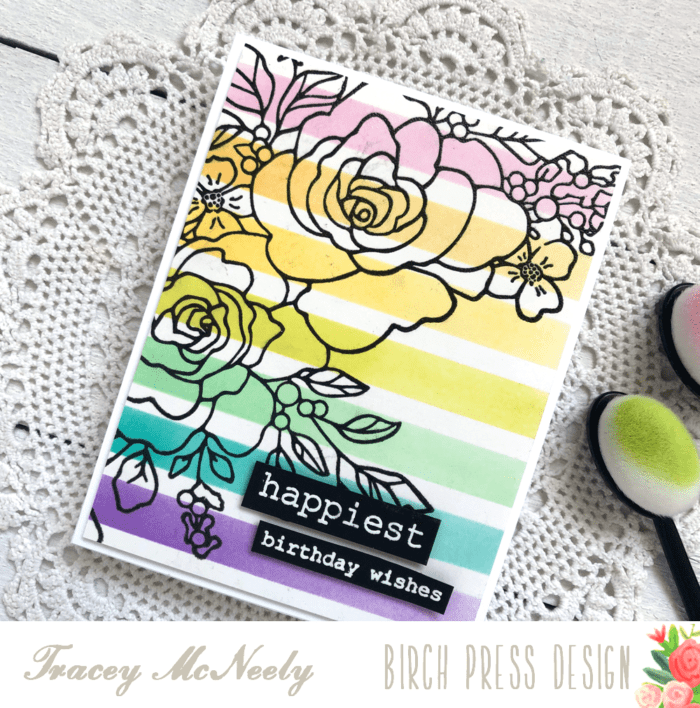
Hi there and Happy Fall! It’s Tracey here today and as I was blending my leaves for today’s post the leaves outside my window are almost blending just as fast. Just like a light switch summer turned off and autumn has arrived.
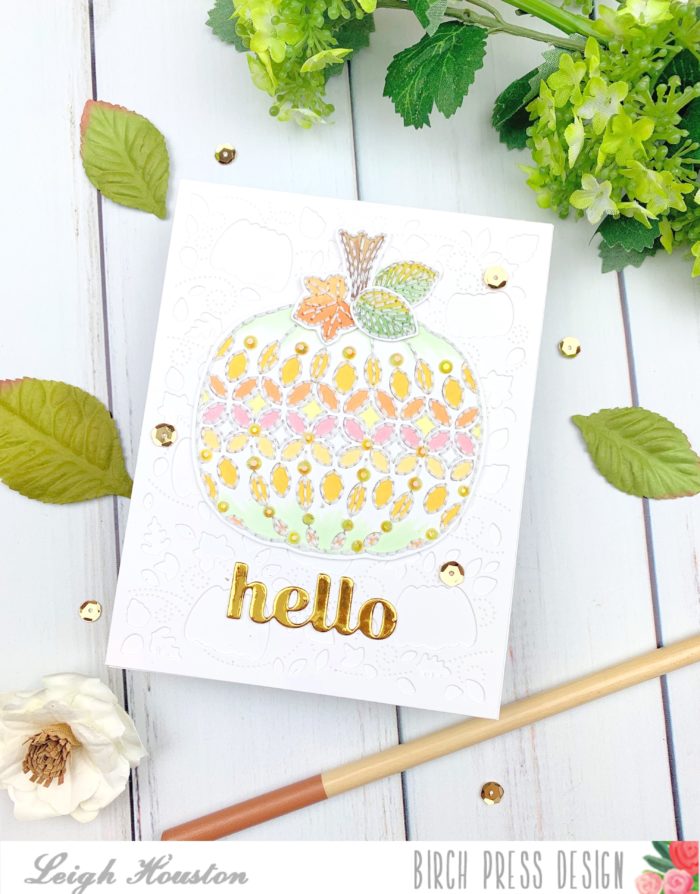
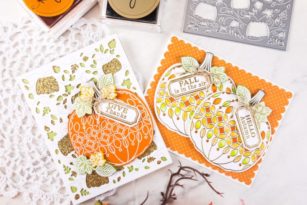
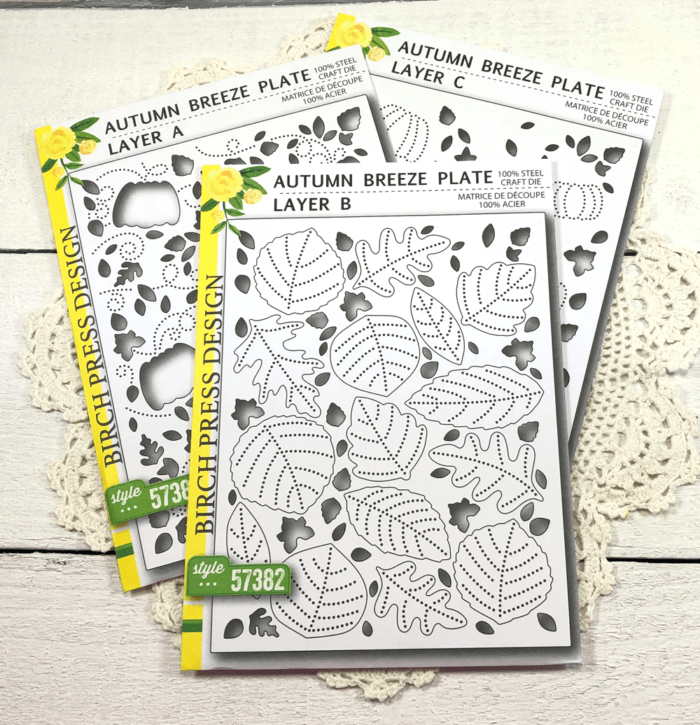
For today’s card I used only one die, Layer B, from the Autumn Breeze Layer dies. A brilliantly designed set of three dies that all work together but can each work independently of one another giving you options to showcase two different scenes. Layer B can be used all on it’s own and cuts all these beautiful stitched leaves.
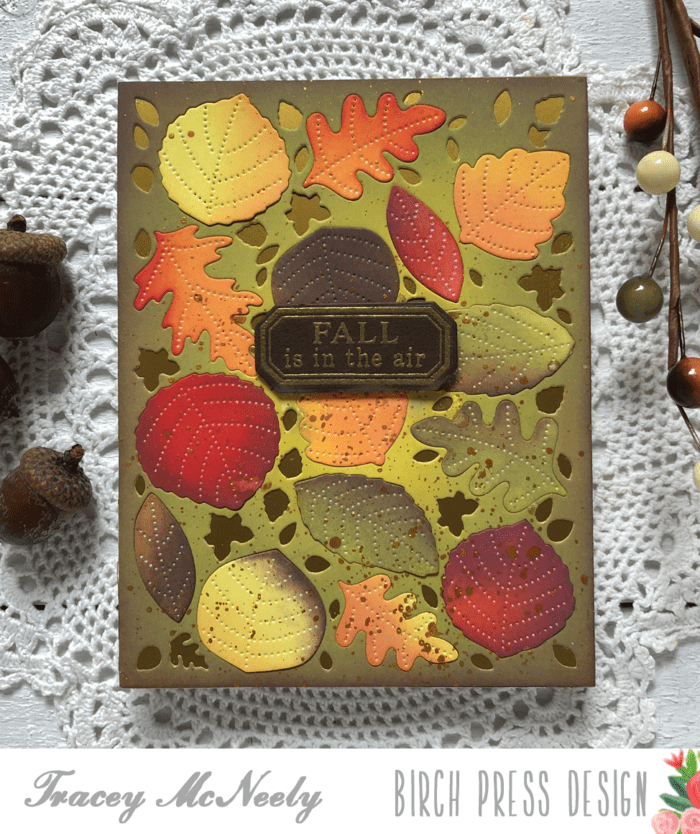
I cut a panel from Bristol Smooth cardstock and I ink blended each individual leaf using Distress Oxide inks. I used Squeezed Lemonade, Wild Honey, Spiced Marmalade, Candied Apple, Fired Brick, Ripe Persimmon, Peeled Paint and Walnut Stain to create a variety of different coloured leaves.
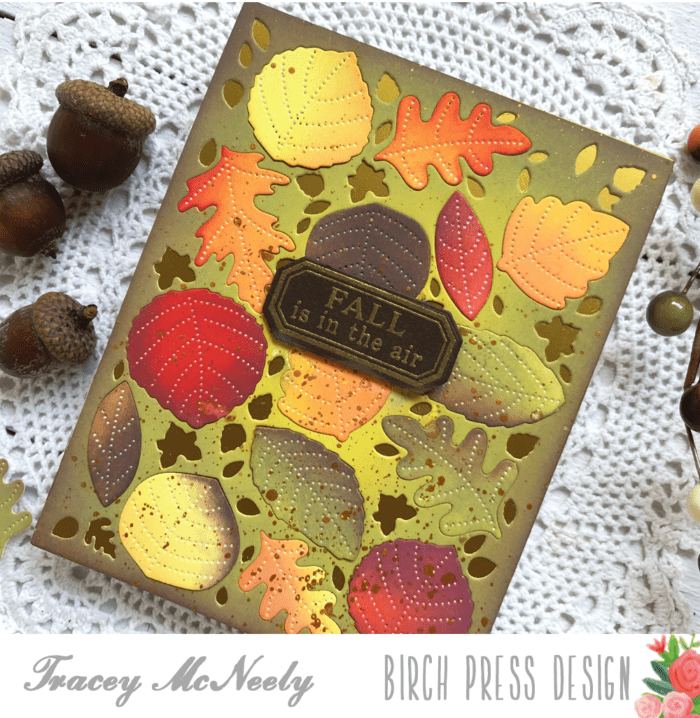
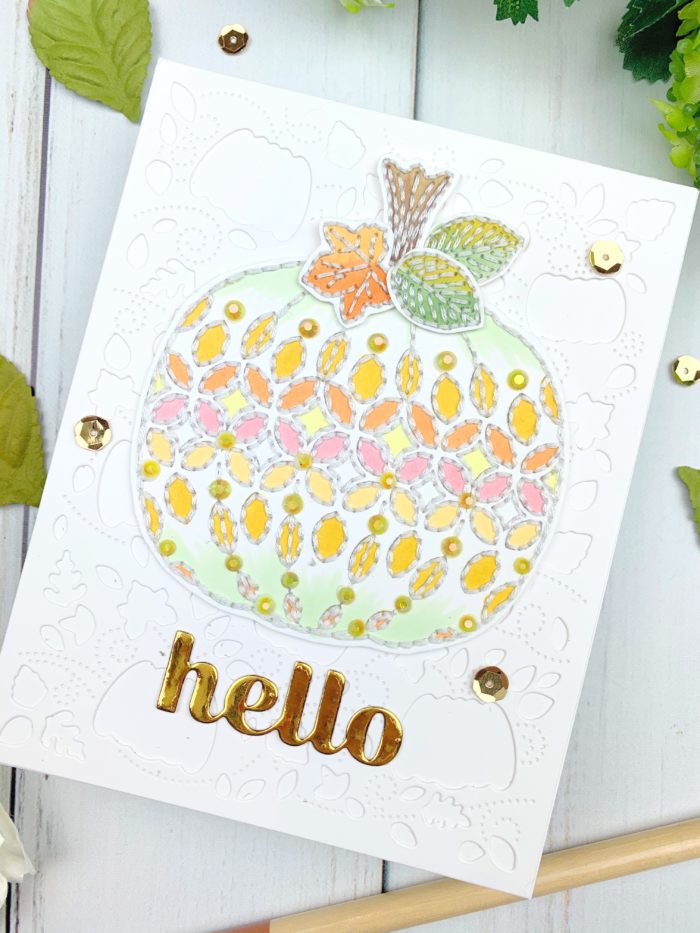
I cut another A2 sized panel of Bristol Smooth cardstock and then ink blended a background using more Distress Oxide inks. I started with Crushed Olive and then brought in some Peeled Paint from the edges and finished off with some Walnut Stain just on the edges.
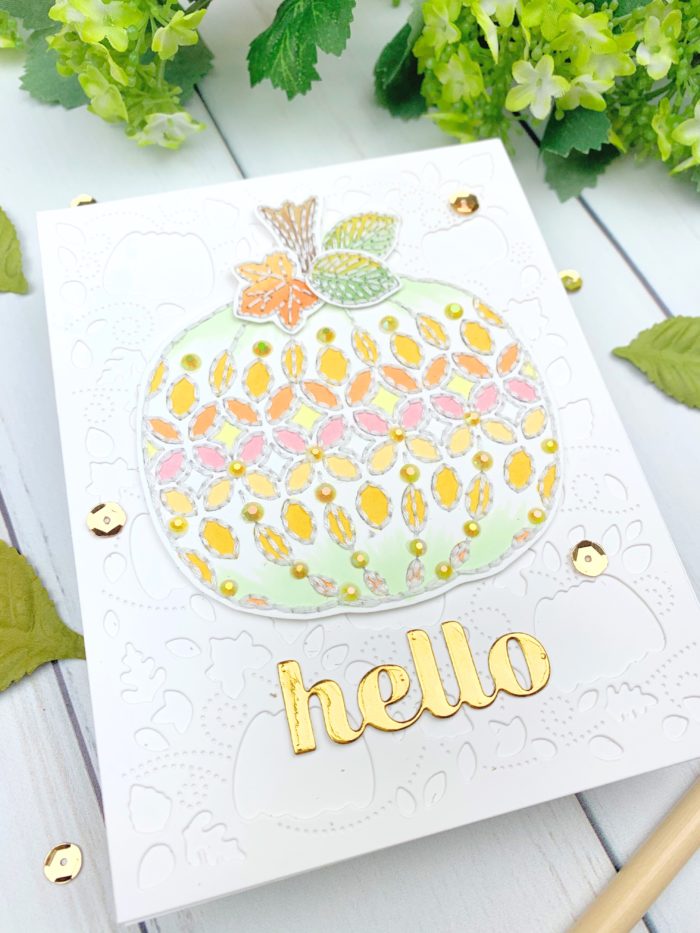
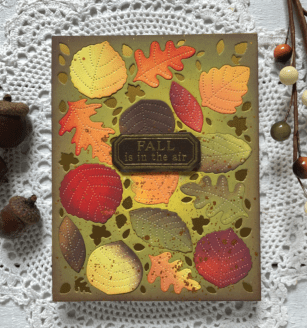
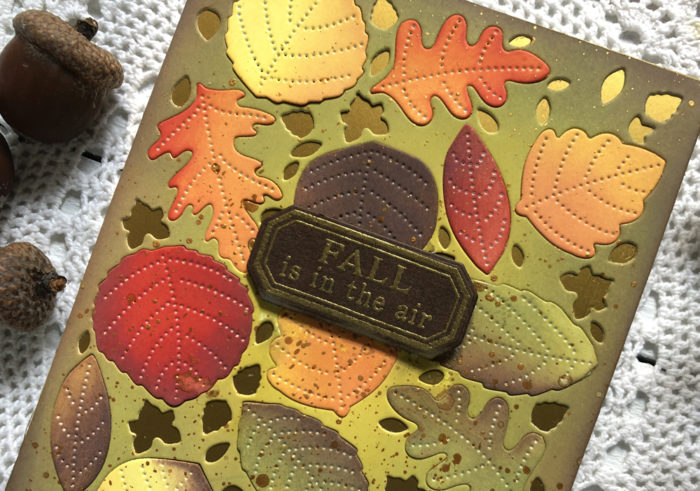
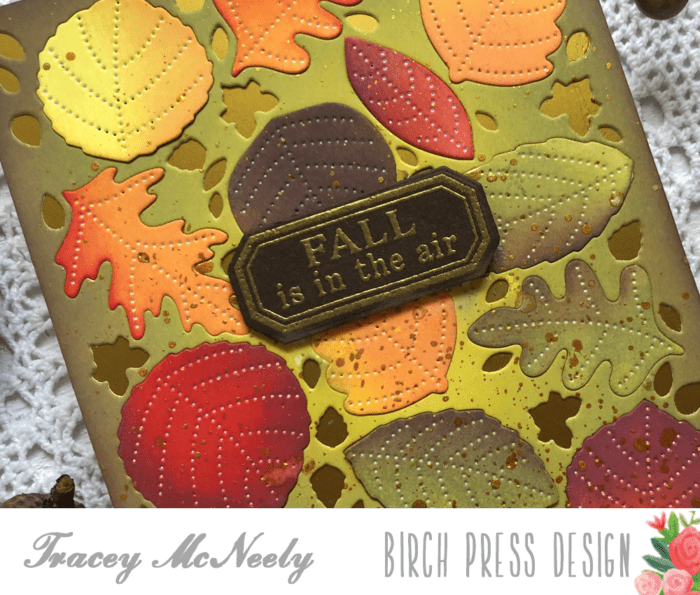
I covered the card front with a piece of gold paper from the Polished Foil pad and then I adhered the green ink blended panel over top. Each one of the blended leaves was inlaid into the die cut. The gold splatters were created from red gold metallic watercolours.
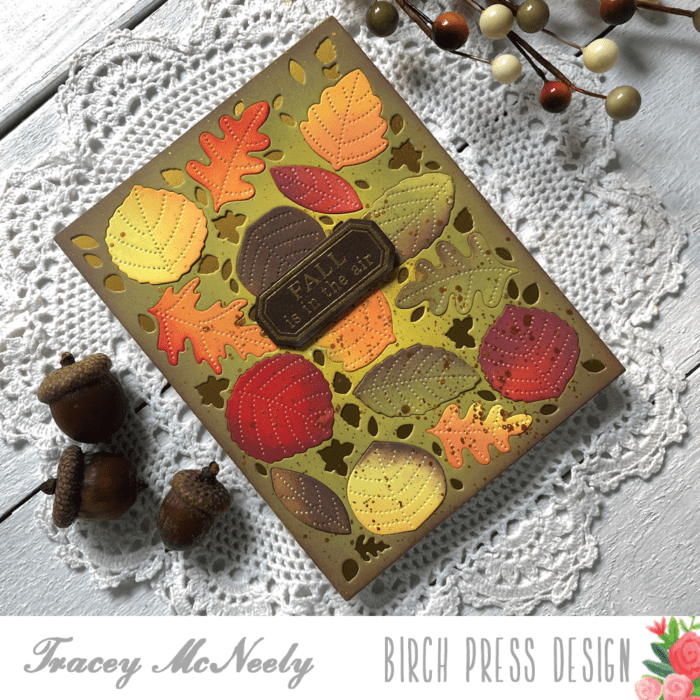
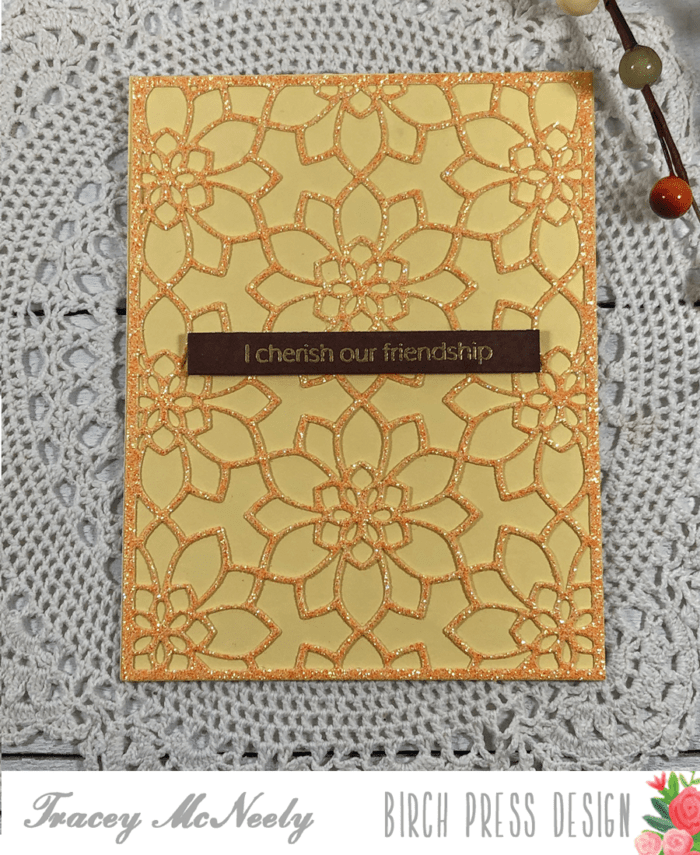
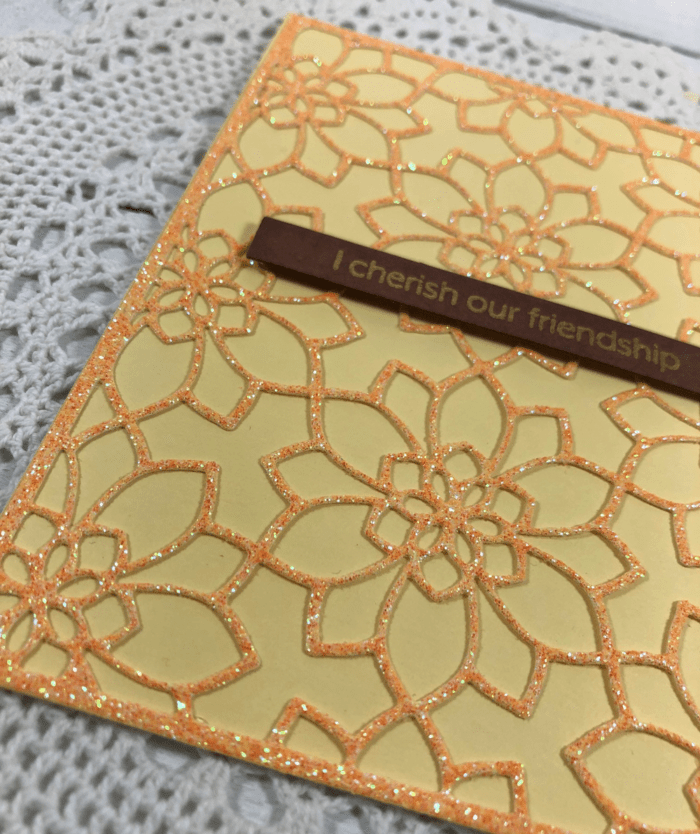
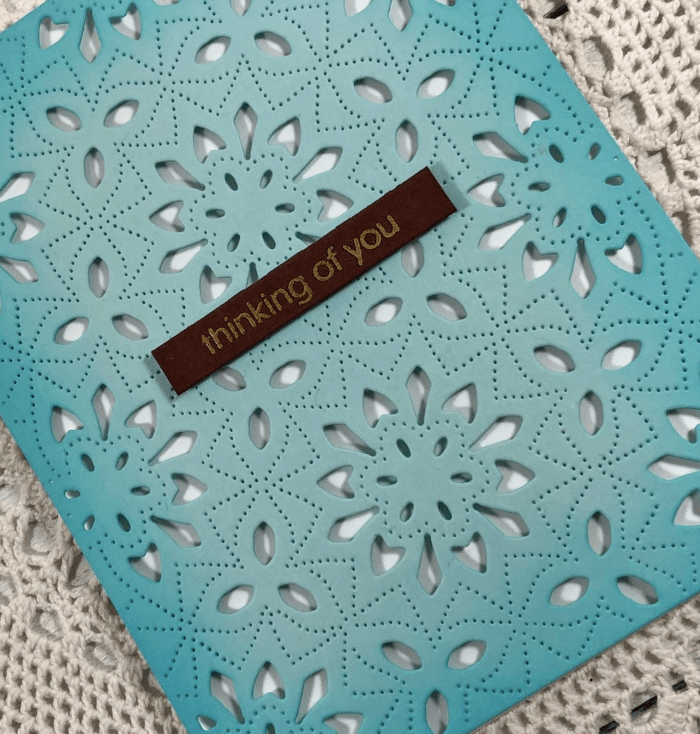
Once dry I added a sentiment from the Pumpkin Lacework stamp set. I used the ‘Fall is in the air’ quote which I gold embossed on brown cardstock and die cut it with the co-ordinating Pumpkin Lacework die set. The sentiment was added with foam tape to complete the card.
Thank you so much for stopping by today and I really hope I tweeked your interest to look at your layered die sets a bit differently. What you can do with only one layer?
Happy Crafting!

Supplies