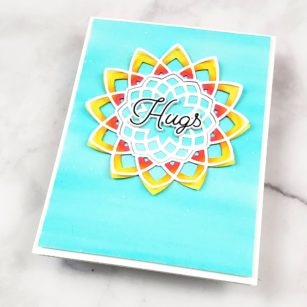

Hello my crafty friends! I hope you’re having a great day! It’s Jeanne here and I’m sharing a rainbow color block card made with the new Floral Star layered die set.

I love using color block technique when using die cuts. The repeated crisp clean lines of the background and the die cuts themselves are a match made in heaven.

I determined a good size for the base would be 4 1/2″ . I split the panel down the center and then marked where the petal tips would be on the graph paper. I cut the red, yellow, purple and green squares 2 1/4″ square and adhered them together on their reverse side. I used the graph paper as a template to cut the blue and orange pieces.

I cut all three layers of the Floral Star Layer Set from white card stock. I inked the “B” layer with distress ink masking off each section with sticky tape. I applied the ink with a mini cosmetic brush that I found on Amazon.

I assembled the three Floral Star Layers and adhered them to the card base aligning the colors on the die cut with the colors on the background panel.

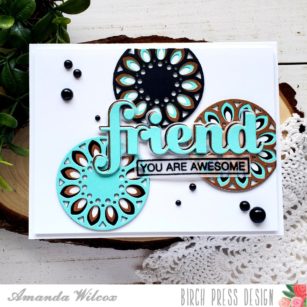
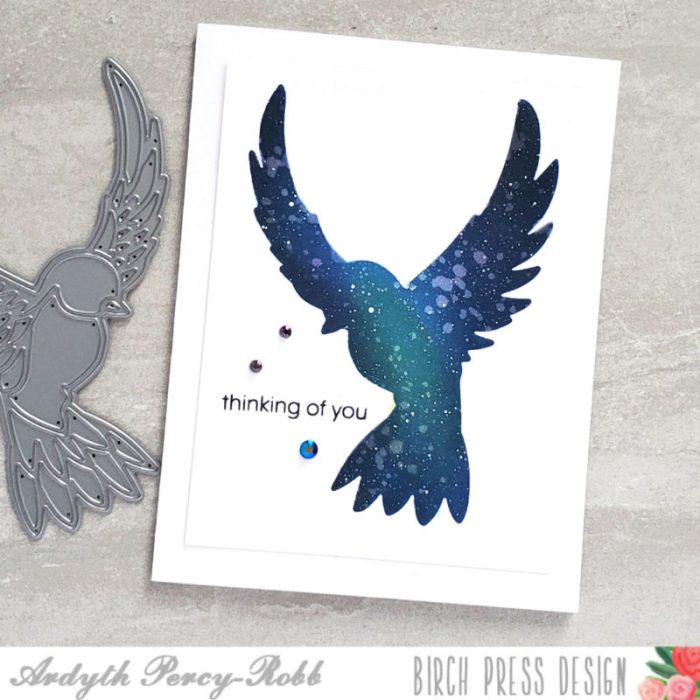
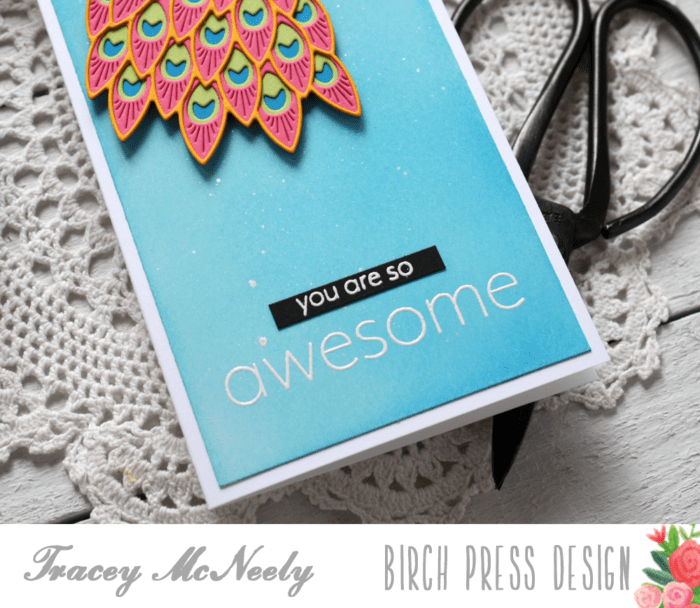
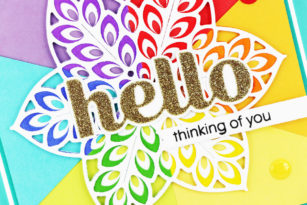
A Big Sugar Script Hello cut from gold glitter paper adds some sparkle and shine! The “Thinking of You” stamped sentiment is from the You Are Awesome stamp set.

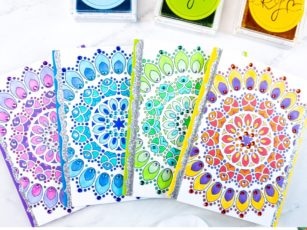
I can never resist a rainbow! It includes ALL my favorite colors!

Finished Size 4.75″ Square
Supplies