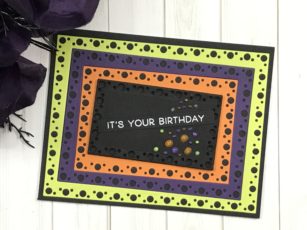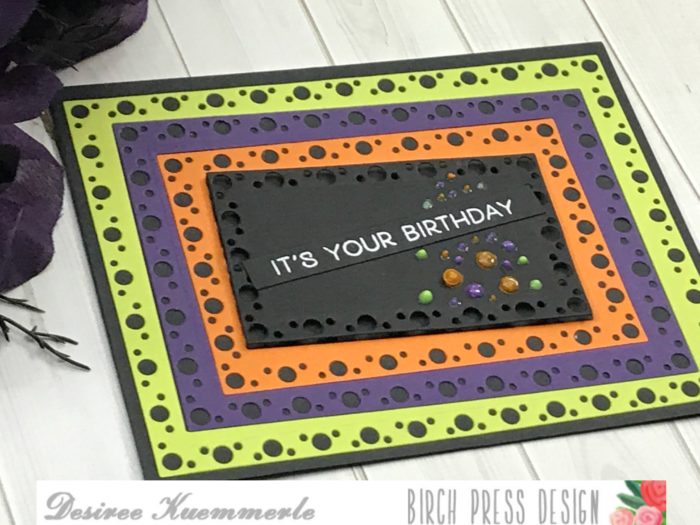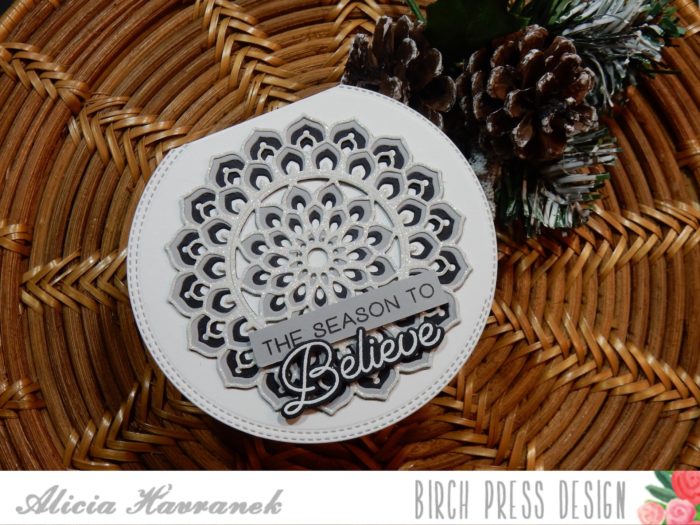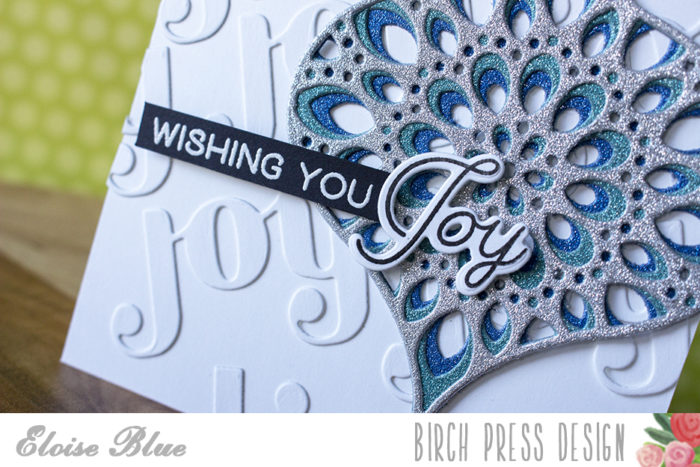
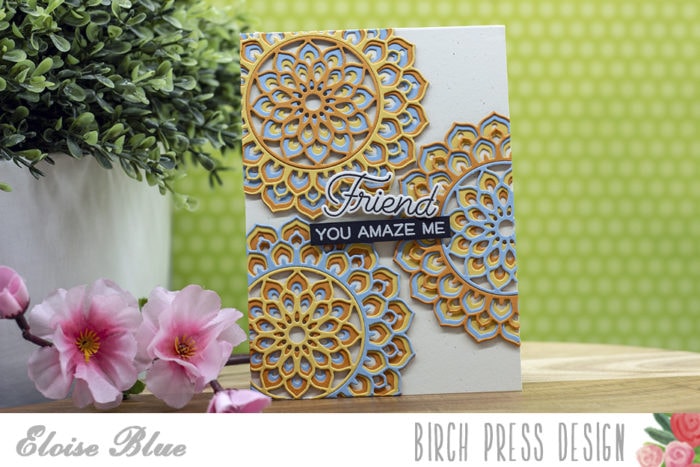
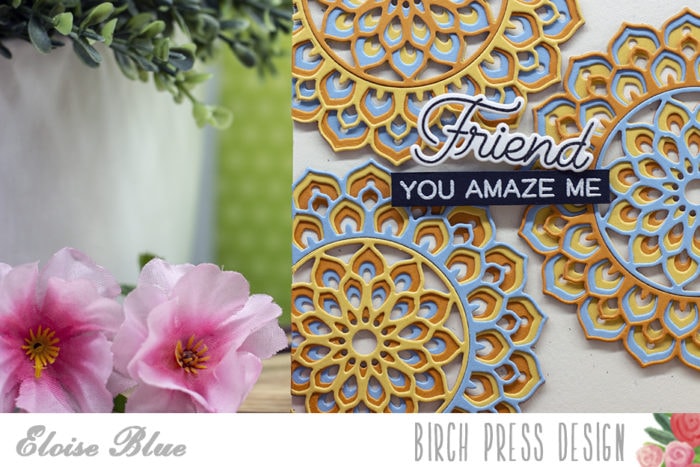
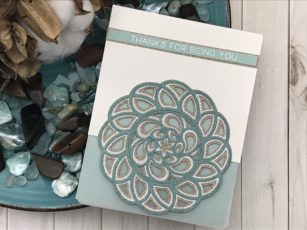
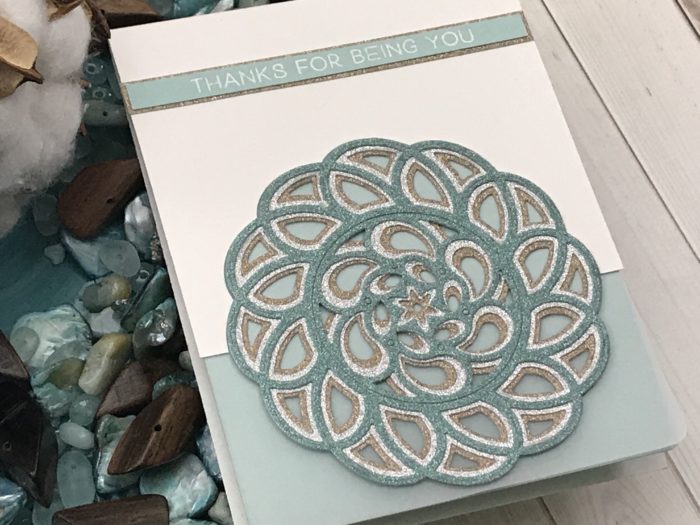
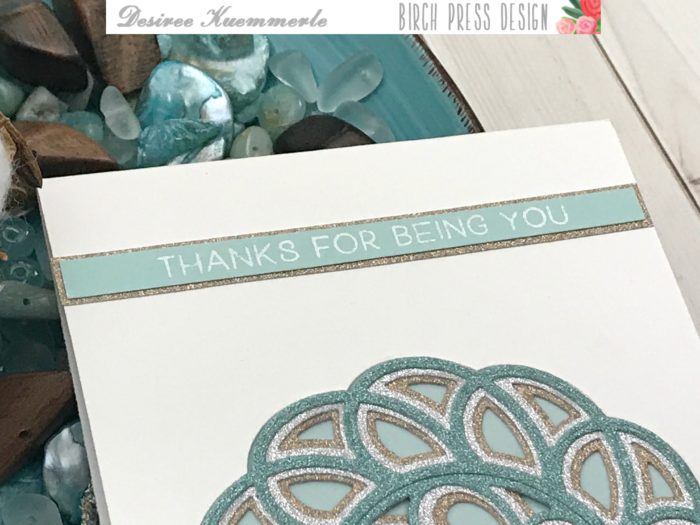
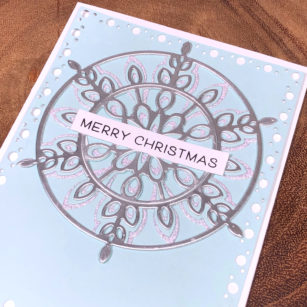
Hello friends, Eloise here and today I thought I would lay off the Christmas cards and just make an everyday friend themed card using the Calen Layering Set along with the Best Friend stamp set.
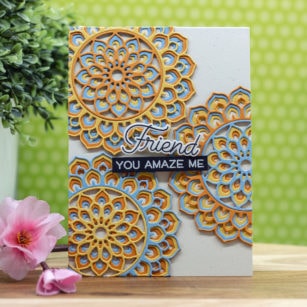
To start off my project today I die cut all the layers from some coloured cardstock. I used the image below as inspiration.

Source: http://seelizathome.blogspot.com/2011/11/trio-of-baskets.html

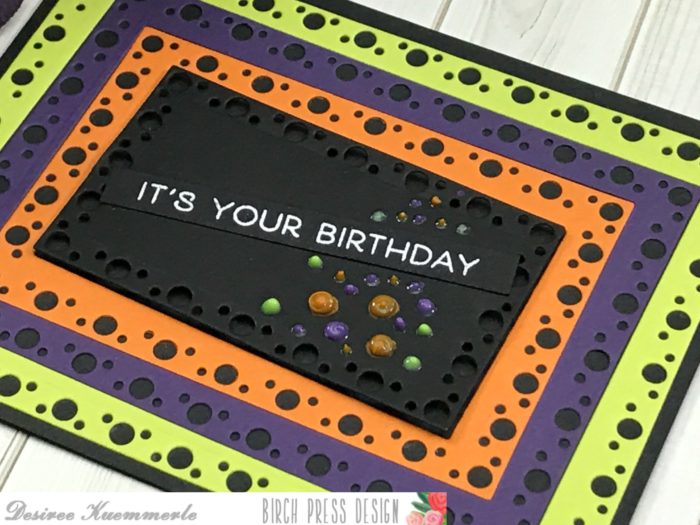
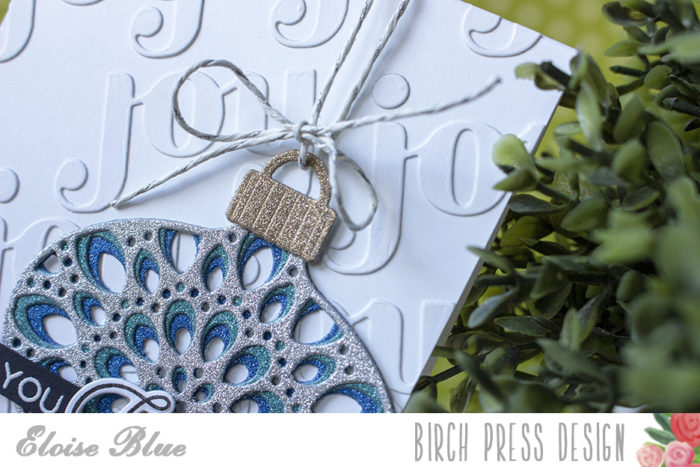
I made sure to cut all three layers from each colour to create different combinations. Once they were all die cut I adhered them together using liquid glue.
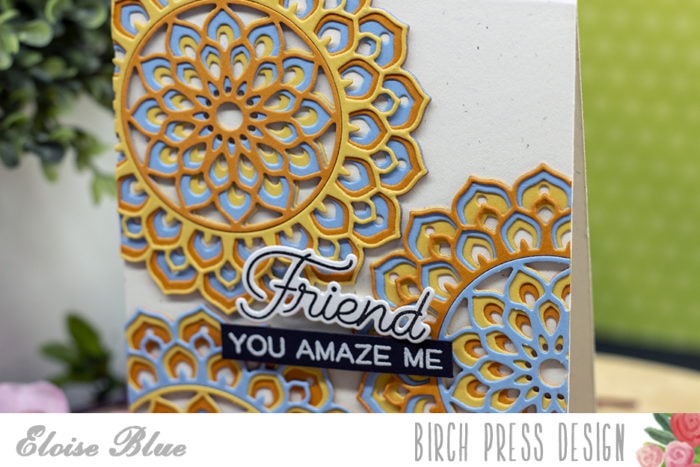
I then cut down a card base from some natural cardstock and adhered my layered pieces in the centre and then cut off the over hanging edges.

Lastly I stamped out the sentiments from the Best Friend stamp set. I stamped the ‘Friend’ word on white with black and die cut it out, then used the ‘You Amaze Me’ and white heat embossed that on a black strip. I popped them up on foam tape and adhered them into place.
Thanks so much for stopping by today, I hope you feel inspired. See you next time!

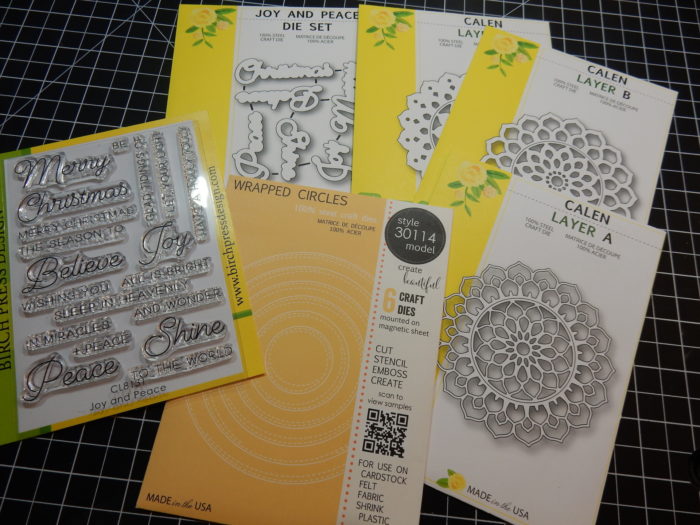
Supplies


 Hello Everyone!
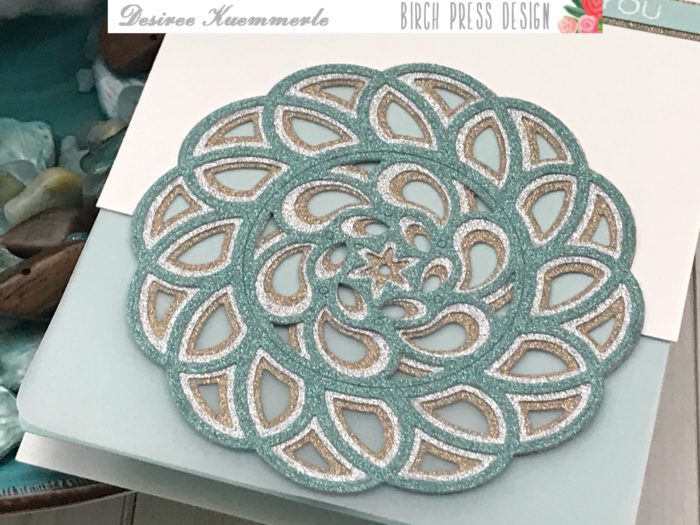


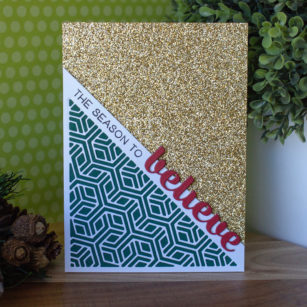
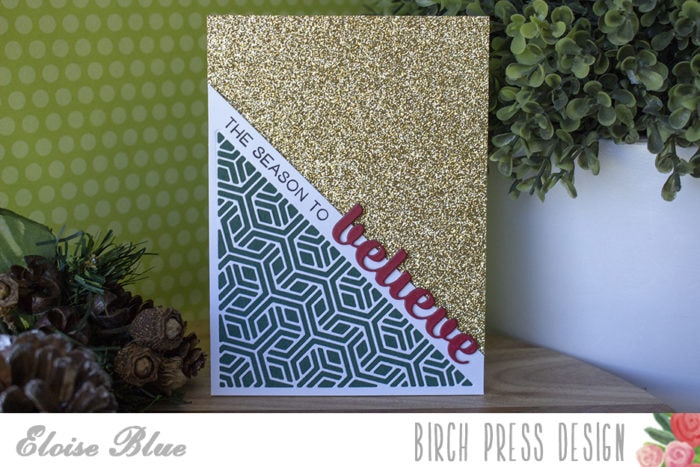

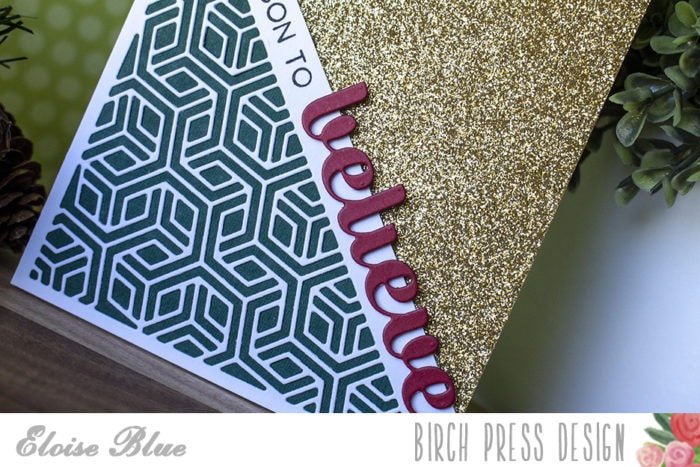
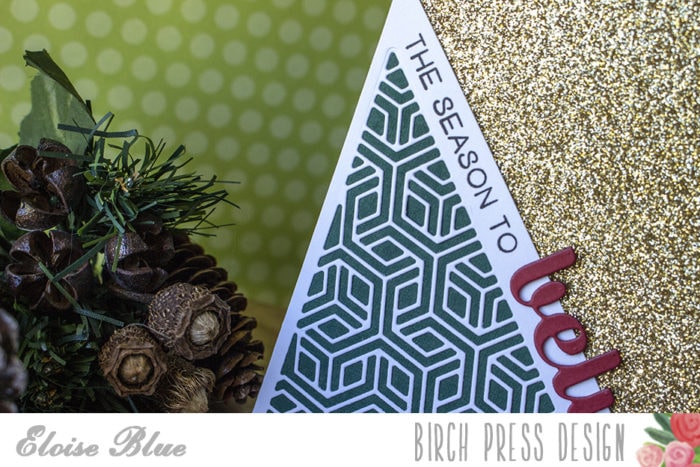


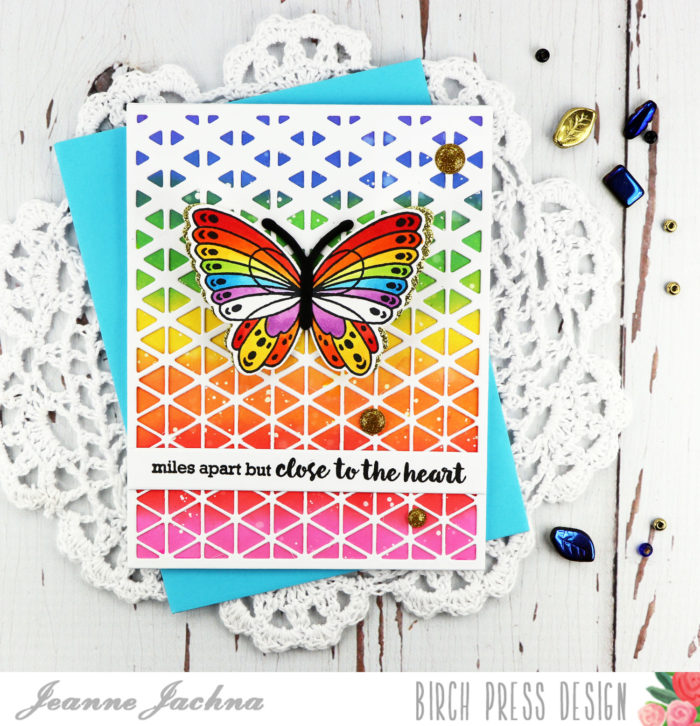

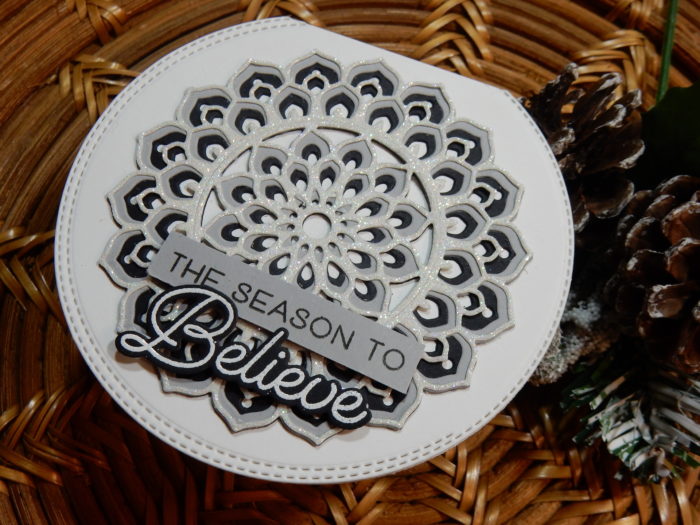
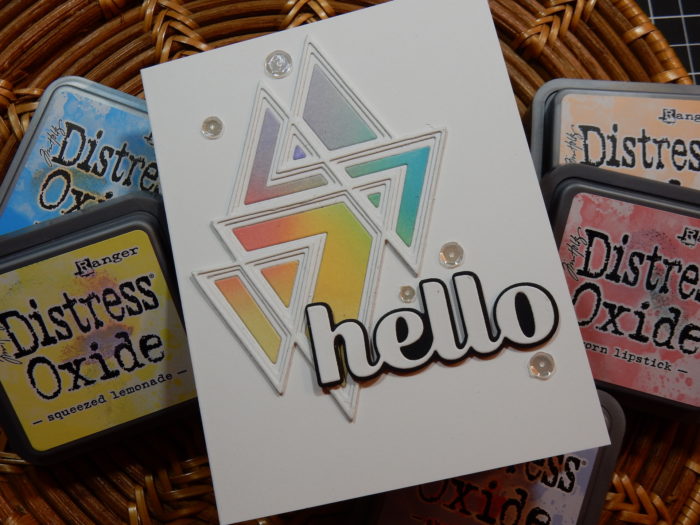
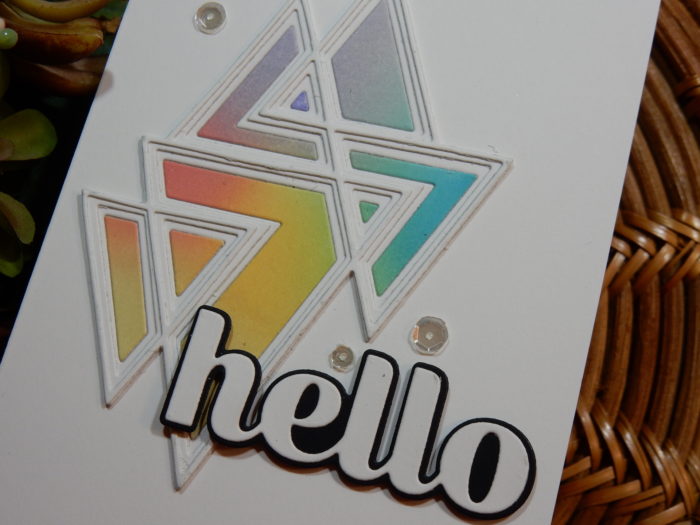
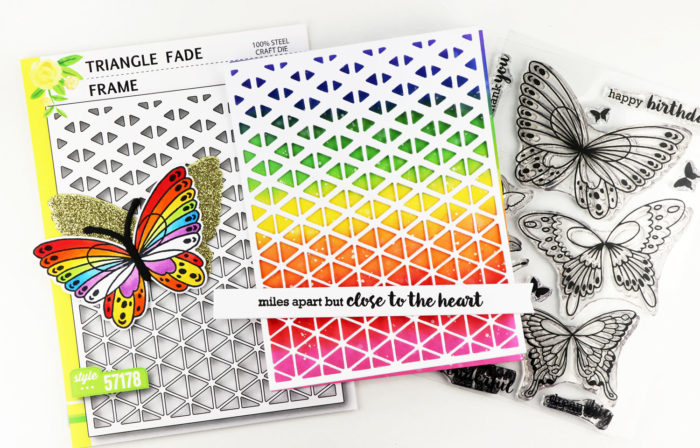 I topped the panel with the Triangle Fade Frame cut from white card stock. I love the fresh triangles and the gradient pattern.
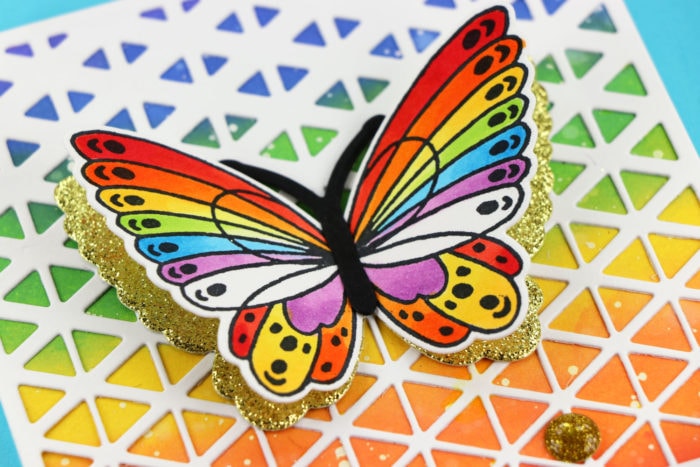
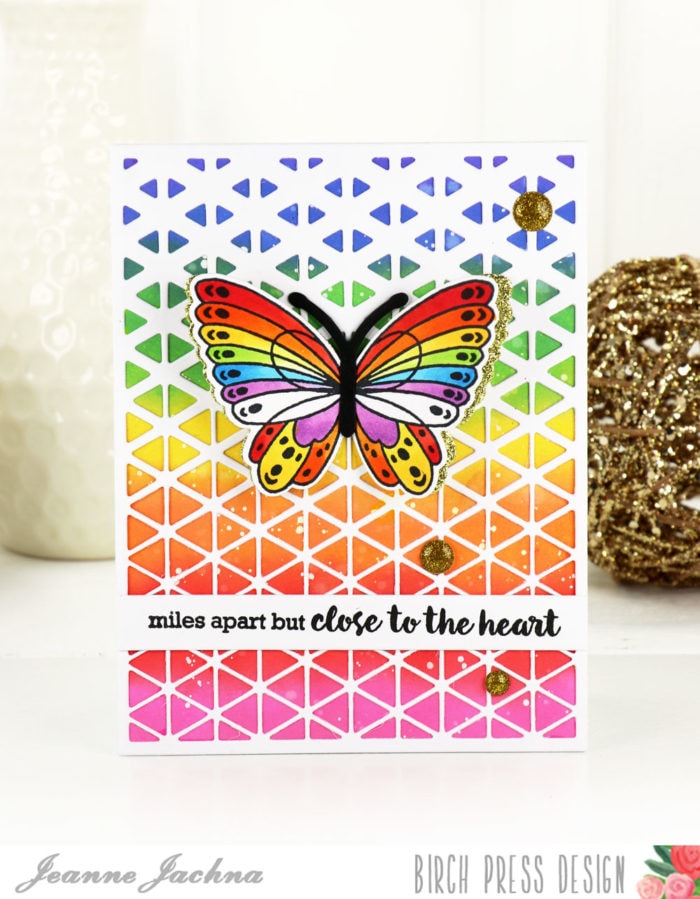 Wishing you a bright beautiful day!
 Finished Size 4.25 x 5.5″