Category: Stamps

  • Alcohol Ink Adornment Leaves | by Crystal Komara

    Alcohol Ink Adornment Leaves | by Crystal Komara

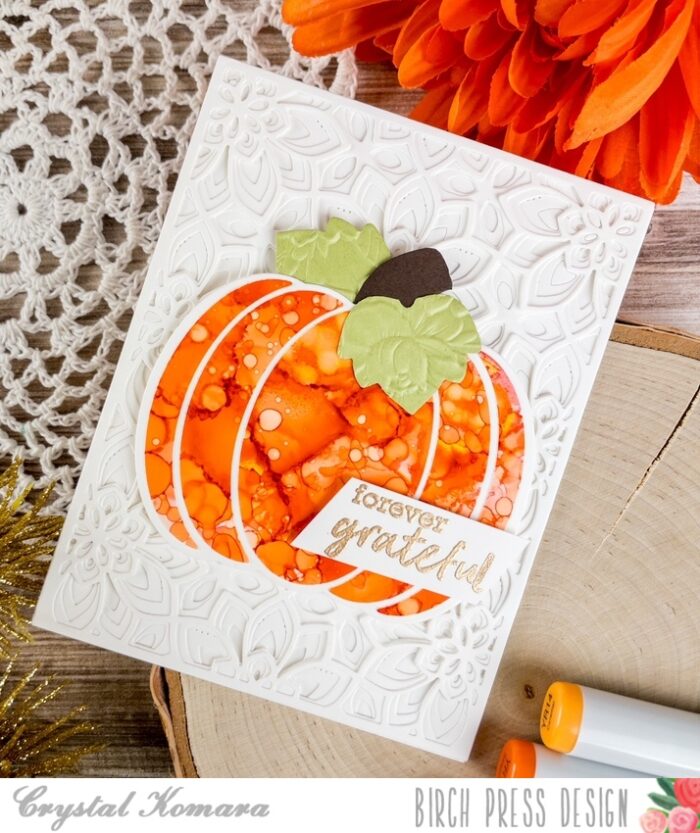
    Hello friends and happy Monday! I hope you all had a wonderful (and hopefully creative) weekend. This is Design Team member Crystal Komara here today sharing two cards I made using the new Adornment Oak Leaf dies and some alcohol ink backgrounds. I love creating backgrounds with alcohol inks, they add so much visual contrast and color to cards. For more alcohol ink inspiration that I’ve created using Birch Press Design products, please check out this vibrant pink pumpkin or these blue balloons.

    Card details:

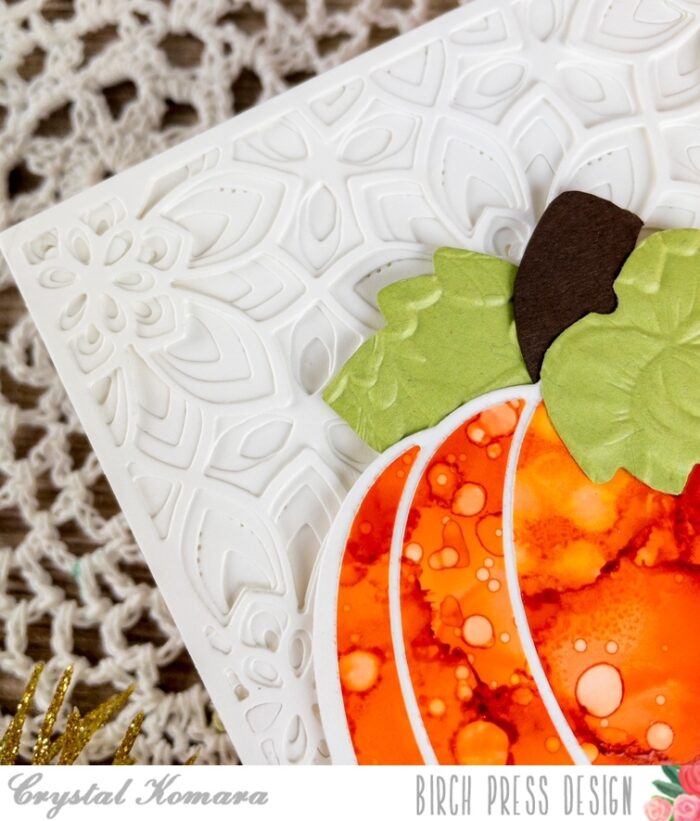
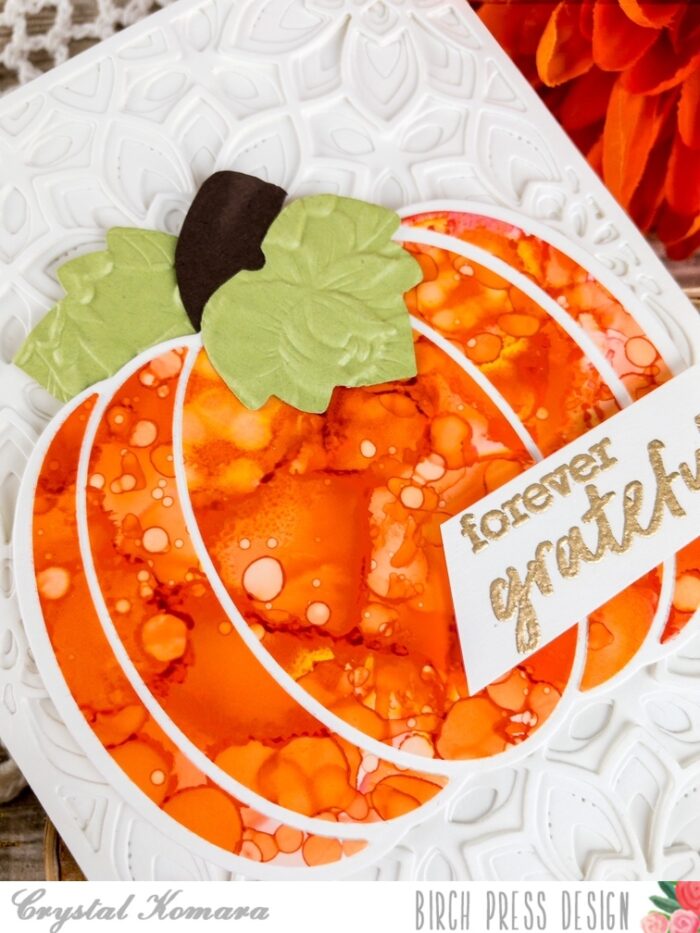
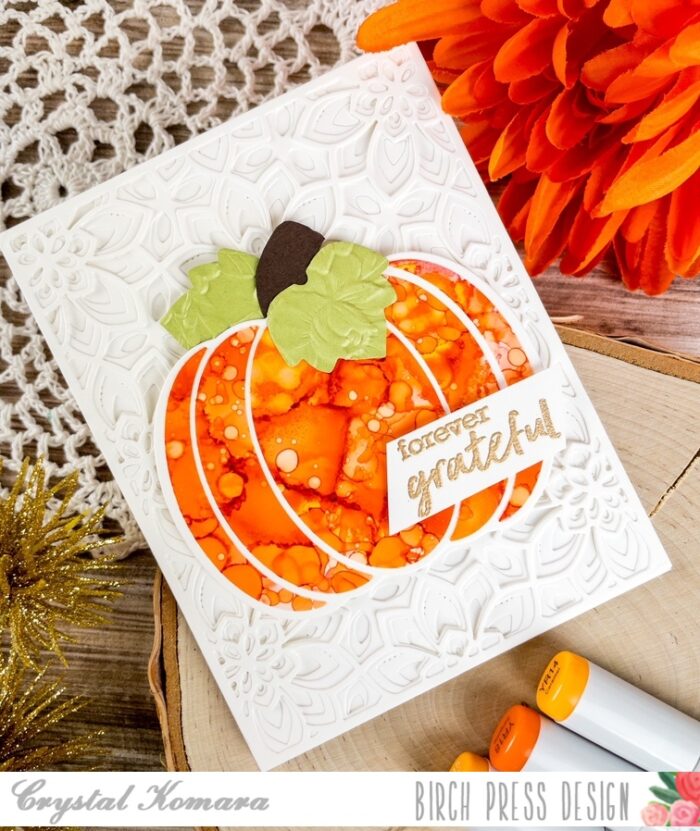
    The base of this A2 sized card is made from 80 lb. Neenah Solar White cardstock. This is my go-to cardstock for everything from die cutting, Copic coloring, card bases, ink blending, all of it. I create my alcohol ink backgrounds on high quality photo paper (in lieu of the more pricey Yupo paper). I promise it works just as well and it will save you money. For this first card I used violet alcohol ink, salmon alcohol ink and Valencia alcohol ink (all by Ranger Adirondack).

    I die cut the Adornment Oak Leaf dies from purple cardstock, rust colored cardstock and then gold glitter cardstock. I then layered the more detailed gold leaf layer over the solid colored cardstock using a fine tip glue. I adhered the leaves to the card and then stamped the sentiment “forever grateful” in Versamark ink and then heat embossed it with gold embossing powder. This sentiment is from the Brush Sentiments clear stamp set. I used an oval punch to punch out the sentiment and adhered it to the card with some linen thread behind it for added texture.

    For the second card, I used the exact same alcohol ink background and card measurements, except I used just cranberry alcohol ink. I die cut the Adornment Oak Leaf from cranberry cardstock and gold glitter cardstock. I layered the two together before adhering them to the card with 3M foam adhesive for added dimension. I used the same sentiment and again added linen thread beneath the sentiment for texture.

    I hope you have enjoyed today’s cards! Thanks for visiting and have a wonderfully creative day!

    Supplies

  • Autumnal Deer | by Toni M Maddox

    Autumnal Deer | by Toni M Maddox

    Hello, Birch Press fans! Toni here with you today sharing an autumnal card featuring a nature scene.

    I sponged the card front with Distress Oxide Salvaged Patina which I spattered with water, Copic Opaque White and a touch of Distress Oxide Salvaged Patina Spray. The base is a weird cement-type color which I let show through on the bottom of the card.

    Next I cut out Forest Canopy Layer C and Memory Box Deer Trio which I airbrushed with the above Copics. I used regular alcohol you might find in your medicine cabinet to create the mottled effect on the deer layer.

    I had originally planned to emboss the Kind Hearts sentiment on vellum but really wanted the scene to be seen, so to speak, so embossed directly on the card. Fortunately, it worked well, even the part on the leaves. Whew!

    I hope you enjoyed today’s card and have a great rest of your week!

    Supplies

  • forever grateful | by Rosemary Dennis

    forever grateful | by Rosemary Dennis

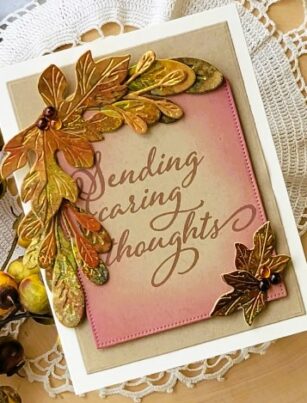
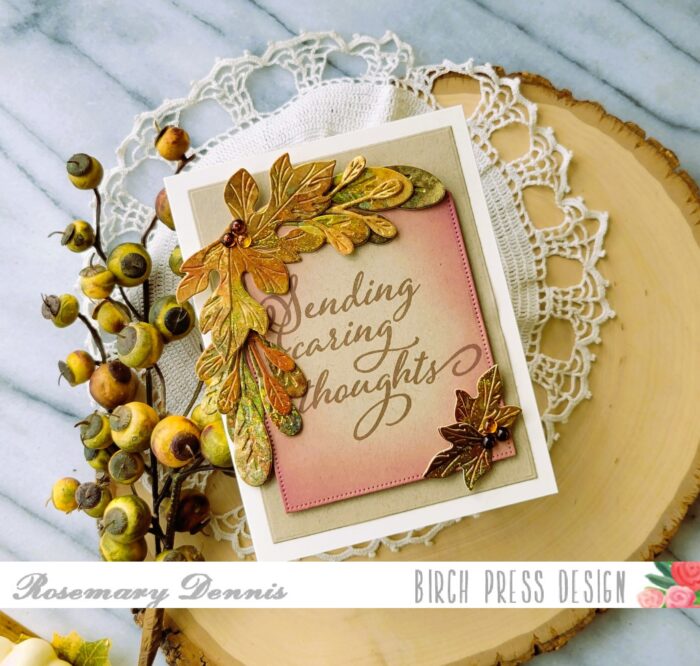
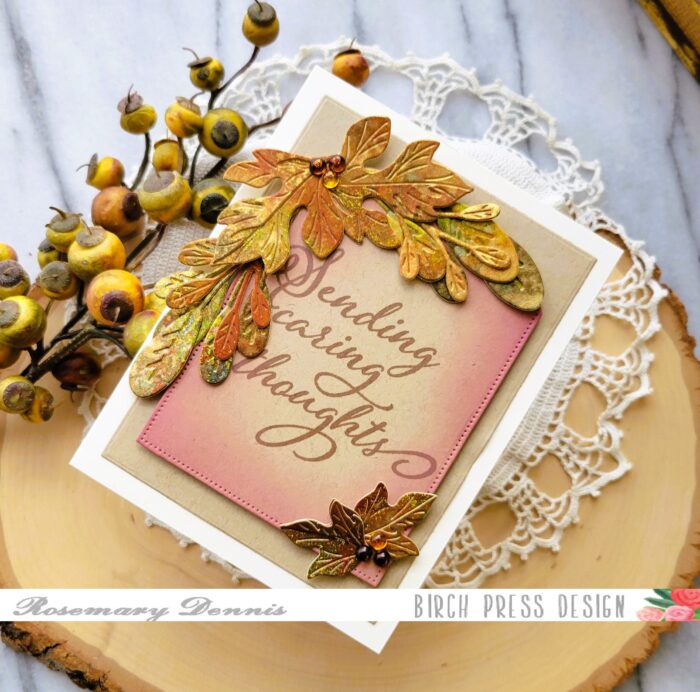
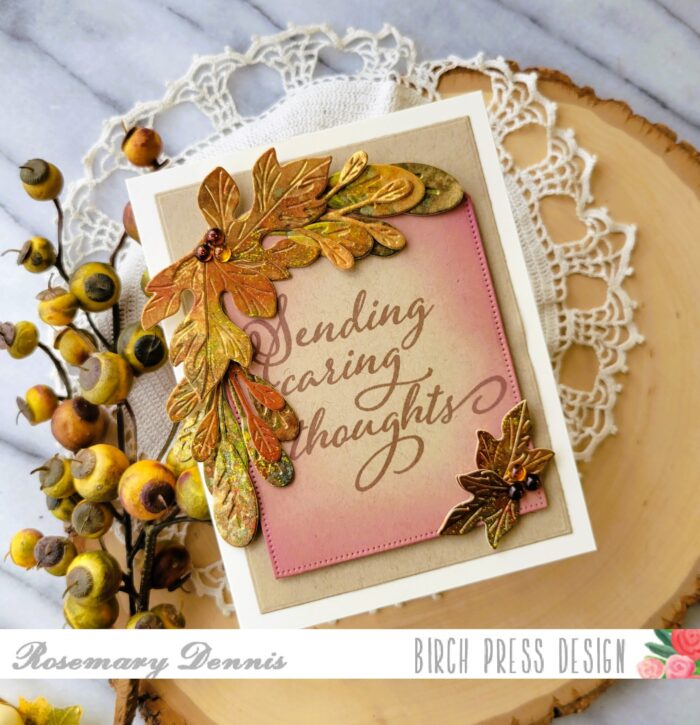
    Hi everyone! Rosemary here on the blog today. August is almost gone and that means that fall is right around the corner! I love fall in the Pacific Northwest. We can have beautiful clear blue-sky days that are slightly crisp, soggy wet ones and things in-between! Today I’m sharing a card that invokes the beautiful fall colors of oak leaves that are so fun to walk through on a crisp fall morning. Take a look.

    If you don’t know yet, Birch Press has a new release in the shop and it is full of beautiful dies that will help you create lovely fall and Christmas inspired projects. Today I’m using the new Adornment Oak Leaf and Hillside Branch and Bramble Contour Layers dies from the release along with a sentiment from the Brushed Sentiments set. A few weeks ago I created a few mixed media type panels using Memory Box mirror cardstock and alcohol inks. One of the panels I created used a piece of orange mirror cardstock from the Rainbow Reflections 6×6 pad. The resulting panel had a very subtle look to it. I was able to die cut something else from it and then used what was left over to die cut the outline of the Adornment Oak Leaf.

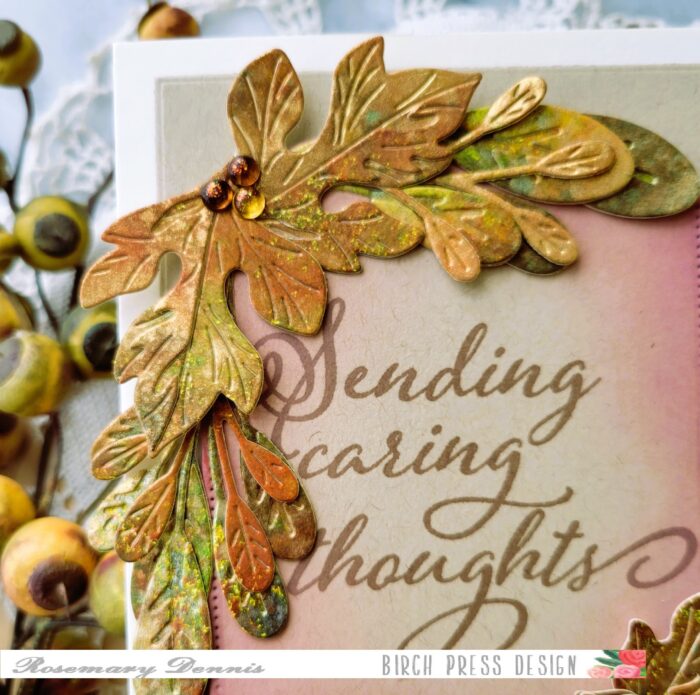
    The solid oak leaf was die cut from a piece of watercolor cardstock I had sprayed with several different distress mica sprays in fall colors. I also die cut the bare branches from the Hillside Branch and Bramble Contour Layers die set from the same piece. I adhered the outline leaf to the solid leaf and then arranged and adhered the bare branches. The photo below shows some of the shine and layering of colors from the distress sprays and the alcohol inks.

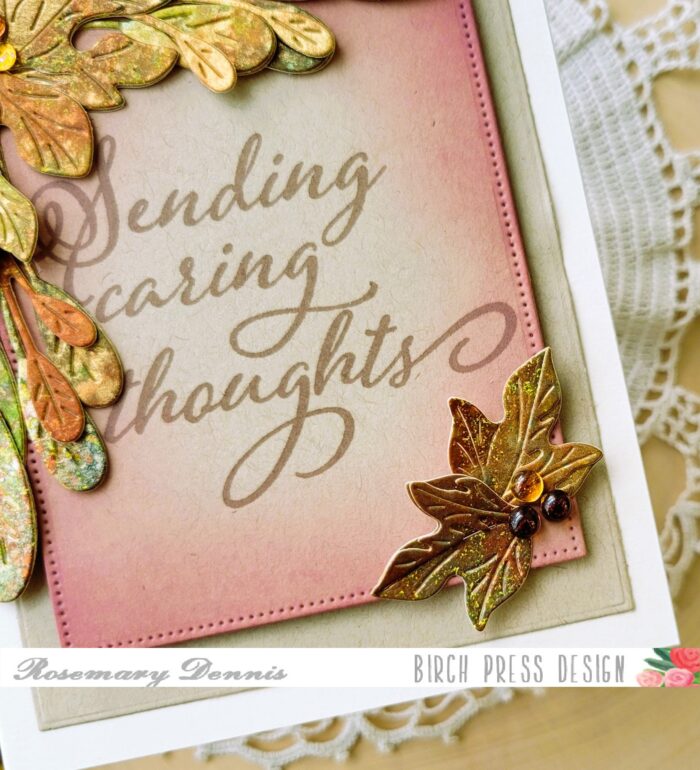
    I used Memory Box woodgrain cardstock in kraft for the background and die cut it with the second largest die from the Memory Box Curved Cap Pinpoint layers die set. A piece of off white cardstock was die cut with a rectangle die, adhered to my card base and then I layered on the woodgrain panel. I adhered the oak leaf with thin foam squares and added the little twine bow.

    I stamped the sentiment from Brushed Sentiments using a brown ink on off white cardstock, die cut it with the smallest Curved Cap Pinpoint die and adhered it to the panel. I finished off the card with some fall colored fairy jewels from the Autumn pack. I placed three under the sentiment and then scattered a few on the bare branches.

    I hope my card inspired you to get out your fall themed Birch Press Design dies and get going on those fall themed cards! Thanks for stopping by and have a lovely day!

    Supplies

  • Autumn Leaves Bouquet | by Toni M Maddox

    Autumn Leaves Bouquet | by Toni M Maddox

    Hello, Birch Press fans! Toni here with you today all geared up for fall, my favorite season when the nights are cool, the days warm and the leaves are changing.

    I cut out and impressed the new Adornment Oak Leaf from a sturdy white cardstock which I sponged with Distress Oxide Mustard Seed and Lumberjack Plaid. Check out the detail on those leaves–just amazing!

    I spattered the leaves with water and Distress Oxide Festive Berries, Vintage Photo and Carved Pumpkin sprays.

    I arranged the leaves on the Memory Box Cream Woodgrain card front, tucking in a few Hillside Branches. I used a bow leftover from last year’s holiday cards (look at me using up leftovers!).

    The sentiment is from the Memory Box Gracious Floral set stamped in Versafine Vintage Sepia.

    I hope you enjoyed today’s card and have a great rest of your week!

    Supplies

  • just for you | by Rosemary Dennis

    just for you | by Rosemary Dennis

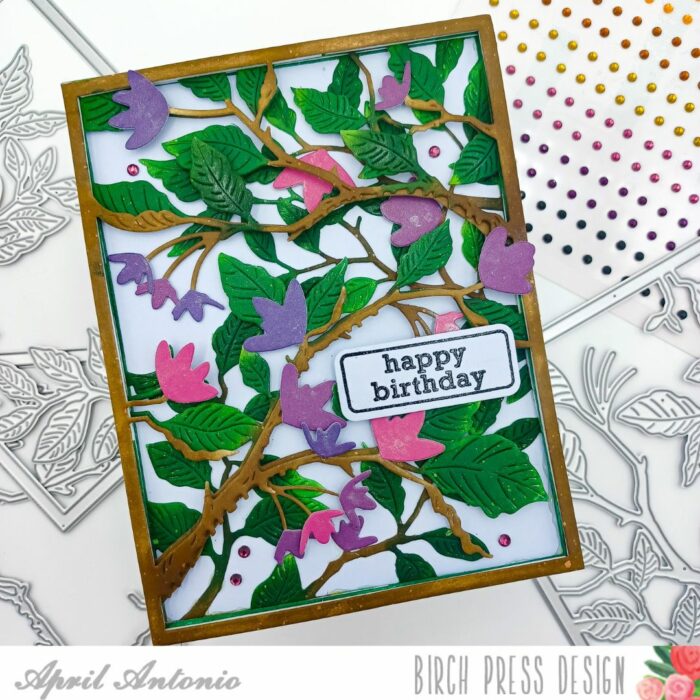
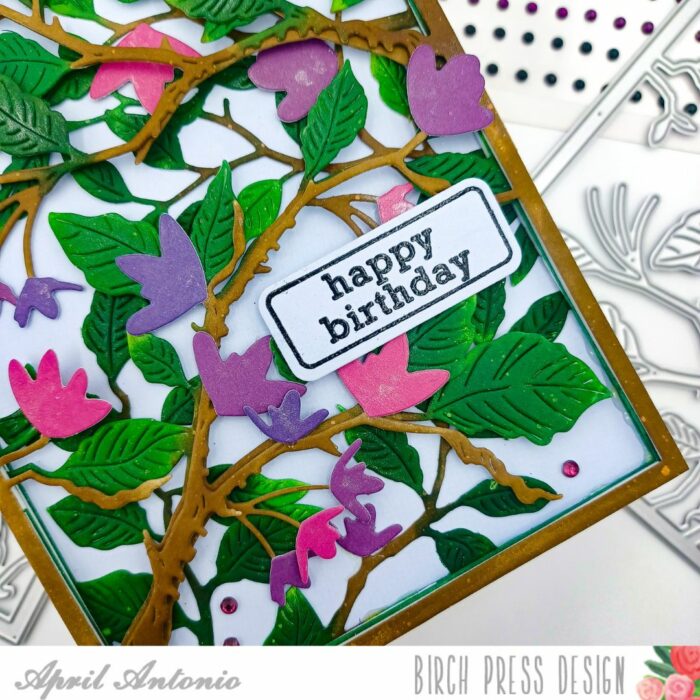
    Hello everyone! Rosemary here on the blog today and I’m sharing another mixed media type card that I created using the new Forest Canopy Layer die set along with a sentiment from the Memory Box Open Studio Gracious Florals stamp and die bundle.

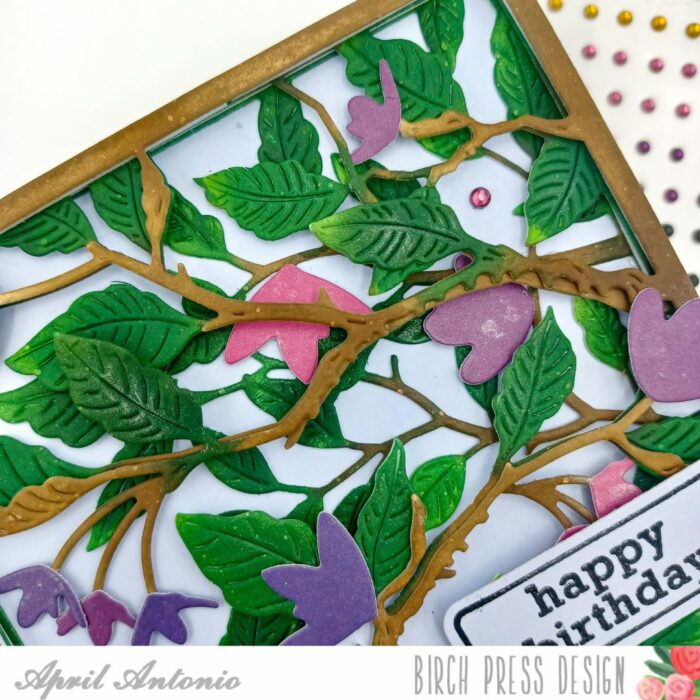
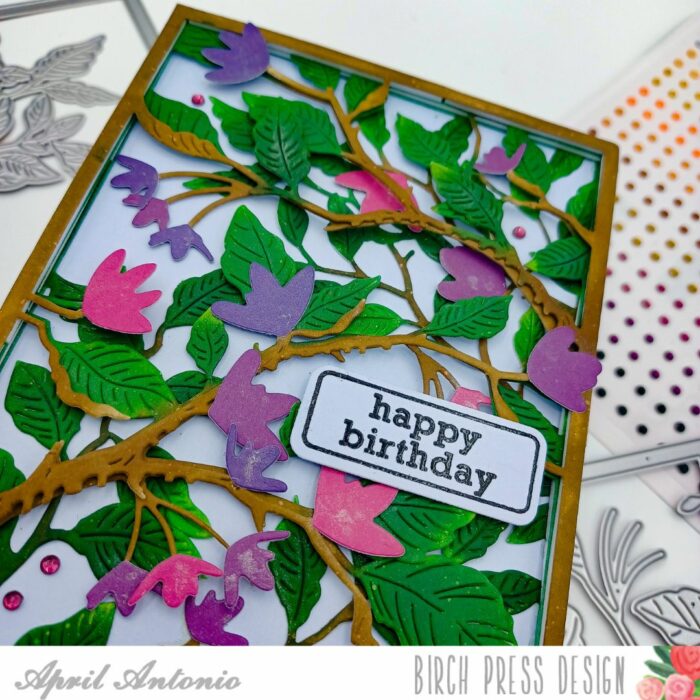
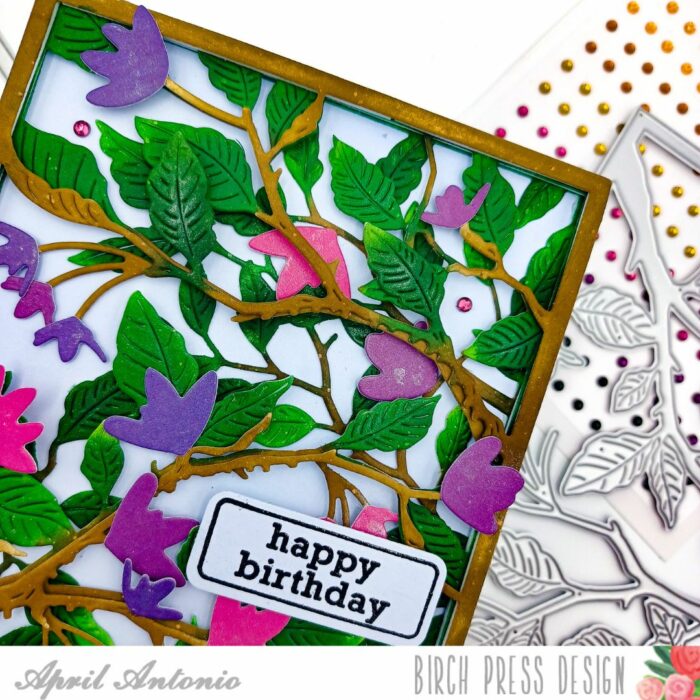
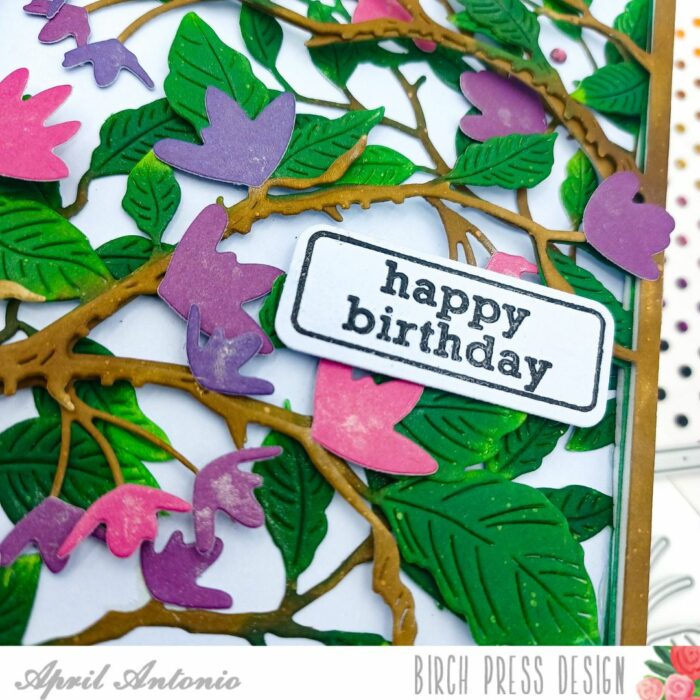
    The new Forest Canopy Layers die set is just gorgeous and there are so many ways that it can be used. I guess I went with a little more of a fallish feel for my card. I used lots and lots of distress sprays and mica sprays for the different layers. You can see all the sprays I used in the next photo.

    After I created all my panels with the different sprays I let them dry. Once dry there were die cut with the different layering dies. I also created the blue background panel and then die cut that with a rectangle die that fits exactly behind the Forest Canopy layers!

    There are dies in the Forest Canopy Layers set that die cut all the little berries and layering leaf pieces. I used liquid adhesive to adhere those to the layer “A” die cut that I had cut from a panel that was sprayed with a walnut stain and Burning Embers distress mica spray to give the look of the branches. Adhering all the layers together can be a bit tricky, but I have a tip to share that will make it much easier. I use my scoring tool to help with alignment.

    I placed the blue background panel in the corner of my scoring tool, apply liquid adhesive to the back of each layer and then carefully place each layer on top. Using liquid adhesive is also helpful in these instances as it gives you a little bit of time to make sure that you have everything lined up. Once I had all my layers adhered I used the scoring tool to add the piece to my card base, as well.

    I finished off the card with a sentiment from the Gracious Floral stamp set that I heat embossed using good embossing powder on vellum cardstock. I wanted the sentiment to stand out against all the layers of berries and leaves, but also not take away from the layers! I thought using vellum cardstock worked perfectly!

    I hope you enjoyed today’s project. Thanks for stopping by and have a lovely day!

    Supplies

    Supplies

  • Gracious Floral | By Natasha Vacca

    Hello Birch Press friends, it is Natasha here today and I am excited to be up on the blog today! Today I am sharing a colorful card using the new Gracious Floral 3D embossing folder! This card was so much fun to create, using inks, stencils, and sprays, so let’s get started!

    For today’s card I started with a piece of Canson Watercolor card stock. I started by adding Lindy’s sprays to the card panel background. When working with sprays, I add color to the paper, allow the panel to dry, spritz with water, then pick up the color with a paper towel. I continue this process for the background until I have the colors/textures I am looking for. Once the panel was completely dry, I ran the panel through my die cutting machine with the new Gracious Floral 3d Embossing folder by Memory Box. I love the detail in this folder. Next I added color to the floral and leaves using the coordinating stencil.

    The stencil for this set is so amazing and truly so easy to use. The set comes with a coordinating guide telling you the stencil to use for each layer. I continued to add layers of color to my flower using the layering stencil using dye inks from my stash. Once the layers were complete, I spritzed the panel with water and picked up some more color using a paper towel. I love this step, as it adds more dimension to my images.

    Next I added splatters to the card panel using my dye inks, as well as white splatters. I allowed the panel to completely dry, then I die cut the panel using my deckle edge trimmer. I then distressed the edges a bit more using my distress tool. Next I darkened the edges using distress ink and then adhered the panel to an A2 card base. I completed my card with a sentiment from the Gracious Floral stamp and die set.

    Thank you so much for stopping by today! I love this collection and I hope I inspired you to get inky today! I will be back in a few days with more crafty inspiration using new dies from the latest Birch Press Designs release!


    Supplies


  • Rainbow Hello | by Toni M Maddox

    Rainbow Hello | by Toni M Maddox

    Hello, Birch Press fans! Toni here with you today sharing a card that’s perfect for PRIDE month or any occasion really.

    I cut out a bunch of the Jovial Blooms & Leaves Contour Layers in Copic-friendly cardstock and colored them up with a bunch of bright colors. I thought about sponging but really wanted bright.

    I adhered those to the bottom of the card front which I had cut from the Pinpoint Radial Plate. The curves of that reminded me of a rainbow. I added a few clouds and sentiment from the Rainbow Days (with dies) set with the bold Sugar Script Big Hello on top.

    I hope you enjoyed today’s card and have a great rest of your week!

    Supplies

  • Happy Birthday Butterfly | by Rosemary Dennis

    Happy Birthday Butterfly | by Rosemary Dennis

    Hello! Today I have a clean and simple mini slimline birthday card to share. I used the Star Flowers Contour Layers dies along with the Glimmer Butterfly layers dies and sentiments from two different stamp sets.

    For this card I decided to use the Memory Box white woodgrain cardstock. The only thing I didn’t use it for was the card base! I die cut the the A and C layers of the Glimmer Butterfly from the woodgrain cardstock. The middle (or B) layer was die cut from vellum. I then used to shades of coral ink to ink up the centers of the top and bottom layers. Darker coral on the bottom and light coral on the top. When I had the color to my liking I used liquid adhesive to adhere the butterfly only in the center.

    I then created the flowers. All the layers were die cut from the woodgrain cardstock and then I added the darker coral to the second layer. There is a flower center die, but I decided to not use it this time. I layered the flowers and then added a fairy gem to the center of each flower that had a peachy tint to it. To make sure that the gems stayed in place I added a drop of liquid adhesive to the center of each flower.

    A piece of the woodgrain cardstock was trimmed to fit the mini slimline cardbase and then adhered with double sided adhesive tape. The large flower was added to the center of the butterfly with a drop of liquid adhesive. Once everything was dry I adhered the elements to my card front using liquid adhesive. Now it was time to determine where to place the sentiment on the card front.

    The sentiment on the card front comes from the Contempo Greetings stamp set. I decided to keep it soft my stamping it in a light gray. I then die cut it with the label die from the matching die set. I played around a little with where to place the sentiment and finally settled on the top. I added thin foam squares to the back and then nestled it into the wings of the butterfly. I don’t generally create a sentiment for the inside of the card, but for this card I did.

    The reverse side of the woodgrain cardstock is smooth and perfect for stamping on. I trimmed down a piece to fit the inside of the card and then stamped the sentiment from the Kind Hearts stamp set using the light gray ink. This piece was then added with double sided adhesive.

    I hope you enjoyed today’s project. Have a wonderful day!

    Supplies

    D2

  • Remember to Treasure | by Rosemary Dennis

    Remember to Treasure | by Rosemary Dennis

    Hello everyone! I have a soft pastel card to share today that I created with glitter papers from the Memory Box Delicate Pastel Glitter pad and many different Birch Press Design dies. Let’s get started!

    Birch Press Designs has so many wonderful layering dies and I just love going through them and finding ones that can also be used for embossing. As I was working on my idea for the card I flipped through my dies and came across the Arista layering set. I took one look at Layer B and knew immediately that I wanted to use it to emboss the background. I just love all the detail that is embossed into the background. (The embossing sandwich that works for me is my the diecutting platform, one cutting plate, a tan embossing mat, cardstock and die with the cutting side placed against the mat and a few cardstock shims.) I also knew that I wanted to use the Mixed Berry Contour Layers dies and the Simple Dragonfly Contour Layers. The Phlox Blooms and Leaves Contour Layers are so pretty and work wonderfully with the other dies.

    I die cut the flowers and leaves using white cardstock for the bases and then a sugary pink from the Delicate Pastel Glitter pad to the top layer. A pretty yellow from the pad was used for the flower centers. The glitter portion of the leaves were die cut from a light yellowy-green and layered on. I used yellow for the berry stems and a lighter pink for the berries. The above photo shows the general idea of the layout.

    The base of the dragonflies were die cut from white and the layers from glitter papers. Going to be honest and tell you that when I started to put the dragonflies I got confused as to what layers went where. I got a bit frustrated with myself, but eventually I got them put together correctly. I used pink glitter paper for the small dragonflies and the larger one is a pretty light peach color. I used a sentiment from the beautiful Kind Hearts stamp set. It was heat embossed on vellum using silver embossing powder so it was stand out against all that white.

    I cut the vellum into a strip and then wrapped part of it behind my panel and secured it with liquid adhesive. After that side had dried I secured the other side with liquid adhesive, as well. Then I started adding all the flowers, leaves and berry stems. The large flowers were popped up with thin foam squares. Everything else was adhered with liquid adhesive making it easy to tuck them into place. I finished with the dragonflies.

    If you have yet, I hope you will look through your Birch Press Design layering dies and find ones that can be used to emboss the background of your projects. I think you will just love the look! Thanks for stopping by!

    Supplies

    D2

  • Colorful Floral Cluster | by Allison Frazier

    Colorful Floral Cluster | by Allison Frazier

    Hello, Birch Press friends! Today, I am sharing this card featuring a cluster of layered florals. There are so many amazing floral dies in the Birch Press collection, and I used a lot of them today! I love using a dark background – I think it provides a really dramatic pop.

    I started my card by creating the layered roses first. For each of the roses, I chose three different shades of card stock for the layers. I used the Dainty Rose and Leaves Contour Layers set to create the yellow and orange roses. I used the Morning Rose and Triple Buds Contour Layers set to create the large pink rose. I used this same set and two shades of pink card stock for the buds and one shade of green card stock for the stems.

    For the orange flowers, I used the Star Flowers Contour Layers set. I used two shades of orange card stock, as well as yellow for the center of the flowers. For all of the leaves, I used two die sets – the Jovial Blooms and Leaves Contour Layers and the Tiny Tuft Flowers and Leaves Contour Layers. Once I had all of my dies cut, I assembled the layers with liquid glue and then started arranging everything onto a dark brown A2 card base.

    Once I was happy with the arrangement, I started glueing elements down, starting with the leaves and any other elements that were going to go behind something else, such as the smaller orange flowers and the pink buds. Once I got to the top elements, I used a couple different thicknesses of foam tape to adhere the orange and yellow roses. I heat embossed my sentiment with gold embossing powder. This sentiment comes from the Lingo Thanks Stamp Set. Before adhering my sentiment to the card, I splattered the whole thing with white acrylic paint.

    For a final touch, I added some fairy jewels to the center of the large, pink rose. I love how it all turned out! Thank you so much for joining us today. I hope this card inspires you and brings a smile to your face. 

    Wishing you a crafty day,
    Allison


    Supplies


    Supplies