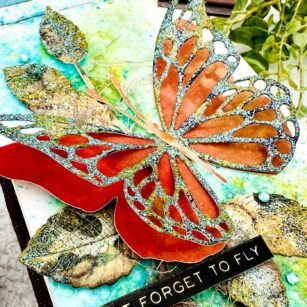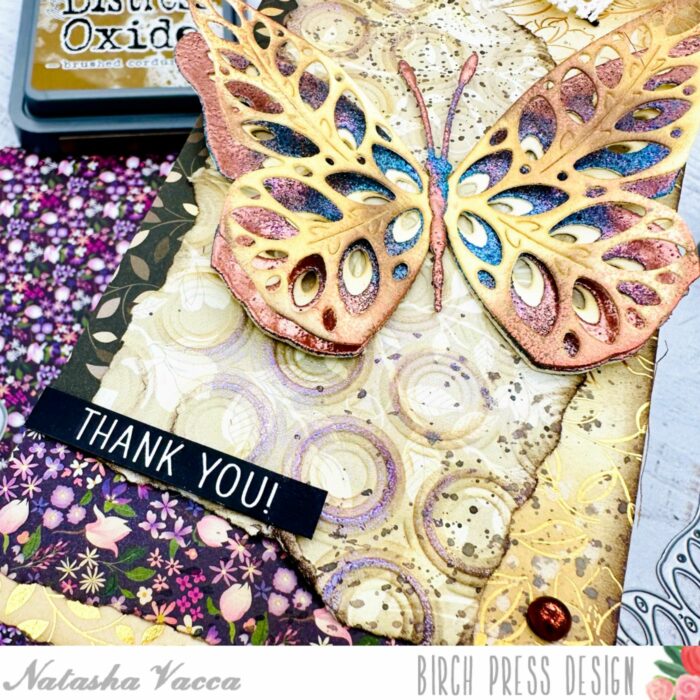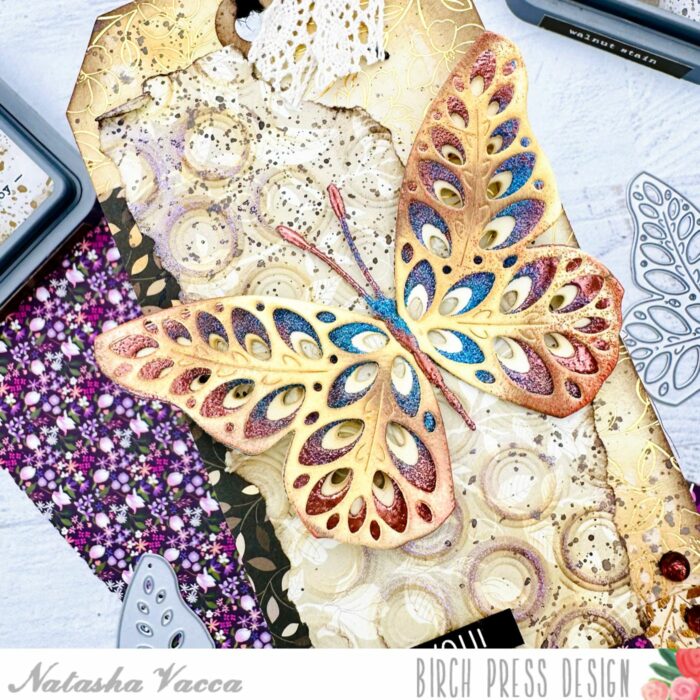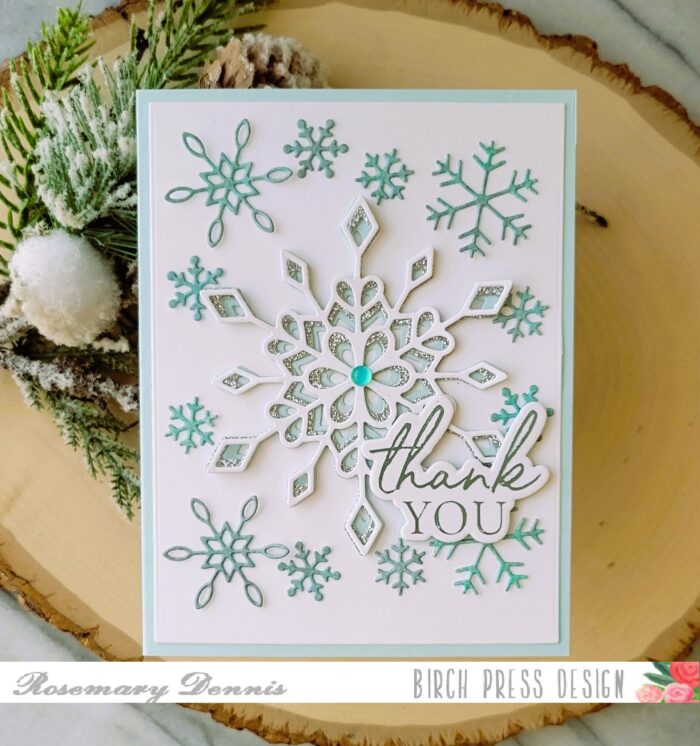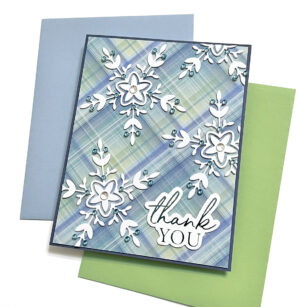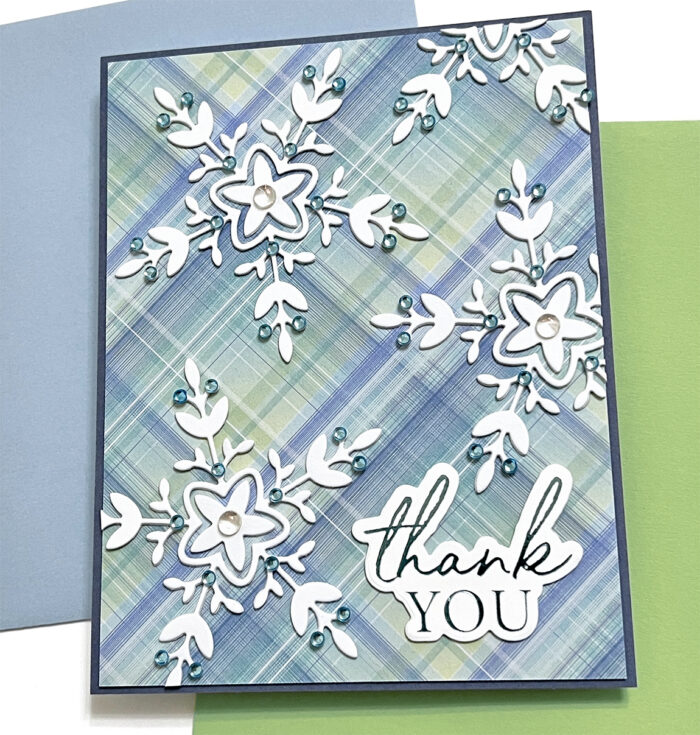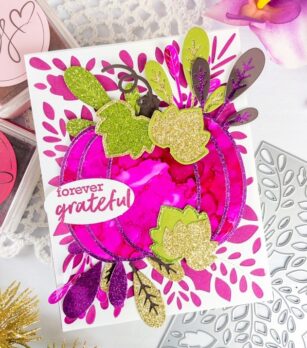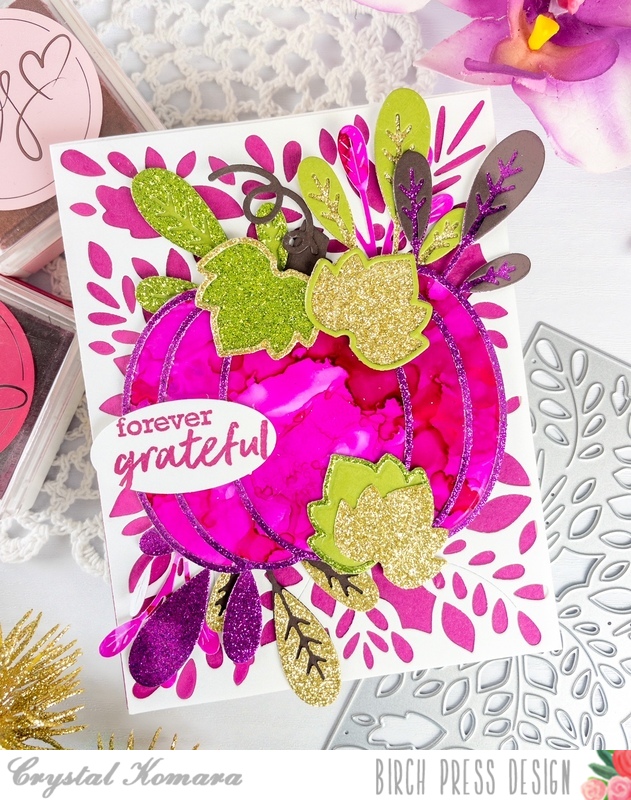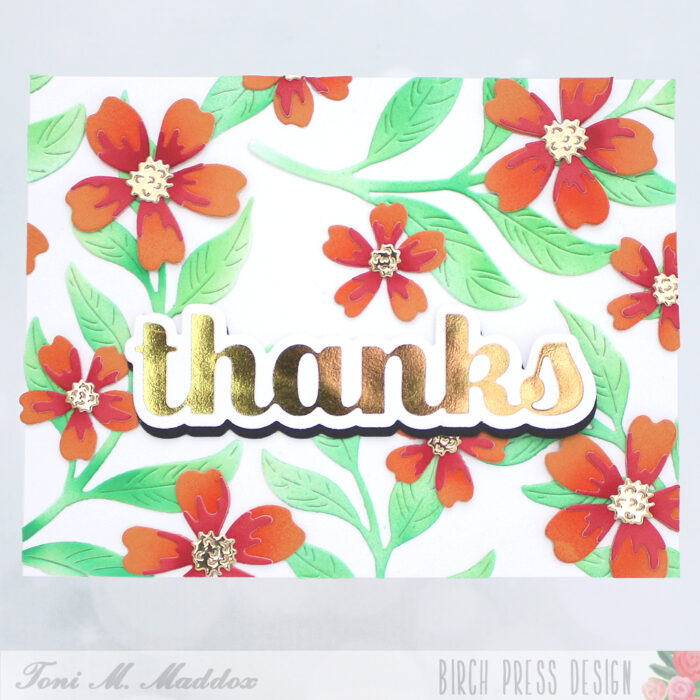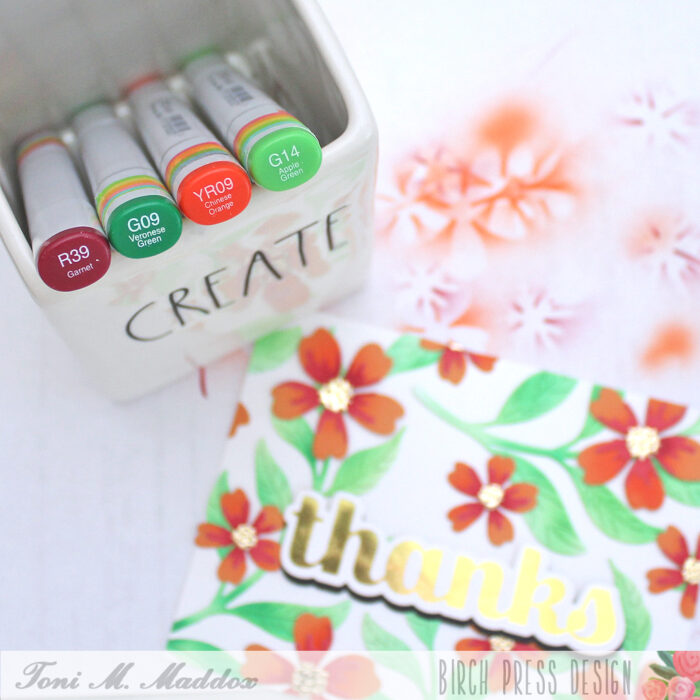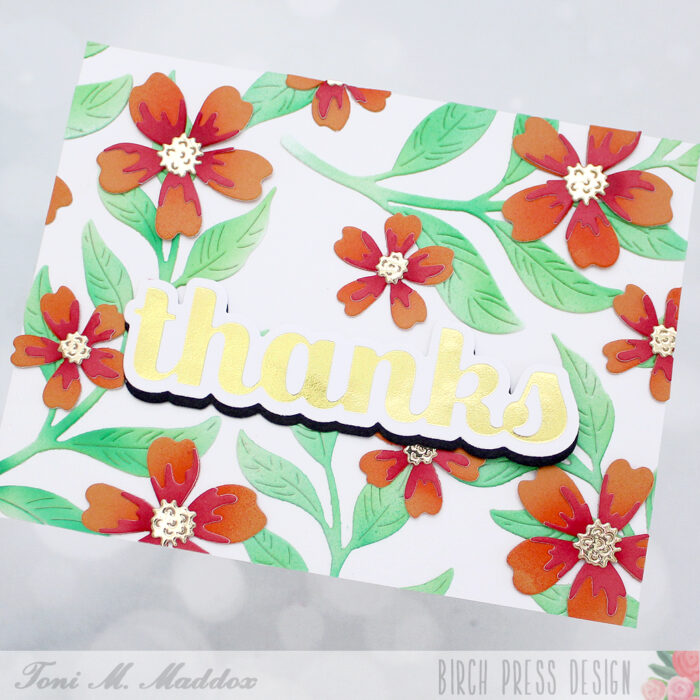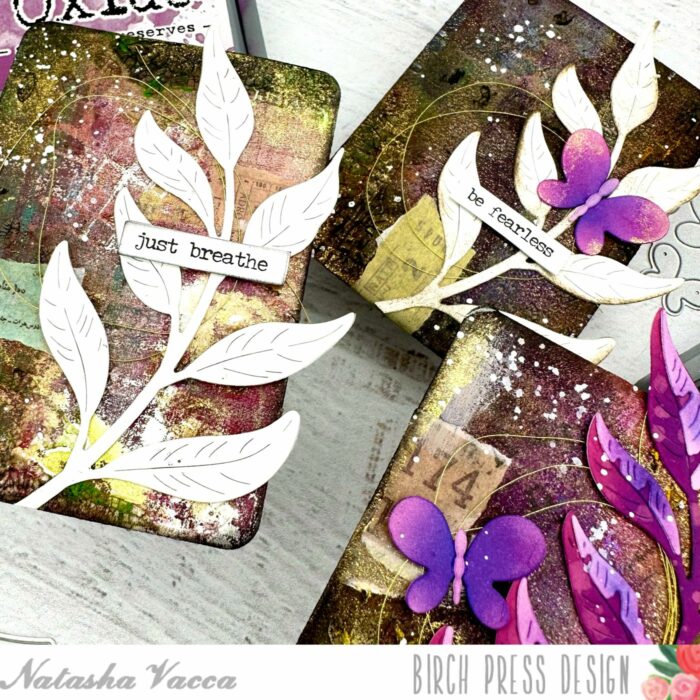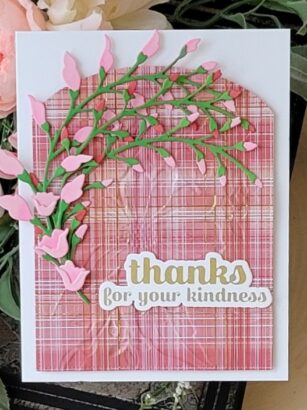
Hello everyone! Rosemary here on the blog today. I have a card today that I made using the new Floral Arch Contour Layers die set. When I pulled the package for this die set out of the box I gasped at how beautiful it is! I couldn’t wait to make a card with it.
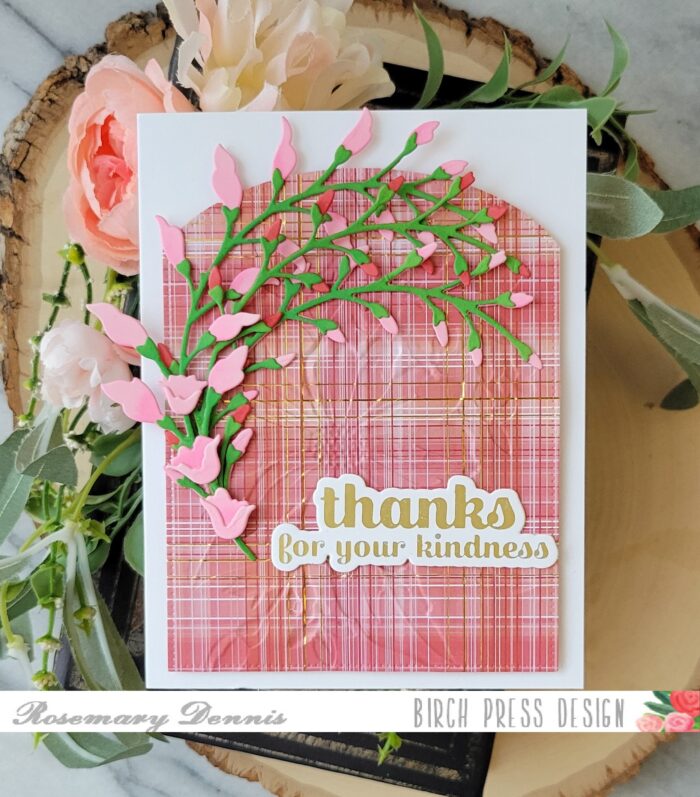
On the packaging the image is shown in shades of pink and that is what I went with initially. As I was making the card I decided to throw a little red into the mix since there is red in the patterned paper I used.

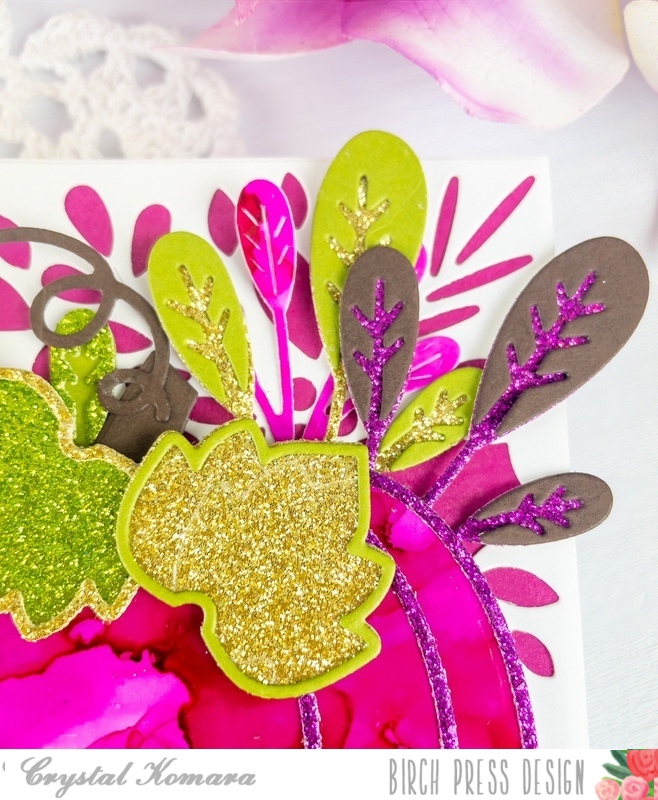
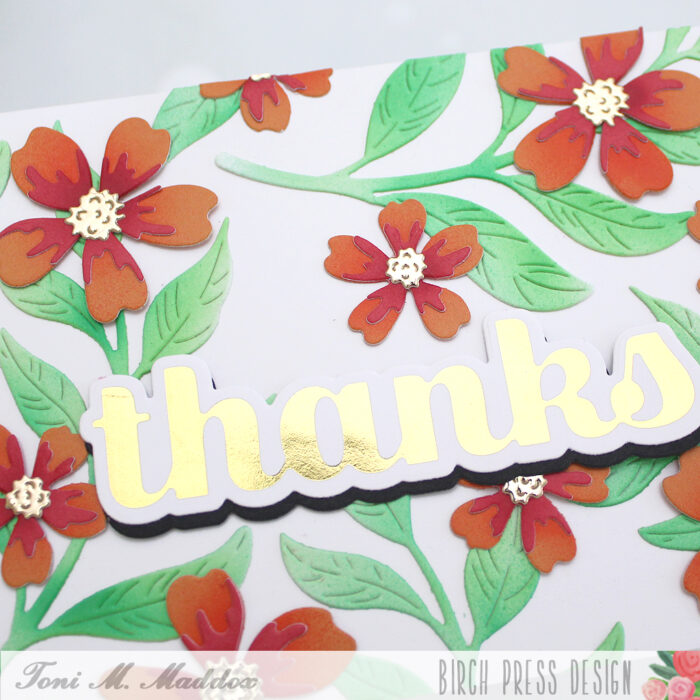
I decided to die cut the pieces from colored cardstock and then to blend on some additional ink for more color. The green cardstock I used to die cut the top stems was a lot lighter when I started out, but I love the deeper green color I acheived!
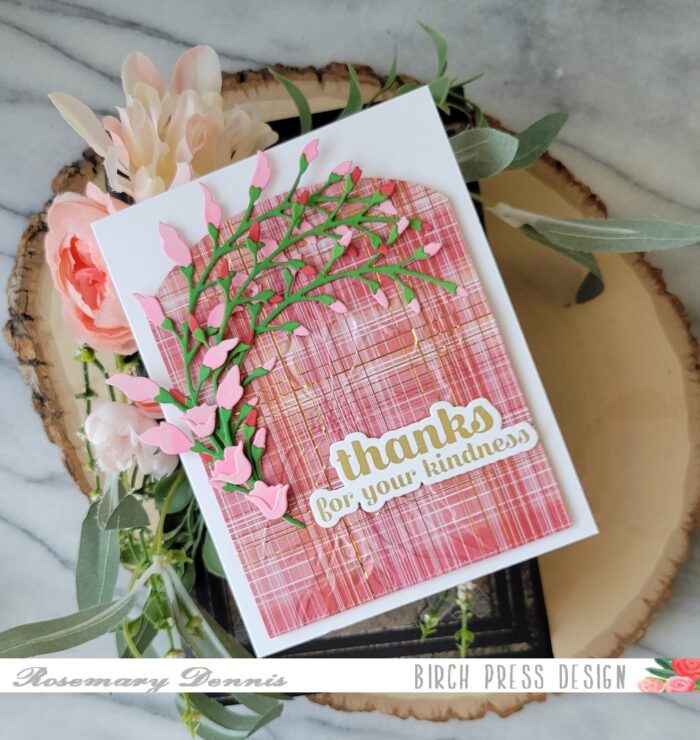
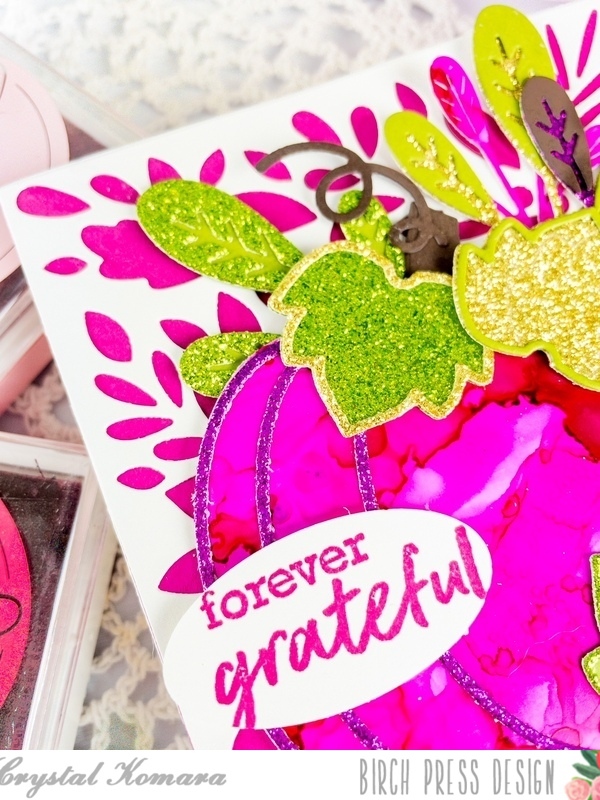
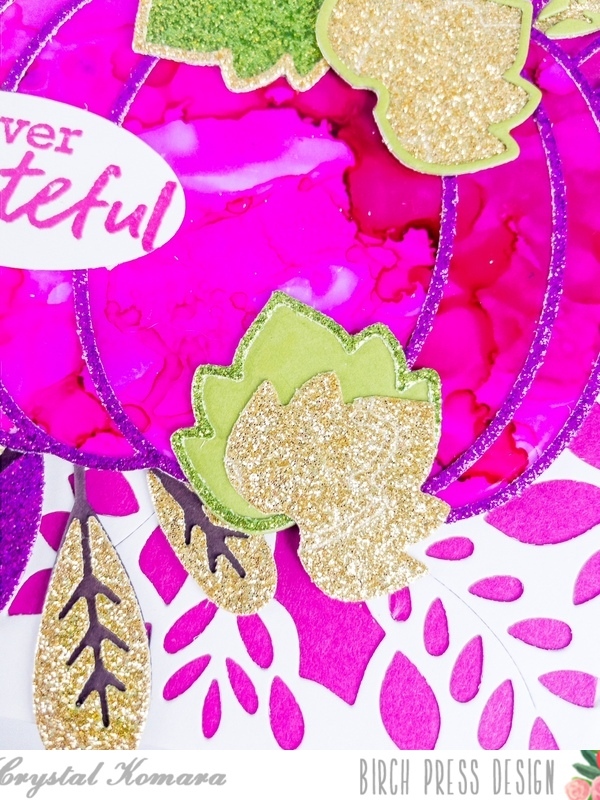
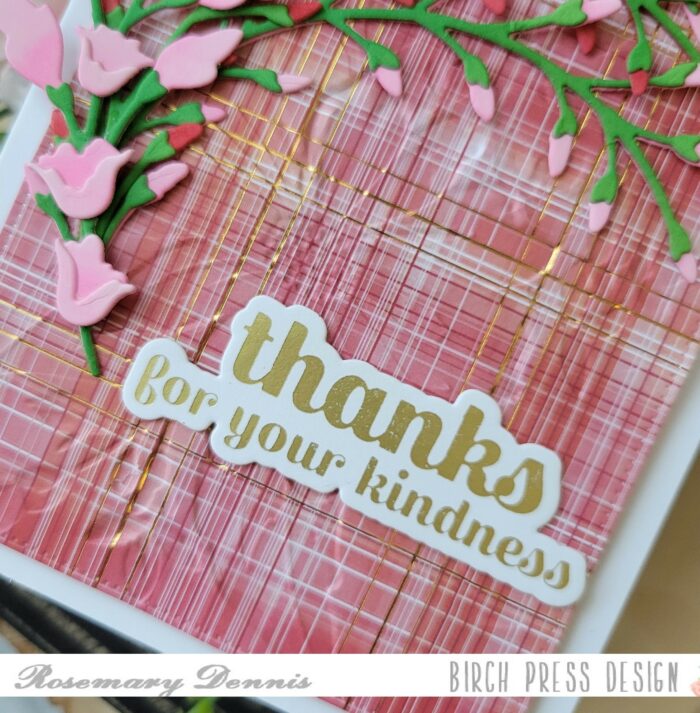
After die cutting and inking all the pieces I adhered everything together using liquid adhesive. I thought that the second largest dies from Memory Box Curved Cap Pinpoint Layers die set would be perfect for the floral arch. I die cut it from a sheet of paper from the Gladiola Plaid 6×6 paper pad and then embossed it with the Open Studio Gracious Floral embossing folder. When I embossed the paper I actually embossed the wrong side, but decided that I liked the debossed side as it was a bit subtler. I adhered the panel to a white cardstock base with strong double sided tape.
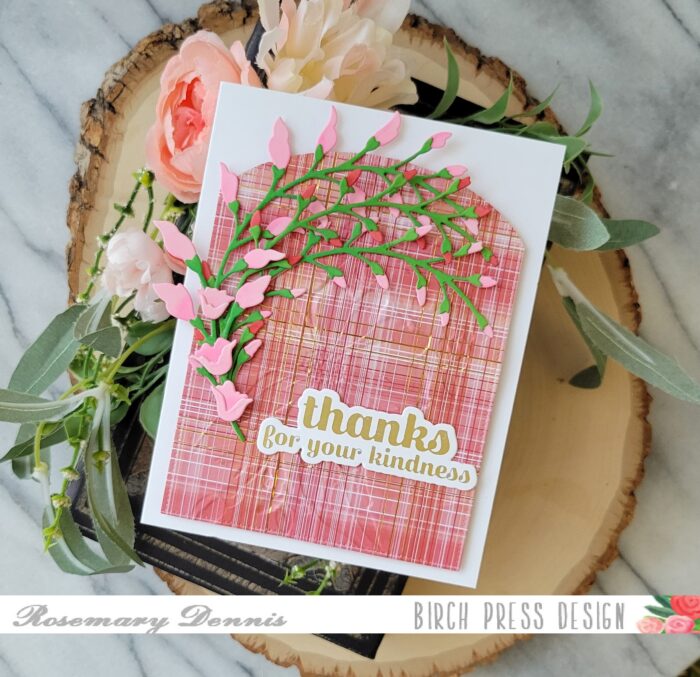
I adhered the floral arches with liquid adhesive and then added the sentiment from the Sugar Script Sentiments 2 hot foil set. I’m almost out of these sentiments so time to foil some more! The foiled sentiment worked perfectly since as you can see there are little touches of foiling in the plaid paper.
I hope you enjoyed today’s card. Thanks for stopping by and have a wonderful day!

Supplies